March 2024 - Dump pipe
After a lengthy roadtrip in January, I noticed there was a very obvious exhaust leak that sounded like it was near my feet. I pretty much knew straight away what it was going to be caused by - the gearbox mount I’d made that secured the dump to the gearbox bellhousing.
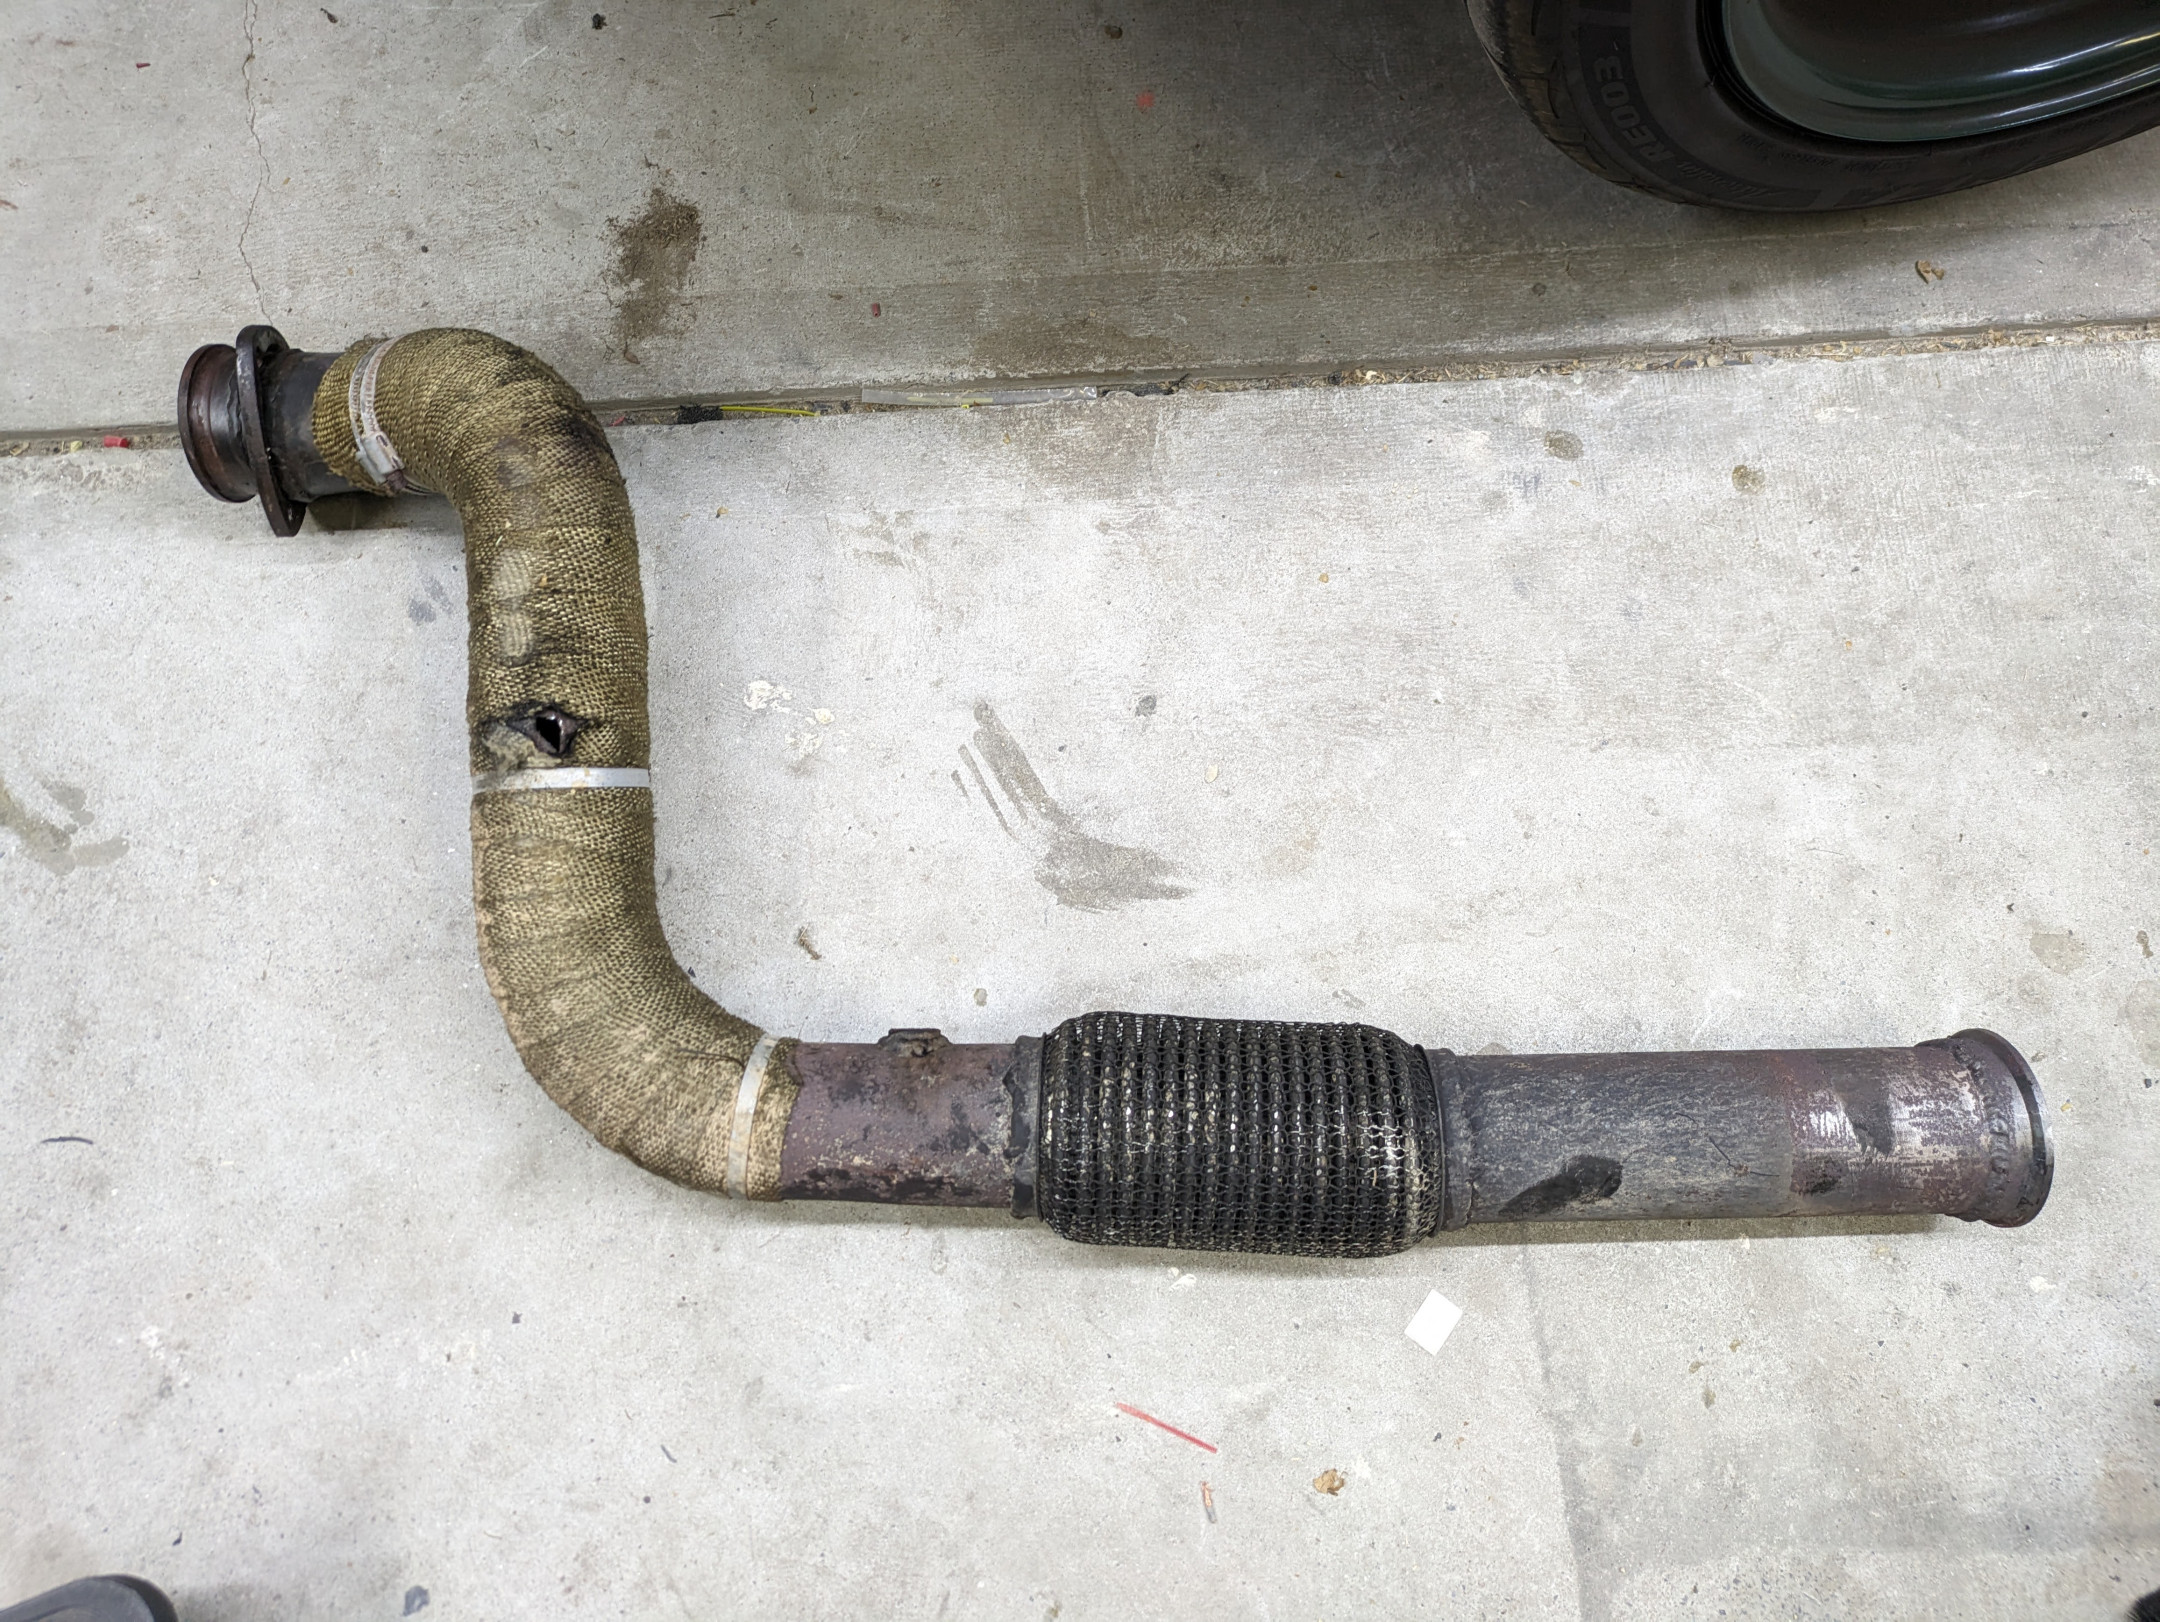
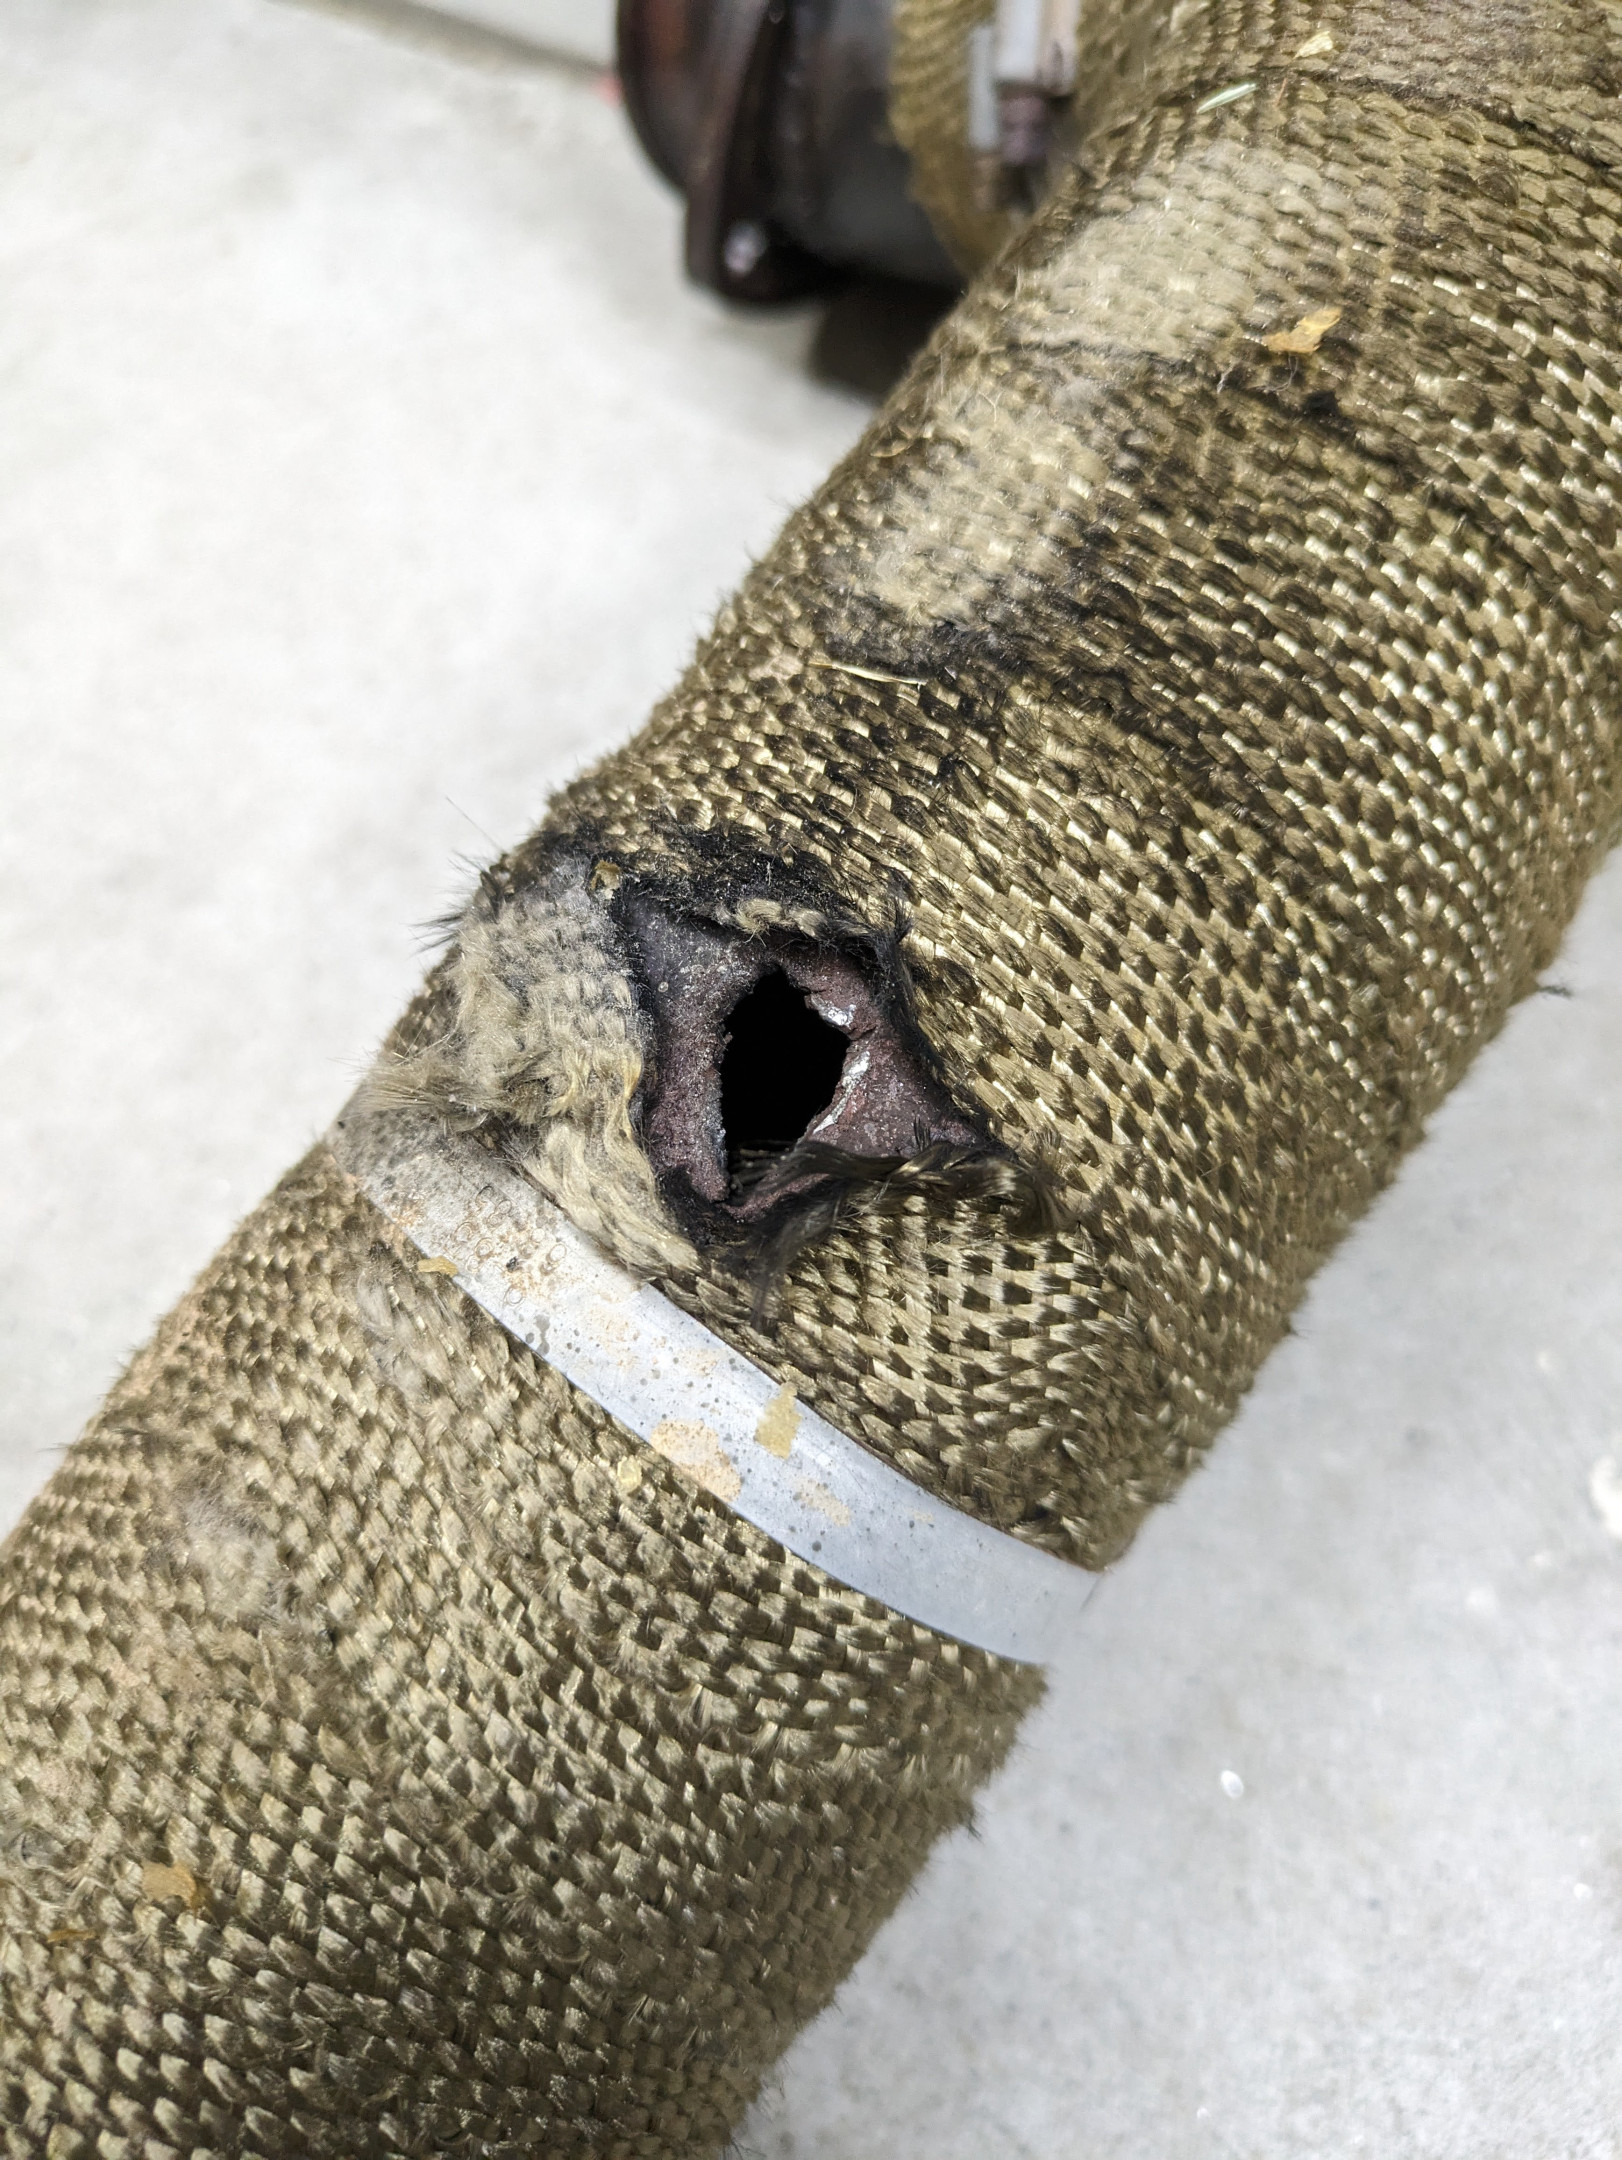
Ever since doing that I’d read how it should’ve been done instead, i.e. with something that has a bit of give in it to allow for expansion/vibration/contraction. I had other priorities on the car as it was working, but now it was broken, I wondered what I should do? Patch it up and bung it back in? Take the car off the road for a bit, get it sorted and then be done with it for longer? I went with the latter, and it was off the road for probably 8 weeks total while I sorted that and some other stuff out.
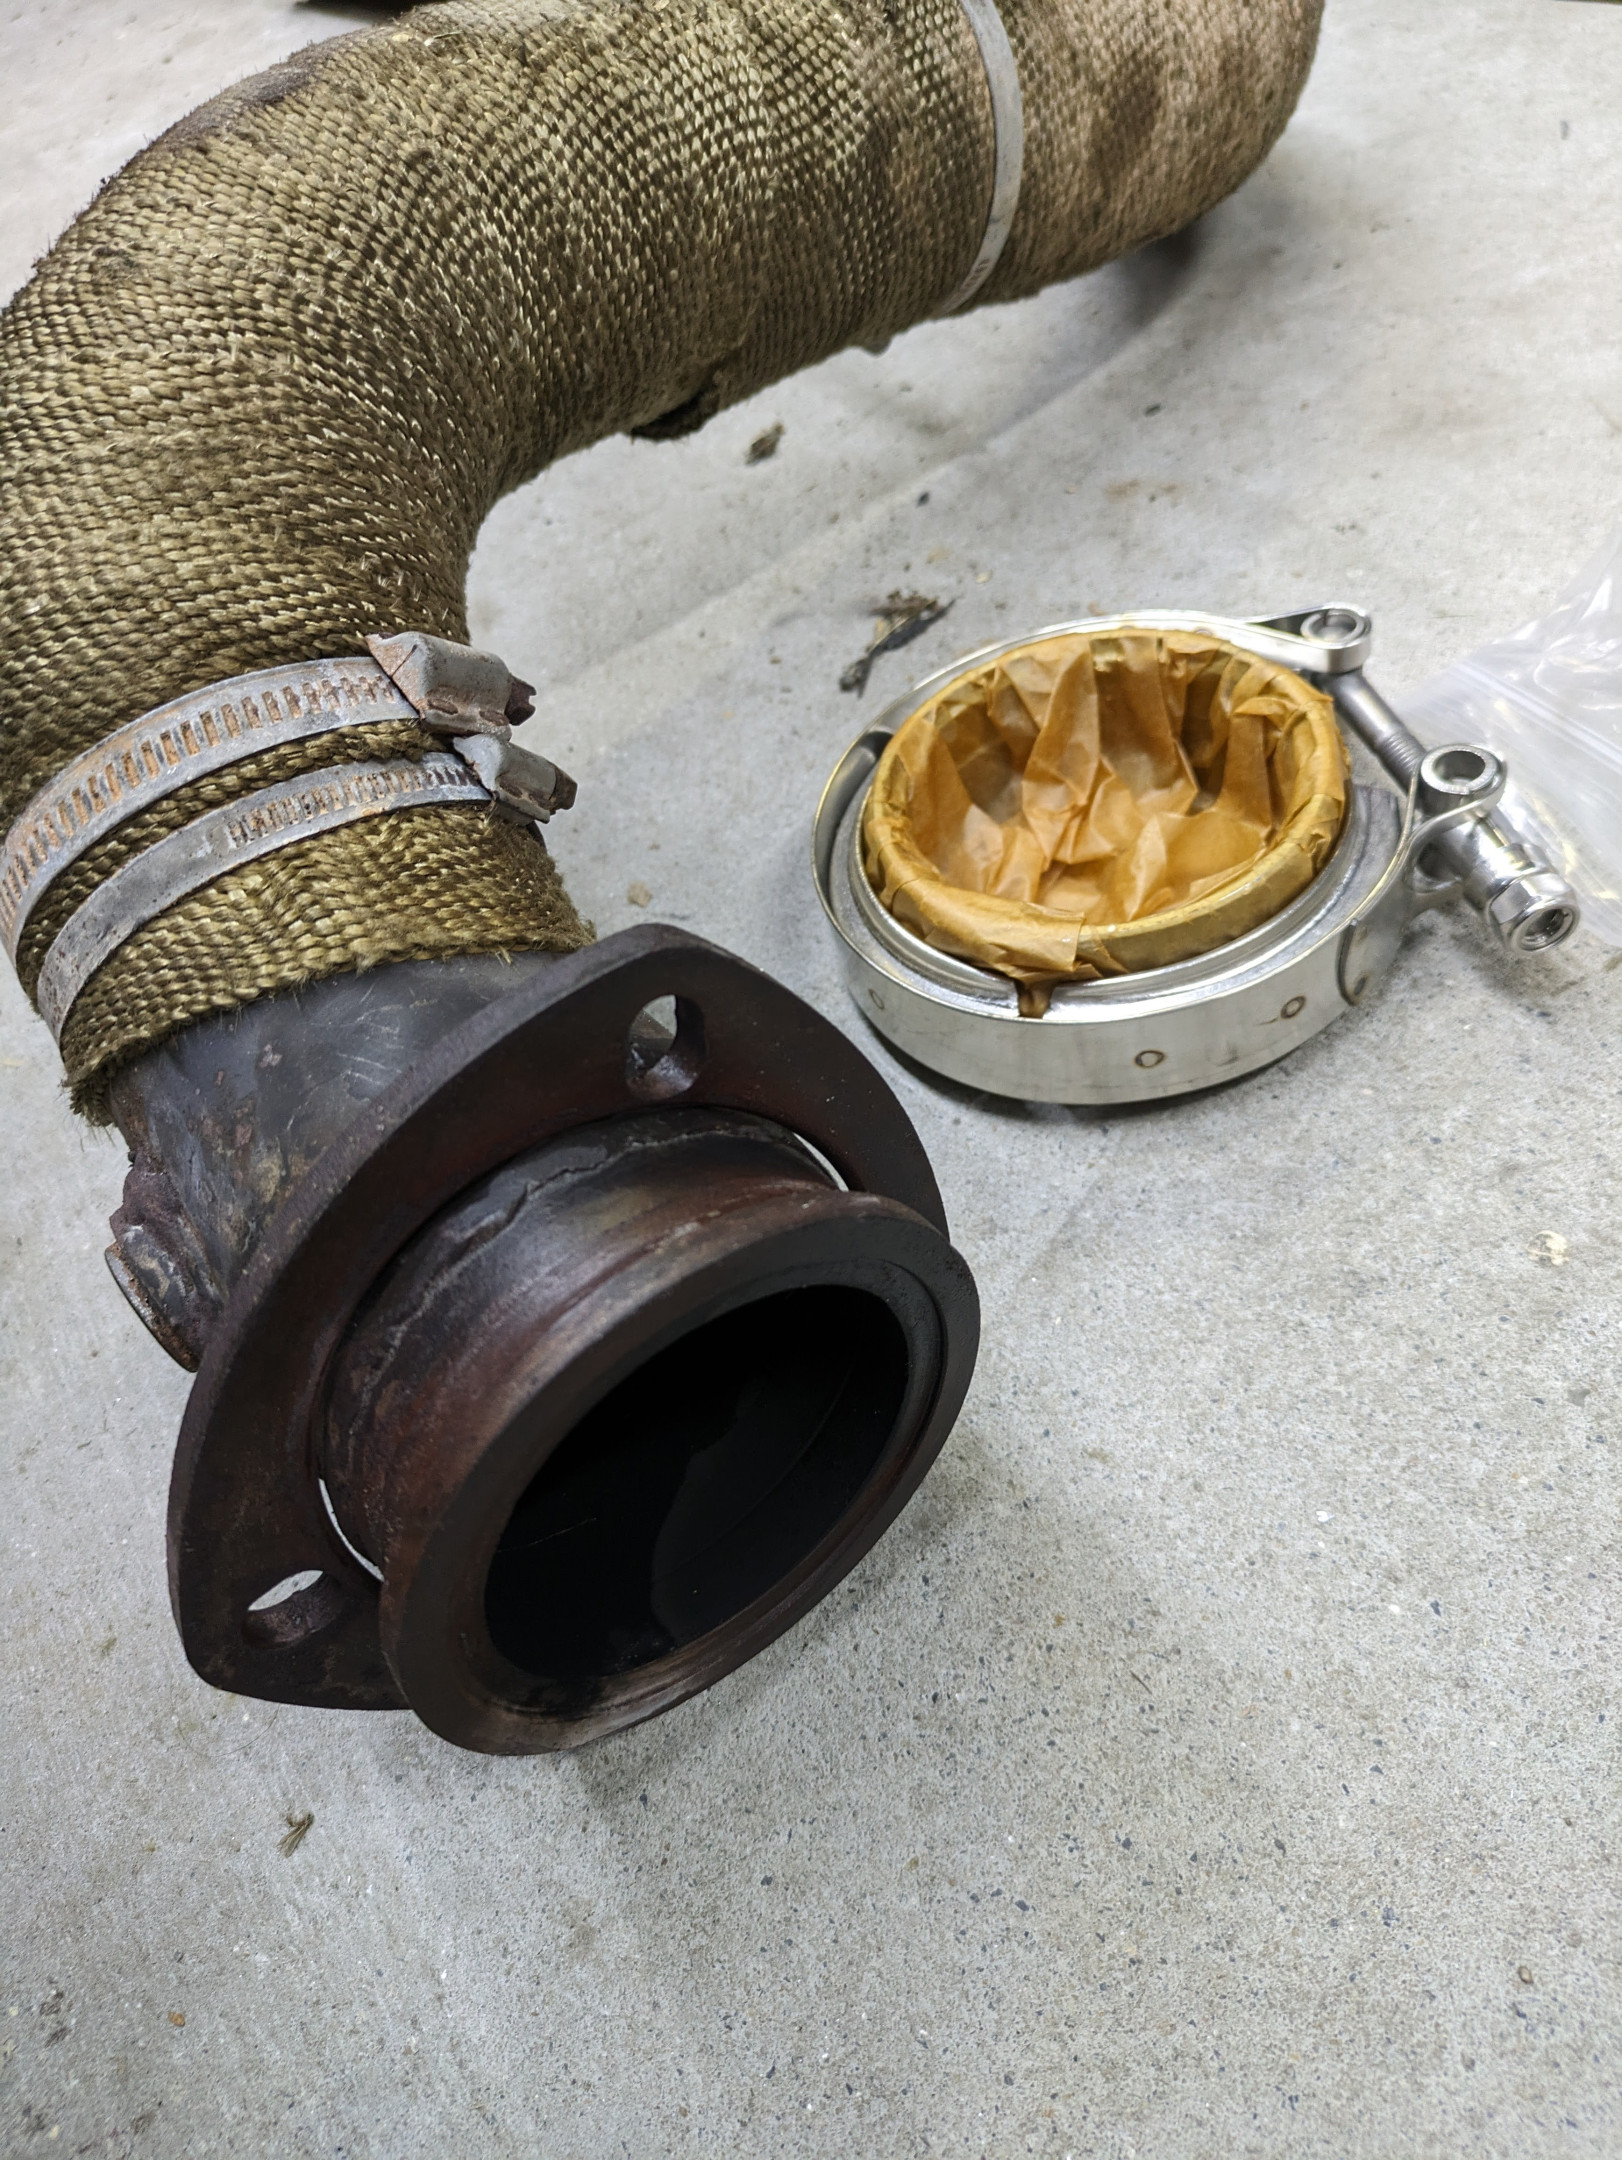
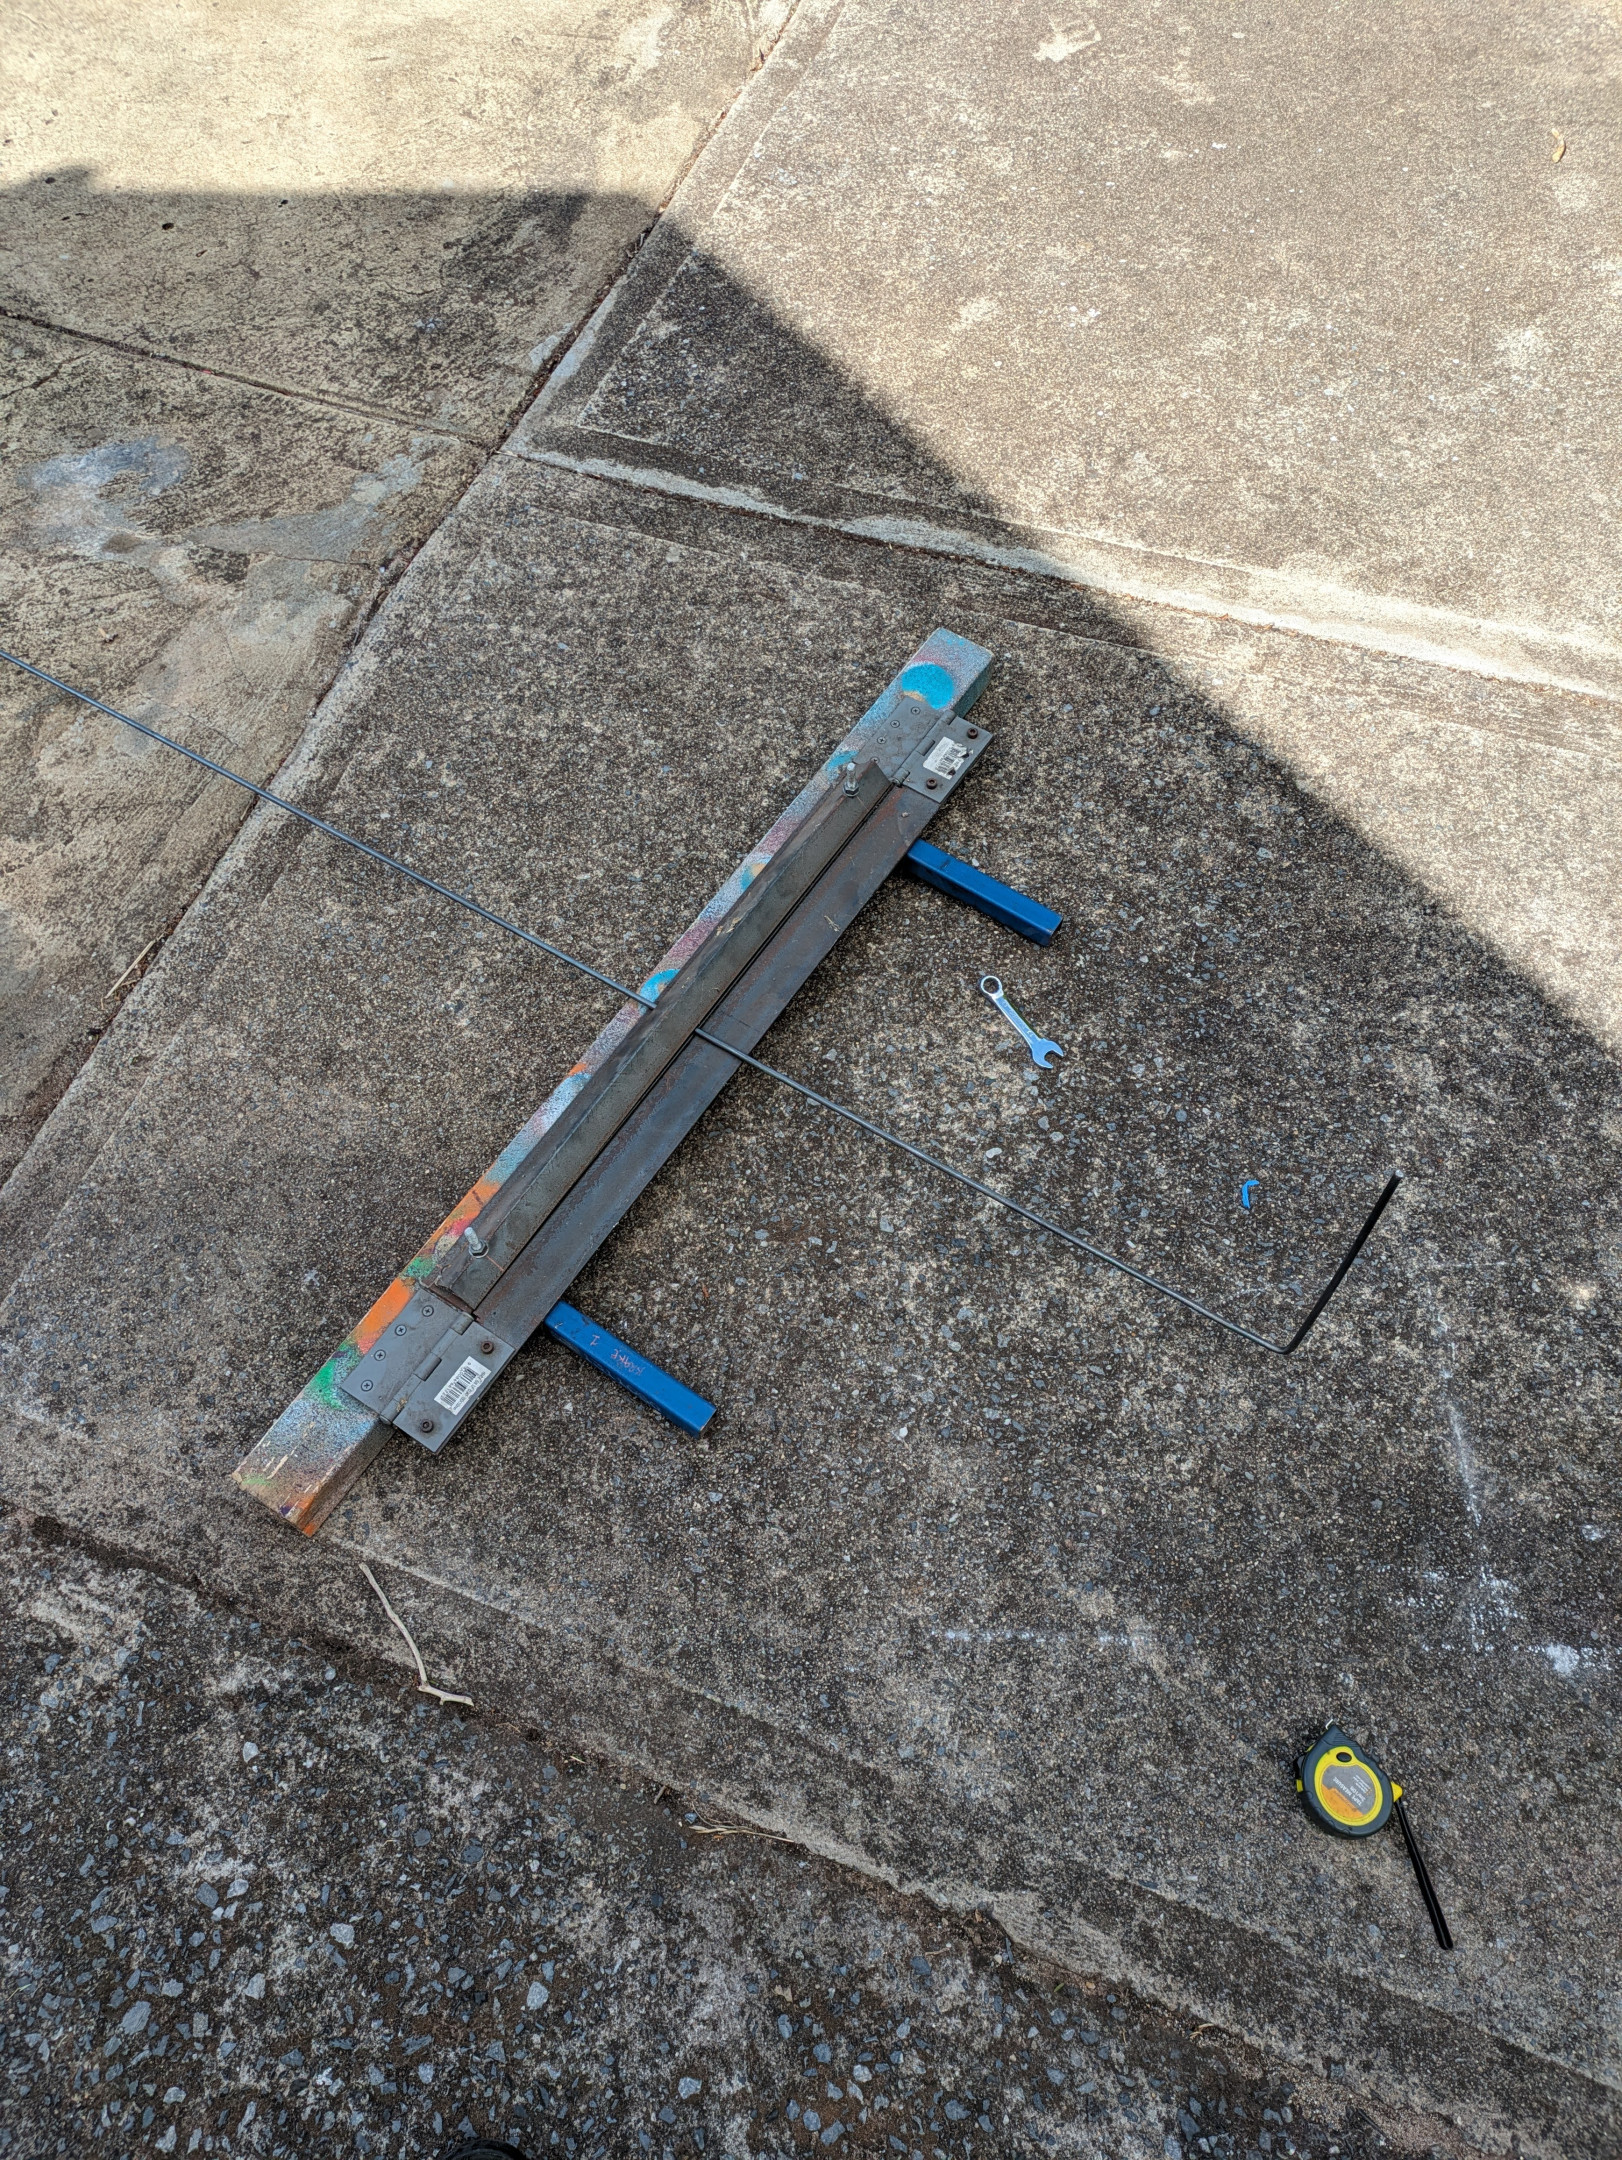
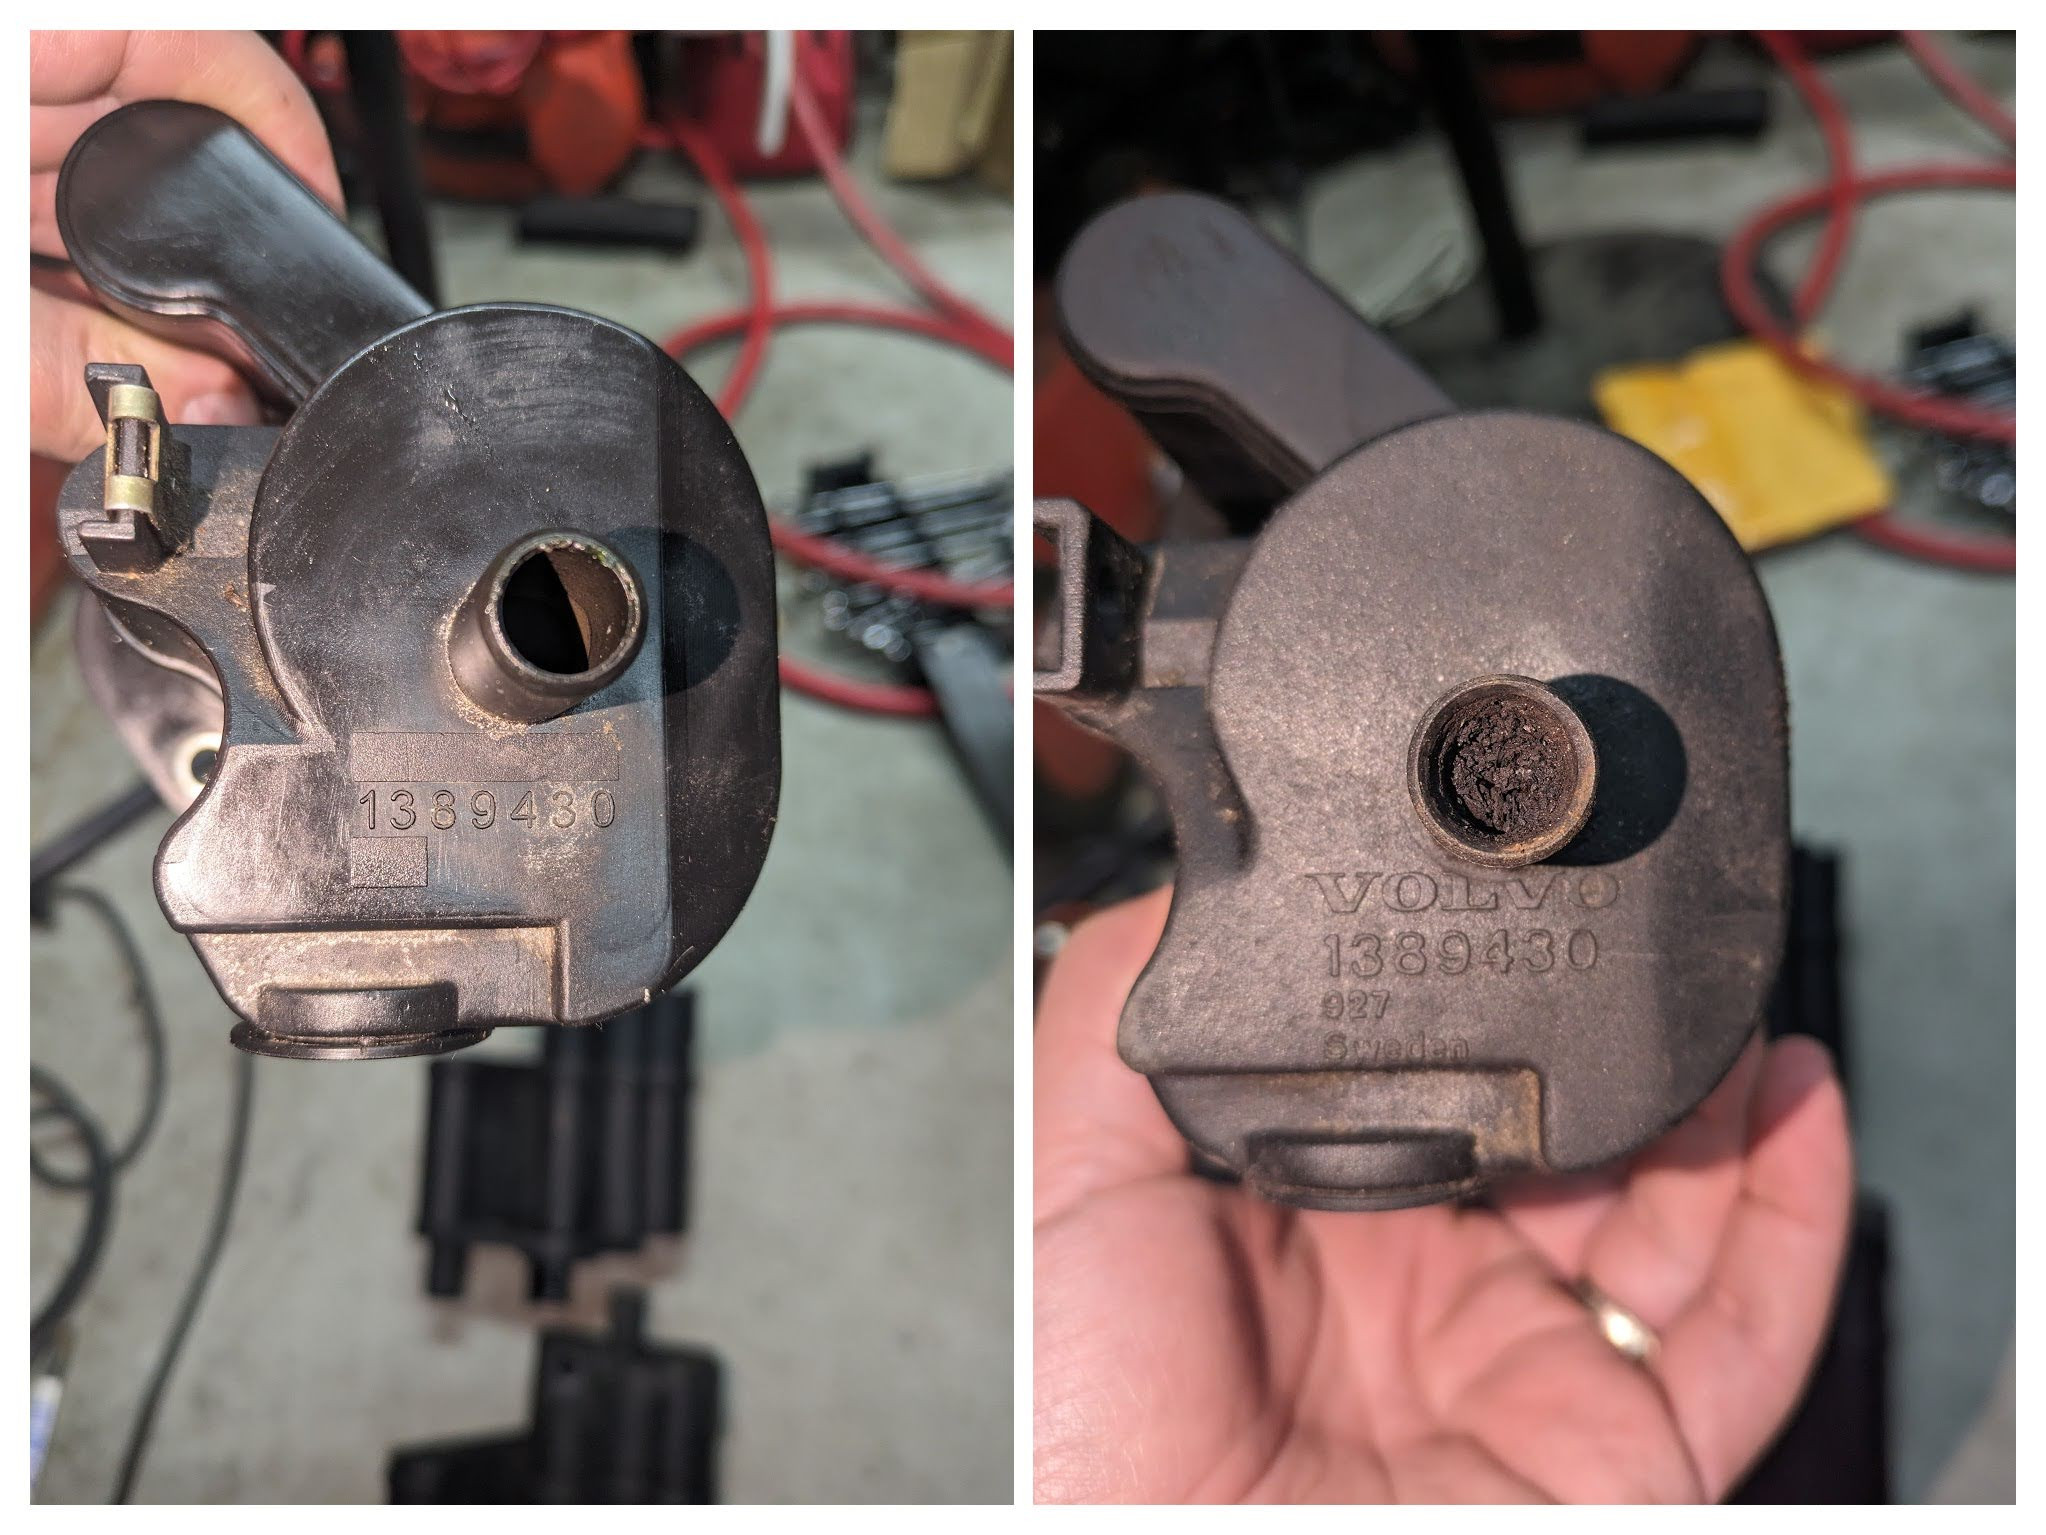
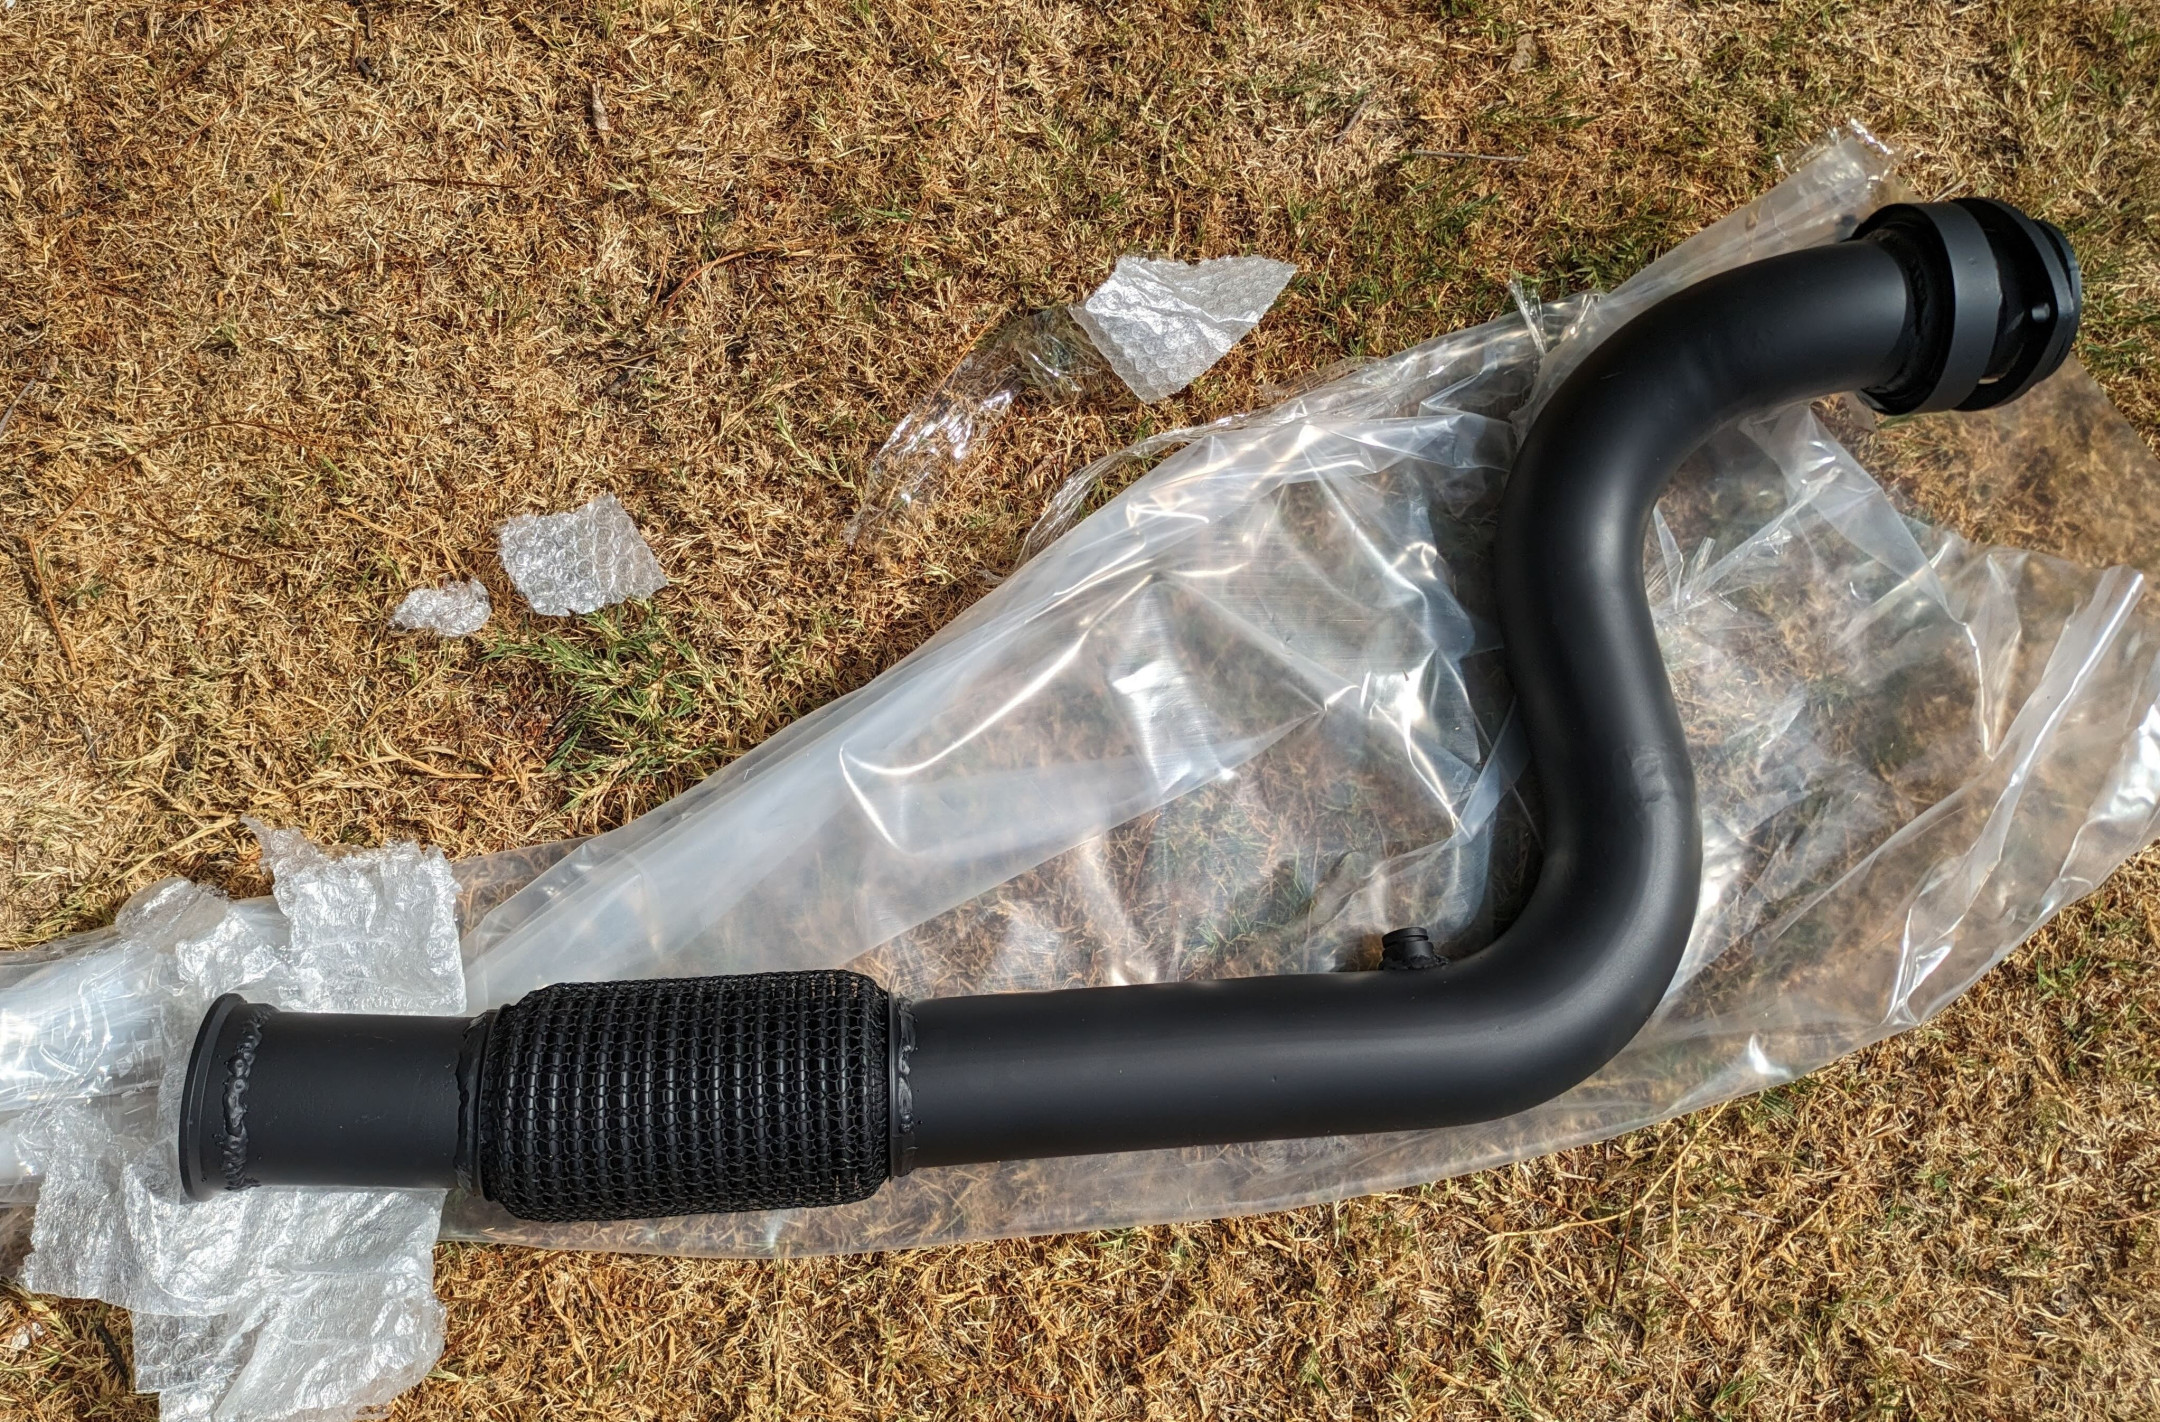
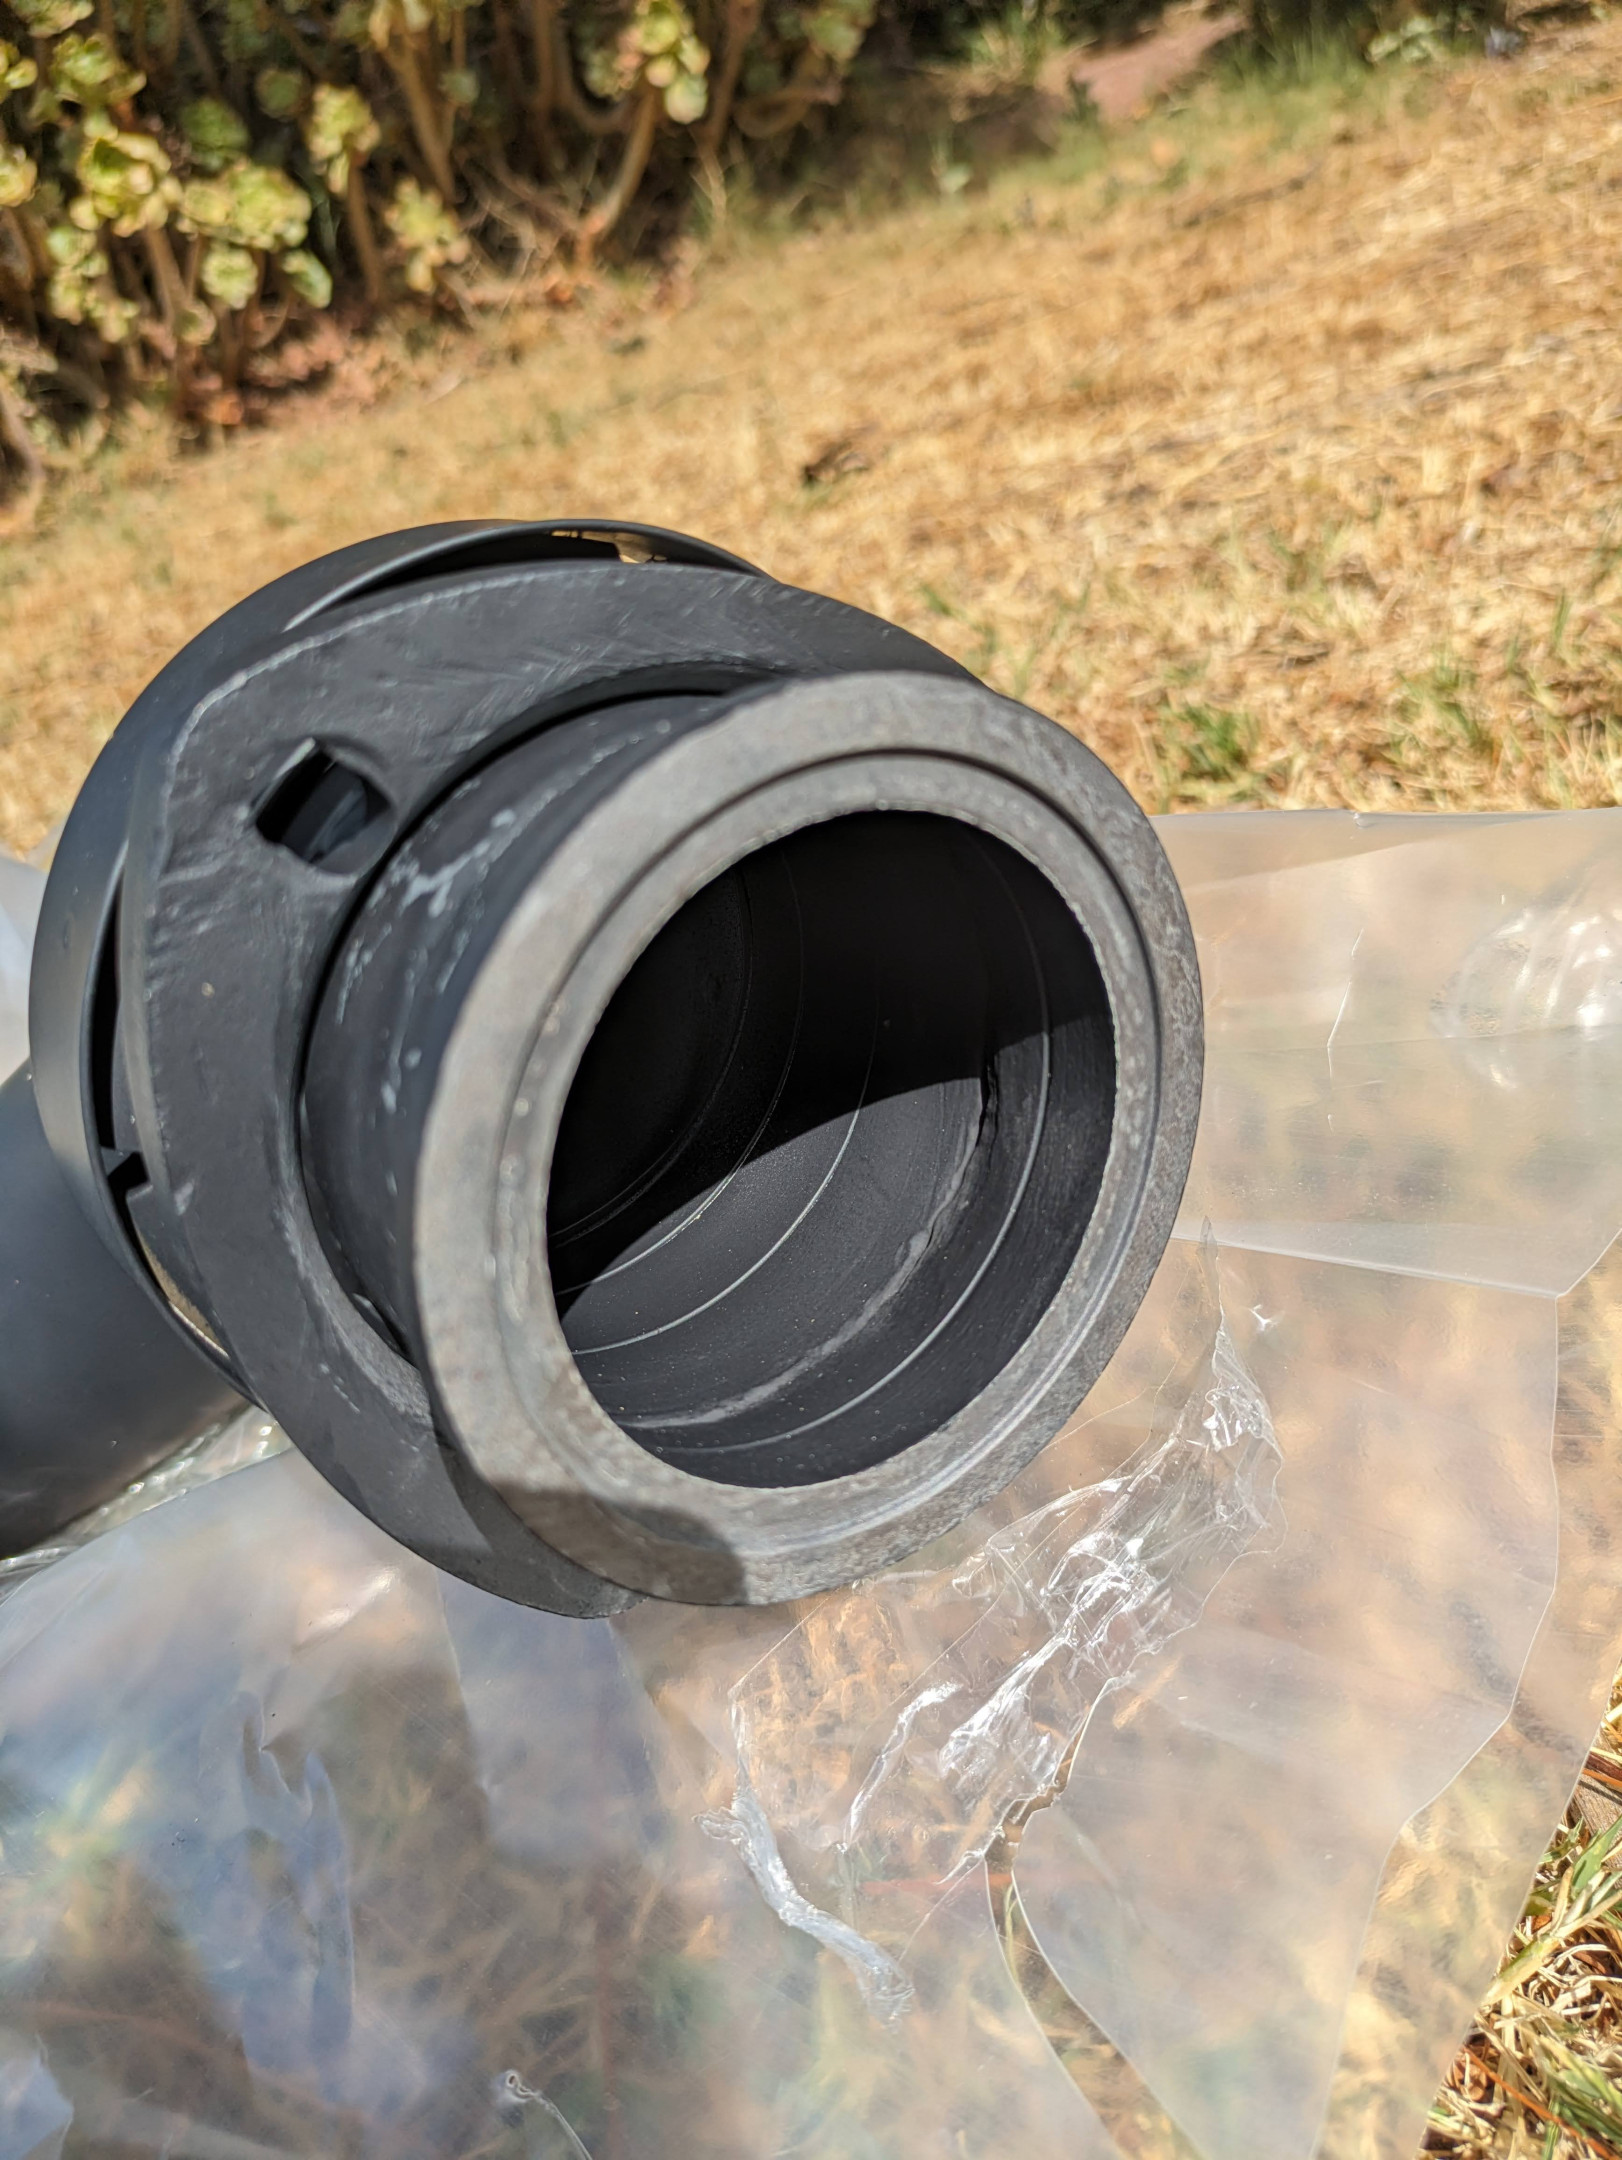
I decided after a great amount of difficulty removing the flange bolts that I’d make v-band adapter to make it easier to service in future, as I had a leftover 3” aliexpress v-band from the last exhaust adventures. I got new locknuts and a couple of studs that got munted for the flange, too.
I asked around some places and ended up picking up two mandrel 90’s and a 45-degree bend in 3" from Pacemaker exhausts, who made it up to order, and when picking up I got to walk around their warehouse.. properly oldschool cool workshop - and huge. Nice to check out some local manufacturing.
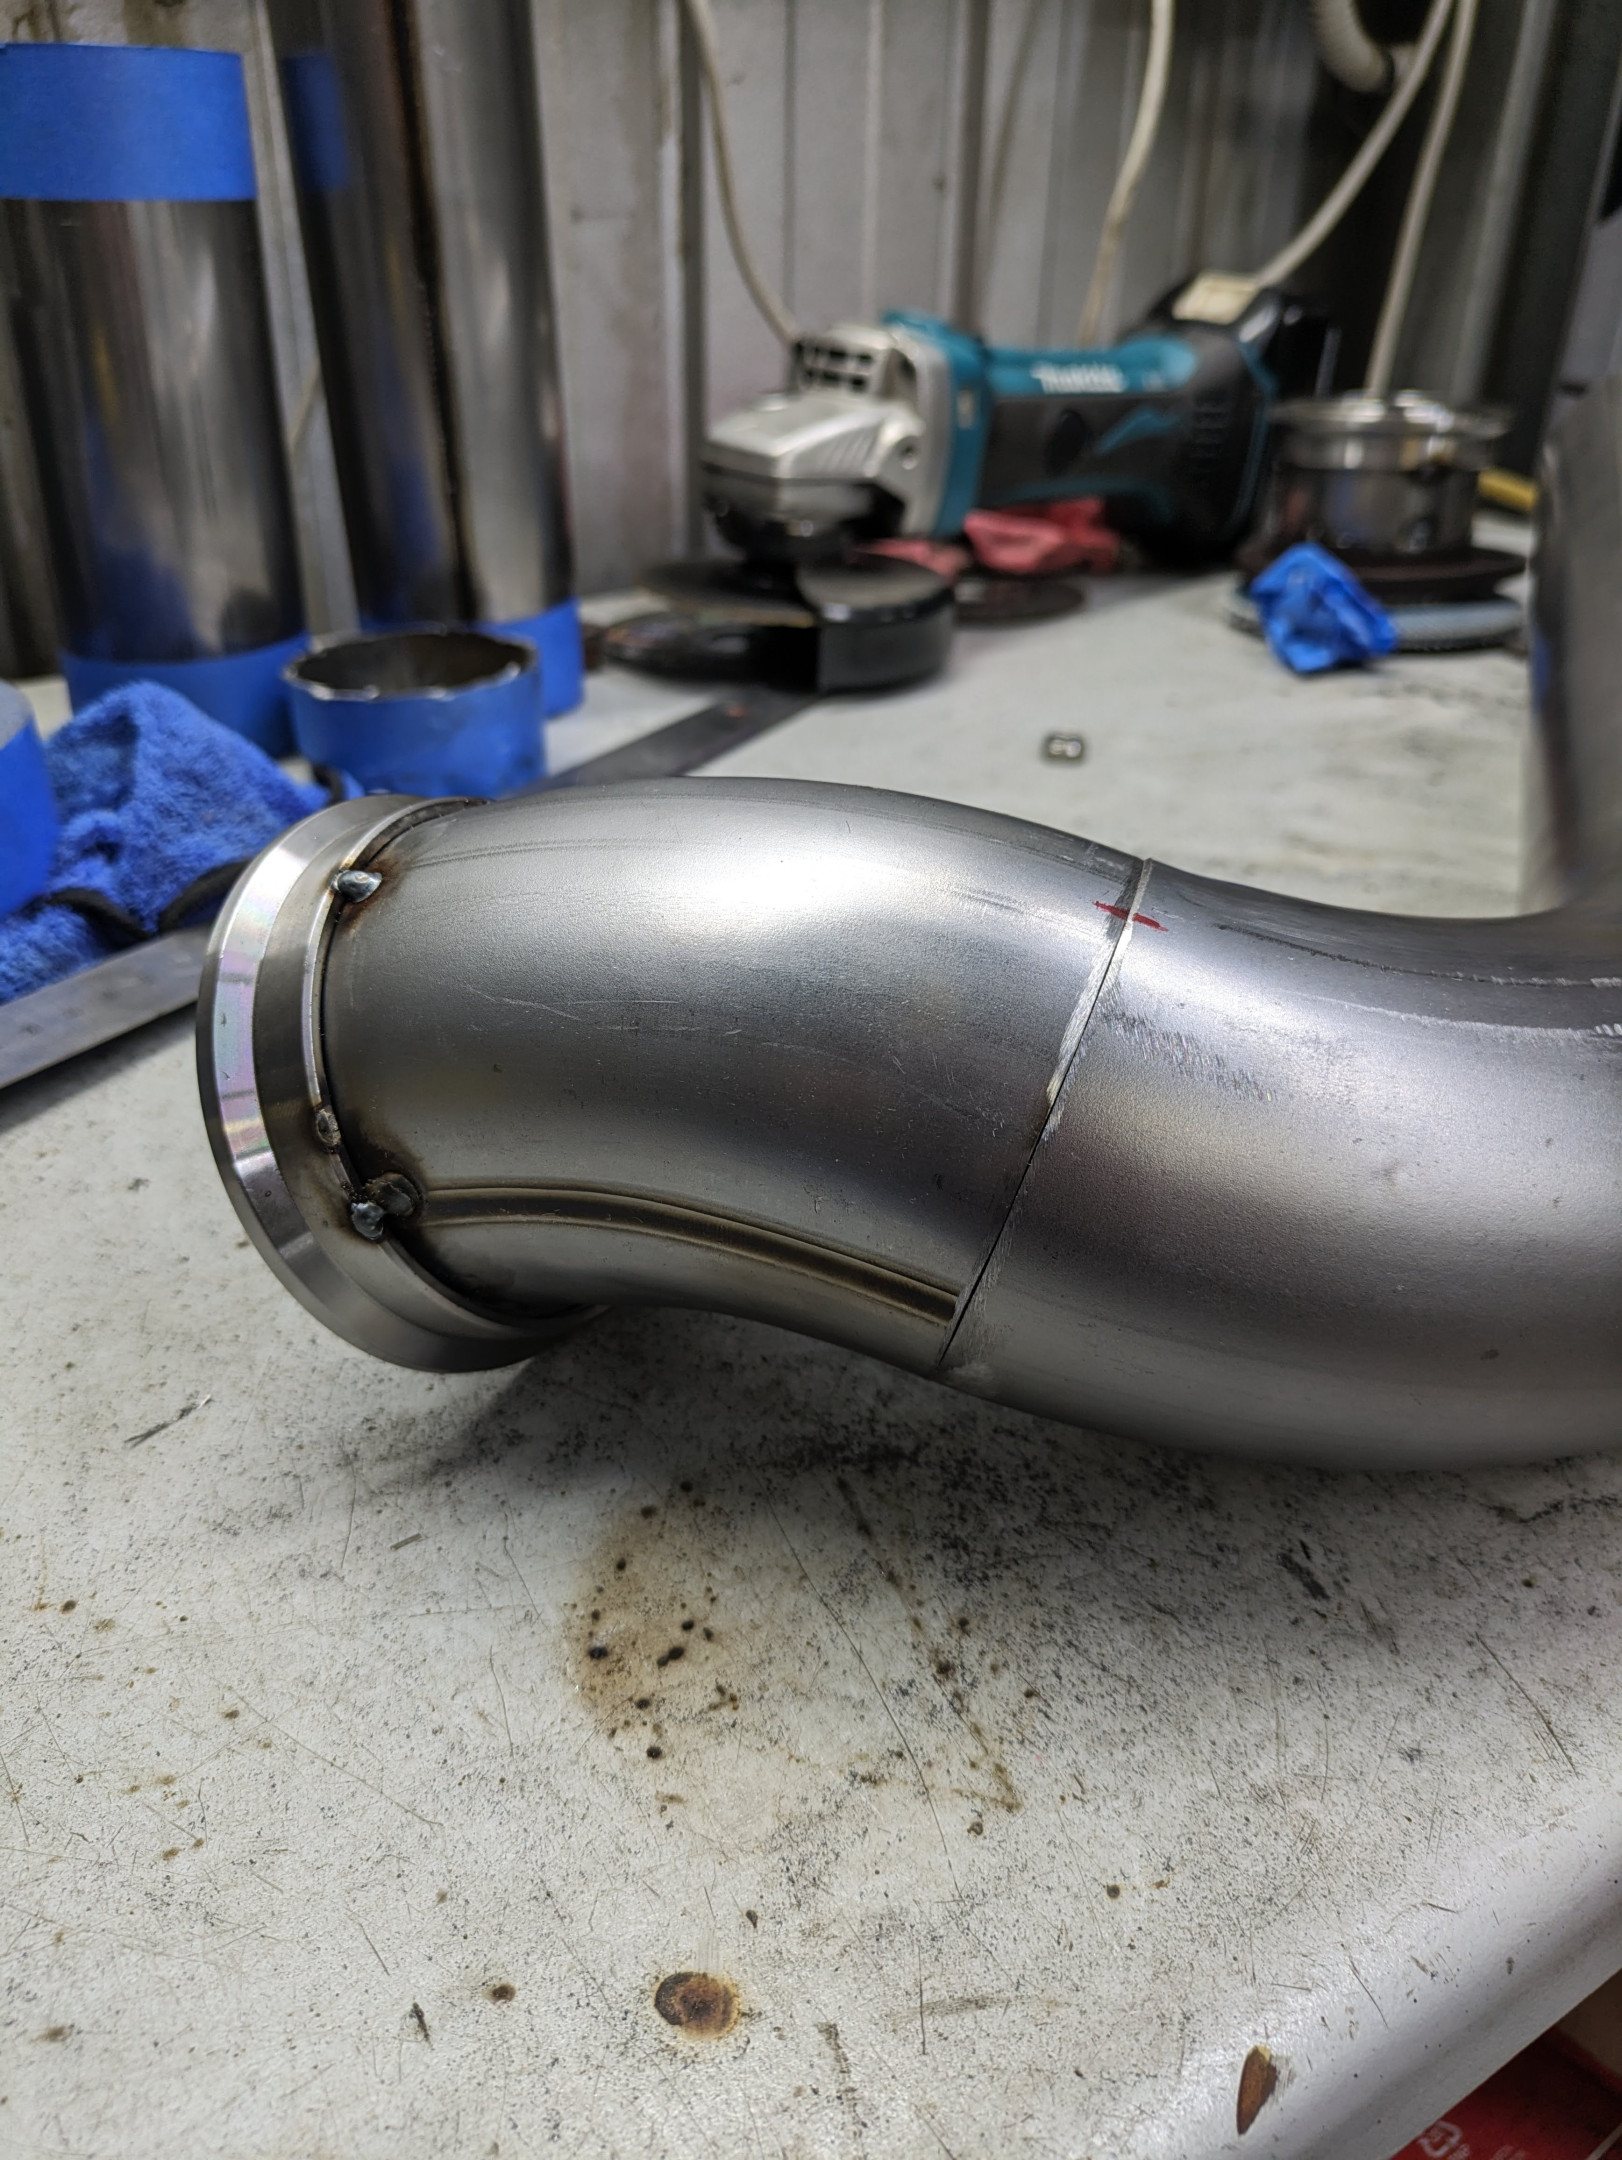
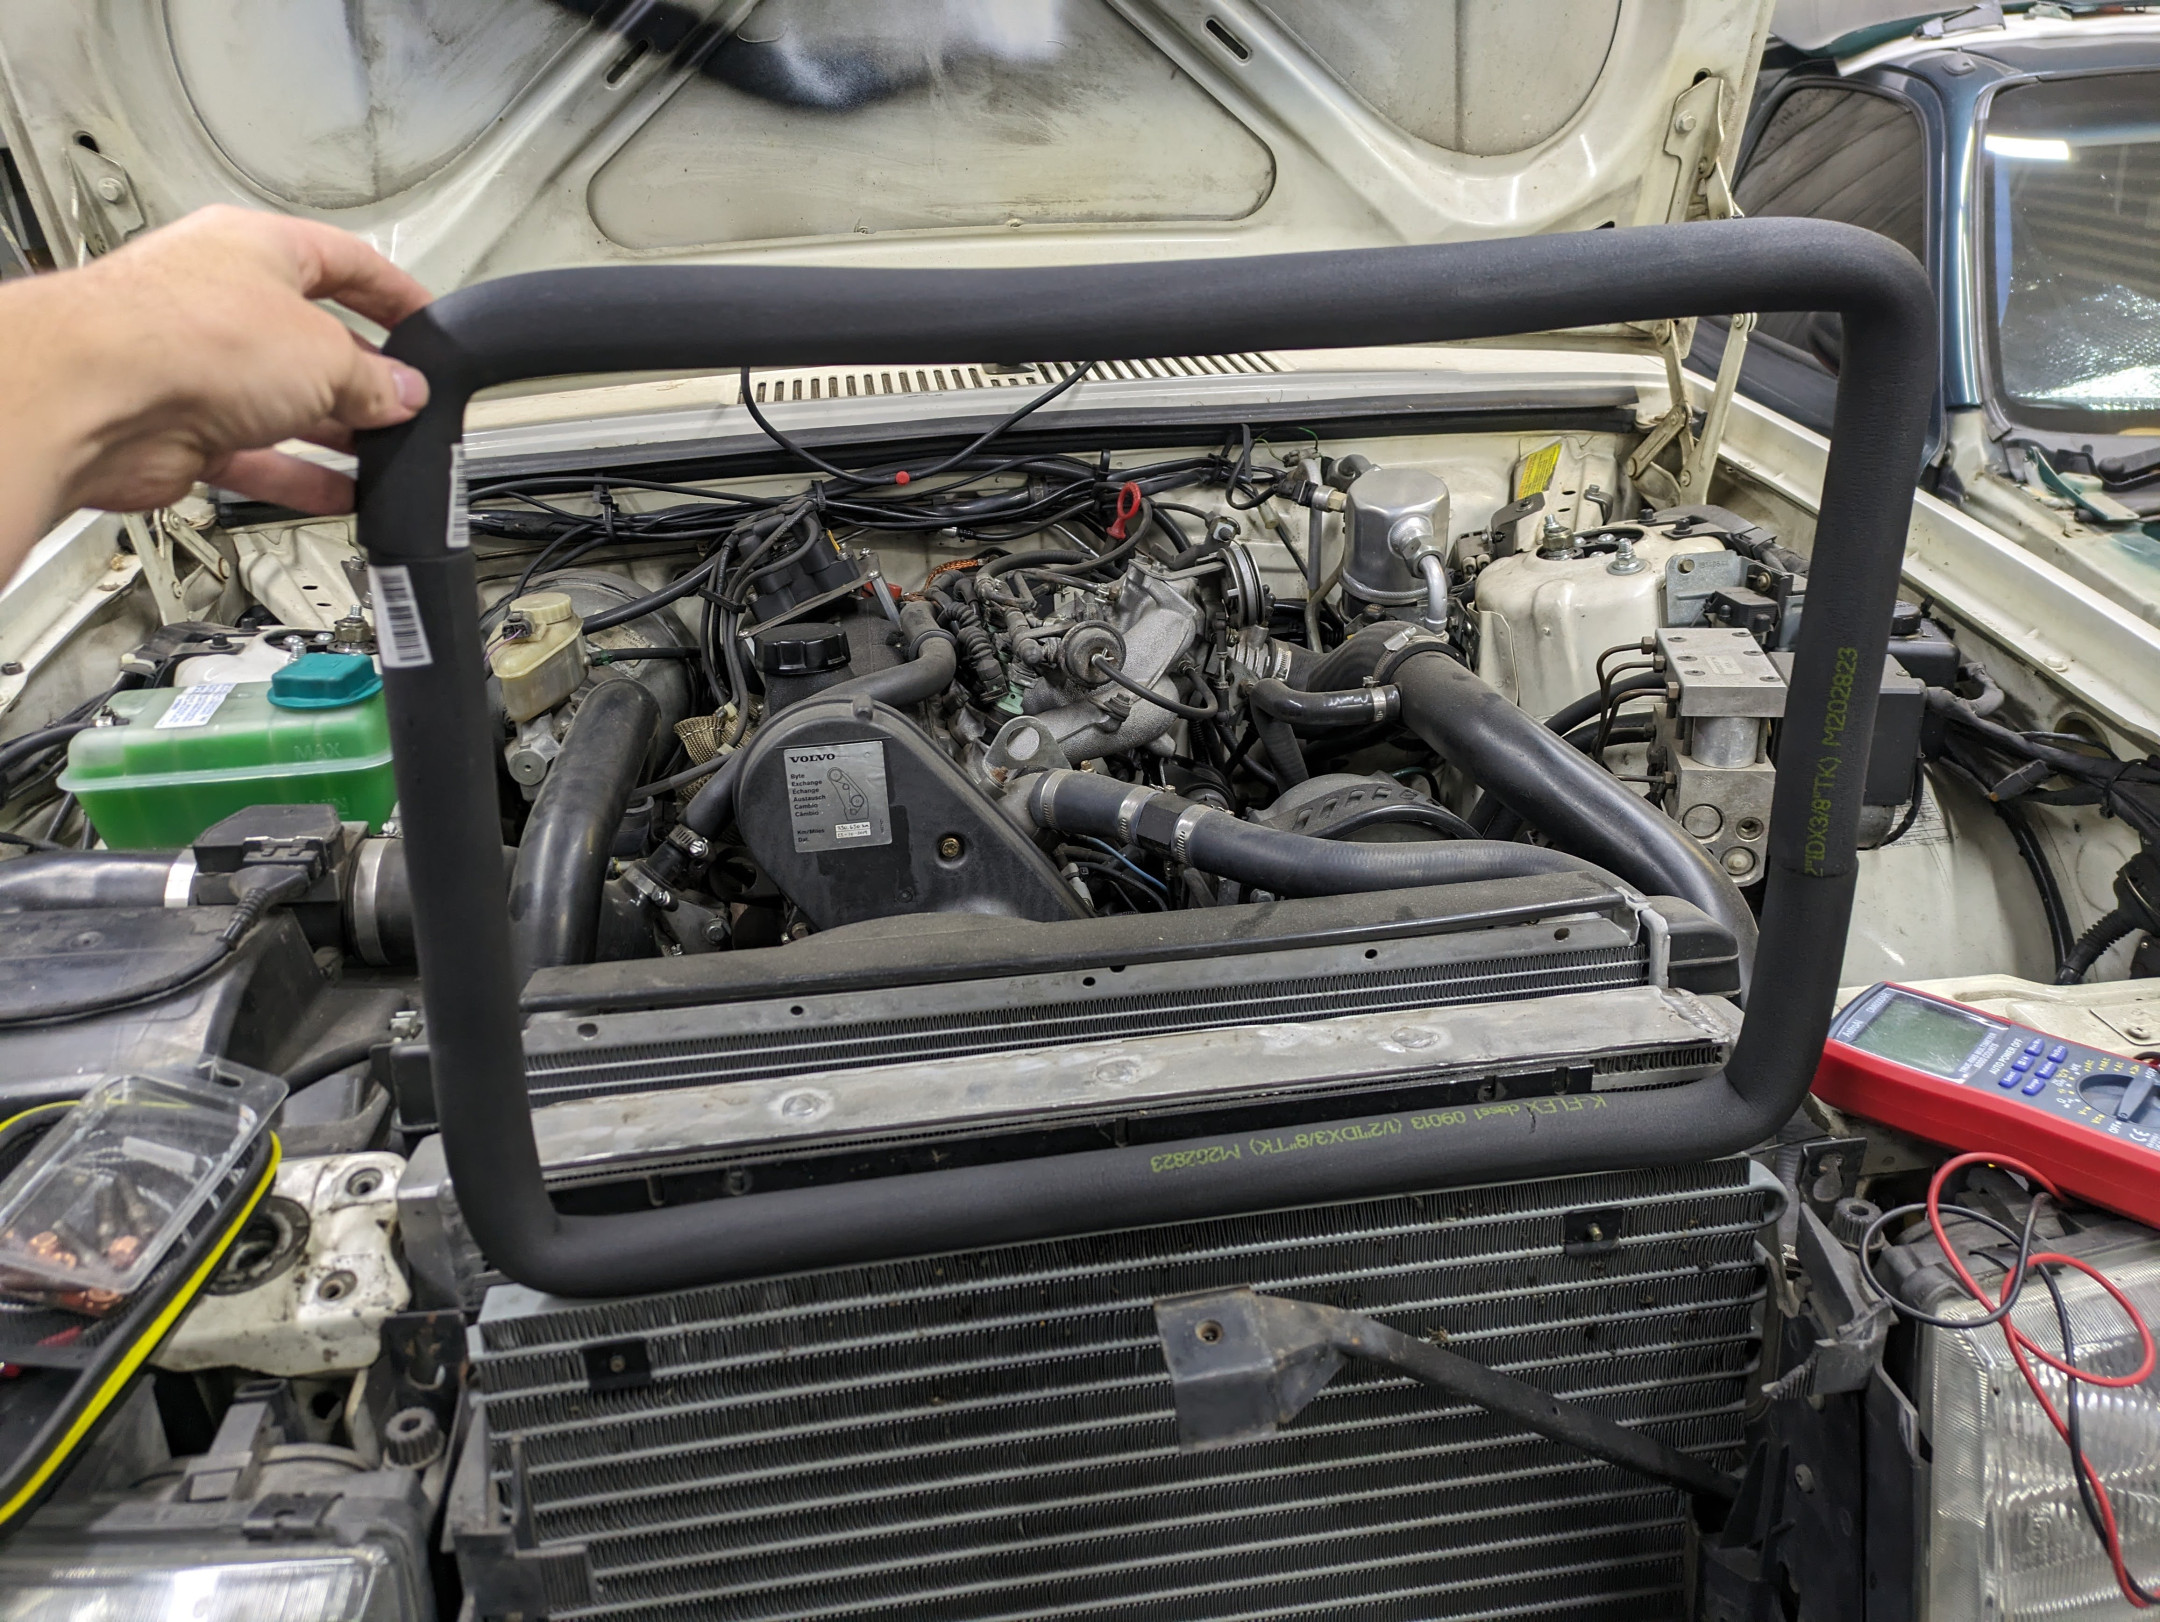
With the bits in hand, I set off fabbing up the new dump, only keeping the turbo flange from the original dump. I used this as an excuse to get a small desktop belt sander to help me get the pipes matching up, and it was a huge help.

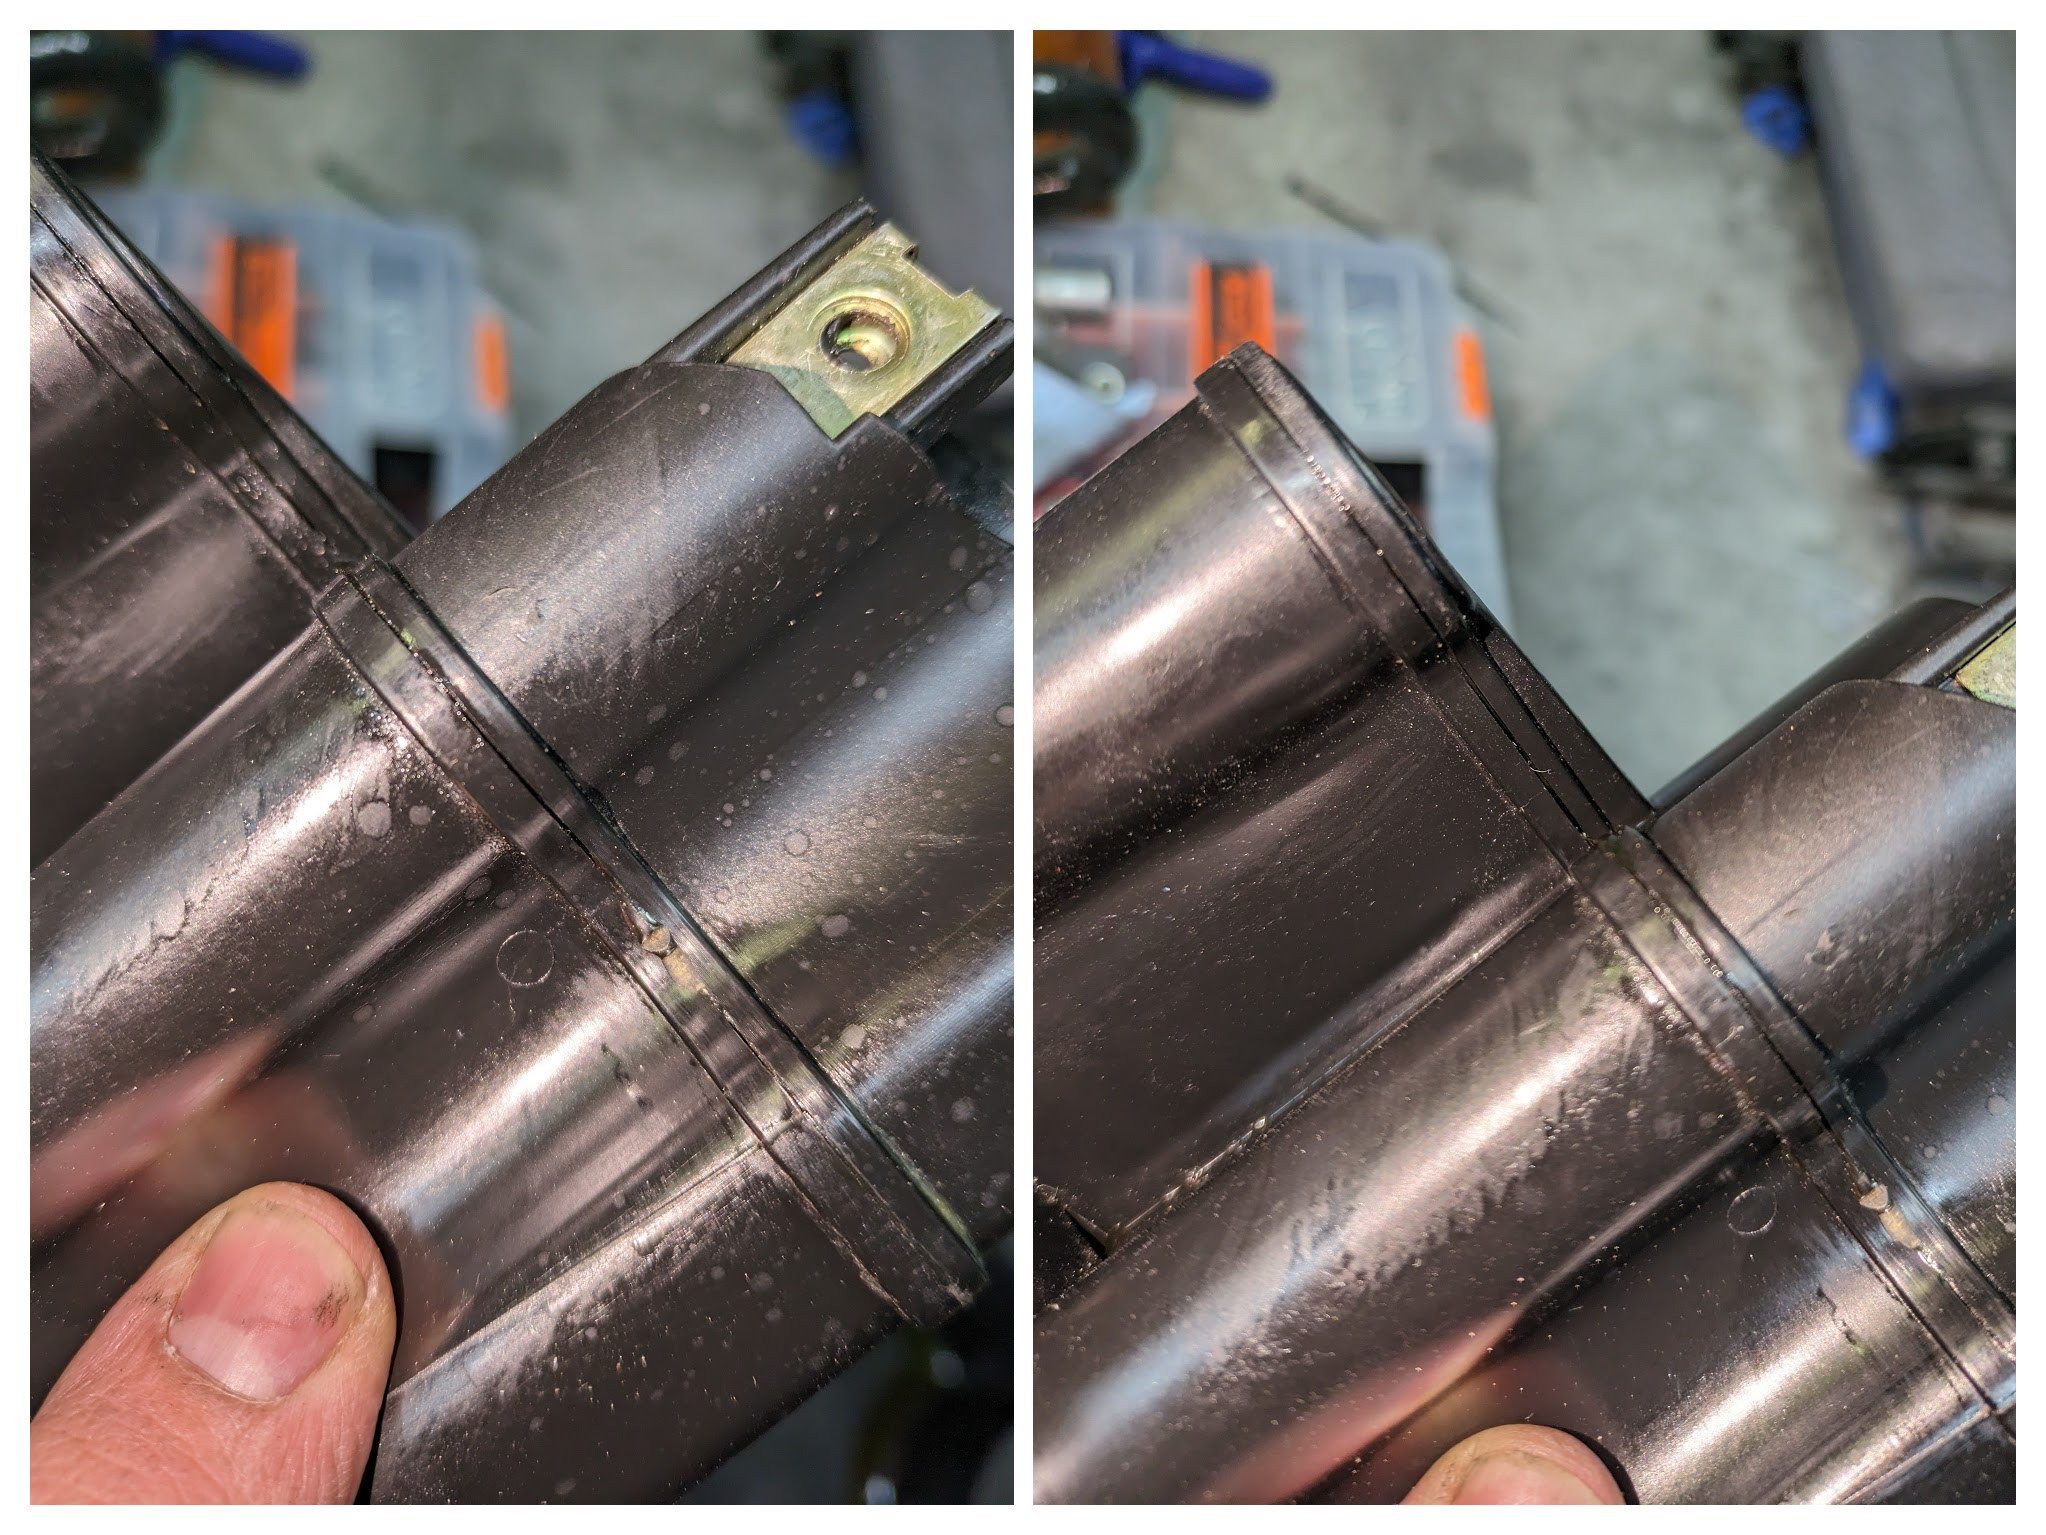
The turbine flange was really thick, so I welded that side from inside well, and die grinded it down, as well as from the outside once I'd cleaned up the surface.

I am not a professional welder, and my mates suggested a tshirt saying ‘a grinder and paint make me the welder I ain’t'. I lol’d.
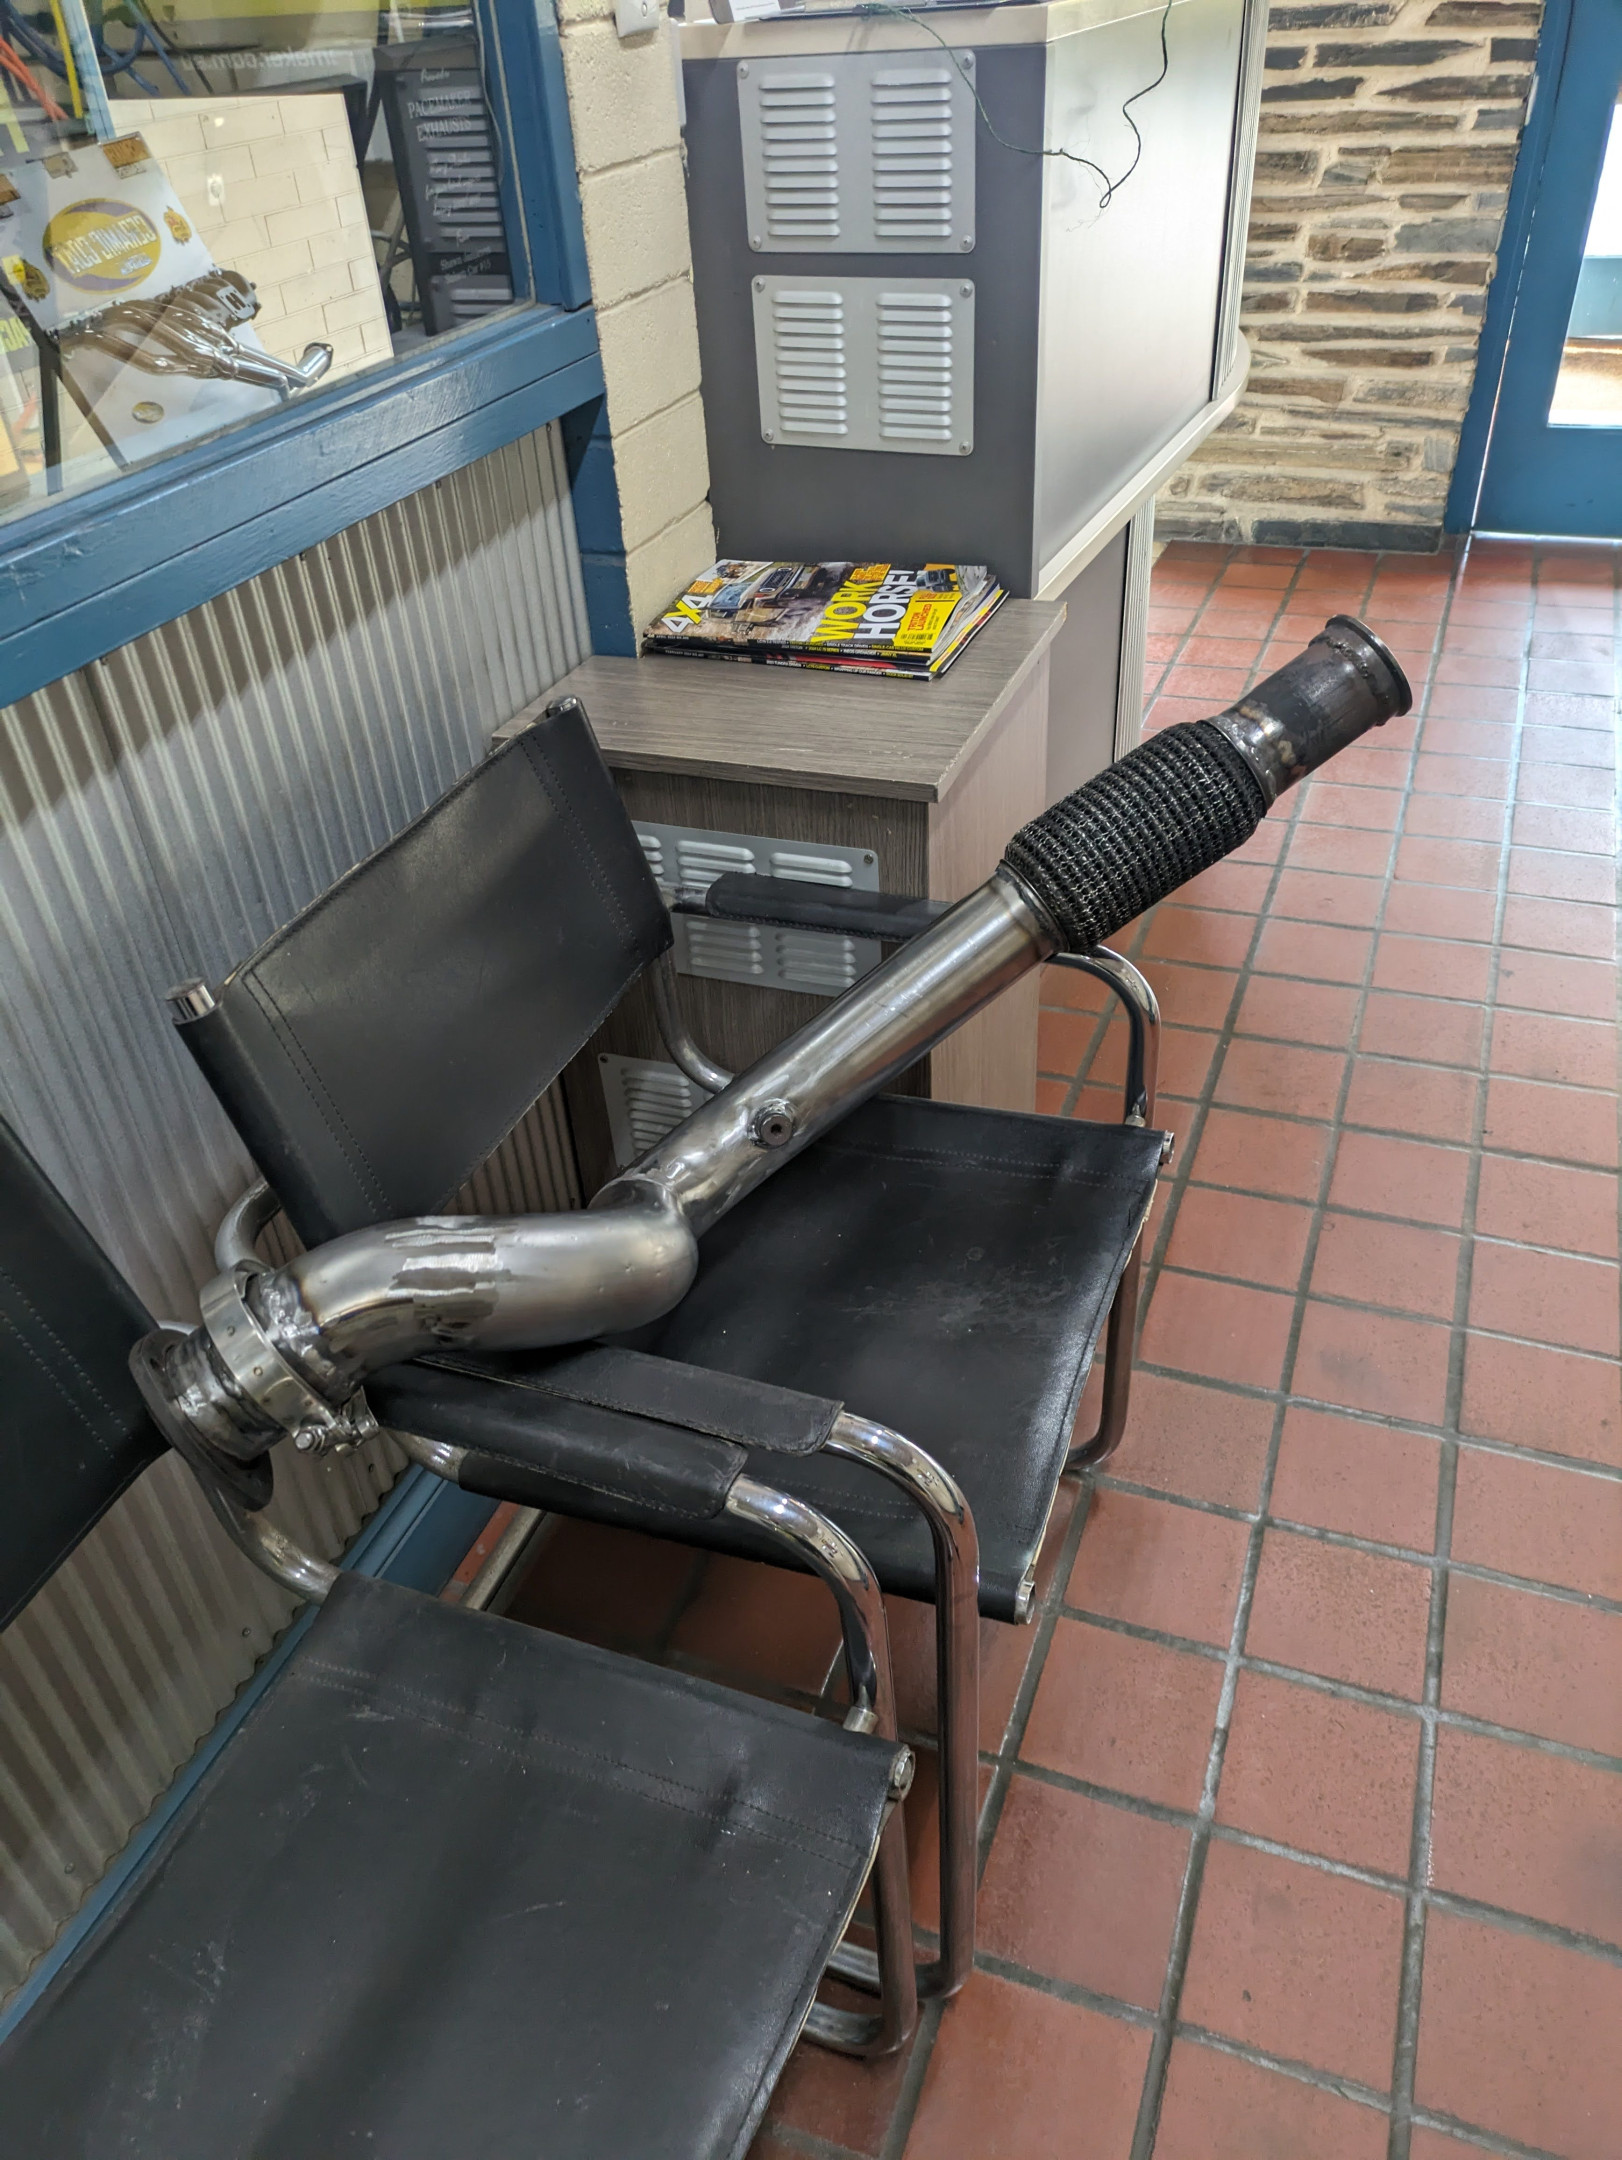
As I got through it, I figured if I’m gonna make it nice, perhaps I should have it coated. I hate exhaust wrap, and figured it might be a good option. Pacemaker offer it as a service as well, and for $180 I decided to give it a go. It’s blasted and ceramic coated with a matte black finish inside and out, and came out looking pretty decent. They do a chrome coating finish for extra, but their most durable finish is the matte black so they say, and it's also the cheaper option. I have no need for bling on this, but the headers they make with that finish would look amazing on a shiny engine bay.
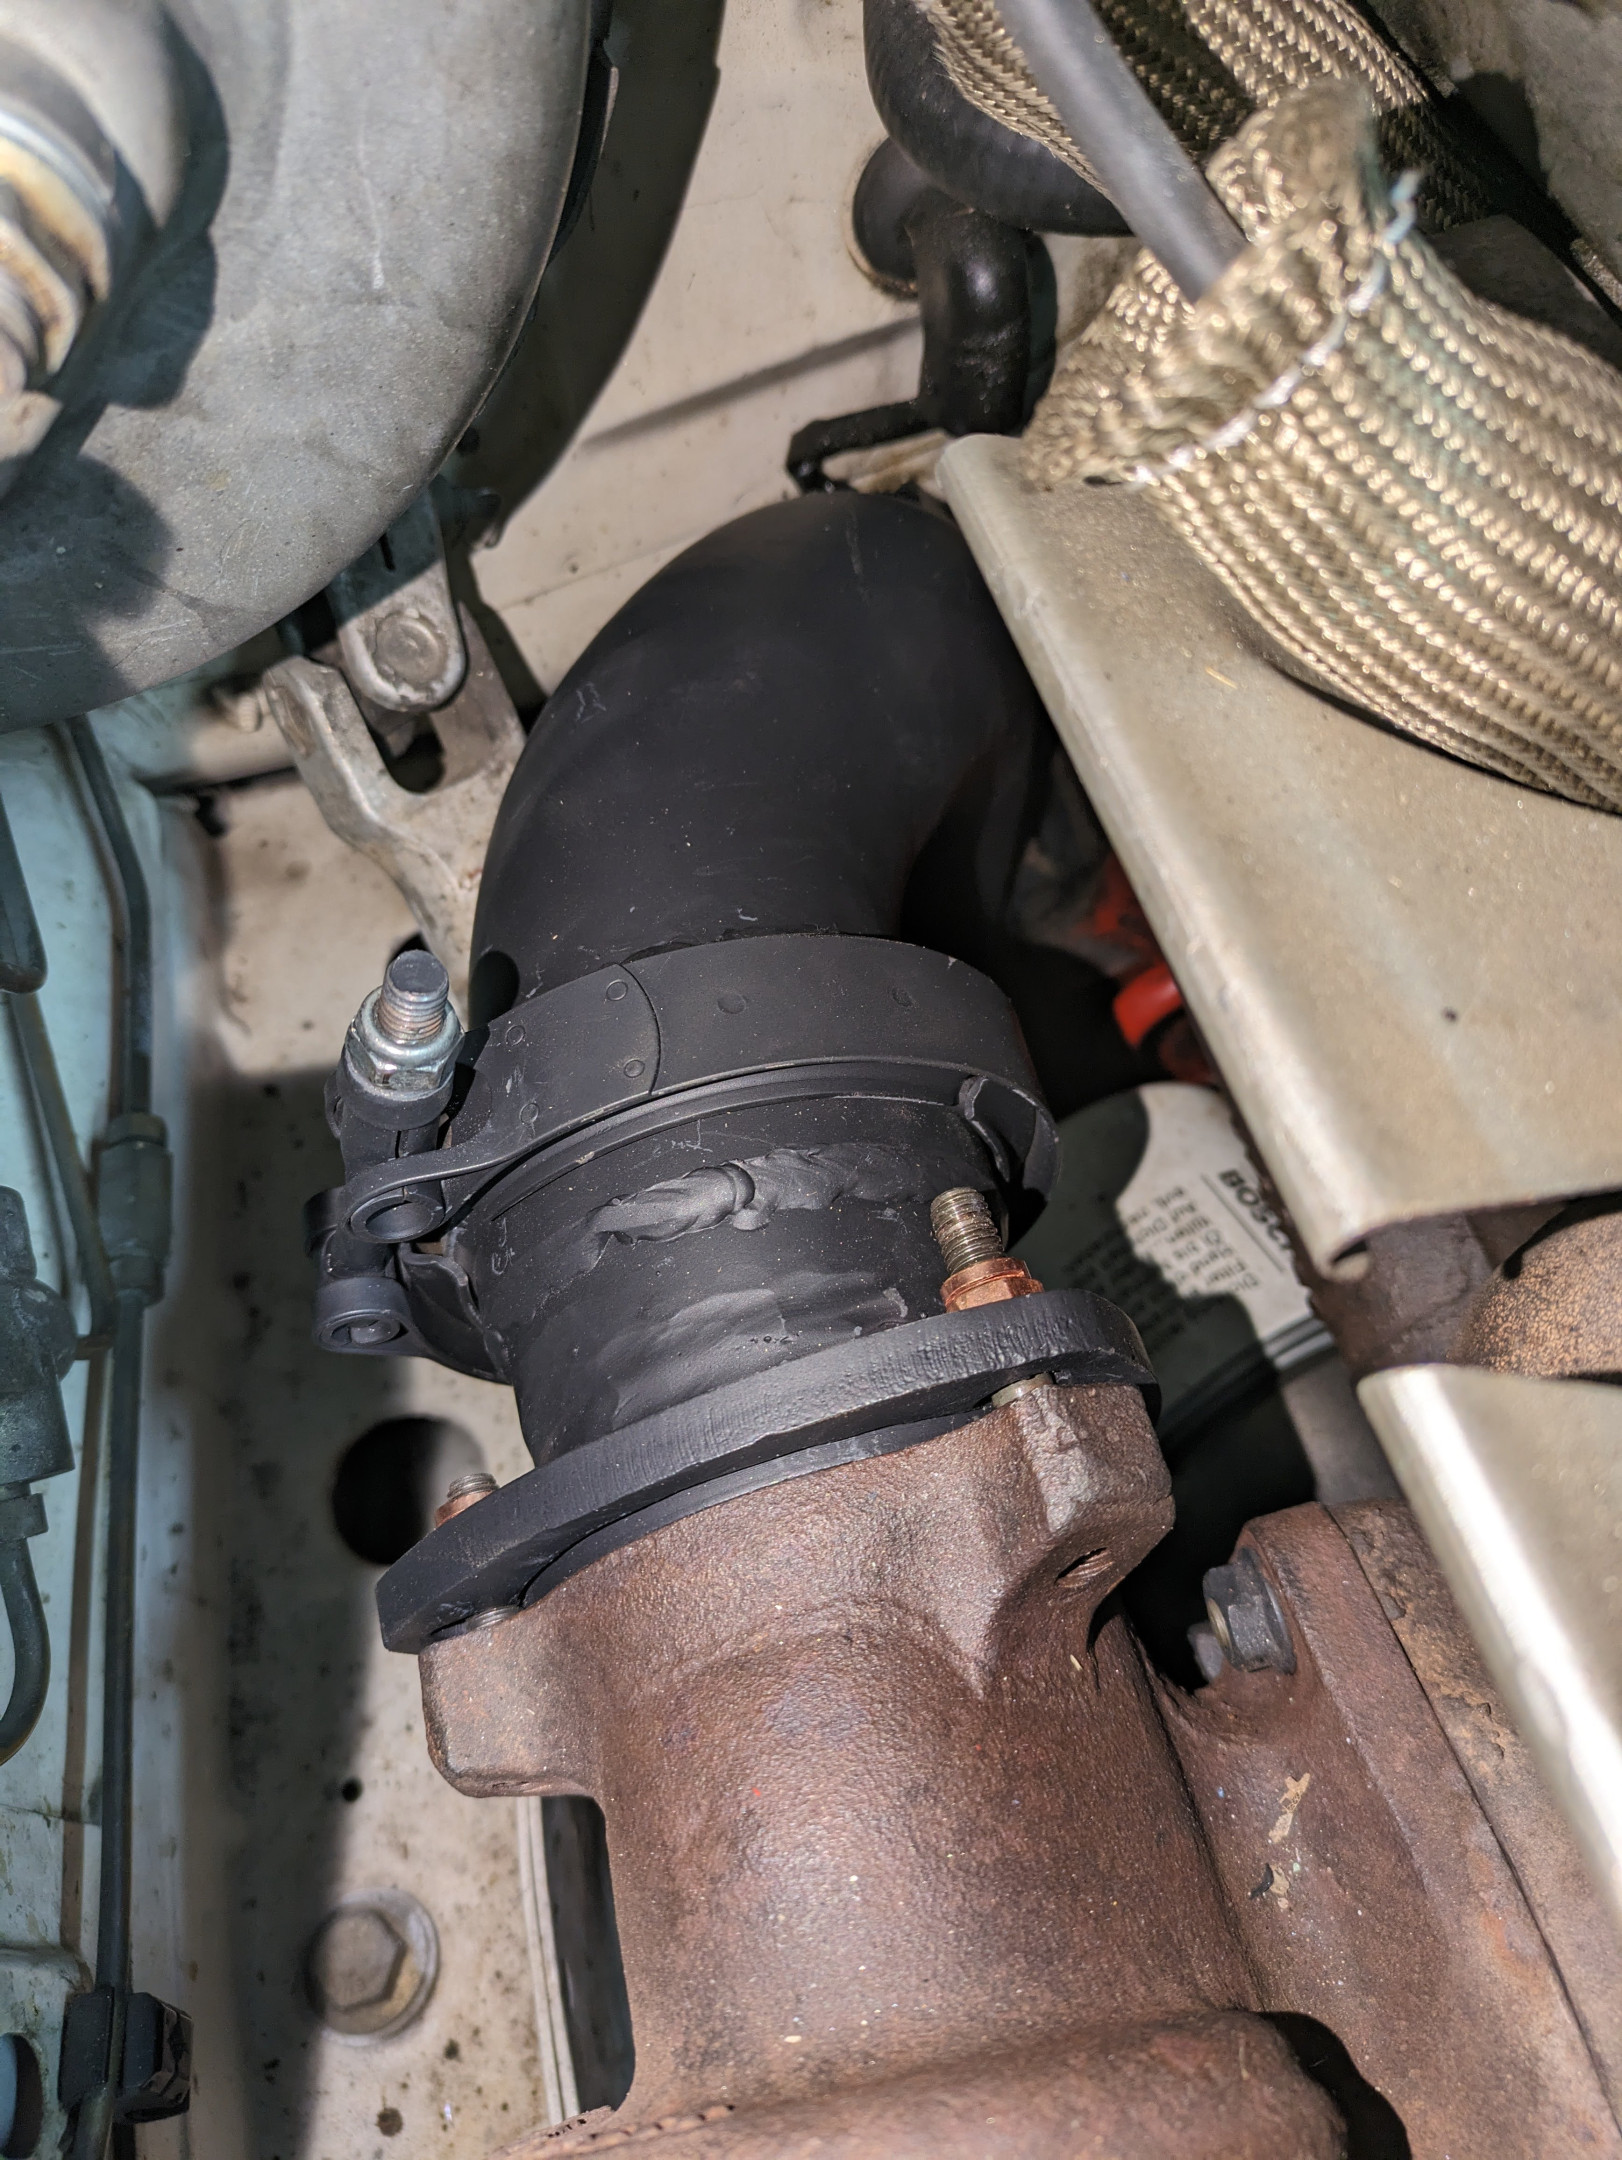
Got it installed and I’m happy with the result. One other thing I fixed up but didn't take photos of was the coolant hard line to the oil cooler that had been leaking for a while, so removed it, resealed the block and fitting and it's now no longer leaking. Huzzah. Was heaps easier to do without the dump in the way.

 If you get a eggcrate grill tho

 It's a long thread, and I didn't give it much of a write-up. Here's the link to the post:
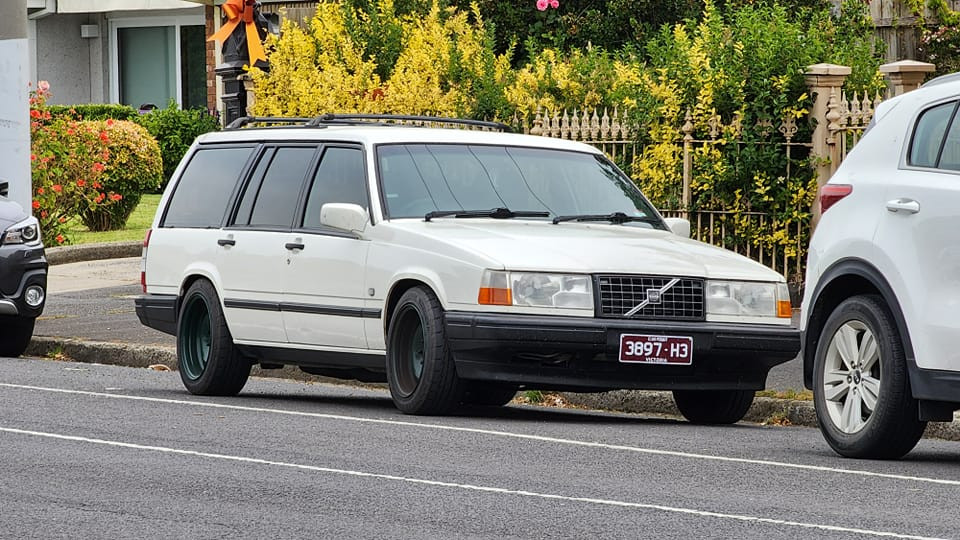
  It's pretty good how things are as they sit, given it's been a year and a bit since the last changes with swapping in the springs I got from you at the time. If I avoid potholes, it's a dream, but I'd rather not clench in fear every time I see a bump in the road.