
Yeah I know the product you're talking about. It would be something like $400 landed, it's much cheaper for me to make my own given I'm pretty sure I already have all the materials I need in the workshop. I just need to get around to it!
James's 1977 244 DL "Momo"


They look the perfect mix of retro & race-car … it’s the sort of thing which you saw in 70’s race cars, and yet it’s a factory part, so Smurfy!
jamesinc if you make another one I will buy 

23 days later
So today I got loads done, and now I'm exhausted. Put 70km of city driving on Momo after changing the shocks, bleeding the brakes, and replacing the rear spring upper bushings.
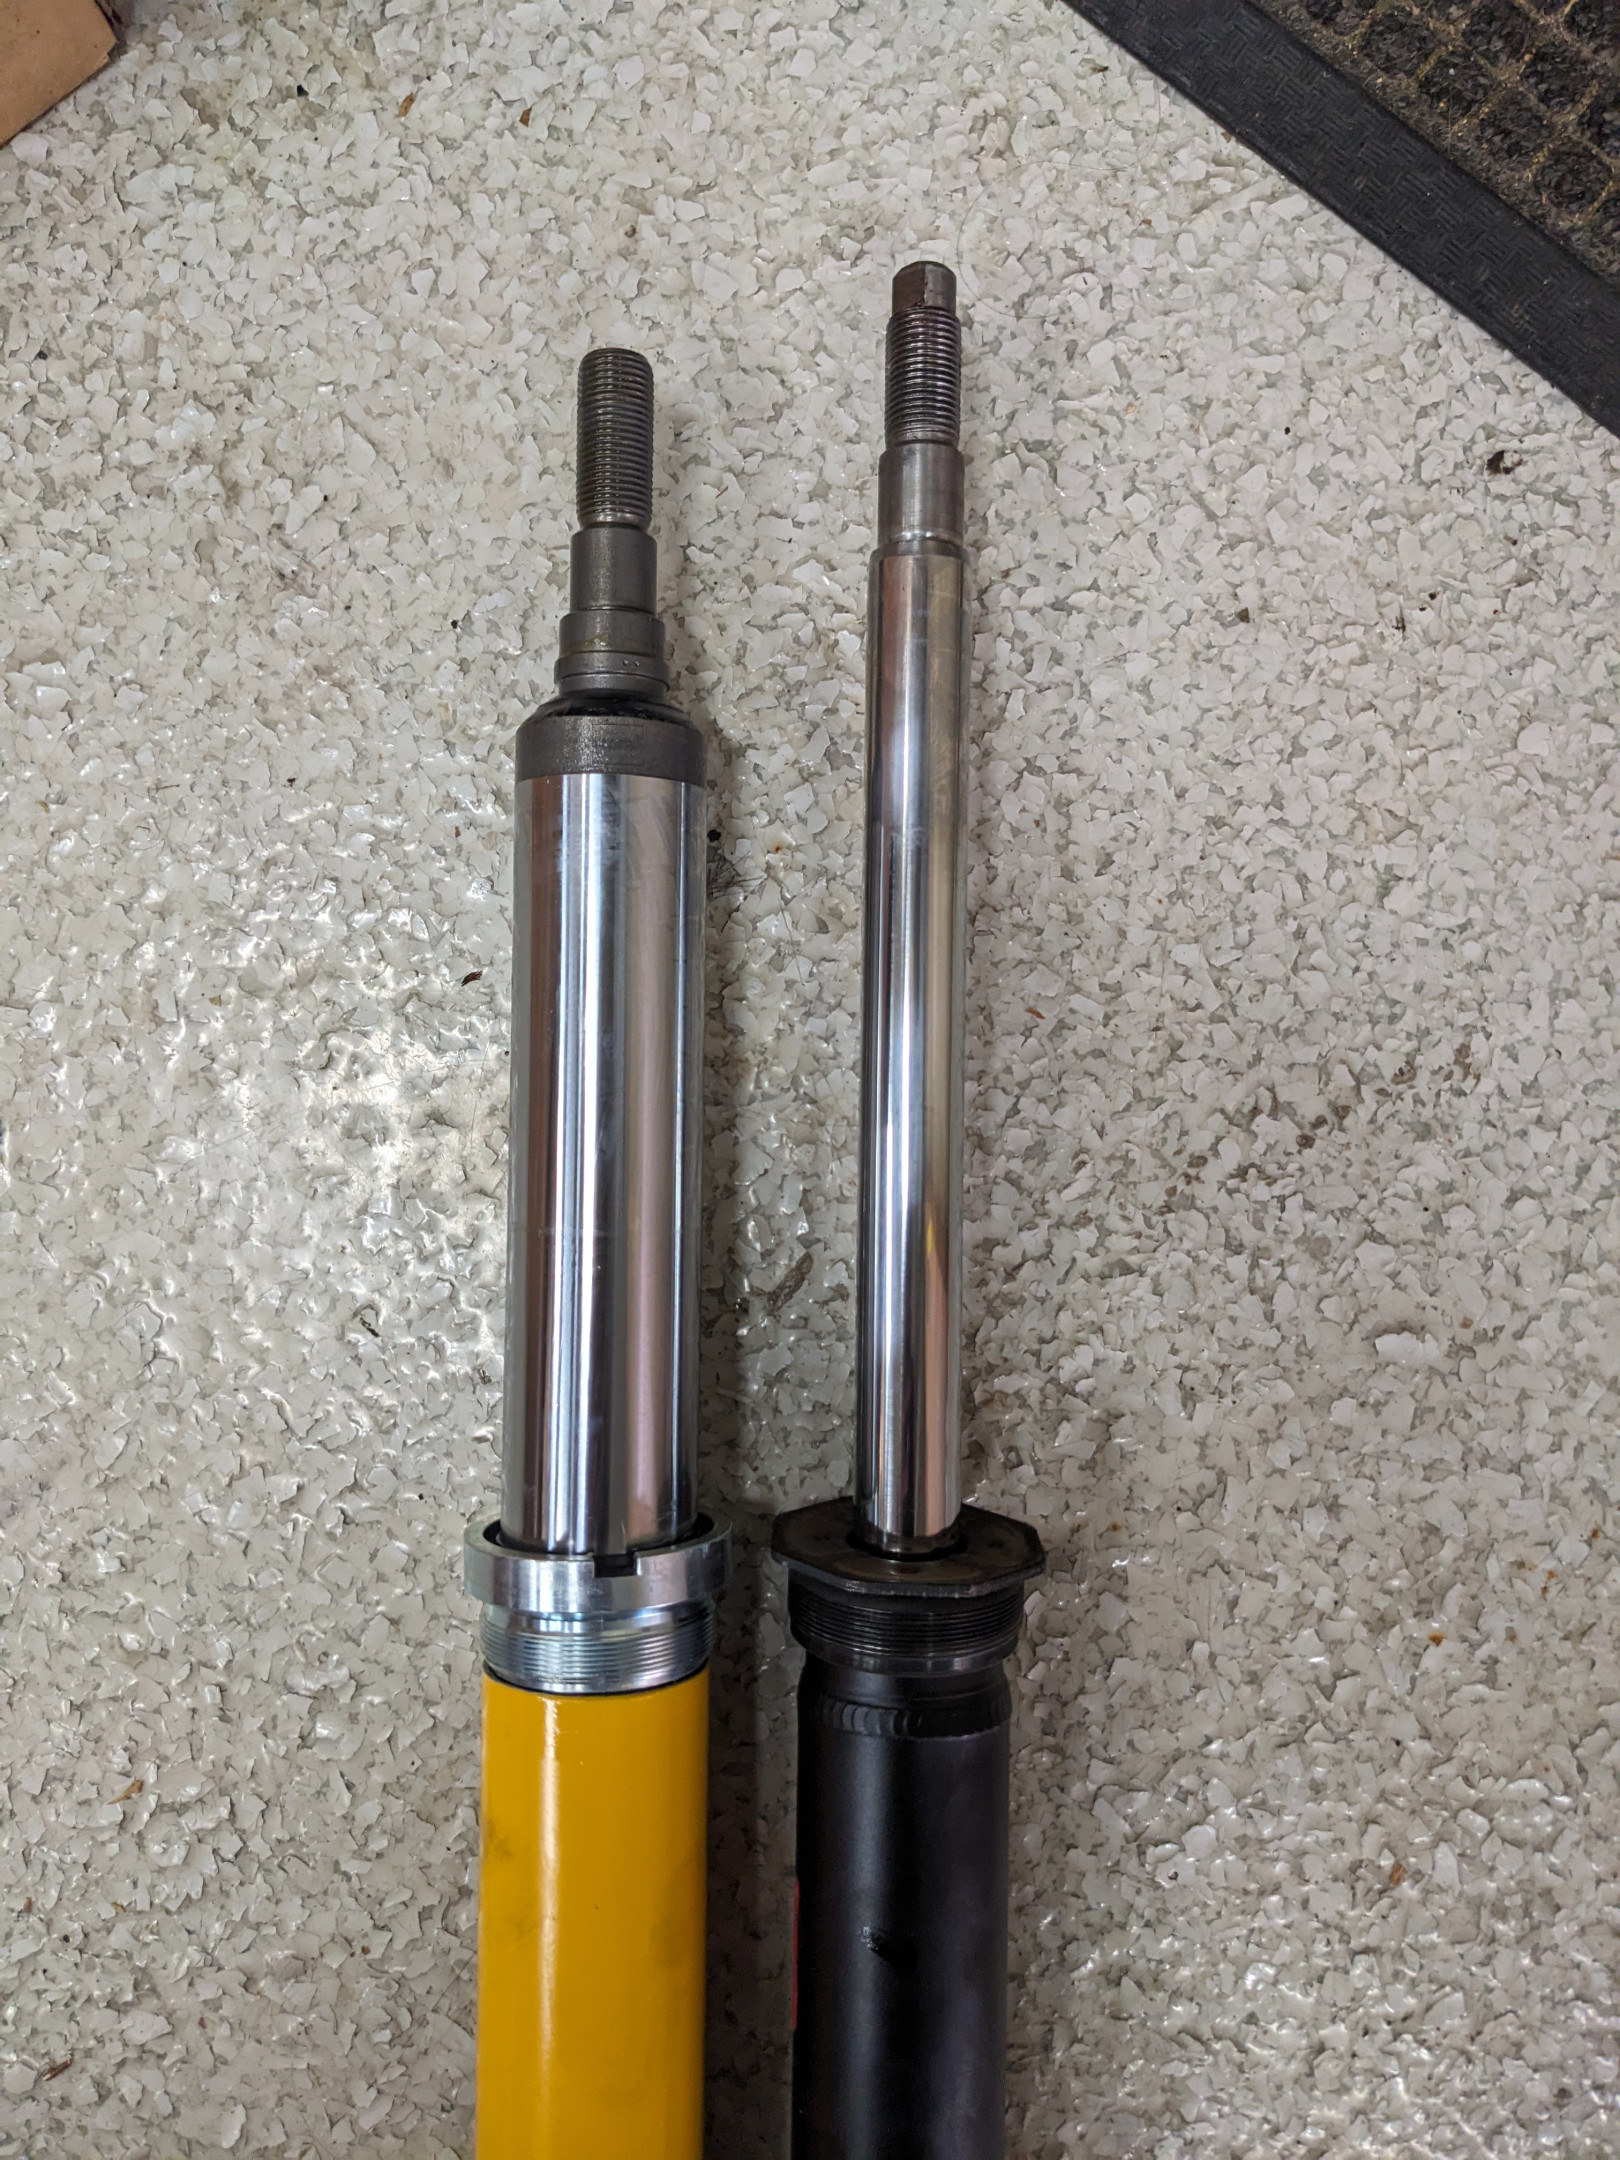
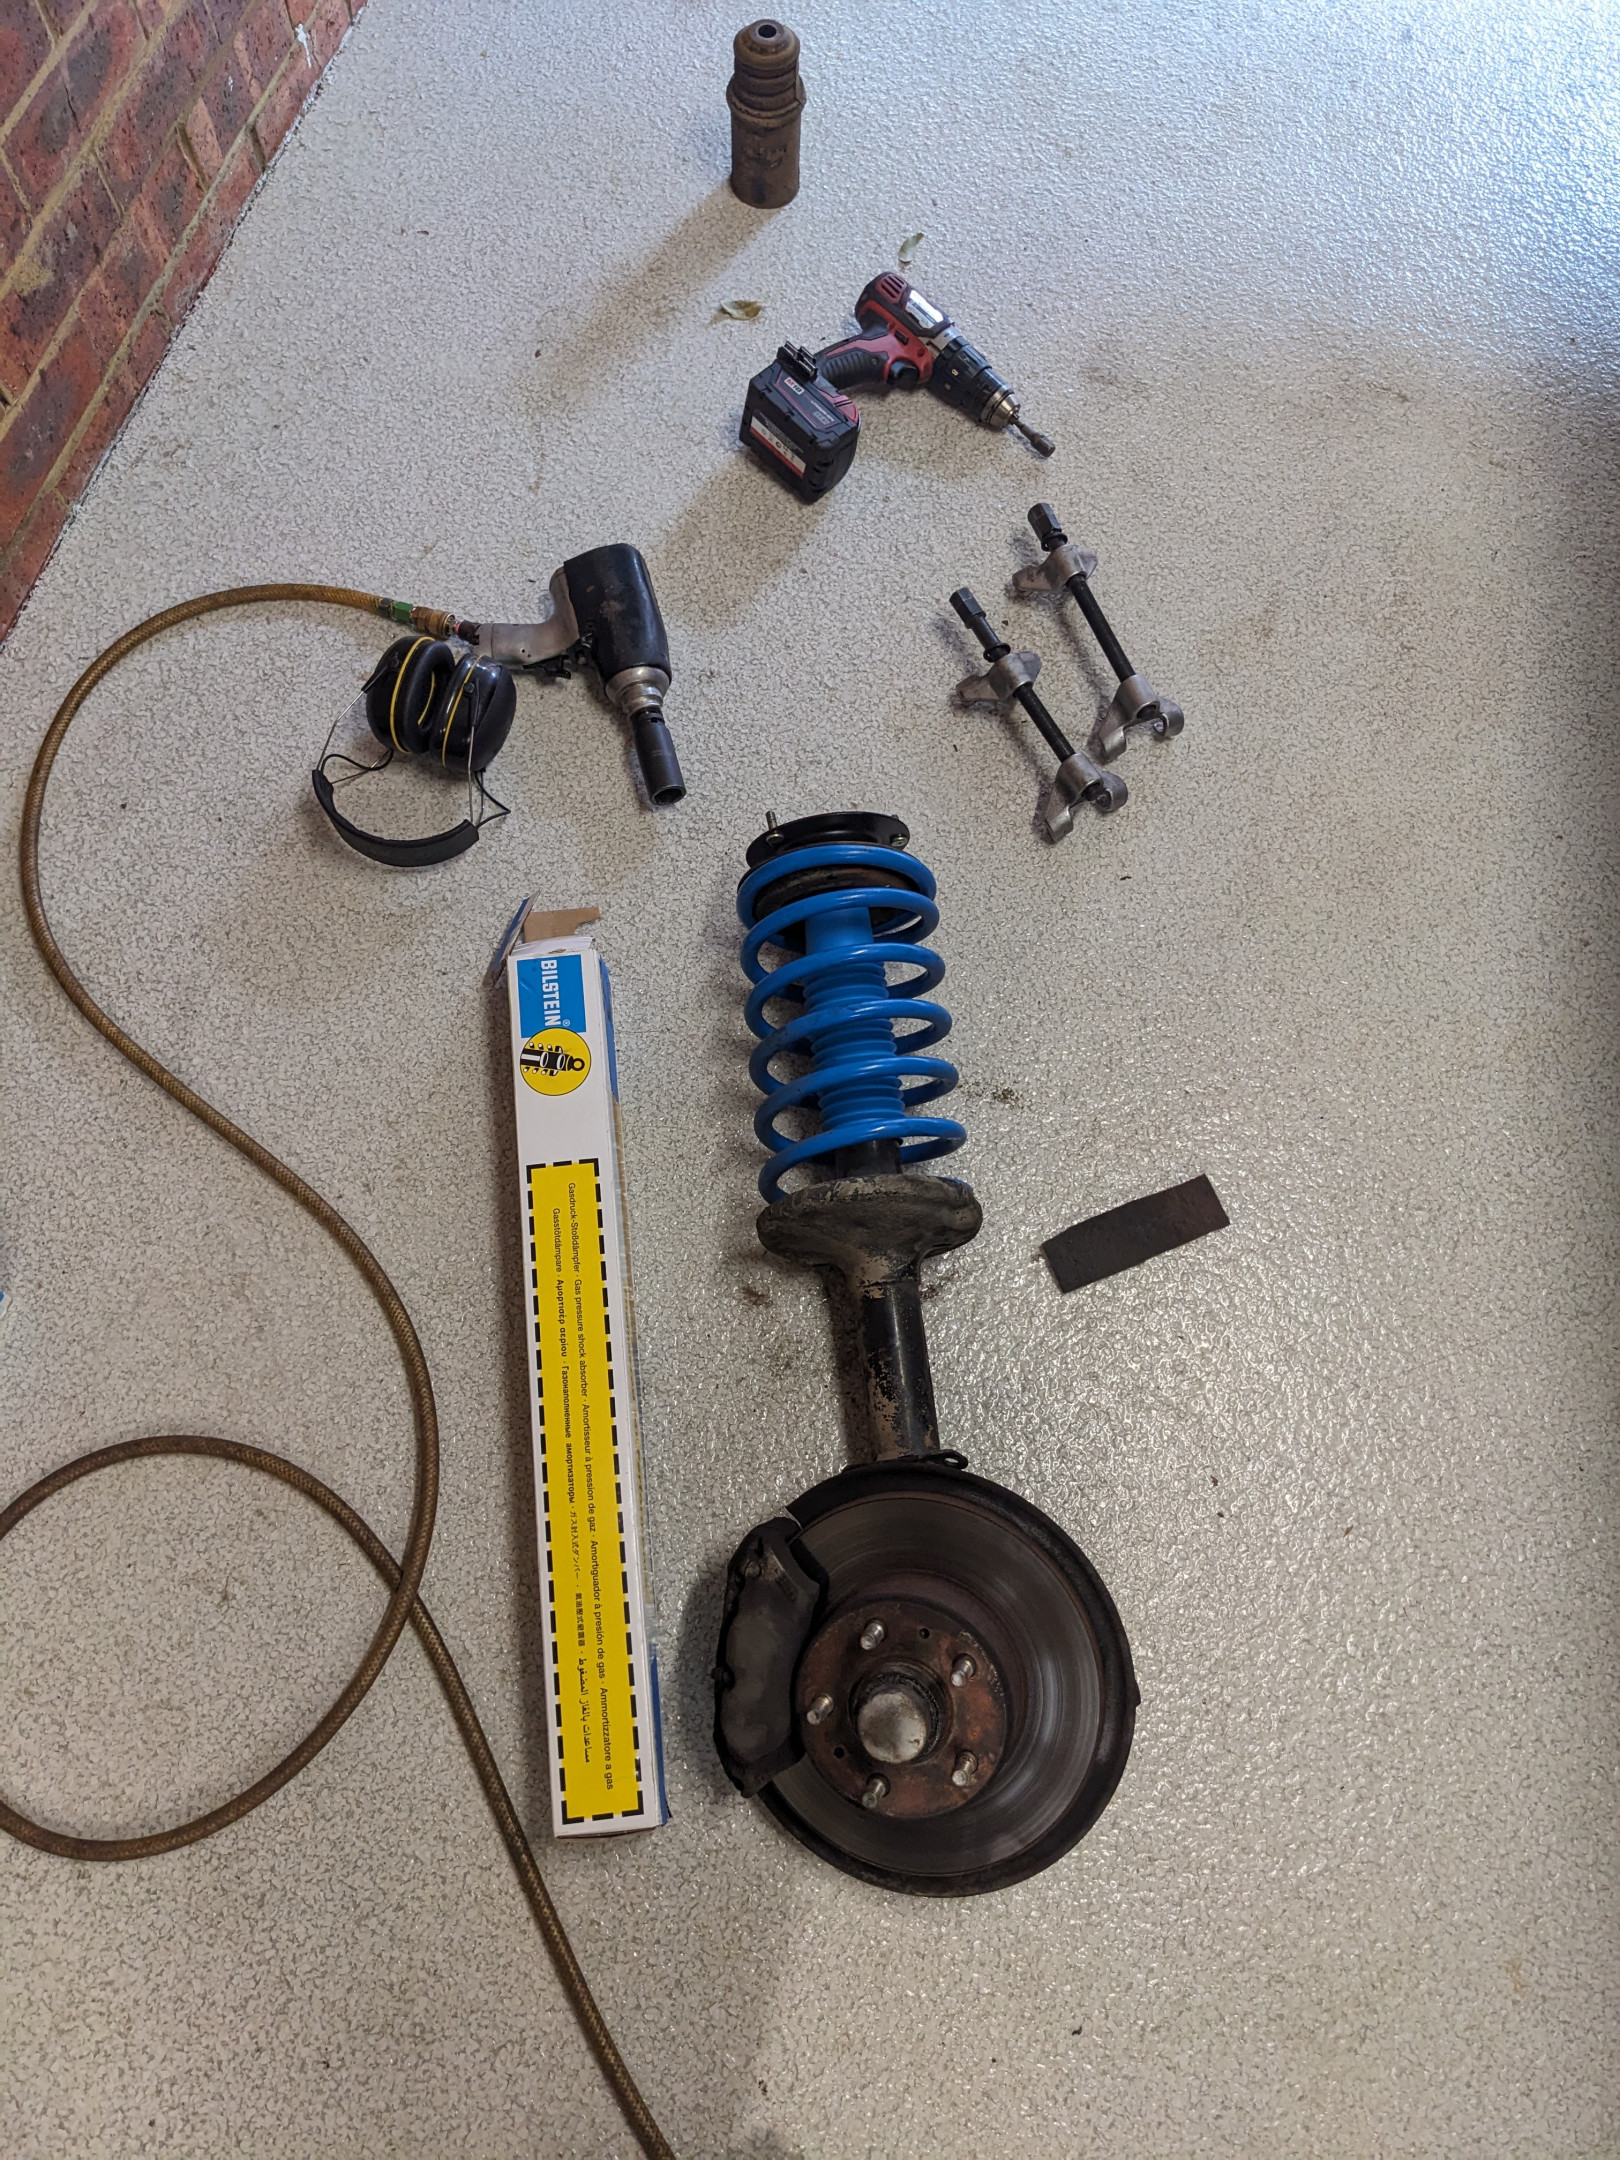
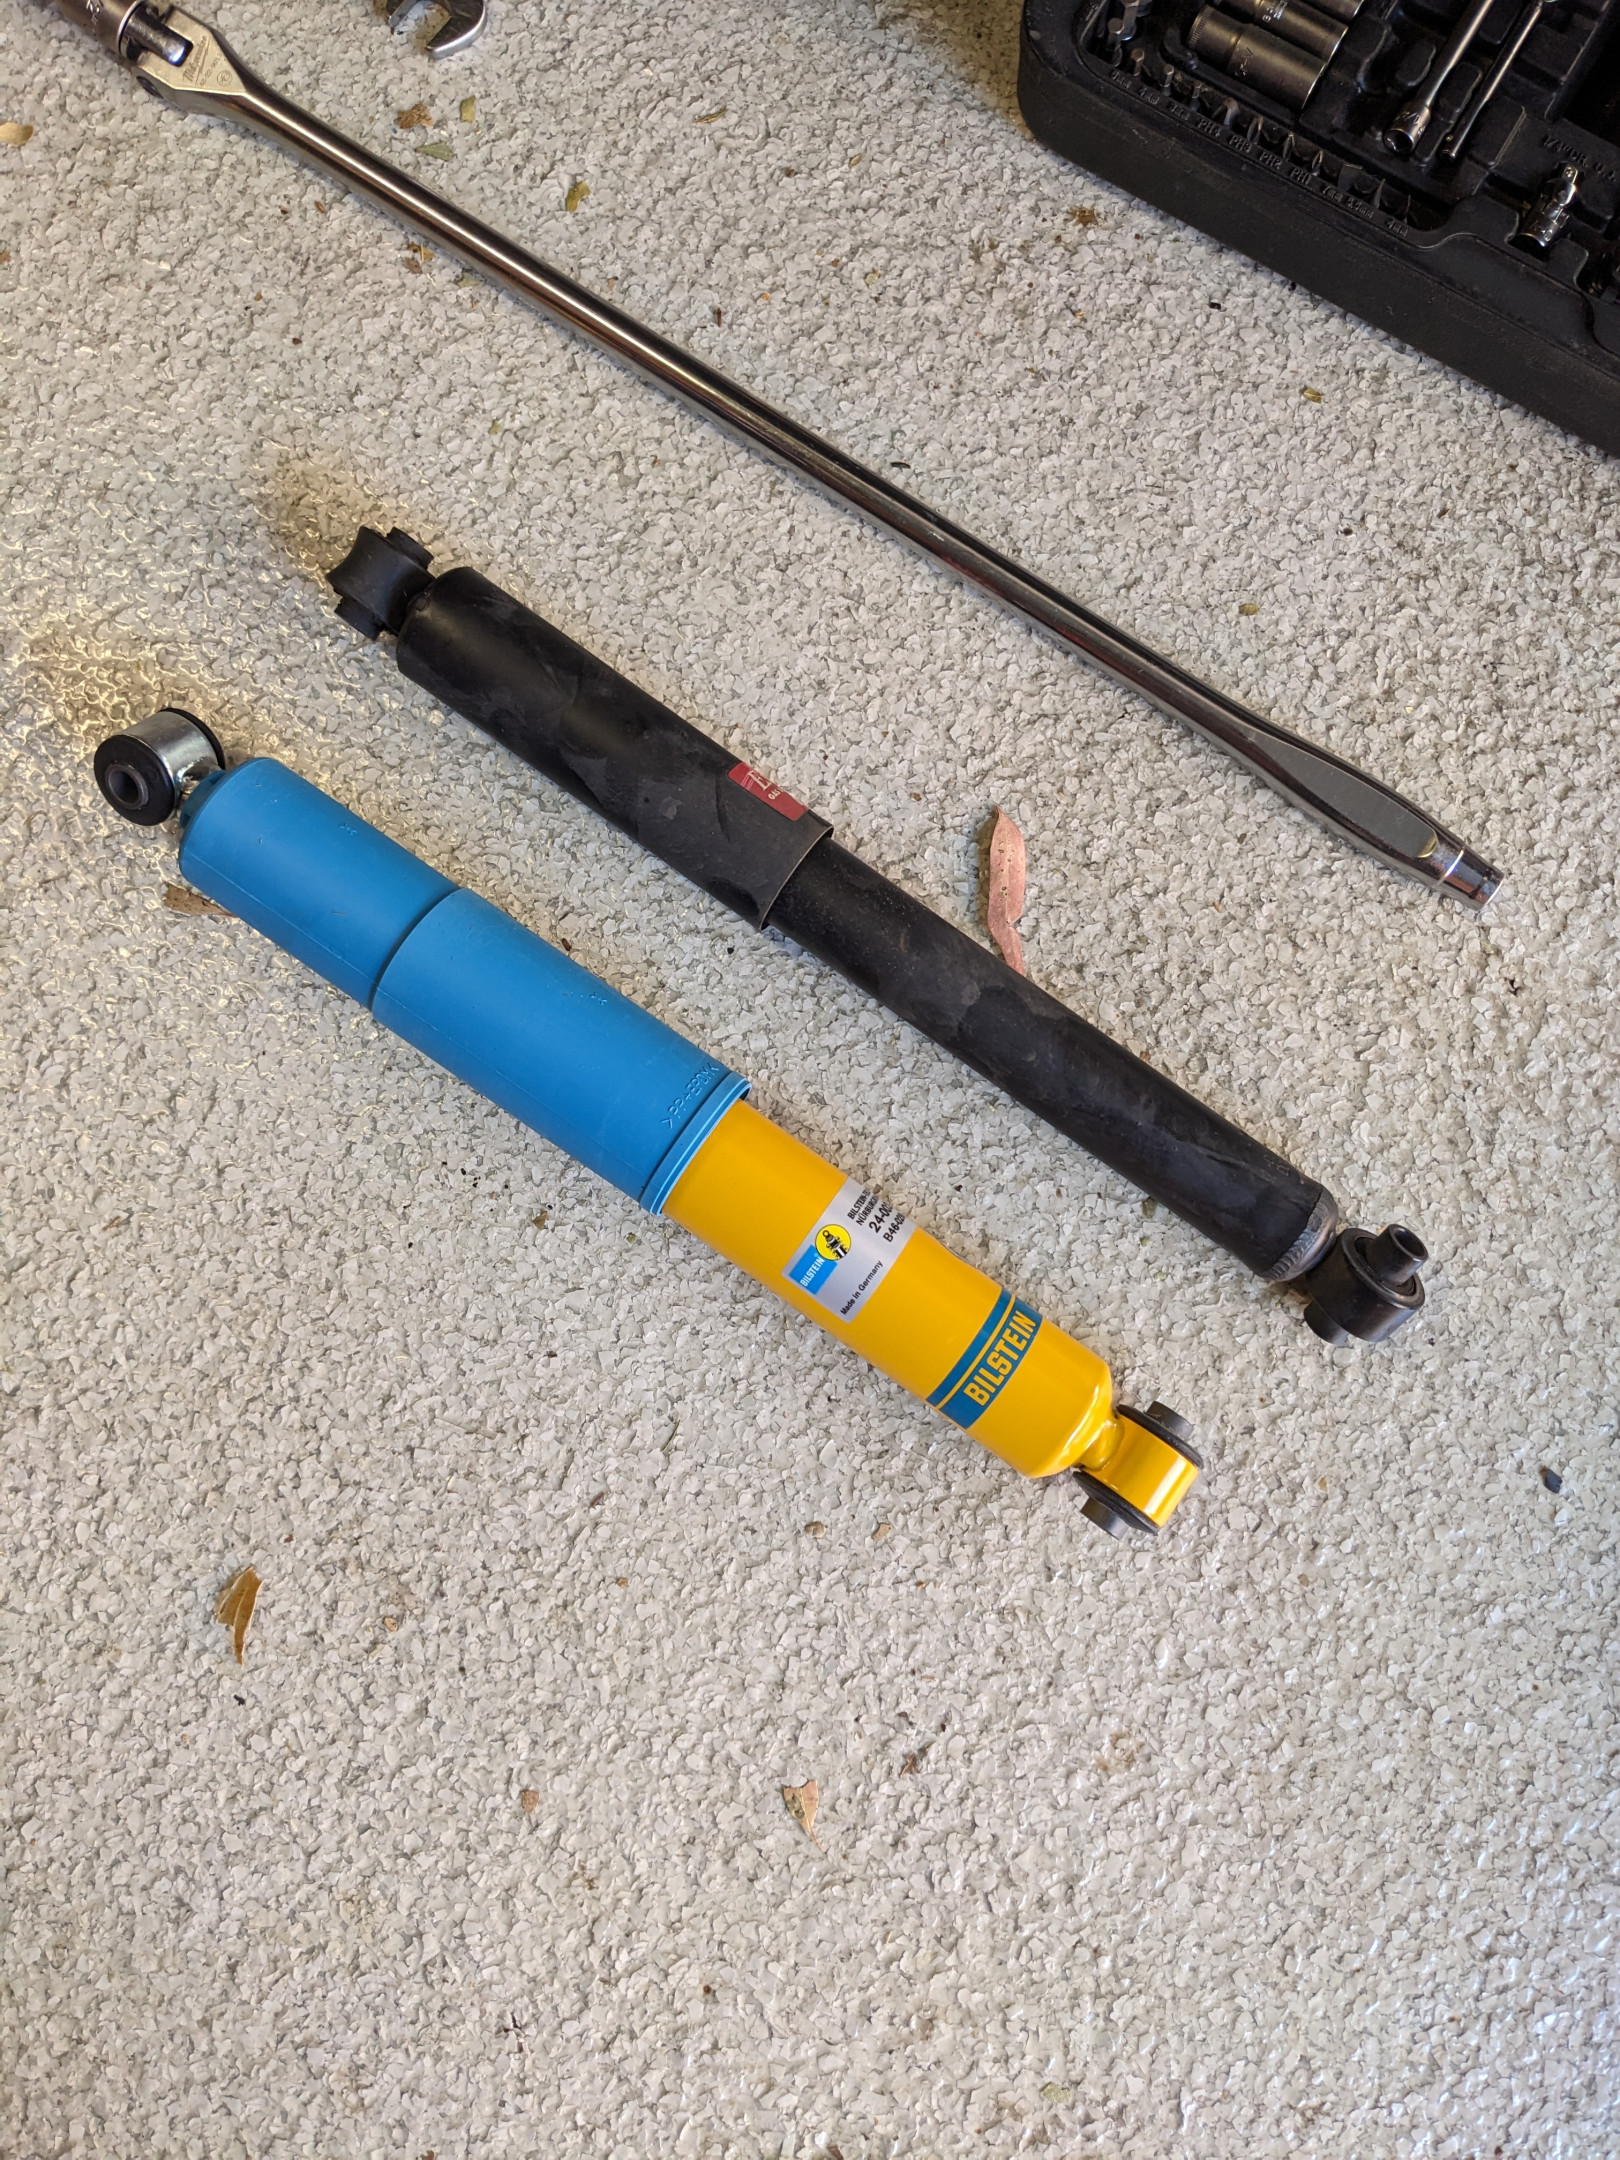
Car rides so much better on the HDs, it had too much spring for the OE-spec KYB shocks (PS if anyone wants a pretty much new set of 4 x KYBs for $120, DM me).
4 months later
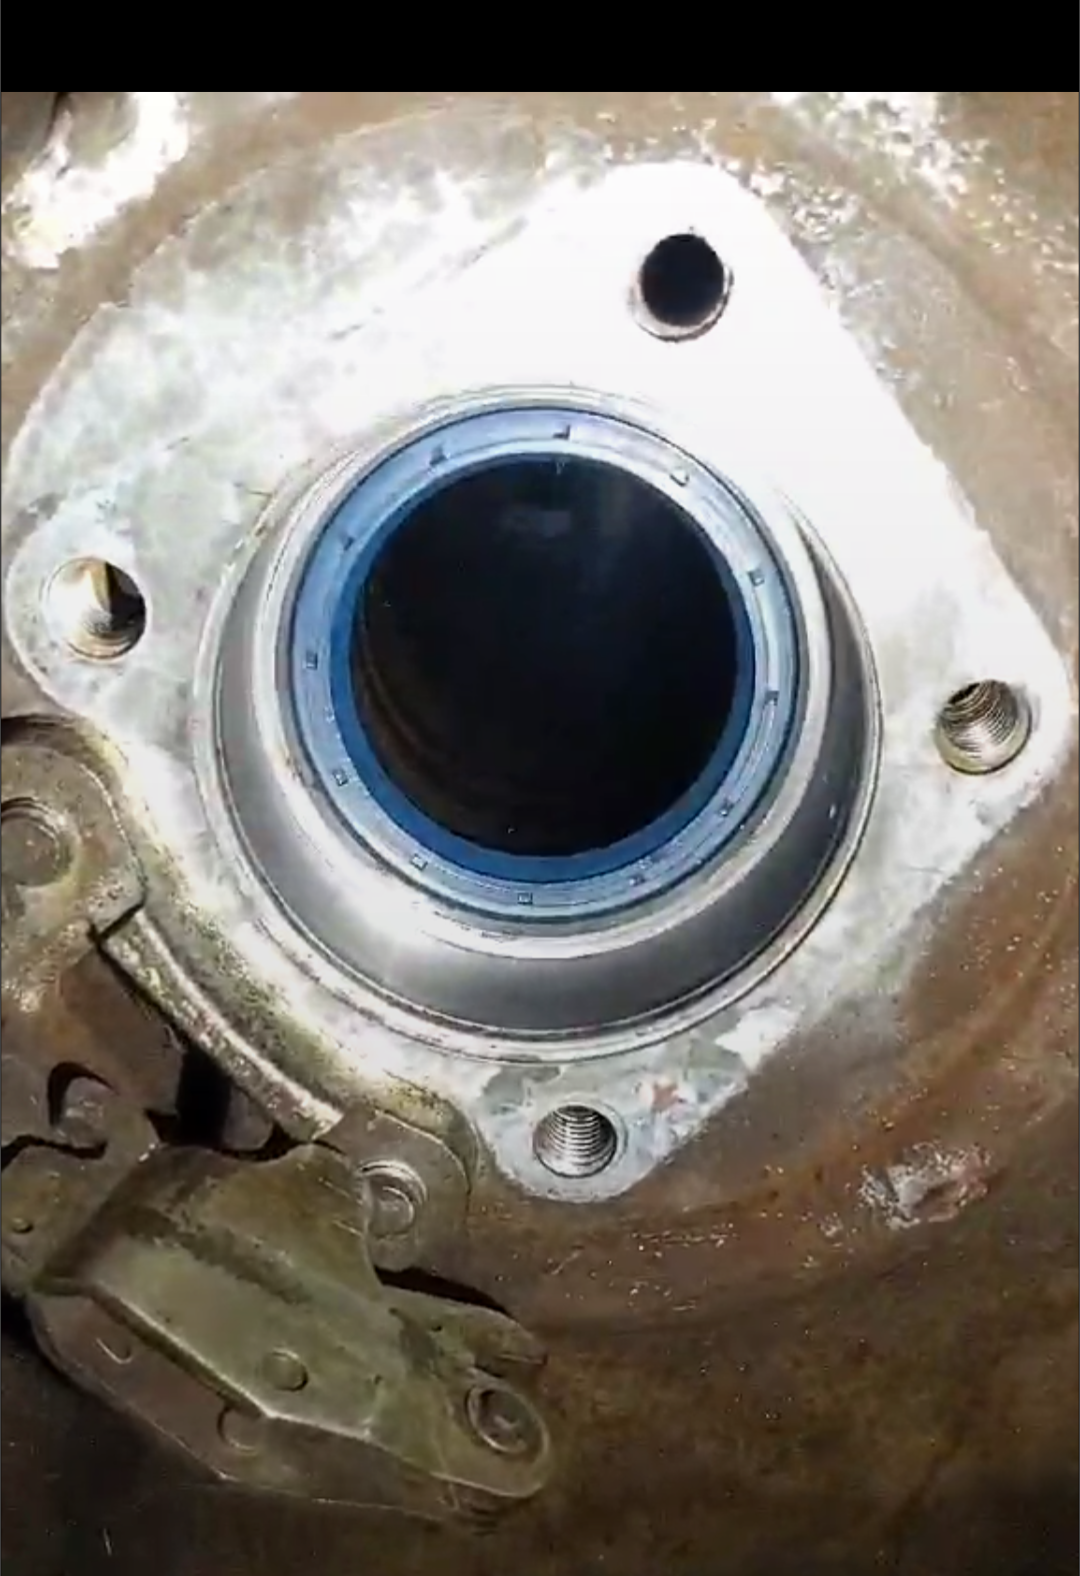
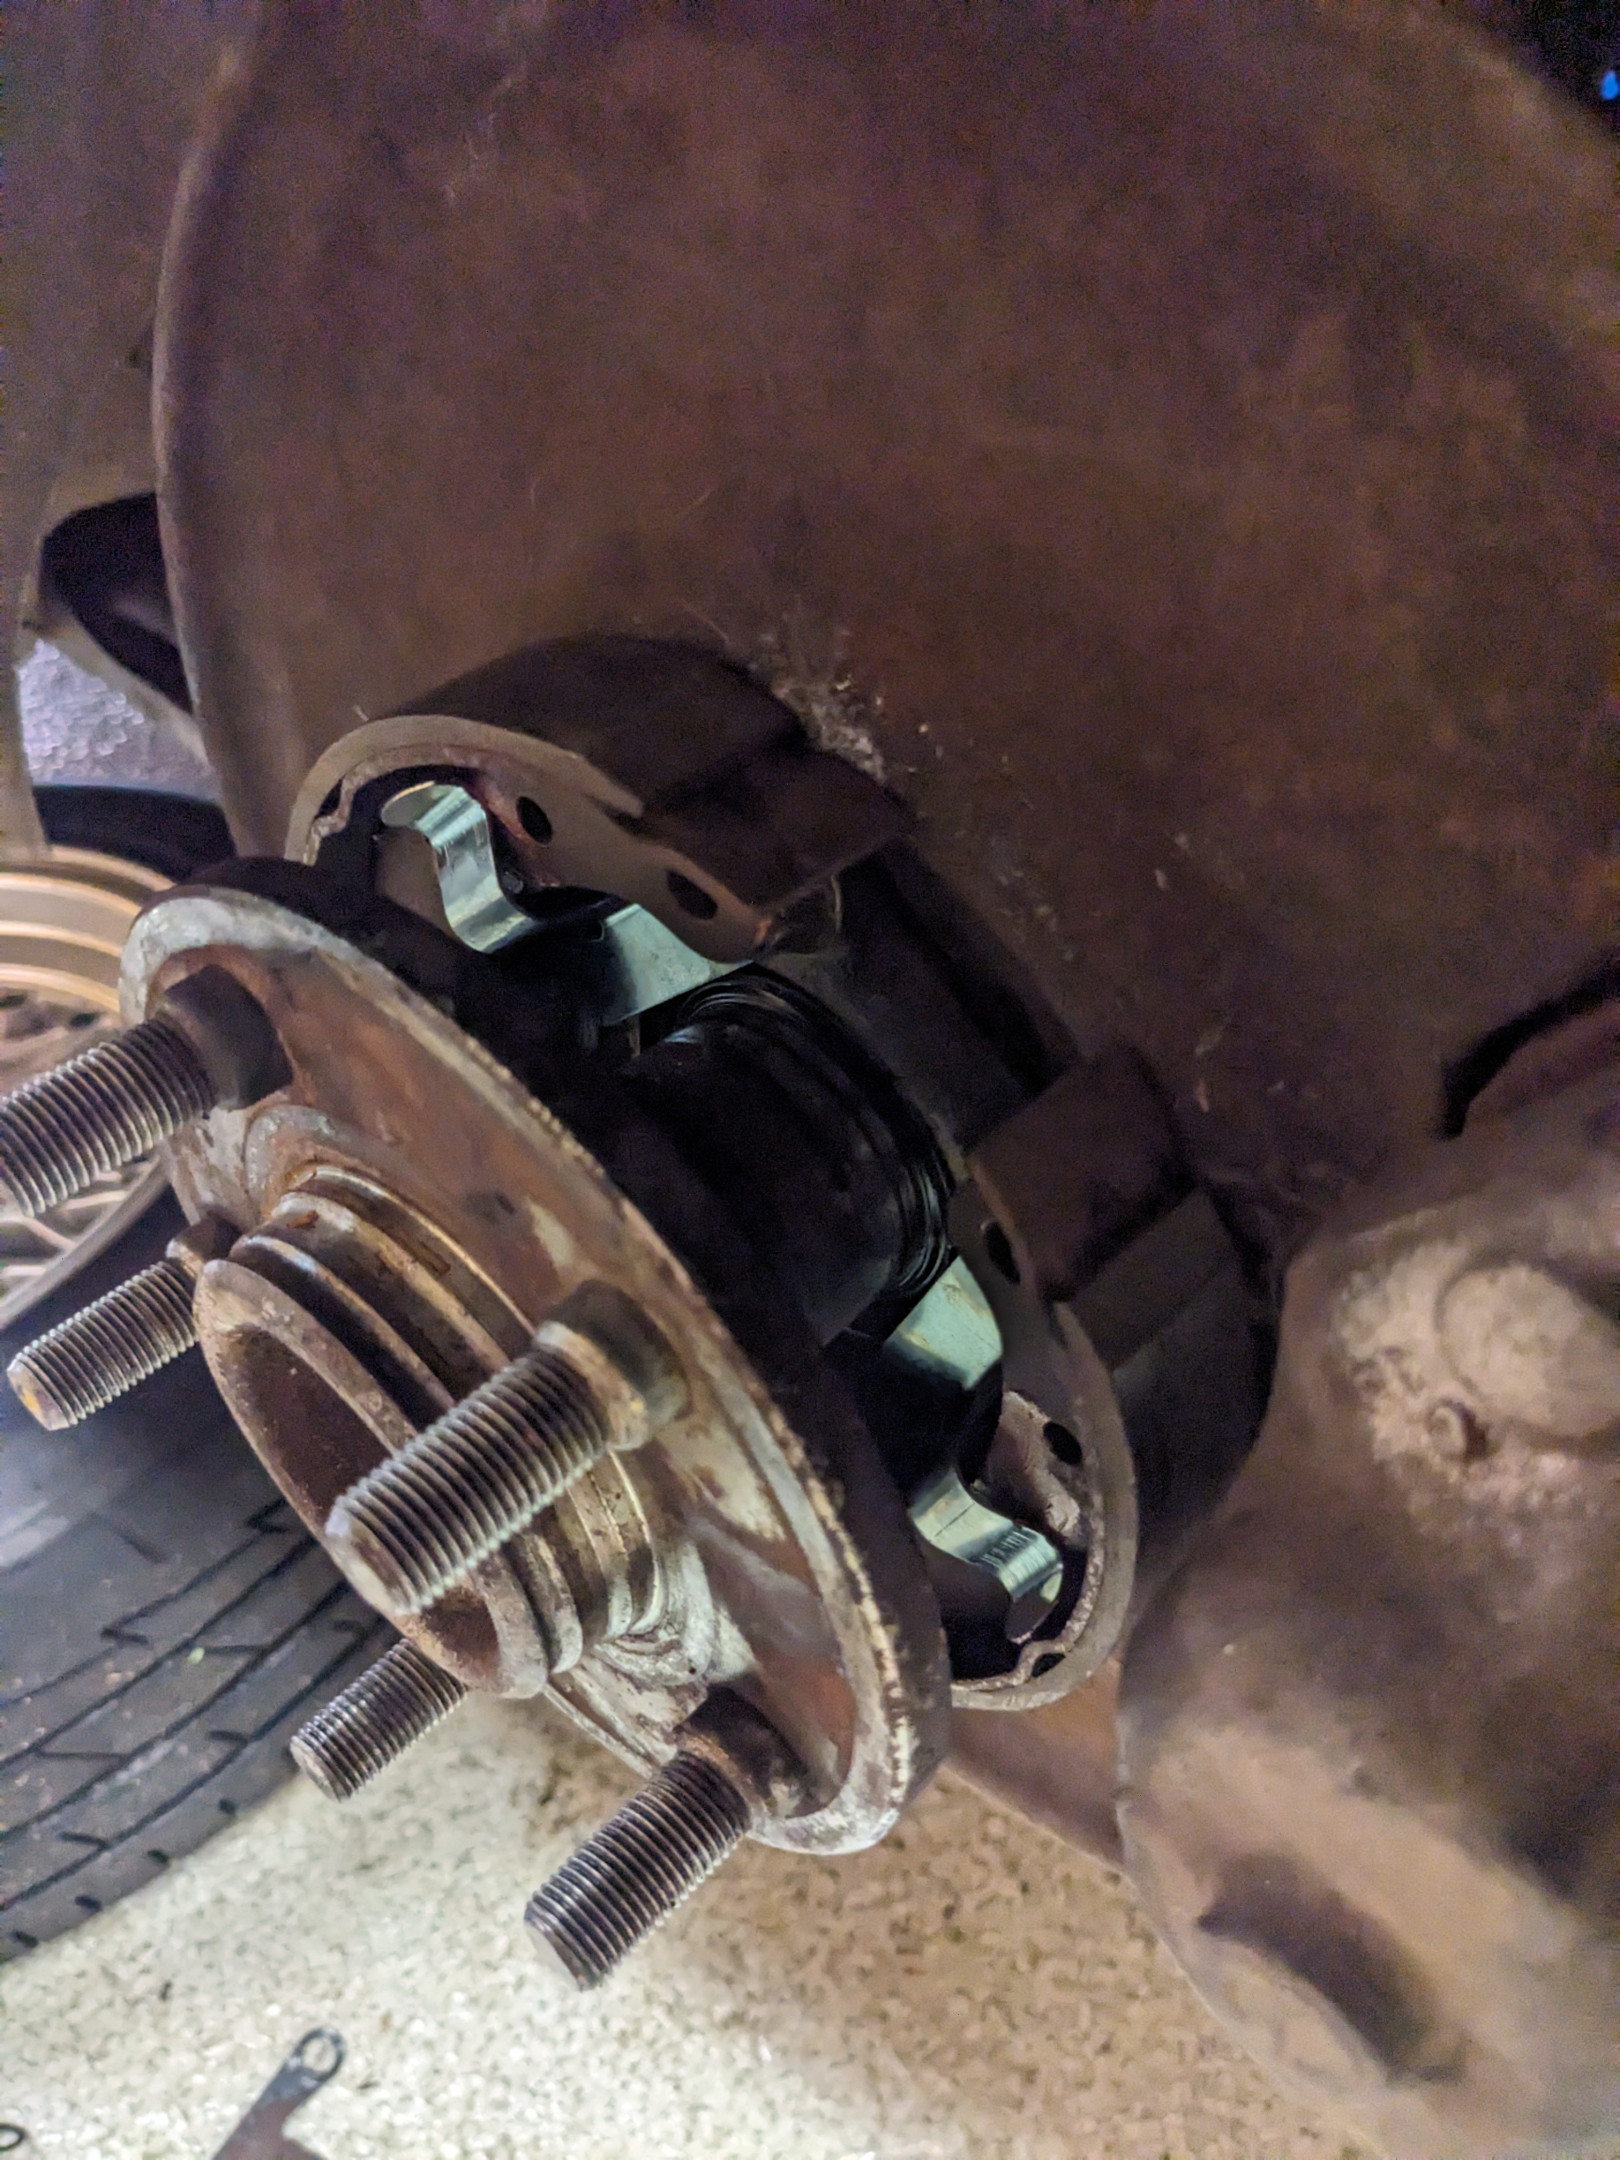
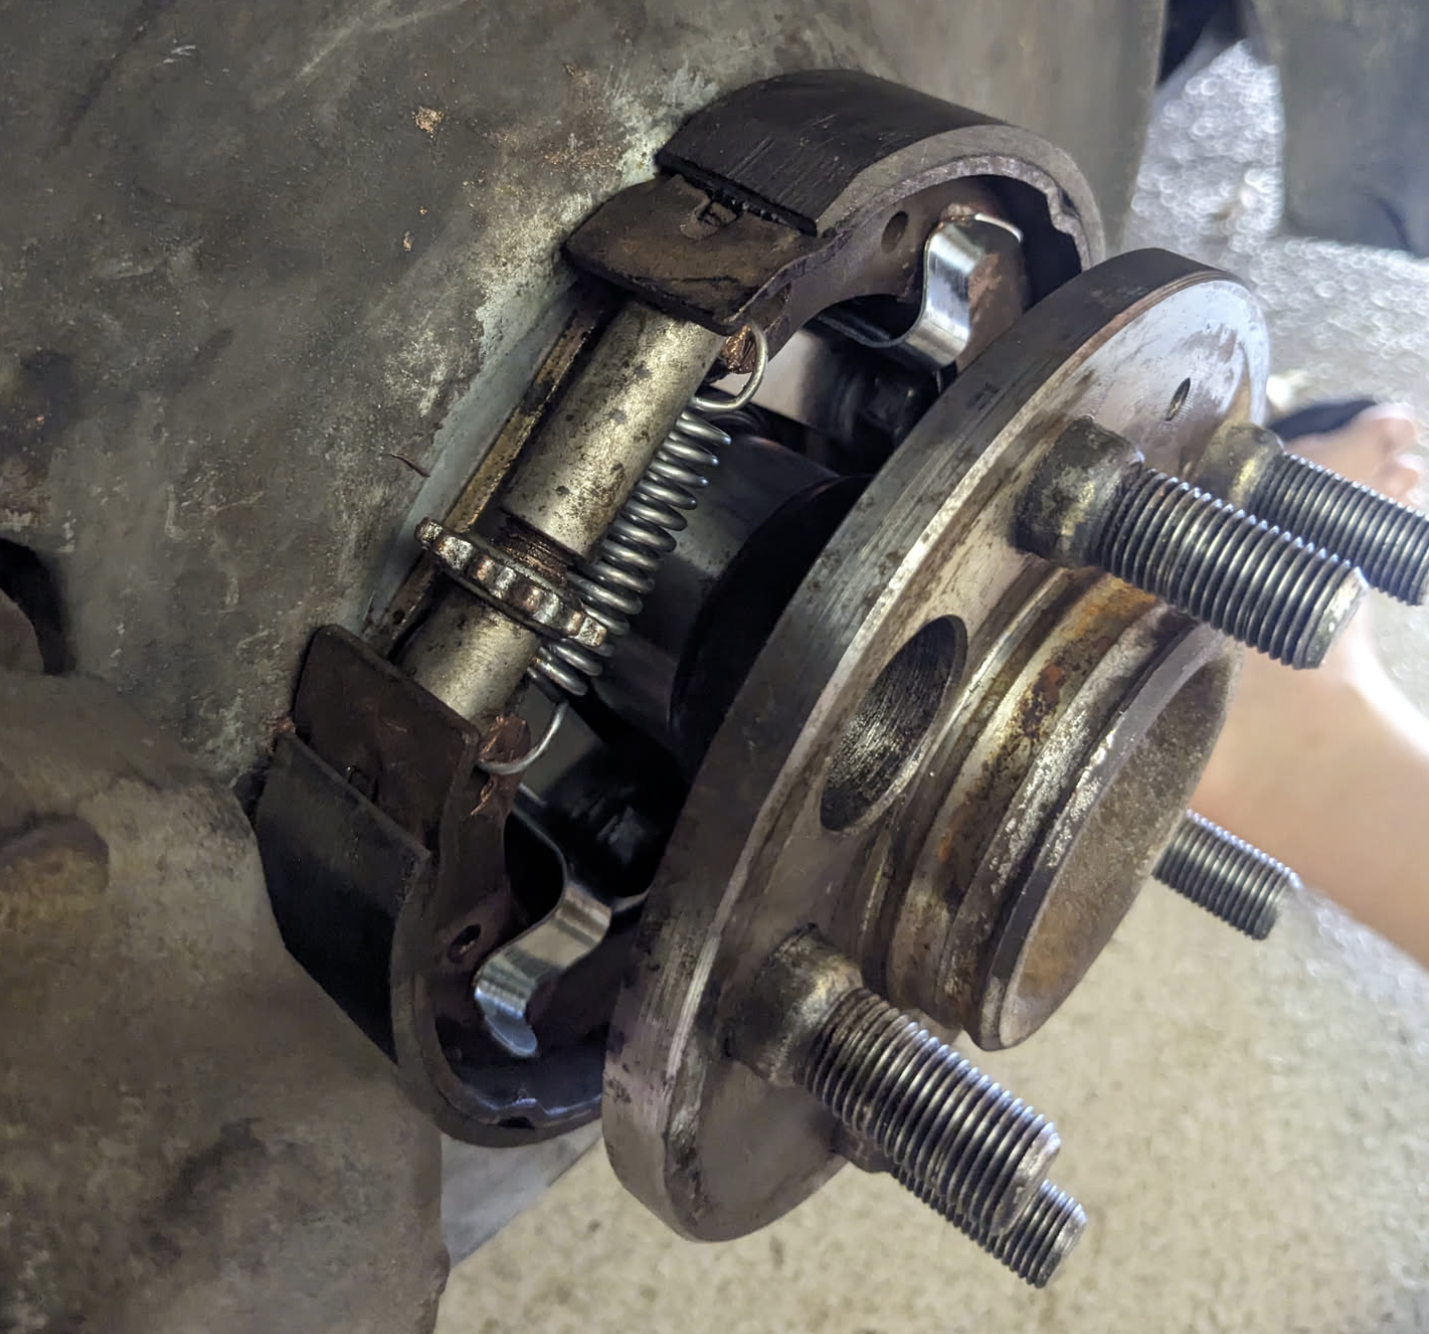
Replaced the passenger side axle inner seal today, I did the driver's side a few months ago but procrastinated on this one as it hadn't failed. Still, glad I did as it was pretty stiff. I also threw some new parking brake hardware on which has eliminated an annoying clunk, the old parking brake shoes were binding up or something, I'm not surprised the springs were rusty, I pulled on one with my pliers and it deformed really easily.
Didn't take many photos unfortunately. I gave everything a thorough rinsing in brake cleaner, buttoned it back up, adjusted the shoes, and haven't been able to reproduce the clunk since, happy days.
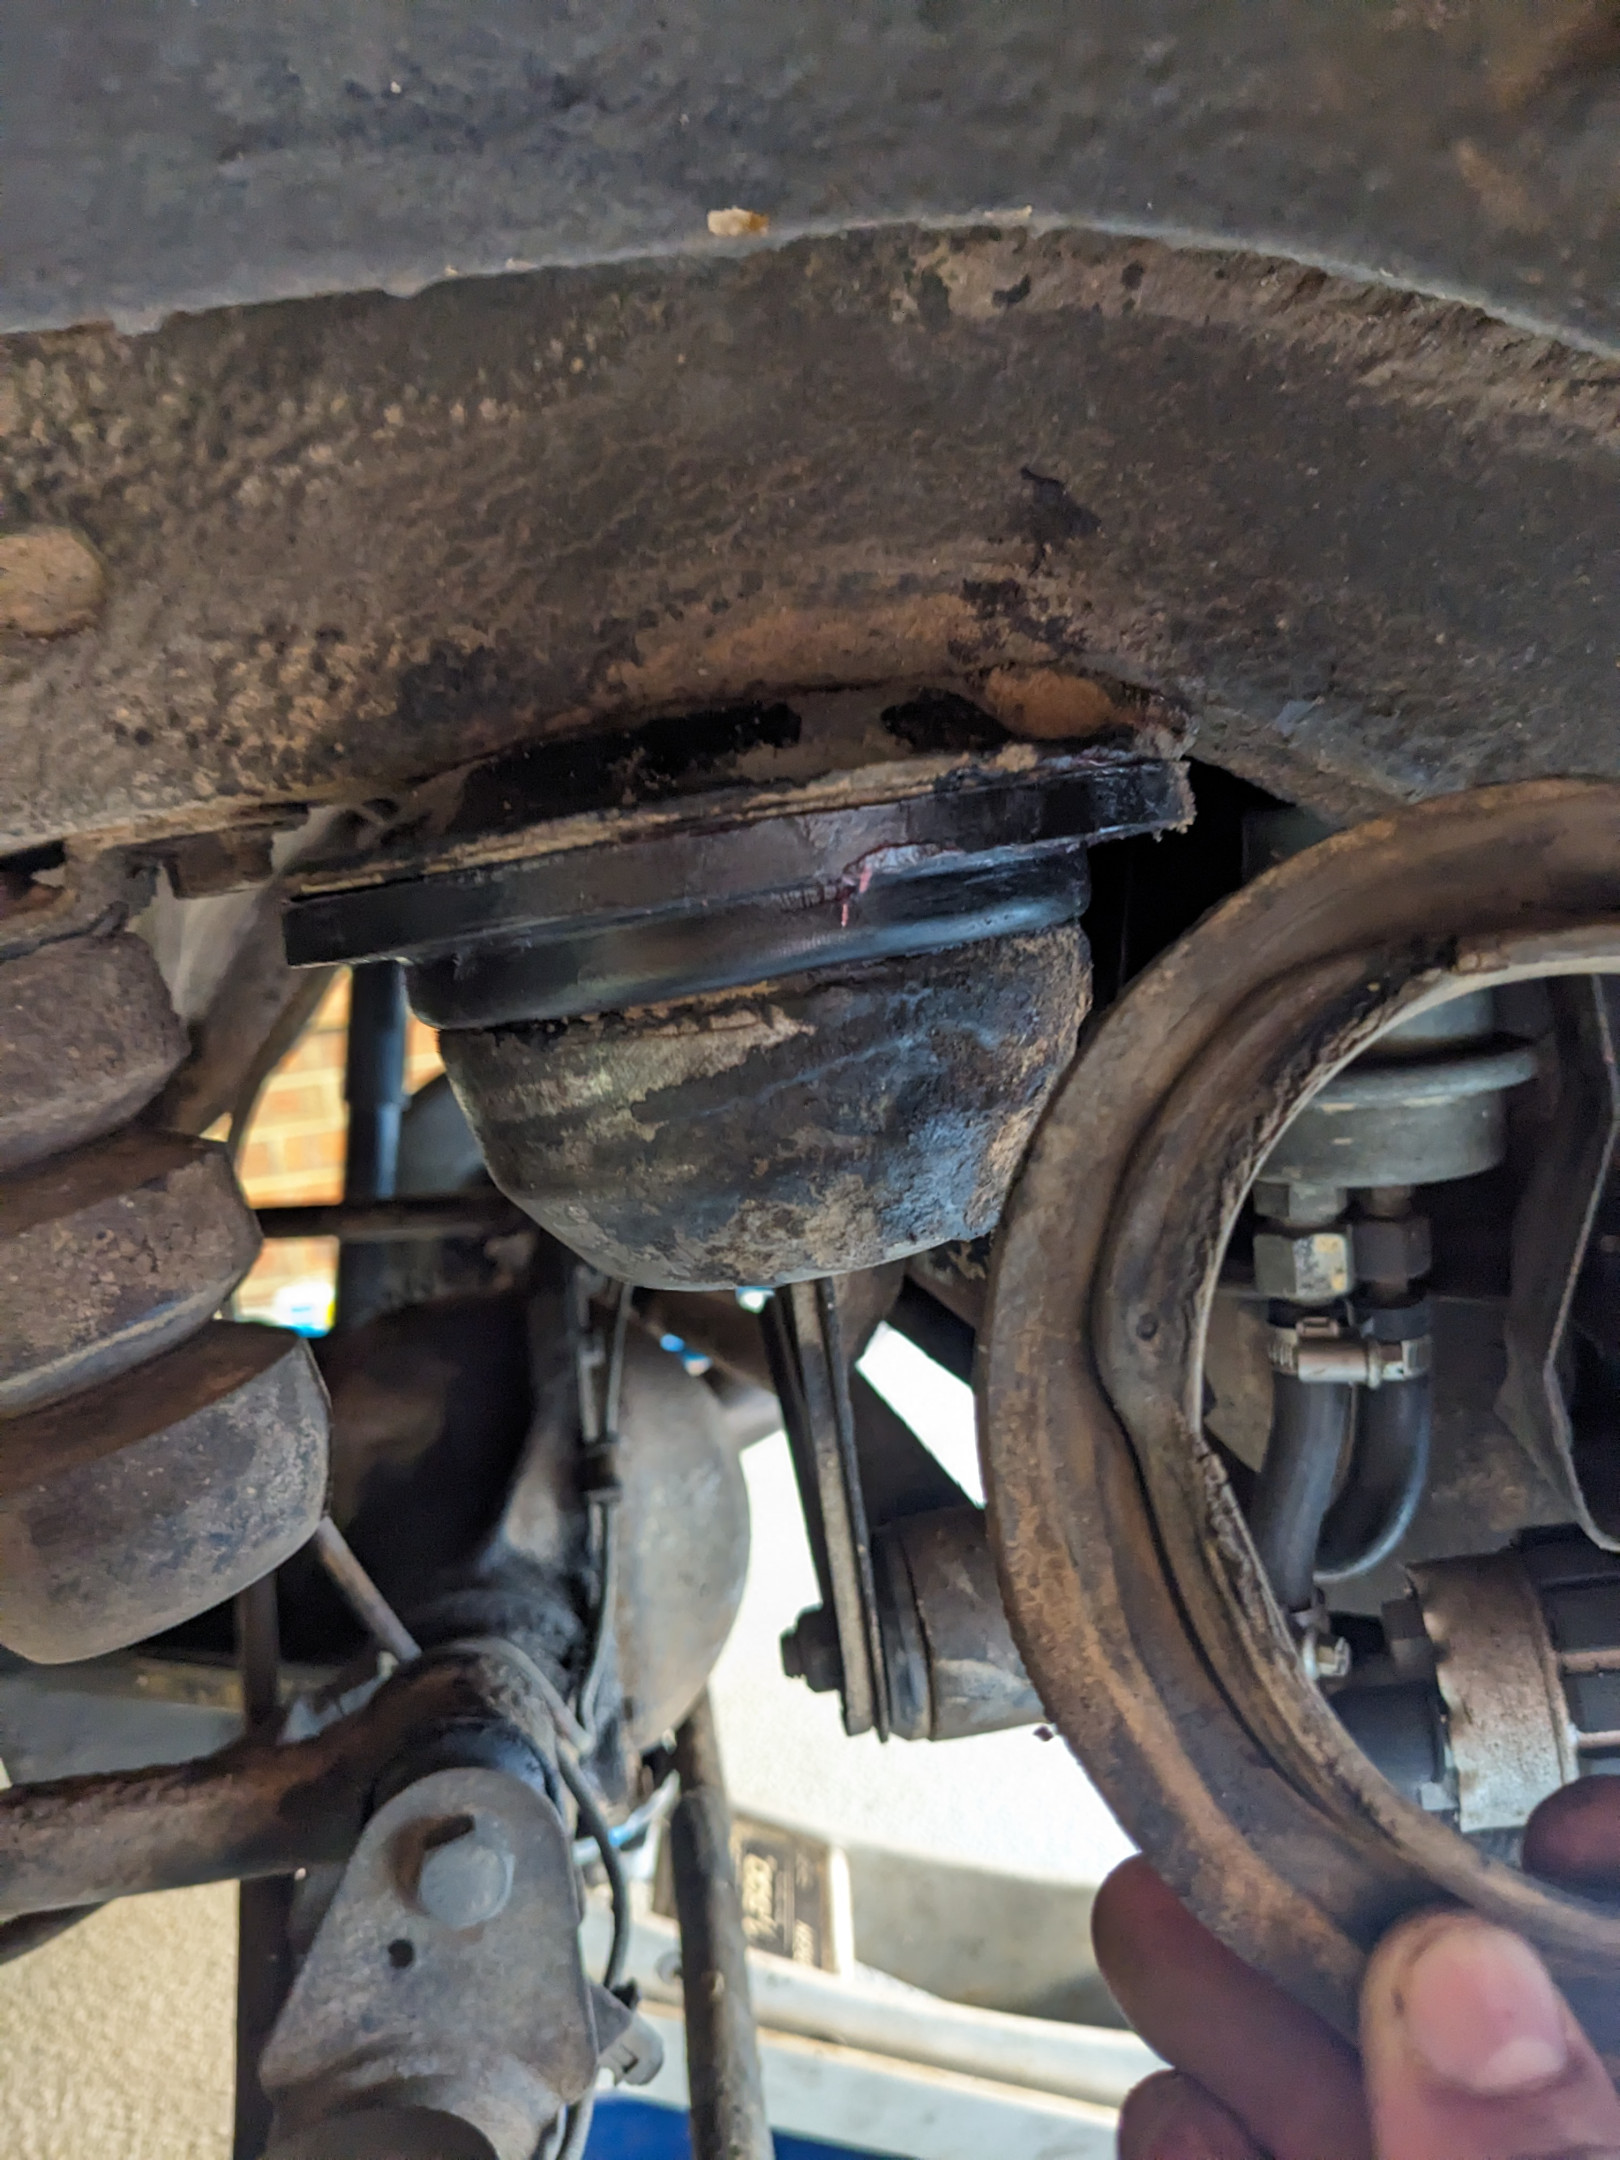
Next task, a clunk has started developing on the front left corner, need to investigate what's going on. The suspension is pretty fresh, I'm wondering if maybe the gland nut on the shock has backed itself off a bit. Stay tuned for the thrilling conclusion!
3 posts were split to How do these 240 handbrake parts fit together.
I went back to the driver's side handbrake to replace the hardware there too:
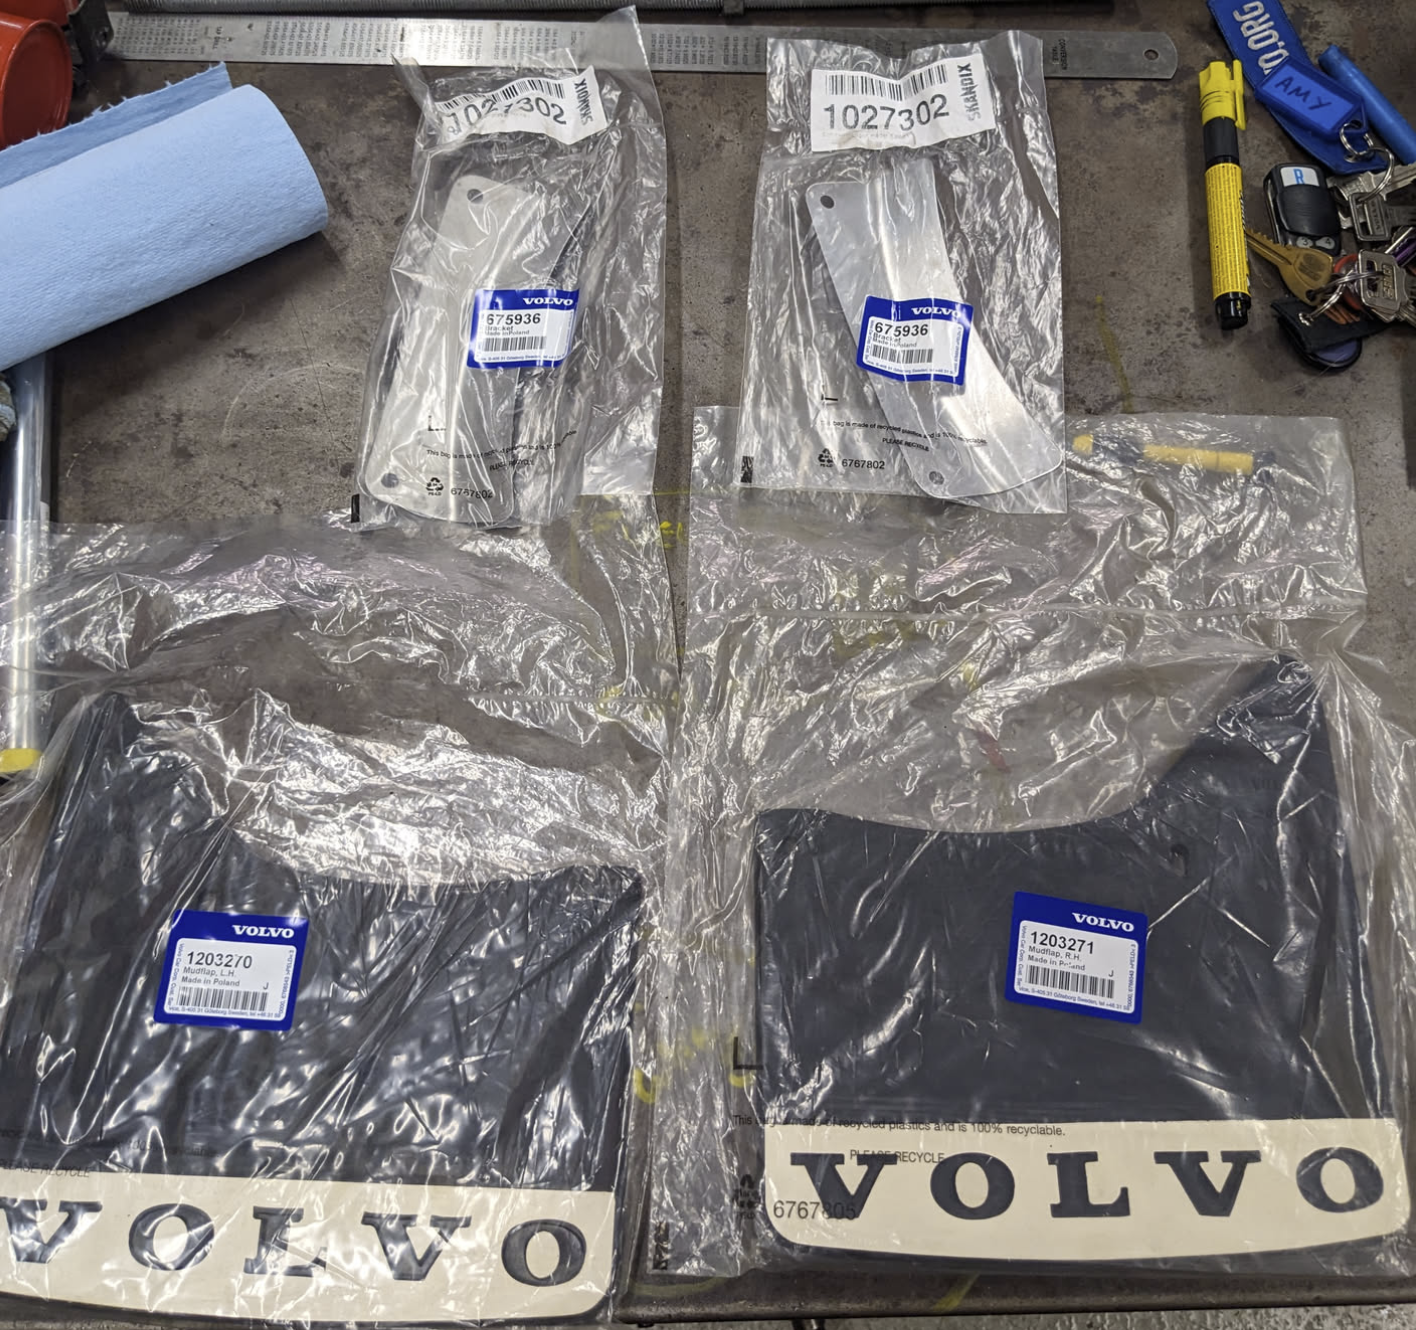
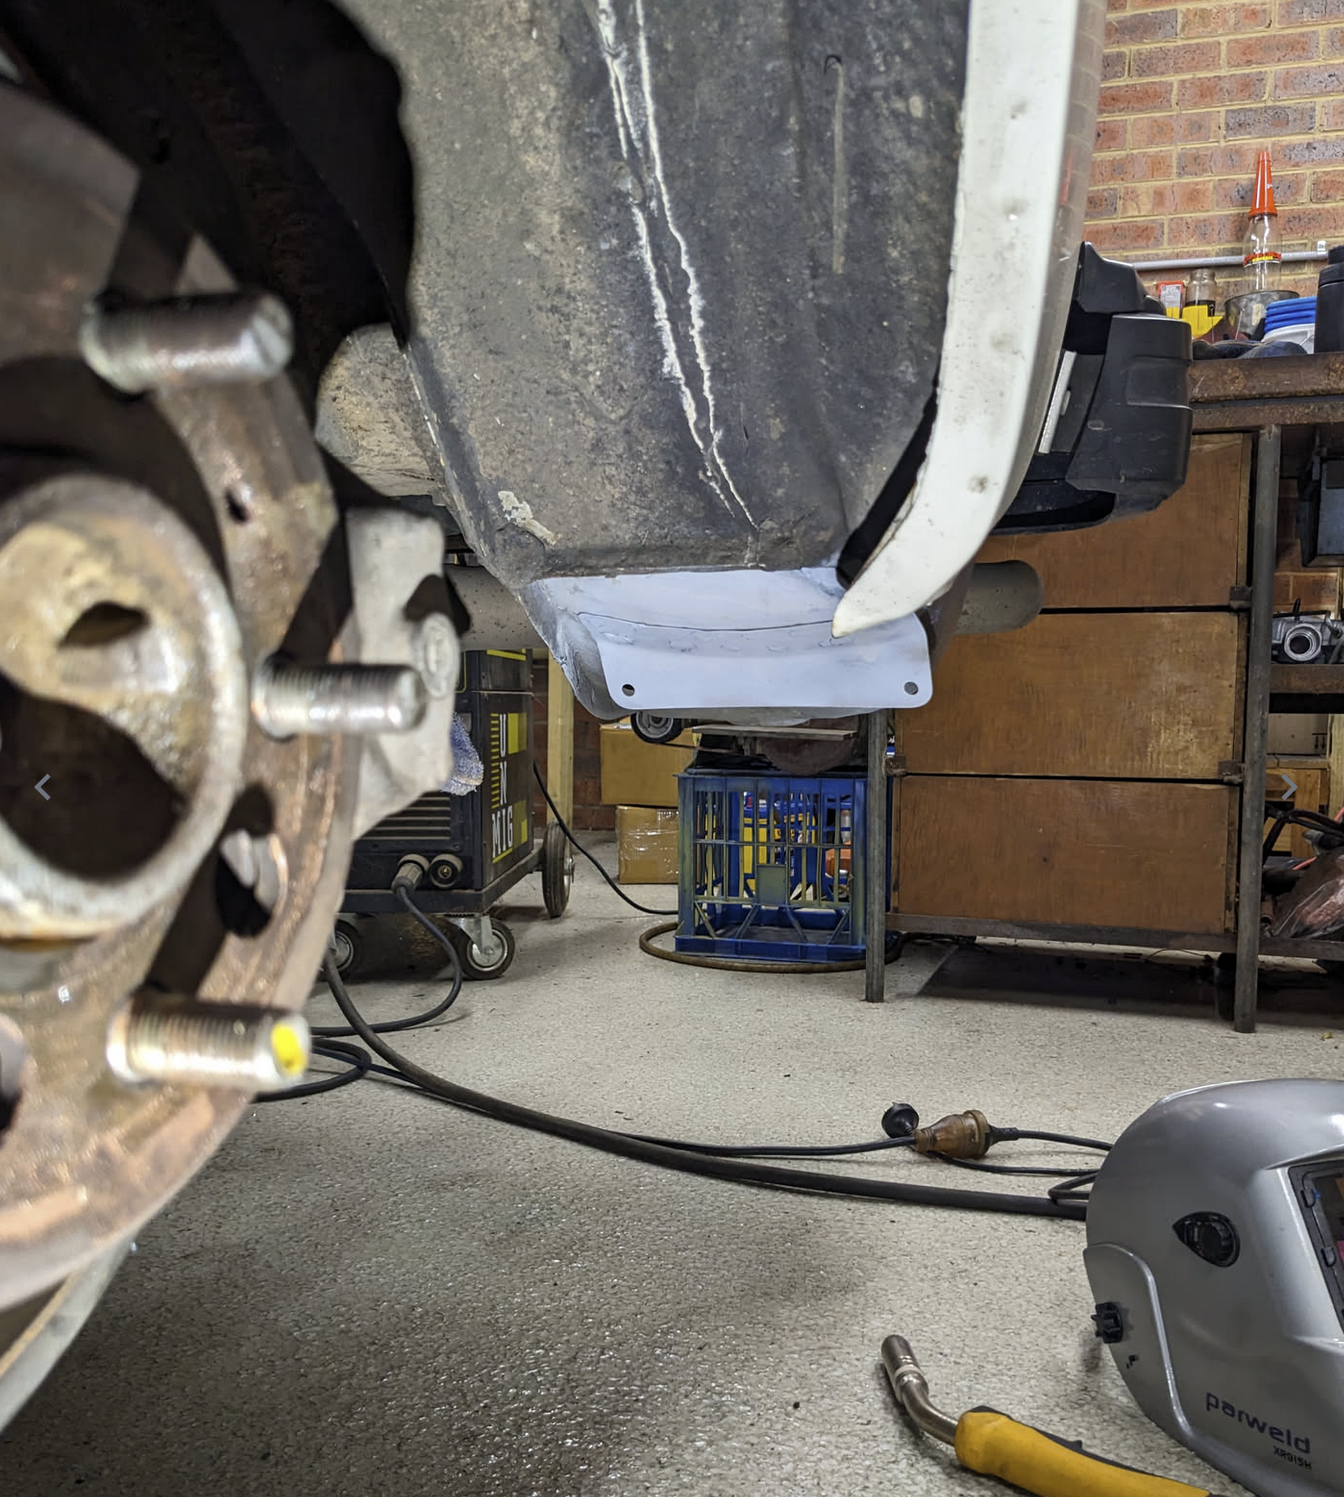
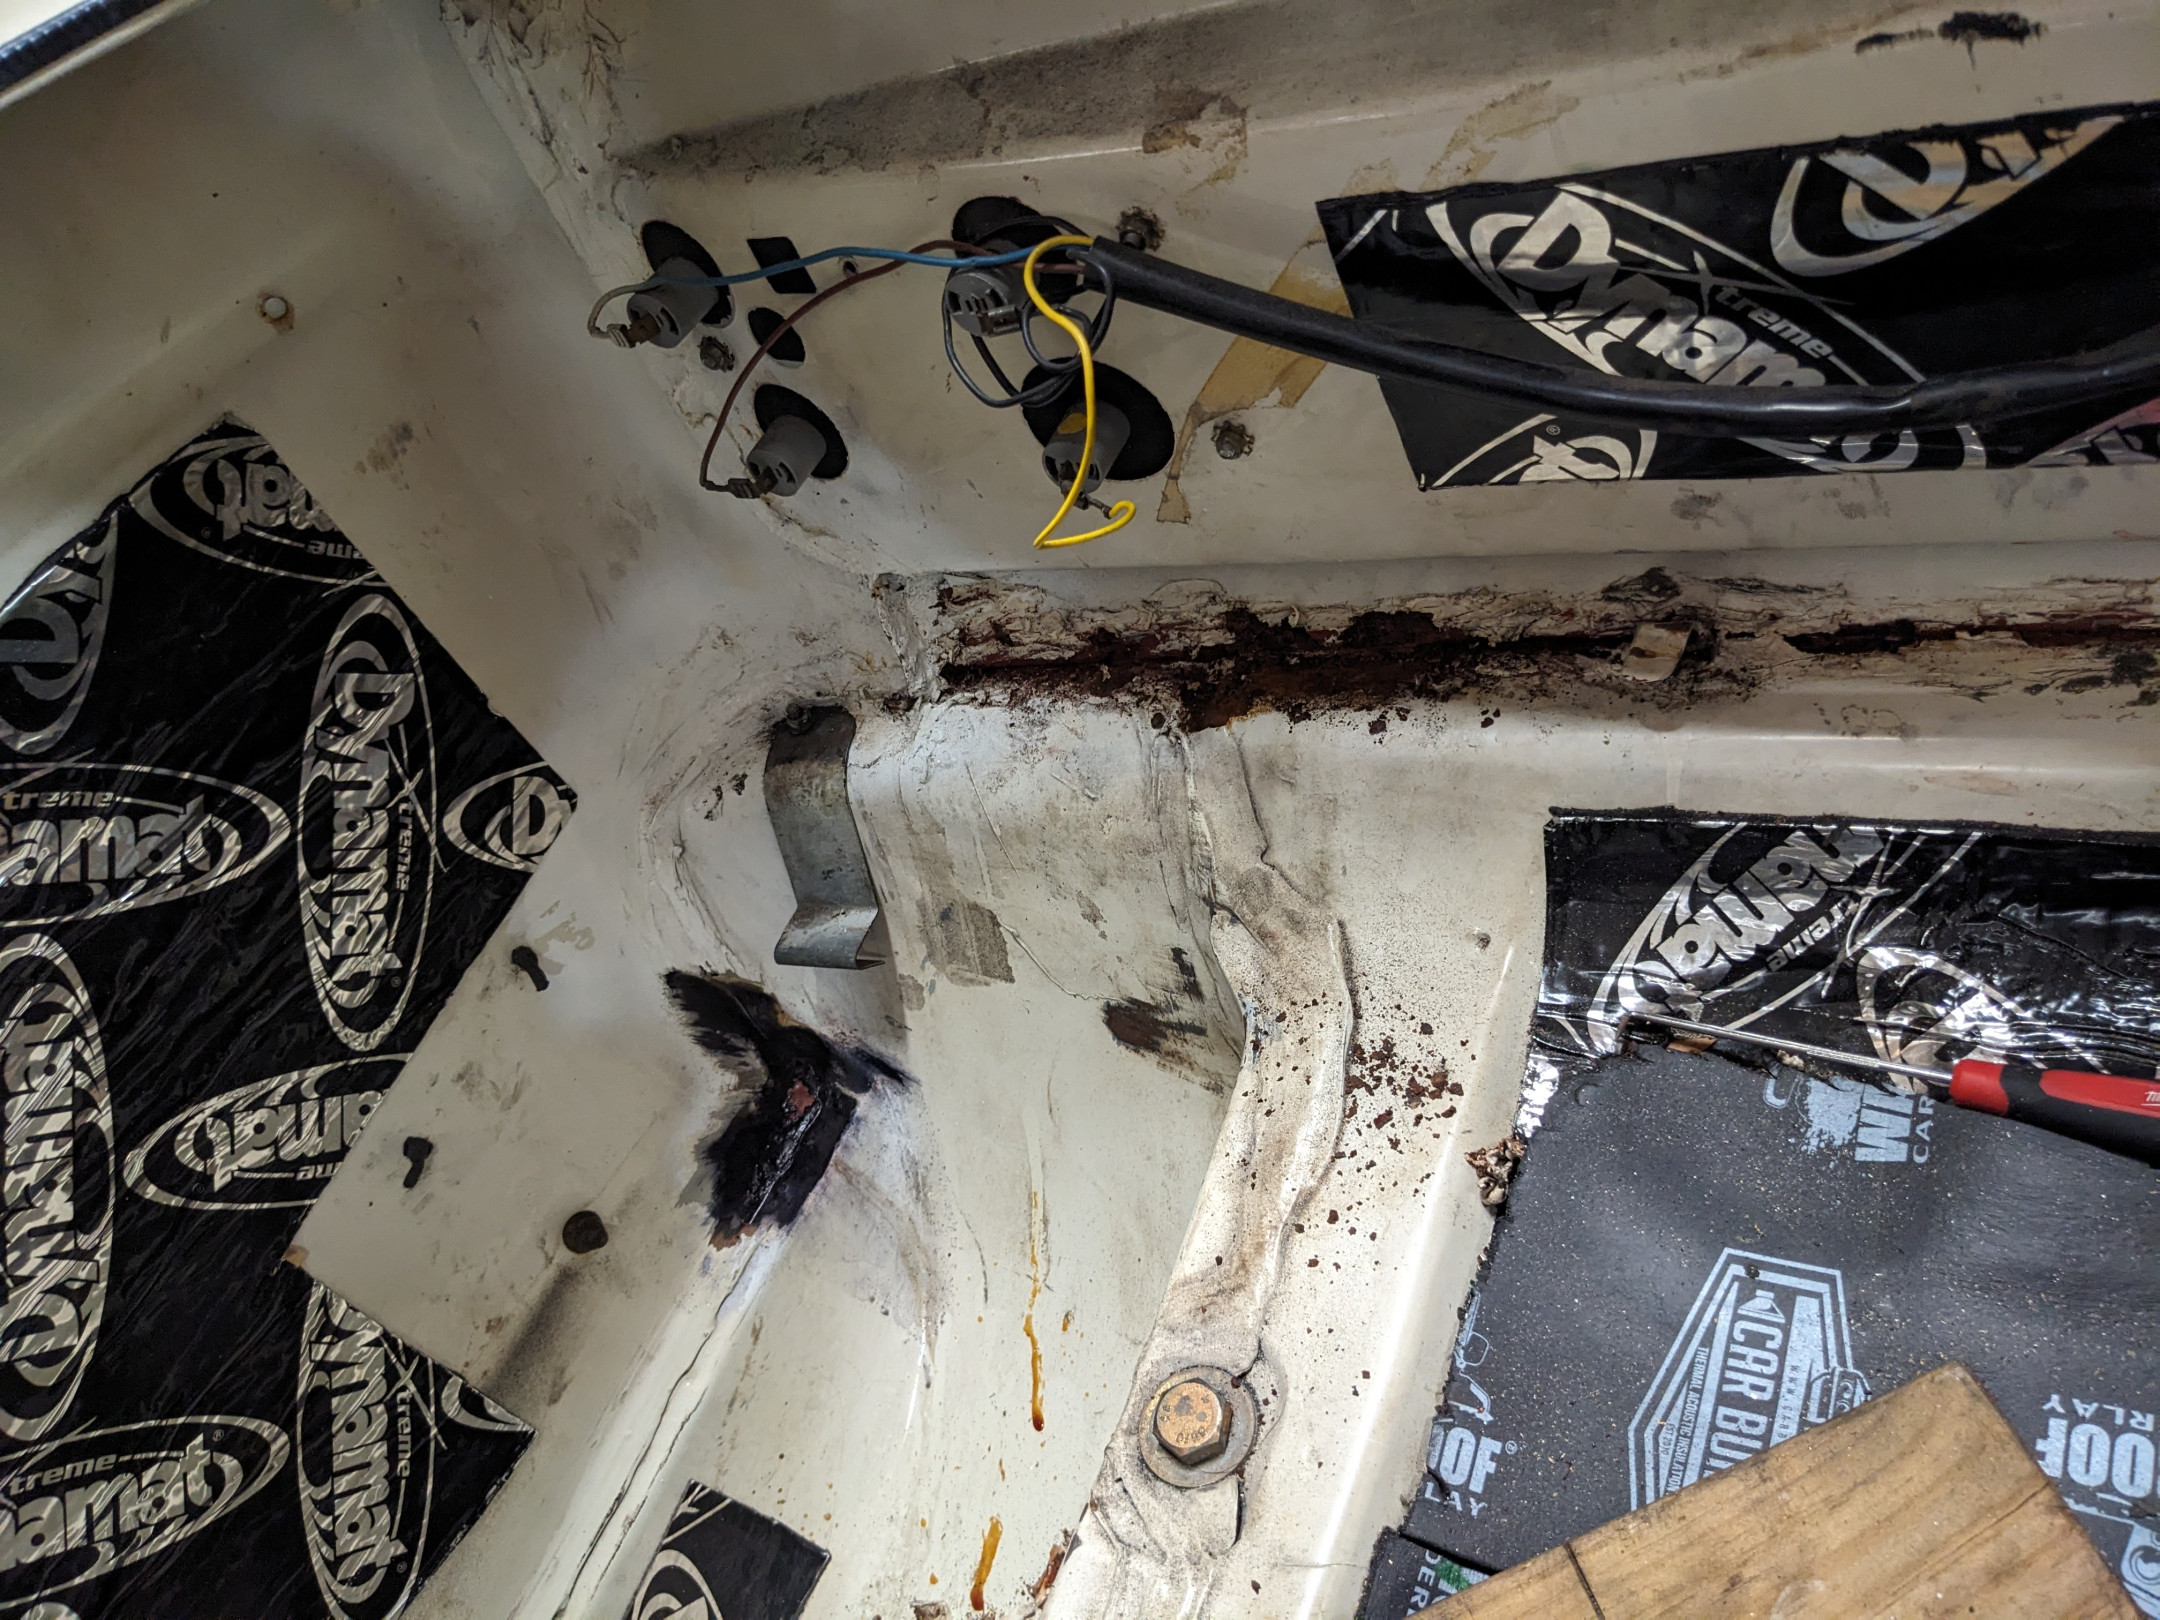
Onto the next thing - at some point in the past, the rear mudflap brackets were cut. I originally just made up an extra bracket but it wasn't up to the abuse and the mudflaps were falling off after less than a year.
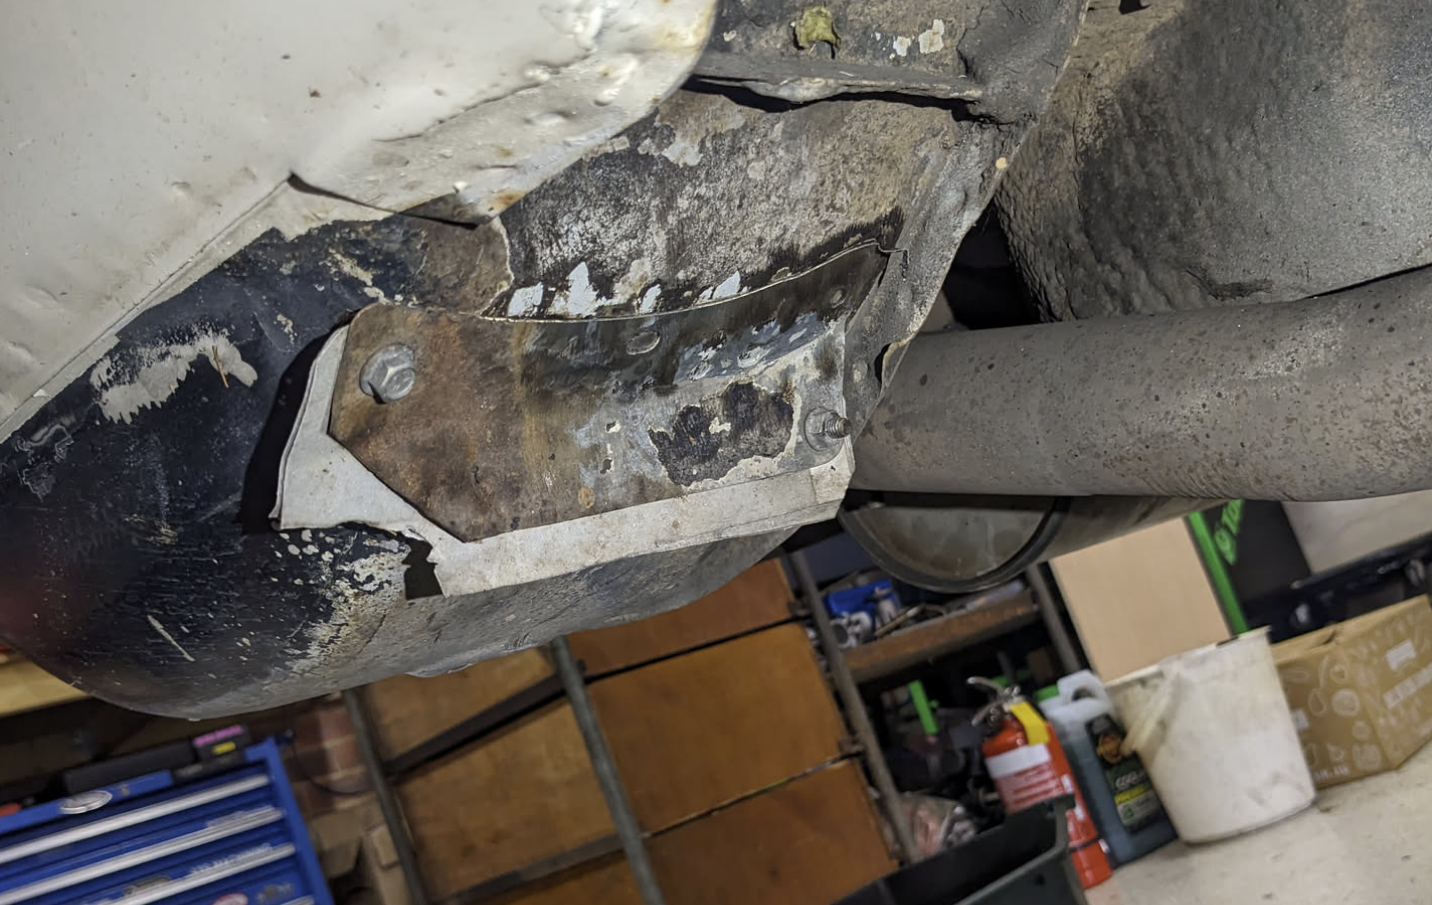
So, I opted to do it properly and weld on new brackets:
I scraped off the underbody coating and marked the spot welds out:
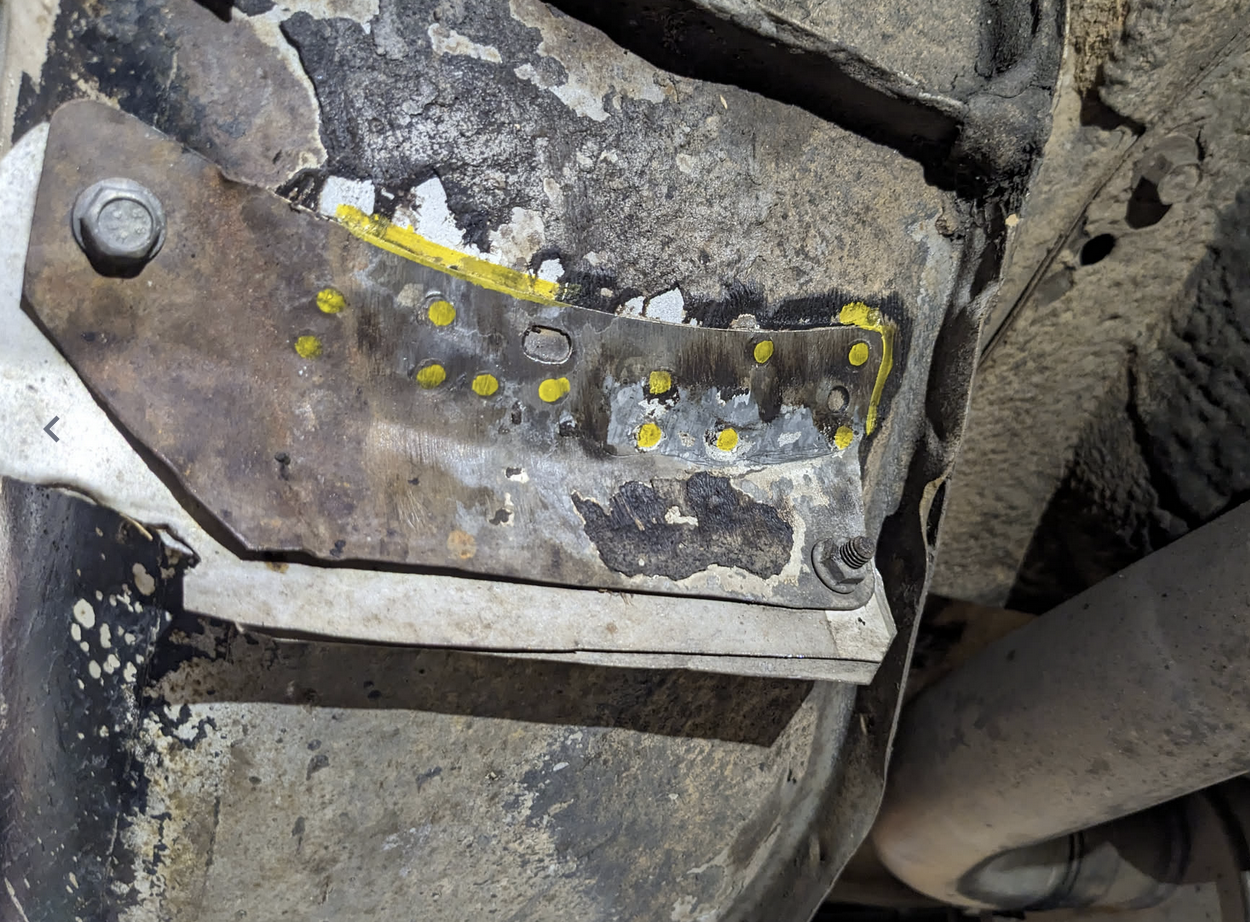
I drilled out the spot welds using a spot weld drill bit, and separated the old brackets:
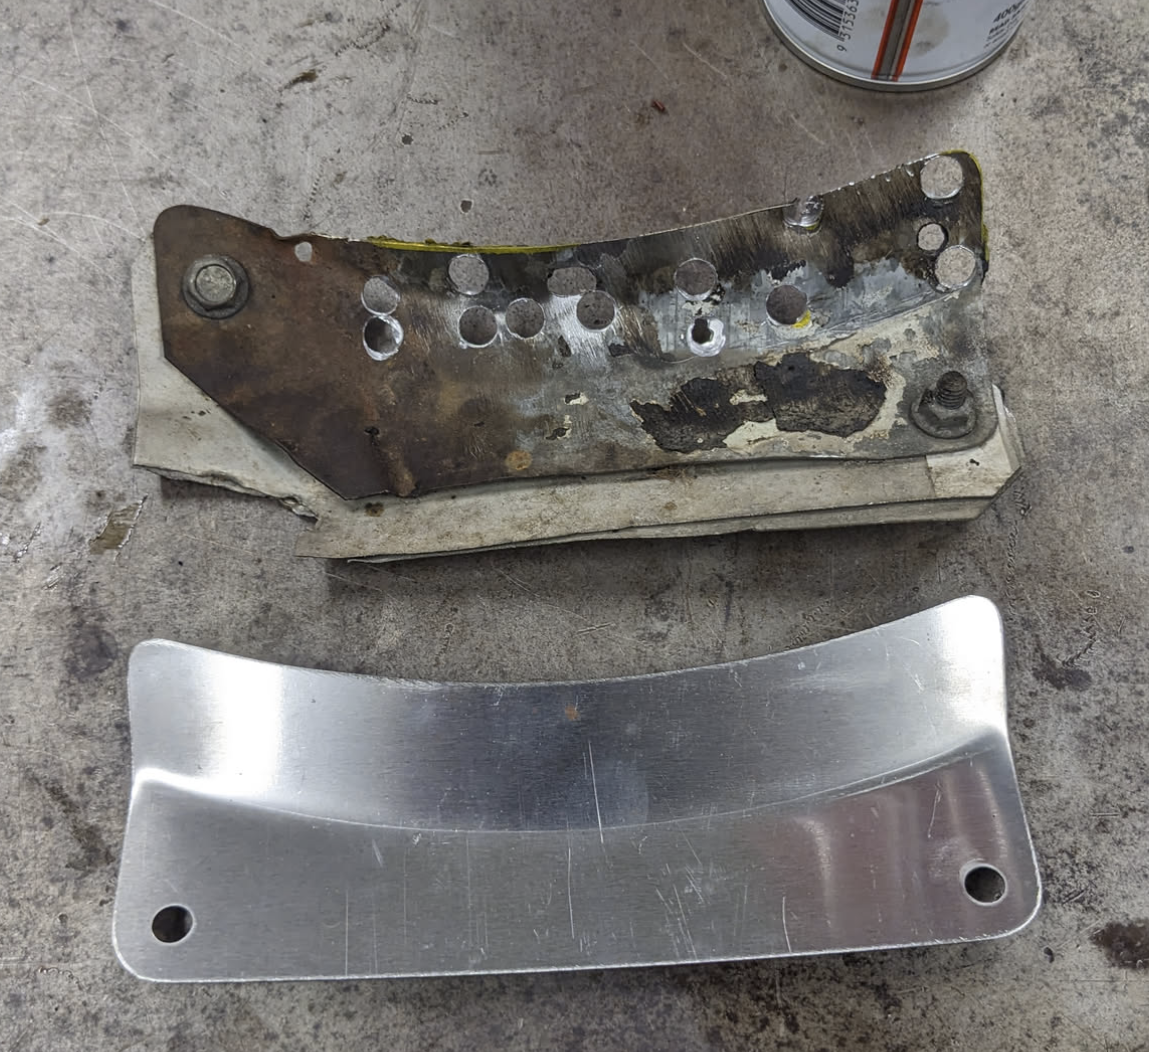
I drilled too deep in a couple of places and went through the body:
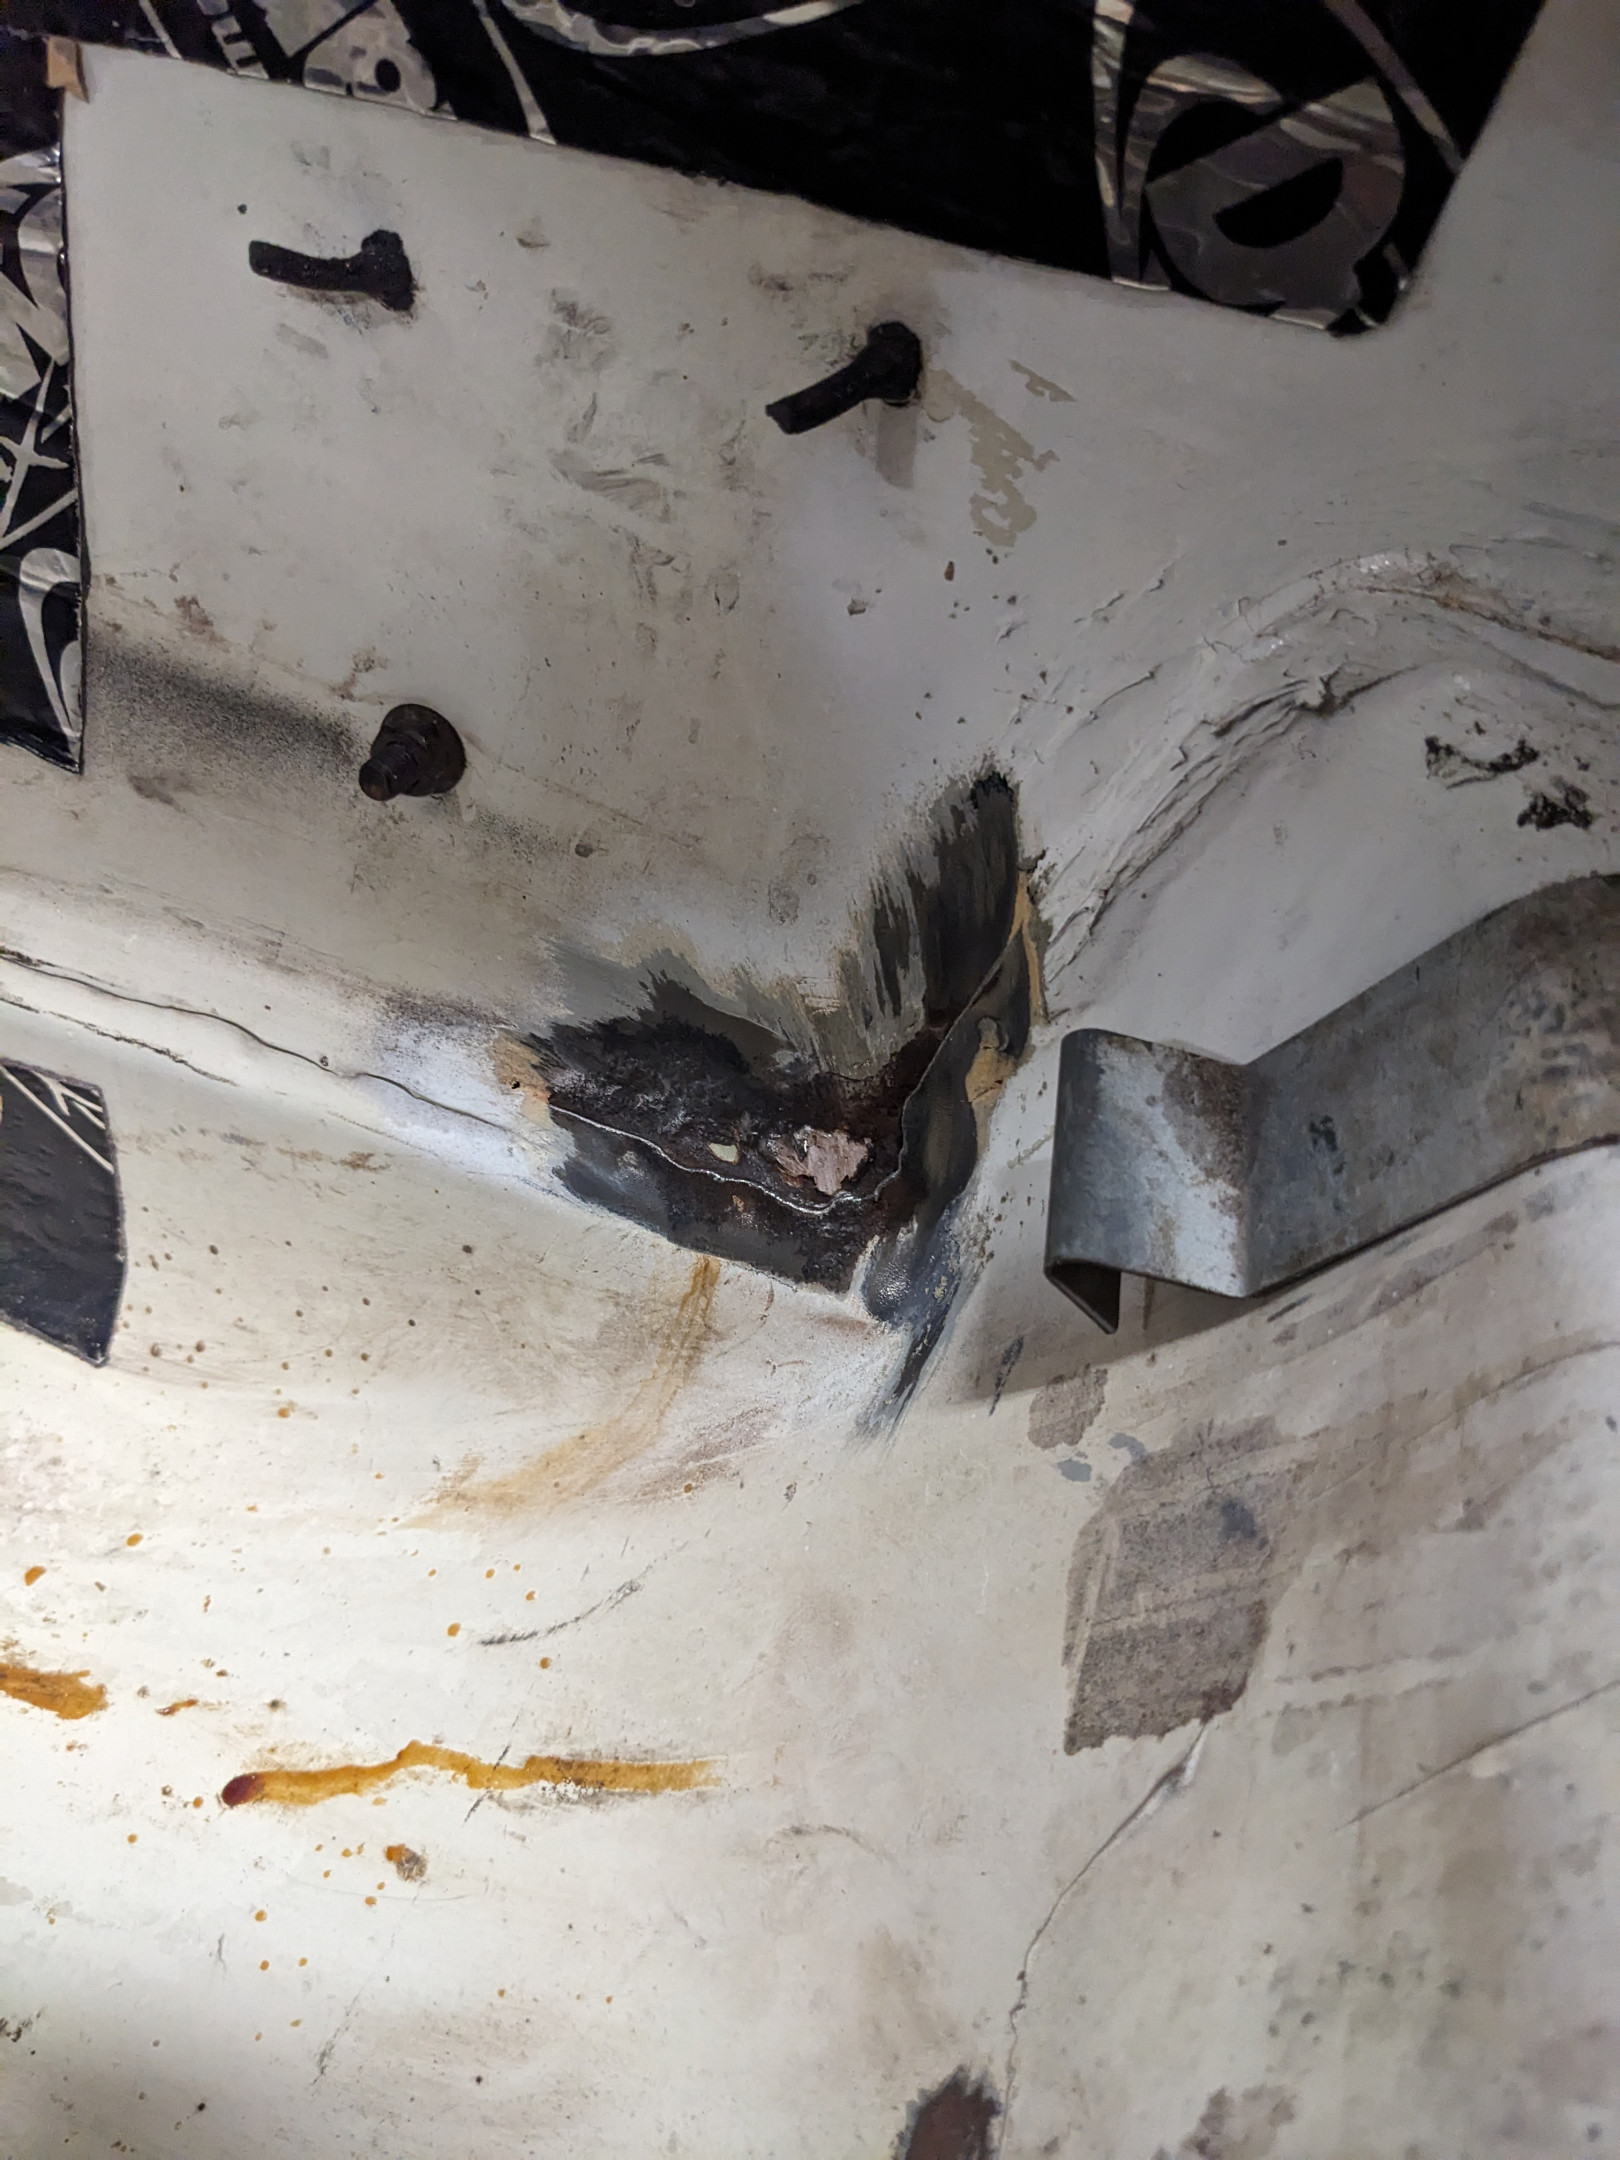
Over on the passenger side, I found some rust I didn't know about, and decided fixing it was worth the scope creep:
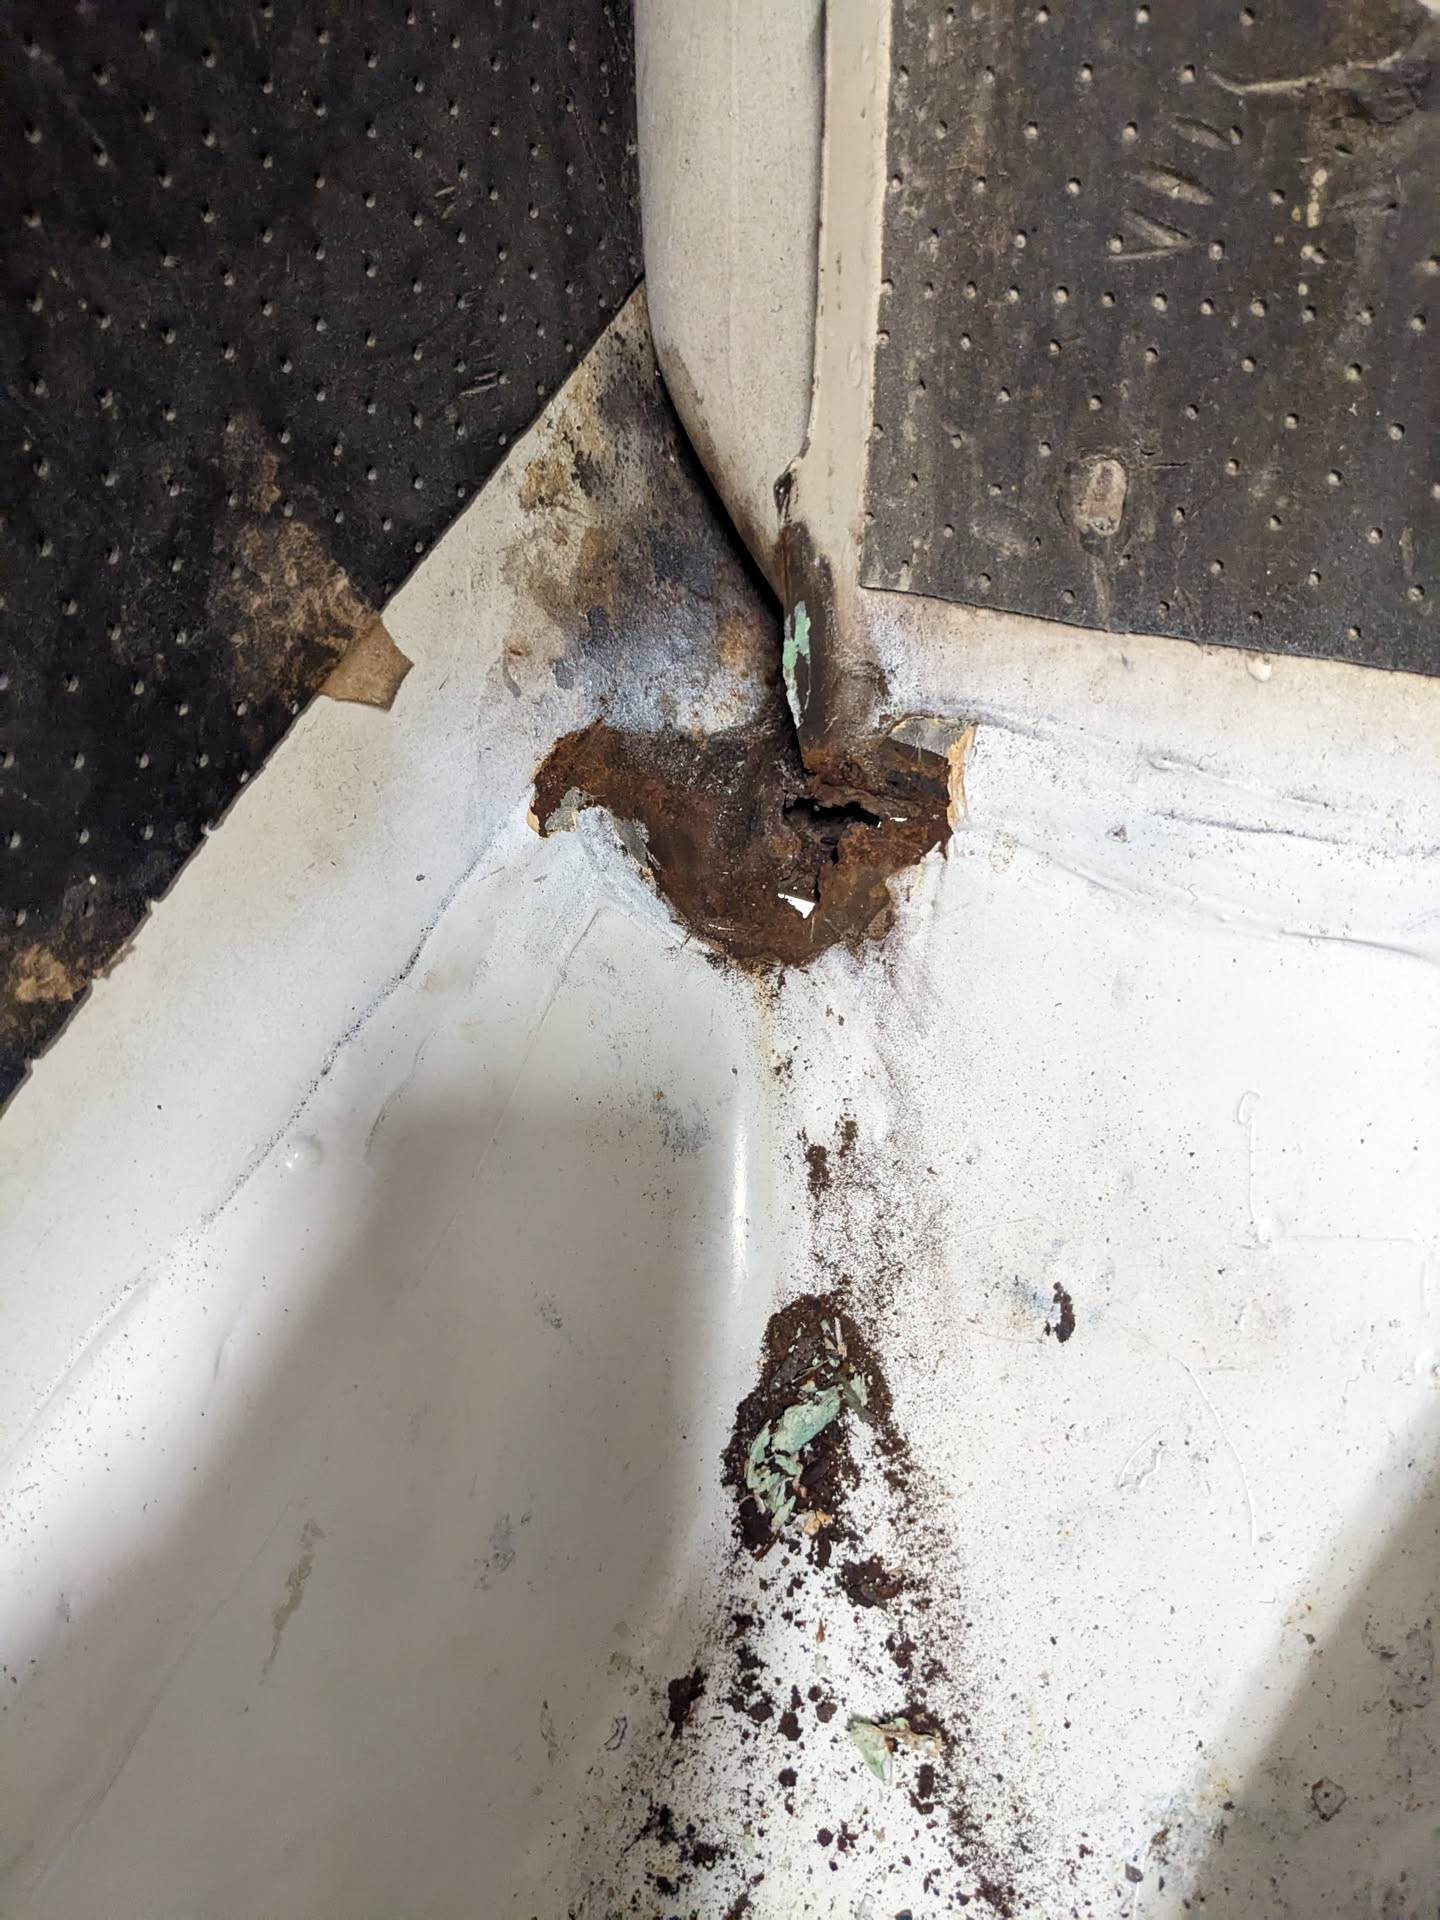
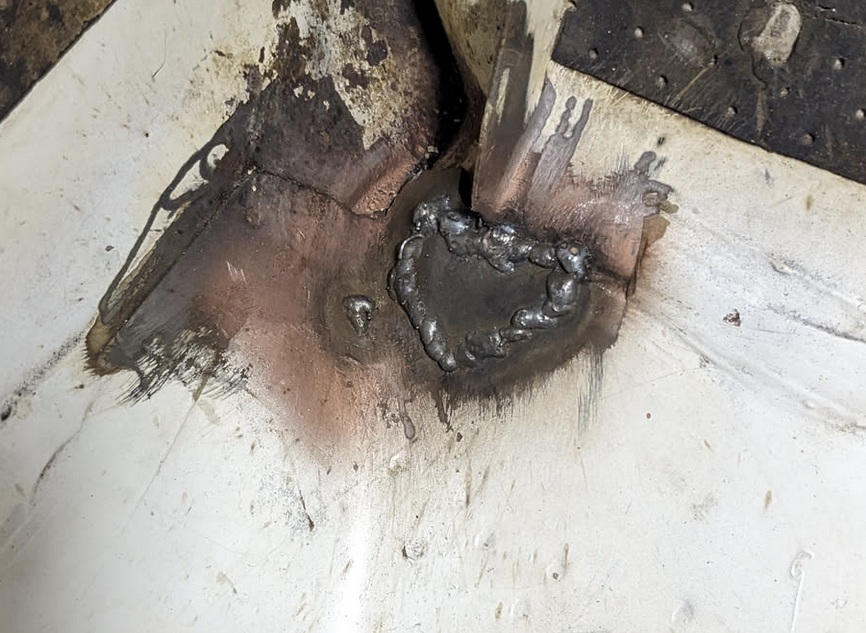
I cut cut away the rust and welded a patch on top. Because of the tight access and the fact that it's not visible anywhere (it will be underneath seam sealer by the end), I just oversized the patch slightly and lap jointed it. I took care of a pinhole I found at the same time:
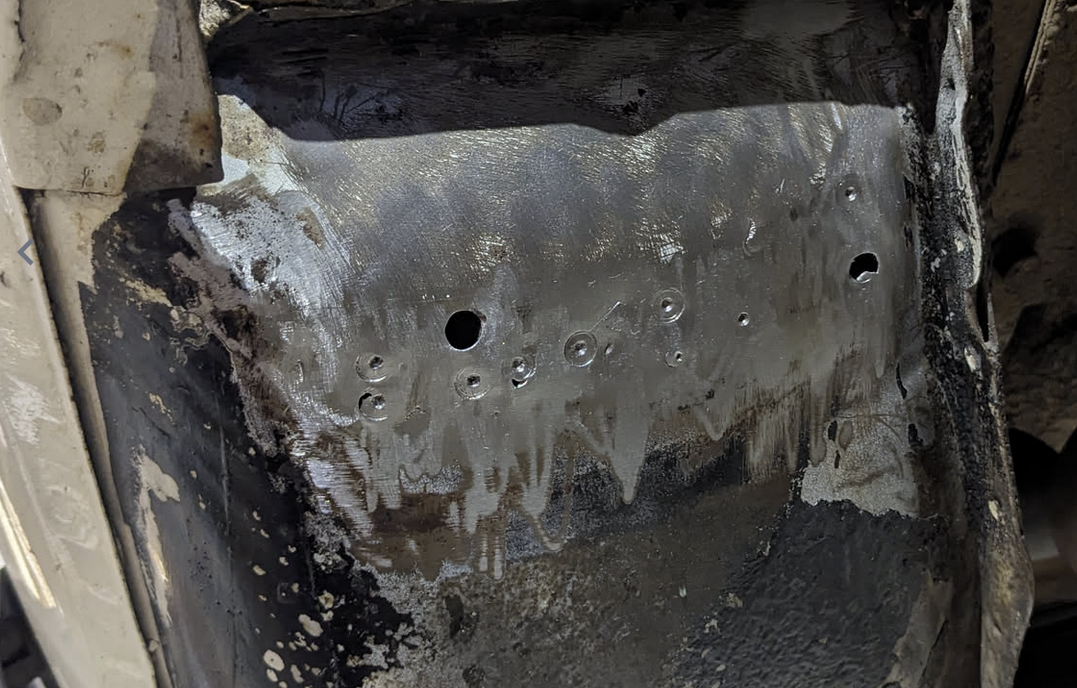
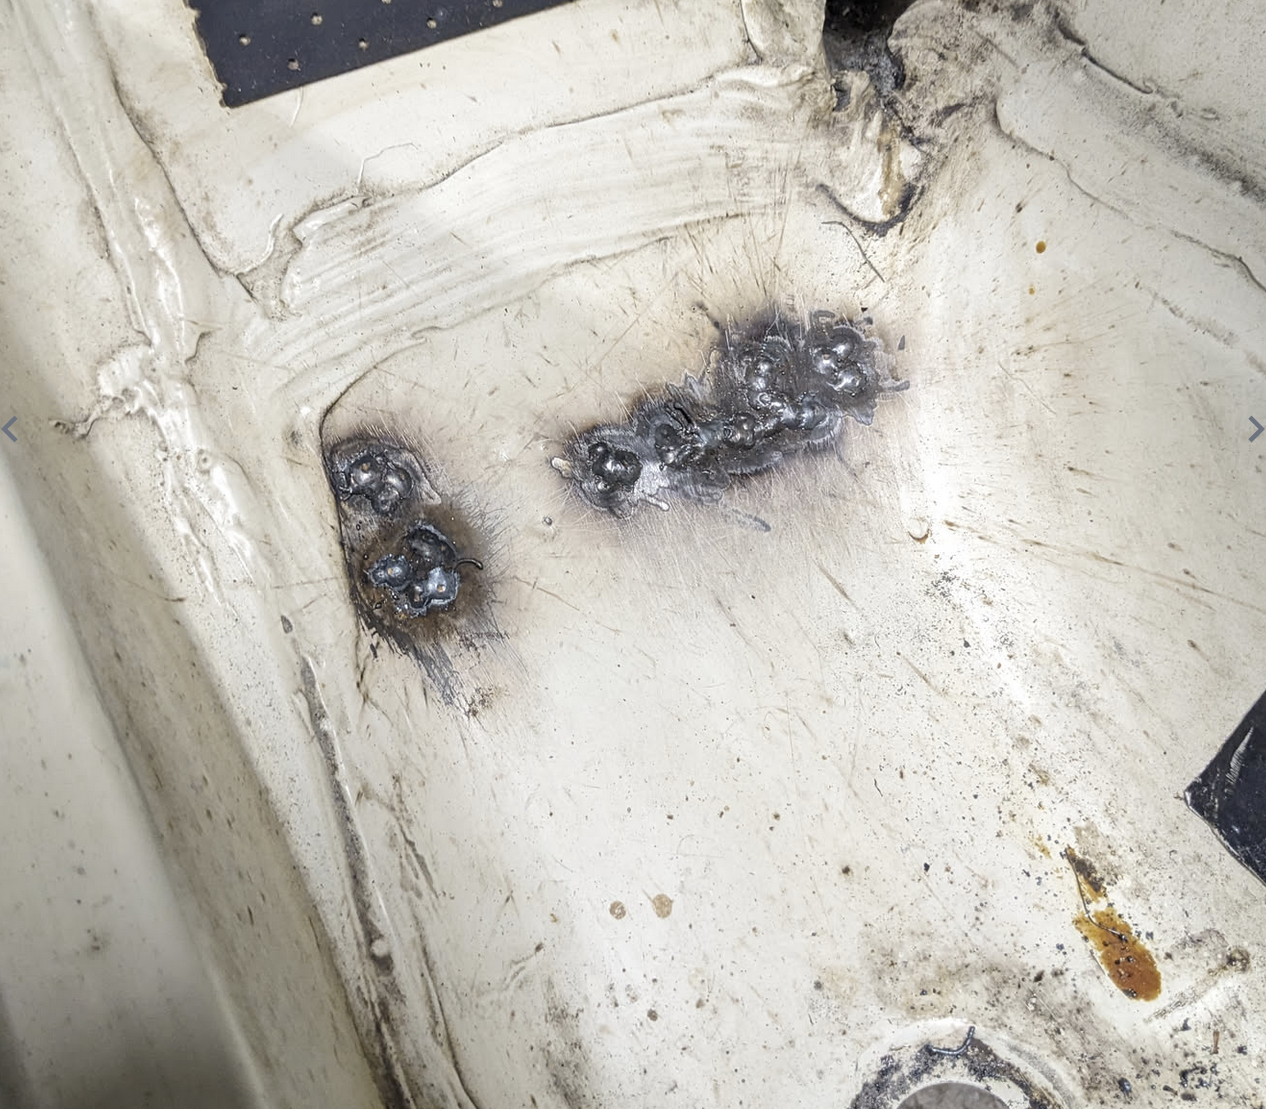
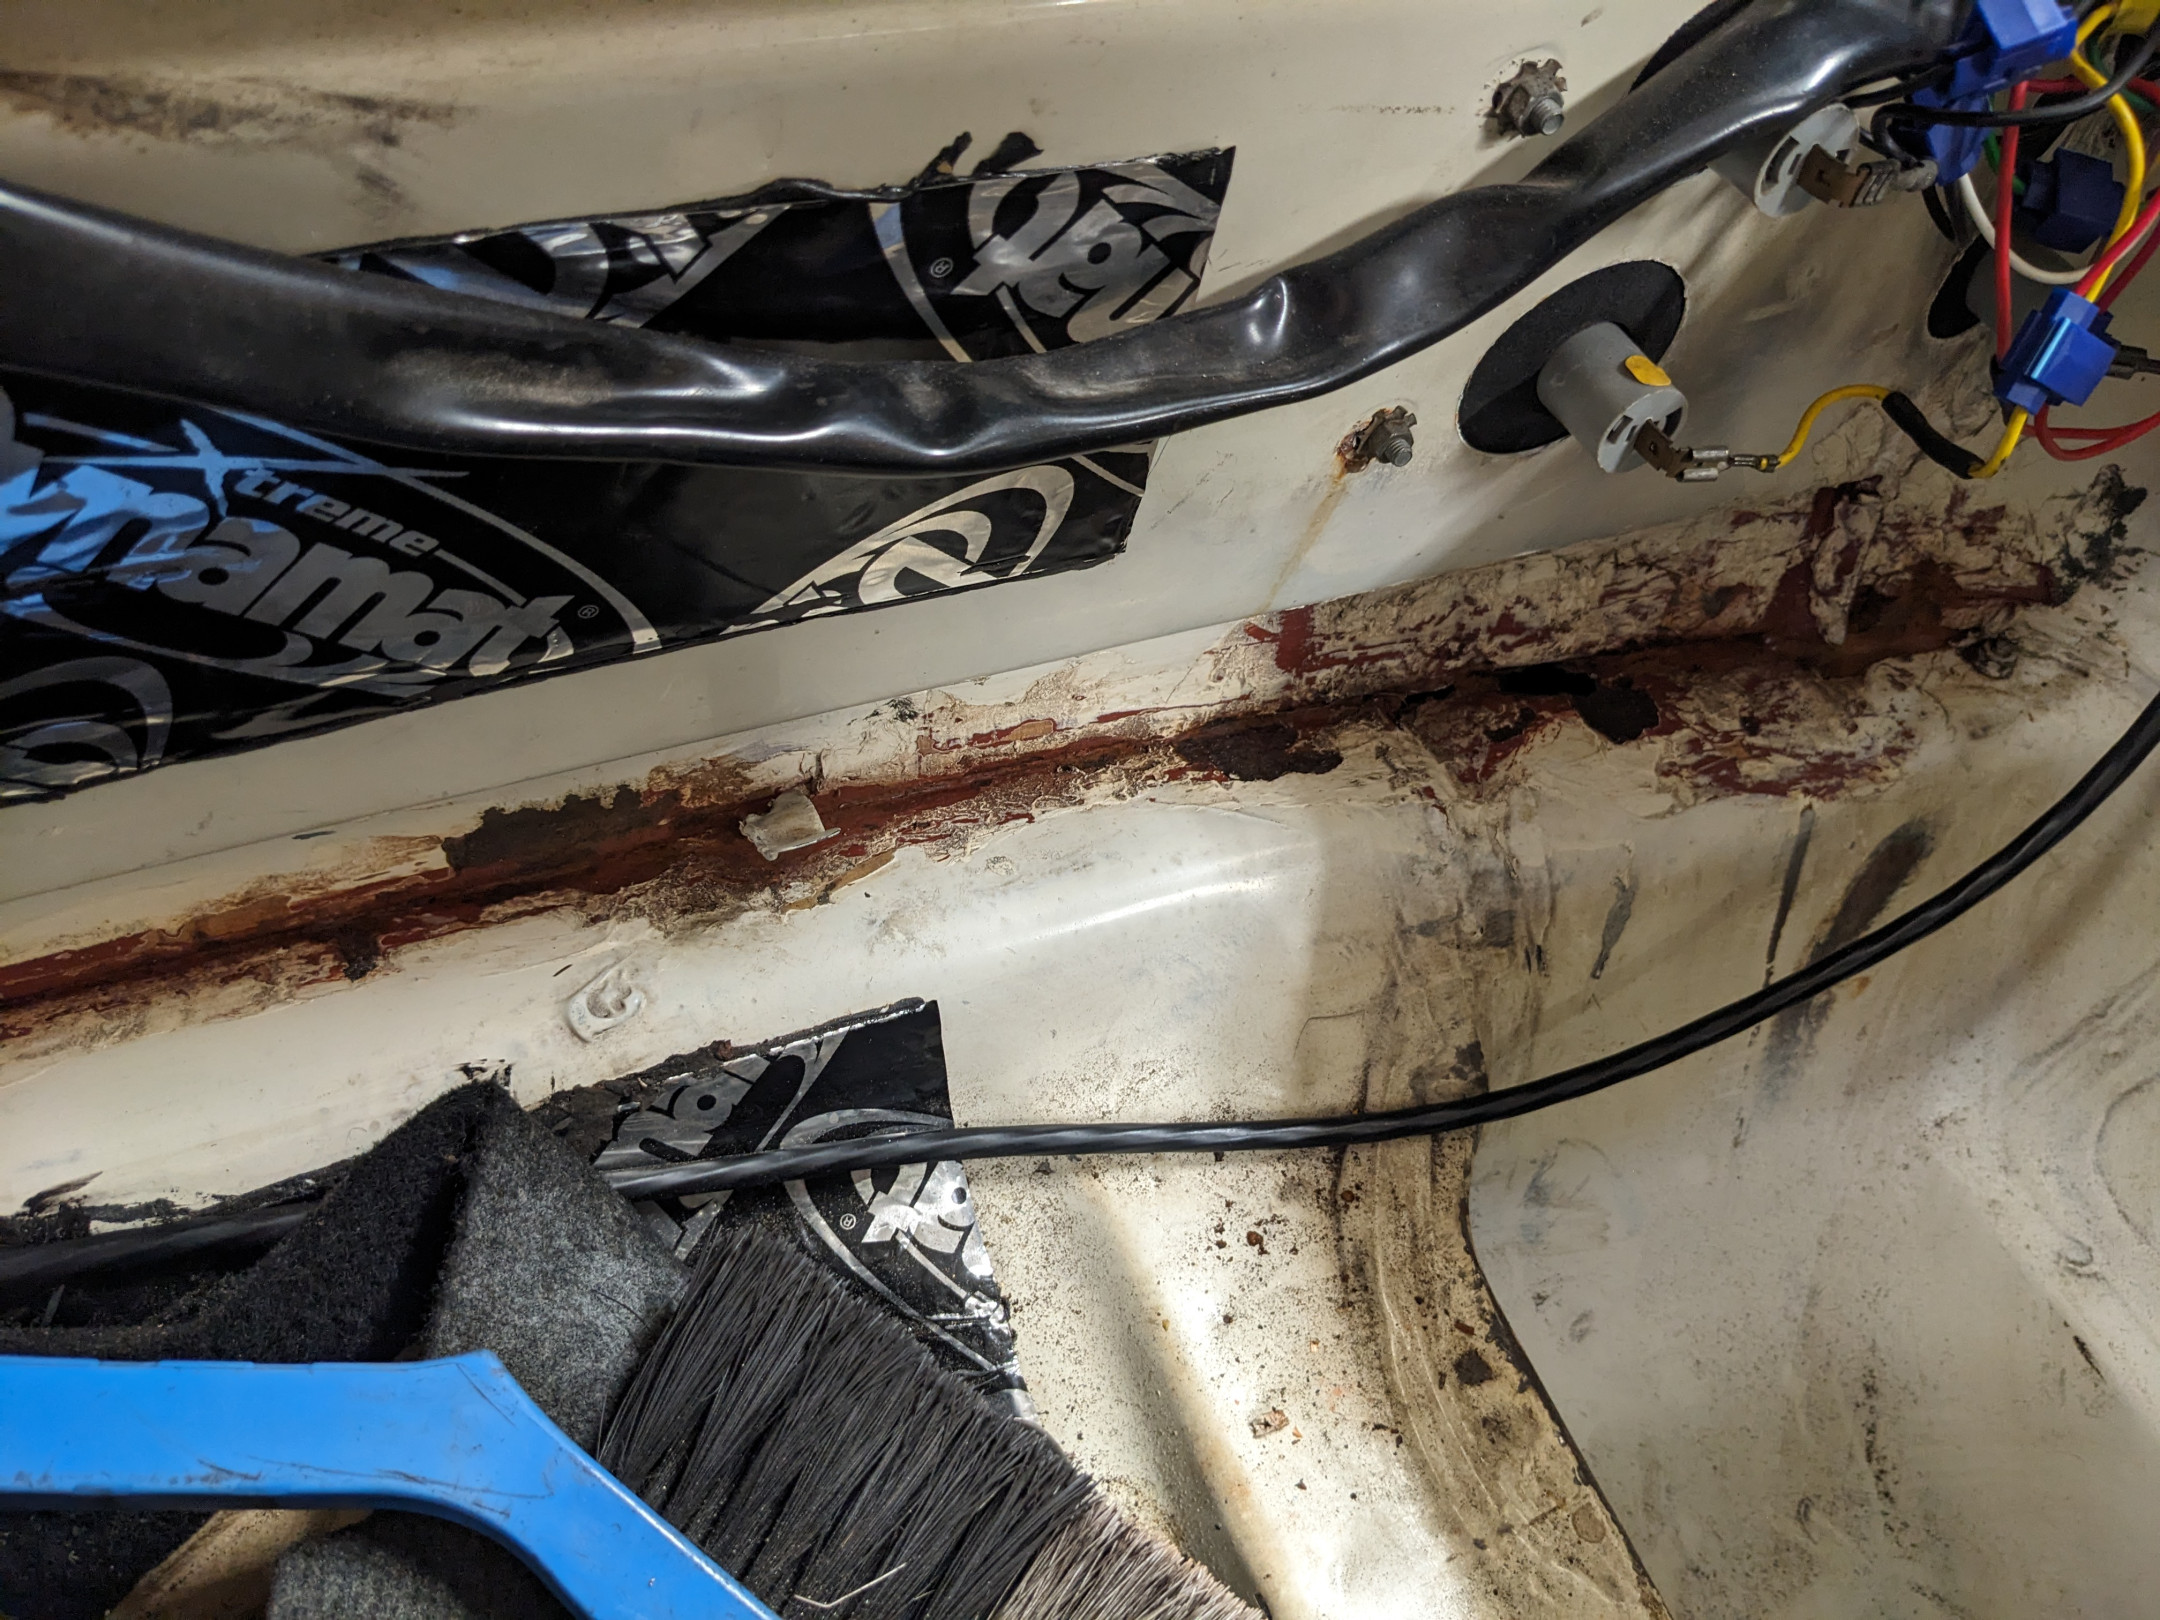
I plugged the holes on the driver's side also, and chased a couple of holes around.
Finally! I was able to weld on the new passenger side mud flap bracket:
This is where I got to yesterday. It got too late to be using the grinder, so I will be back at it over the next couple of days.
Once the other mud flap is installed, I will fix up the seam sealer and then paint everything. I'm going to paint the butt cheeks with an enamel satin black, and paint the wheel wells and mudflap brackets with some stoneguard paint.

That triple joint point in the boot (photo #7) is a very common rust spot for 140/164s and 240s. It's where inner guard meets outer guard meets boot floor panel.
Major Ledfoot yeah, if anything this 244 has surprisingly little rust in the area. On the driver's side it's tip top (although the same can't be said for the front corner of the wheel arch).
- Edited

Just looked at Skandix site and the mudflaps themselves are only 45 euros aprox, shipping to Oz 95 euros up to 20kg!! Did you take advantage of the weight inclusion?  (apart from the brackets of course)
OS freight charges are such a pain in the rectum for "Rest of the world", group buys are deffo the way to go to mitigate this, I've got so many bit and and bobs to fit to my wagon that I'm not looking for any parts at the moment but www.volvo340onderdelen.nl are having a closing down sale until the end of this month which sorely tempts me….
Got the driver's side welded on last night after much chasing of pinholes. Need to grind it all back then get to painting. Ready for the weekend I hope!
Scope creep

Miss having a welder , so handy .
Good work there looking good . Good you found the little rust on the passenger side while under there . Looking forward to seeing it all black .
I'm just waiting for a new tin of brushable seam sealer, hopefully it arrives before the weekend.