Good progress.
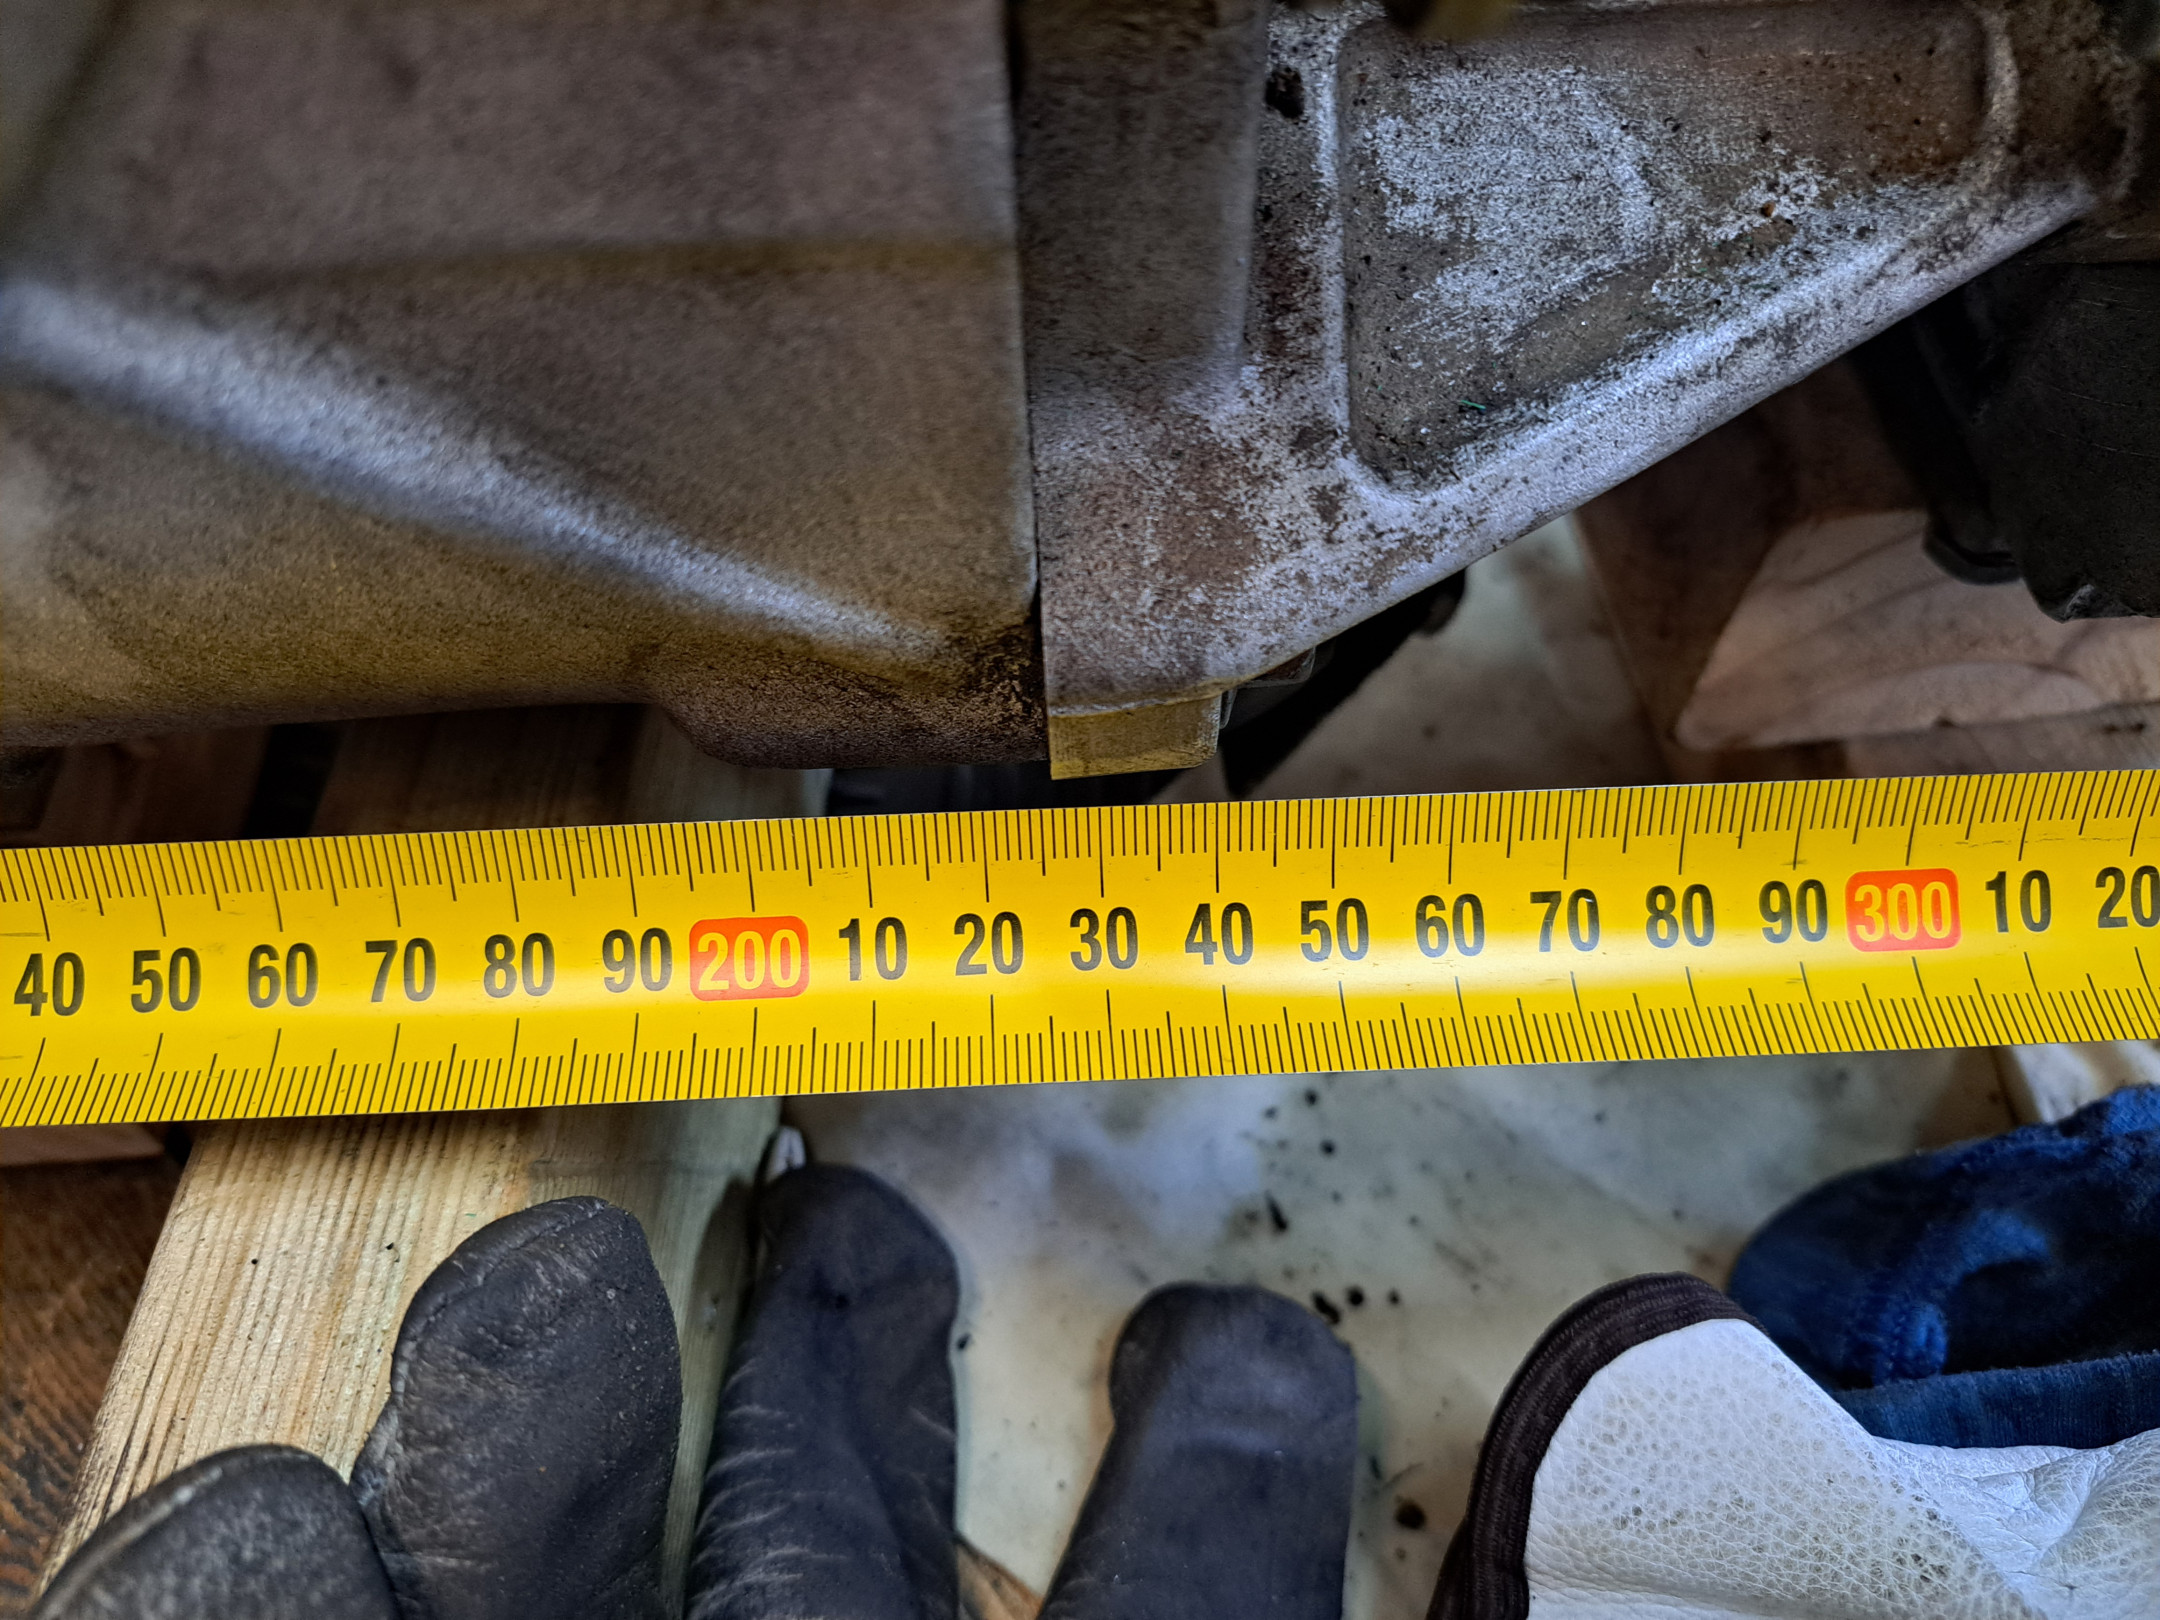
If you need a measurement check i have a cast iron M46 / Overdrive box to hand.
PM if required.
Greg's Gold 1991 240GLE wagon B230FT-to-be

We fought with the gearbox this morning trying to get it in (you'd think it would be easy with a hoist and a gearbox lifter). No luck. I had a block on the back of the engine/head area to hold the engine up at the back, but I guess that was too thick. So we put the car down. made a cross member with a threaded rod and hook to support at the rear lift eye. Lifted engine up, removed wood block, then let engine down quite a bit. Hopefully we'll have enough room to get the bell housing past the tunnel now. Lunch break now!

Sounds odd, clutch assembly lined up properly?
arebee We got it in eventually. Engine wasn't down low enough at the back. Once we lowered it as much as it would go (removed the wood block I had in there, and head against firewall basically, except for the extra thickness of the head of the 10 mm bolt holding the new cam plug blow-out plate). I think that 10 mm bolt head made a difference, but we were able to get it in without removing the bolt (which would have been a bitch).
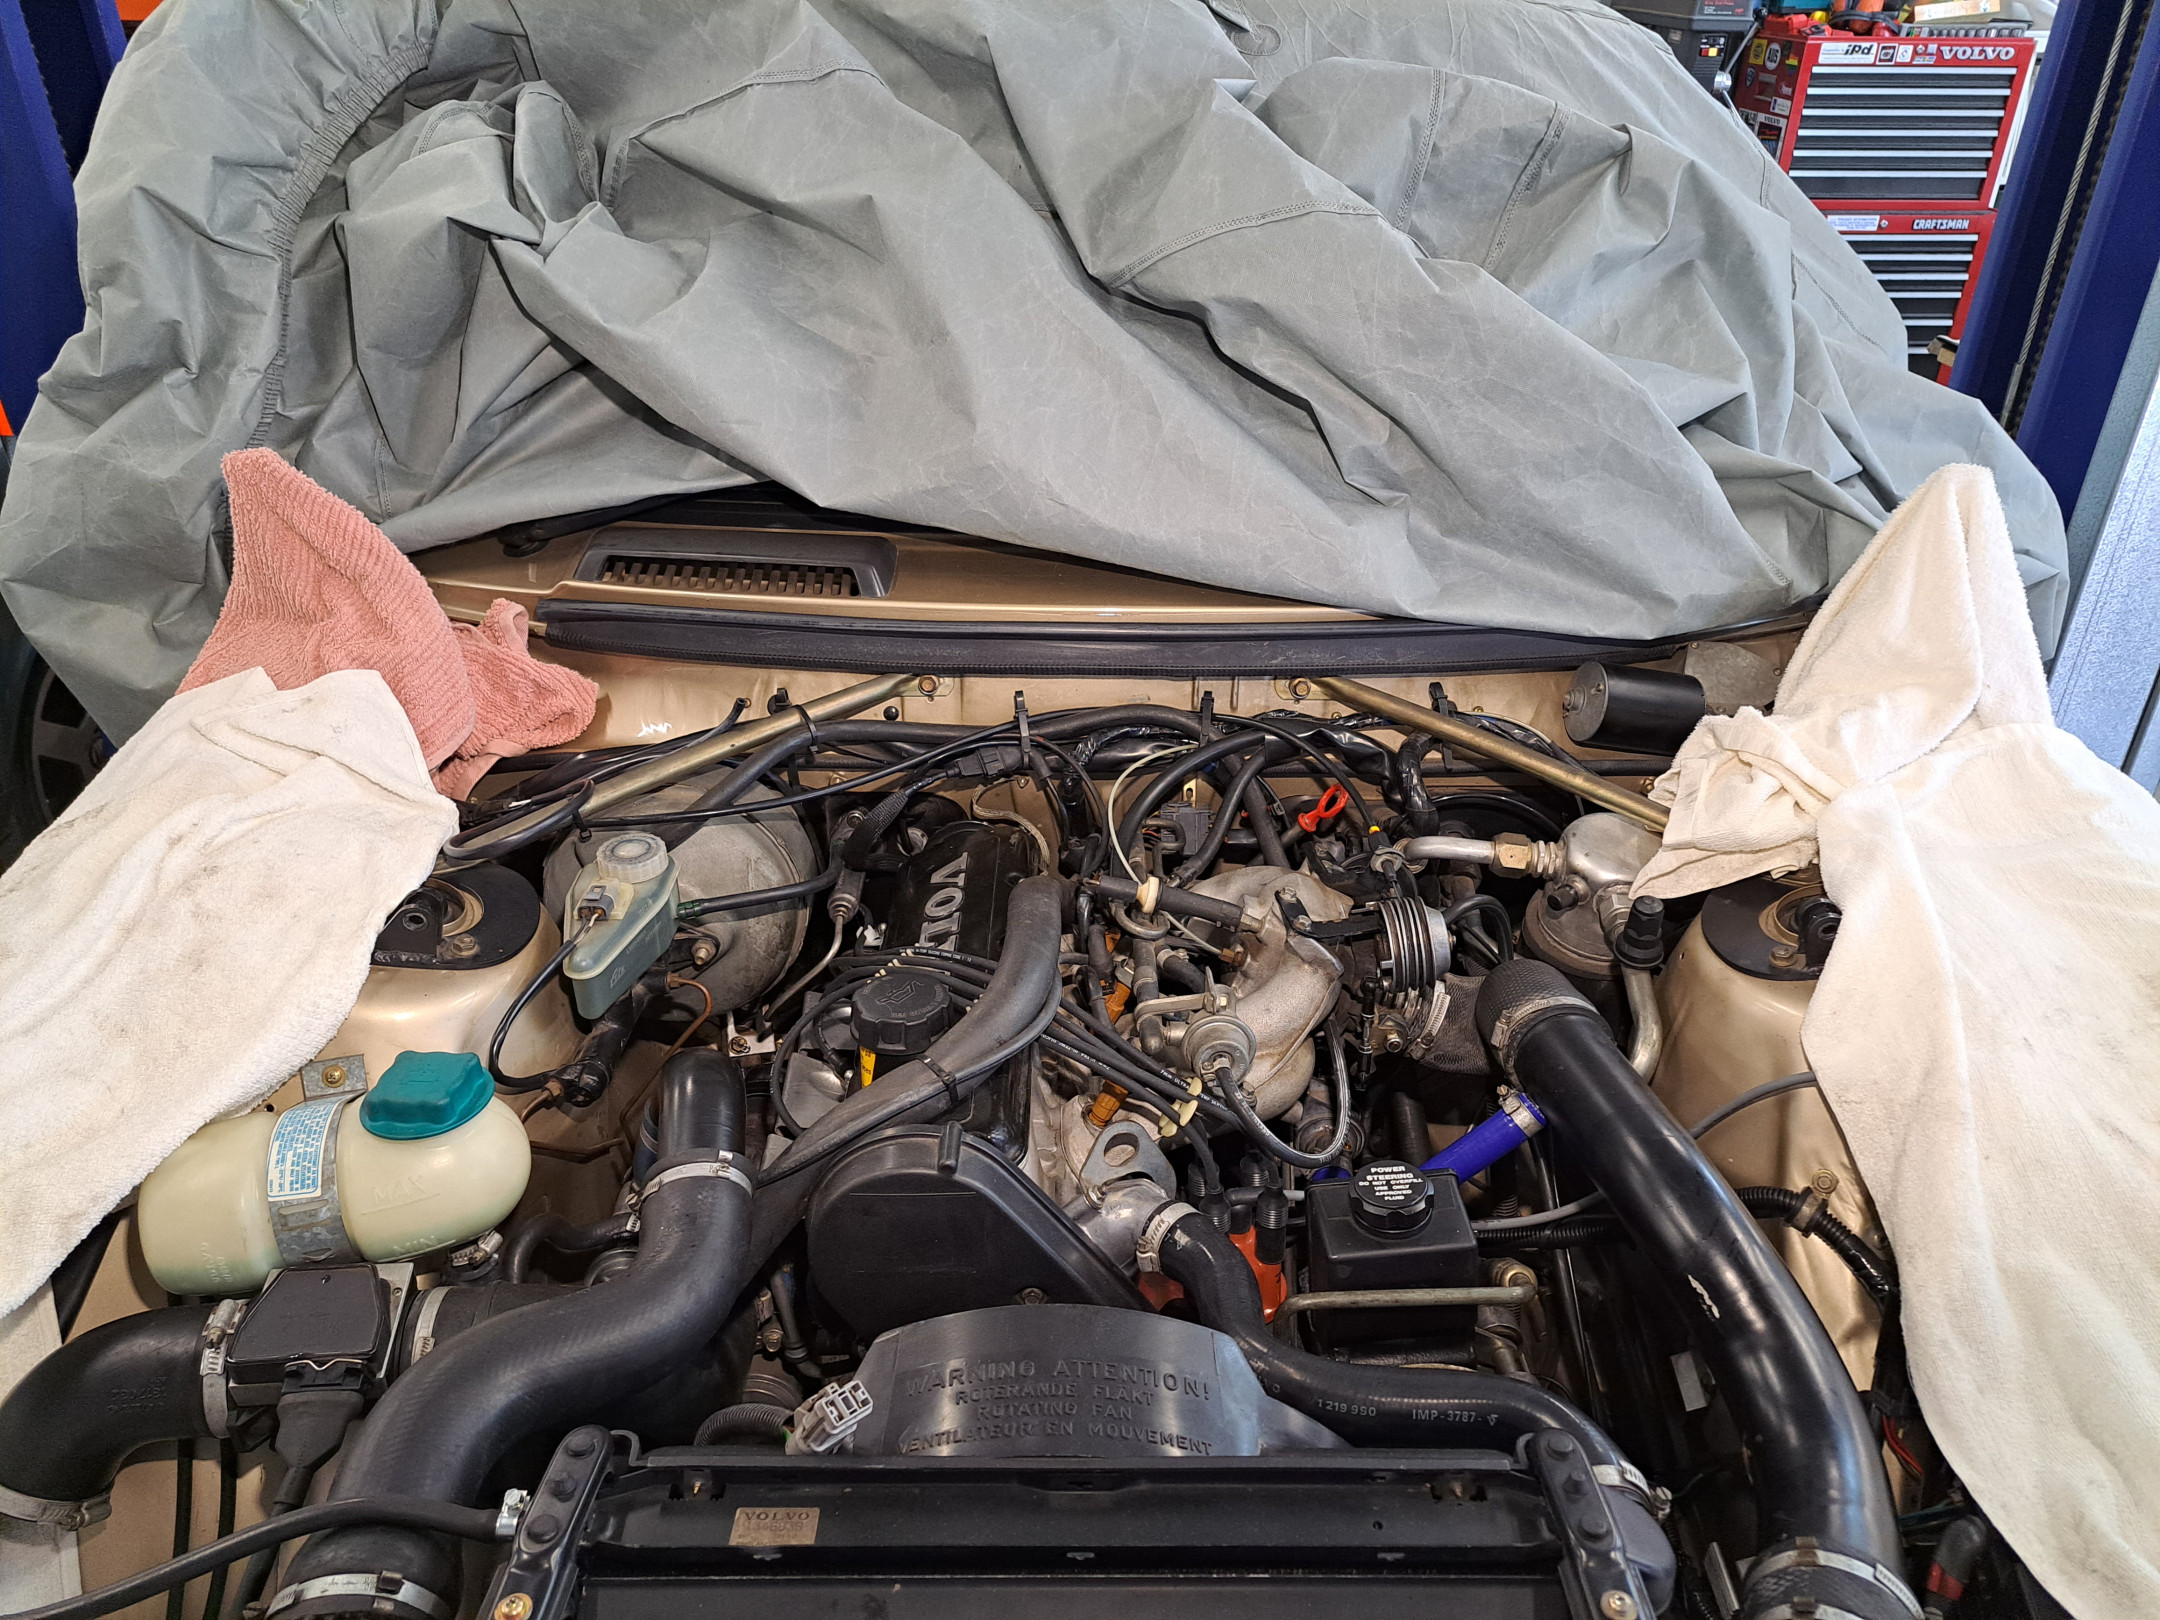
Here's the proof! 
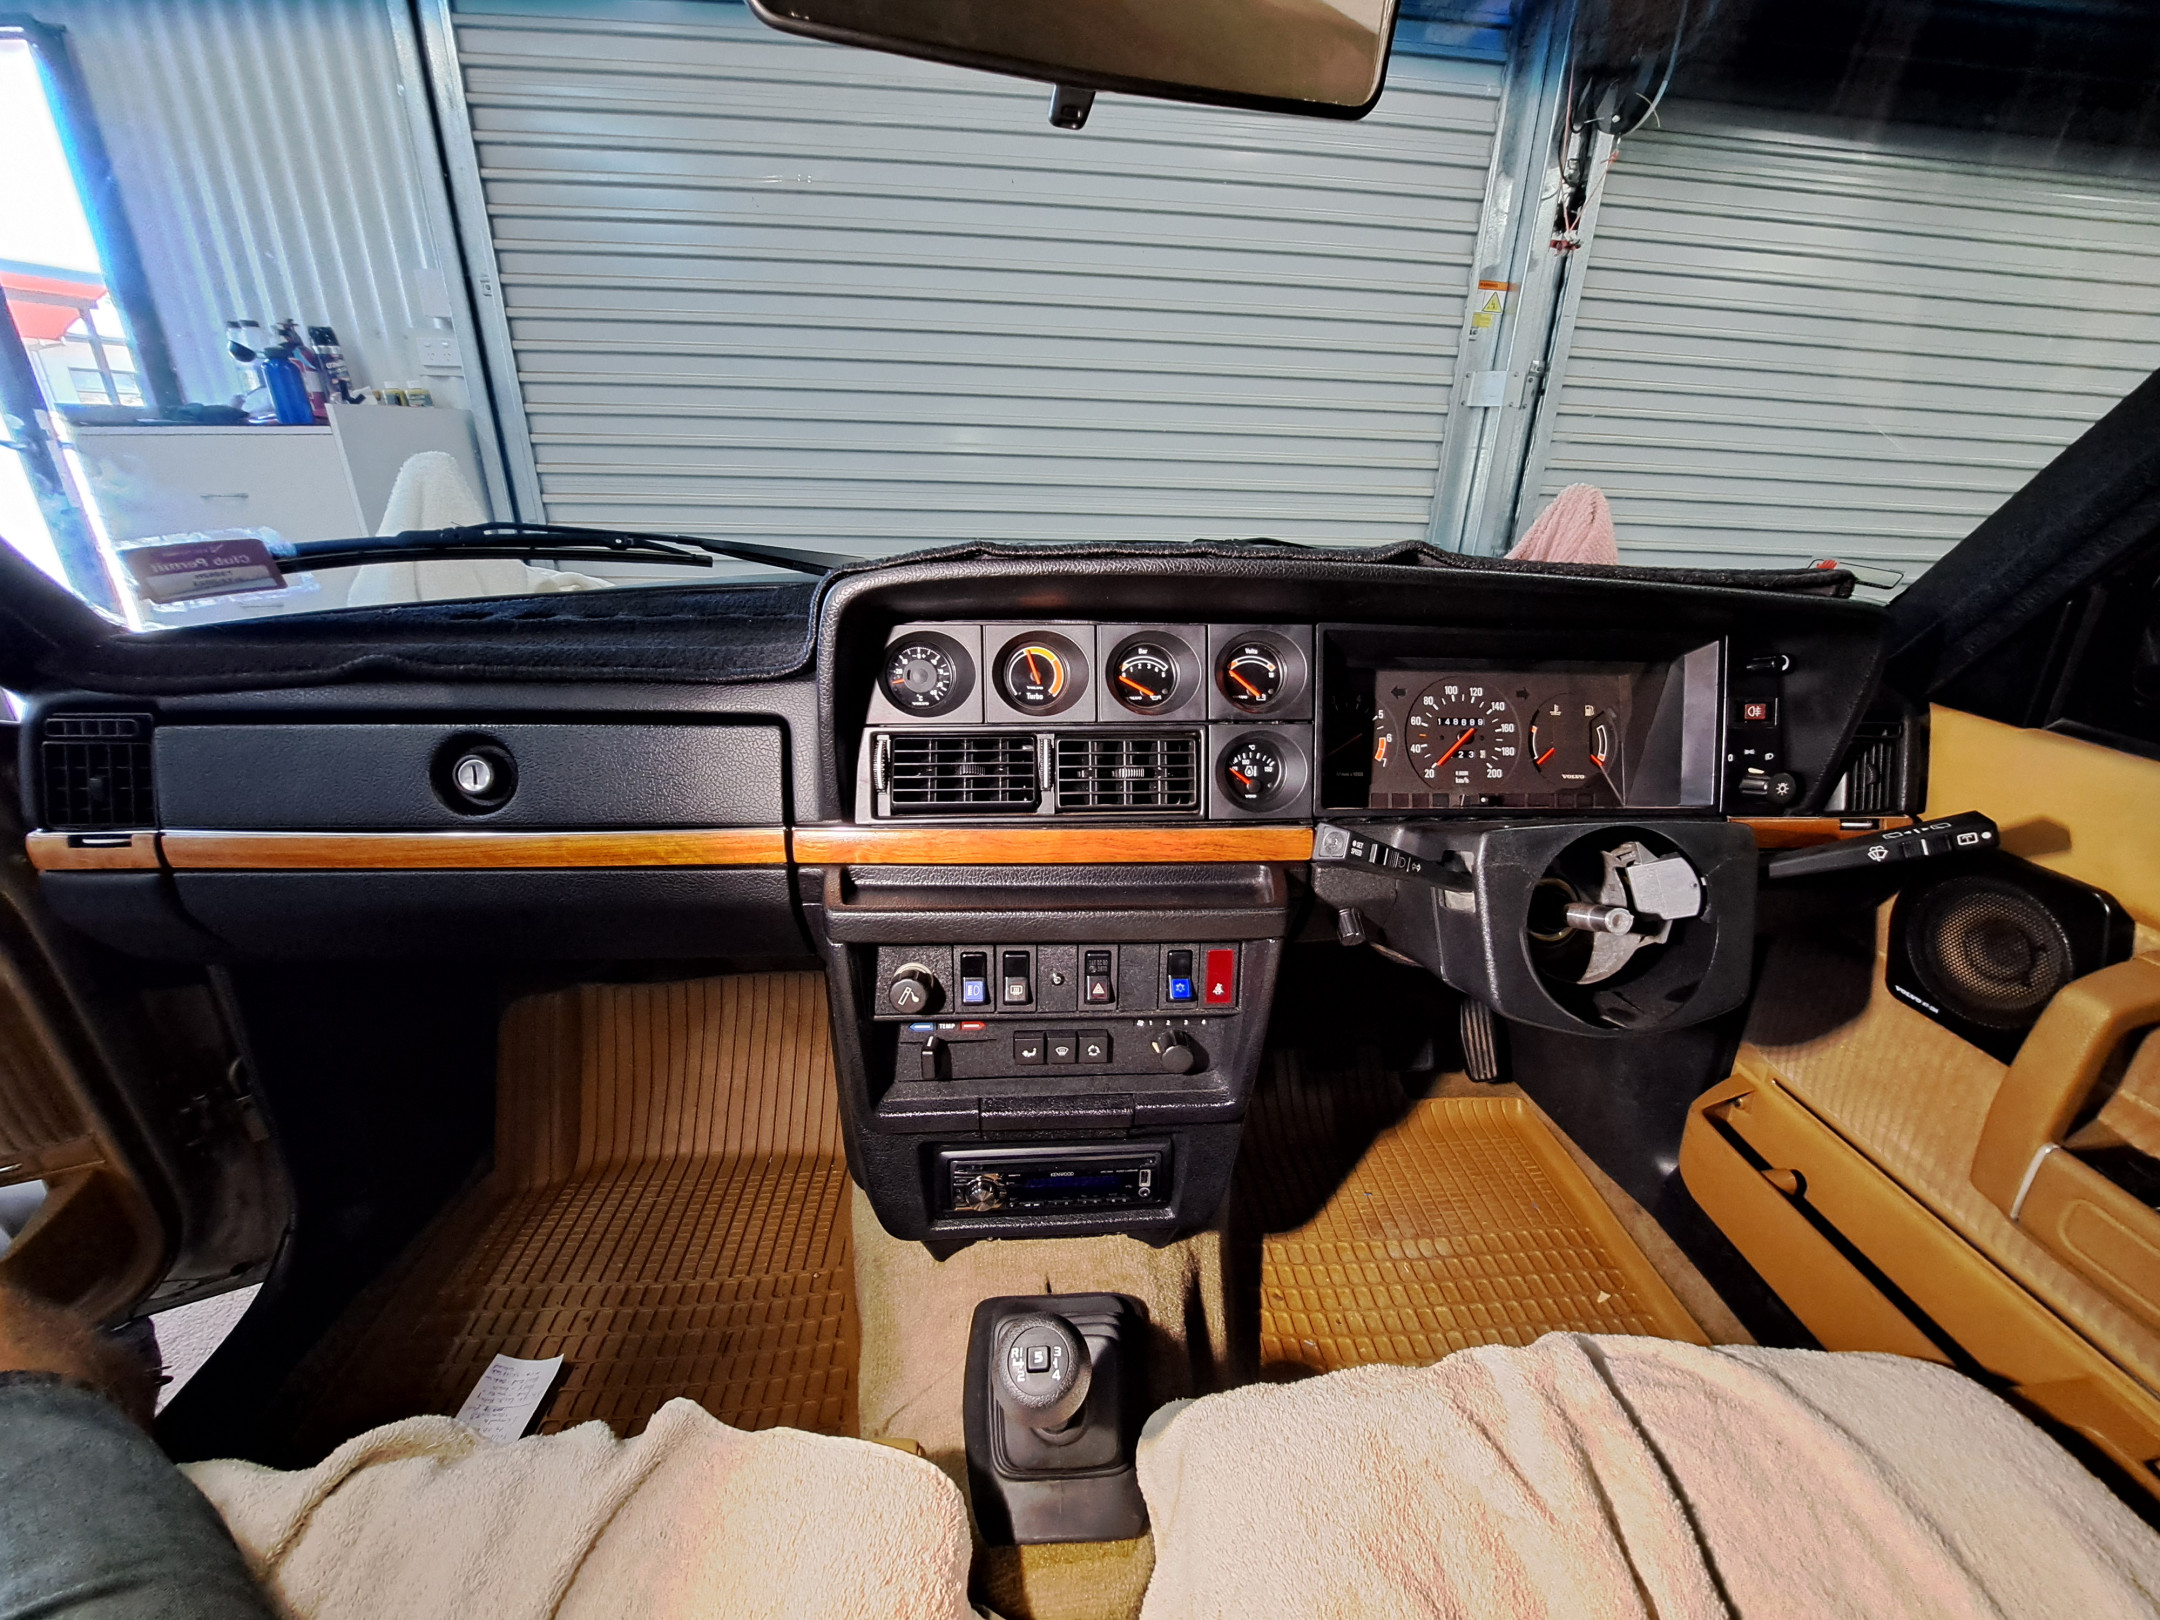
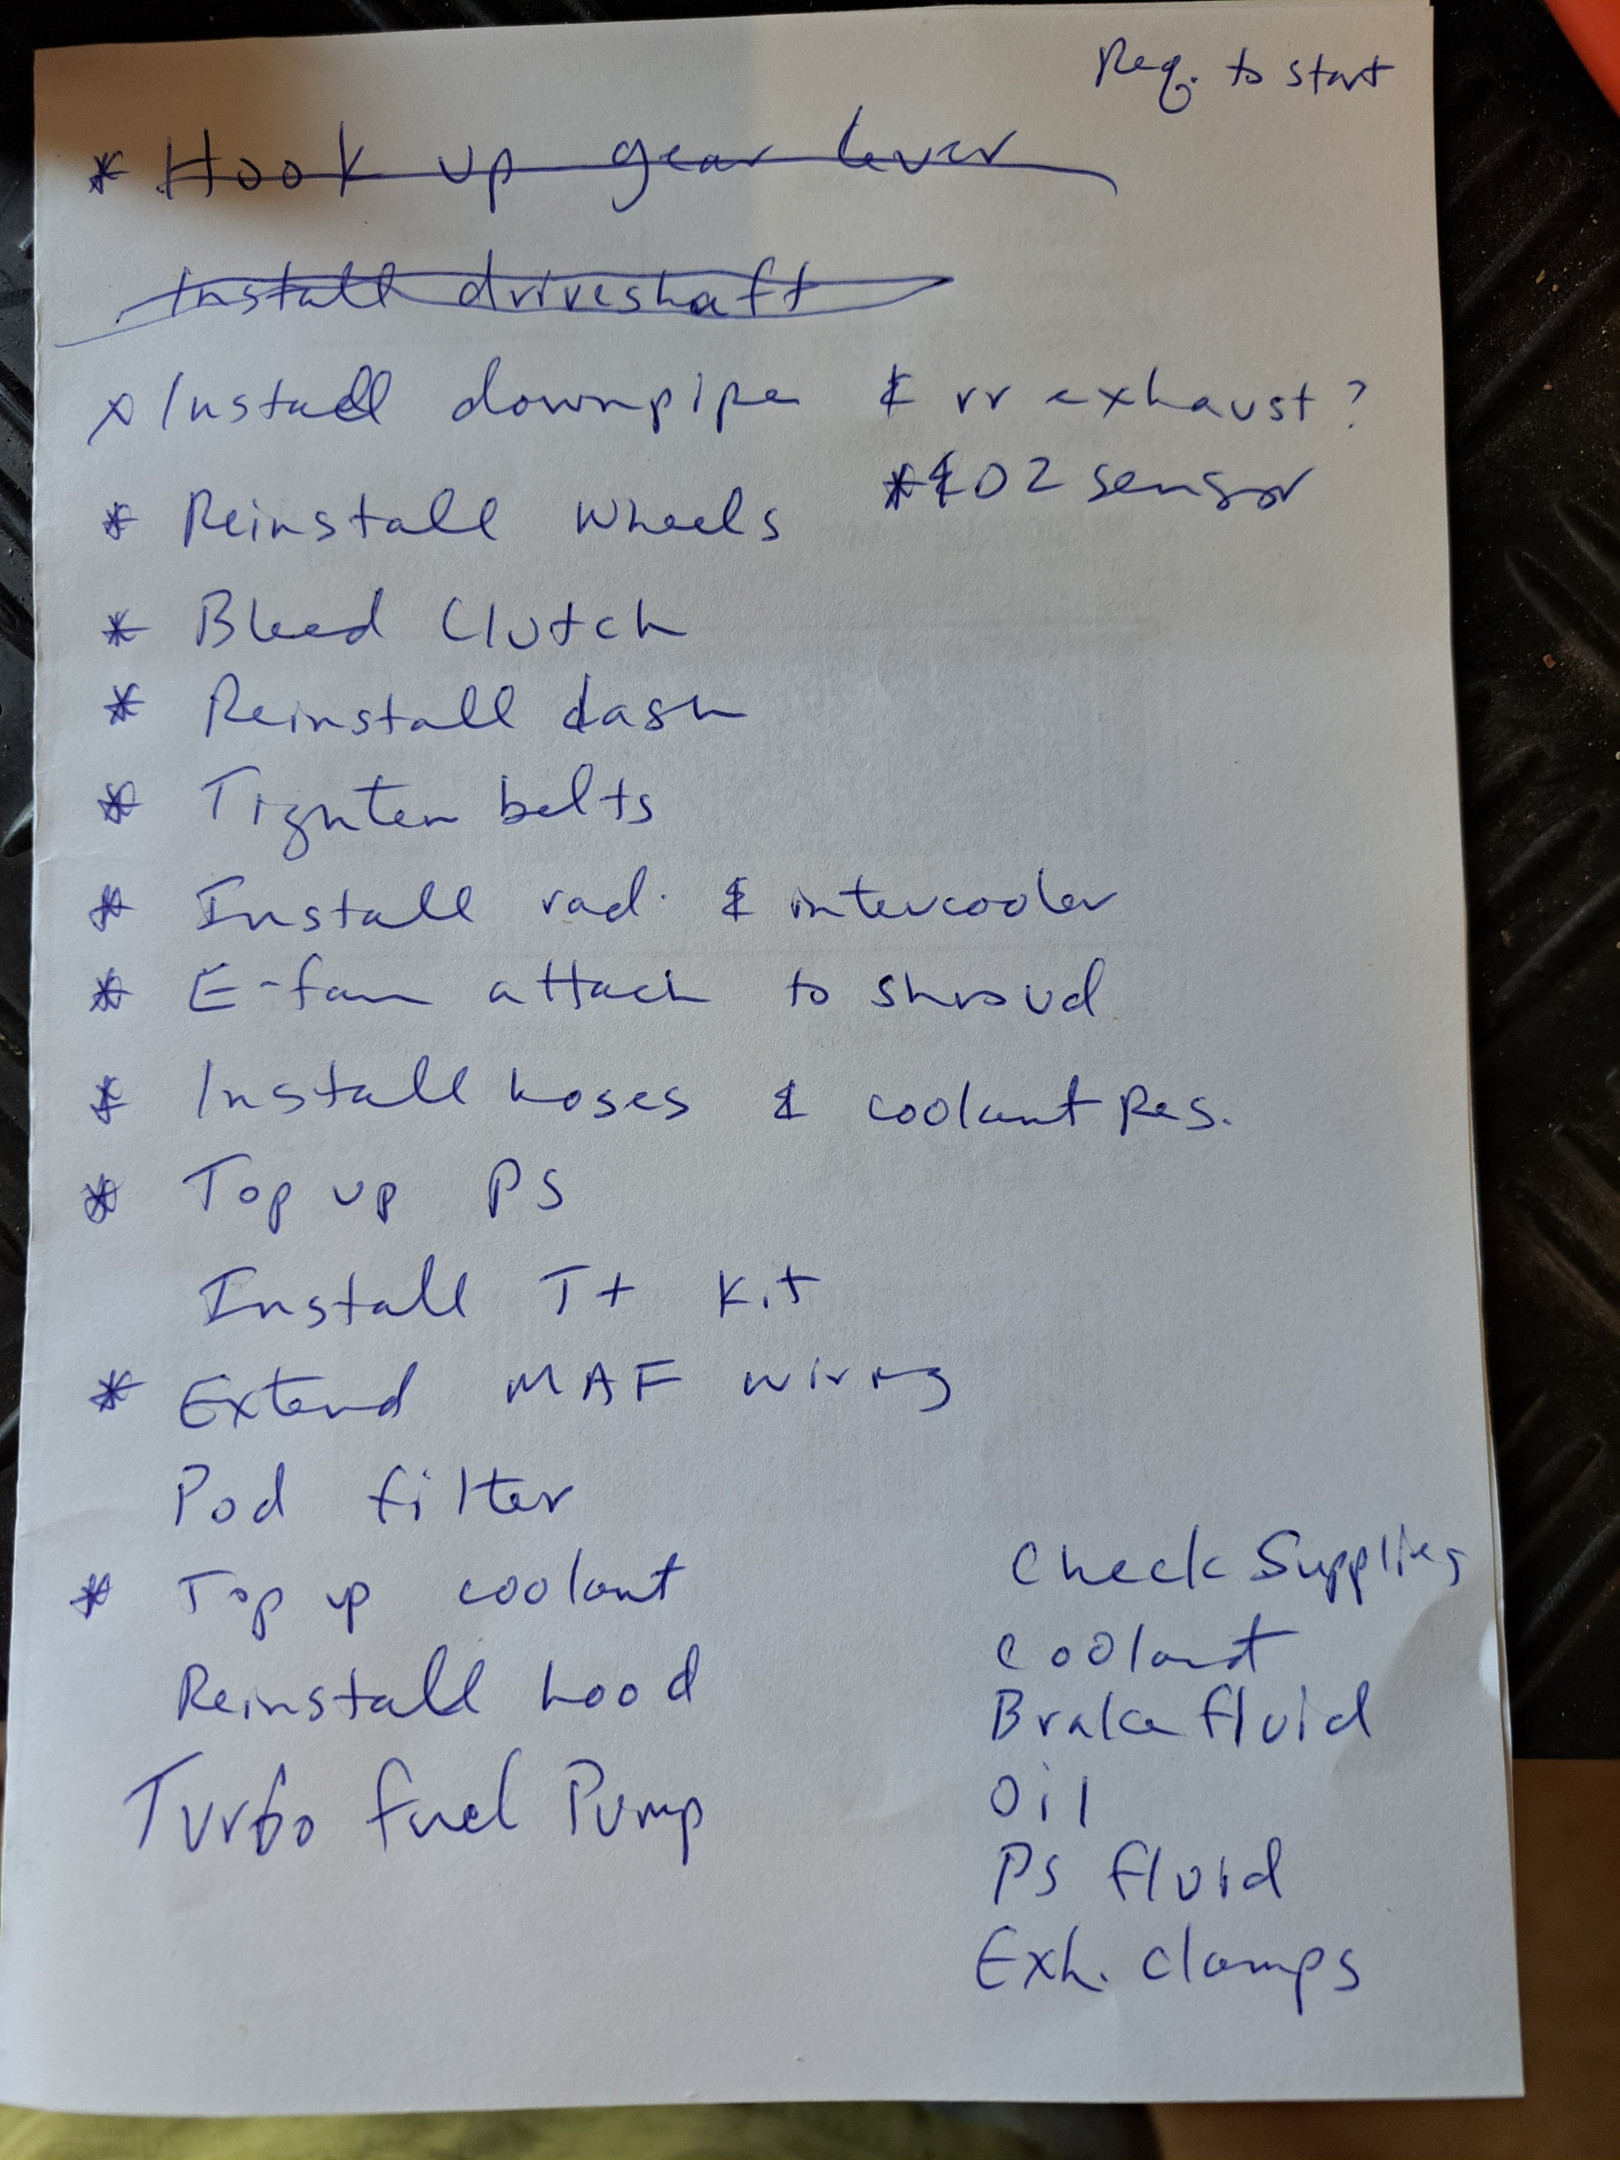
Next steps: connect the gear lever to the selector mechanism, install the boot, knob, switch and cap. Need to bleed clutch hydraulic system. Install drive shaft, downpipe, cat, exhaust, radiator/E-fan, intercooler, pipes, hoses, extend MAF wiring, etc, etc. Will need to work out what I'm going to do with air filtration. Possibly will just do a pod filter temporarily, but would like a proper airbox with cold air intake from under headlamp.
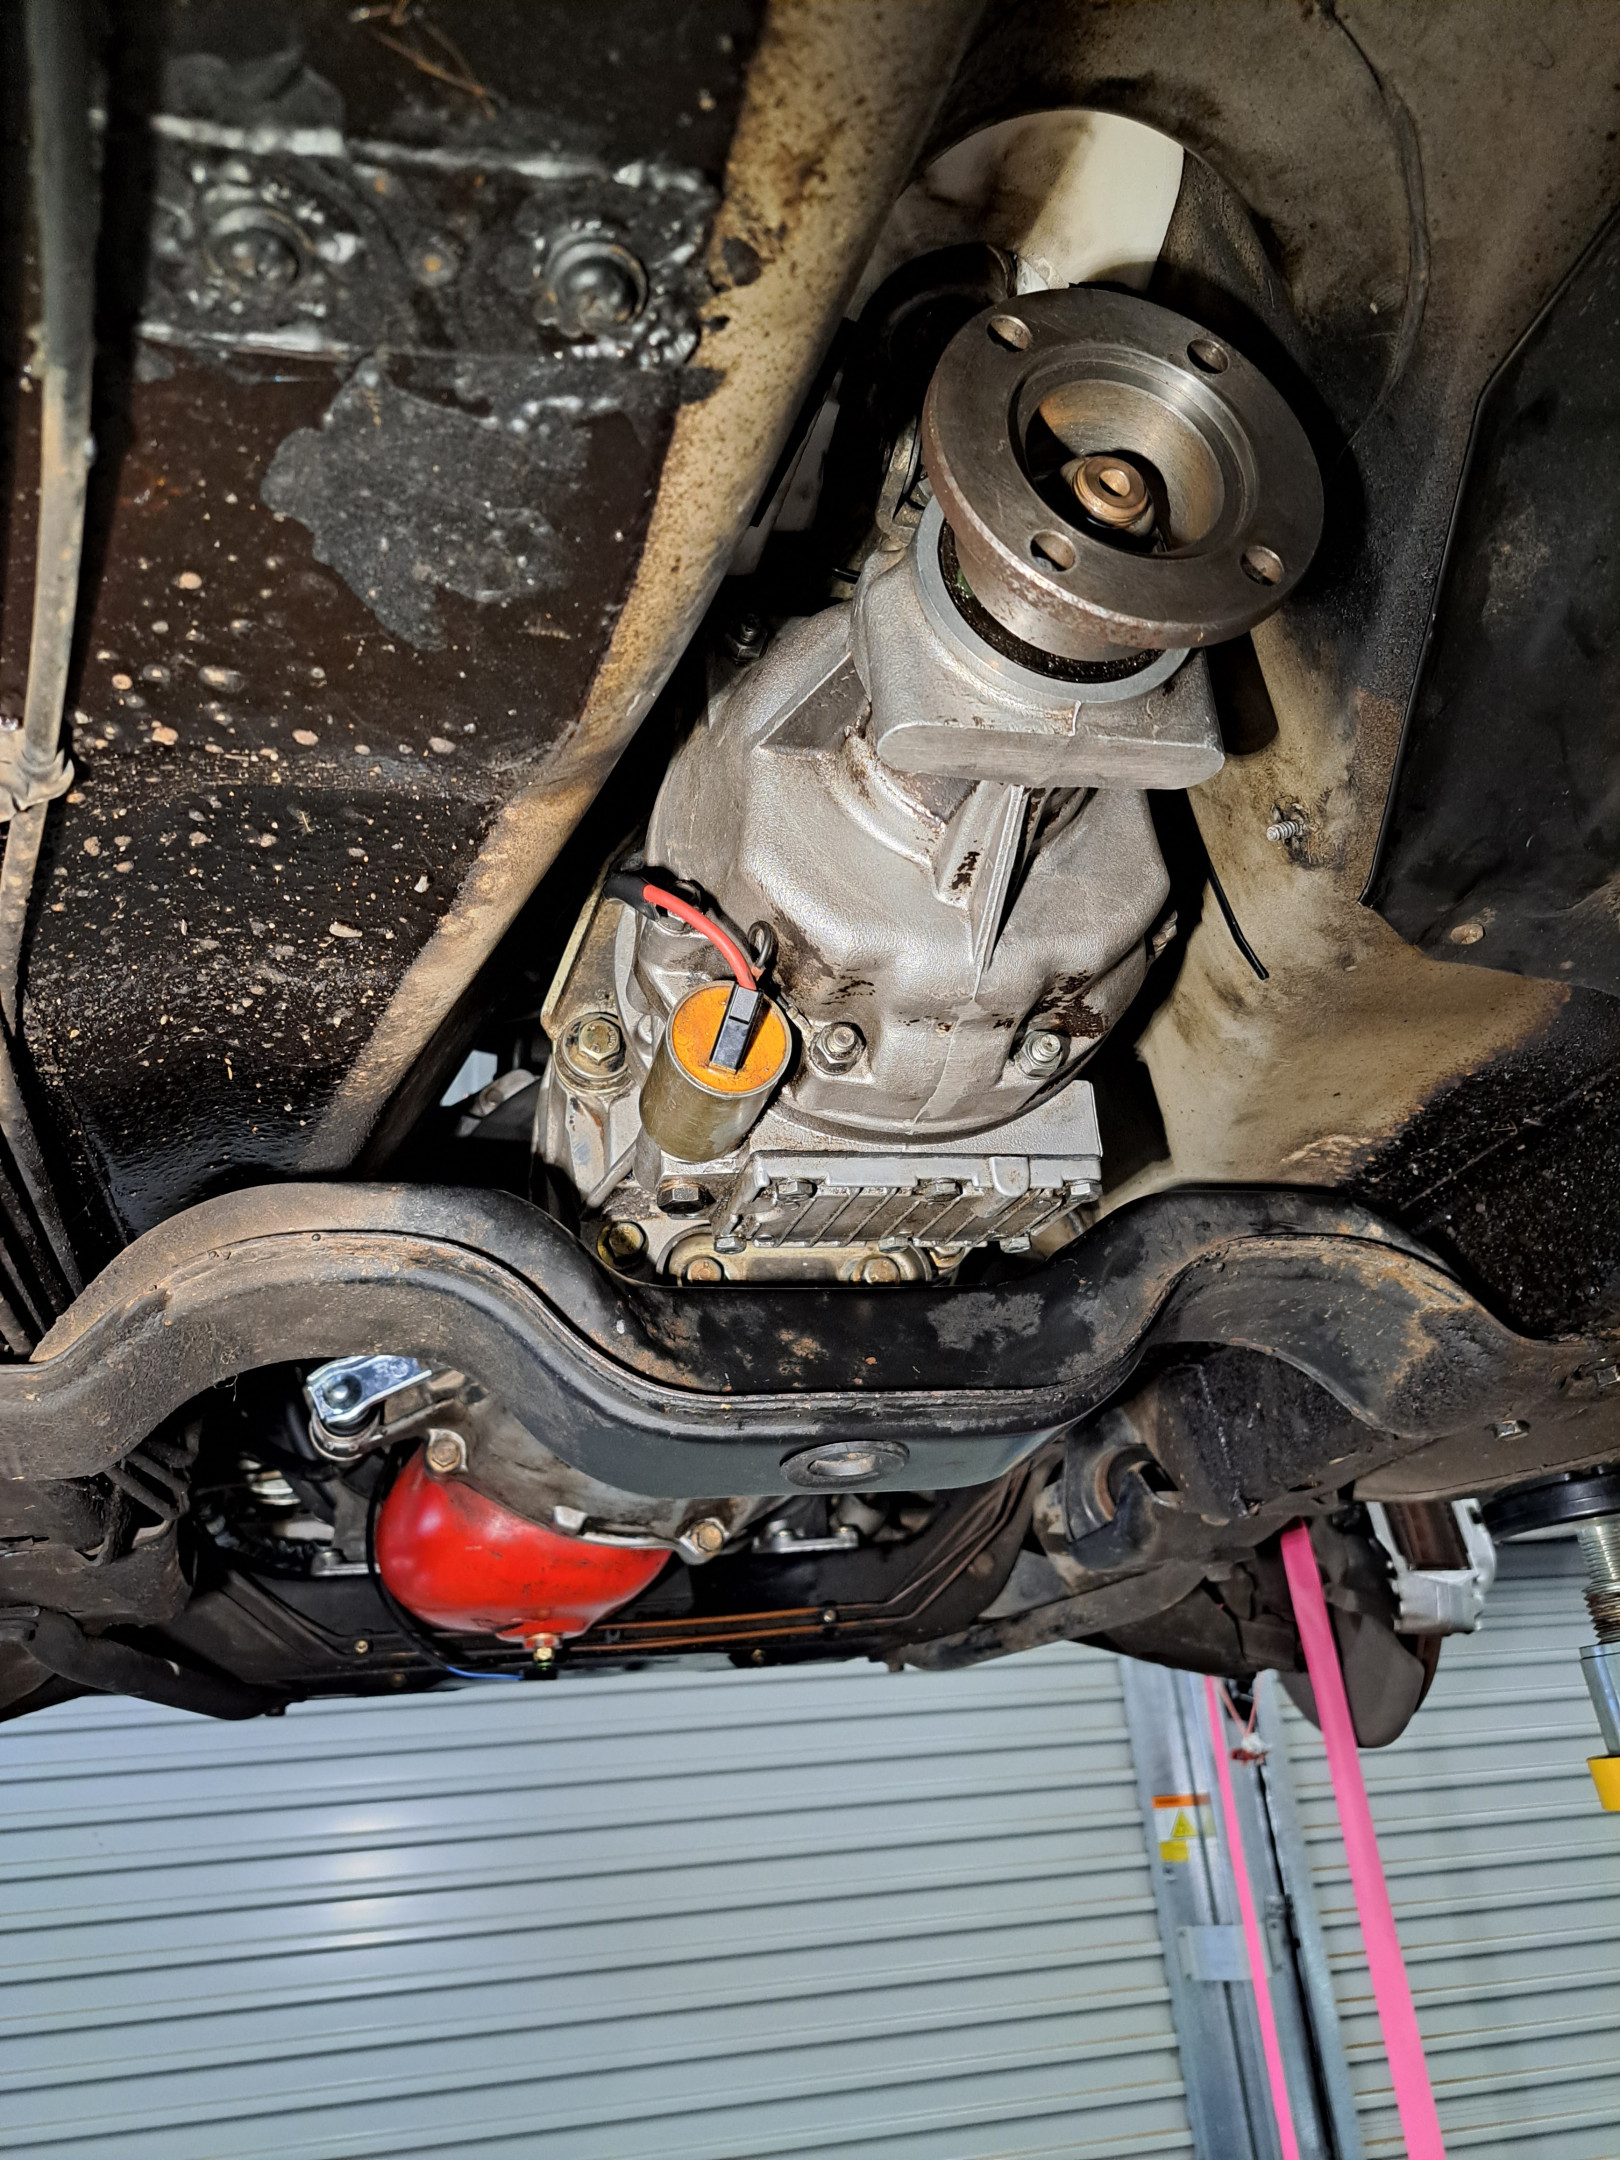
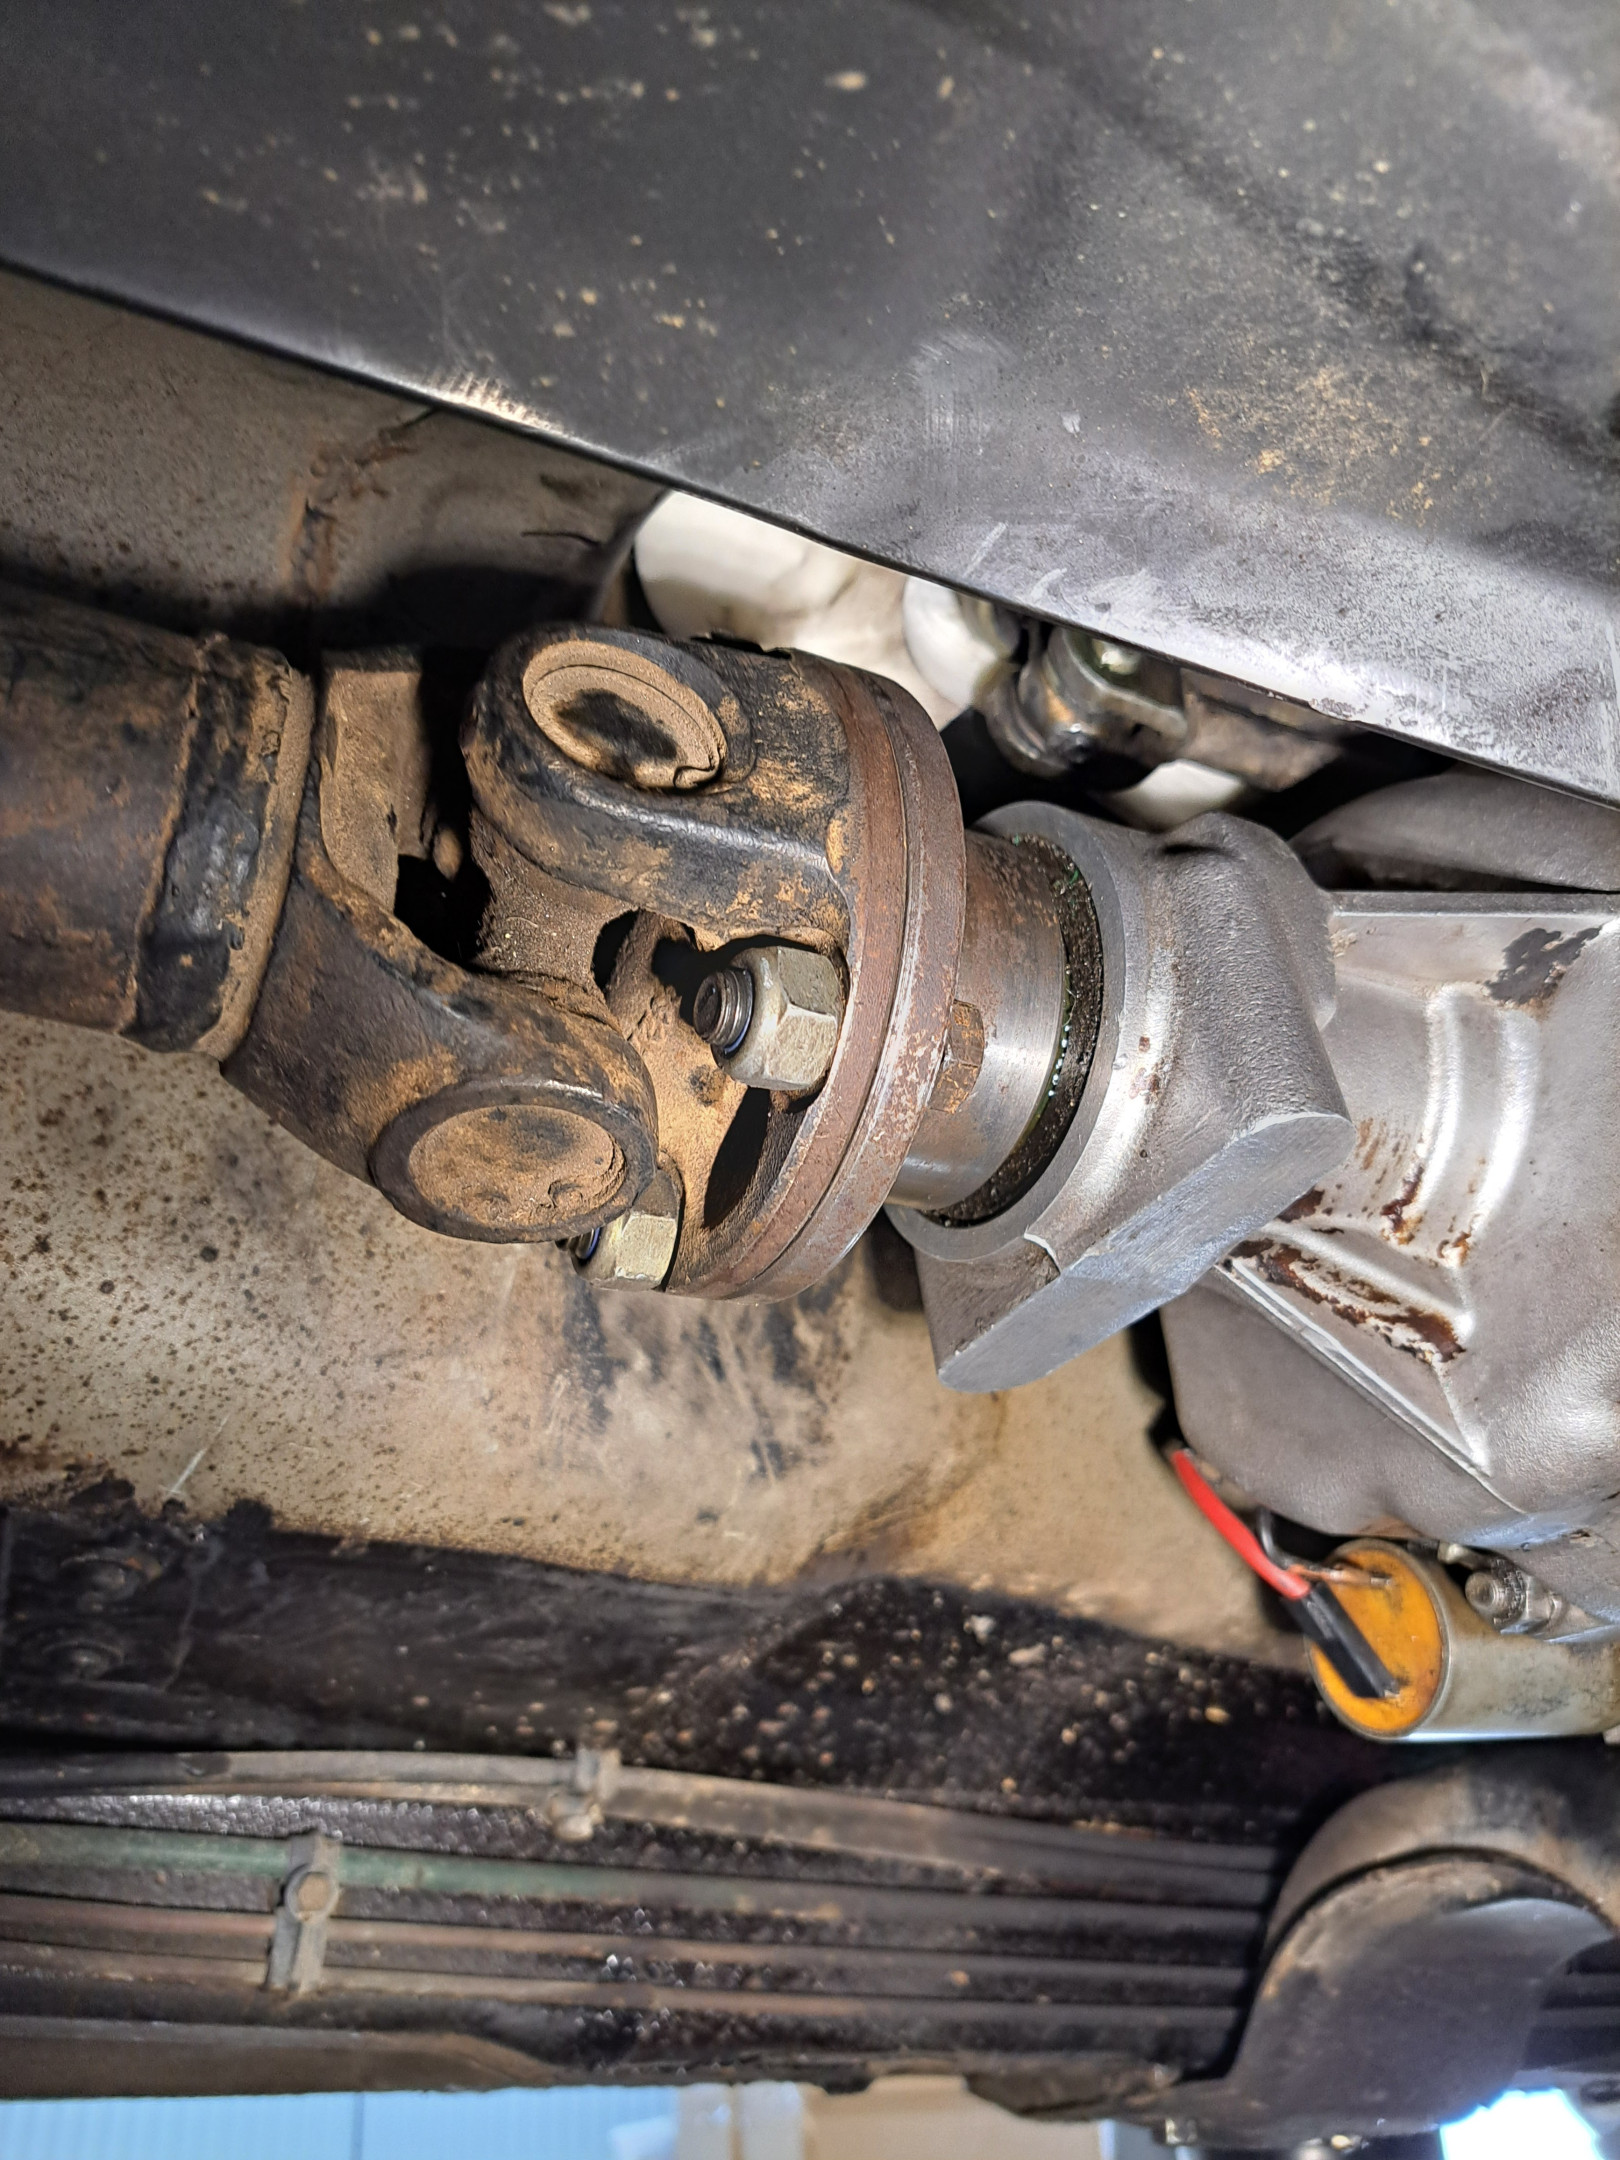
Got quite a bit done yesterday. Had similar issues with the gearbox driveshaft mating flange as I ran into on the yellow 245 project car. The bolt holes in the flange were slightly too small for the bolts…so had to drill those out, then the diameter of the area forward of the flange is larger so the large nuts wouldn't fit…had to install bolts with nuts facing rearward. Not sure what or when things changed, but Volvo did some strange things with these flanges and bolts over the years. I think I also had to take a bit of material off on the recessed area inside the flange to allow the driveshaft protruding part to slip in there, but I had done that months ago when I was test fitting the flange to the driveshaft front section. Also had to swap the good original 1991 centre bearing onto the short M46 driveshaft section as both M46 driveshaft sections I have in stock had bad bearings. I hadn't ordered a new bearing - DOH!
Also got the clutch bled, wheels & tyres reinstalled and shifted car forward (off the hoist) so we could get the dash and interior reinstalled.
Today we'll be working in the engine bay on hoses, wiring, fluids etc.
PS: Yes, I could have replaced the u-joint and cleaned and painted the shaft, but I'm NOT my dad (thank dog for that!)
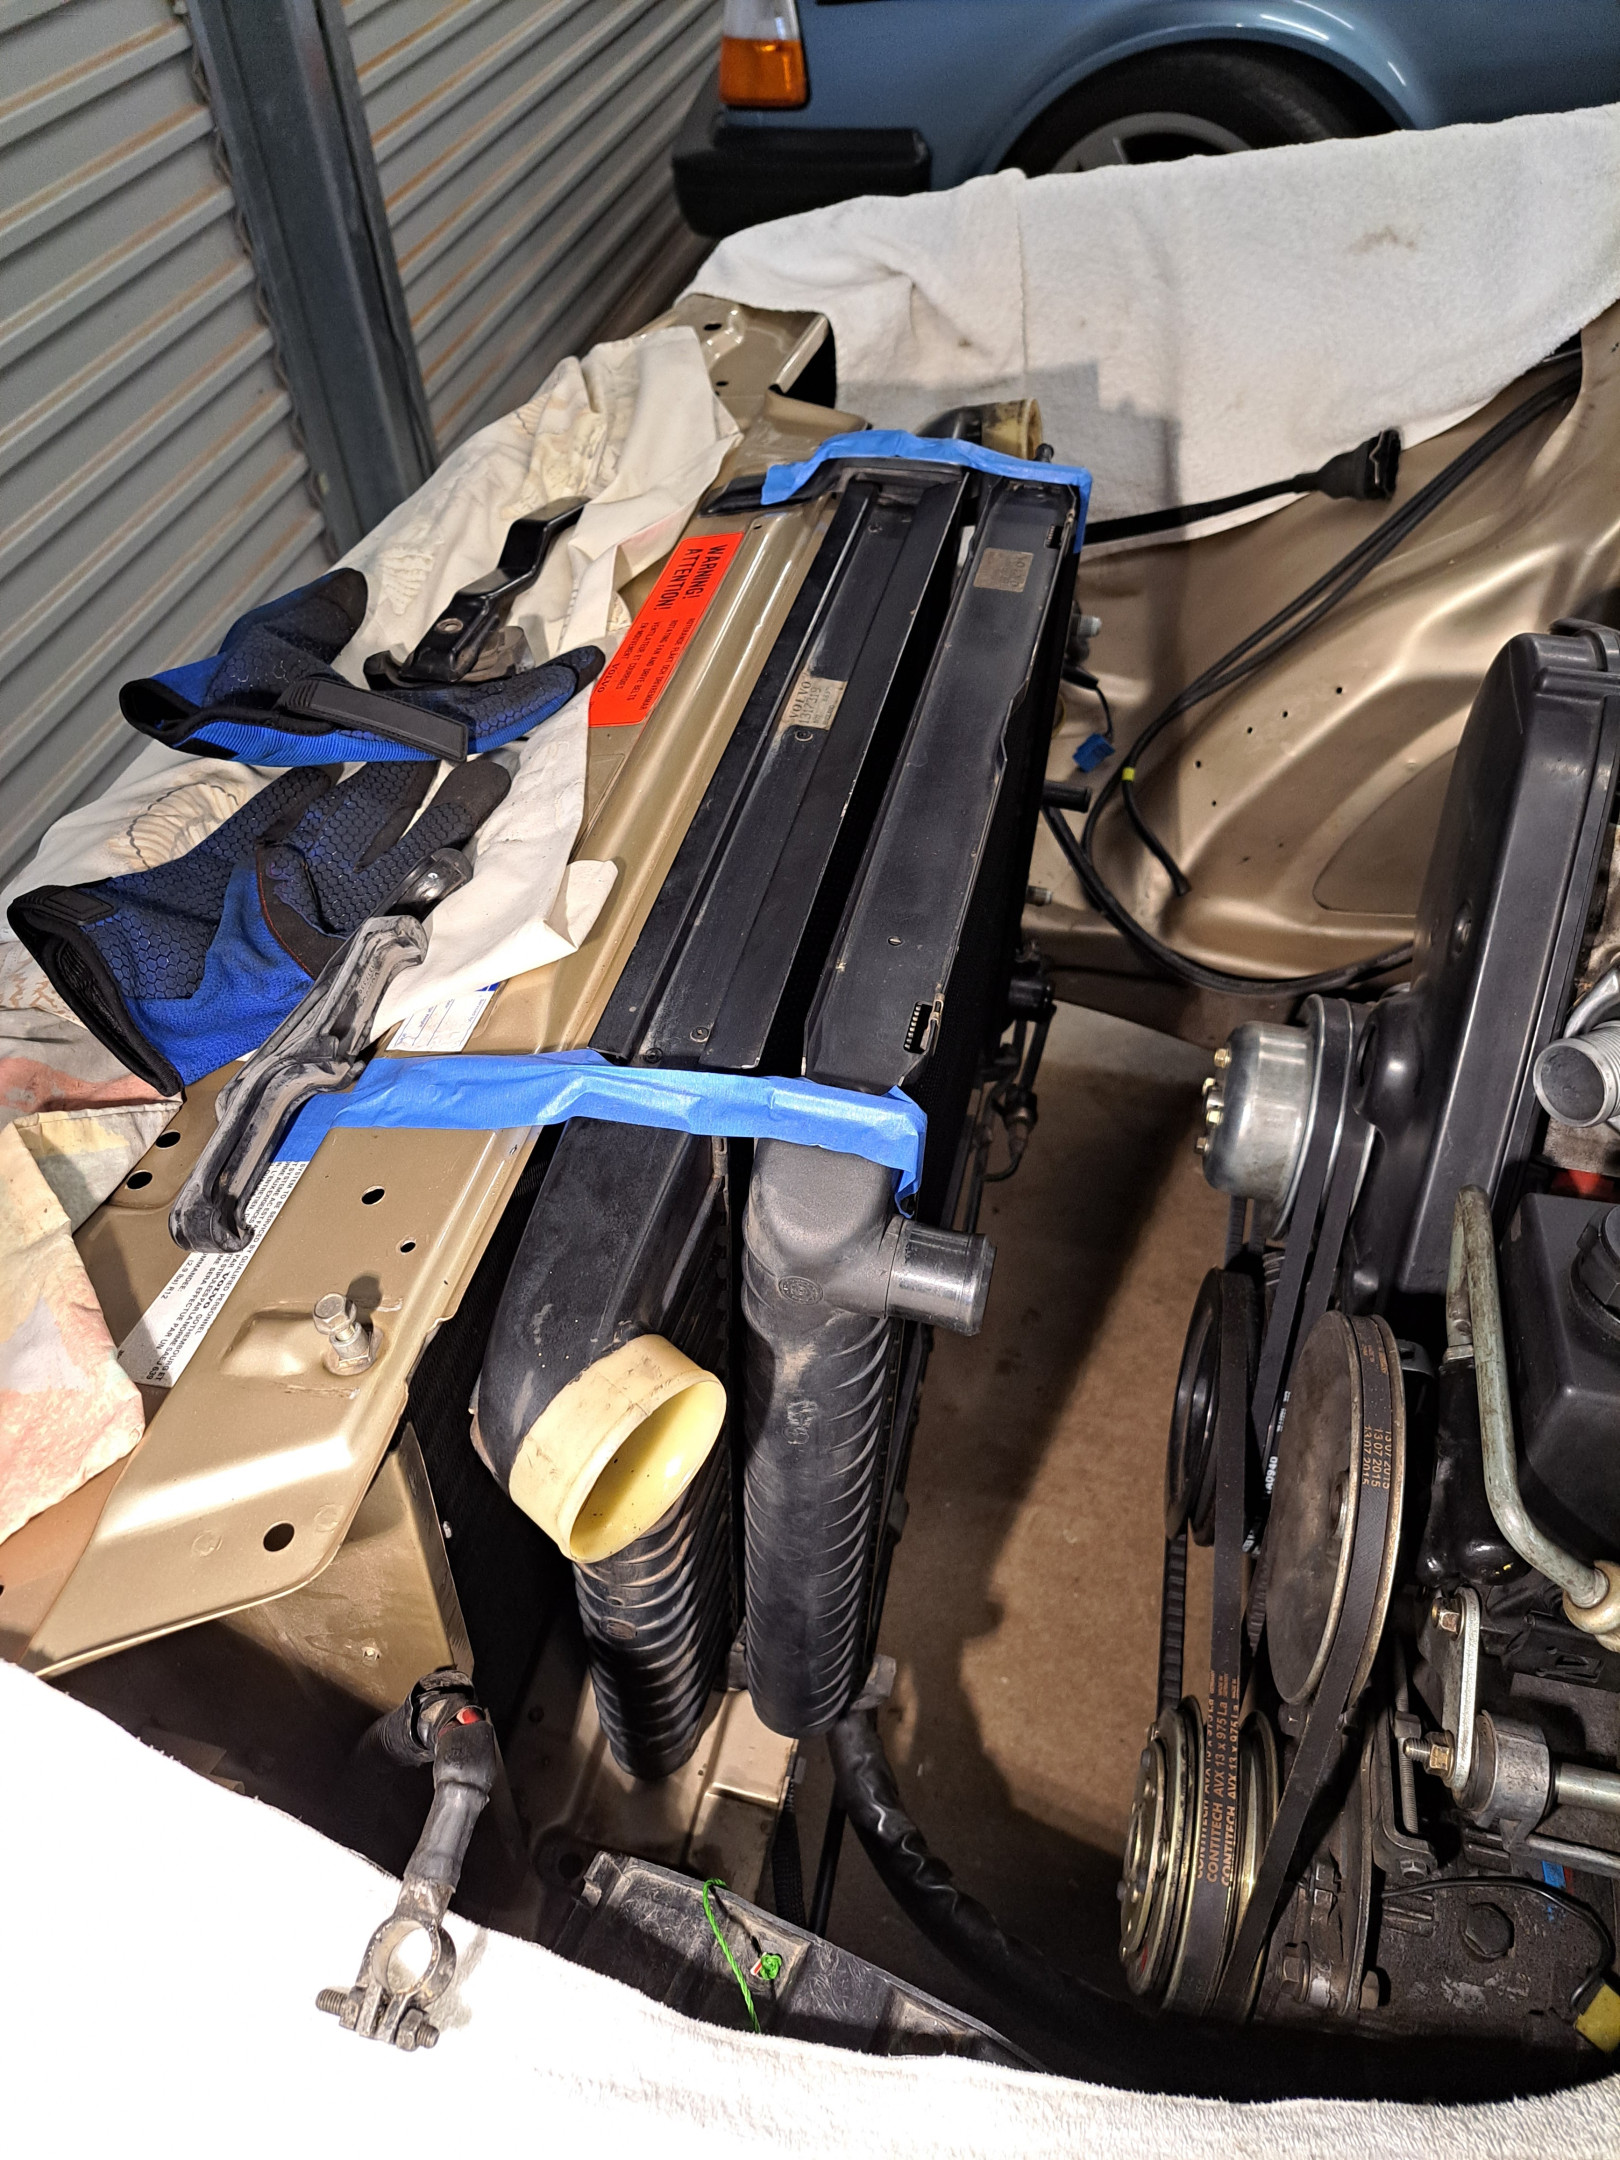
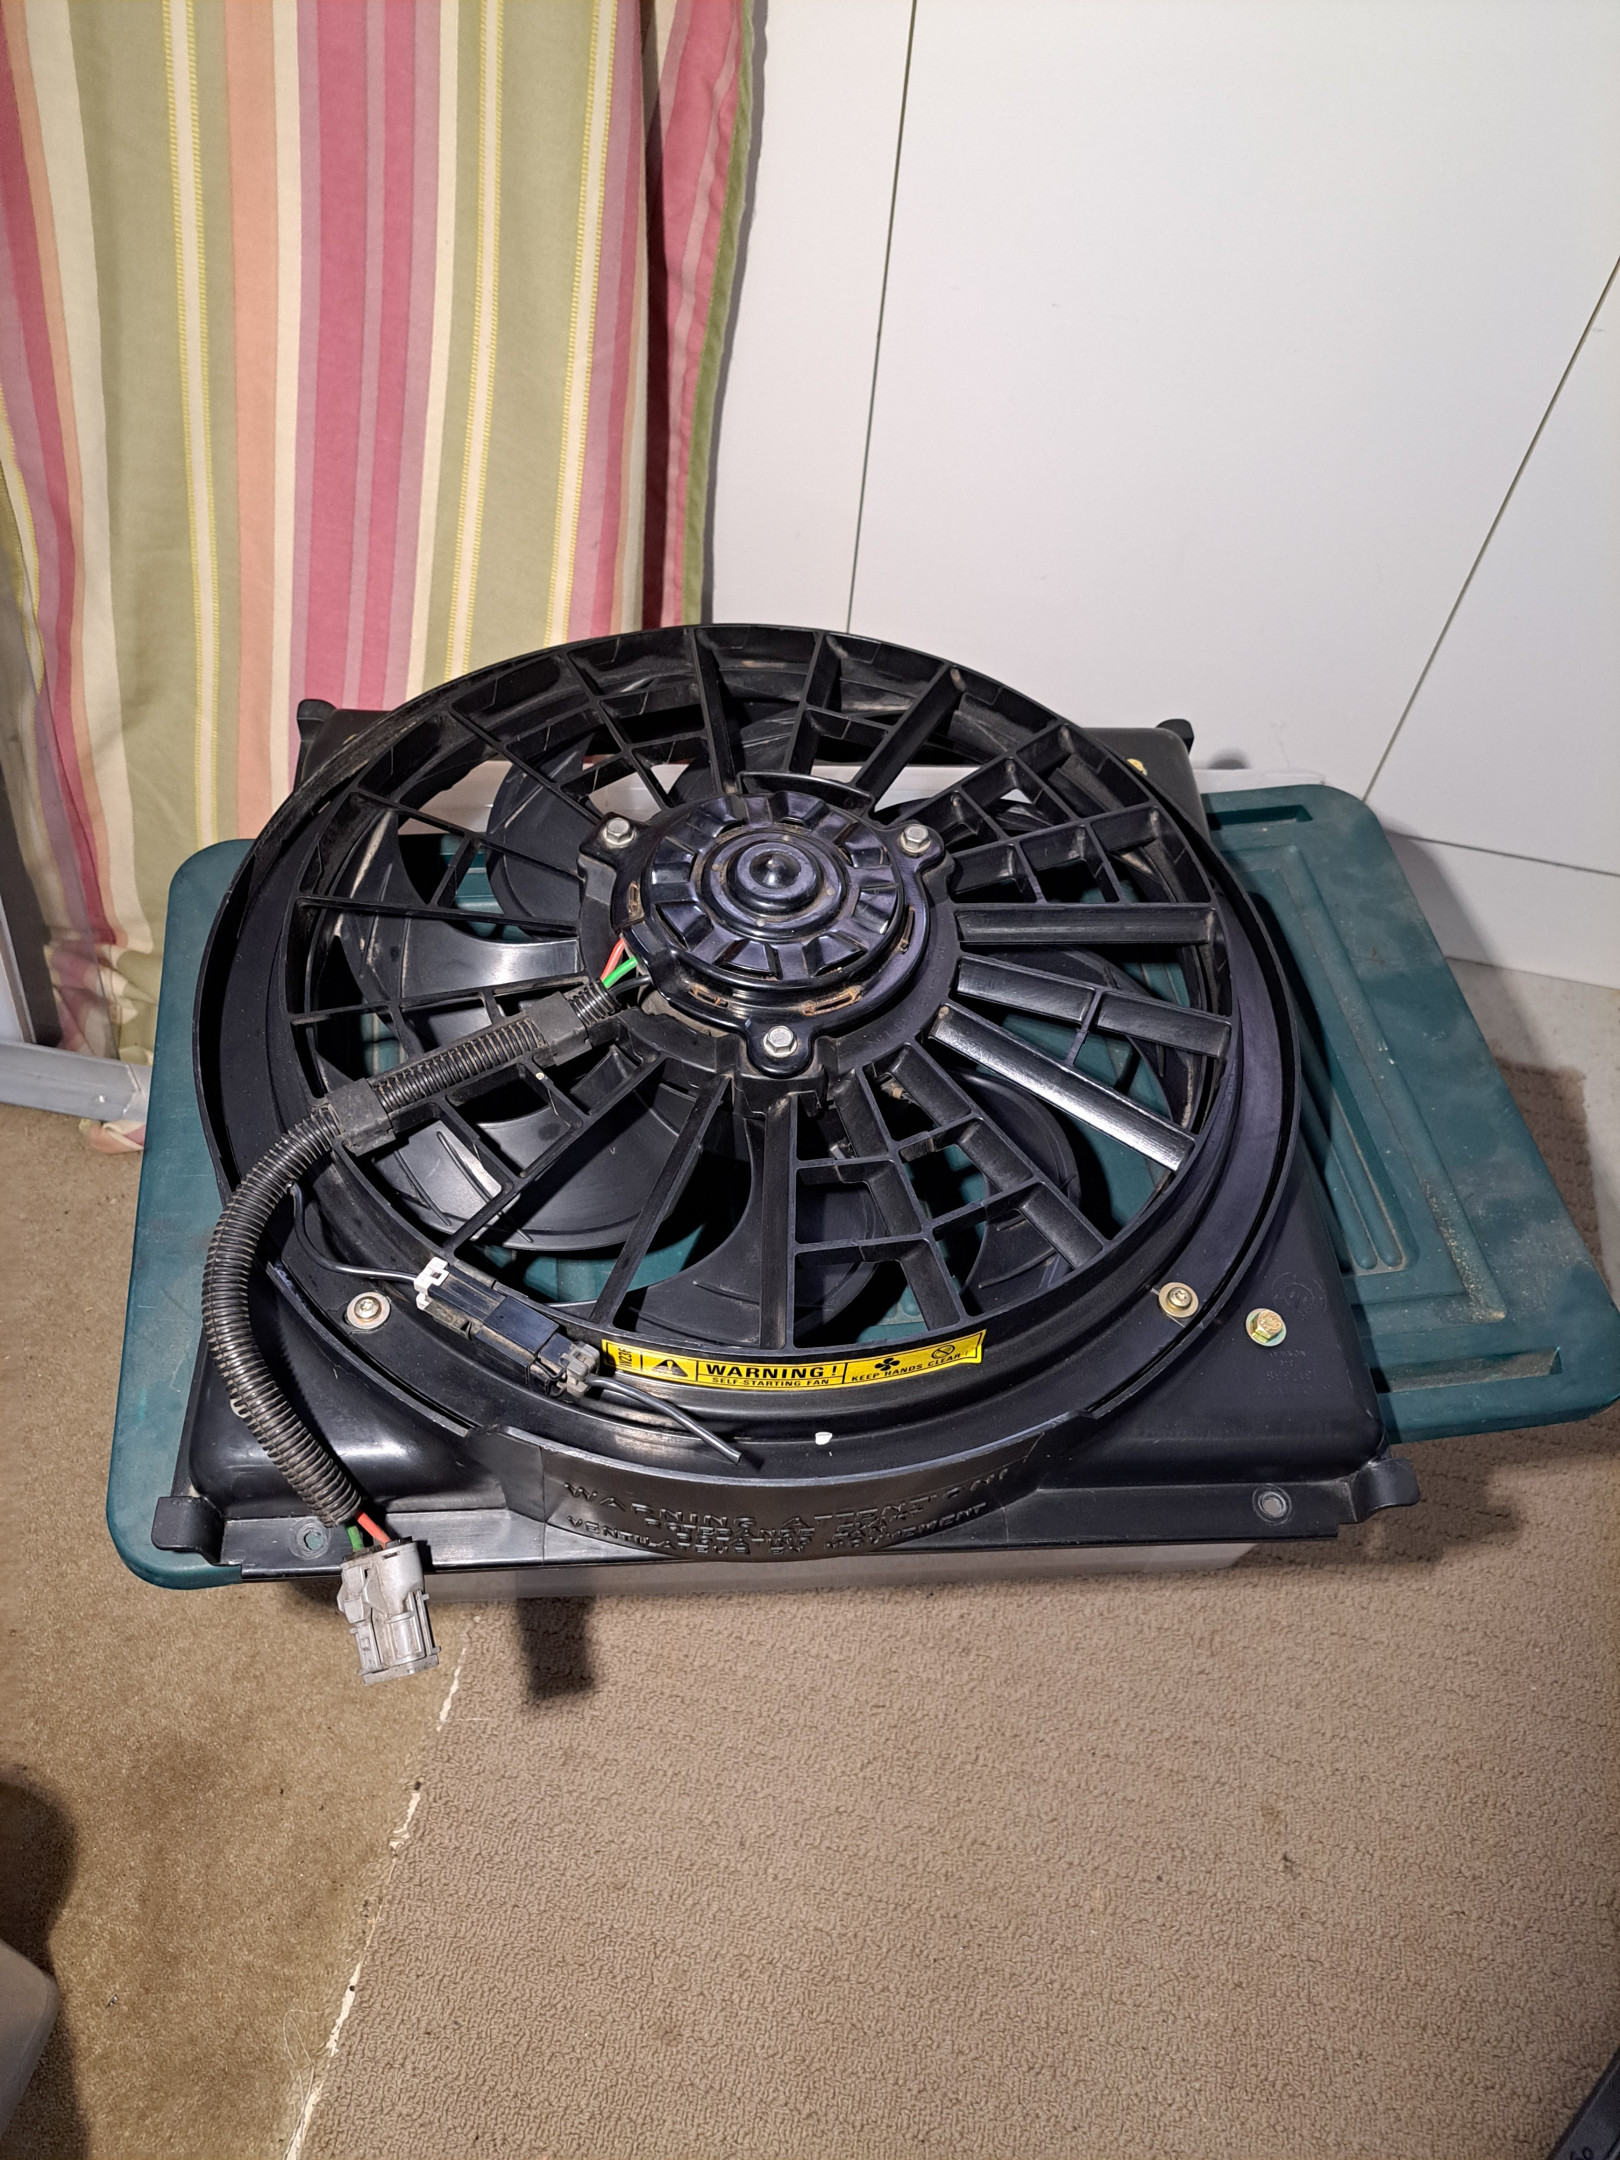
Got the belts tightened after swapping PS pump bracket adjuster (I've changed to the integral reservior pump set-up from a 93 240 so had to piece together the brackets to suit). Patched in a longer MAF harness and routed that over to where the MAF will sit. Got my 850 (?) fan mounted to the 740T shroud with an interfacing bit from the 850 shroud. Then put intercooler and radiator in position, only to find the brackets from the 740T would never be able to work (I thought you could just cut a notch in them for the bump in the 240 front panel, but the mounting surface is way too high on the 740 brackets). So, back to square one on that - looking at making one bracket from two (nose of 240 bracket and back end of 740T bracket). Really should cut and weld, but may see if I can overlap and join them somehow? Otherwise I'll just source an "expensive" set of genuine 240T intercooler/radiator mounts (probably easier given I have more money than patience at this point in life!) Then put radiator shroud and fan in place and DAMN, the fan is just about touching the water pump pulley. So back to the drawing board on that (maybe some spacers to move the fan slightly closer to the radiator will be an easy "fix"). Still haven't decided what I will use to control the fan - I have a Davies-Craig fan controller, but haven't looked at instructions yet to see whether it's capable of doing 2 speeds. Need to make up an airflow block-out panel to close gap between LH side of intercooler and radiator support (where the OE oil cooler would sit, and may sit in future?) Fun, games and plenty of cursing today!
After catching up on @morch_66479 's 850 T-5R thread, I'm ashamed at how many corners I'm cutting or just saying "good enough" instead of cleaning every speck of grease off the gearbox, painting the driveshaft, and replacing every fastener with a brand new shiny one LOL!
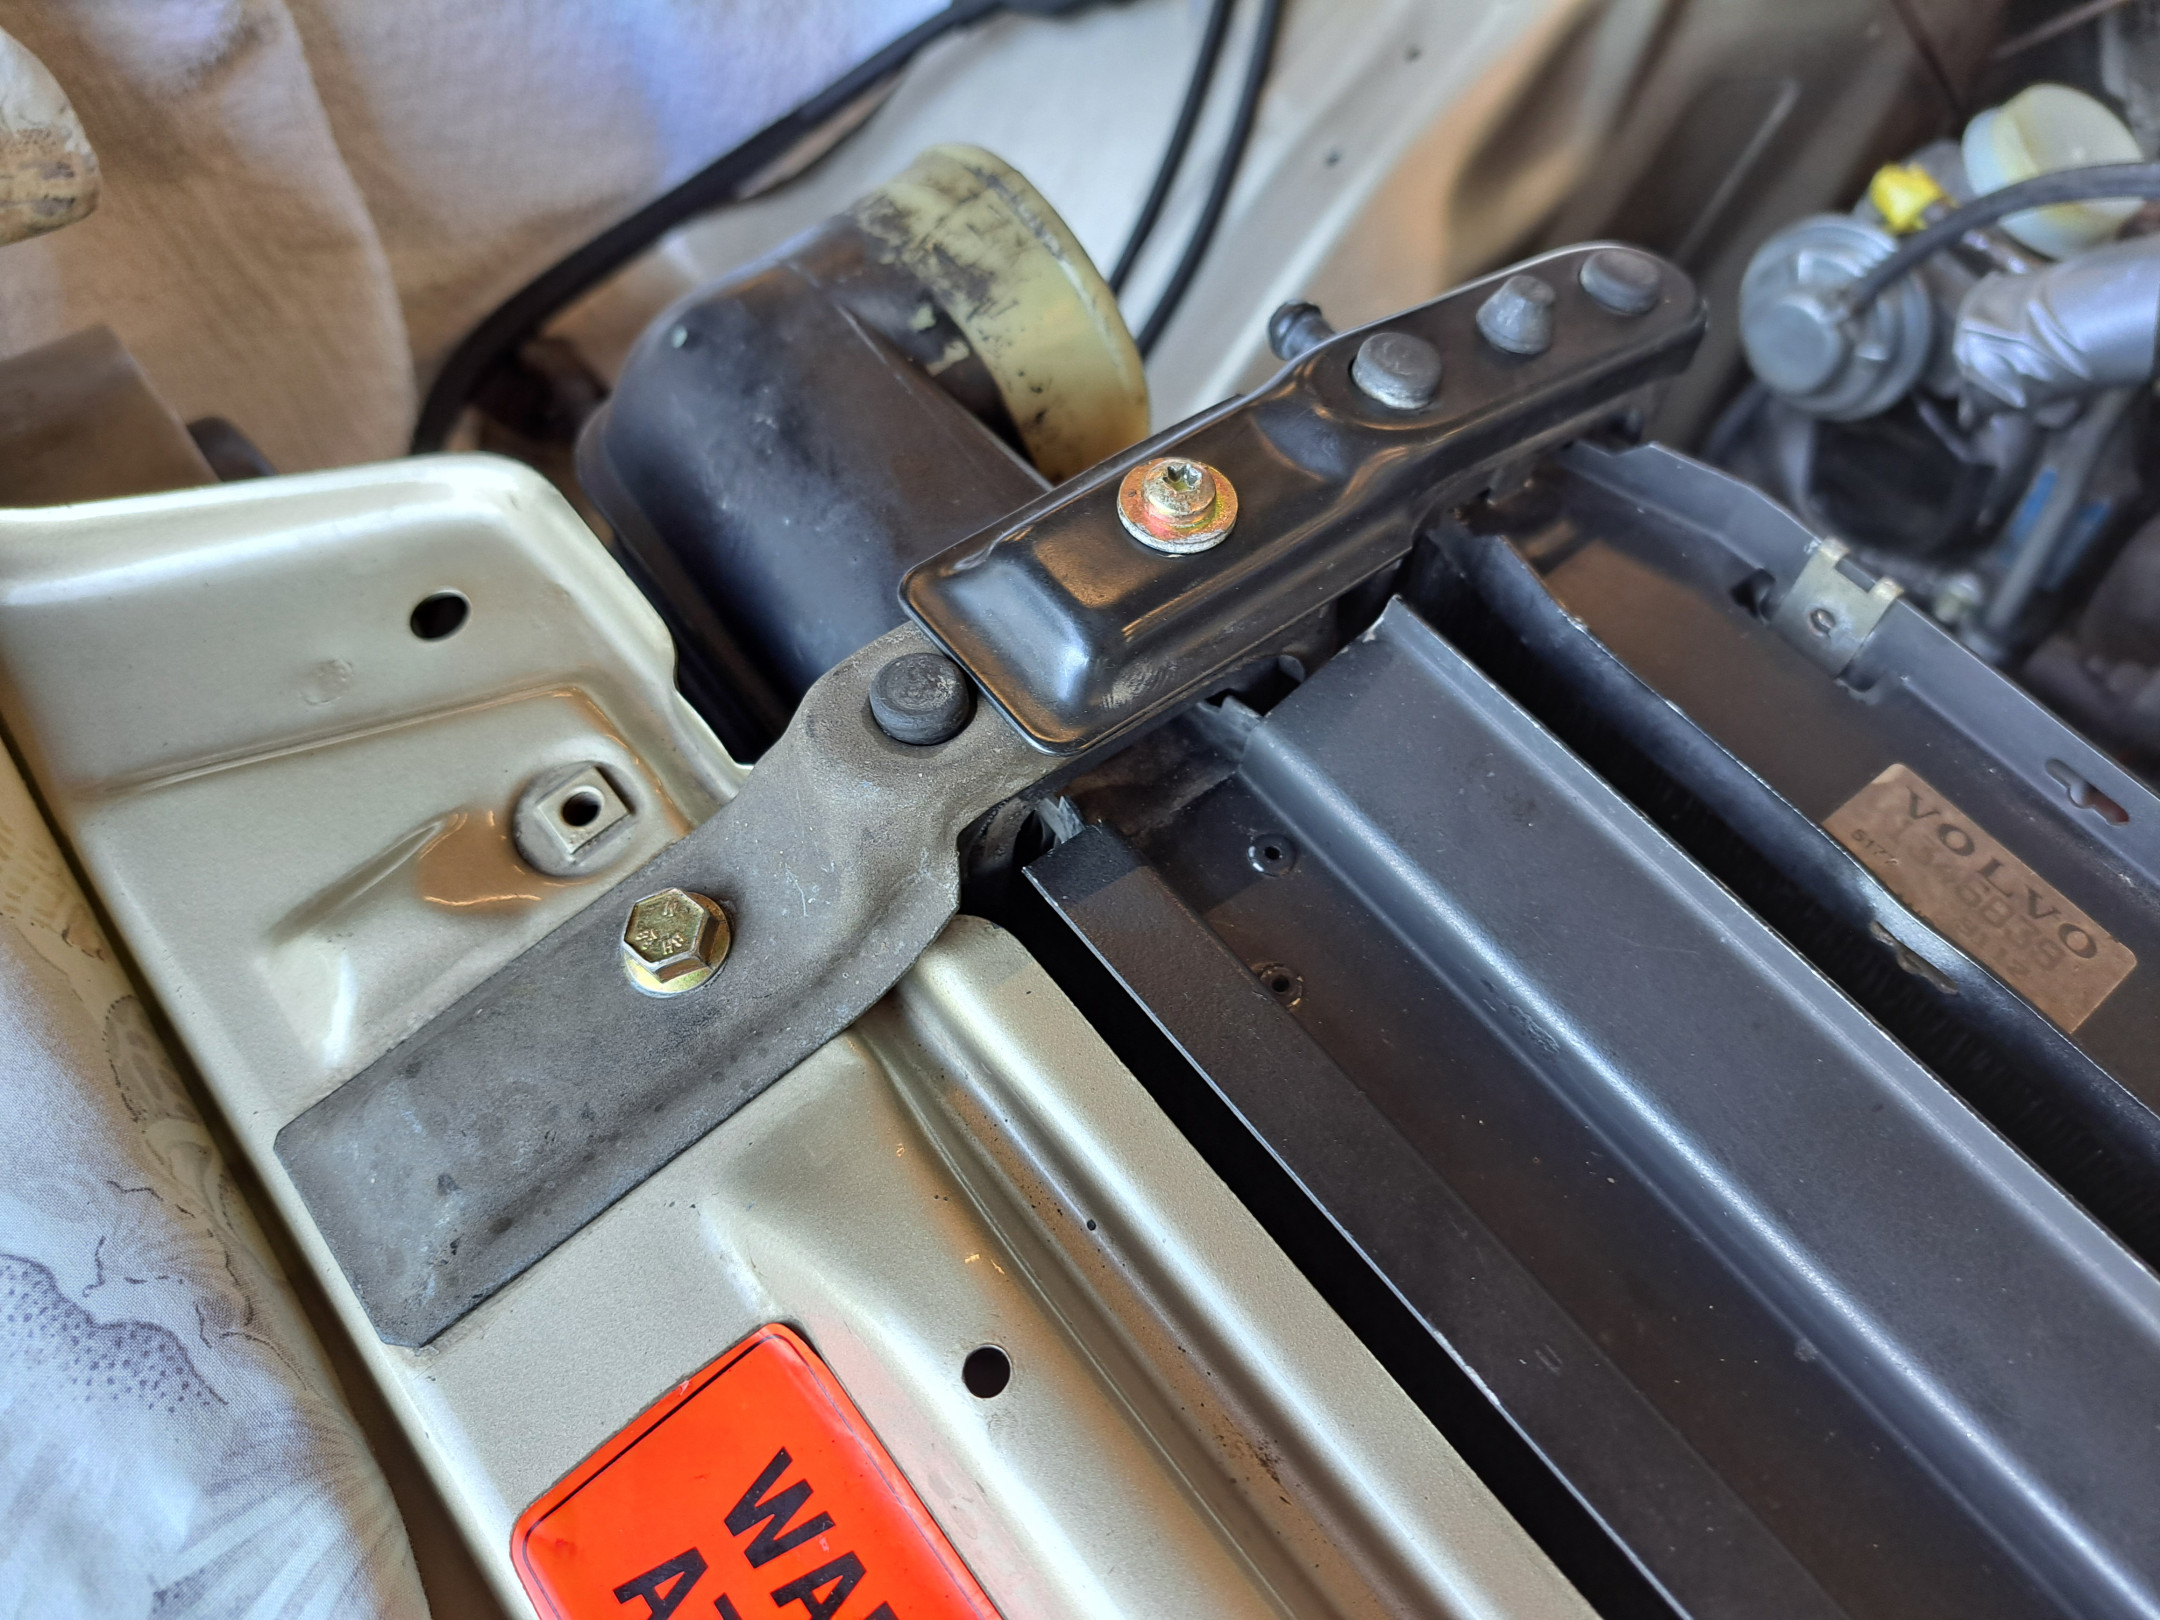
I got a bodged solution to the upper intercooler/radiator mounts (temporary until I figure out something prettier). I used the standard 240 radiator mounts for the intercooler (trimmed off about 5 mm on the rear ends) and standard 740 radiator mounts for the intercooler, piggybacked off the 240 radiator mounts. It all fits pretty well, was simple to do, and looks terrible (but works). Also modified the cooling fan position (spacers to move it forward in car) to clear the nose of the water pump. Ready to install hoses, top up coolant, install downpipe and O2 sensor and try starting it.

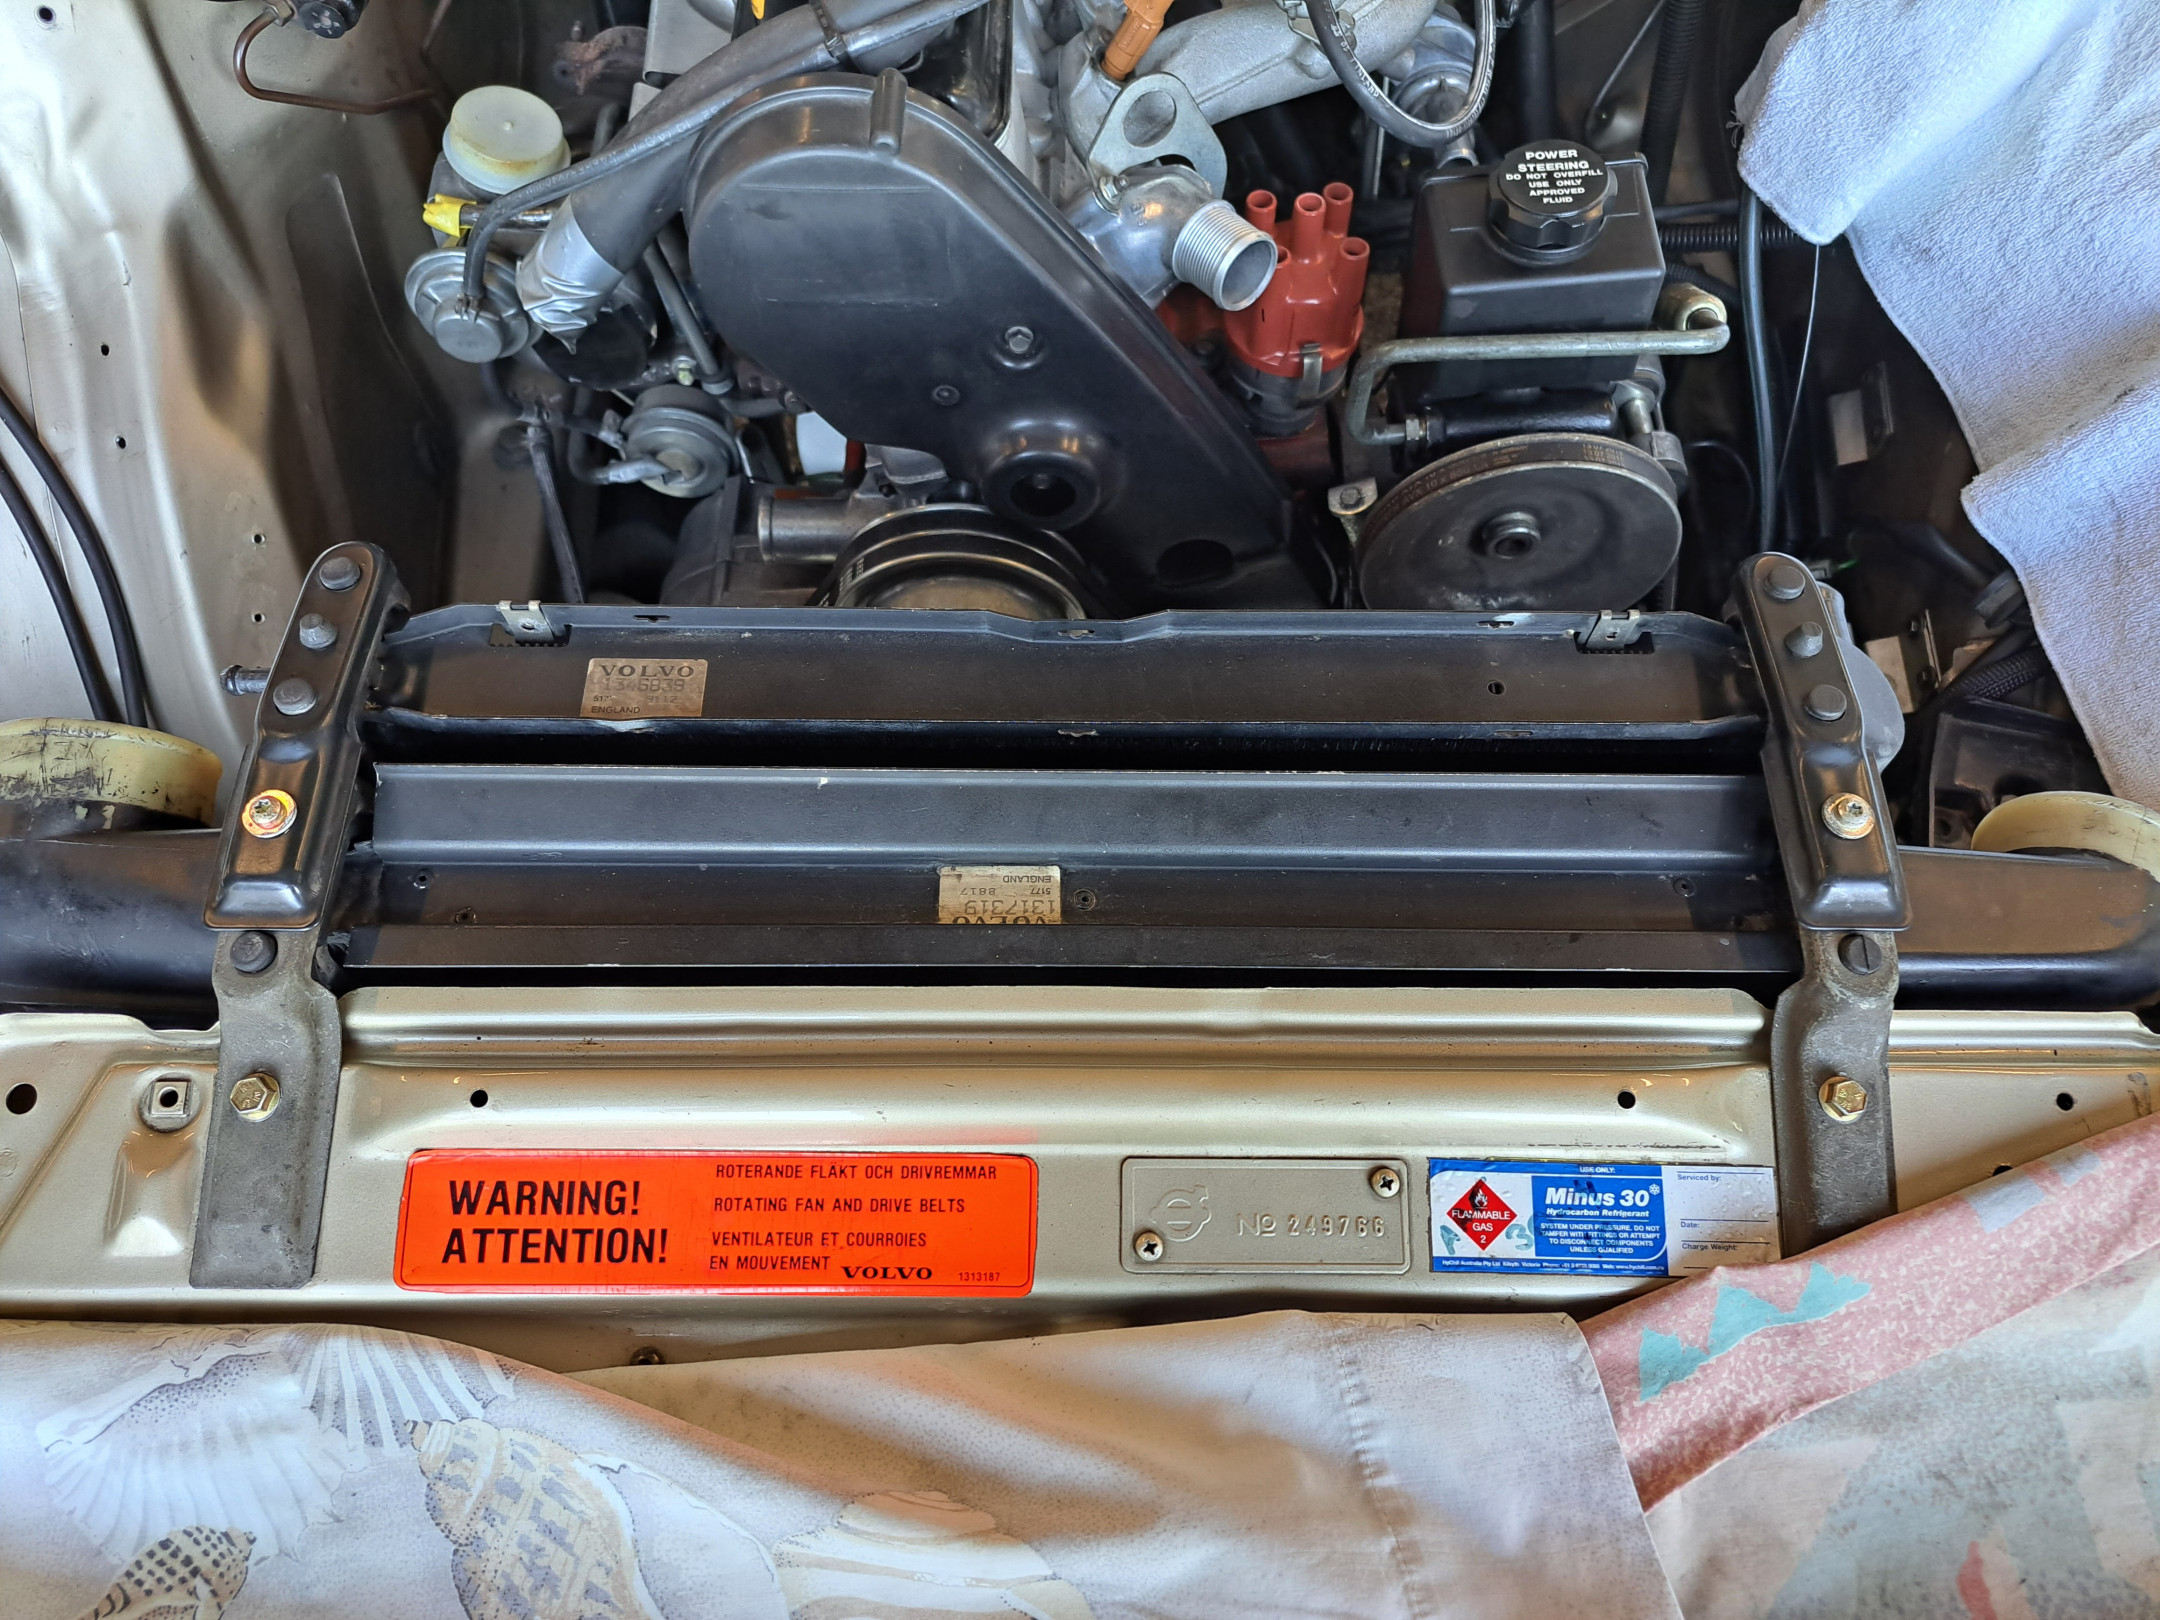
Big day today! We pushed through and got all the hoses hooked up, coolant reservoir mounted and filled the coolant. Sort of temporarily installed the downpipe (one of the three studs is pretty stripped so probably will have to remove and replace). Not sure the downpipe is going to fit 100% but it doesn't look too bad (Classic Swede version).
Woohoo - the engine fired up after about 20 seconds of cranking. Sounds and runs great as far as I can tell. Of course the clutch isn't working properly (probably need to bleed it again - hopefully that's all it is!) The clutch fork is moving when I press the pedal, but the pedal feels pretty soft. Mom and Dad fly home on Wednesday so I think Dad and I are done working on the car for now…we need a break!
Had another go at bleeding the clutch today (manual method without pressure bleeded. Got some air out and total travel at the fork is 15 mm. I don't want to fire up the engine to check it just now so we'll see. I know when I was having clutch issues on the yellow 245 project car, it was travelling about 13 mm, and after bleeding I had about 20 mm travel, so this car isn't showing as much travel. Maybe still some air in the pipe so I might have to bleed it with the pressure bleeder + pedal method.
Got the bonnet reinstalled today, and also ordered some new studs and nuts for the downpipe flange. Ordered a stud removal tool as well. Not looking forward to removing the nuts and downpipe to get at the stud, and also not looking forward to trying to remove the studs, as I dread breaking one off. Fingers crossed it goes OK.
Got the GCP 240 Turbo exhaust system down from the top of my shelf unit and will start installing that while I wait for the studs and tool.
Did a bit of tidy-up on the wiring under the bonnet as well. I need to figure out how to get a pod filter in temporarily. Will have to retrieve my huge tub of turbo pipes and bits and see what I can come up with. Currently the MAF (which is ~70 mm OD) is attached directly to the turbo inlet elbow (which is obviously ~70 mm ID).
Also did a bit more research on cooling fans and relays…plenty of info on OzVolvo and Dave Barton's site about it…looks like easiest thing might be to use the ECU outputs and a 940/850 relay complete with wiring, if I can find it.
Spal appears to make brushless cooling fans that draw a lot less current, but pricey. 
Had a clean-up in the workshop. Need to box up the unneeded parts and take them over to the storage shed to reclaim some space in the workshop.

Glad to see it's coming together. It's been interesting to see how many details need to be considered and planned for.

Great work, nice to see it all coming together too :-)
- Edited
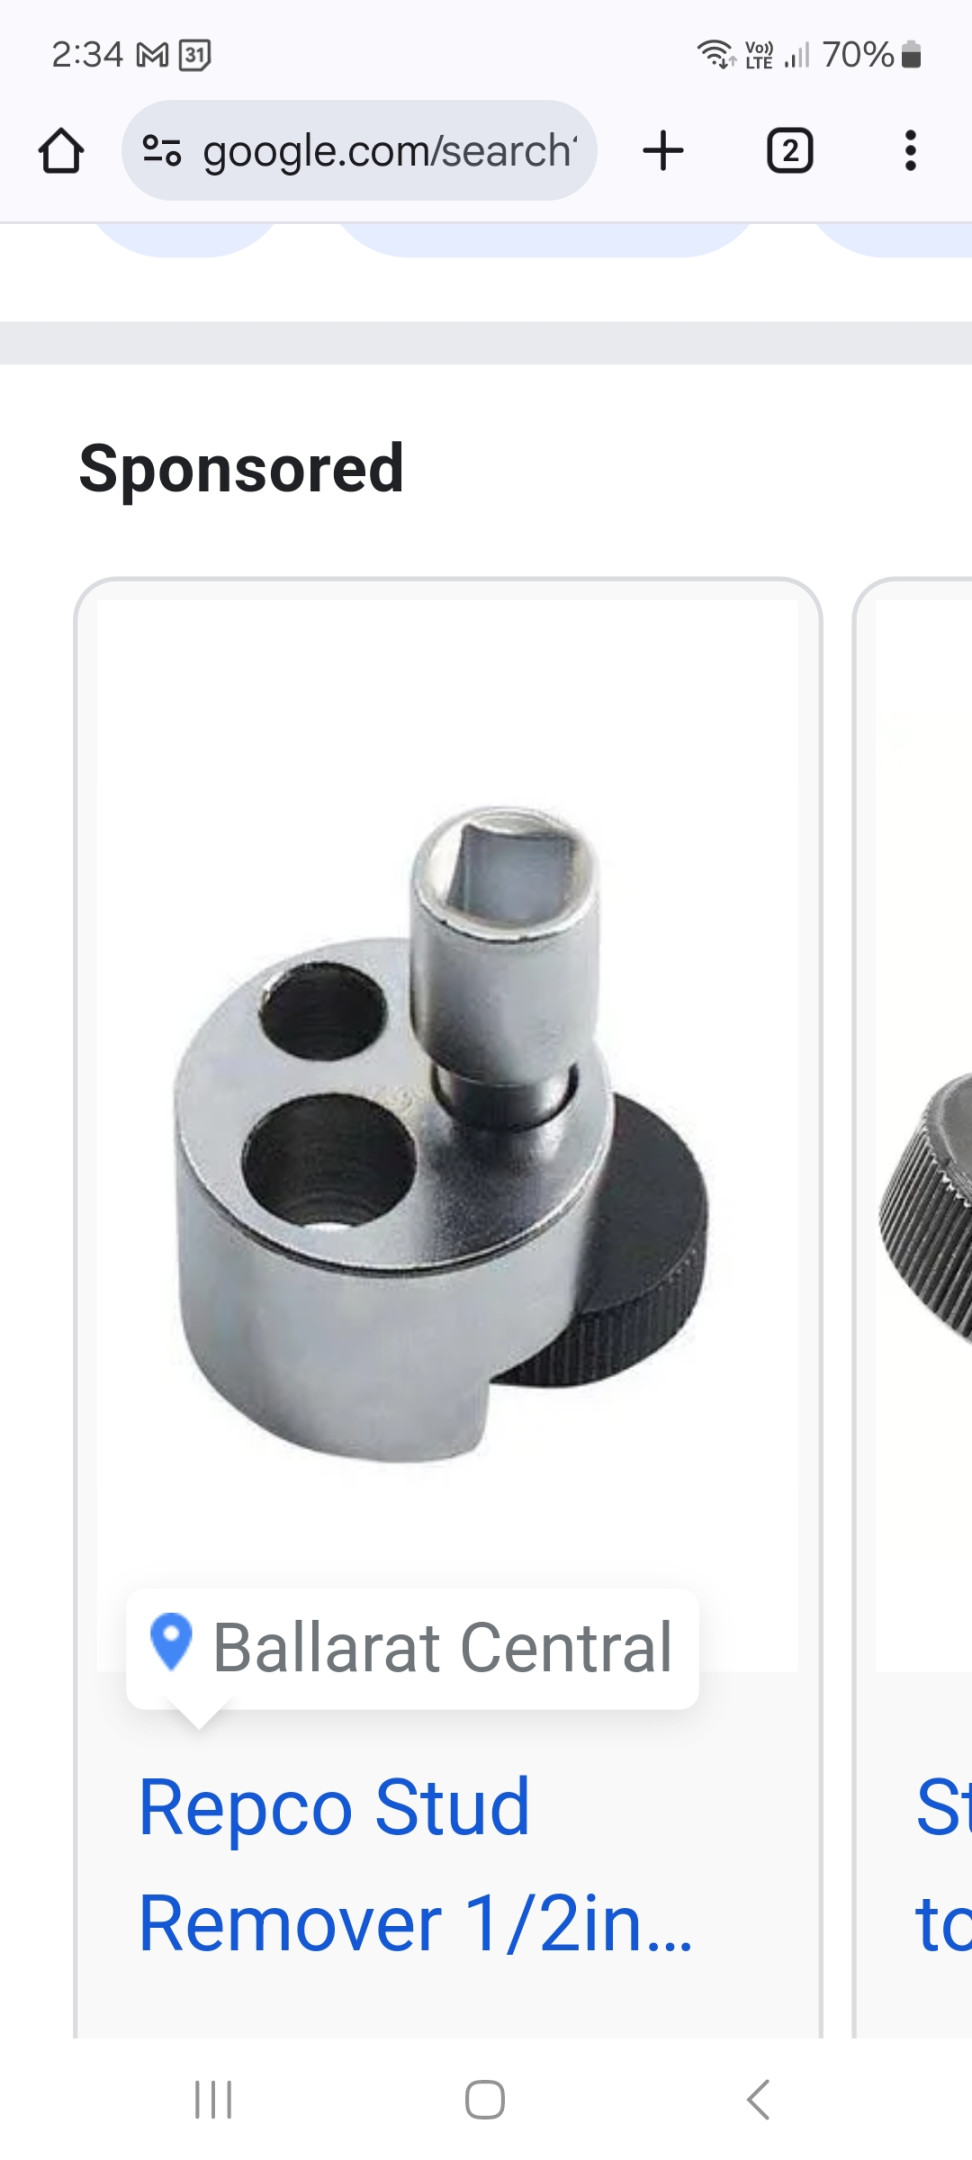
Well, the stud removal tool arrived today and it's a no-go. Seems too big and bulky and didn't grab on the stud at all. I decided instead to try and clean up the end of the stud threads with a die and it seems to have worked. I haven't received the new stud/nut set, but most likely will just use the existing studs with the new nuts. The new nuts look to be smaller wrench size so should be a bit easier to install. Everything is pretty tight so it's difficult to get a wrench or socket up in there…I found I can access with a 1/4-inch drive socket on some, and an open end spanner on the others (about 1/8 of a turn at a time, which is slow!)
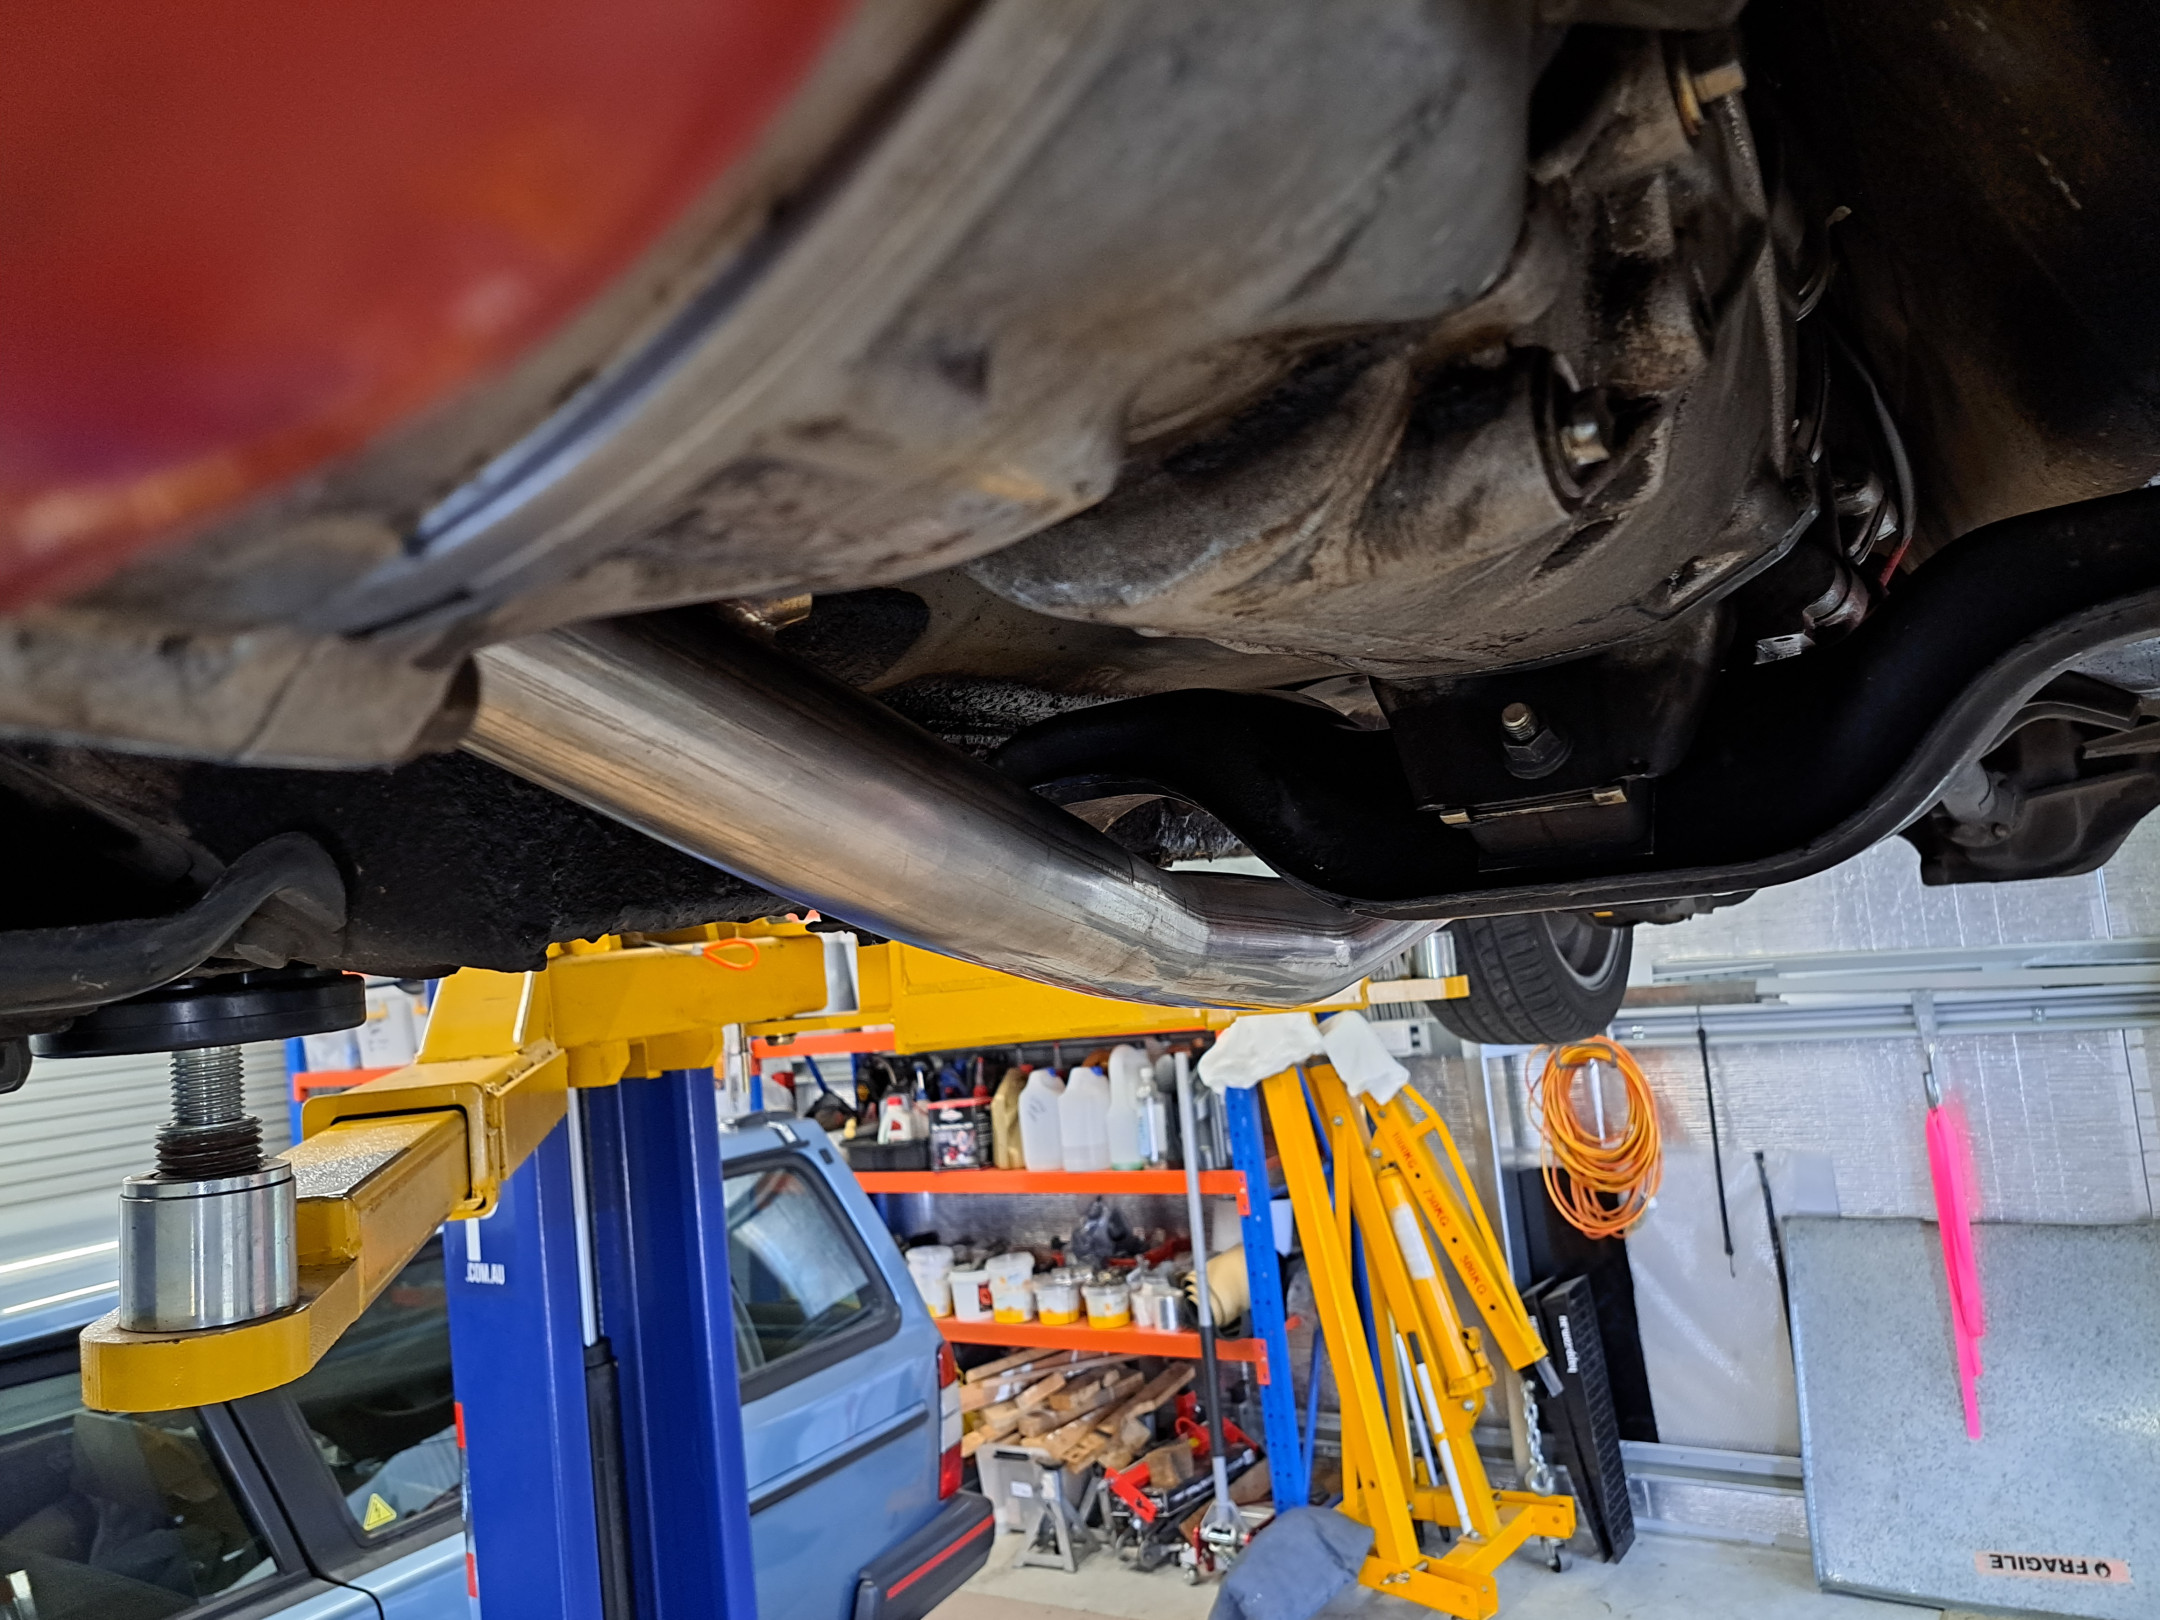
Also started looking at the exhaust. I ordered a few SS band clamps…the size on the OE pipes seems a bit odd (maybe it's metric?) Can't find my stash of muffler rubber hangers so phoning a friend on that. I'm sure I had many of them, but maybe I went though and threw out anything that didn't look perfect? I'm sure I'll find them all one day LOL!
It looks like the OE B21ET front pipe will be too short to reach the Classic Swede downpipe, so unfortunately I'll have an additional pipe in there unless I can fit the 740T cat in. Or may go an aftermarket cat…will run straight thru for testing purposes then decide which way to go.
Edit: pic of stud removal tool that didn't seem to work:
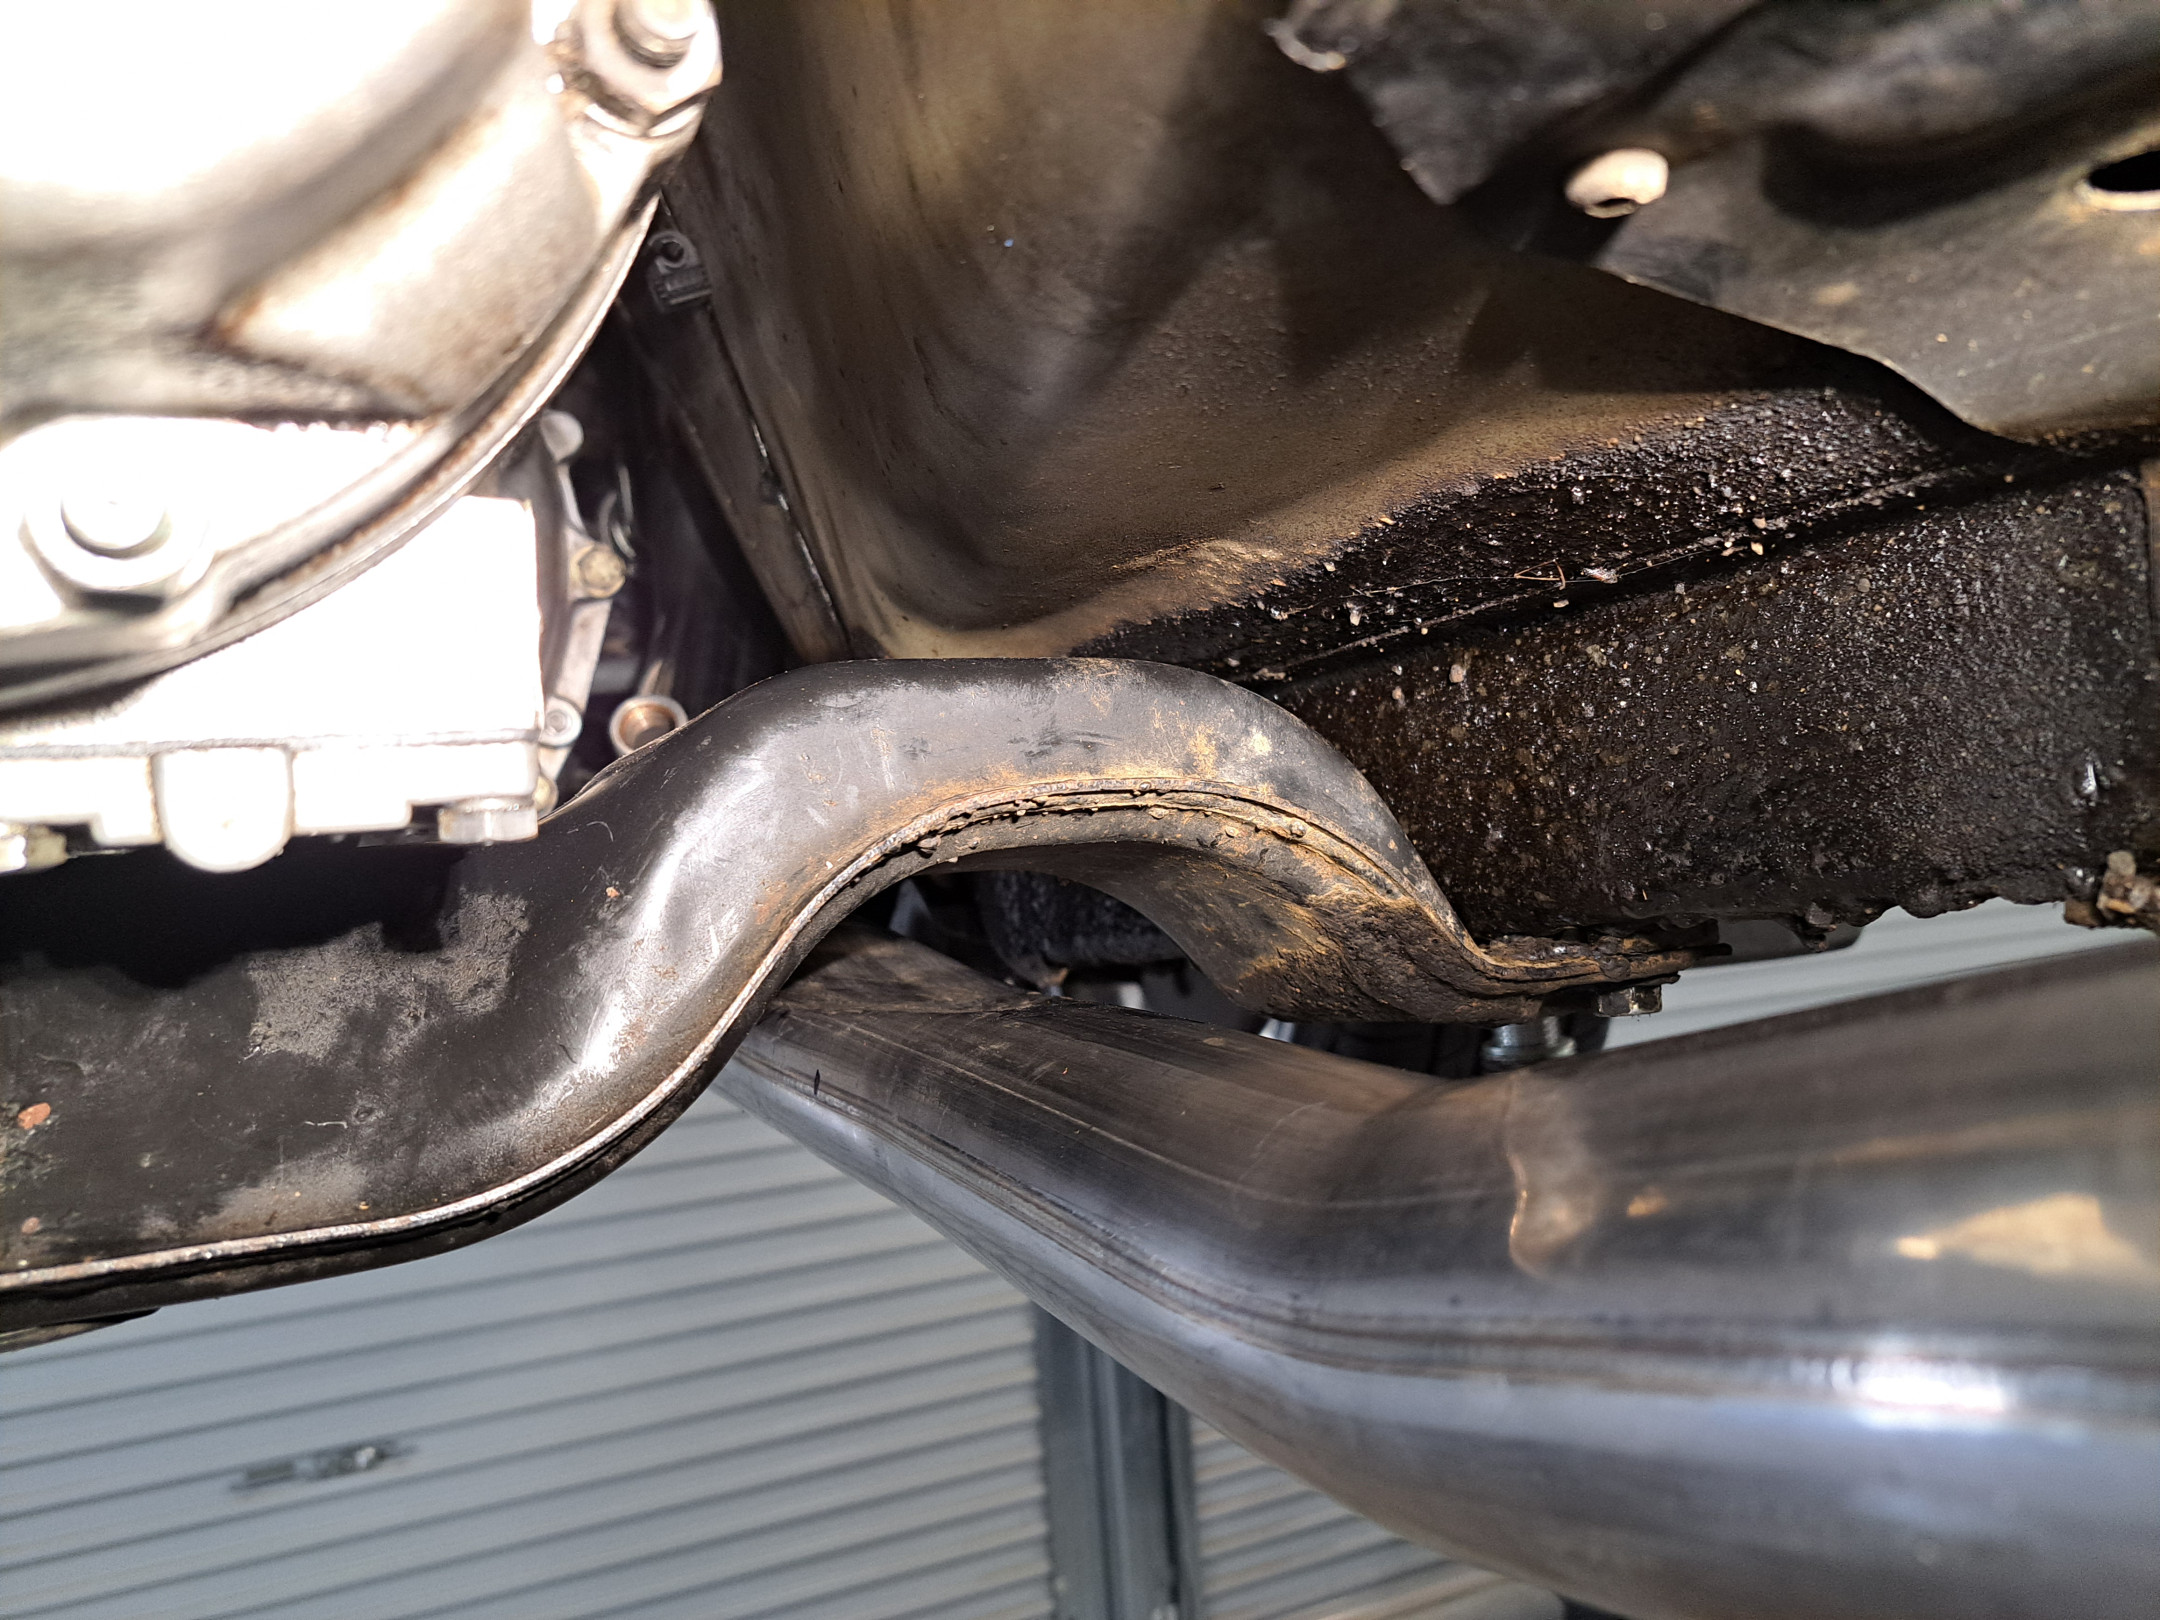
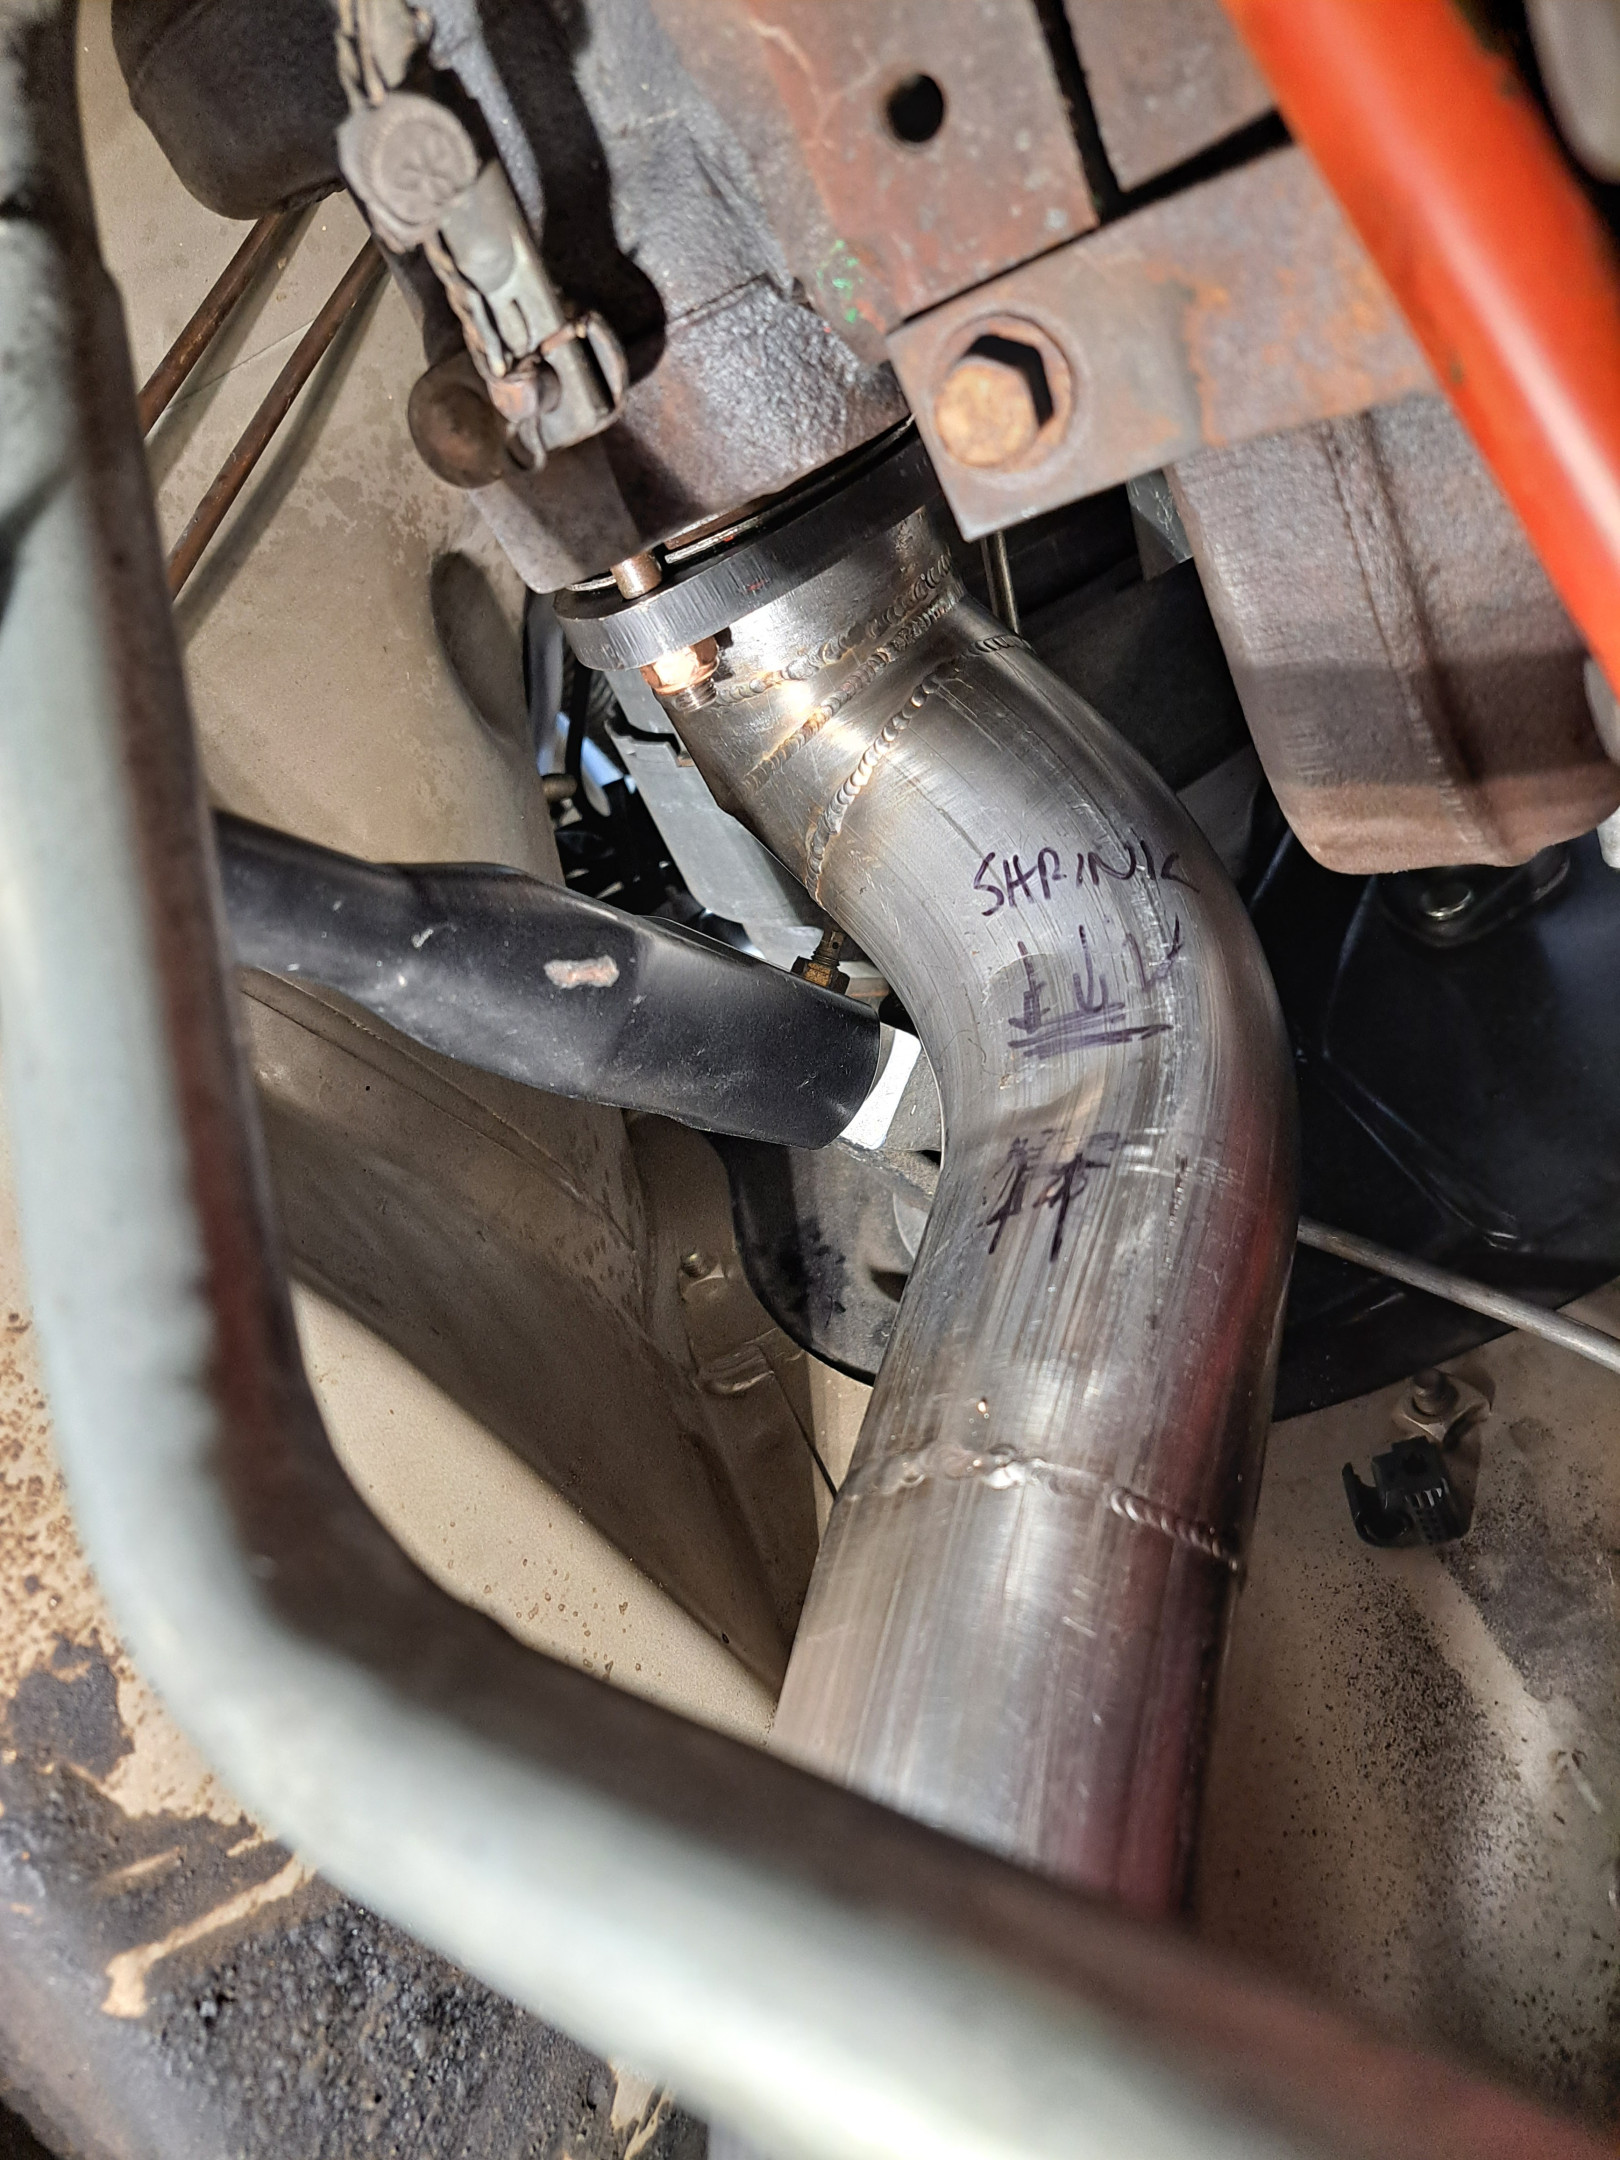
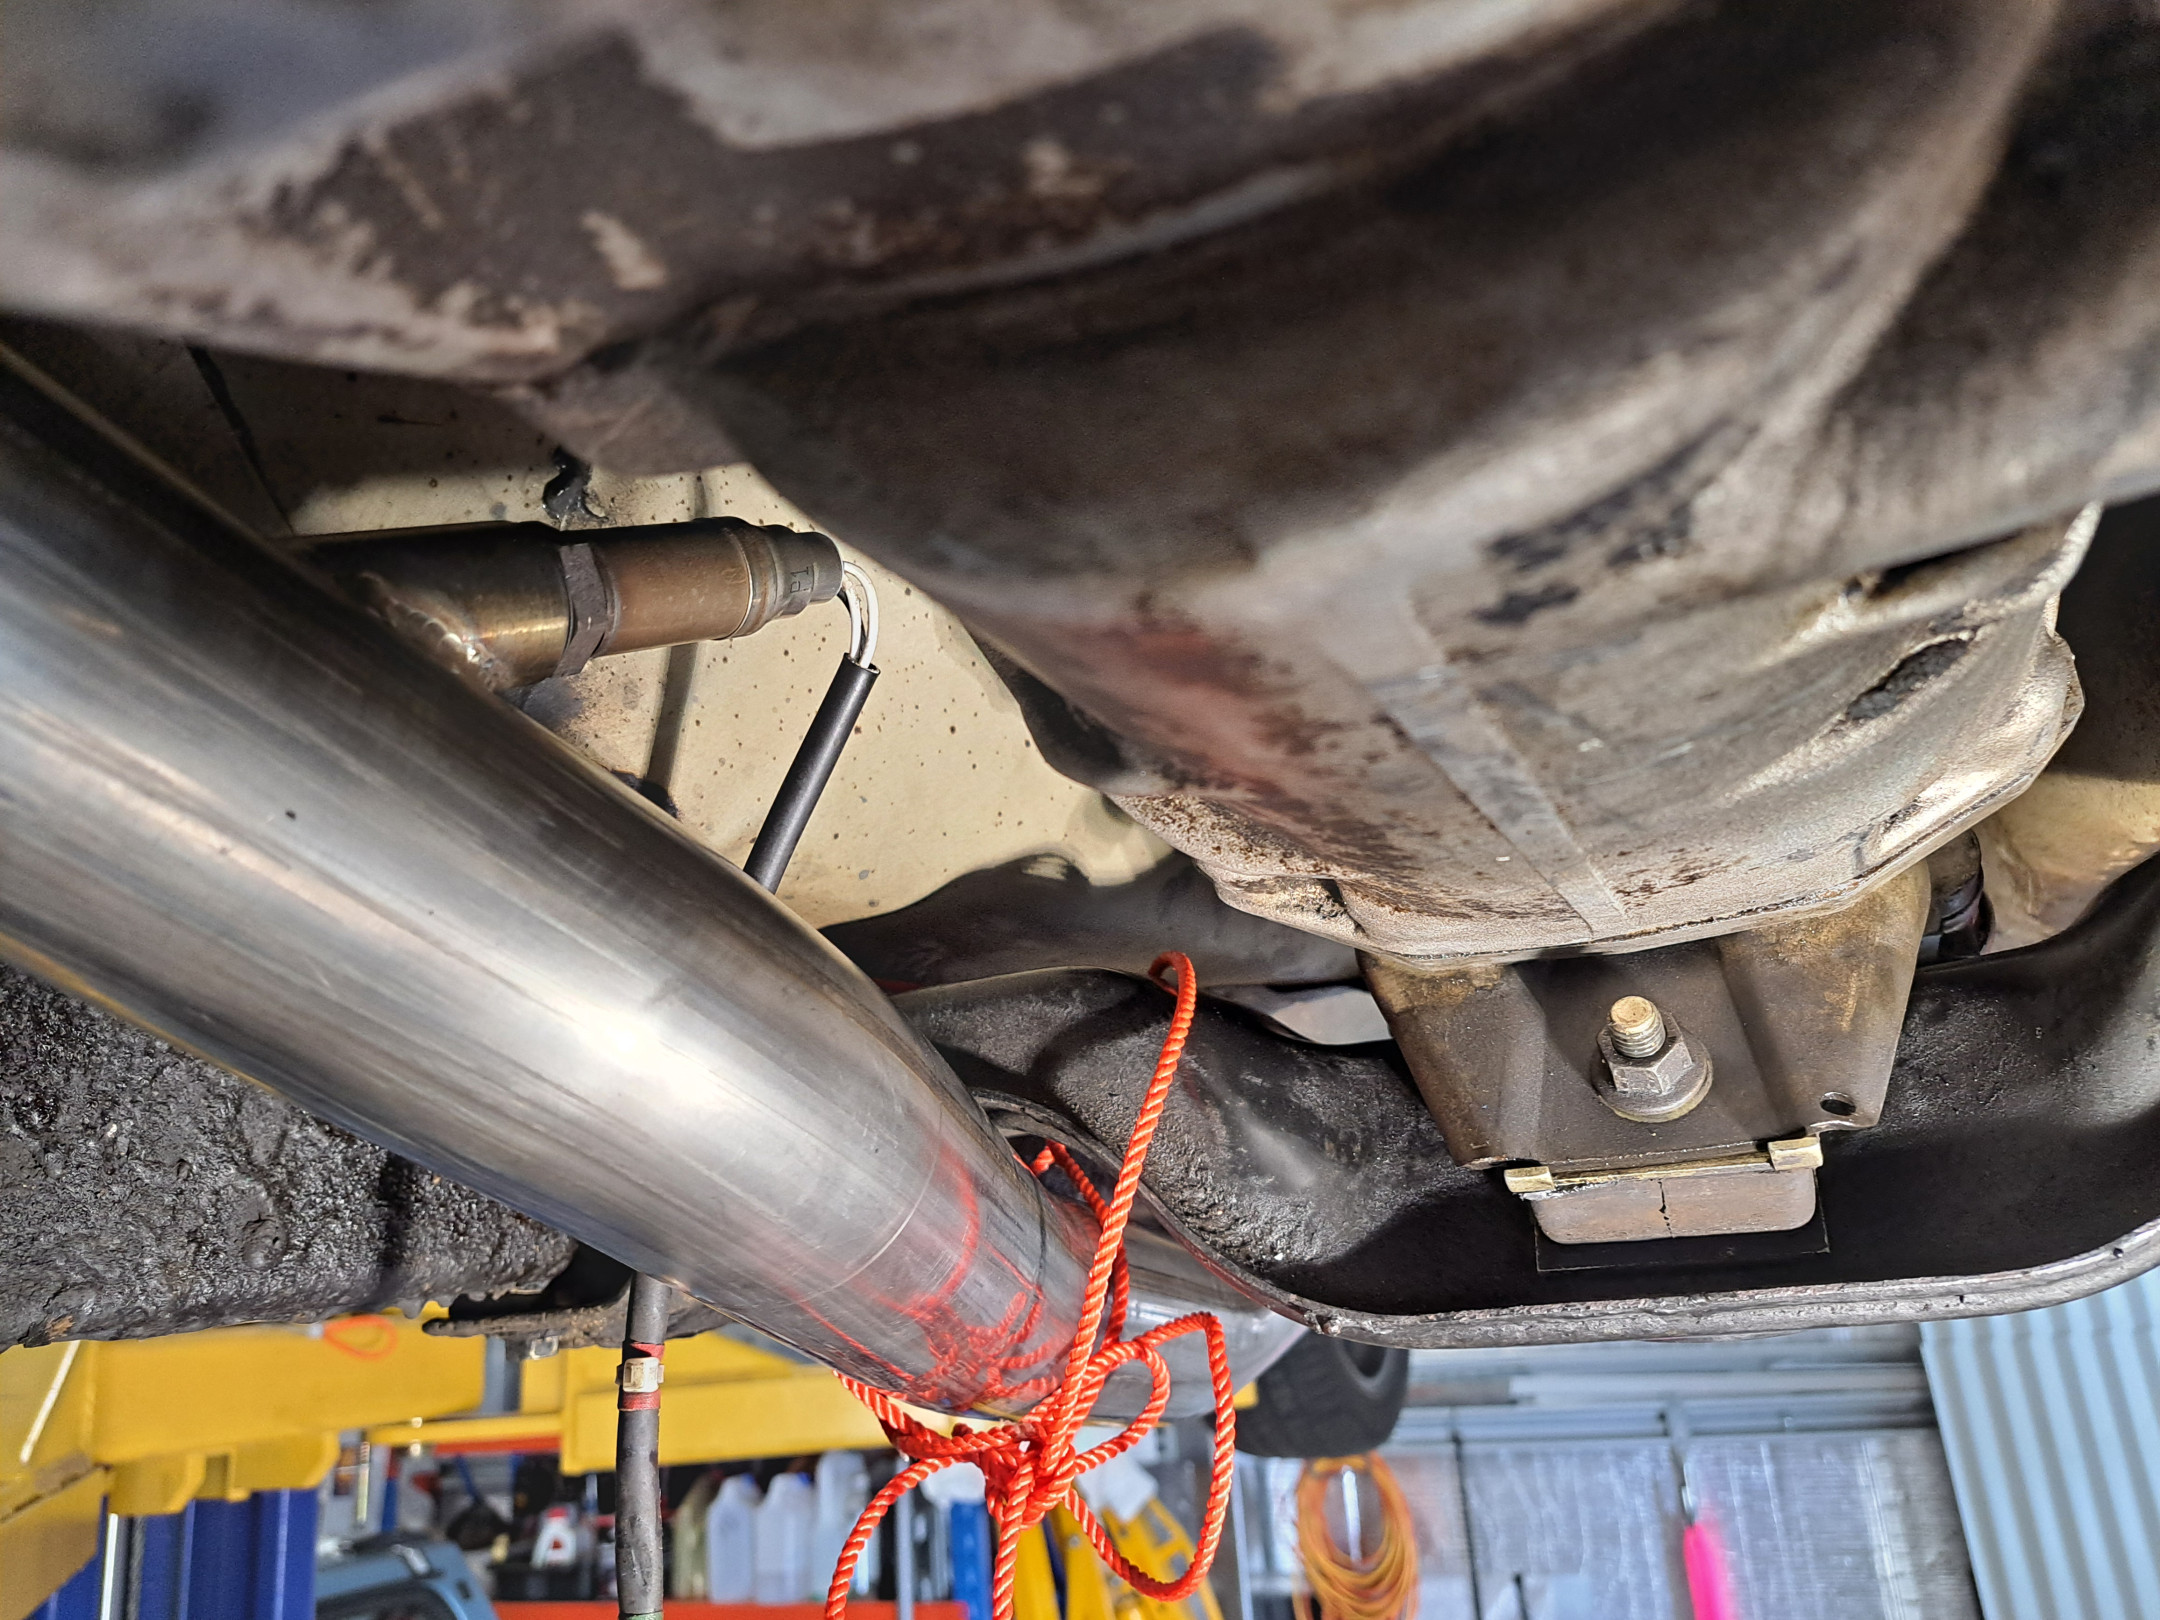
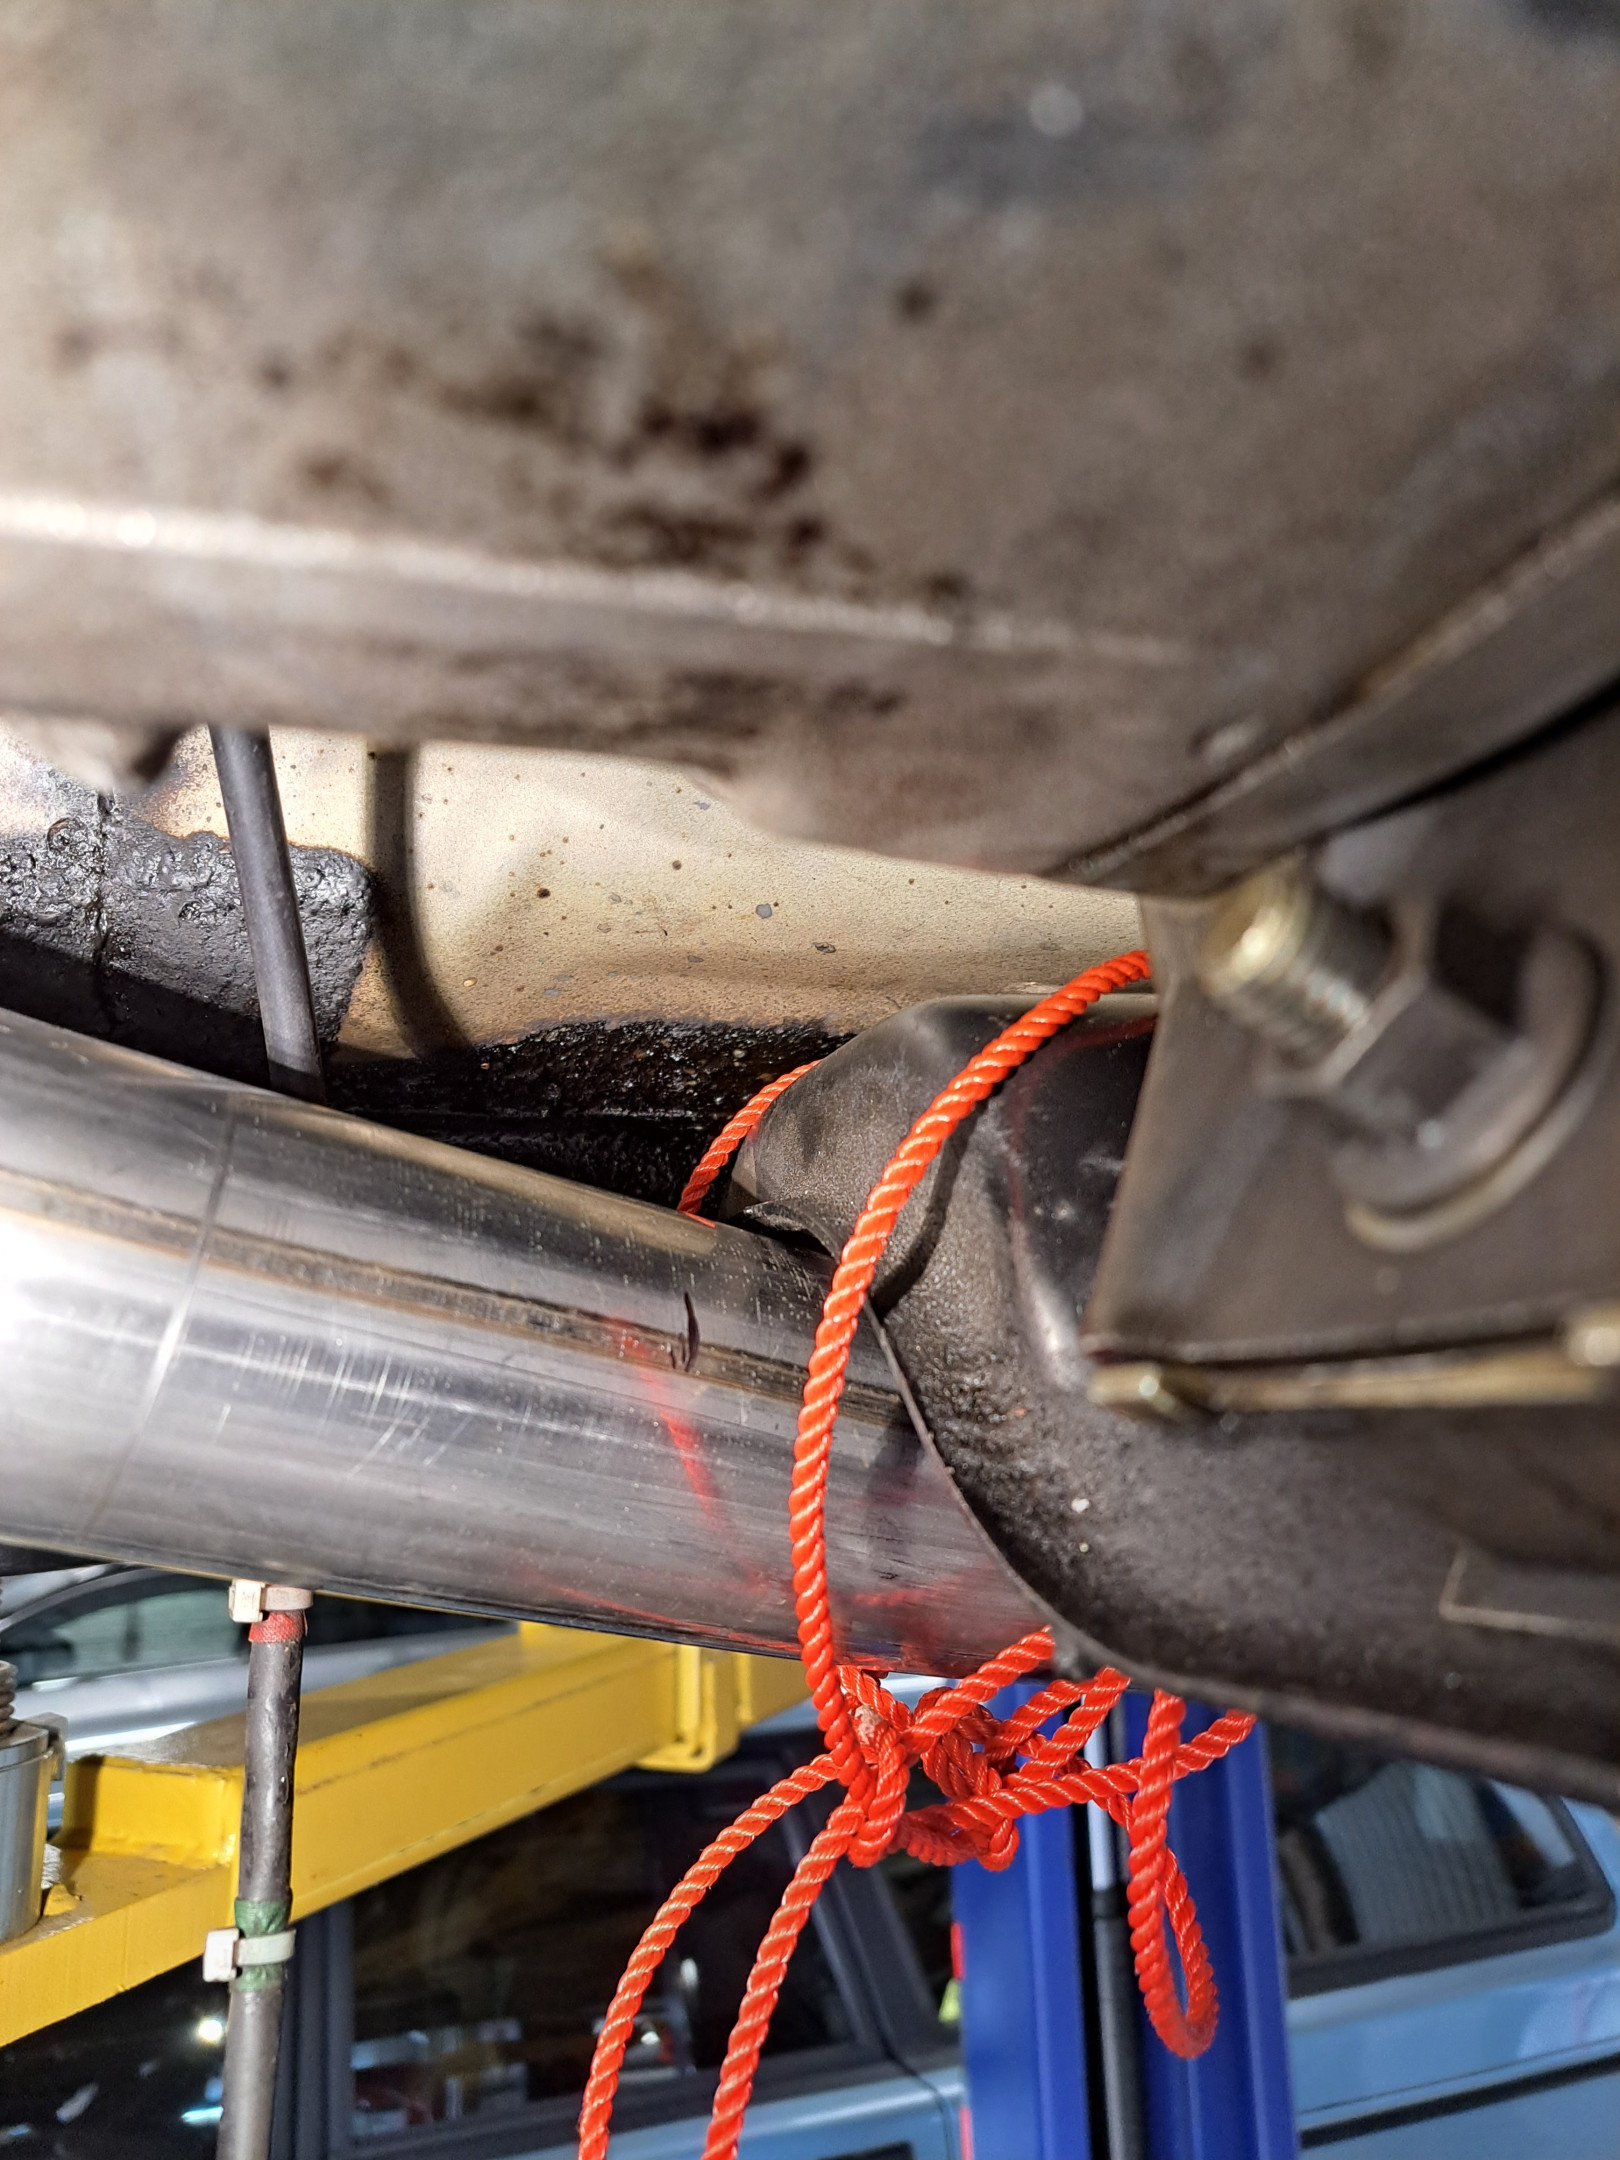
Well, the new studs and nuts arrived today, so I played hokey-pokey with the Classic Swede downpipe. Long story short it does not fit. It's hard up against the gearbox crossmember. Maybe it would work with the crossmember in the automatic position, but it's a no-go for an M46. Fark! I tried bashing it flat to get more clearance but it's still hard up against the crossmember. I'm going to reassemble my hydraulic frame press and see if I can use that to tweak the pipe up closer to the turbo to get it to angle down a bit more as a small tweak up top should result in a larger downward displacement at the back.


I see your ClassicSwede initiation has gone smoothly

jamesinc LOL this isn't my initiation…I've had other, um, issues (remember the NOS clutch kit that apparently spent time on the deck of the Titanic?)…lesson learnt!
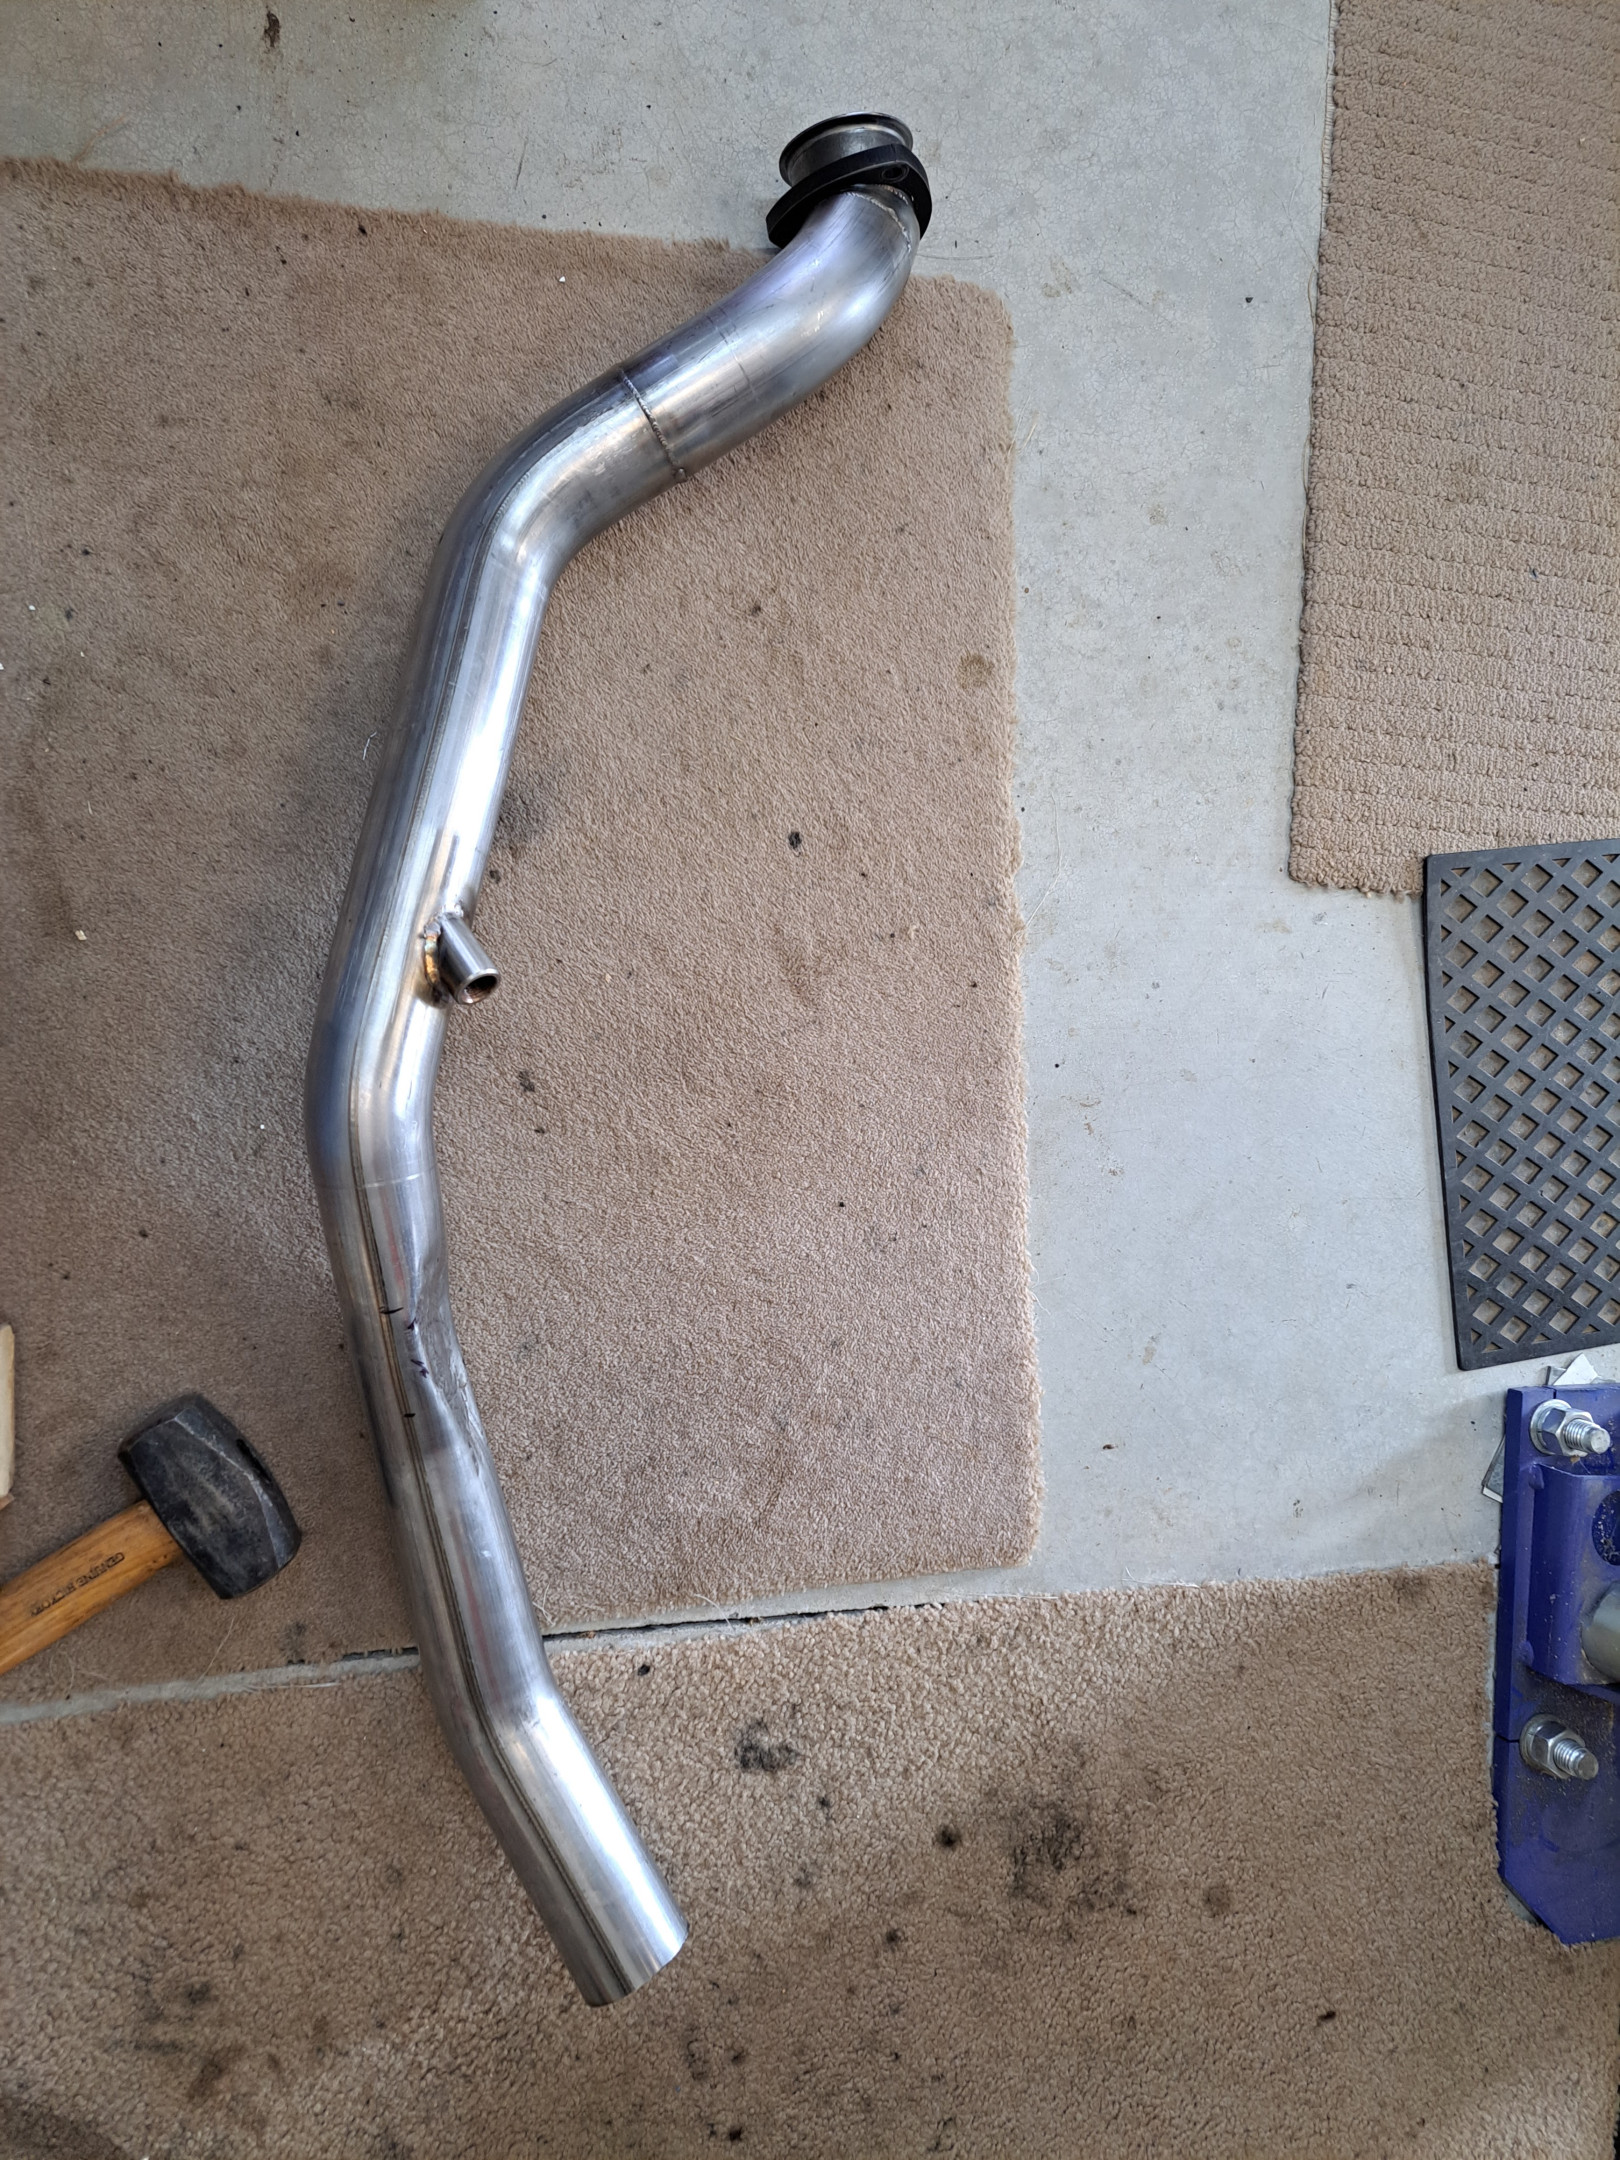
Anyway, I reassembled my frame press and squashed both bends a bit. Voila! Now I have more than enough clearance thanks to my previous (and now possibly unnecessary) flattening of the pipe at the trans crossmember. Now let's see what kind of a Rube Goldberg solution I can come up with for the exhaust…a task for another day!