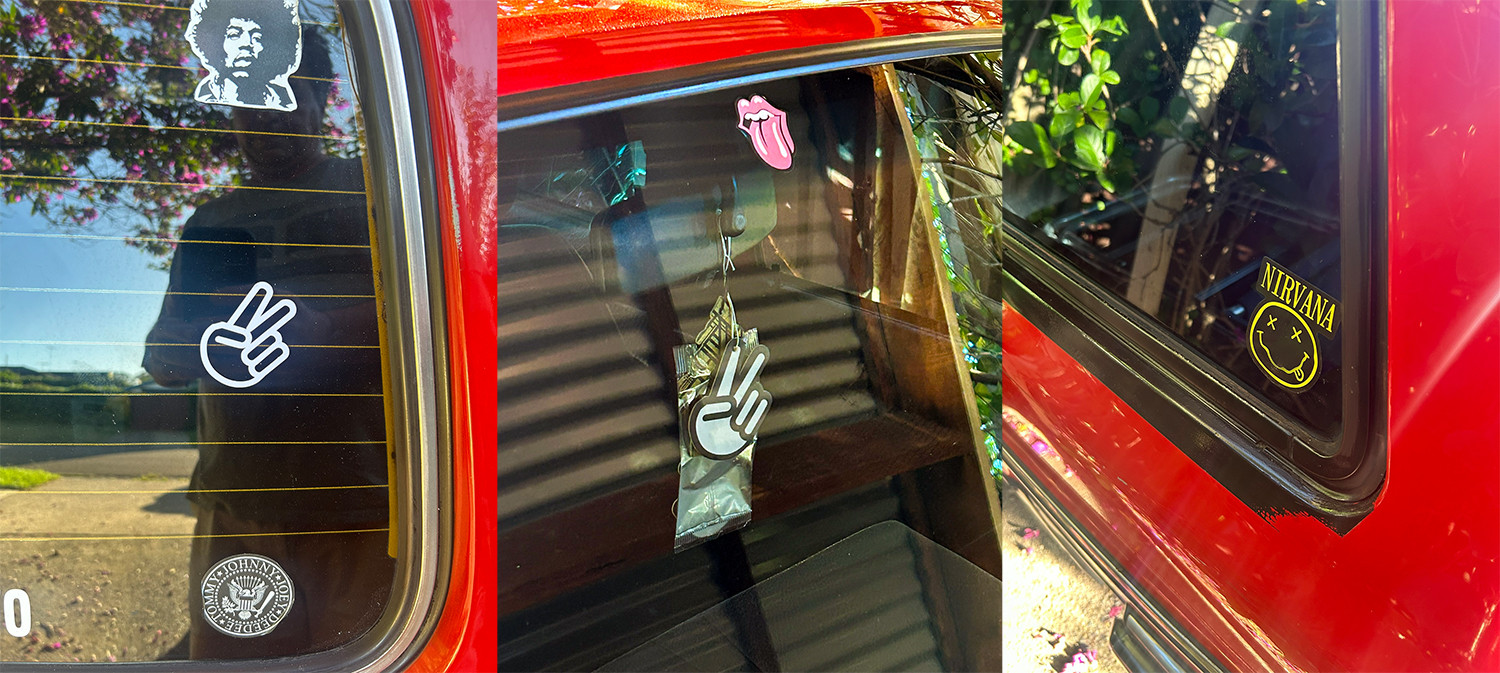
Big Red gets some work done at Stu Oldfield's workshop, Voltek.

Image description

Up on the hoist. Stu makes it look good underneath. He installed the new Skandix splash pan using the kit supplied by James, it fitted up nicely.

Image description

New rubber bushes in the middle and at the end links of front sway bar, new bump stop and bellows, and new front brake hoses. The front shock threads were flogged out from a previous fit-out so a new set of KYB front shocks were also fitted.

Image description

The new splash pan looks the part and sway bar bushes.

Image description

New front ball joints.

Image description

New rear brake hoses. The hoses supplied by IPD were male instead of female on the originals, so Stu was just going to reverse the fitting on the brake line side. The brake line was crumbly when he was flaring them out…..so a new rear brake line was also fitted. Should get many more years of use.

Image description

New brake hose to brake line bracket.

Image description

Shot of the the new lines this morning.

Image description

Overall, the front feels tighter and a lot more "European" in character. Firm and direct with none of the slight sloppiness before. Quite a lot more connected. Took it for a run with some badly patched and corrugated roads around Western Sydney Airport and was very pleased with Stu's work.

    I think brake hoses that have one male end are for early 240s, maybe pre-86?

      jamesinc

      Could be, it wouldn't be the first time I've ordered an incorrect part! 🙂 IPD had them listed as suiting '78-93 pre ABS.

      Johnno_ Keep up the the updates Johnno, I find them both stimulating and envy-evoking 🙂

        Porkchop

        Thank you very much. For purely selfish reasons, it's also serving as a useful journal. I was scrolling through the post on my phone at work, trying to get to the bottom post and realised I've done that….and that….and that…..while skimming through it.

        5 days later

        A quick wash and then off to the "Old School Jap and Euro Back to School Meet" at Emu Plains this morning. Fun event, lots of cool, interesting and unexpected cars. I really enjoy getting out of the house and attending these sort of events early on a Sunday. Get an eyeful of candy and then go home early enough to do other things.

        Duco is shiny but I did not treat the bumper :-(

        Image description

        Parked up next to Justin's FRY-244. Beautiful work on this including the 5.0 GMH V8. Got to meet him when we were leaving. His sounded better!

        Image description

        Side shot.

        Image description

        Zac's "Banana". I didn't catch up with him, but good to see the turbo Skyline powered sleeper again.

        Image description

        Couple of GTRs just laying around.

        Image description

        Survivor Sigma

        Image description

        My neighbour on the other side.

        Image description

        Mazda goodness

        Image description

        Mk 2 Golf GTI

        Image description

        One day I'll have one of these.

        Image description

        Lots of E30 Beemers.

        Image description

        24 days later

        Last Sunday headed up the hill to Mountains Cars and Coffee at Katoomba.

        I somehow found myself in amongst a group of 911s on a run up the M4. they turned off up Mulgoa Road.

        Image description

        Image description

        At Katoomba, arrived right on time and got one of the last parking spots in the top car park.

        Image description

        Lovely stock series 1 RX-7

        Image description

        Jensen Interceptor had a Nitrous Oxide system fitted.

        Image description

        1200 Mazda ute interested me more than the Moffat RX-7.

        Image description

        Renault 12 wagon.

        Image description

        People began to leave, I took another look around and suddenly there was a grey 940 sedan with a very nice "patina" parked next to mine in the recently vacated spot. Late arrival of Aaron from the Lower Mountains with his wife and kids.

        Another sleeper with a nice T04 turbo addition under the hood. Really nice to meet him and see some of his fabrication work at his workshop near Penrith. I didn't get a shot of his engine bay.

        It was kinda cool being the two old Volvo guys…… not in the best condition and not making the photo galleries but still getting regular & reliable use. It's a great budget way to get you foot in the door to some of these events.

        Image description

        14 days later

        Looking good, will you put the reflective stripes on front and rear bumper?

          morch_66479

          Not sure with refelctive strips. Maybe the back.

          Getting her ready for the NSW Volvo Club Show and Shine for tomorrow. Much Carnauba!

          4 Hours on Thursday messing around with tailgate electrics. I had the LHS wiring loom out as the central locking had gone spotty. Turned out being the actuator self destructing from the inside and jamming. Wiper motor is not zero-ing properly so I'll probably need another one of those too.

          Image description

            Johnno_
            Looking very shiny there.
            I replaced the boot wiring loom on my old 240. Definitely worth doing or maybe you've already done this? Enjoy the show :-)

              morch_66479

              Yeah I did the loom a few months ago and originally was suspecting a bodged job/connectors on my part. All turned out to be just fine.

              NSW Volvo Club Show and Shine yesterday. Some lovely Swedish engineering on display.

              Obligatory shot of Big Red, the first showing with the club. The judges asked when I was going to paint the bonnet. 🙂 They were right, it will give the old thing a lift.

              Image description

              Image description

              Image description

              Image description

              Image description

              Image description

              Image description

              I somehow managed to score a trophy……. "The Vicar Award". Awarded by staff of "The Vicar".

              The Vicar Events Manager grew up in the dickie seat of a 240 7x seater and had fond memories, including jamming his finger in a solid Swedish door. Totally unexpected and a little bit chuffed…..even it was a consolation prize of sorts.

              Image description

              Apparently the Nirvana and Chopped accoutrements got me over the line.

              Image description

              Will be some visible improvements come the next Show & Shine in 2026.

              24 days later

              So……..it's officially been a year of ownership and I've enjoyed the 240 experience considerably. Done some wonderful miles, been proud of my ride and met some great people on the way.

              Image description

              Image description

              Image description

              10 days later

              Easter time……

              Time for lunch with grandchildren.

              Image description

              Time for a record Good Friday match and see my Rabbitohs get thumped by the Bulldogs.

              Image description

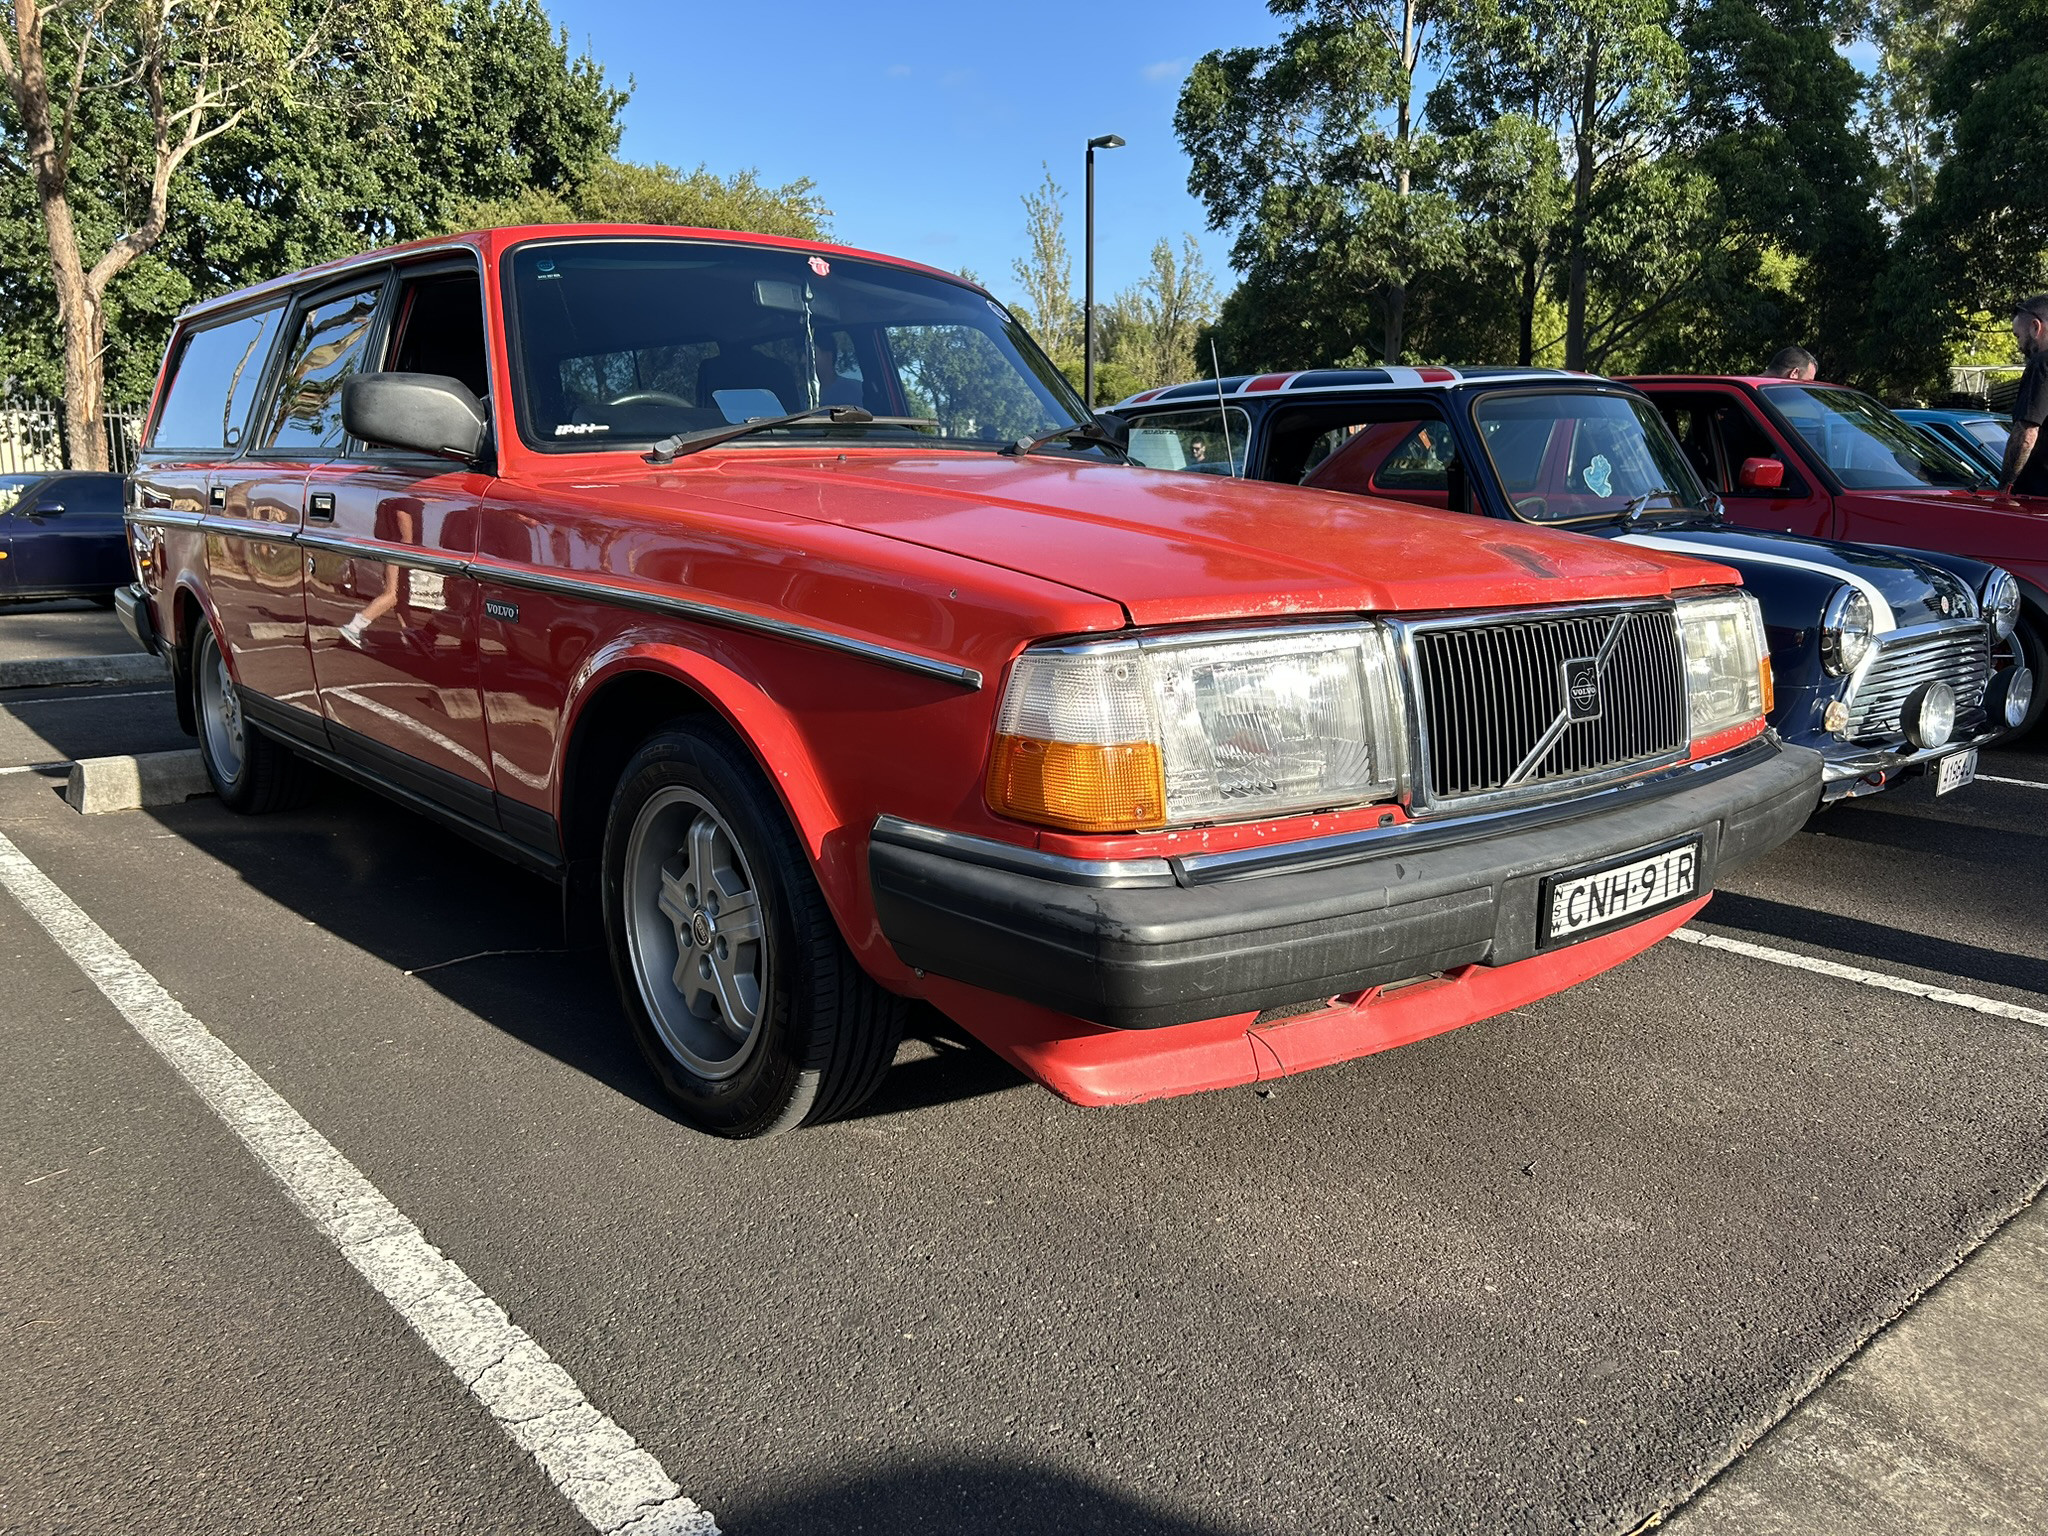
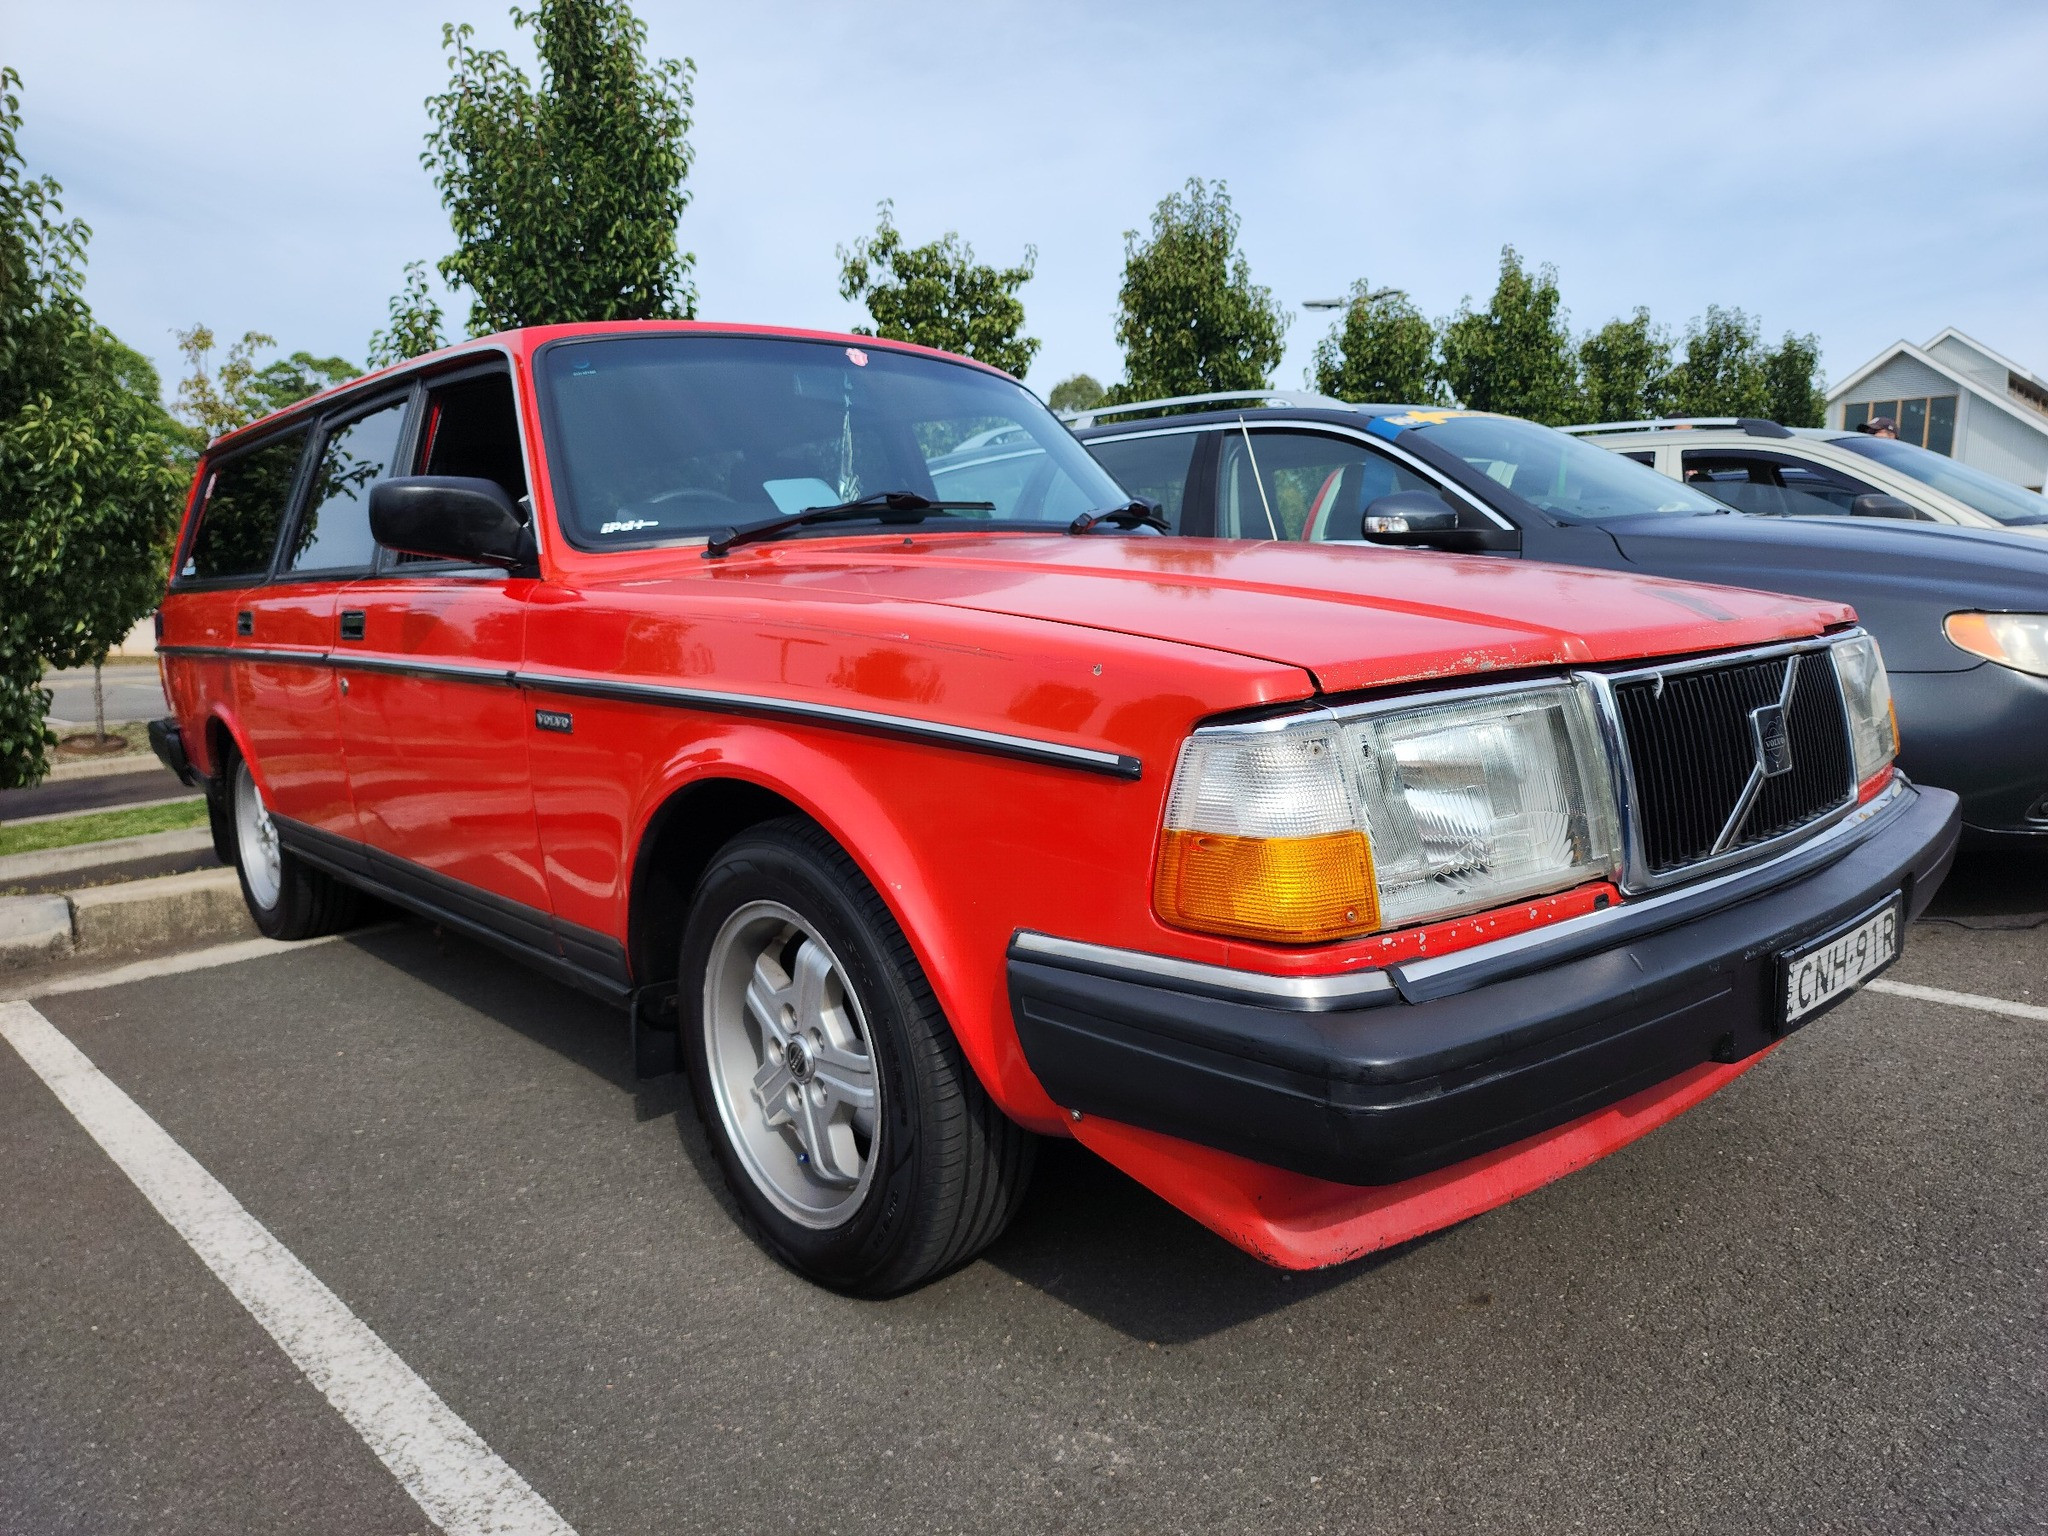
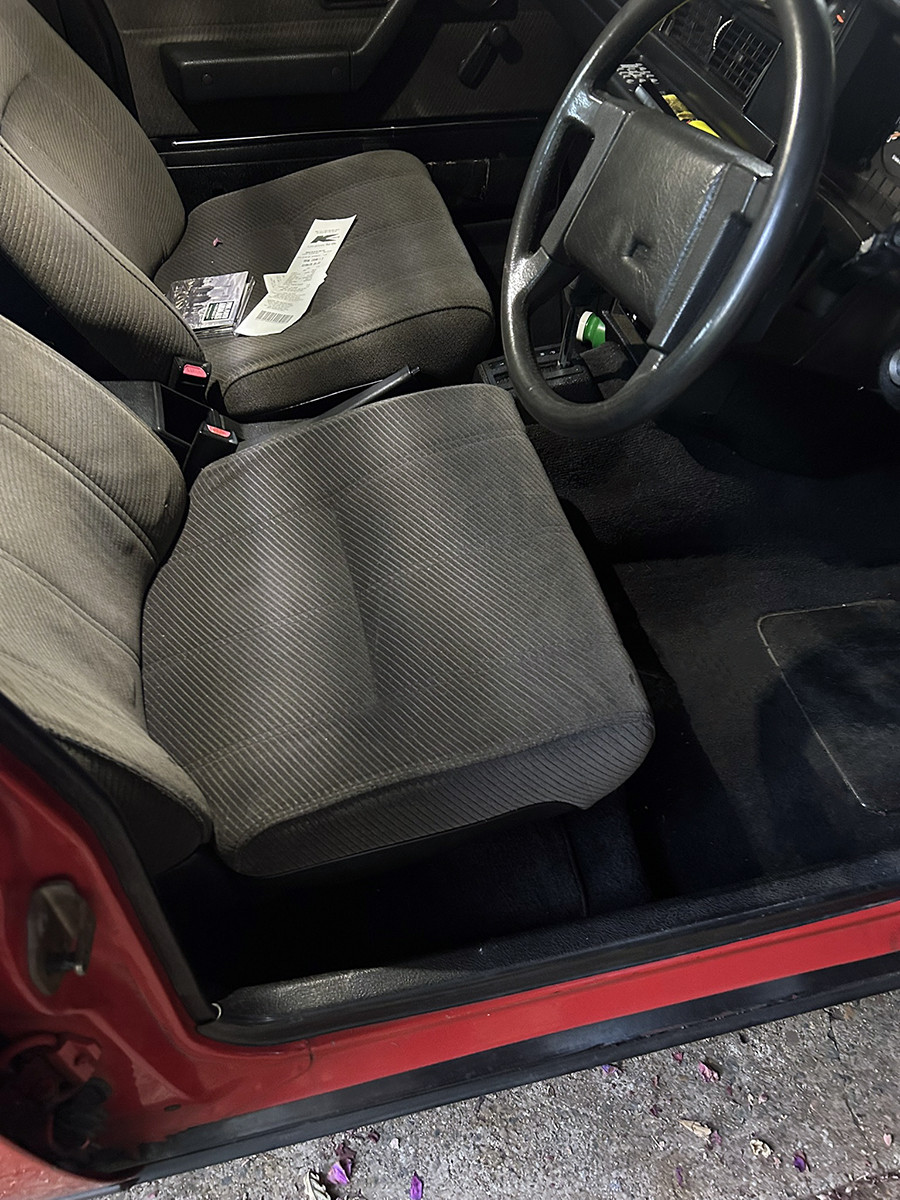
              And time to fix this awful sagging driver's seat. I squared this photo up and it definitely leaning ti the right when driving.

              Image description

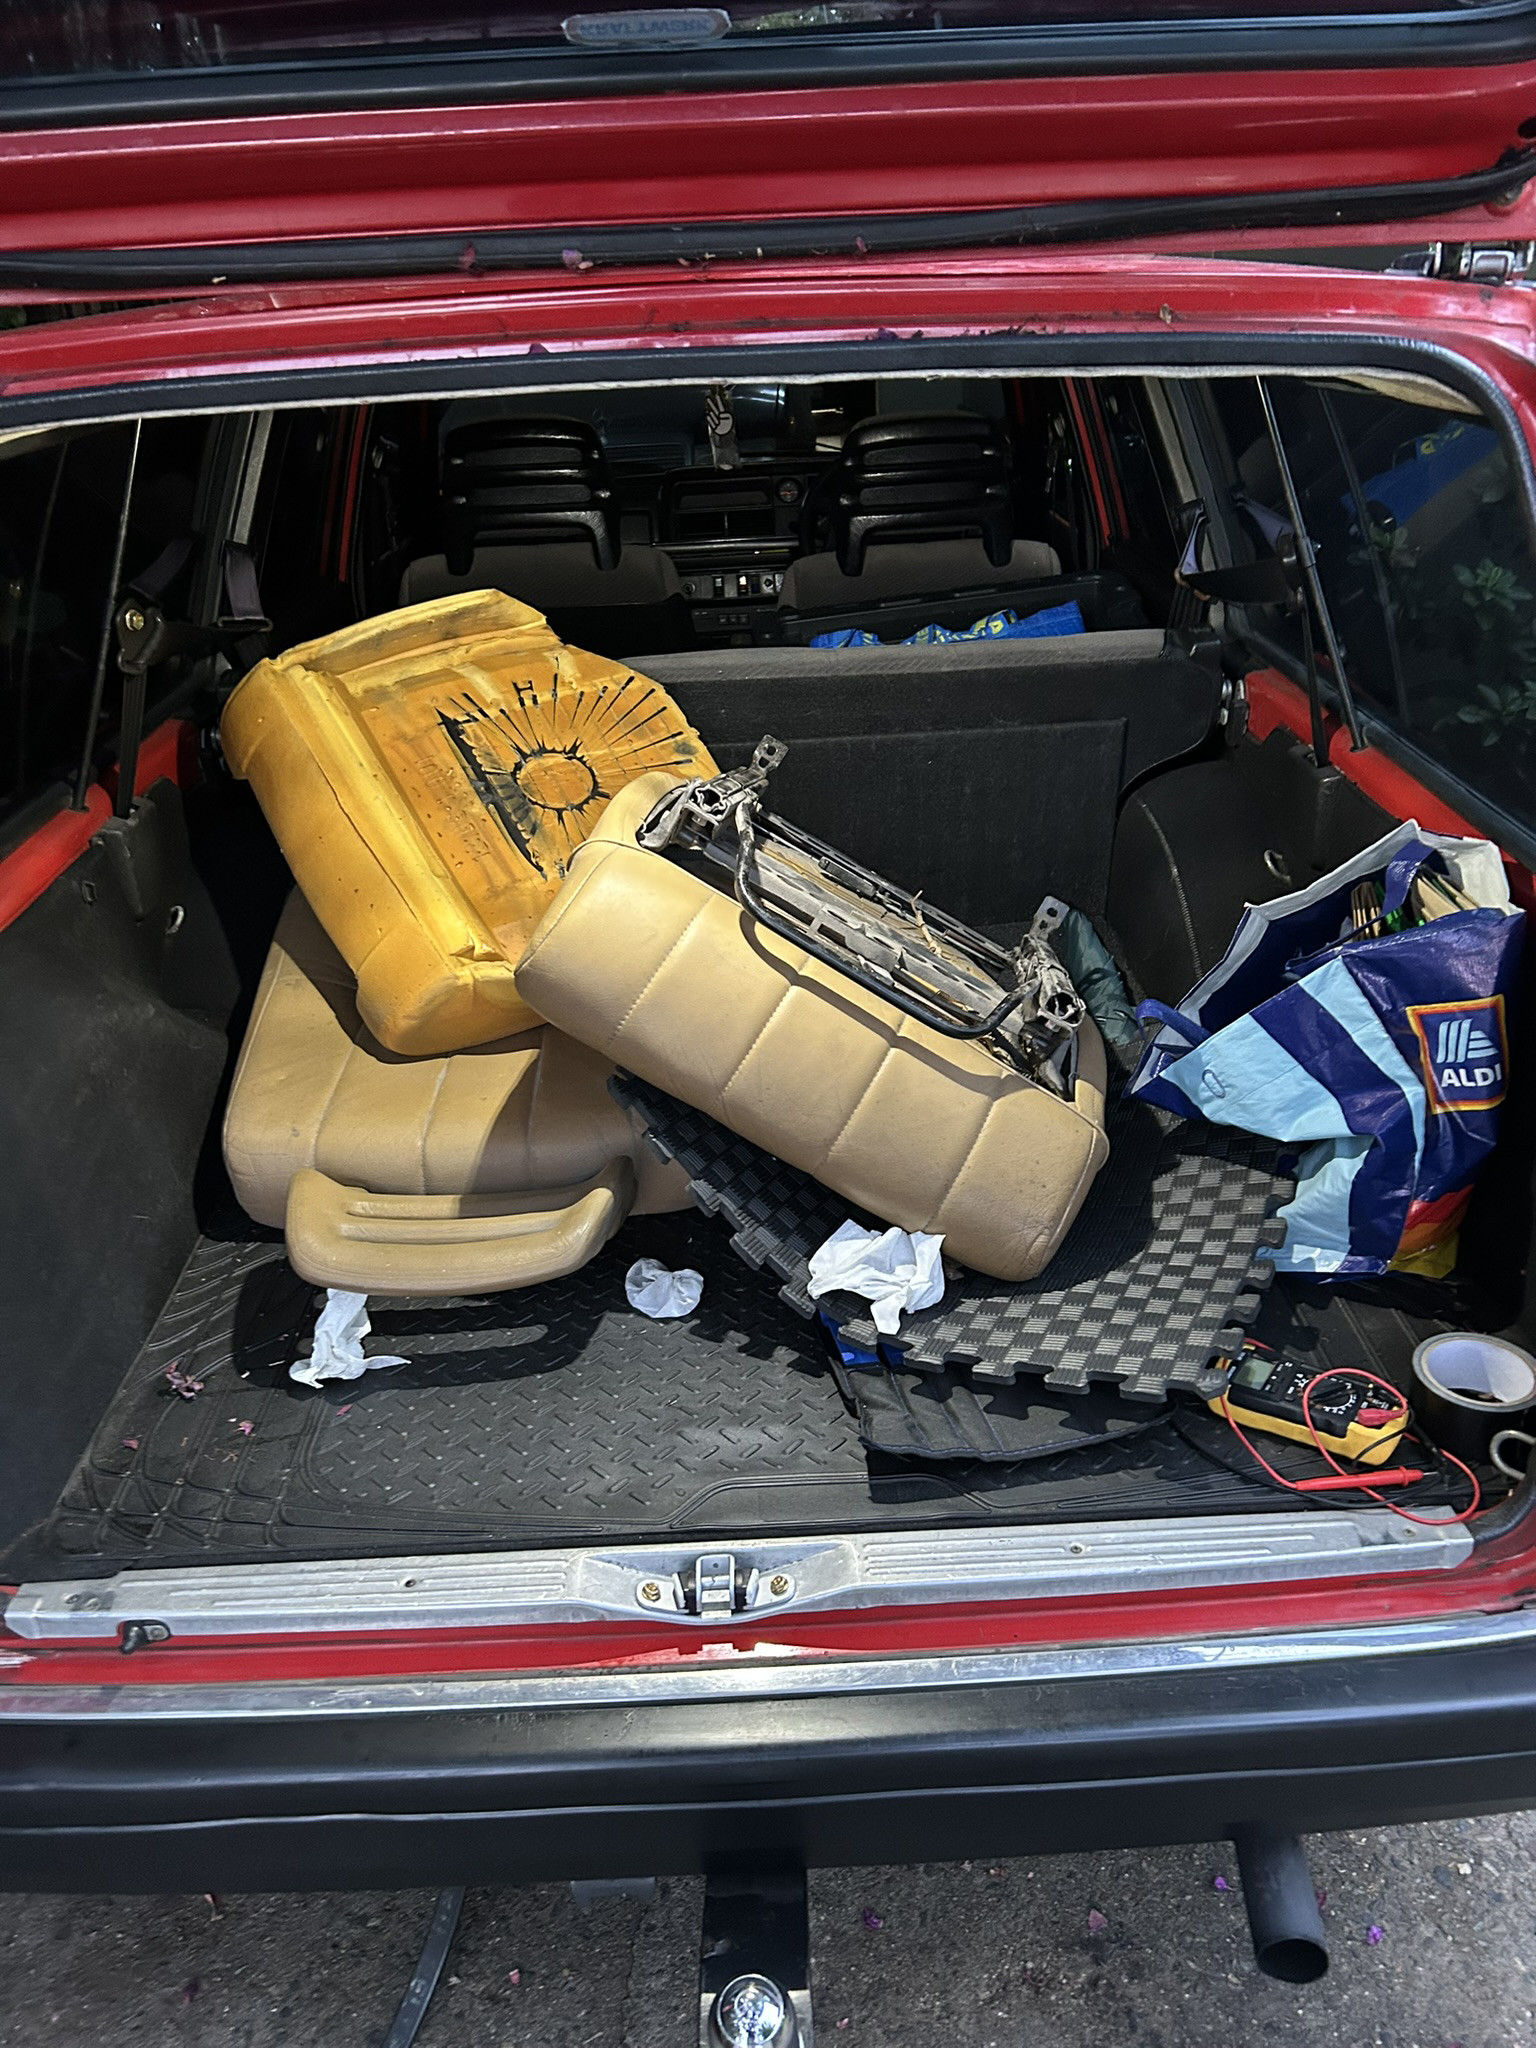
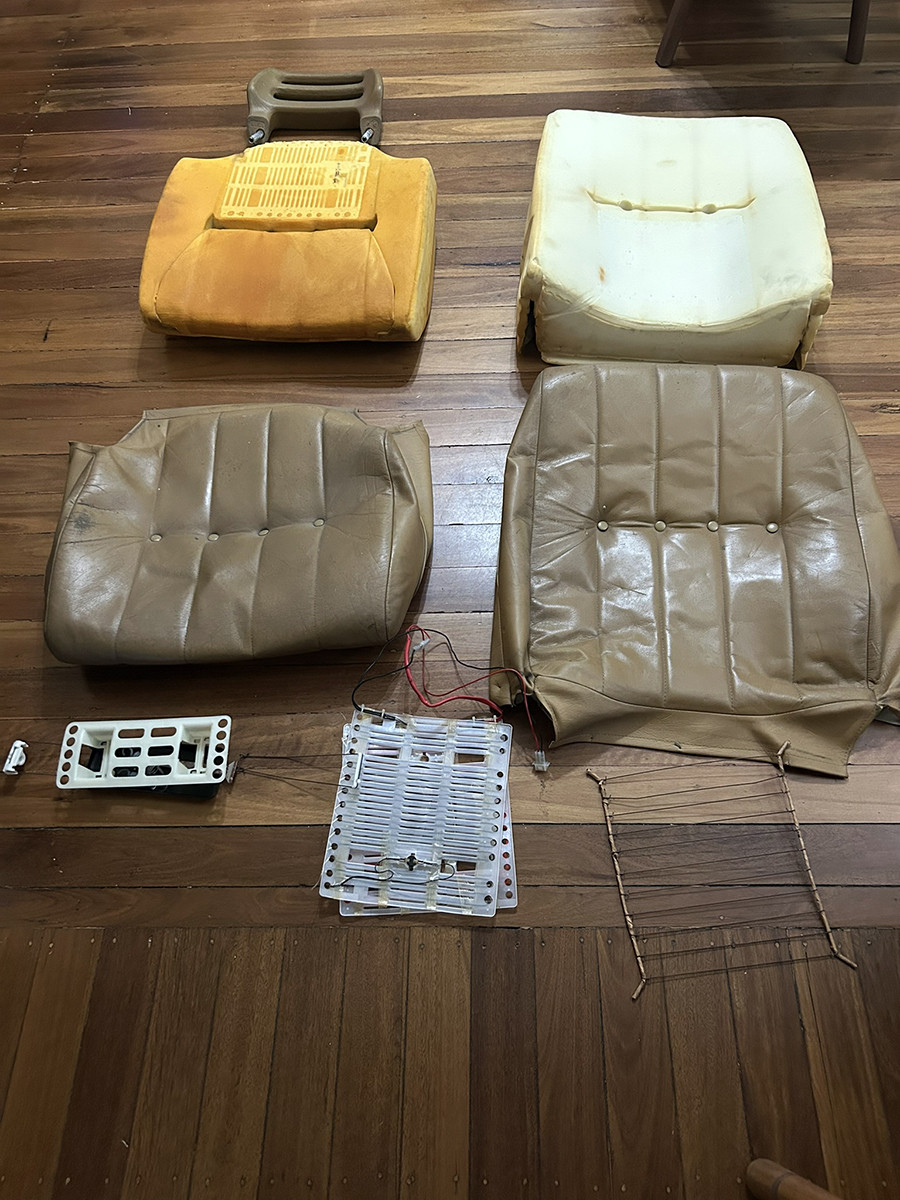
              2 x seats courtesy of Michael Furner. 1 was good and will act as the donor, the other one will likely be stripped and tossed.

              Image description

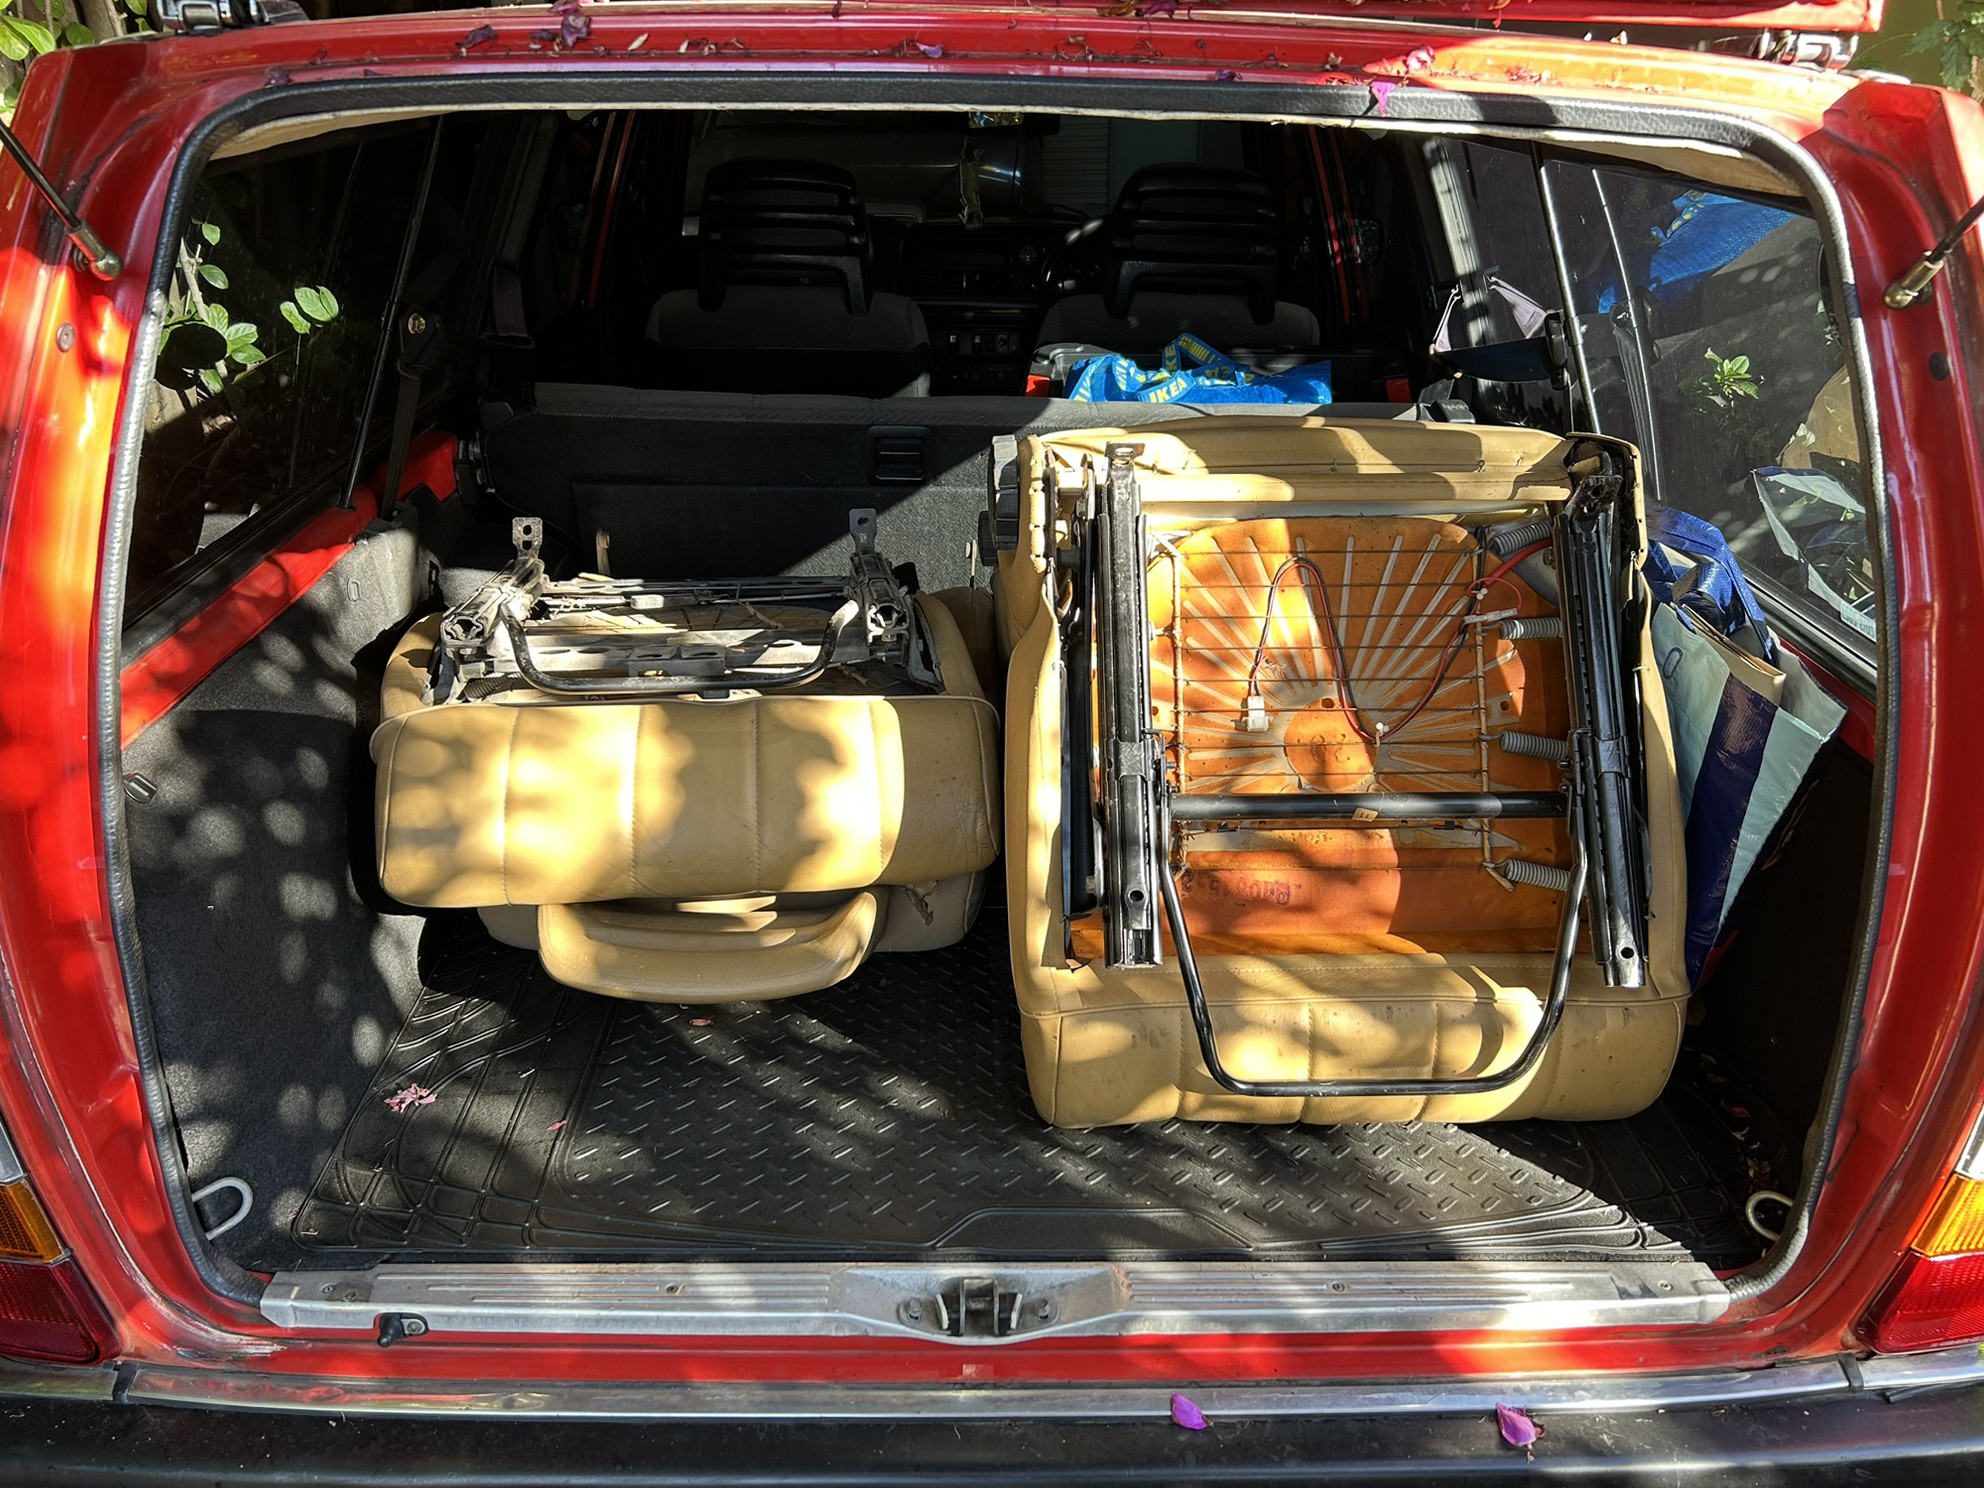
              The kitchen table and lounge area would be a makeshift upholstery workshop.

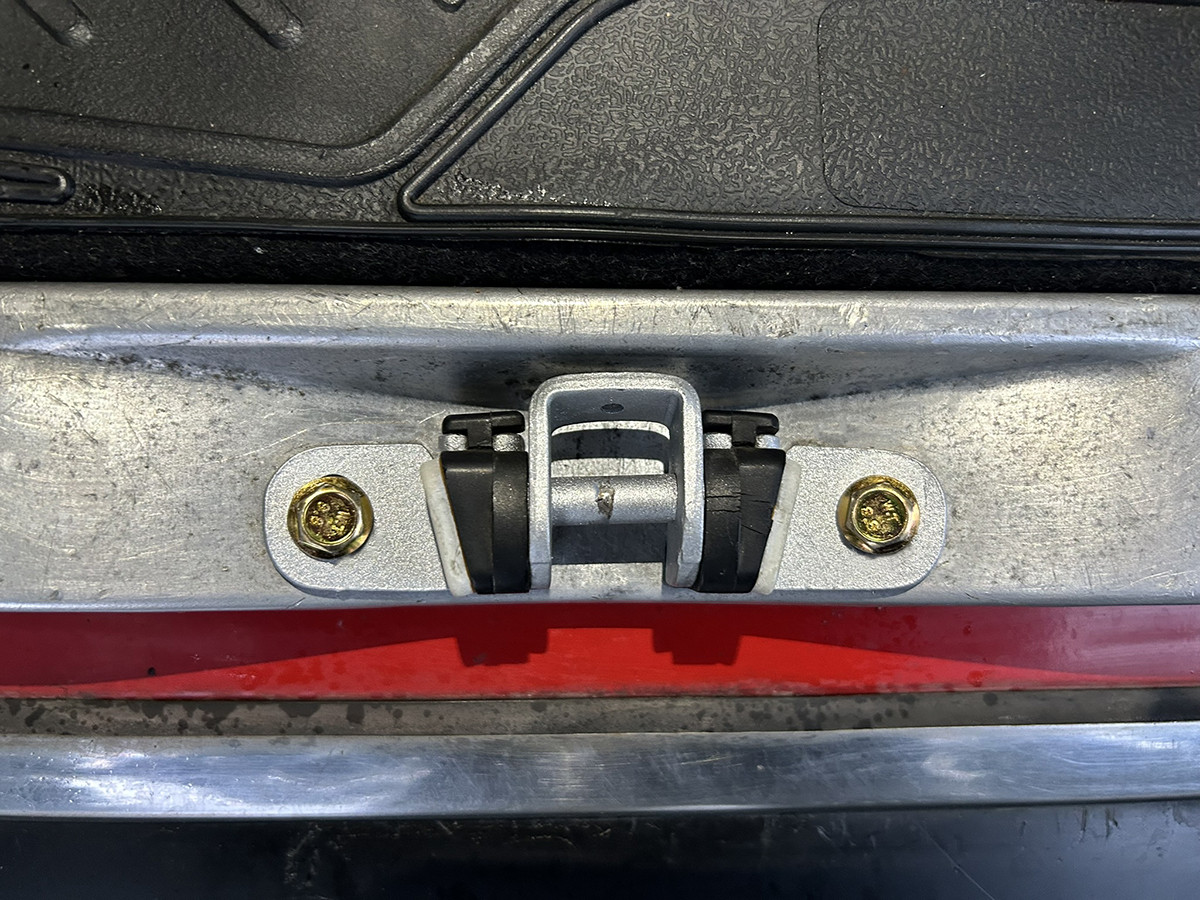
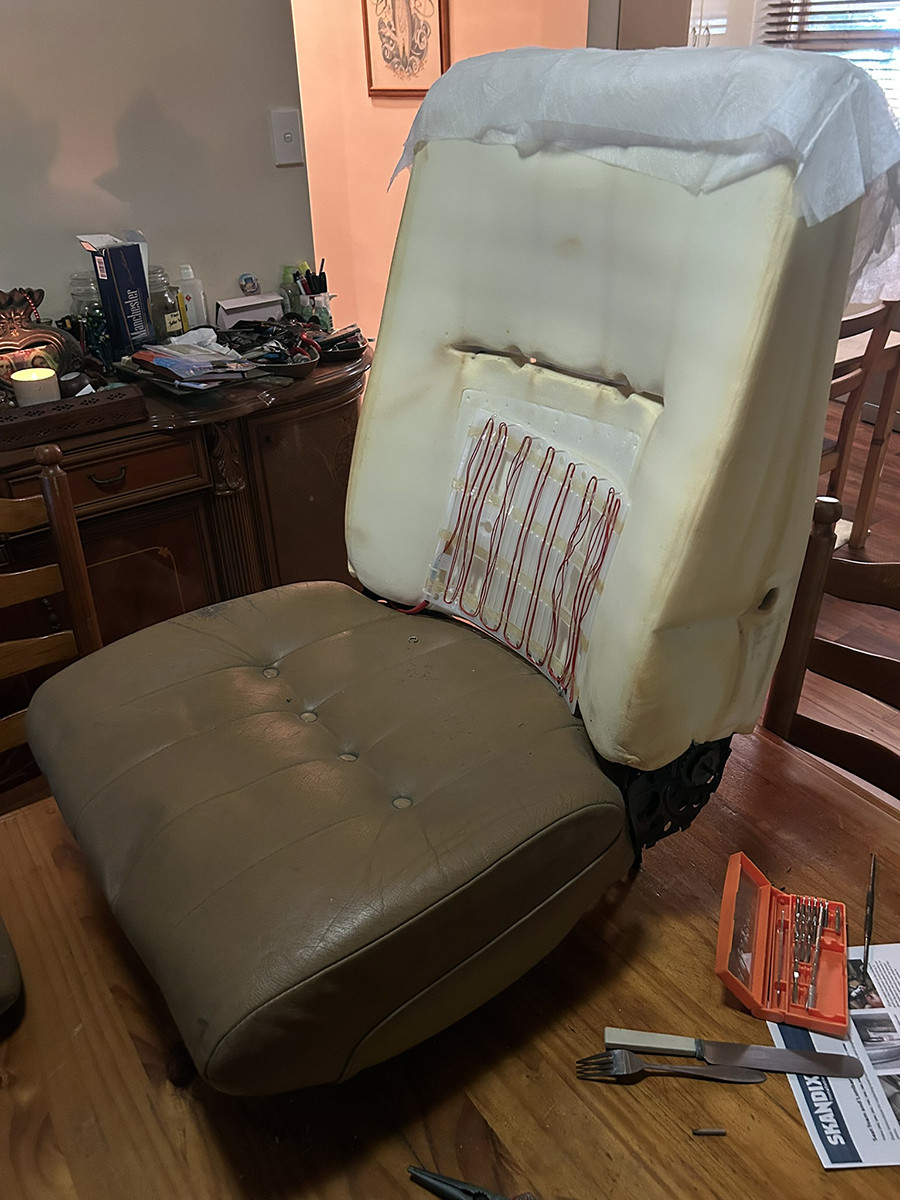
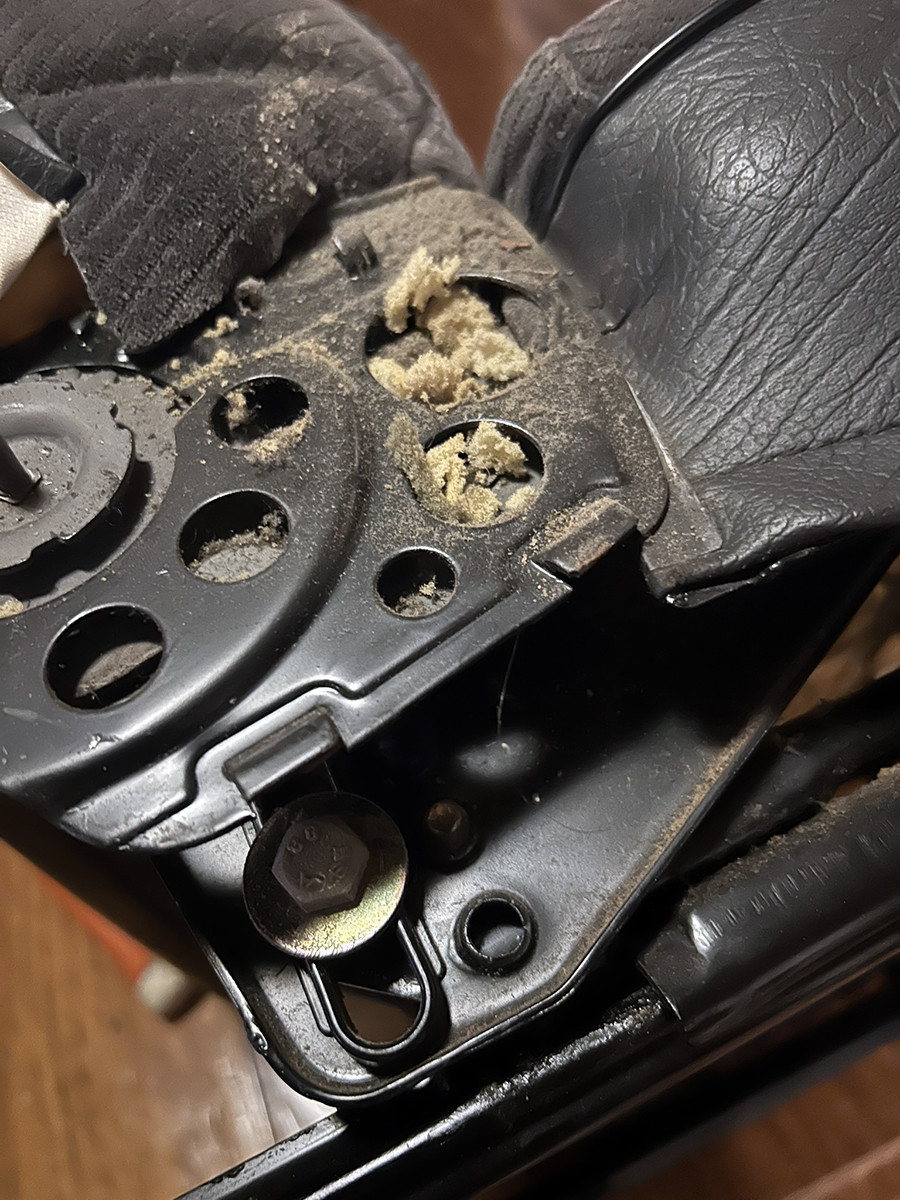
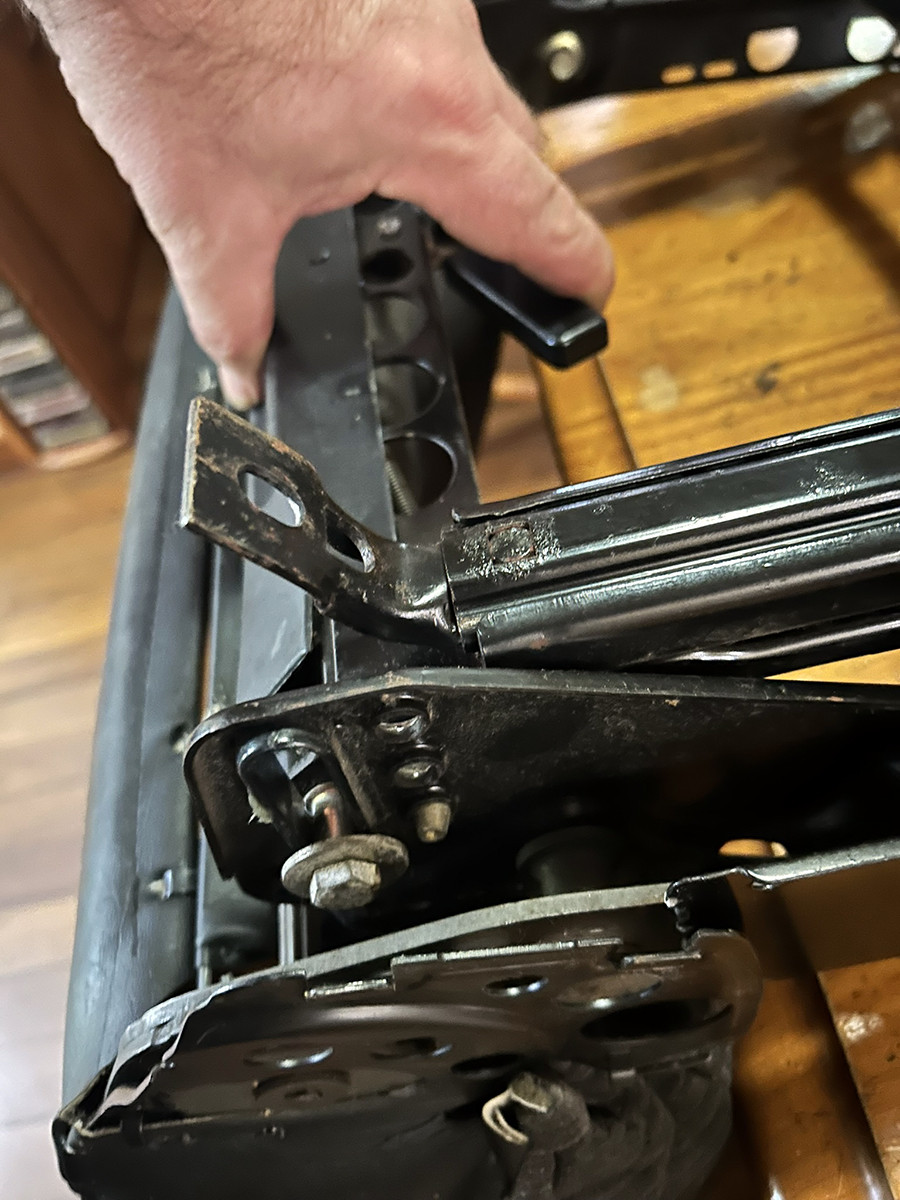
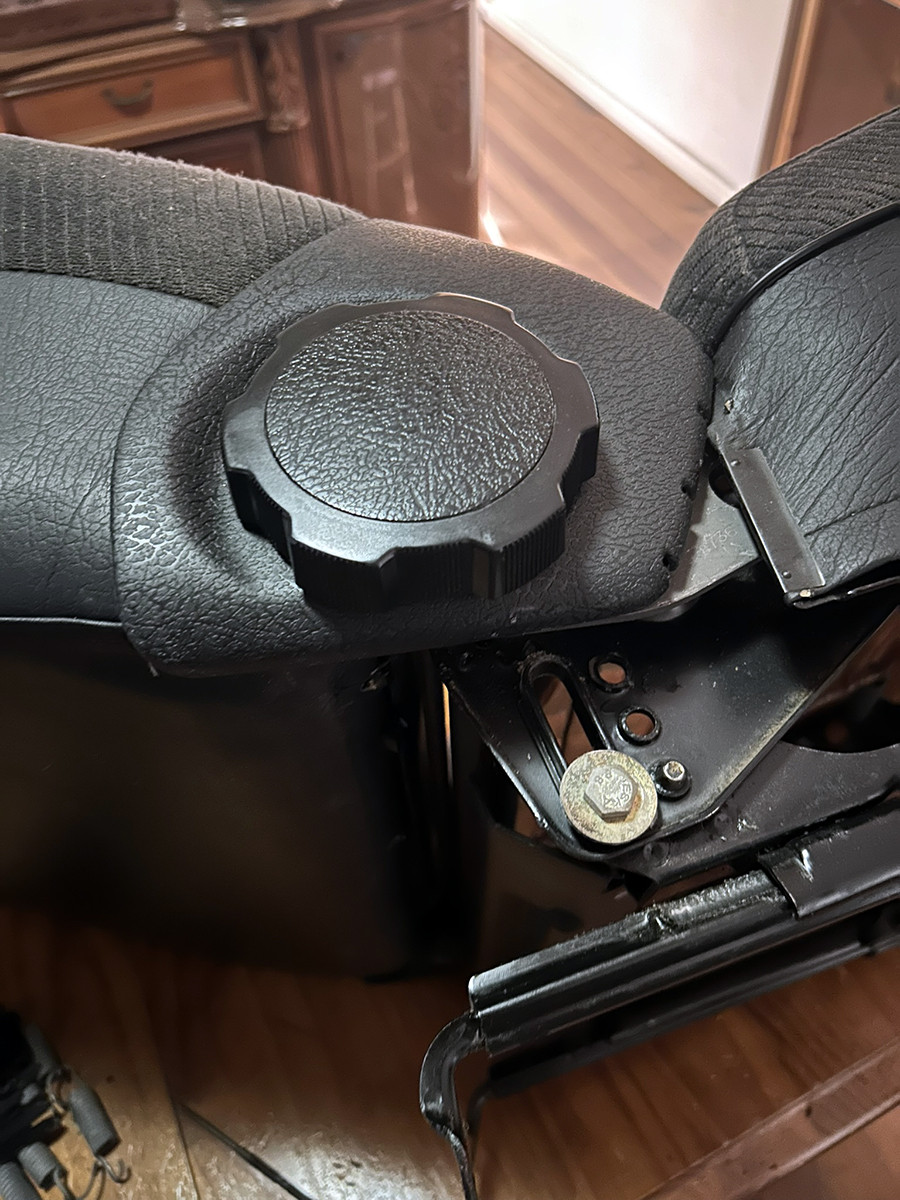
              Start by removing plastic trim covers, knobs & cutting of the wire clips holding upholstery tight to the frame. I managed not to damage the large "Lock washer, Rotary handle Seat adjustment".

              Image description

              Image description

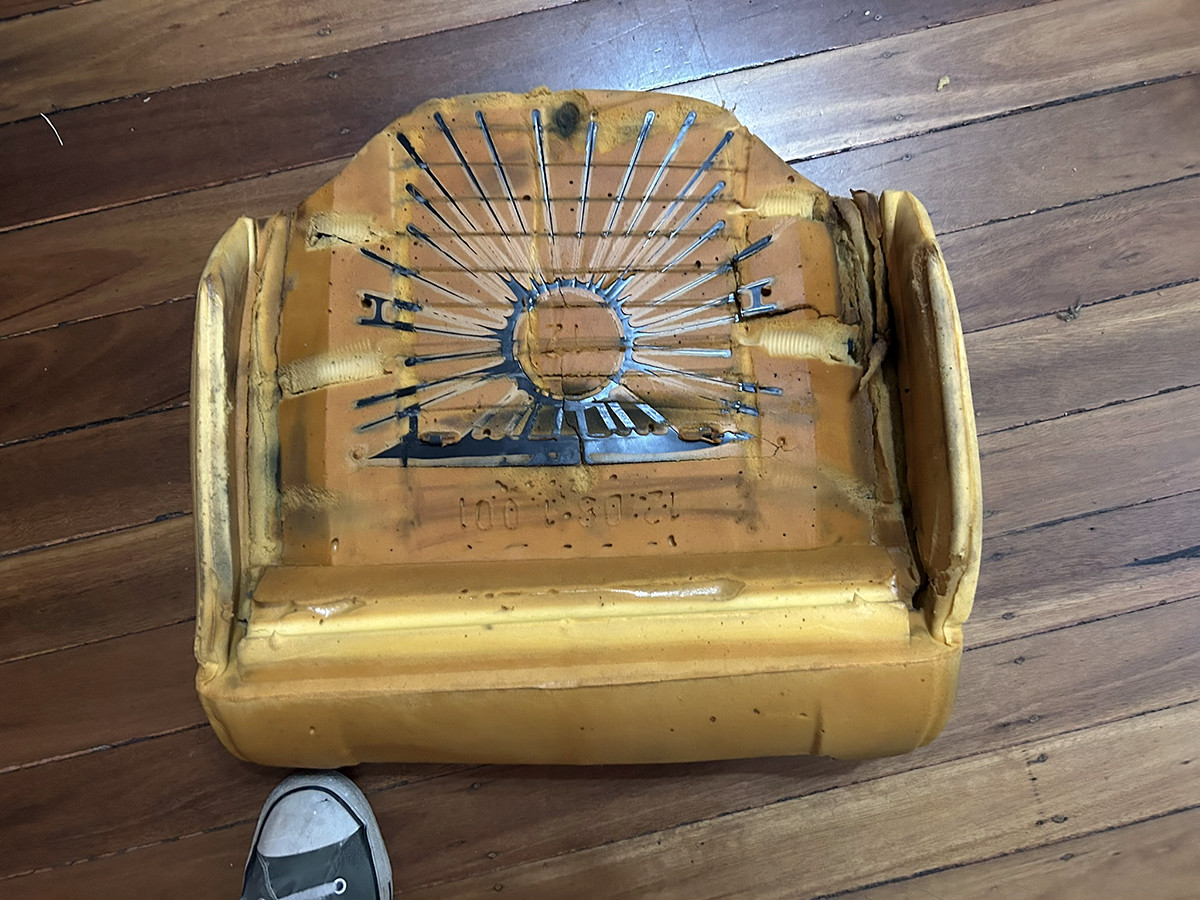
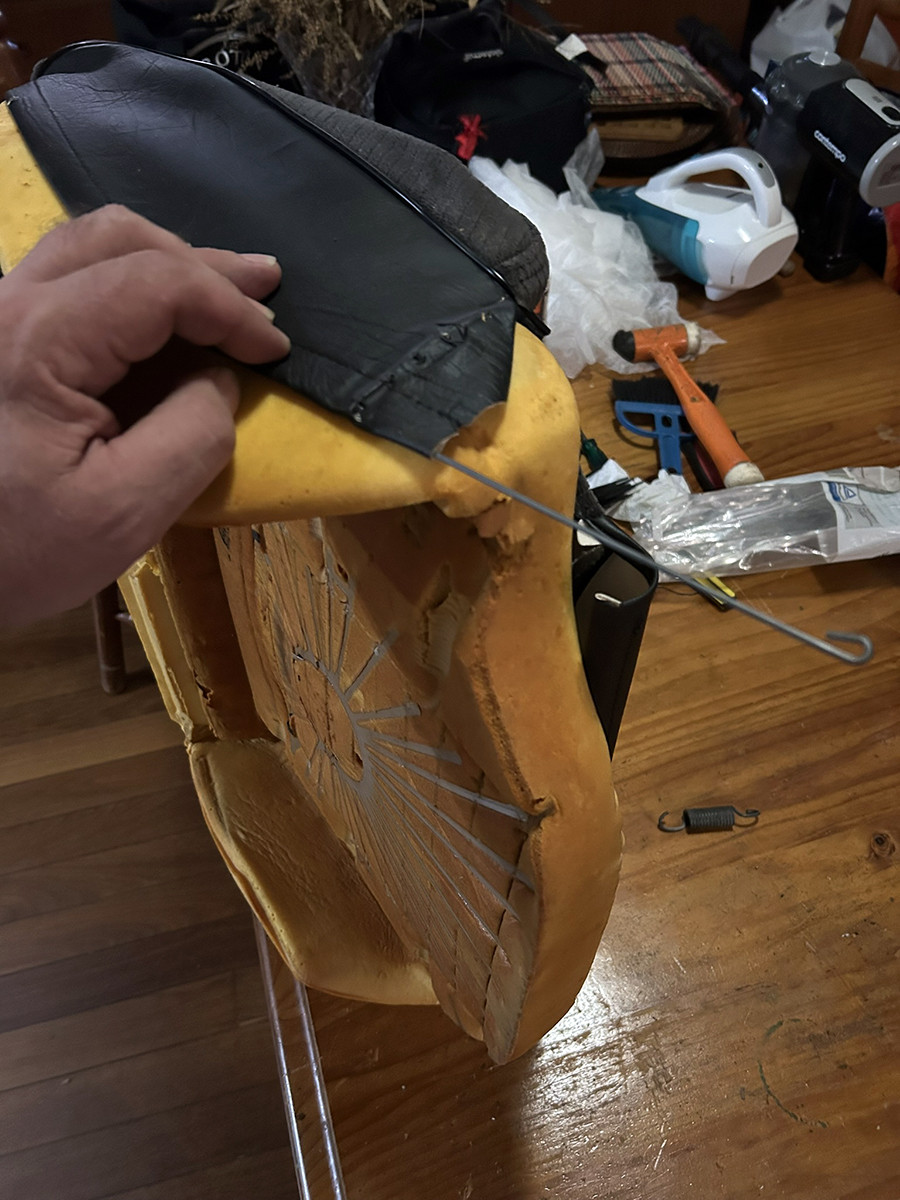
              Soon had the back rest done. Back foam looked very good and a heating pad was also in place

              .

              Image description

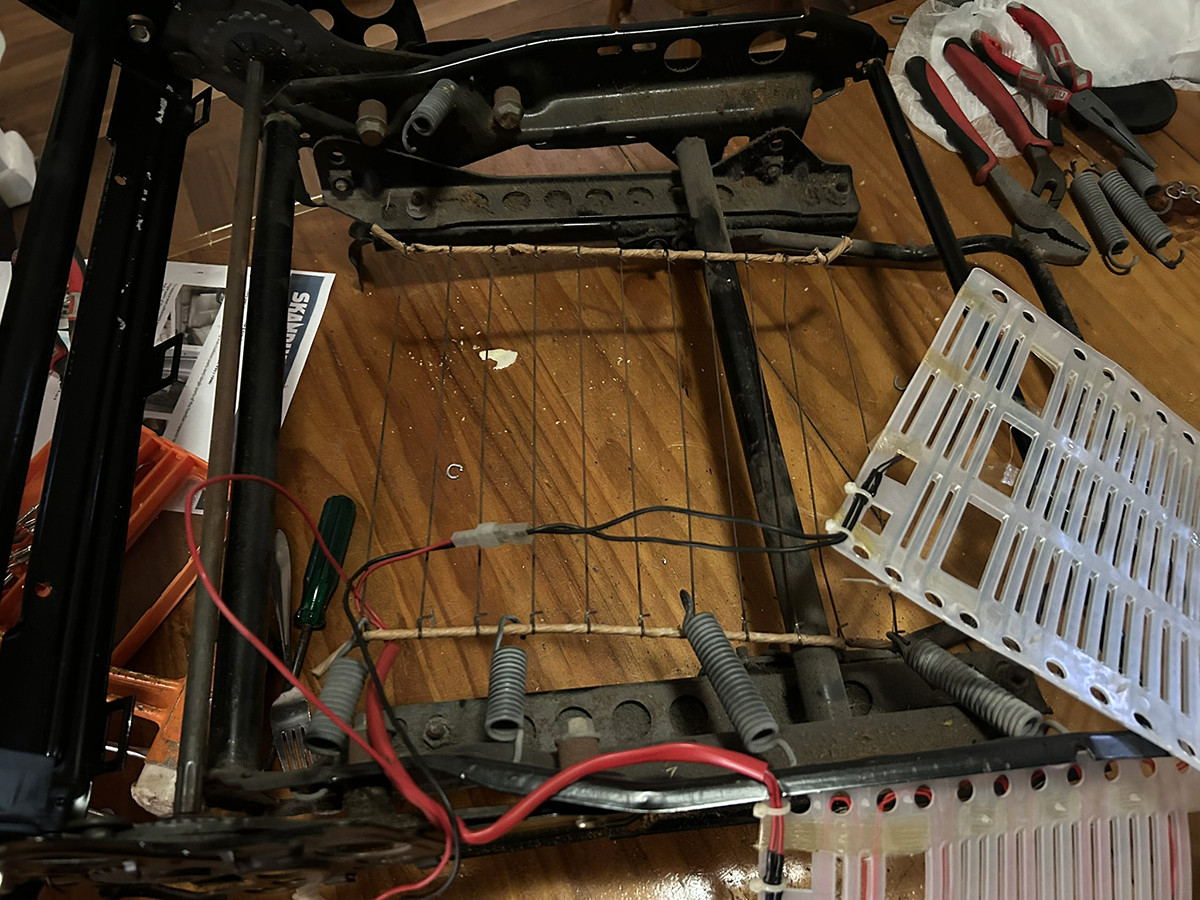
              Cut the clips holding the cushion to the seat frame.

              Image description

              Disassembled the bottom wire frame grid matting from the main seat frame by removing several strong springs . I used an adjustable clamp to assist with the tension as the springs were a bit of work. The wire frame looks good.

              Image description

              Disassembled bits from the donor.

              Image description

              Nudie seat frame.

              Image description

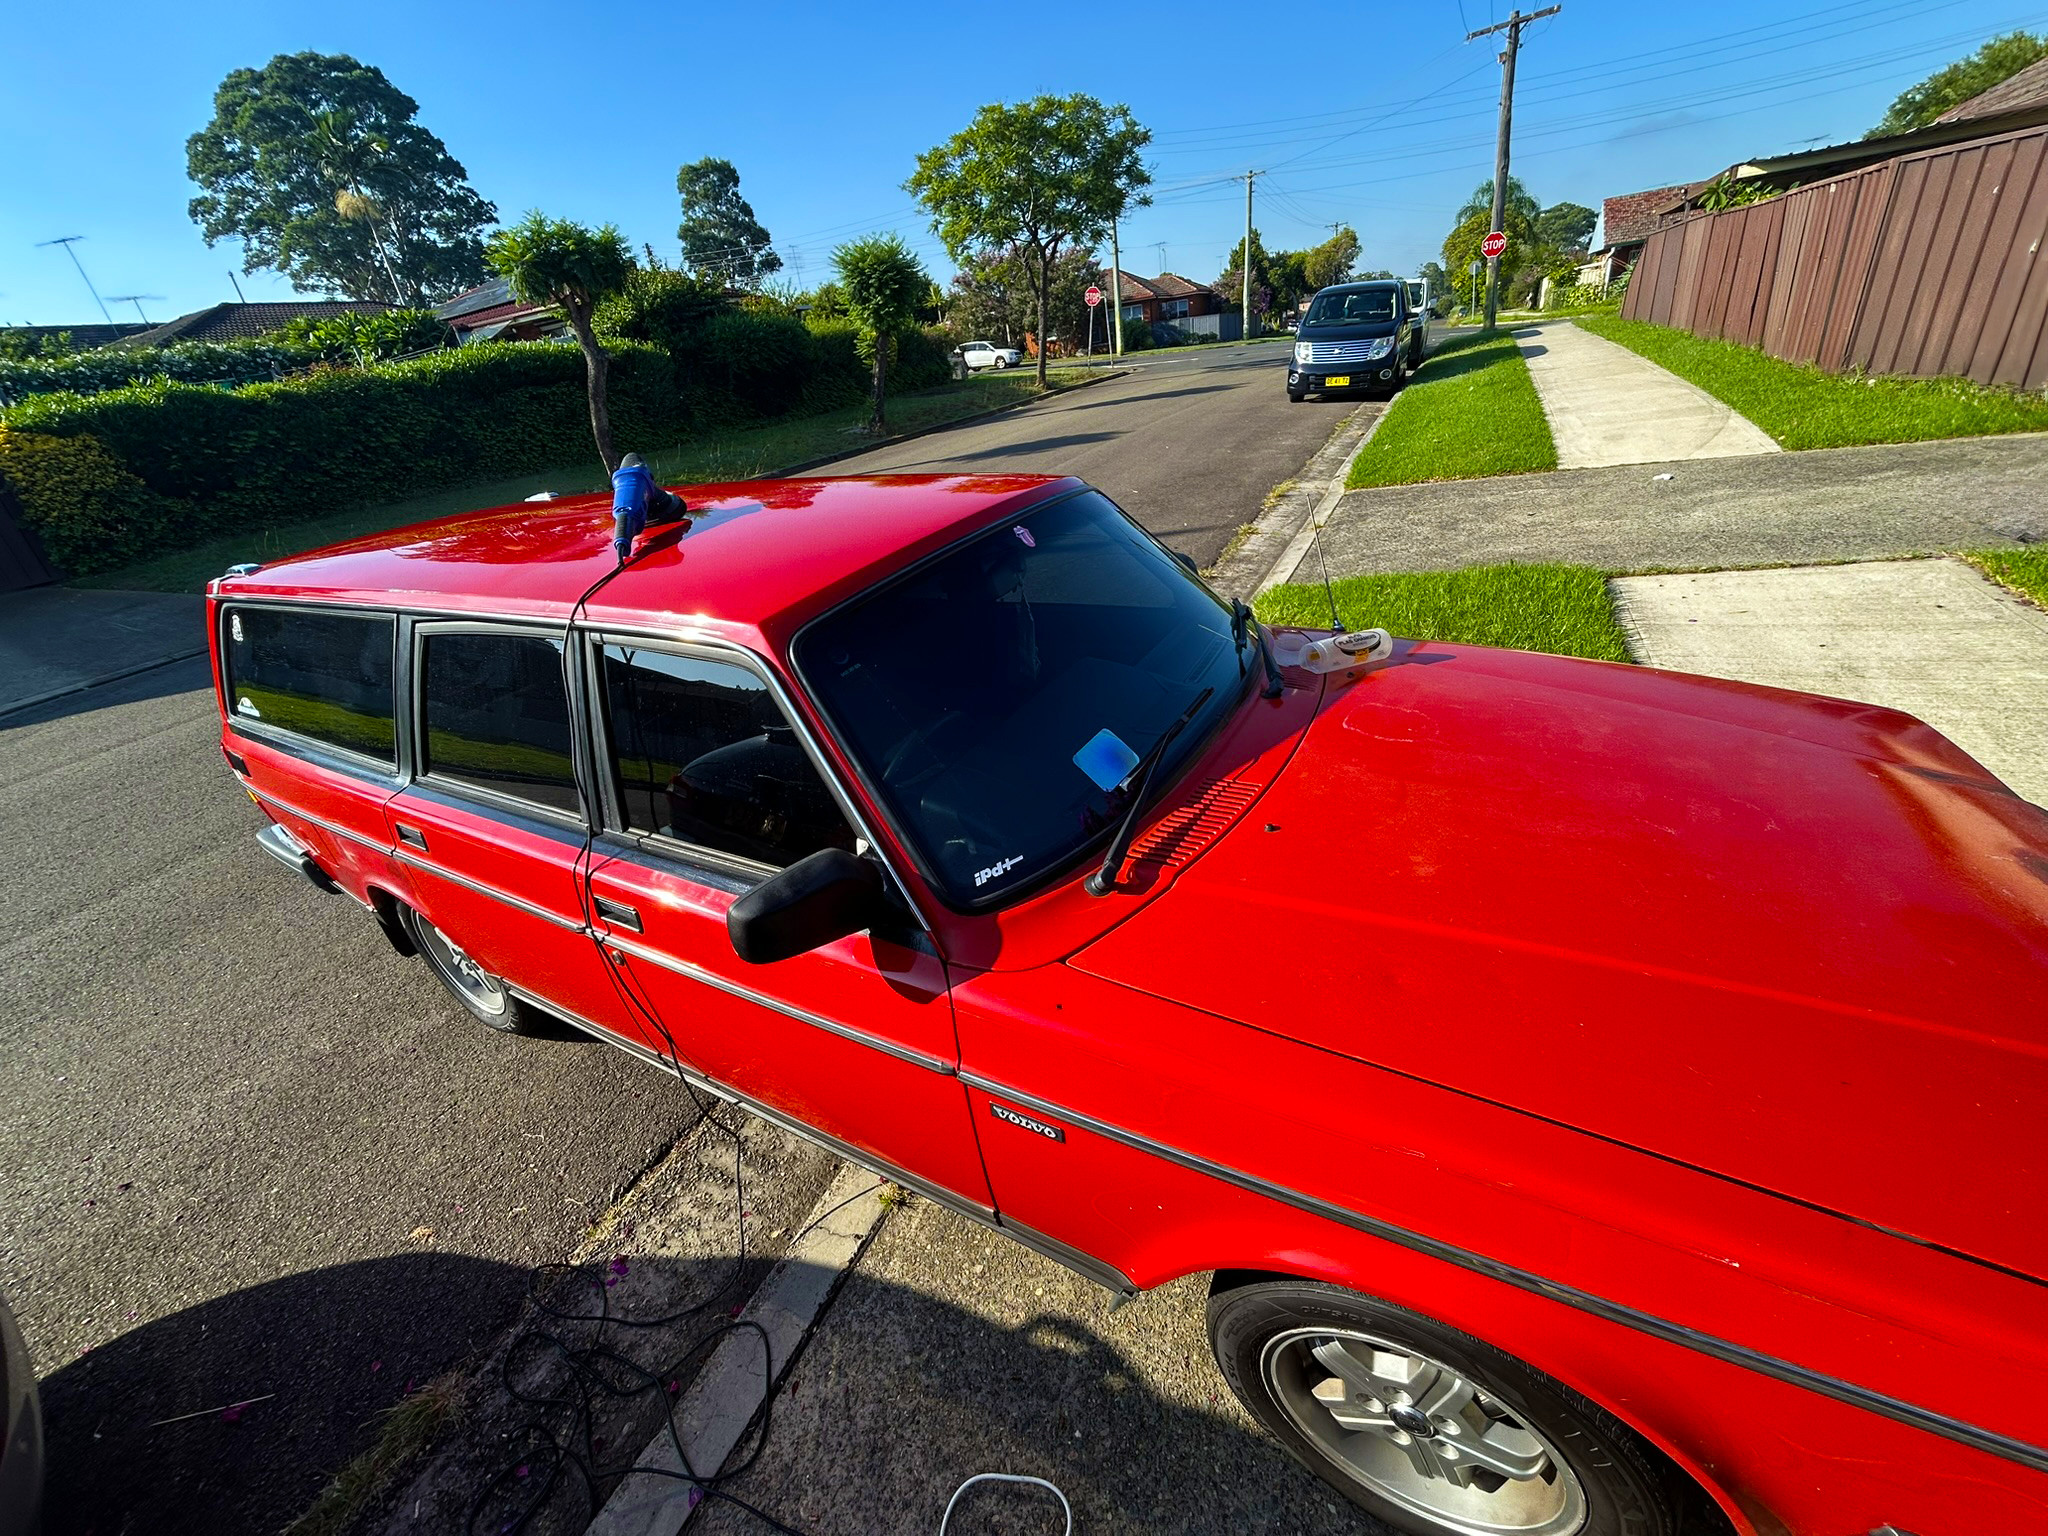
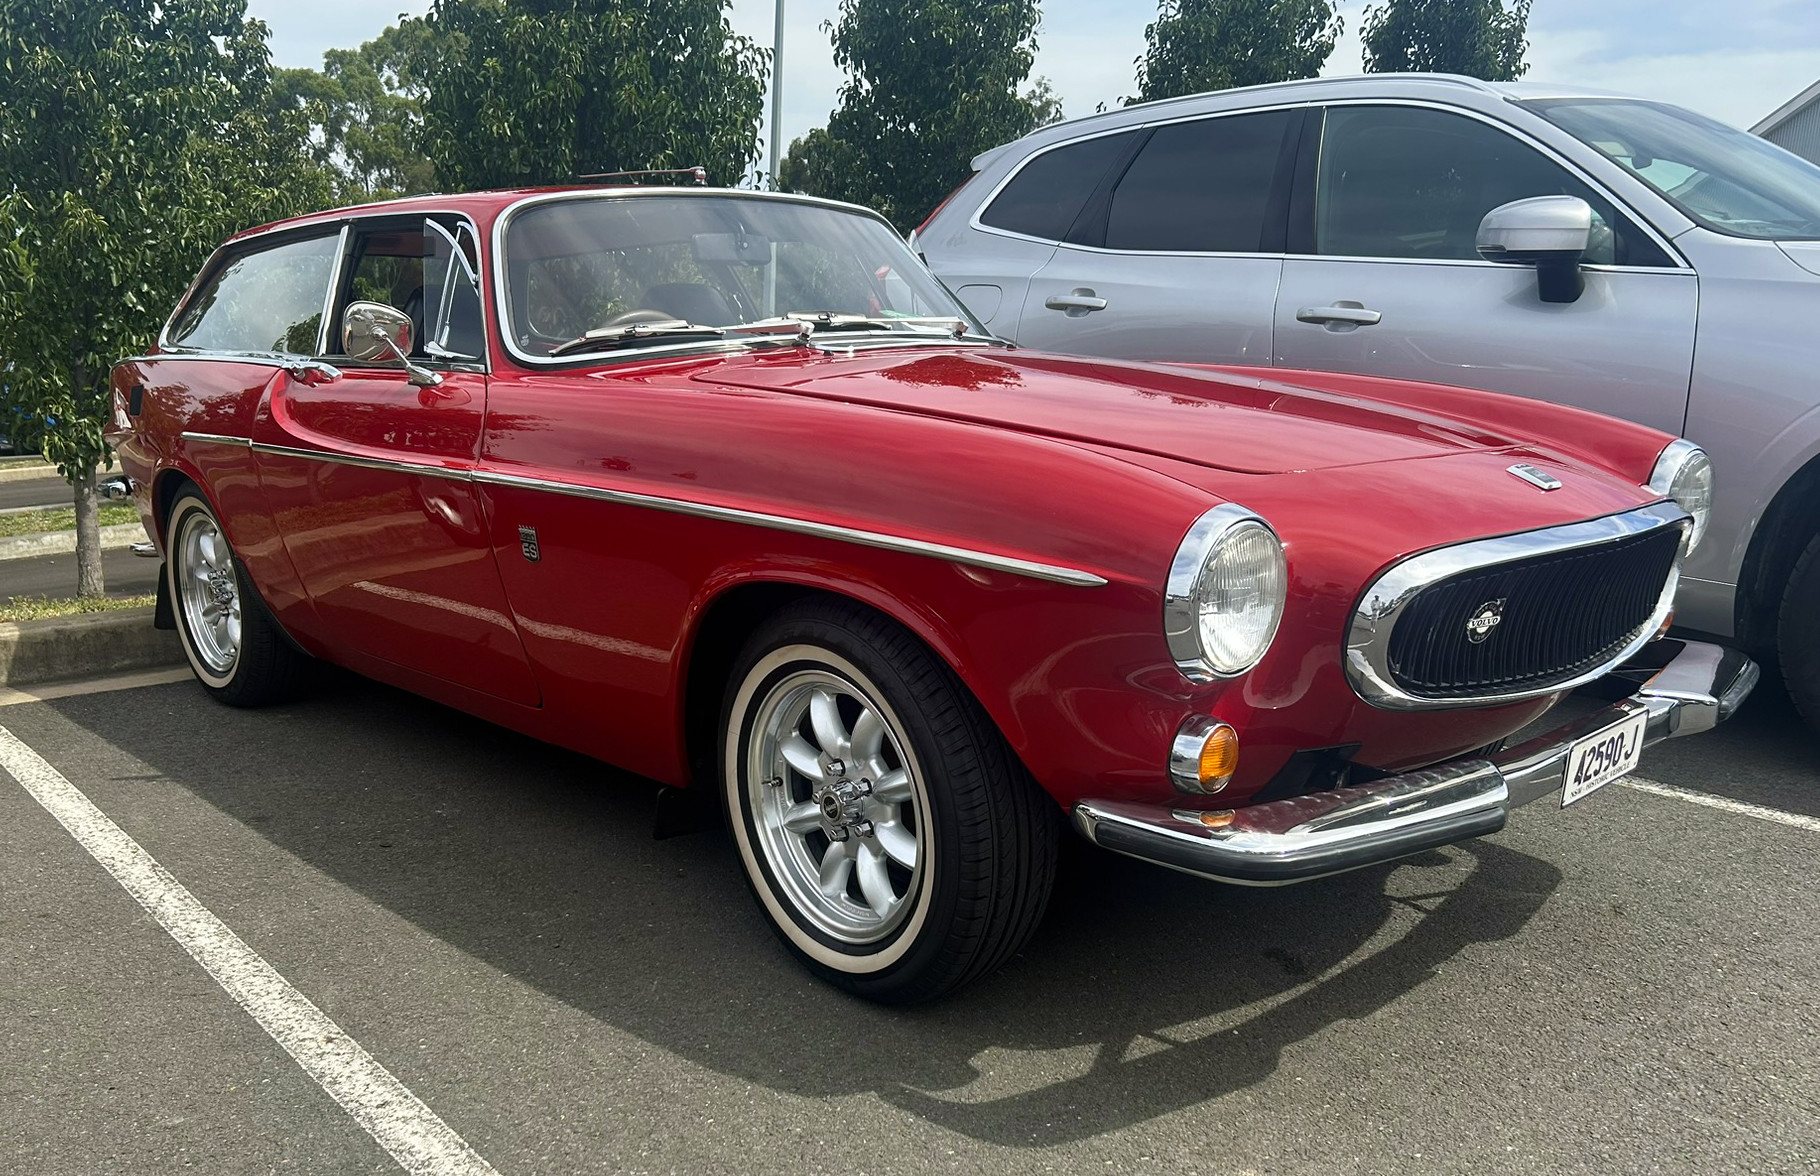
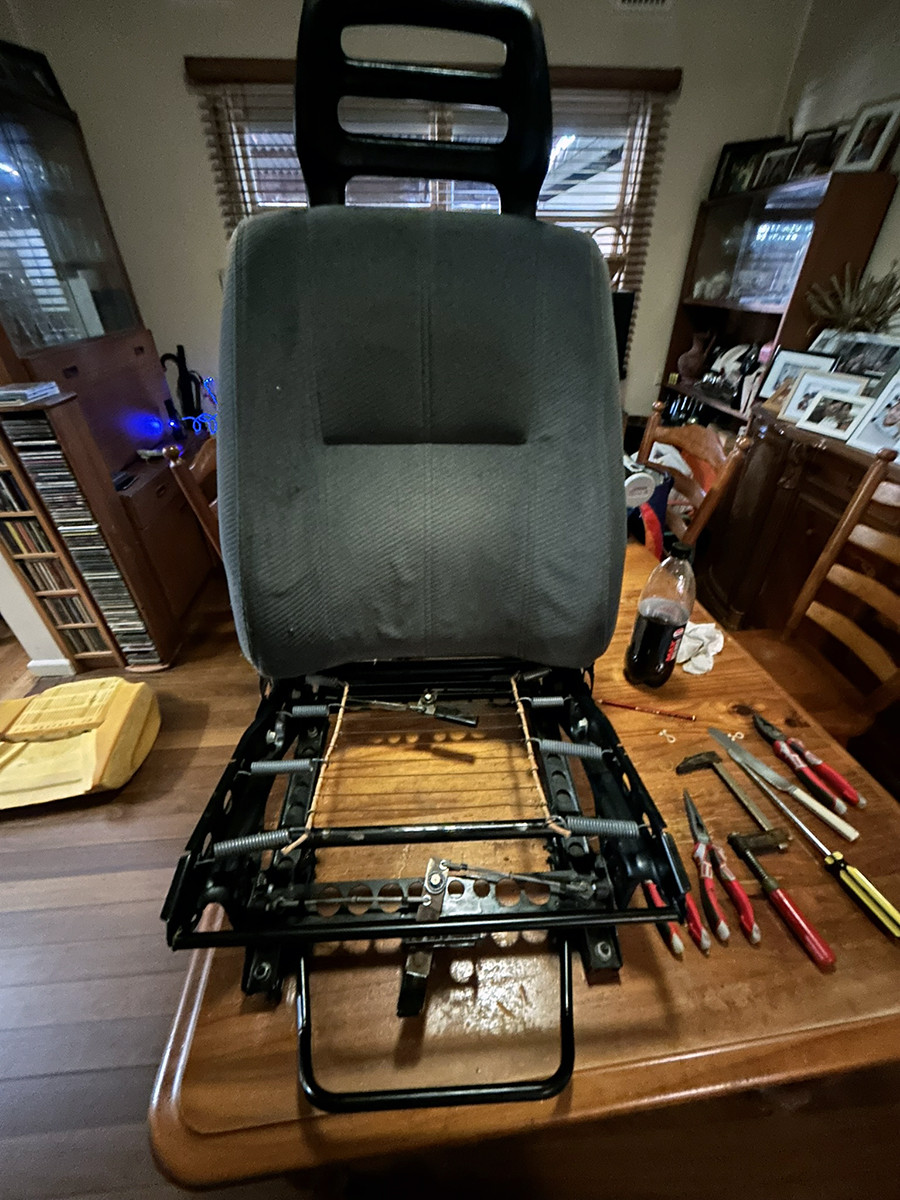
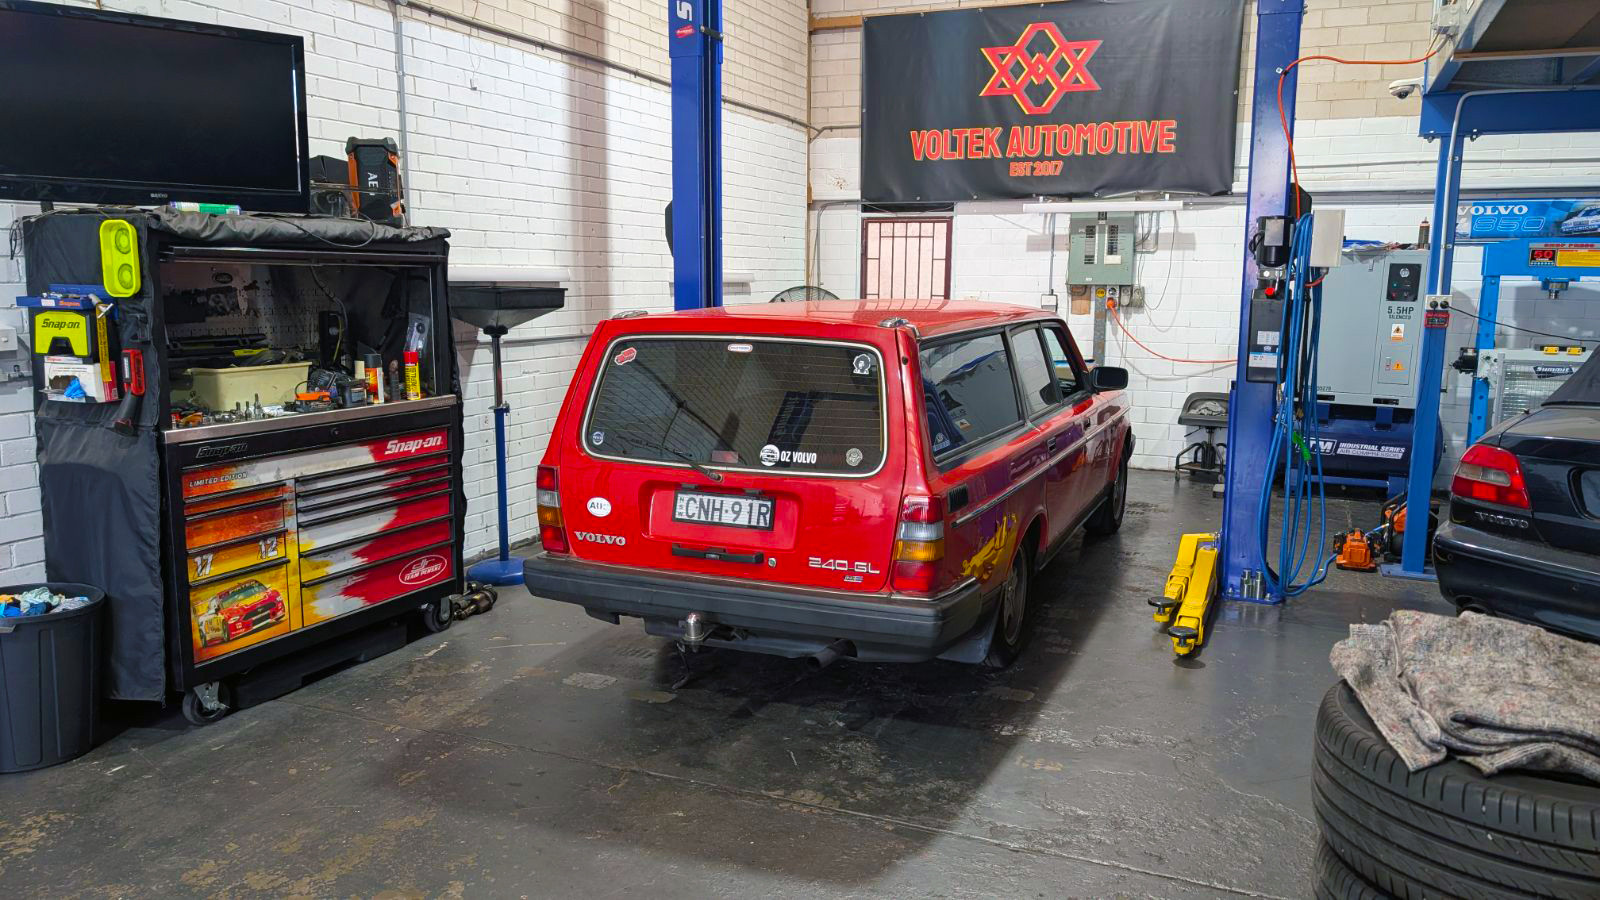
              Next pull out the driver's seat from Big Red and bring it inside. The back rest is quite good so it will only be a bottom cushion & frame replacement.

              Image description

              Go through the same deal with this but with lots of extra foam dust.

              Image description

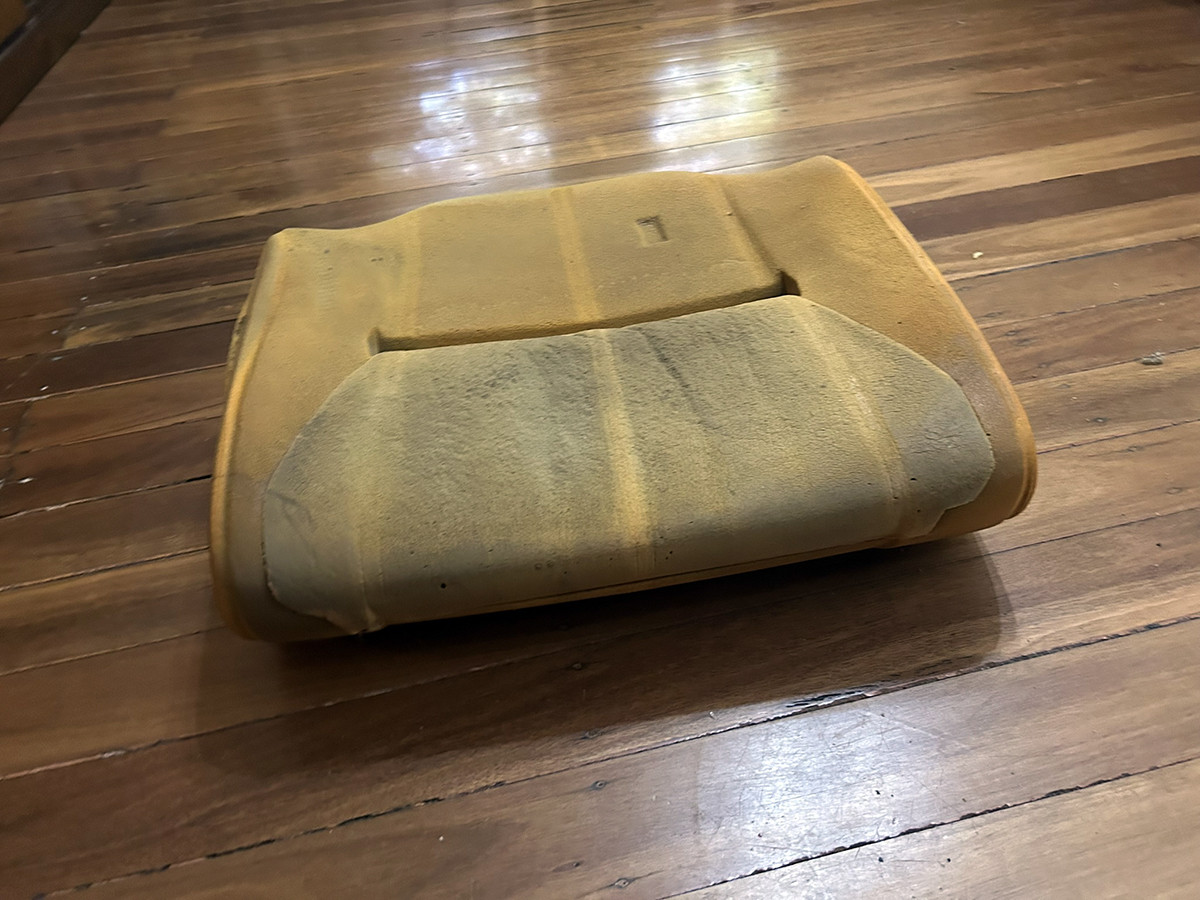
              Base cushion was stuffed and the grid matting was missing a wire and pretty mangled.

              Image description

              Image description

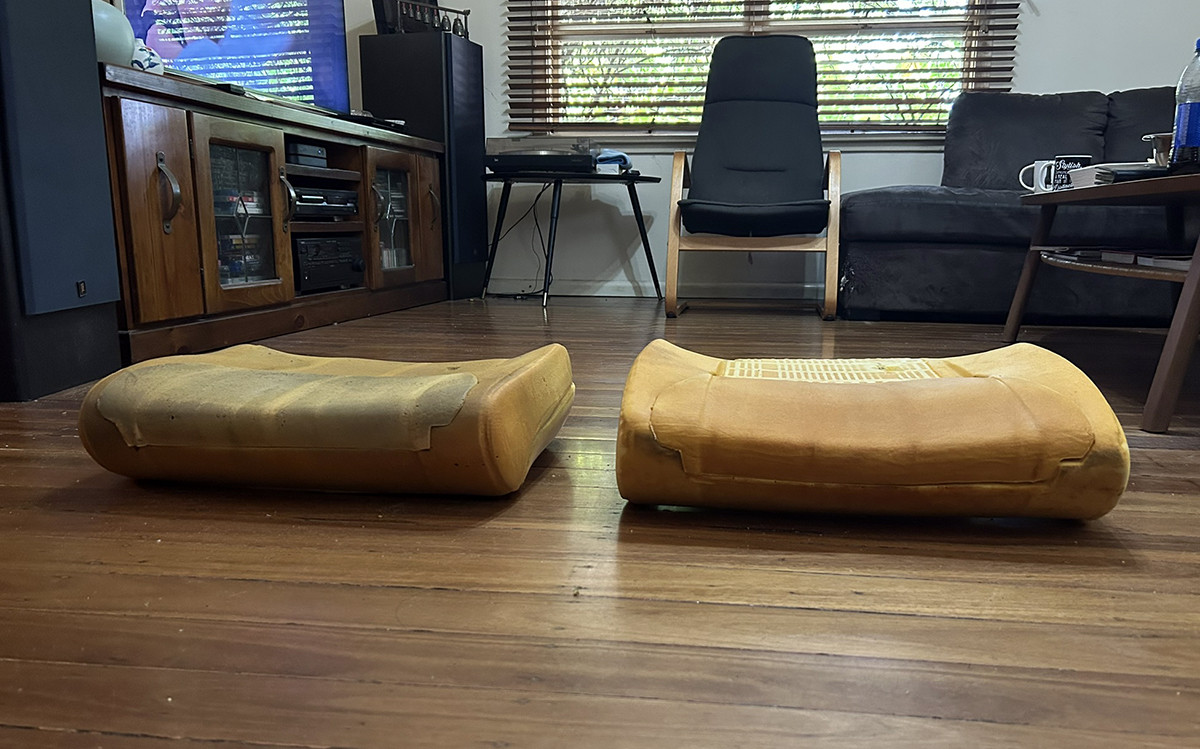
              Comparison between the two cushions.

              Image description

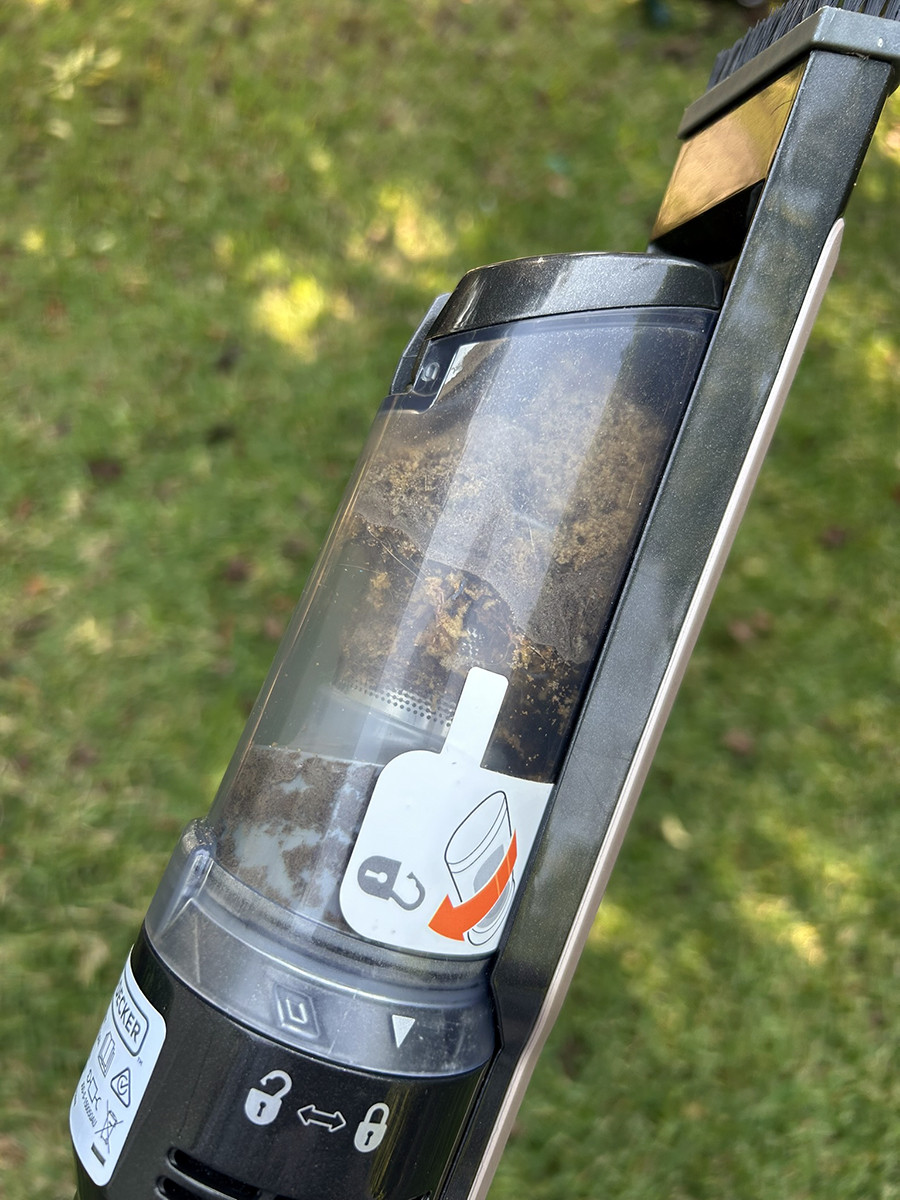
              This was the first of many loads of foam dust in a small but powerful stick vacuum cleaner.

              Image description

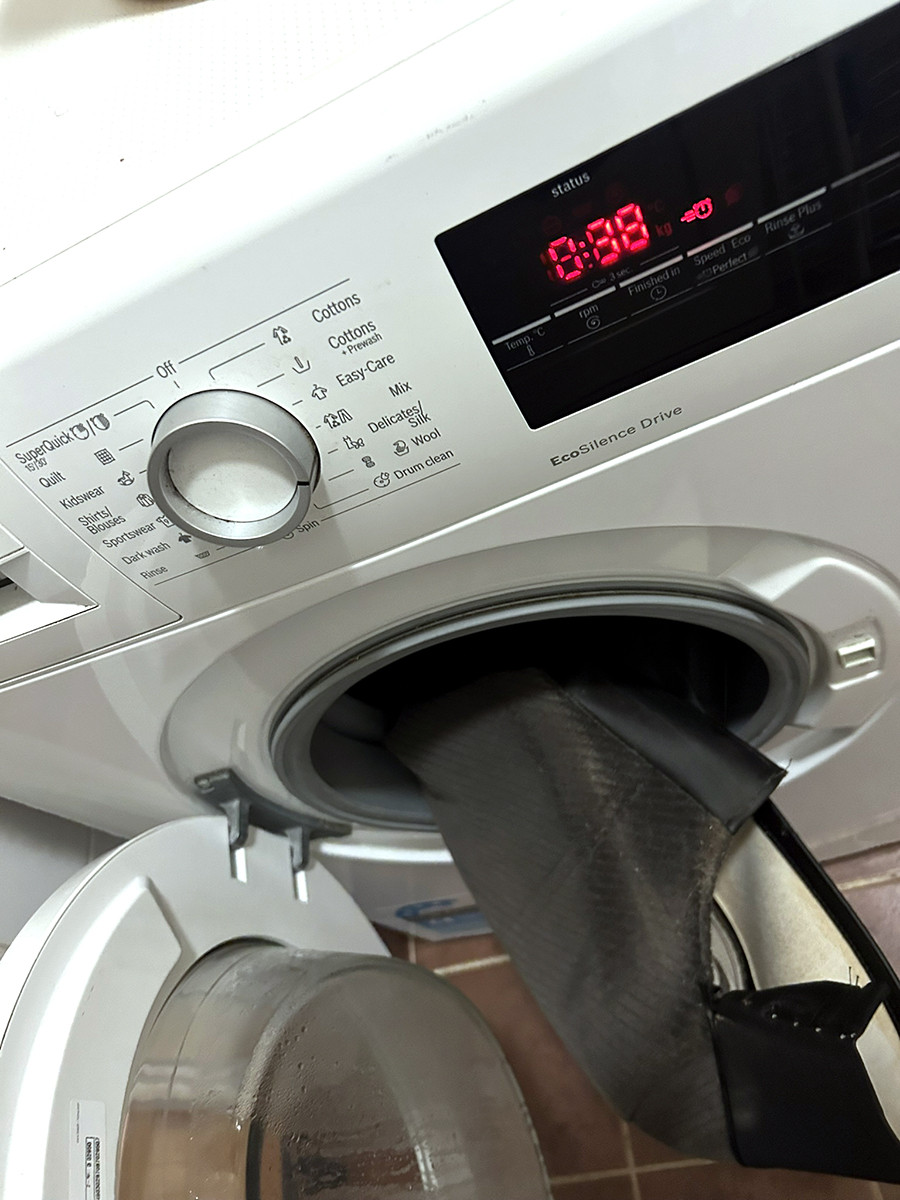
              Throw the bottom upholstery in the washing machine on a gentle cycle once the tensioning wires hav

              e been removed.

              Respring the base while it dries…….the respringing took AGES. I was careful not to damage the grid matting and keep the tension constant. Gave the frame a good clean and greased a few sliding points.

              Image description

              Image description

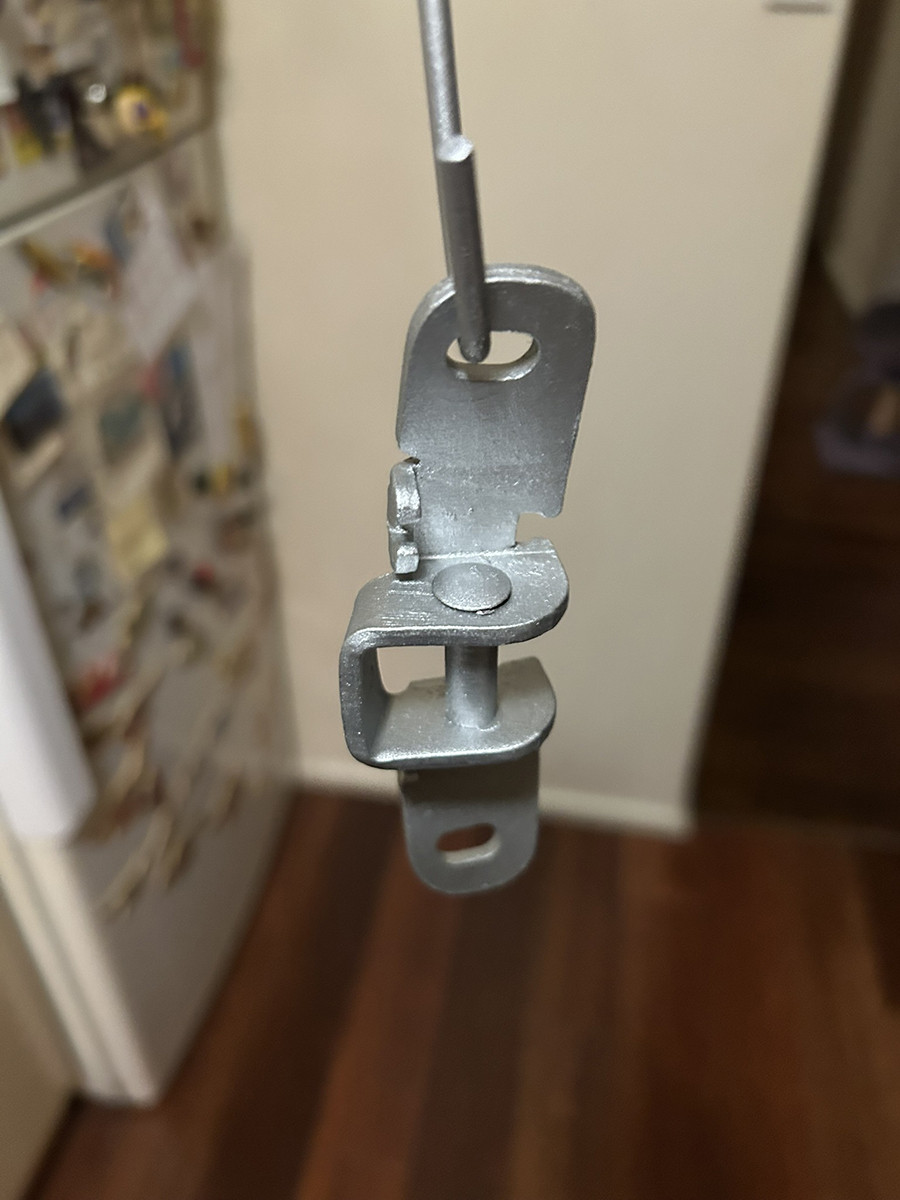
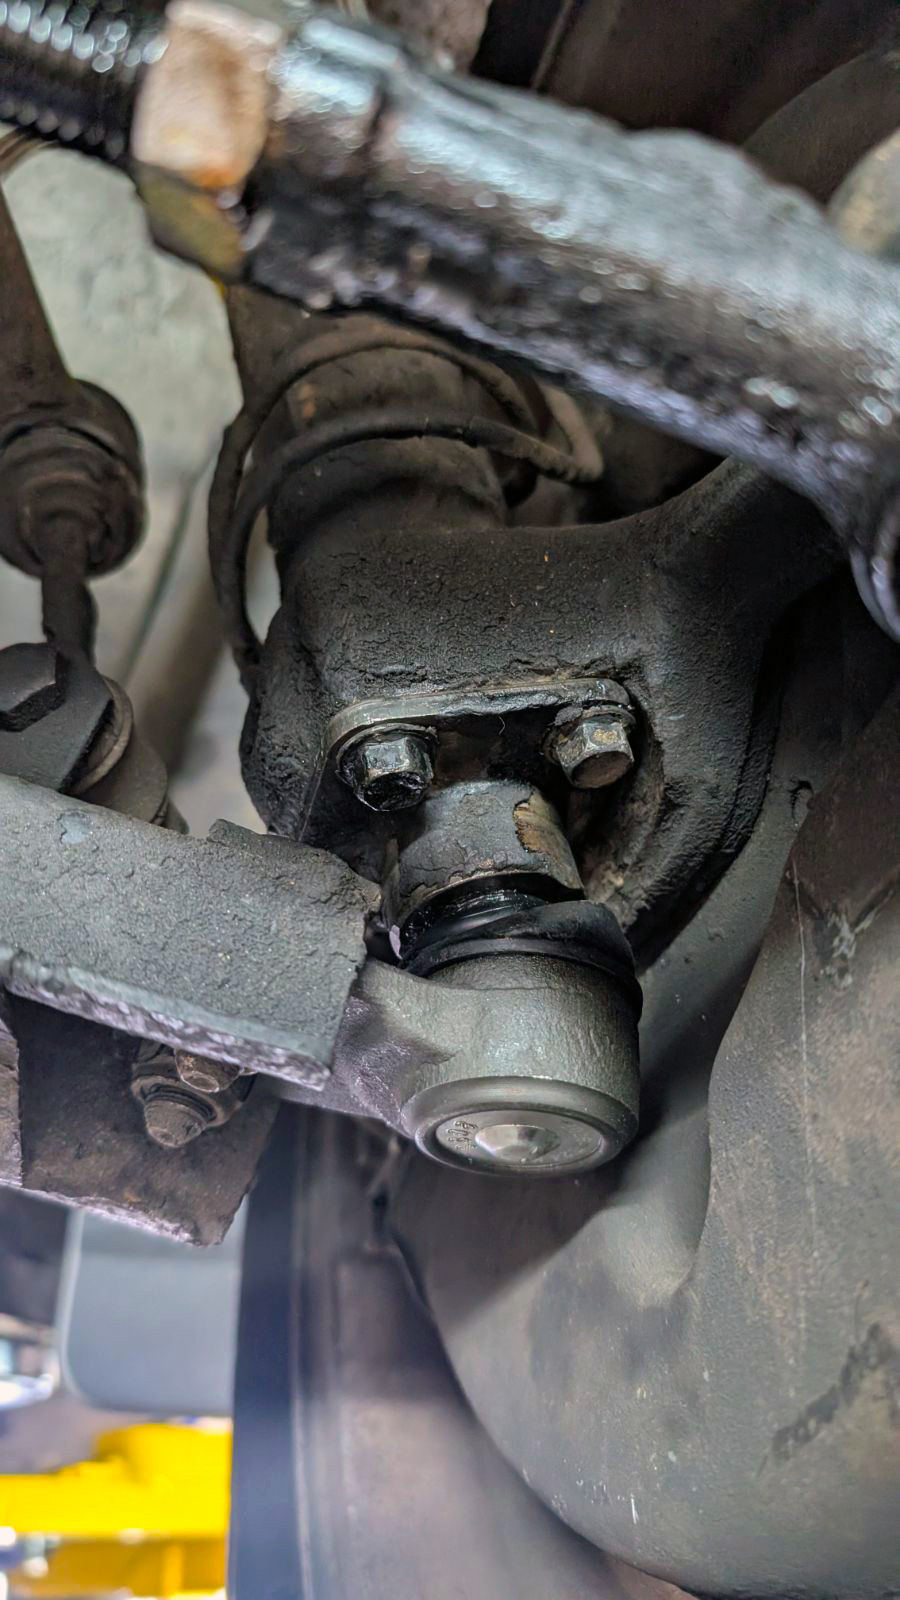
              Unlocked a cool feature I didn't know existed. Height Adjustment! Driver's seat was set to highest level so my 6'3" frame will be a little more comfortable with the extra couple of inches. One of the height adjustment levers is hidden under the back of the seat.

              Image description

              Upholstery had dried, frame was ready.

              Image description

              Throw on the plastic trim.
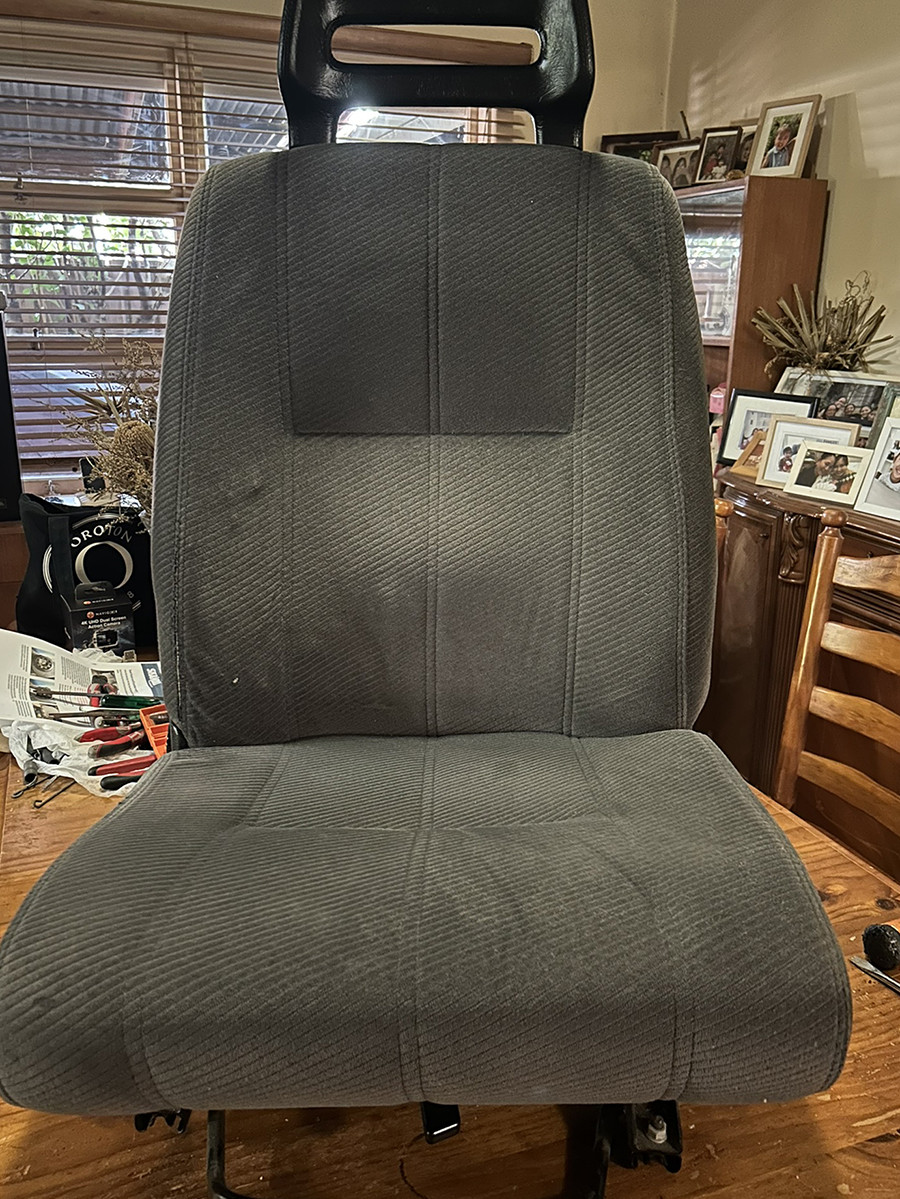
              Image description

              MUCH BETTER!

              Image description

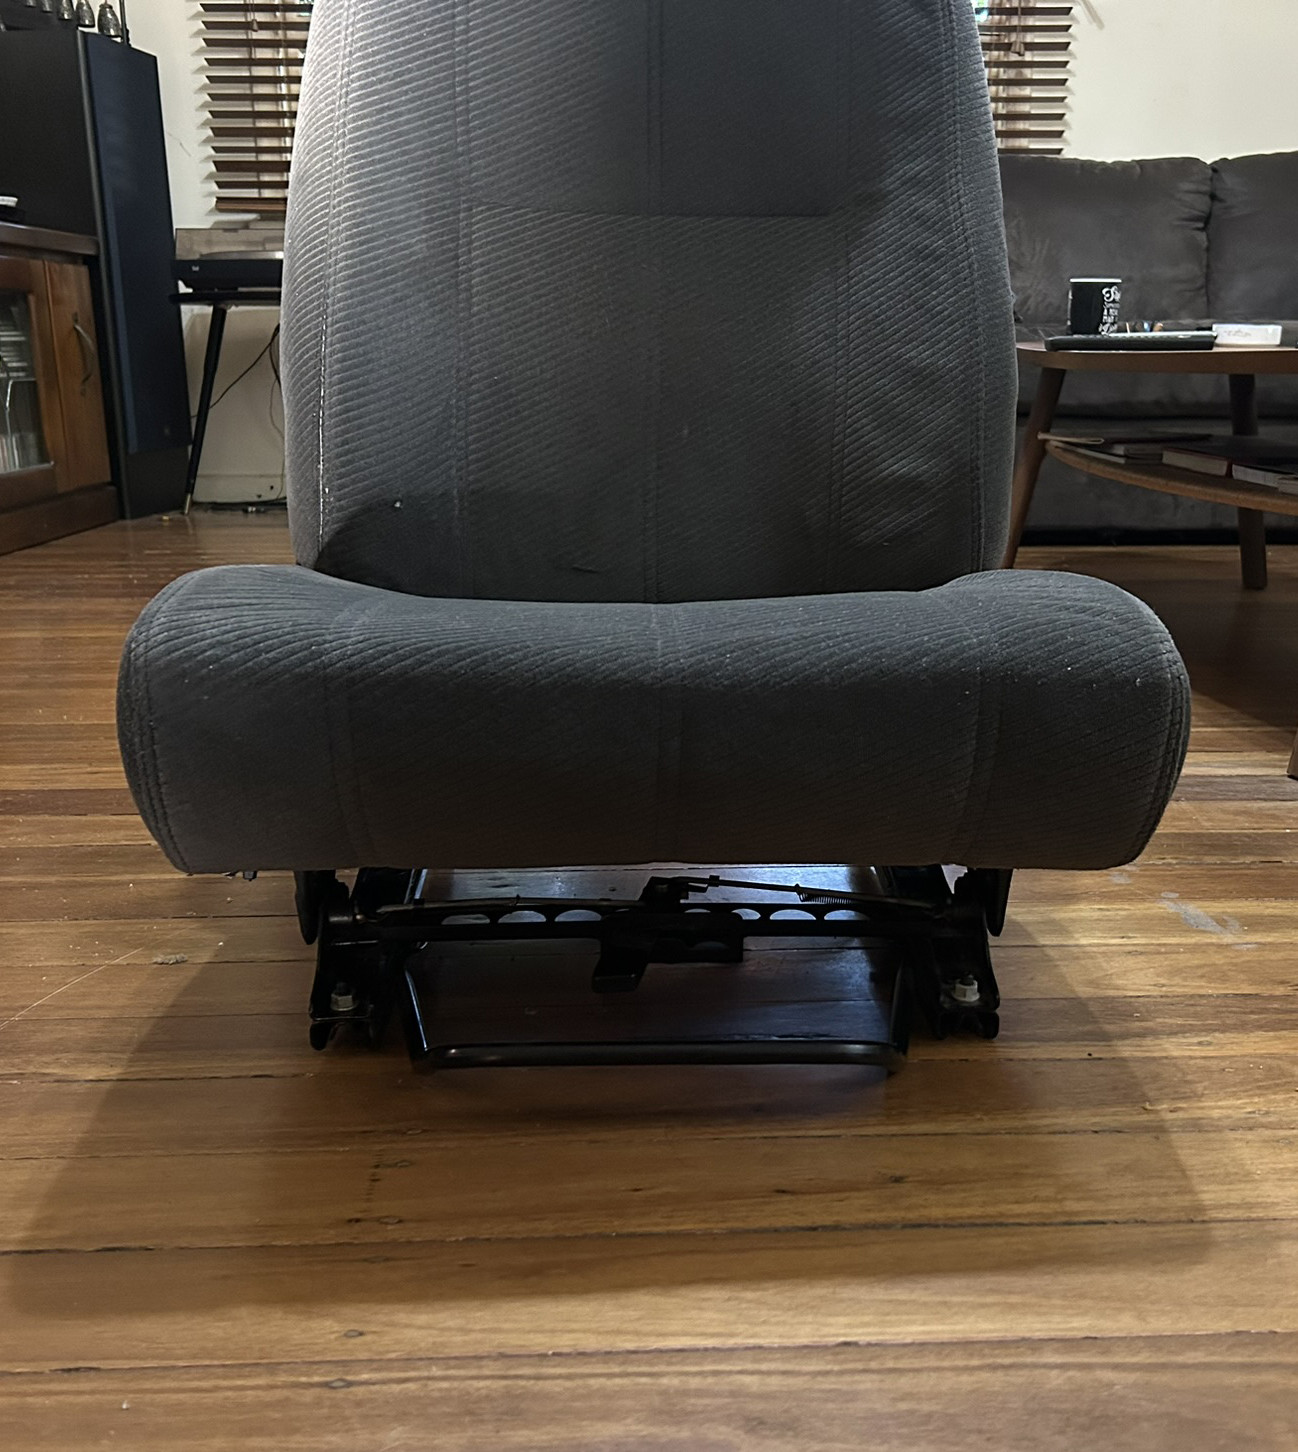
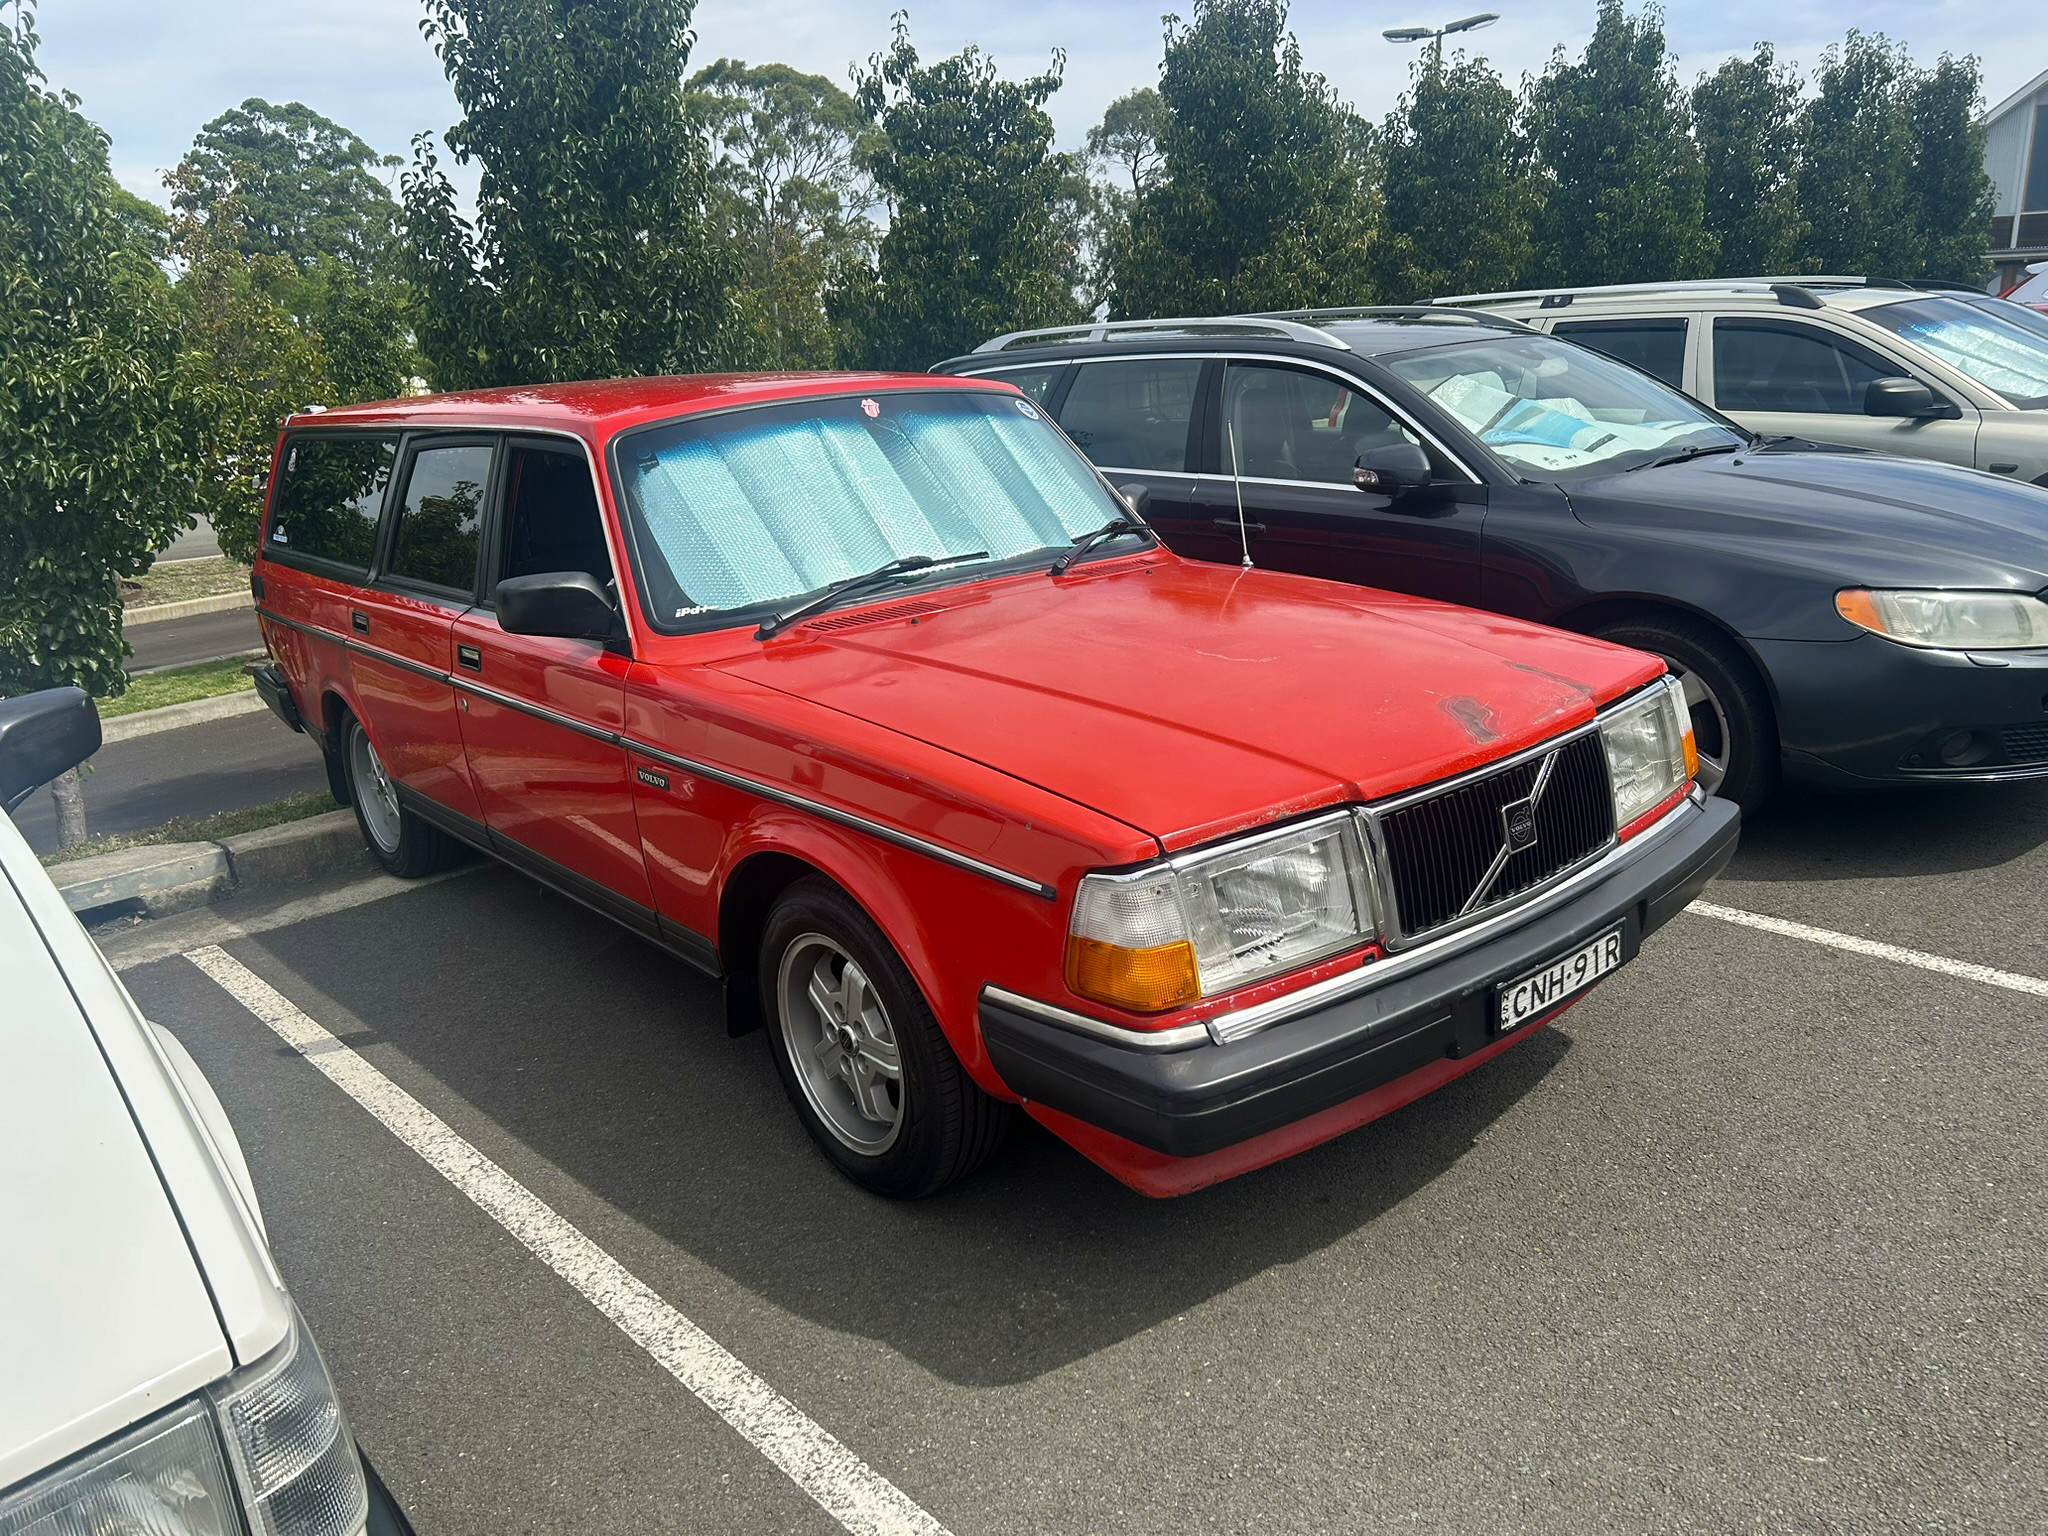
              Threw it in Big Red and took it for a drive. It. Is. So. NICE!!! I could feel the "spring" of the base over bumps and the seating position was centred and not sliding to the right. To think I was thinking of fitting Alfa Romeo seats. It really wafts over the bumps now.

              One of the more satisfying improvements to date.

              Image description

              Nkce work. Reminds me of similar work I did in my 240.also retro fitted the heated seats whilst I was at it. Original switches etc.
              I also washed the seat covers.... Yuck
              Image description

                morch_66479 I also washed the seat covers.... Yuck

                You know I was going to divert the washing machine grey water to a bucket and see what came out but decided I didn't really want to know.

                And now I do.

                LOL, thanks Morch!

                Smallish job I've been meaning to do for a year.

                Tailgate latch has been repaired with a bolt thread sometime in it's life.

                Image description

                Got a second hand replacement in reasonably good nick. Gave it a coat of zinc enamel for another few decades of life.

                Image description

                Image description

                Cleaned up the stainless trim, some new cad bolts and voila!

                Image description

                Image description

                Next job clean out this terrible cargo area!

                Image description