I've spent some time going over the 940 the last couple of weeks. As expected the list of maintenance & repair jobs has increased beyond the original list.
Despite being advertised as having no leaks there are 2 coolant leaks. One at the thermostat housing and the other at the heater tap. I'll deal with both when I do the stage 0 service. It had new heater hoses last year but I'm always nervous about tightening clamps on the heater valve as I've busted one before doing just that.
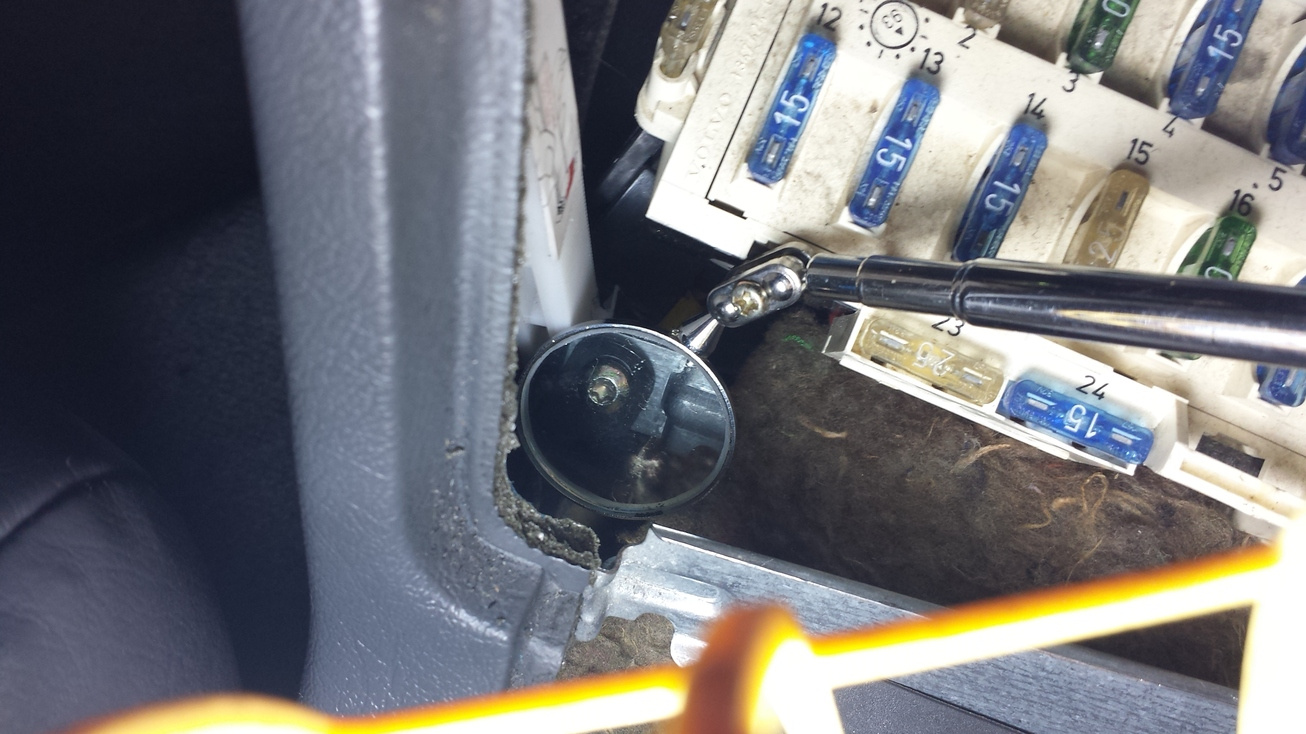
I found the spare flame trap housing I thought I had (actually found 2 of them :) ). After I put it all back together the engine idled around 1300rpm. As the engine temp rose the idle increase until it reached around 2000rpm at operating temp. I checked and rechecked all the adjustments. Turned out the coolant temp sensor connector had some crap in it and my fiddling around nearby with the oil separator, etc must have dislodged some of it causing a bad connection. I unplugged and replugged it a few times and the idle went back to normal. I need to get some contact cleaner to give them a good clean though.
I've given the interior a clean and treated the leather to a clean and conditioner. They still feel a bit dry so another going over is in order.
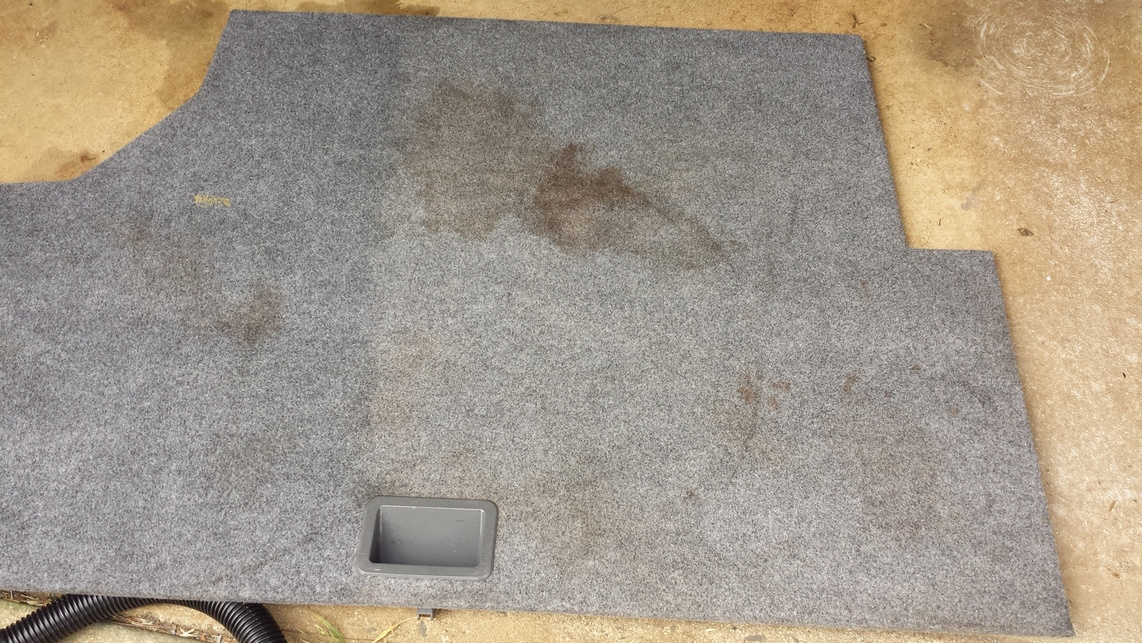
I removed the upholstery from the boot and went over it with a carpet shampooer. This got rid of a lot of dirt. The water was virtually black but as the photo below shows there are still some grease stains. Any suggestions on how I might get these out, assuming it's possible.
The brakes are all in good condition with plenty of meat on the pads and the discs are all within thickness limits. The flexible hoses look as though they've seen better days so they're up for replacement.
The list of jobs now includes:
Fix coolant leaks
Replace LH tie rod
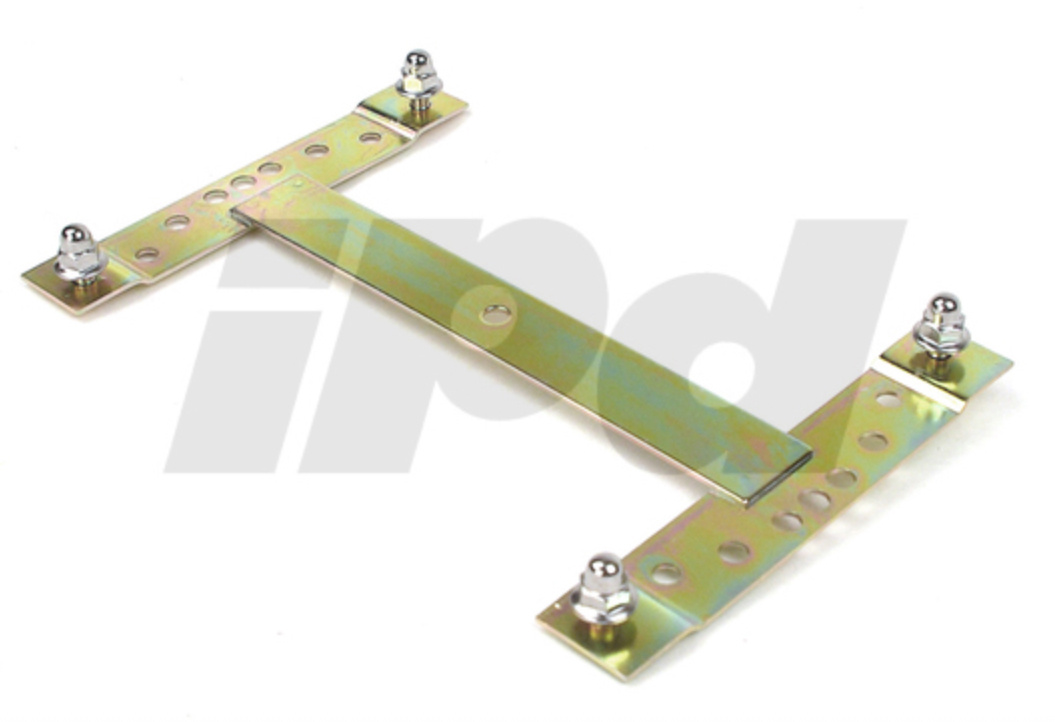
New engine mounts
New brake hoses.
I've placed an order with FCP for a heap of parts which should hopefully arrive next week.