Around 10 years ago, I picked up an '81 244 from @Spac for @powder_hound as a fixer-upper, and this led to Nina finding The Passion for 240 ownership.

Around two years ago, the car was totalled when someone reversed out of their driveway into it while it was travelling at speed. 😭

Billie's thread: https://ozvolvo.org/d/1945-1945/

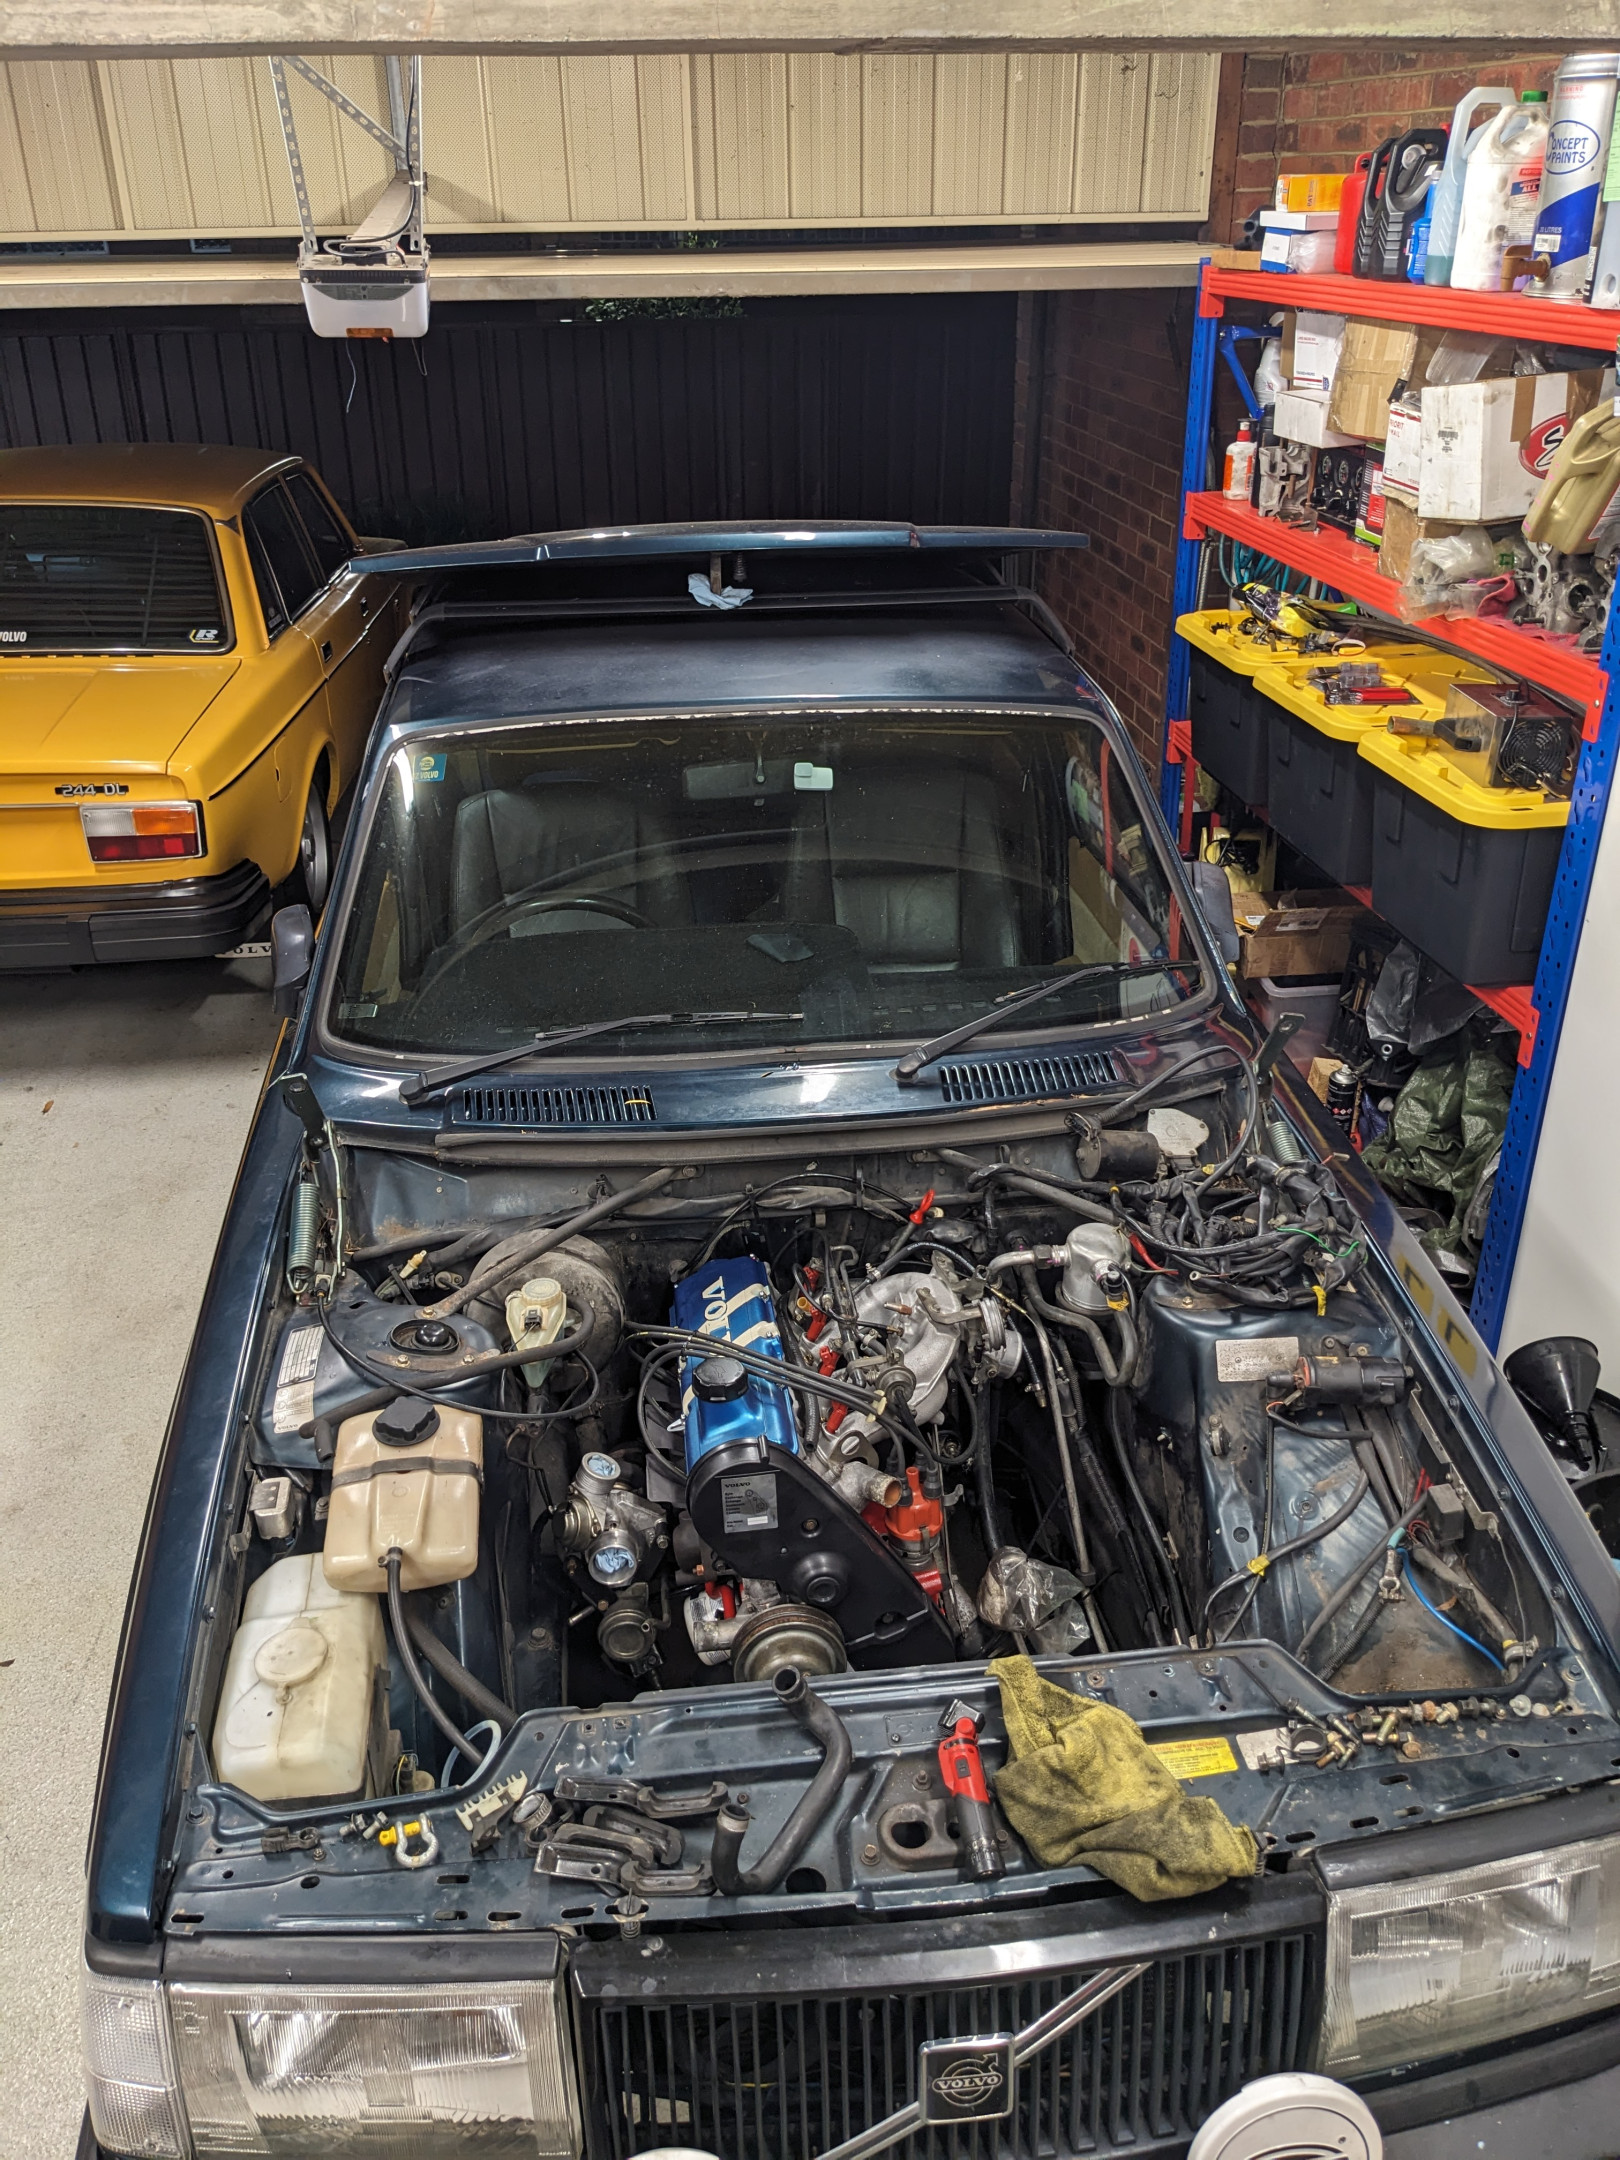
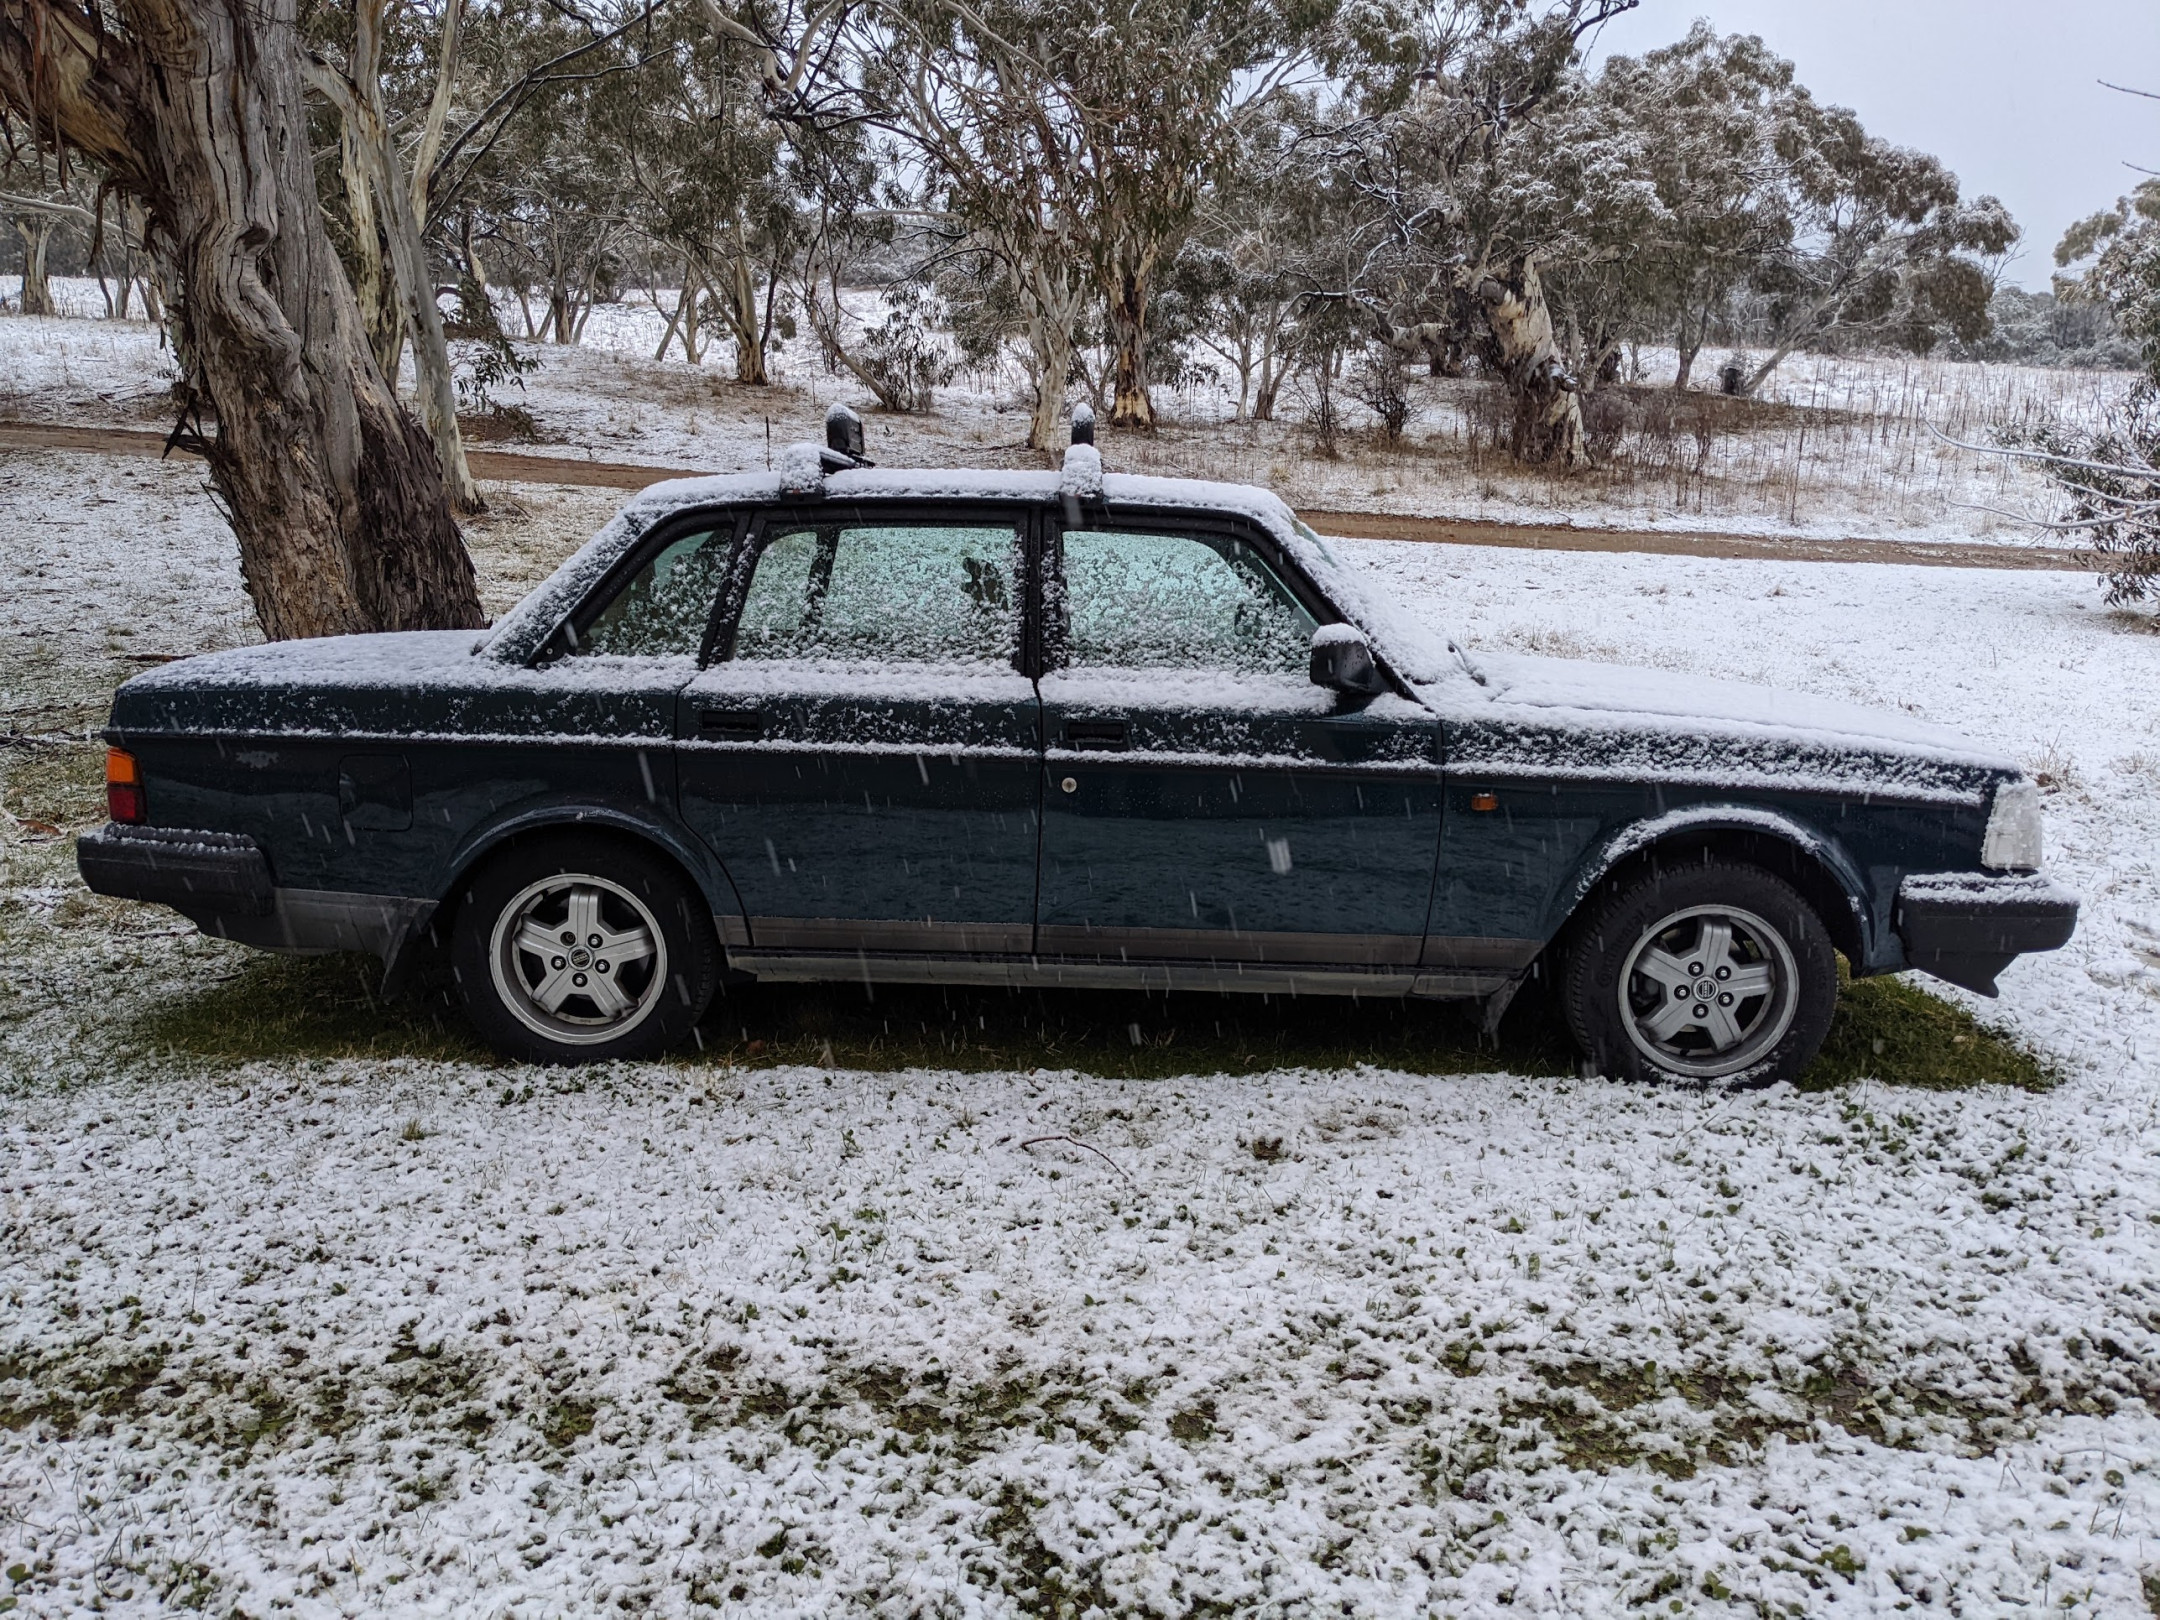
This did not deter Nina. They took the payout from Shannons and exercised salvage rights on the wreck. They then found a new 240, a '92 model with 120,000km on the clock and a B230FX, all in good running order, and named it Crowley.

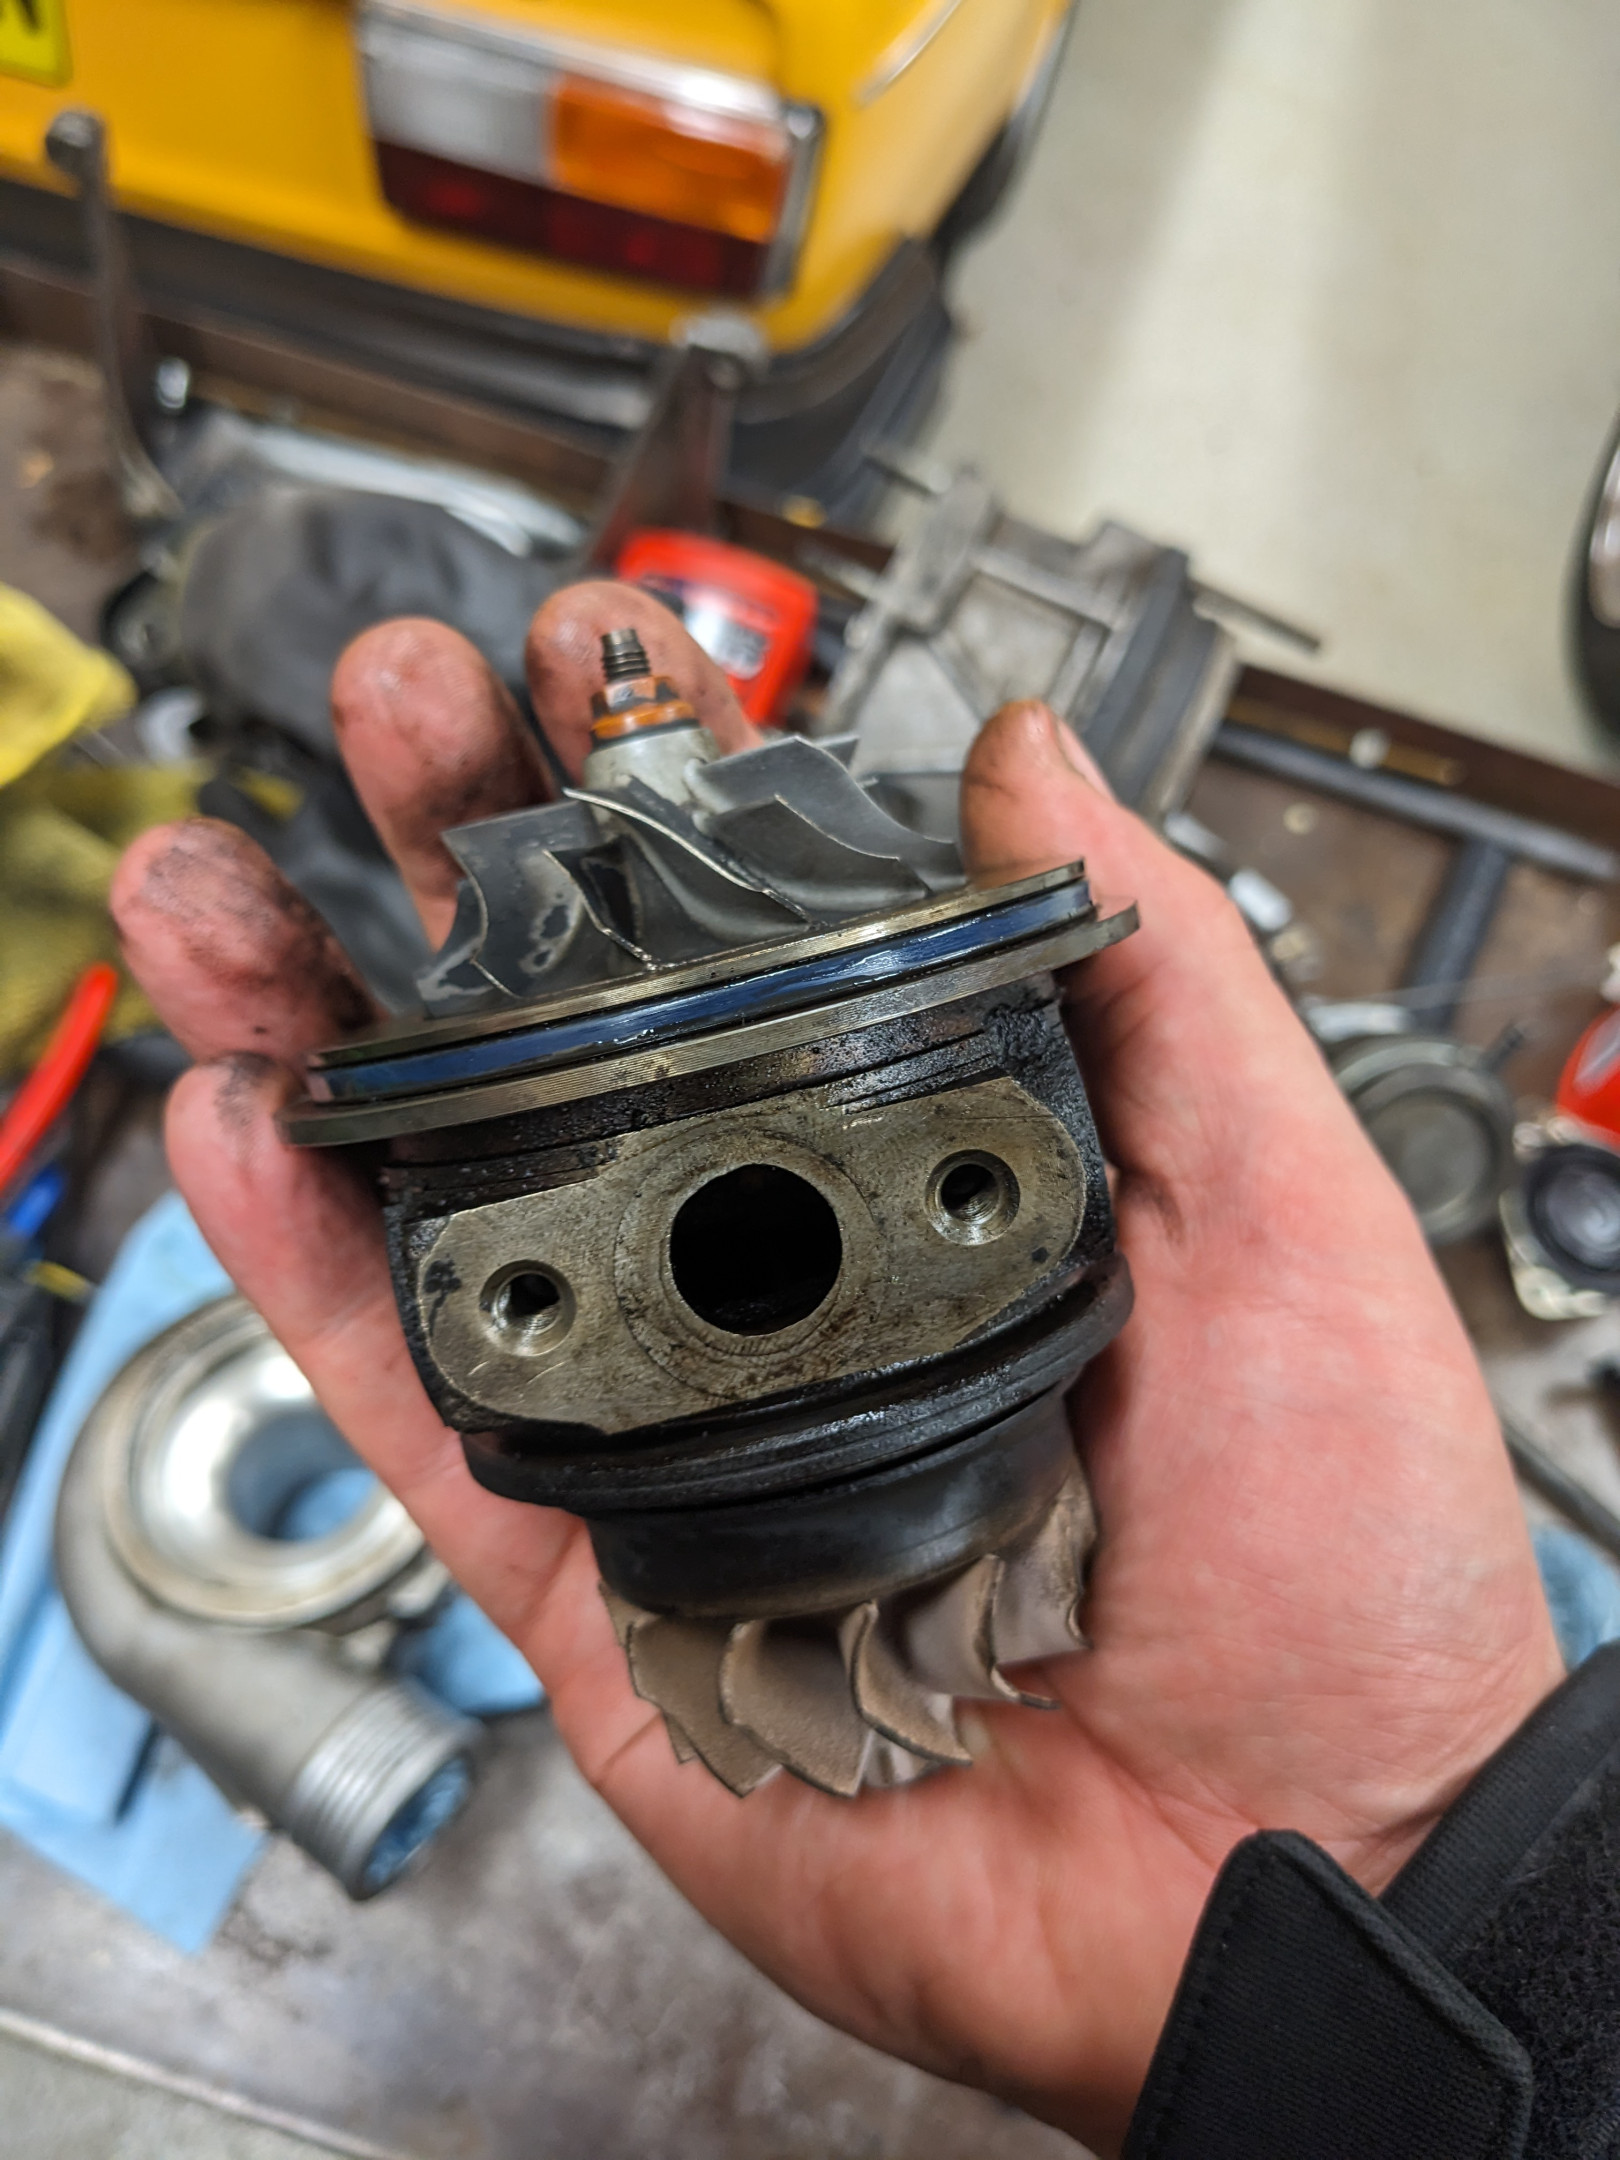
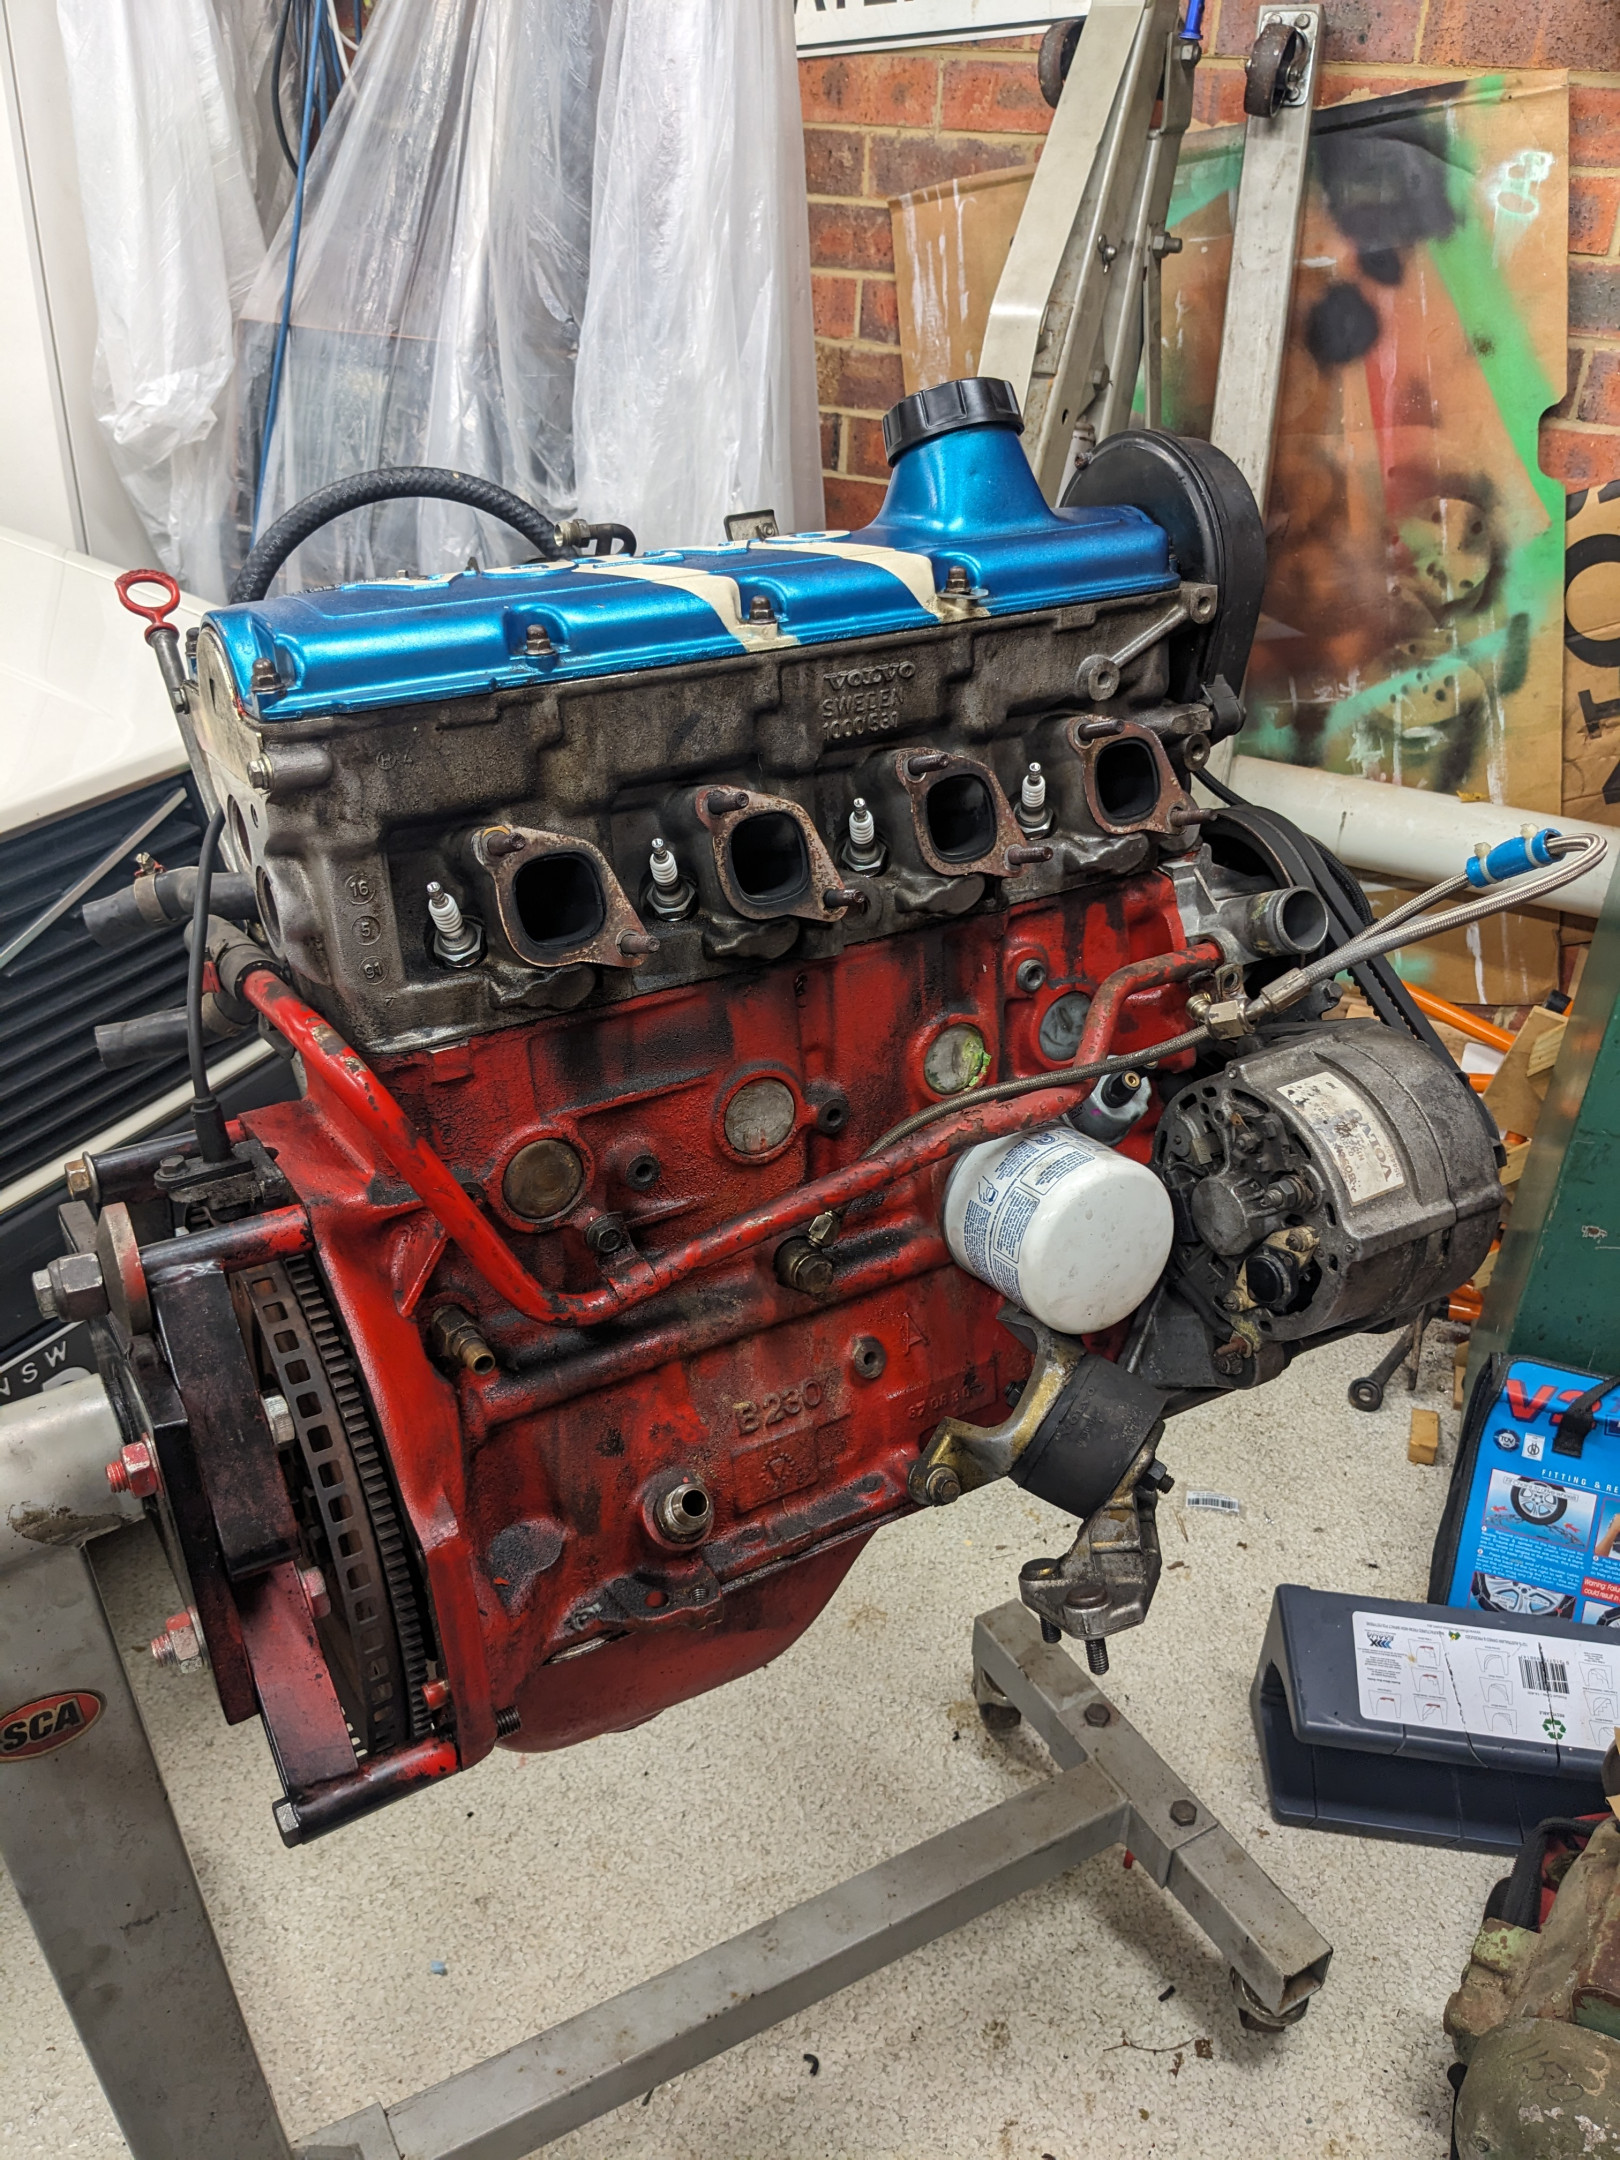
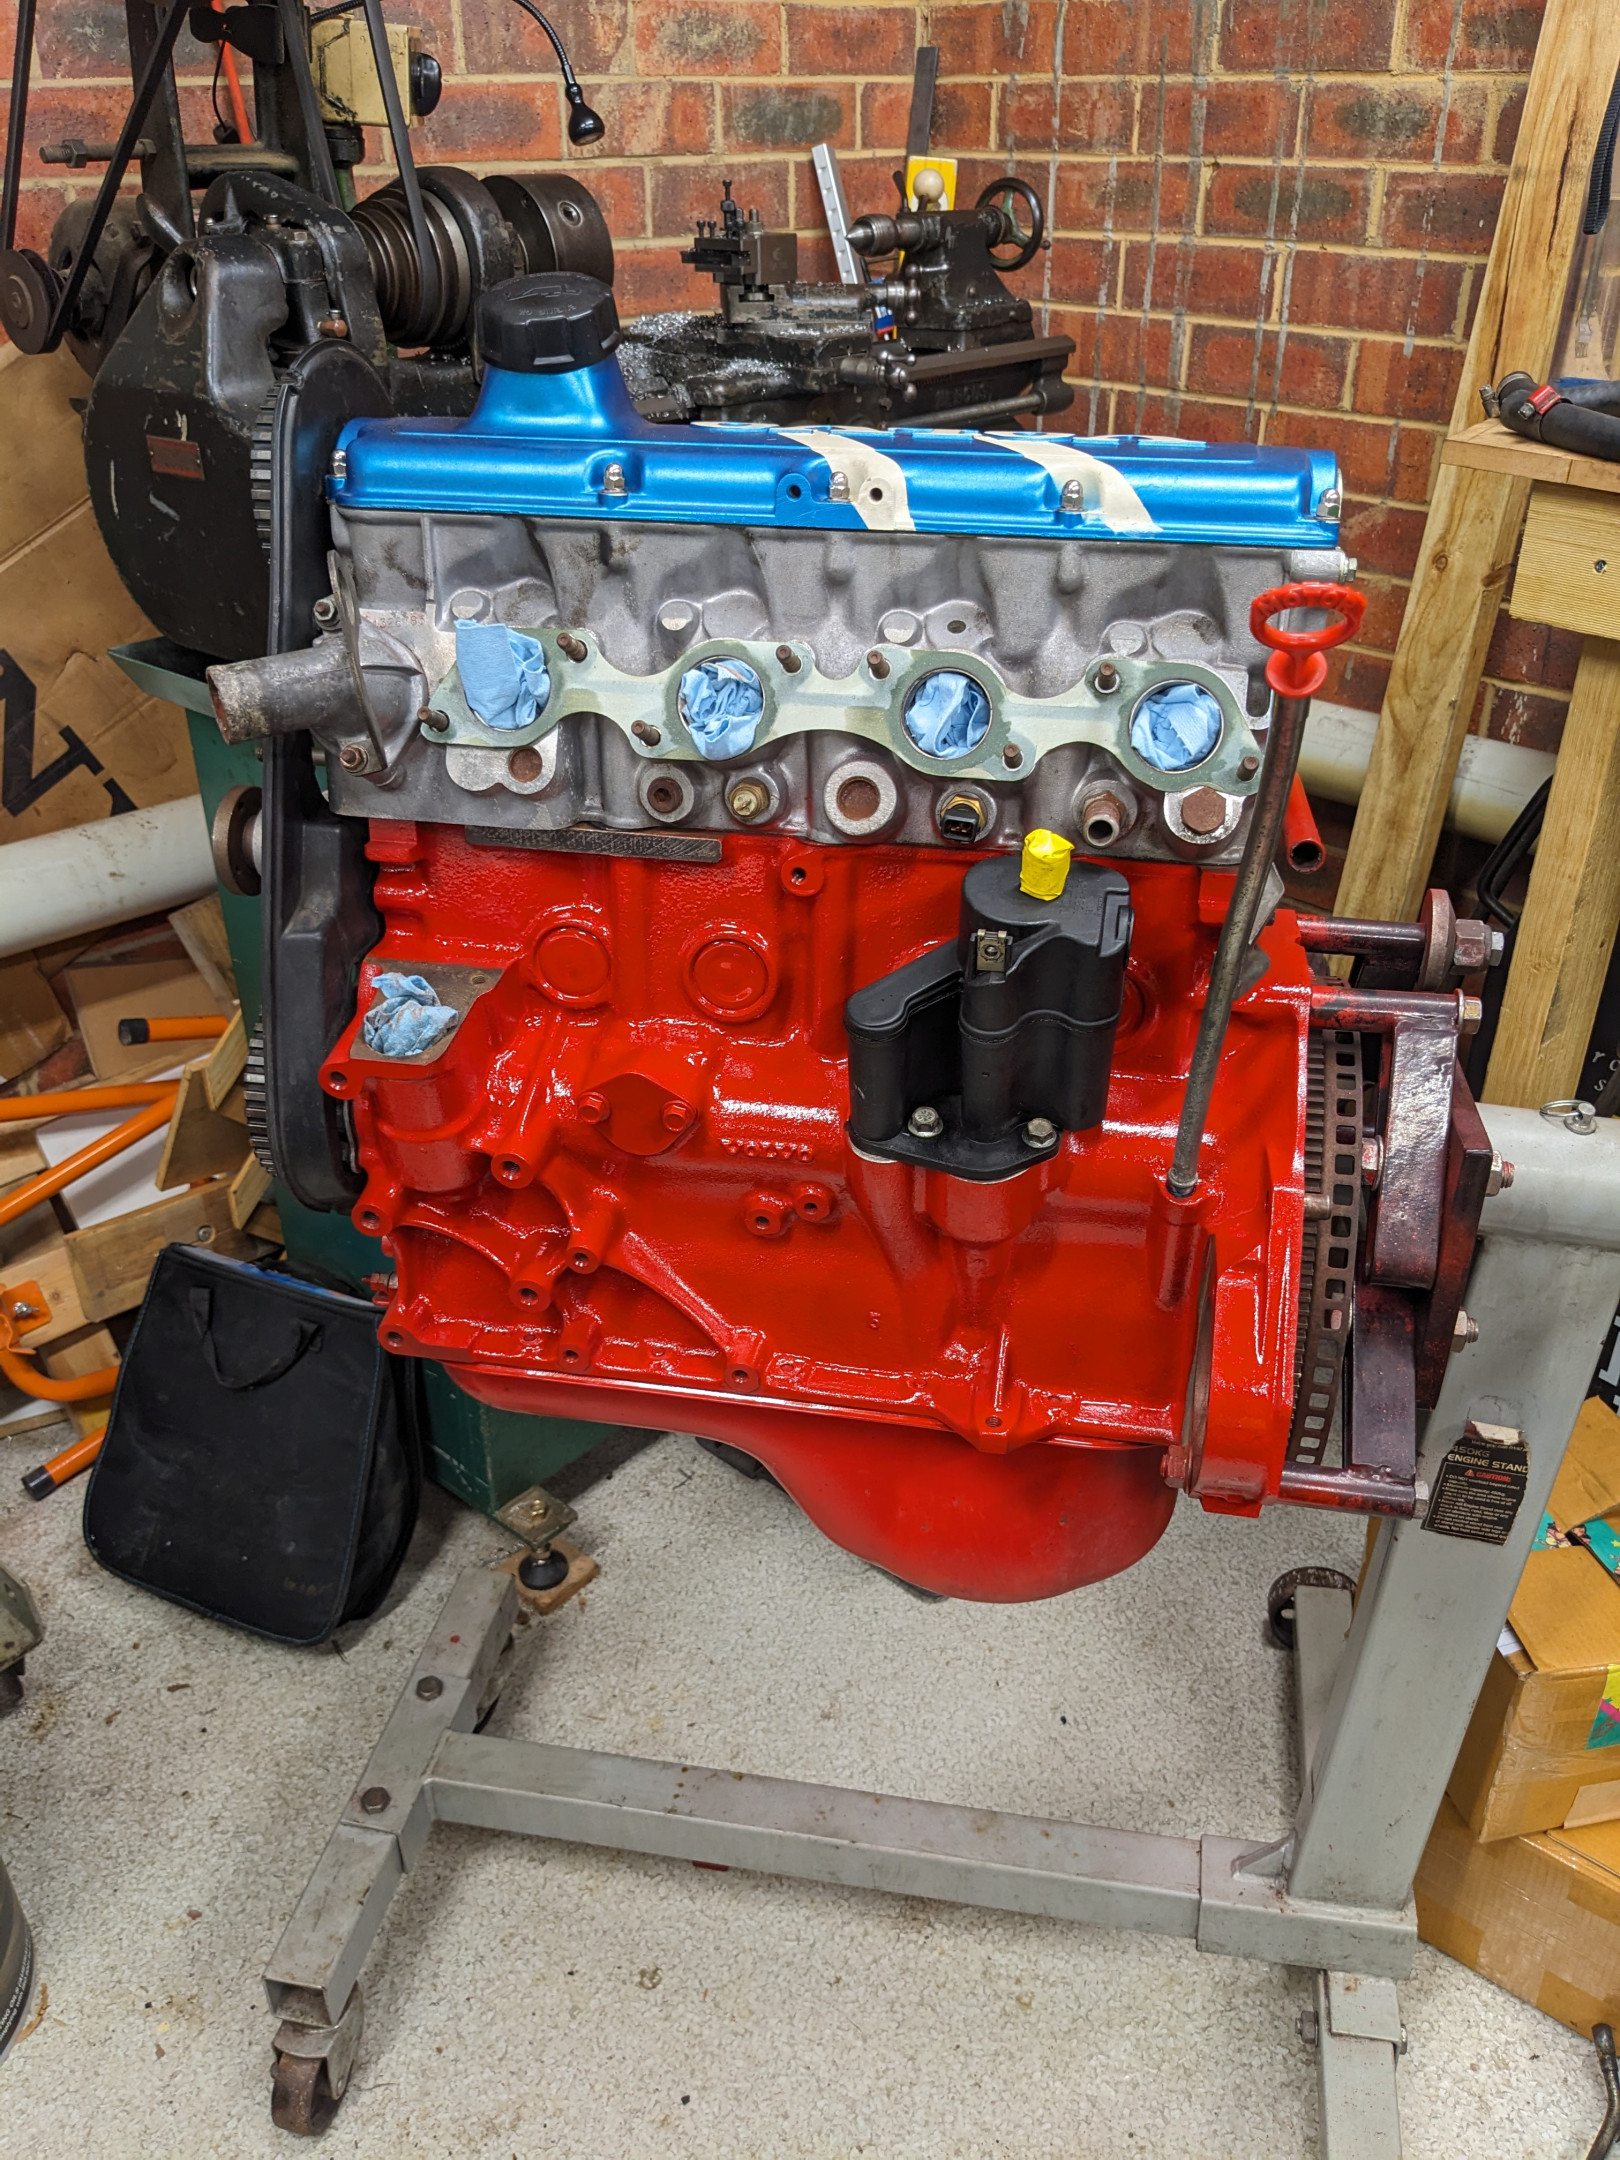
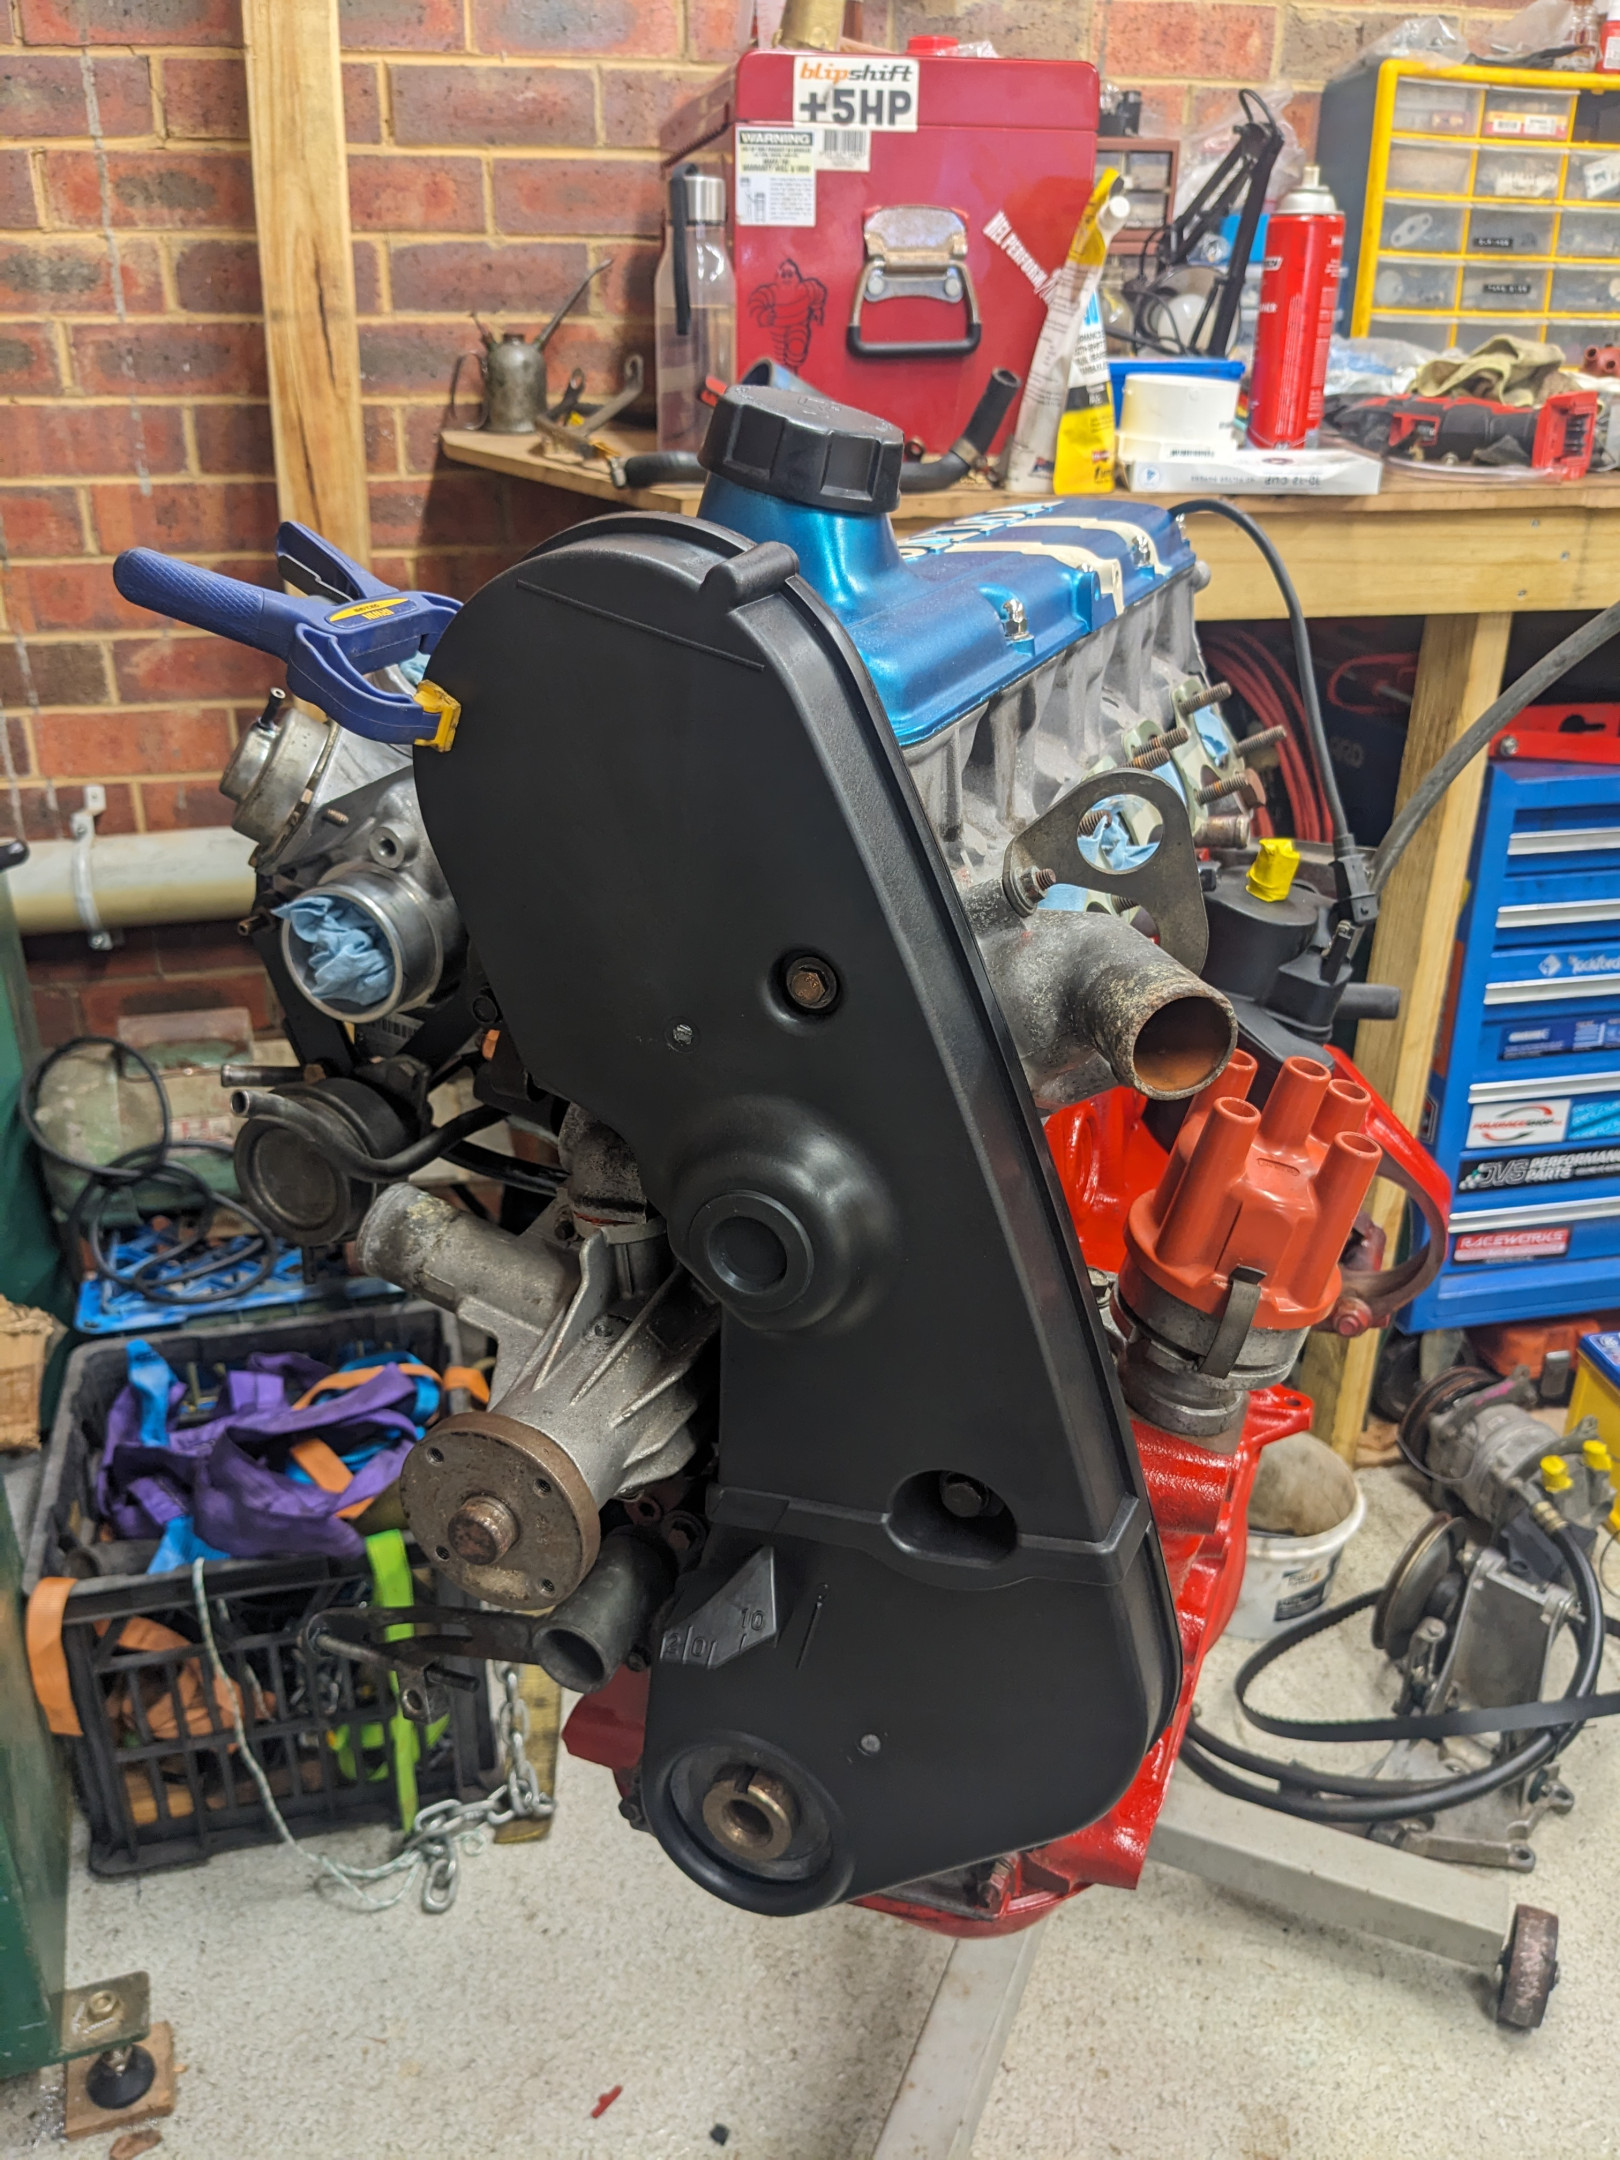
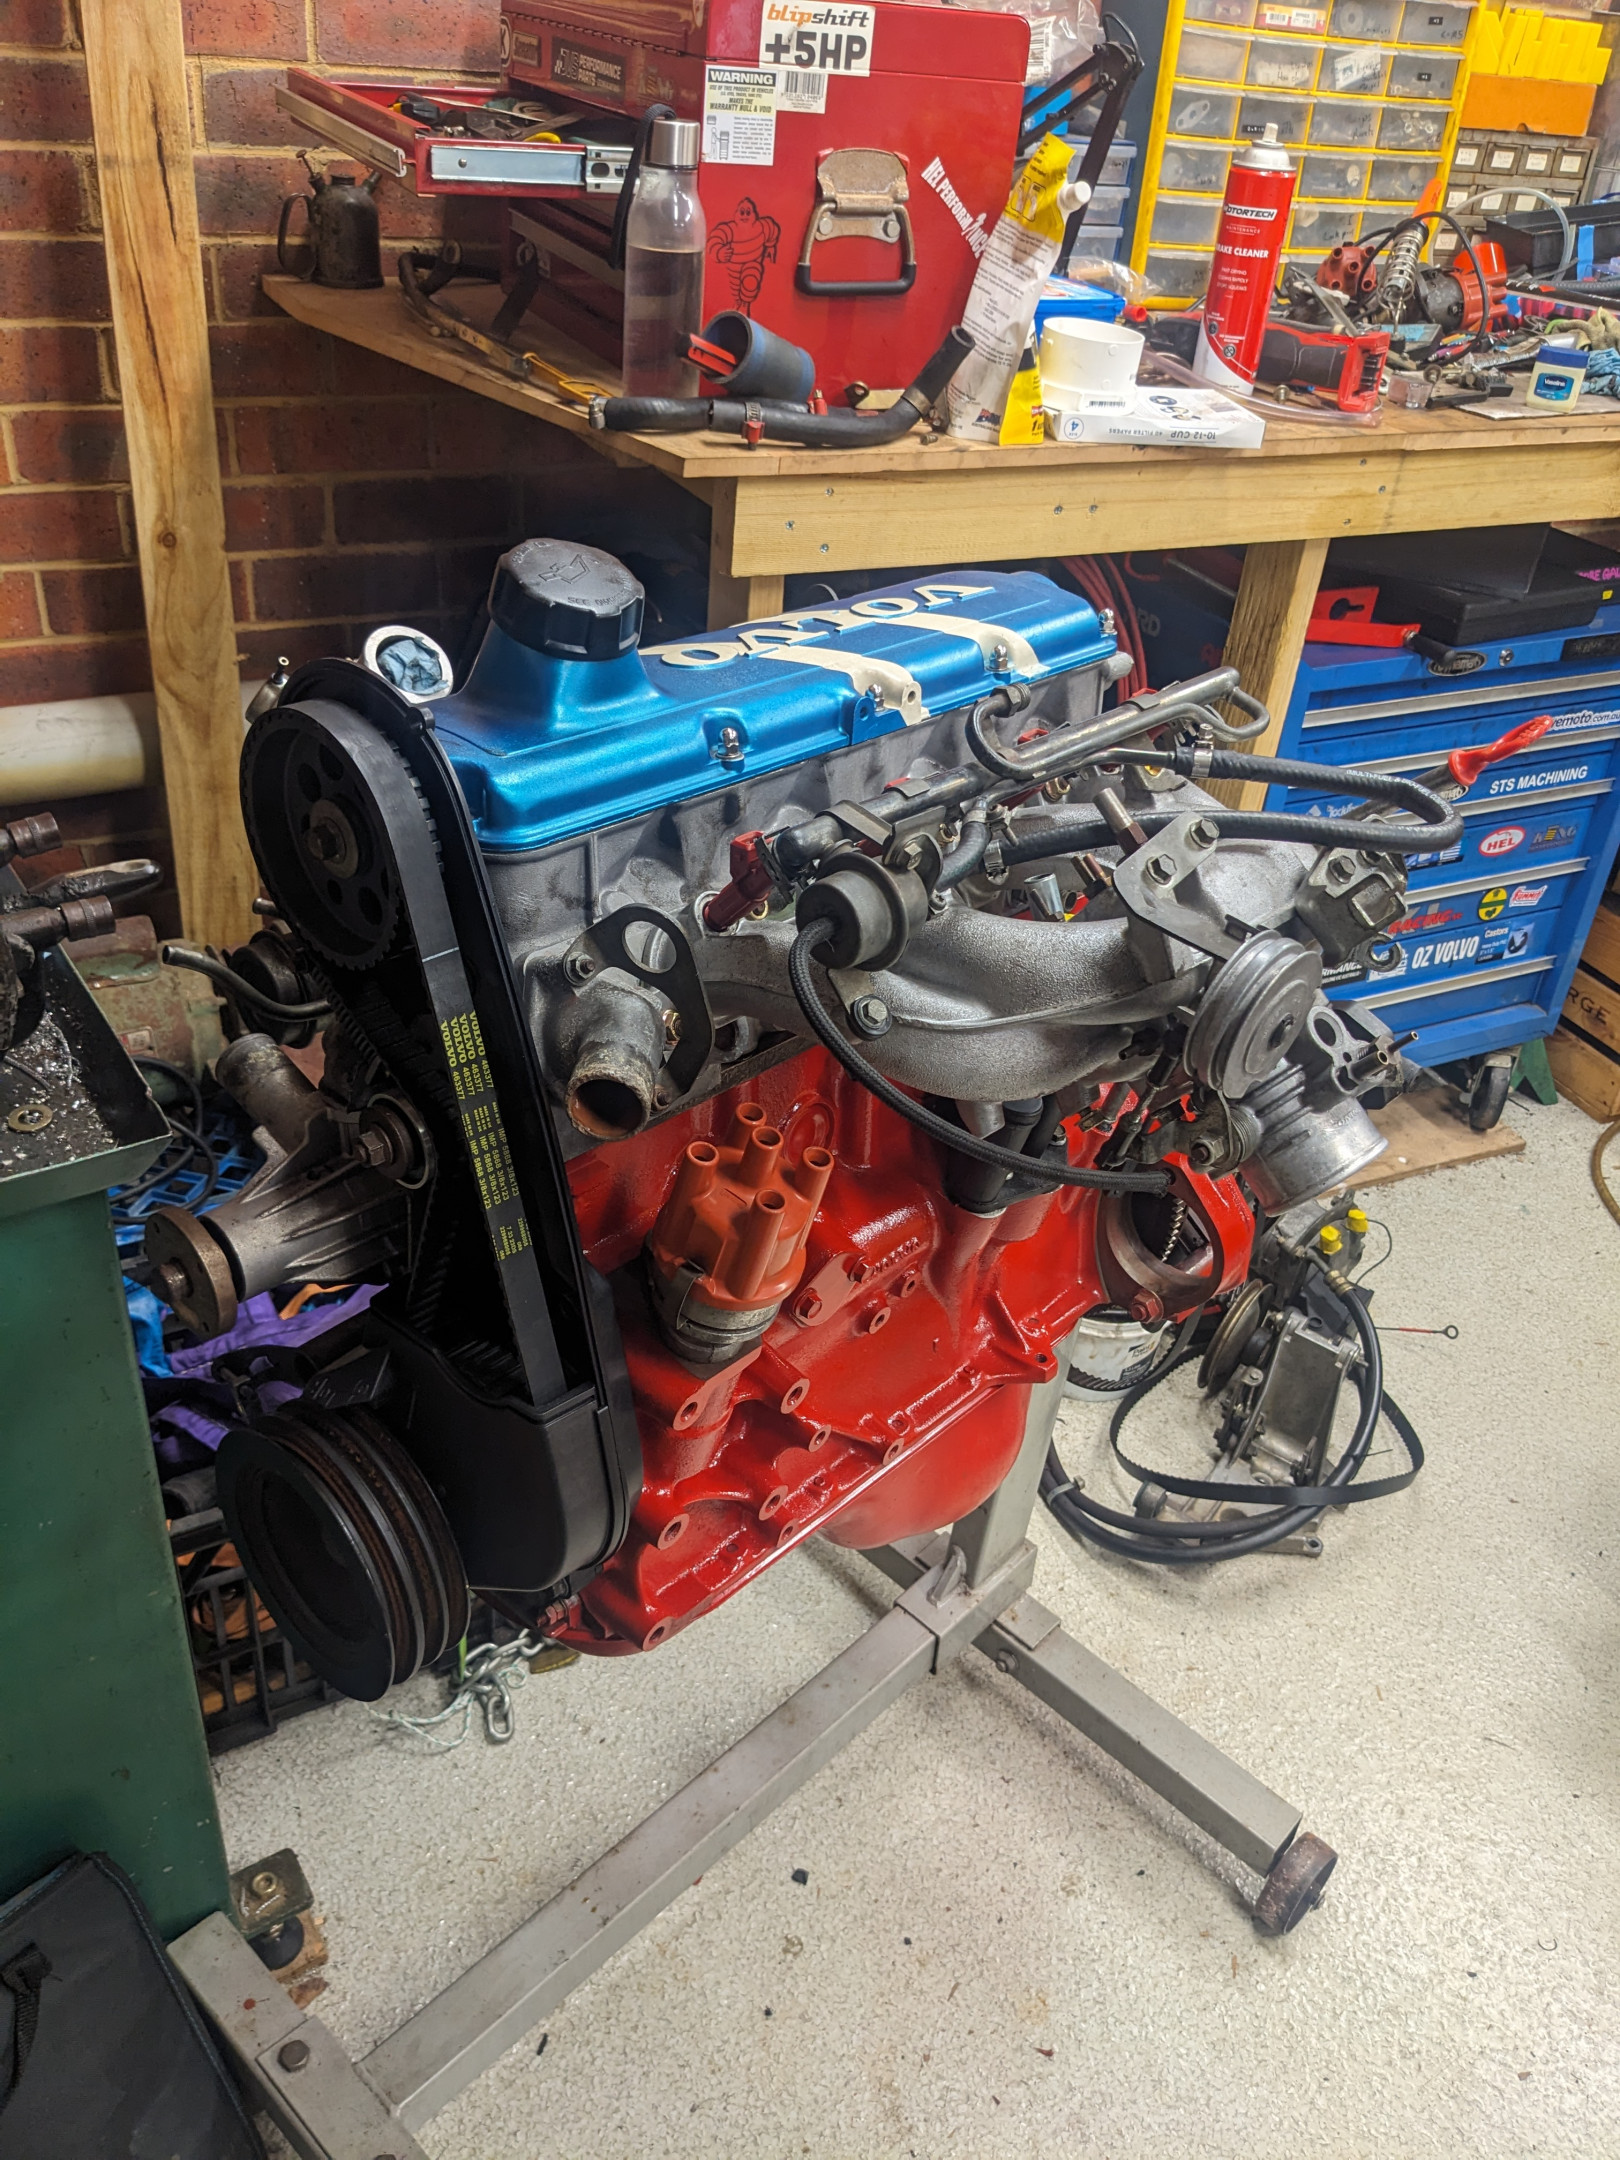
For the past two years, Billie's wreck has sat in Nina's car park with a vague plan to swap the freshly built B230FT turbo setup from Billie into the new car.

Billie (RIP):

Image description

Crowley:

Image description

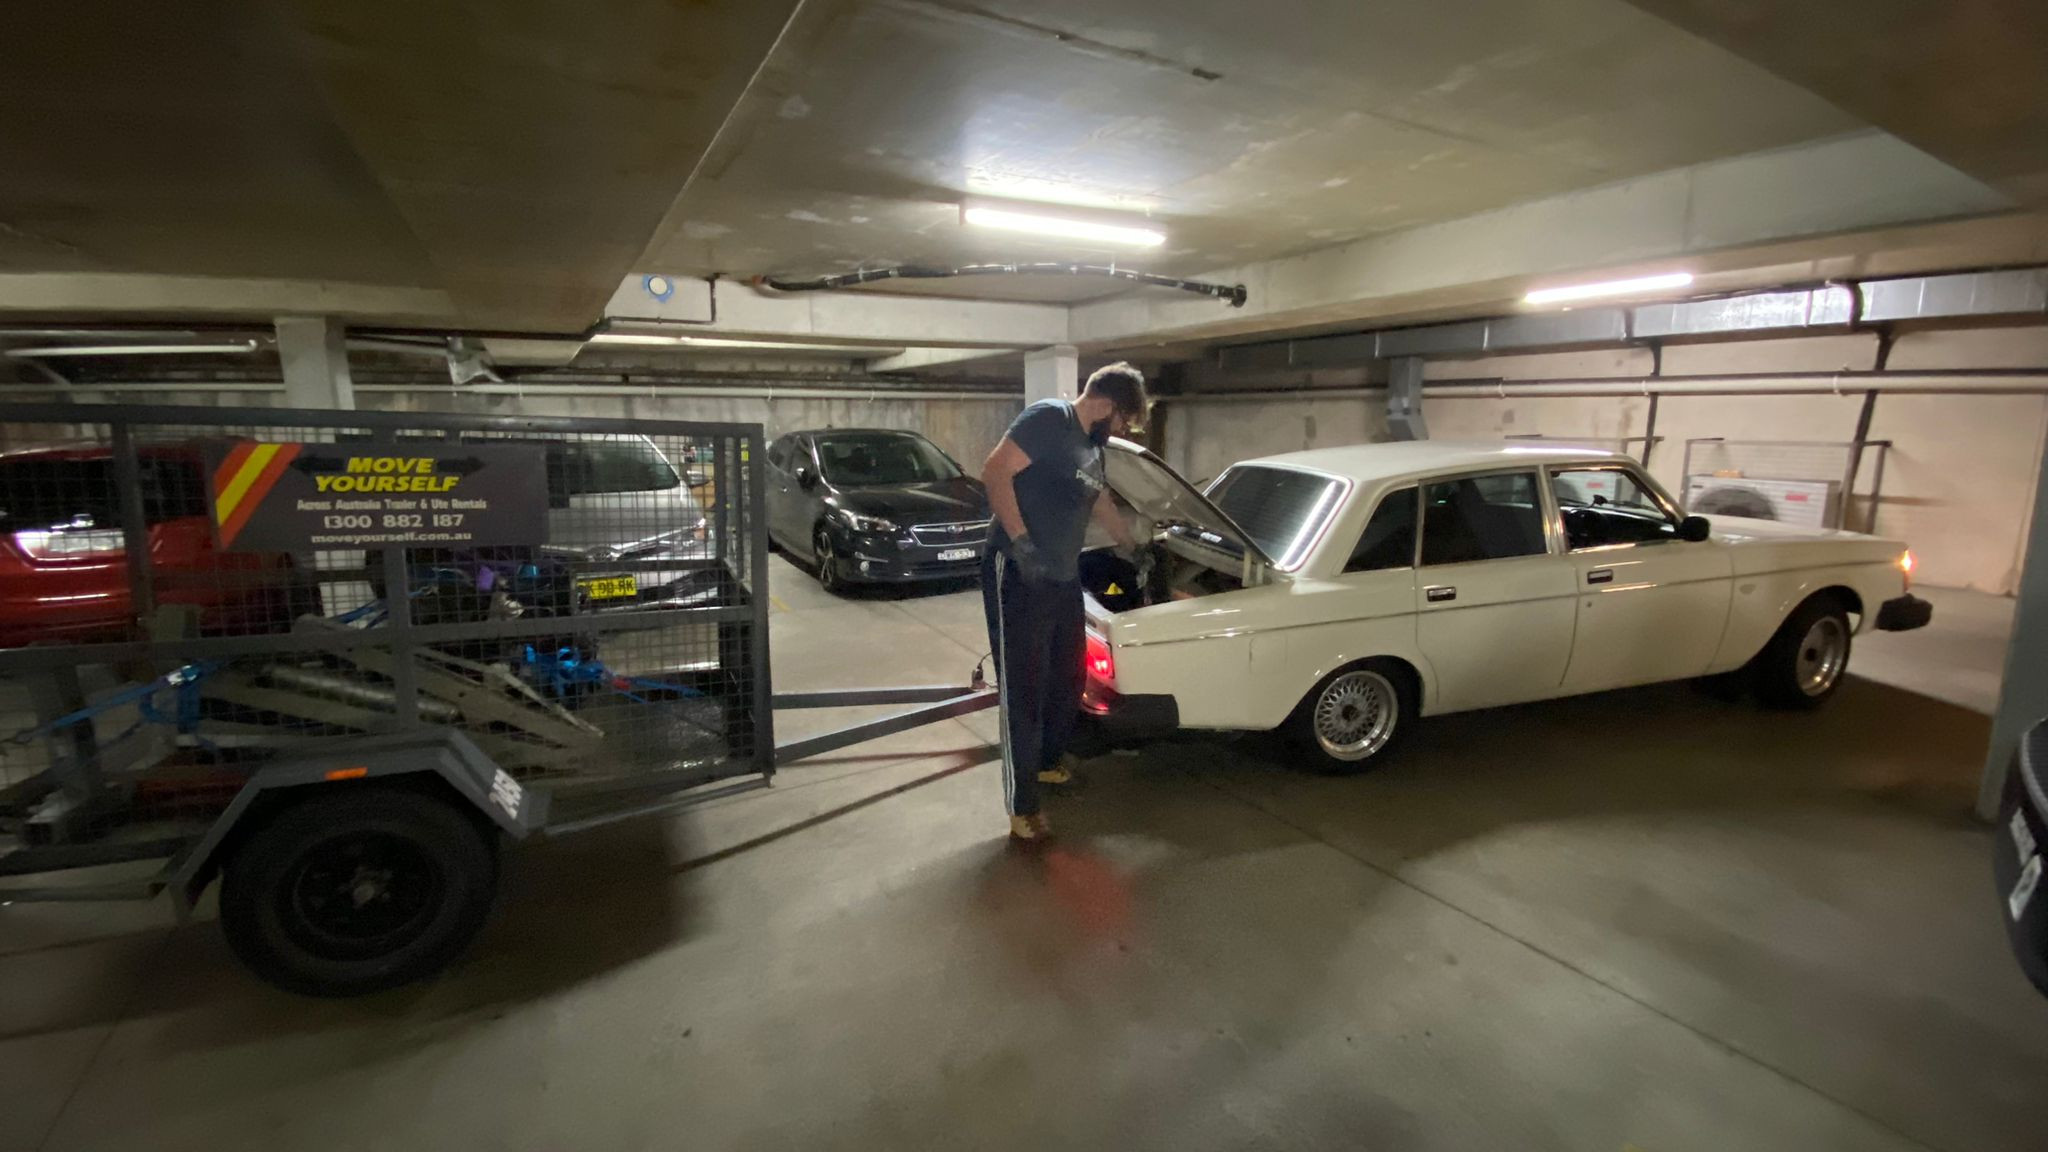
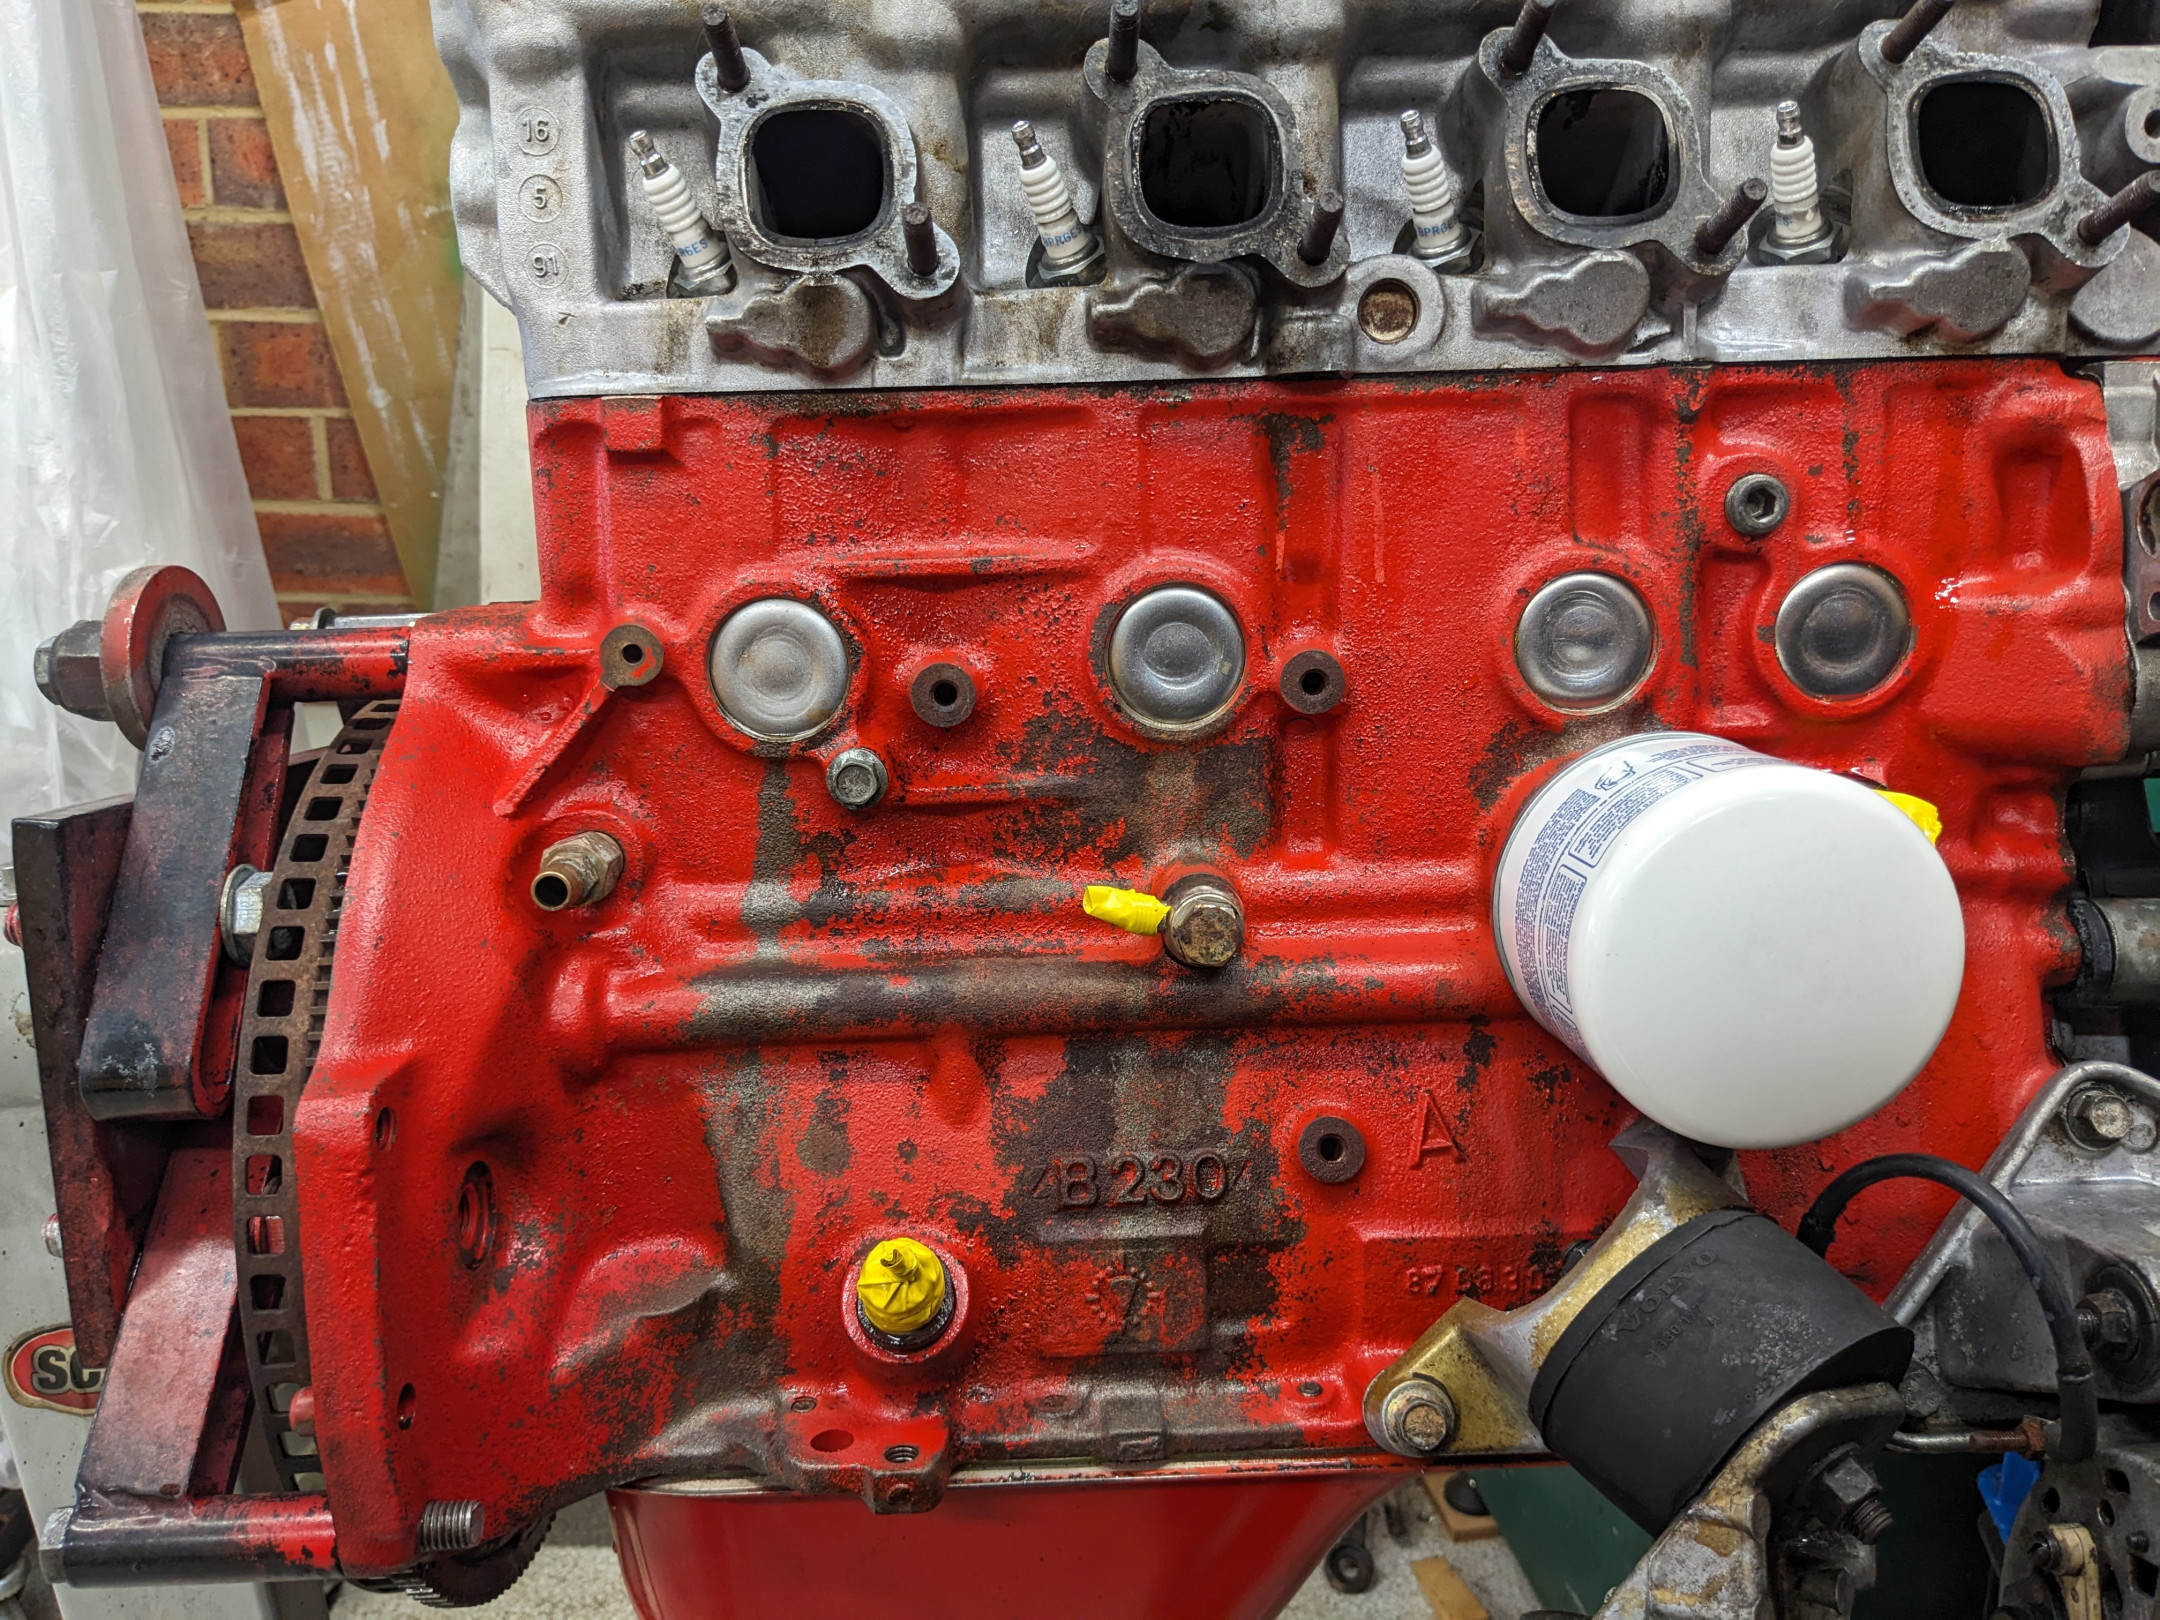
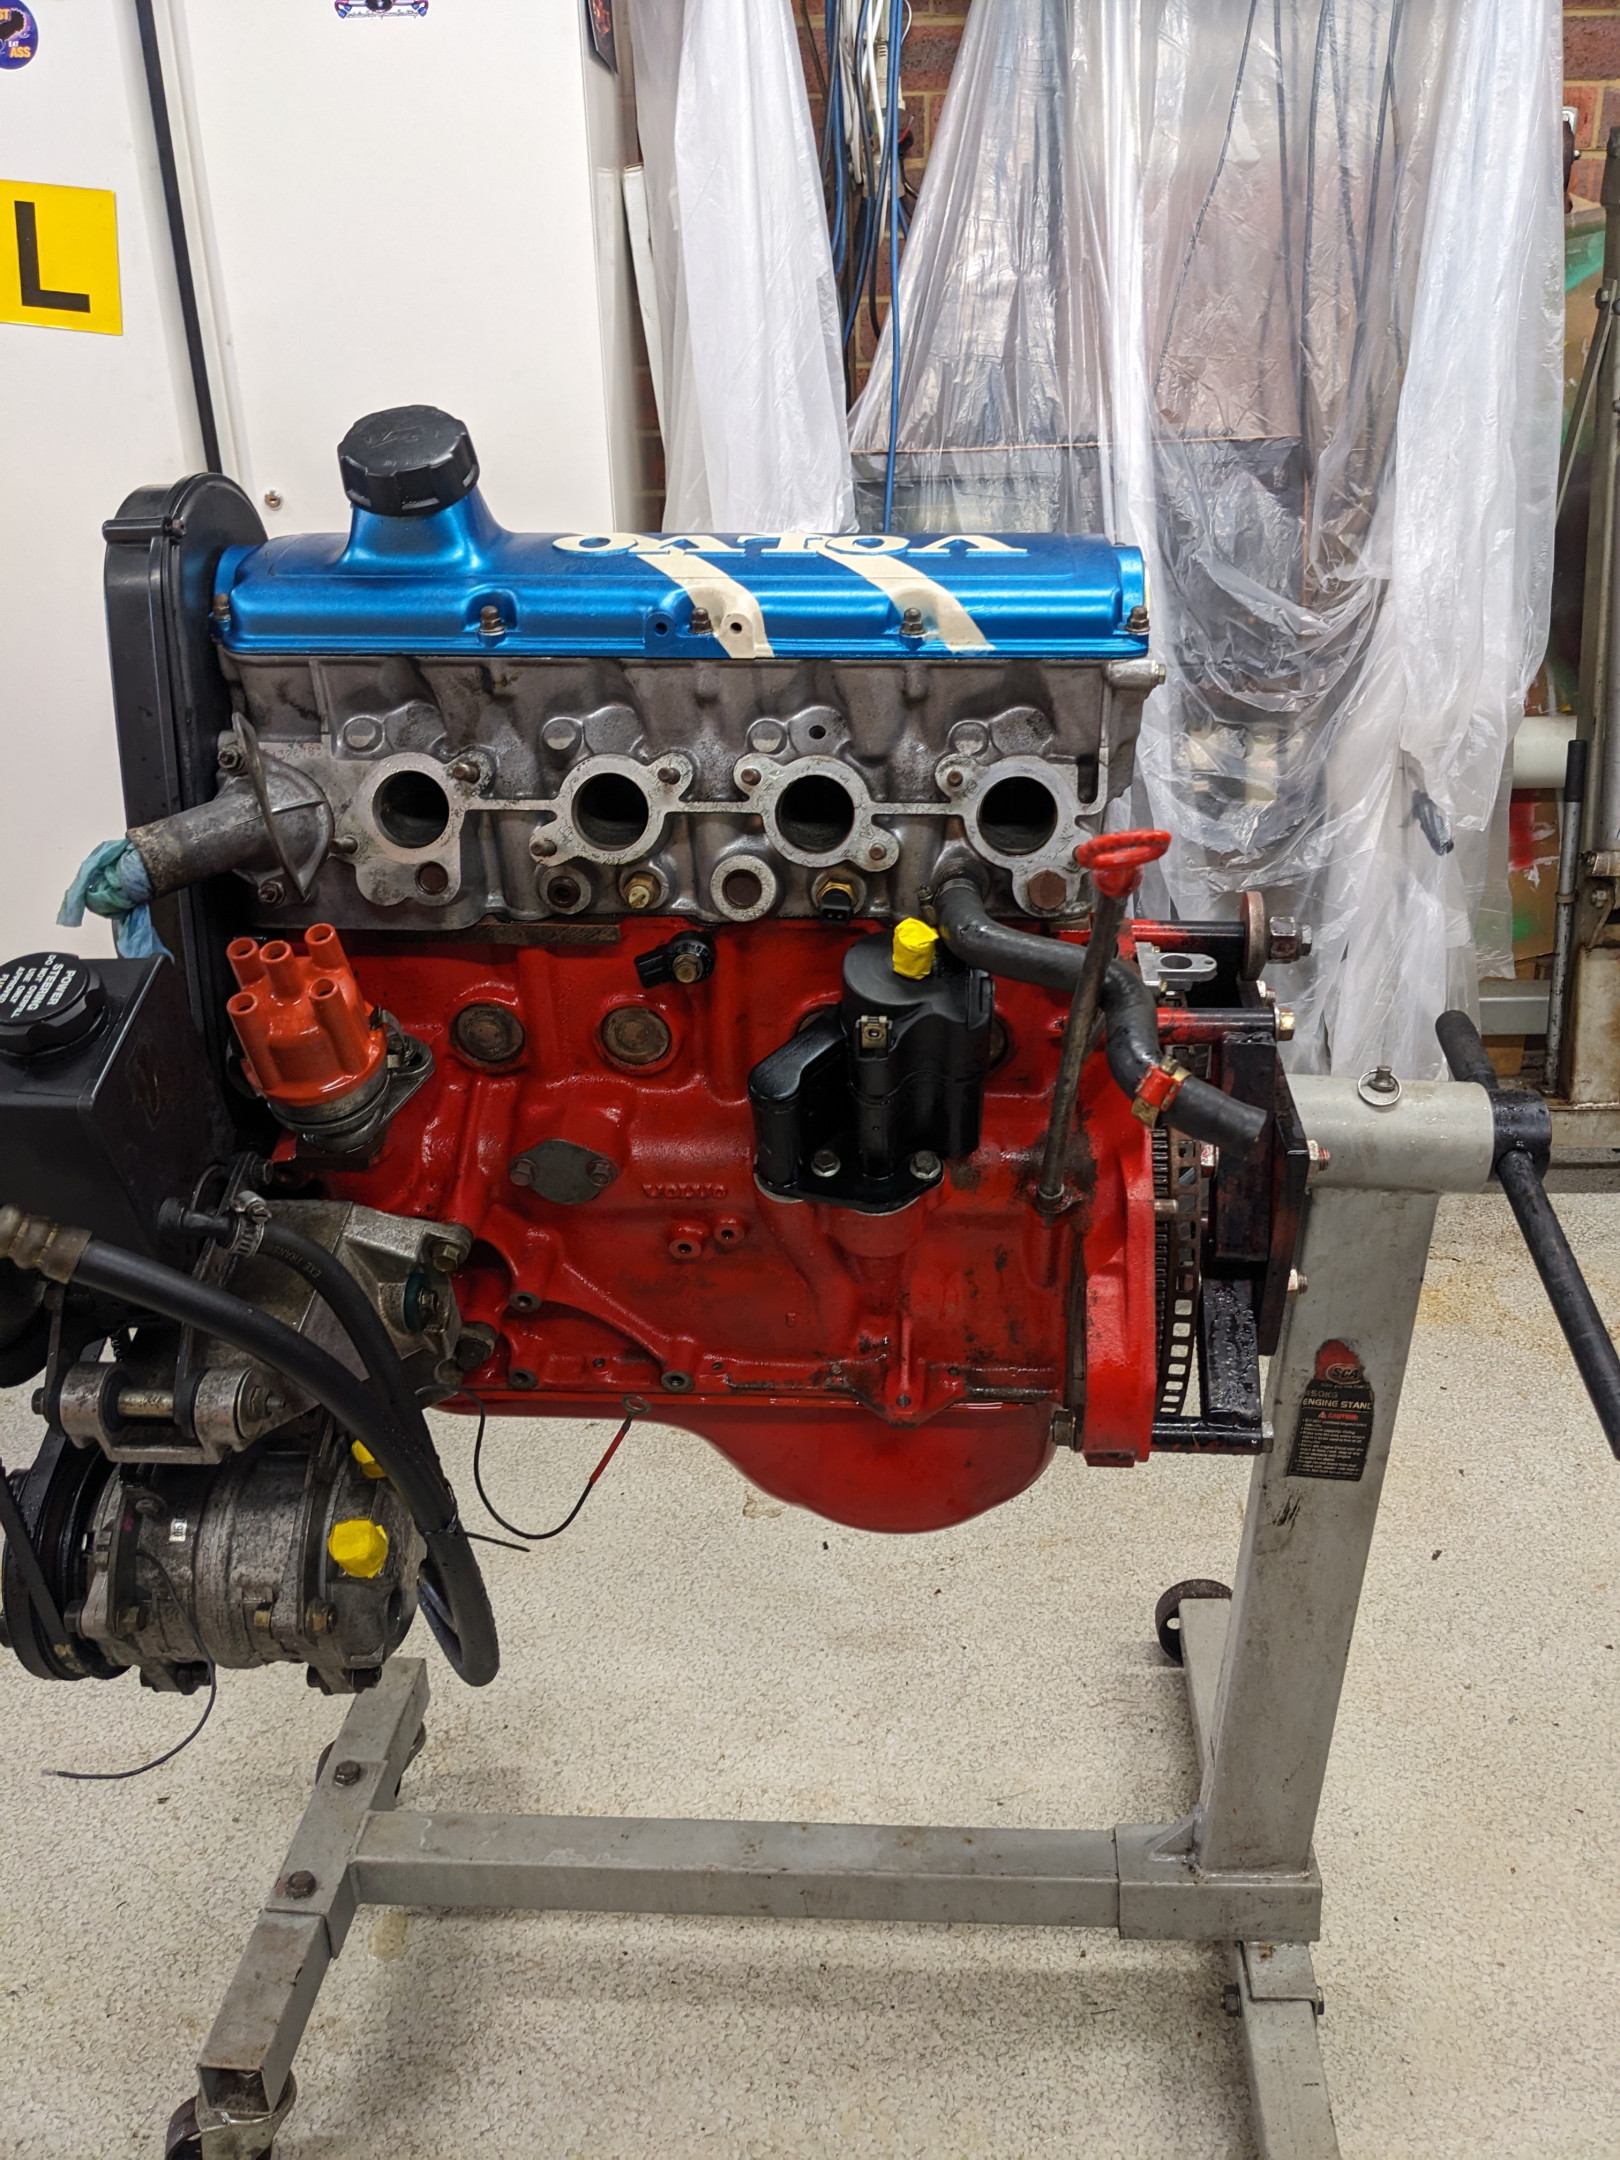
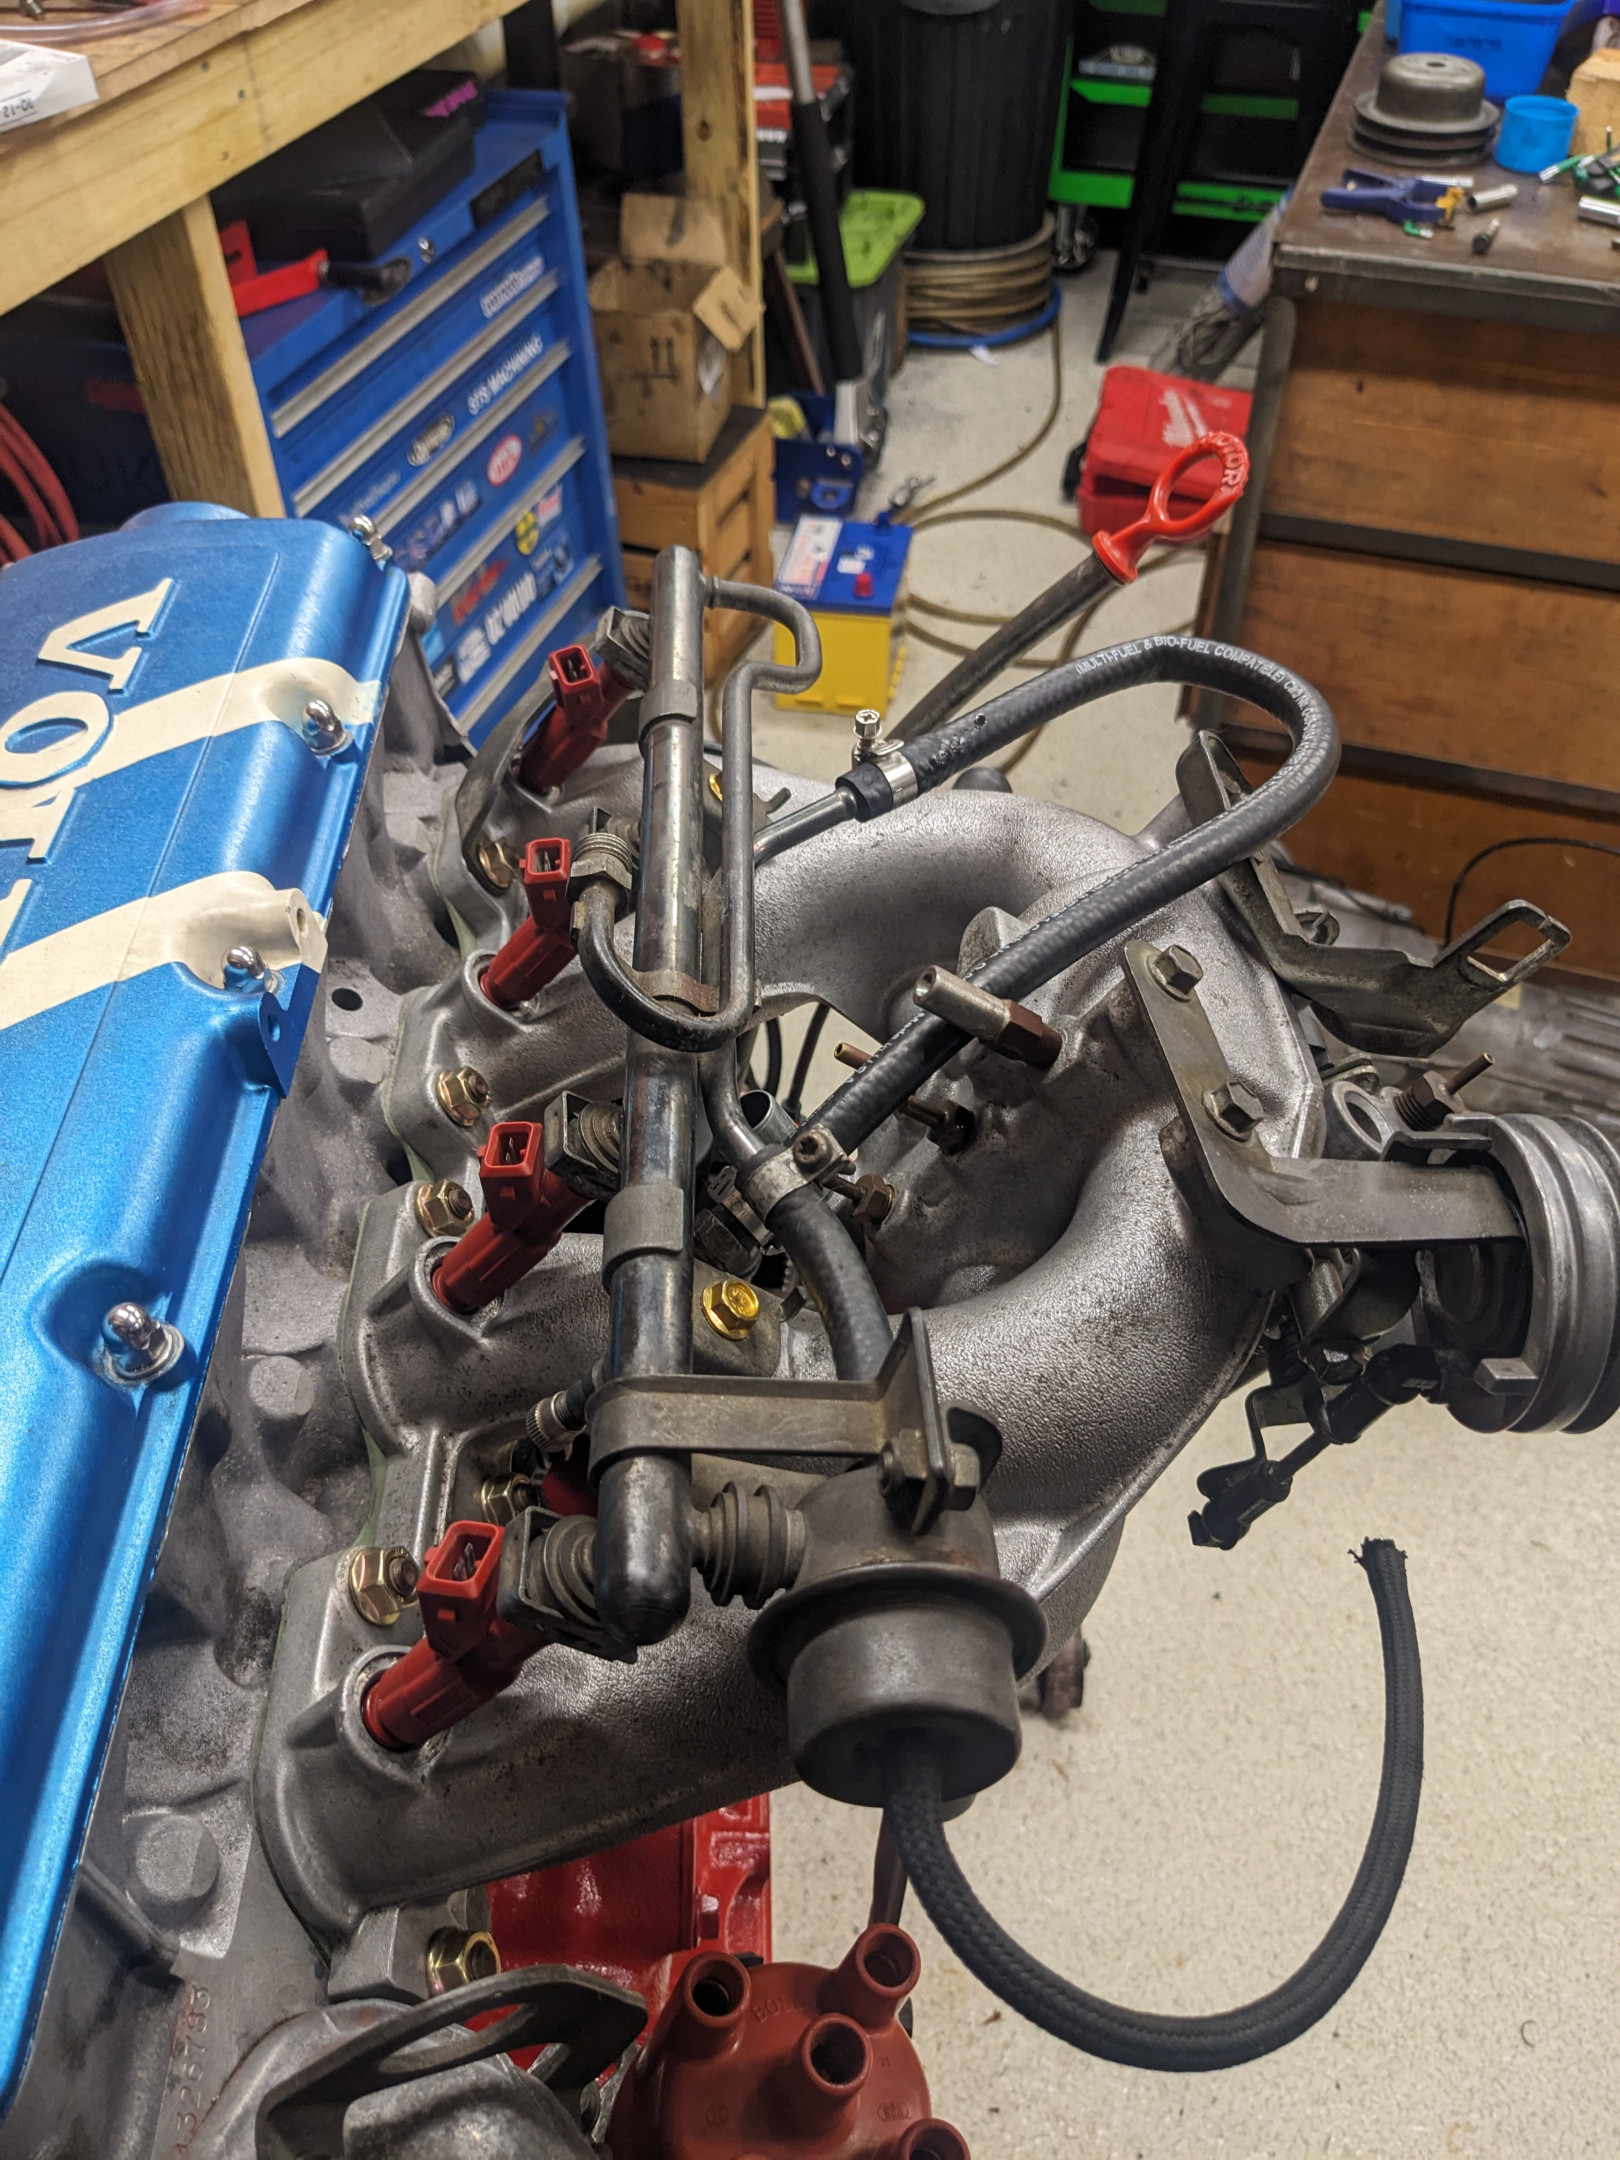
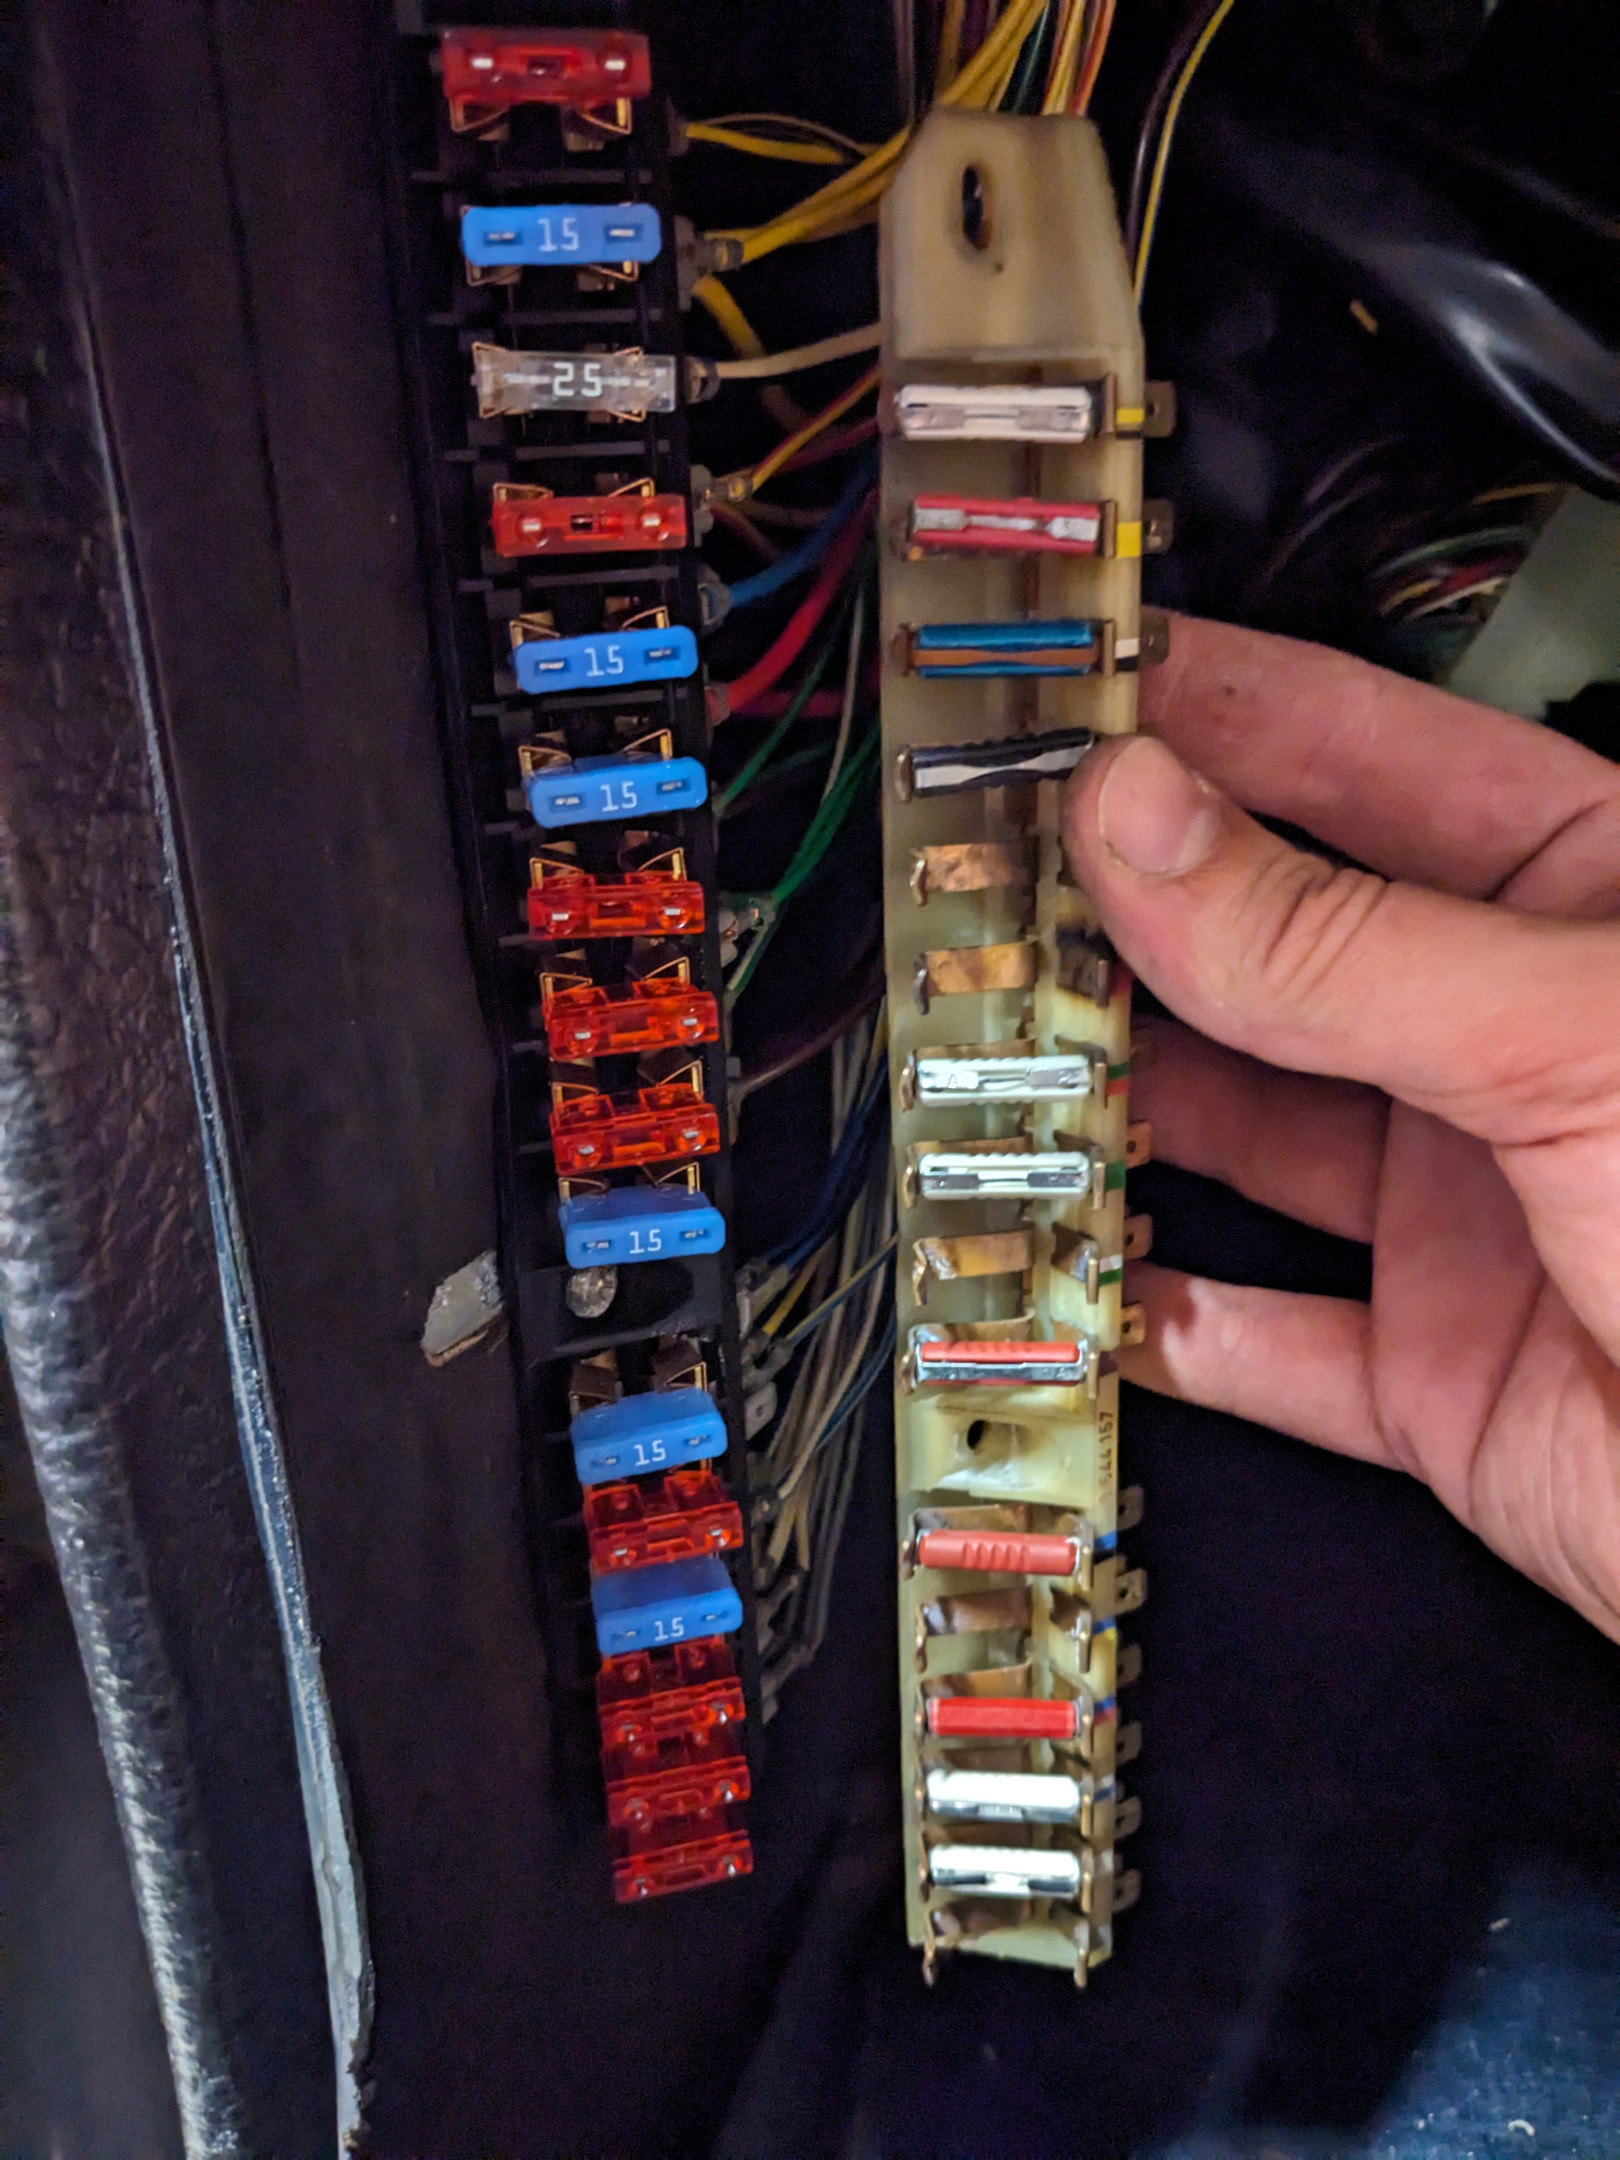
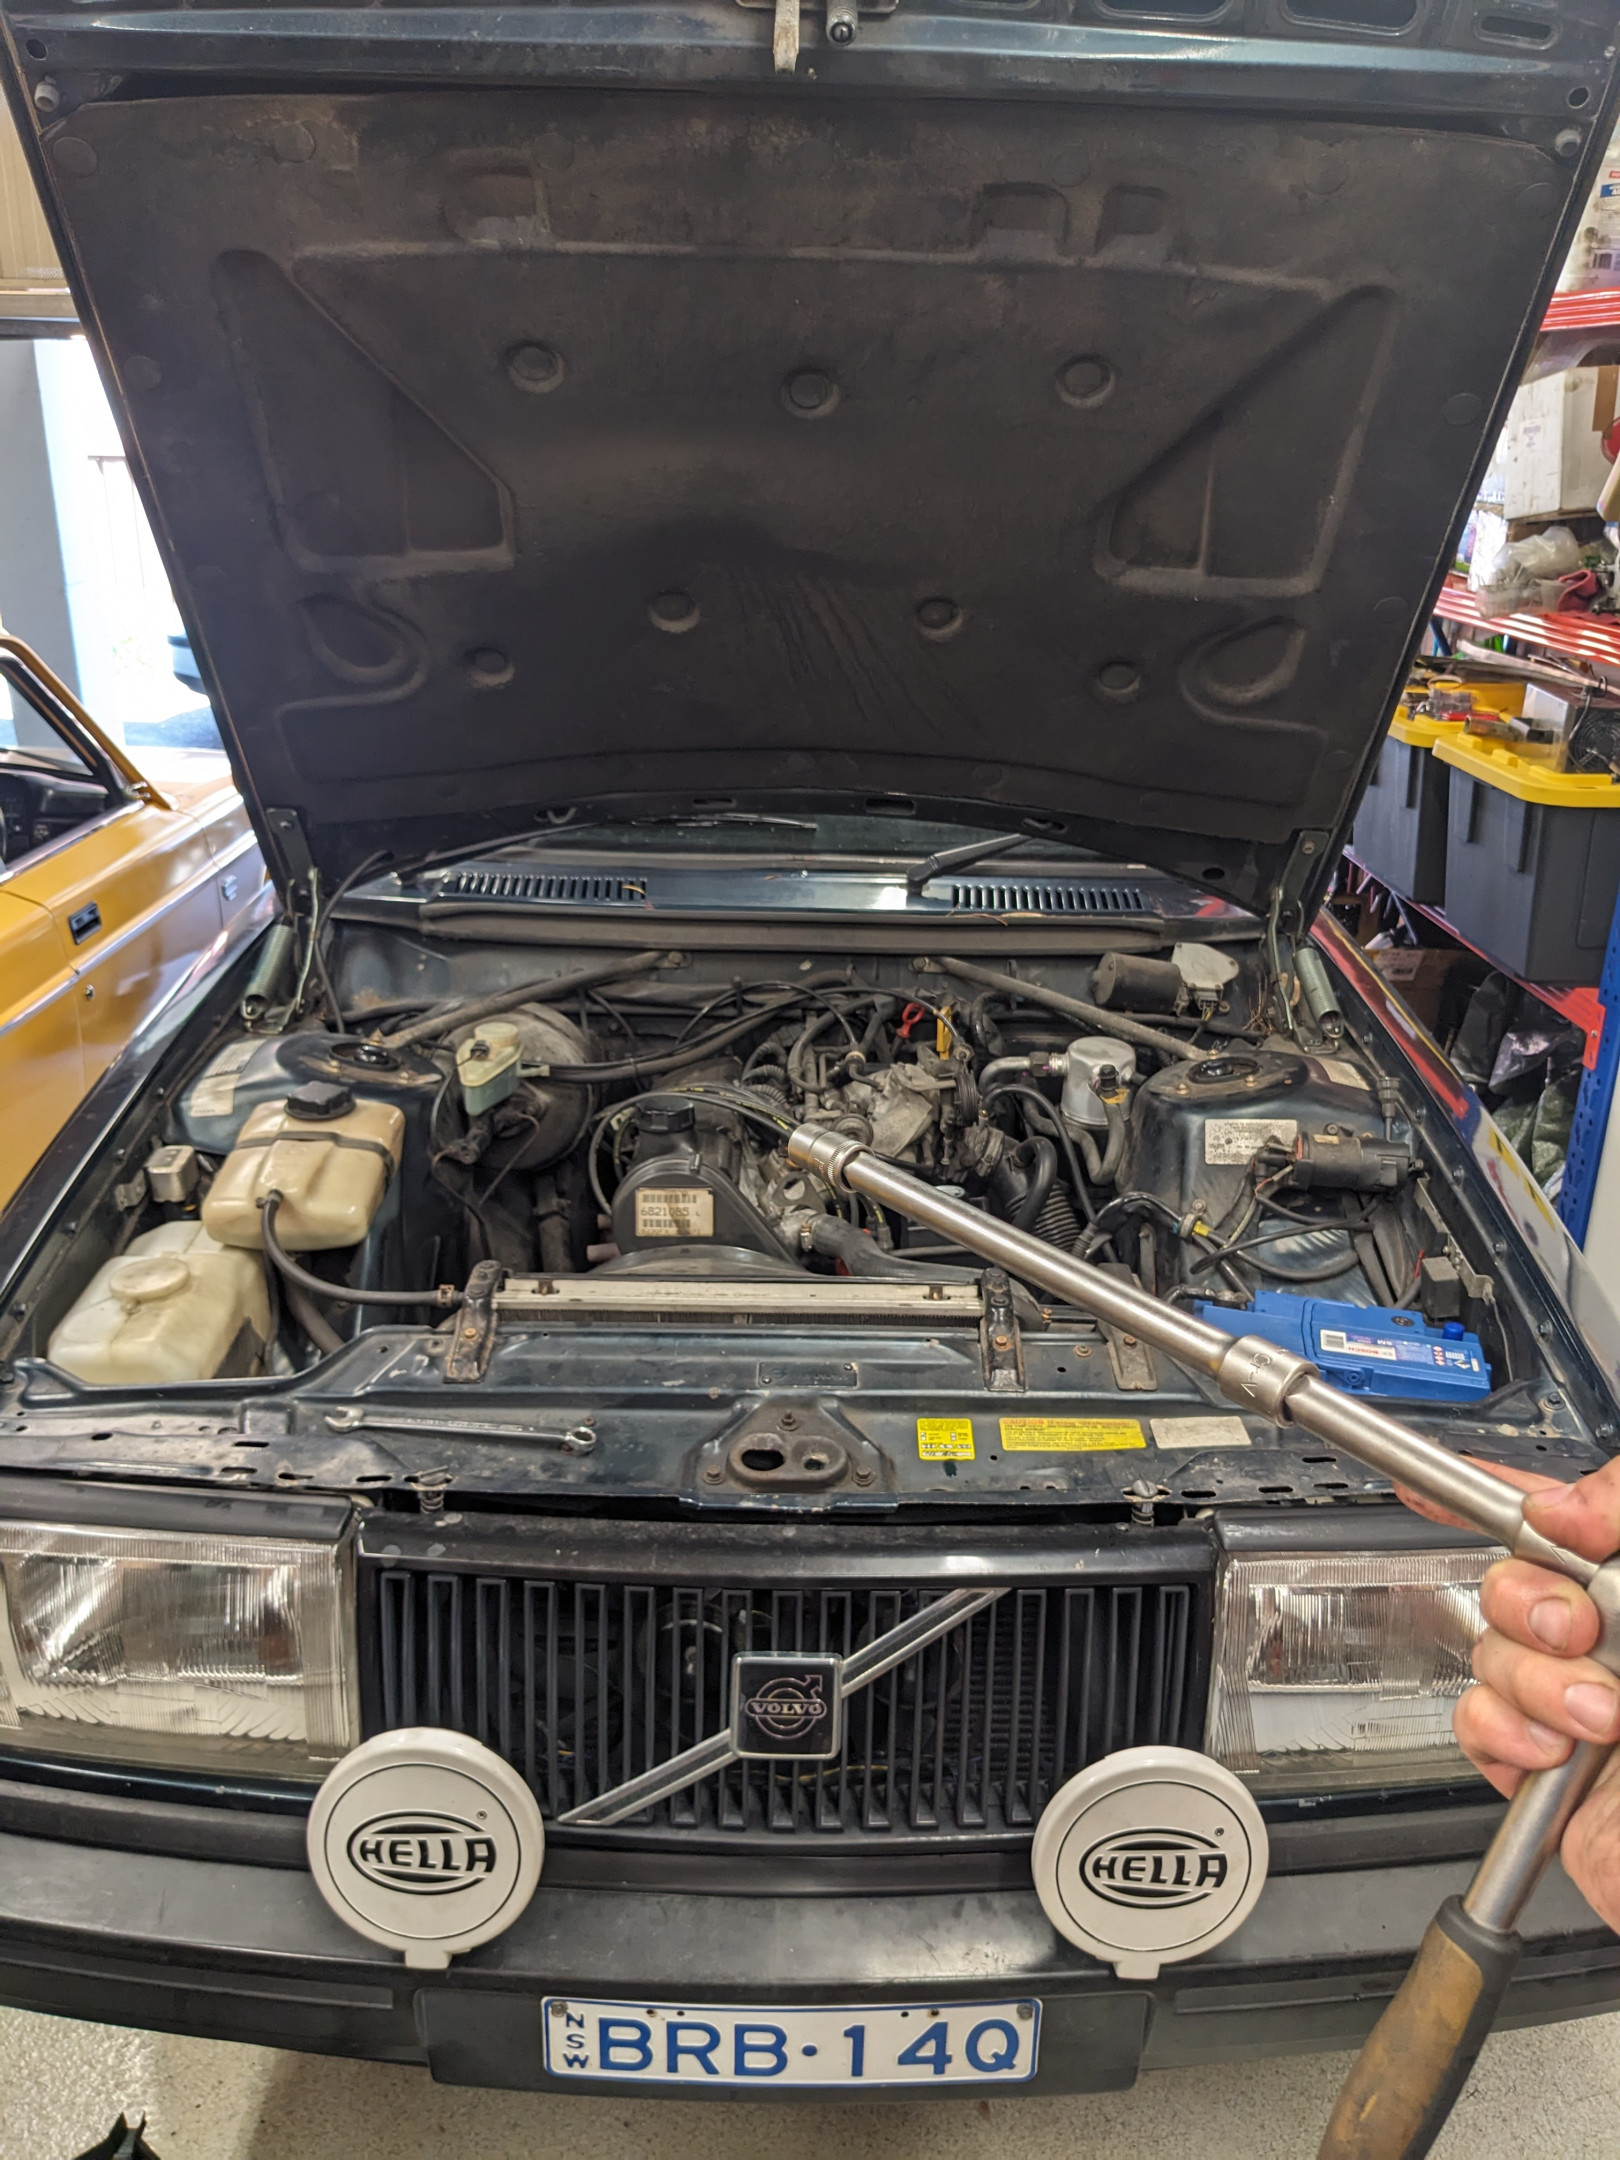
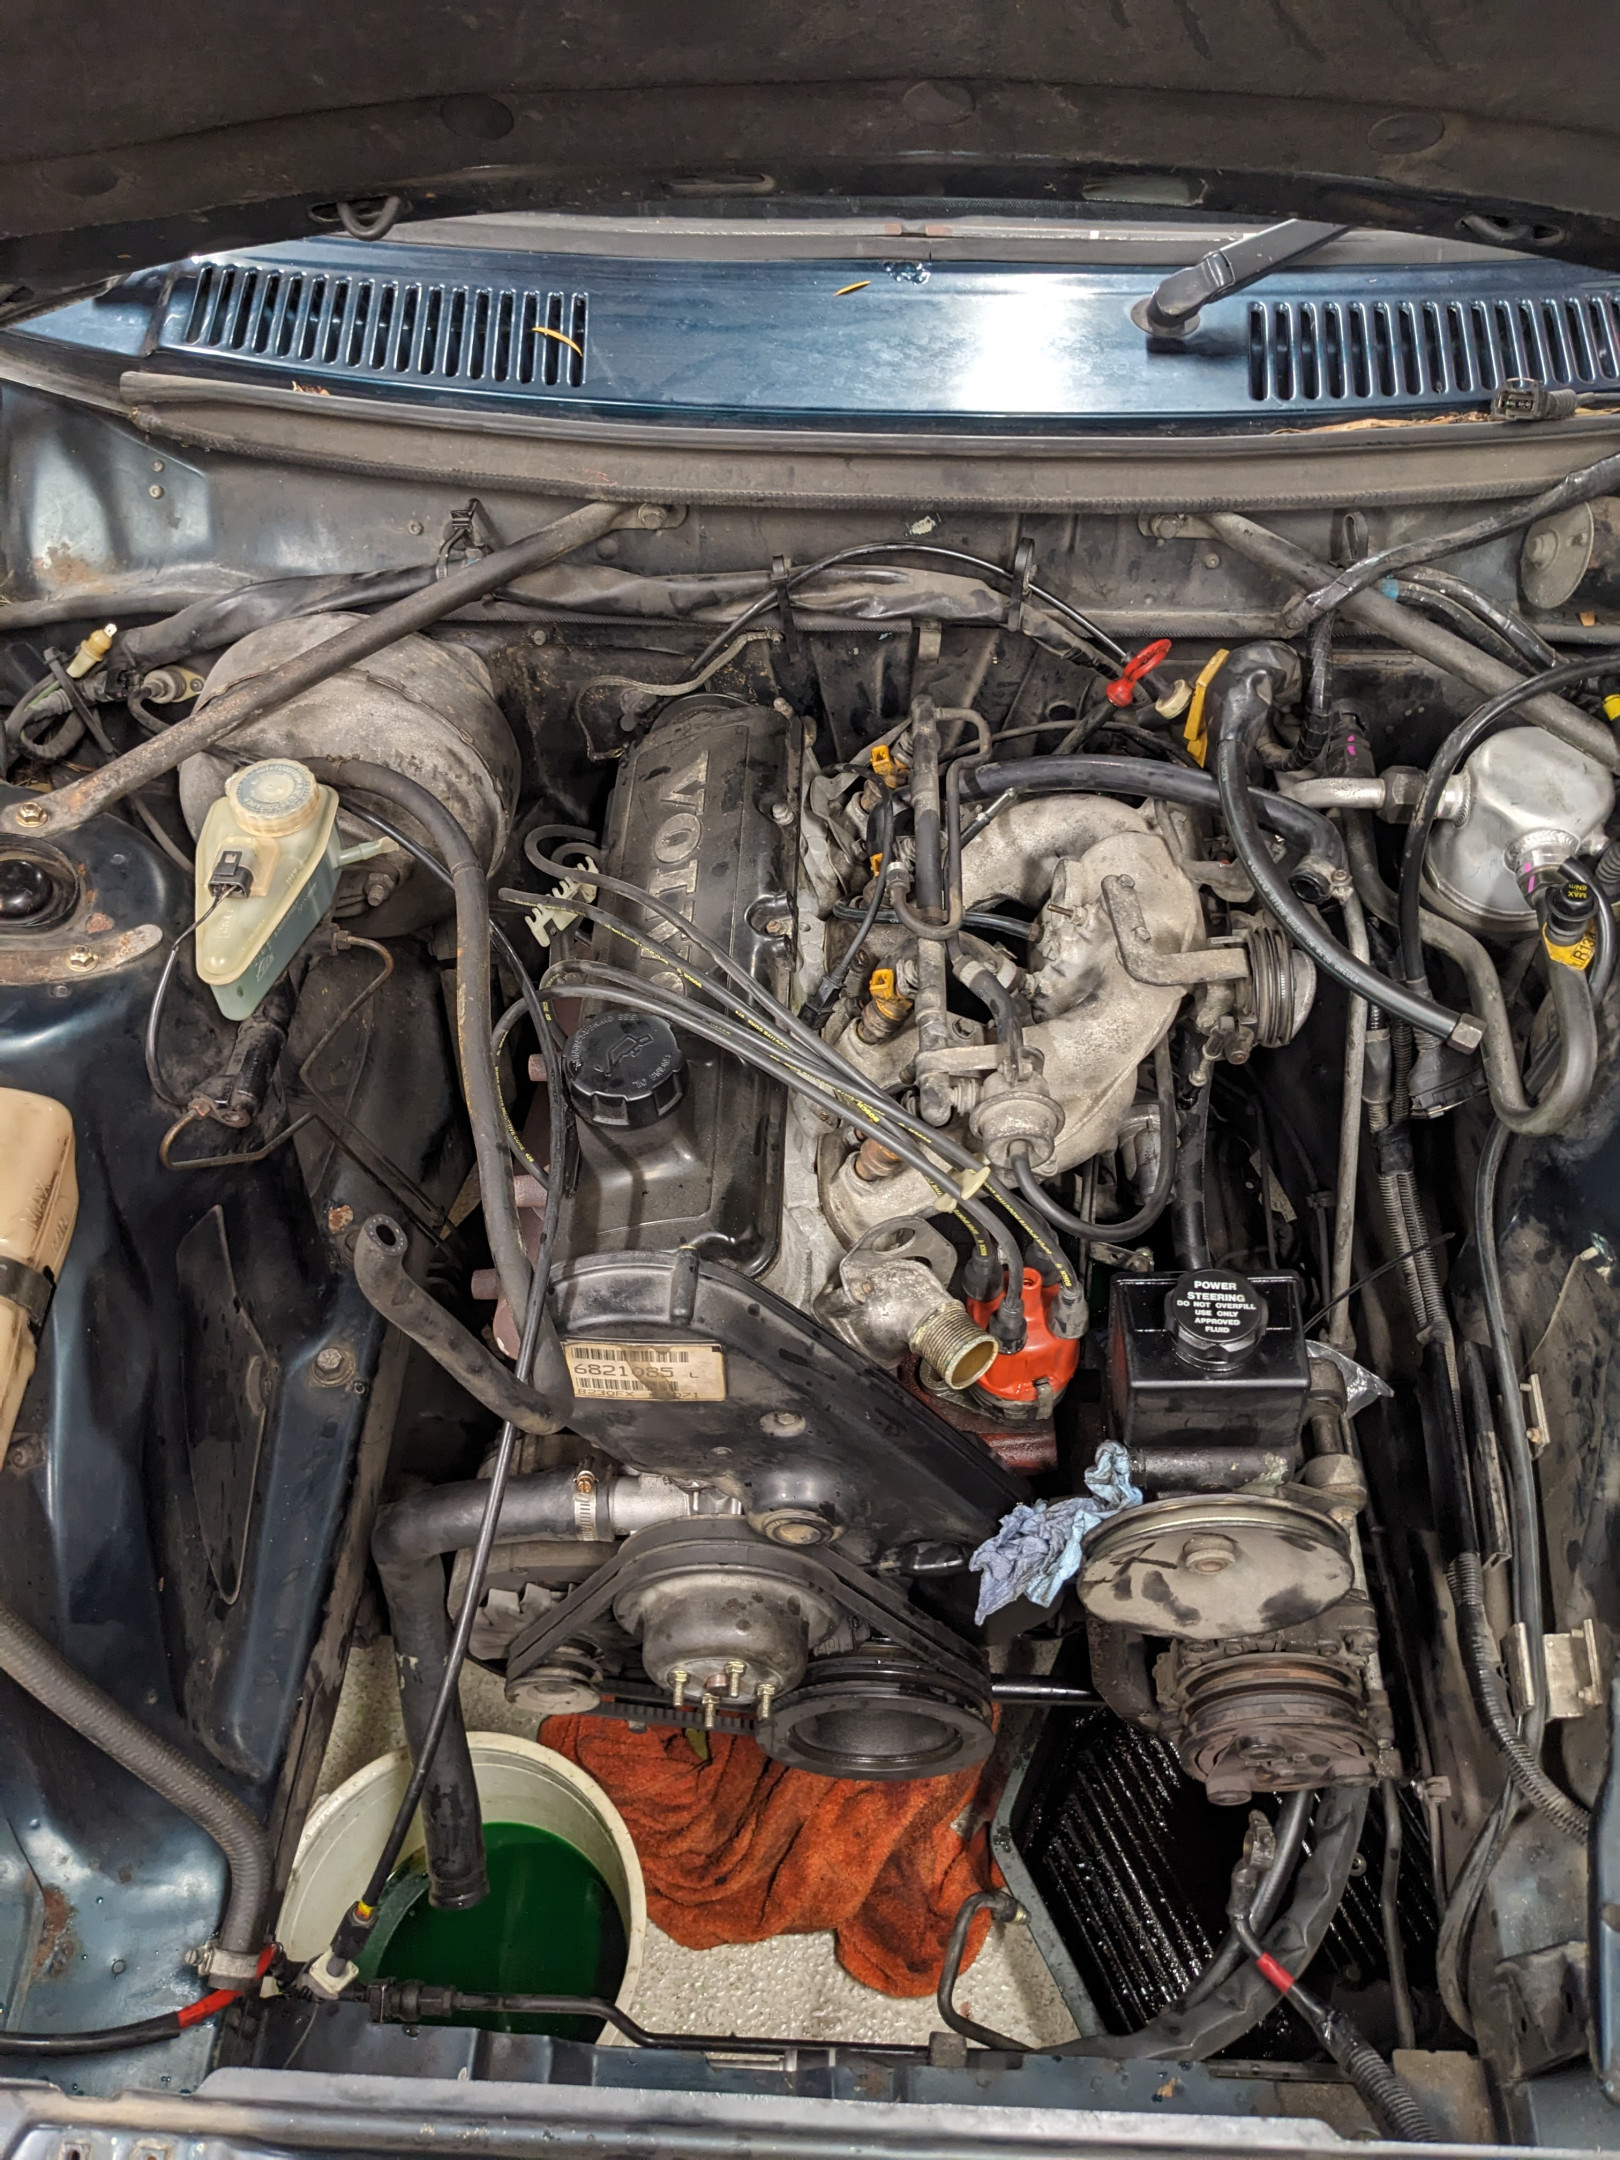
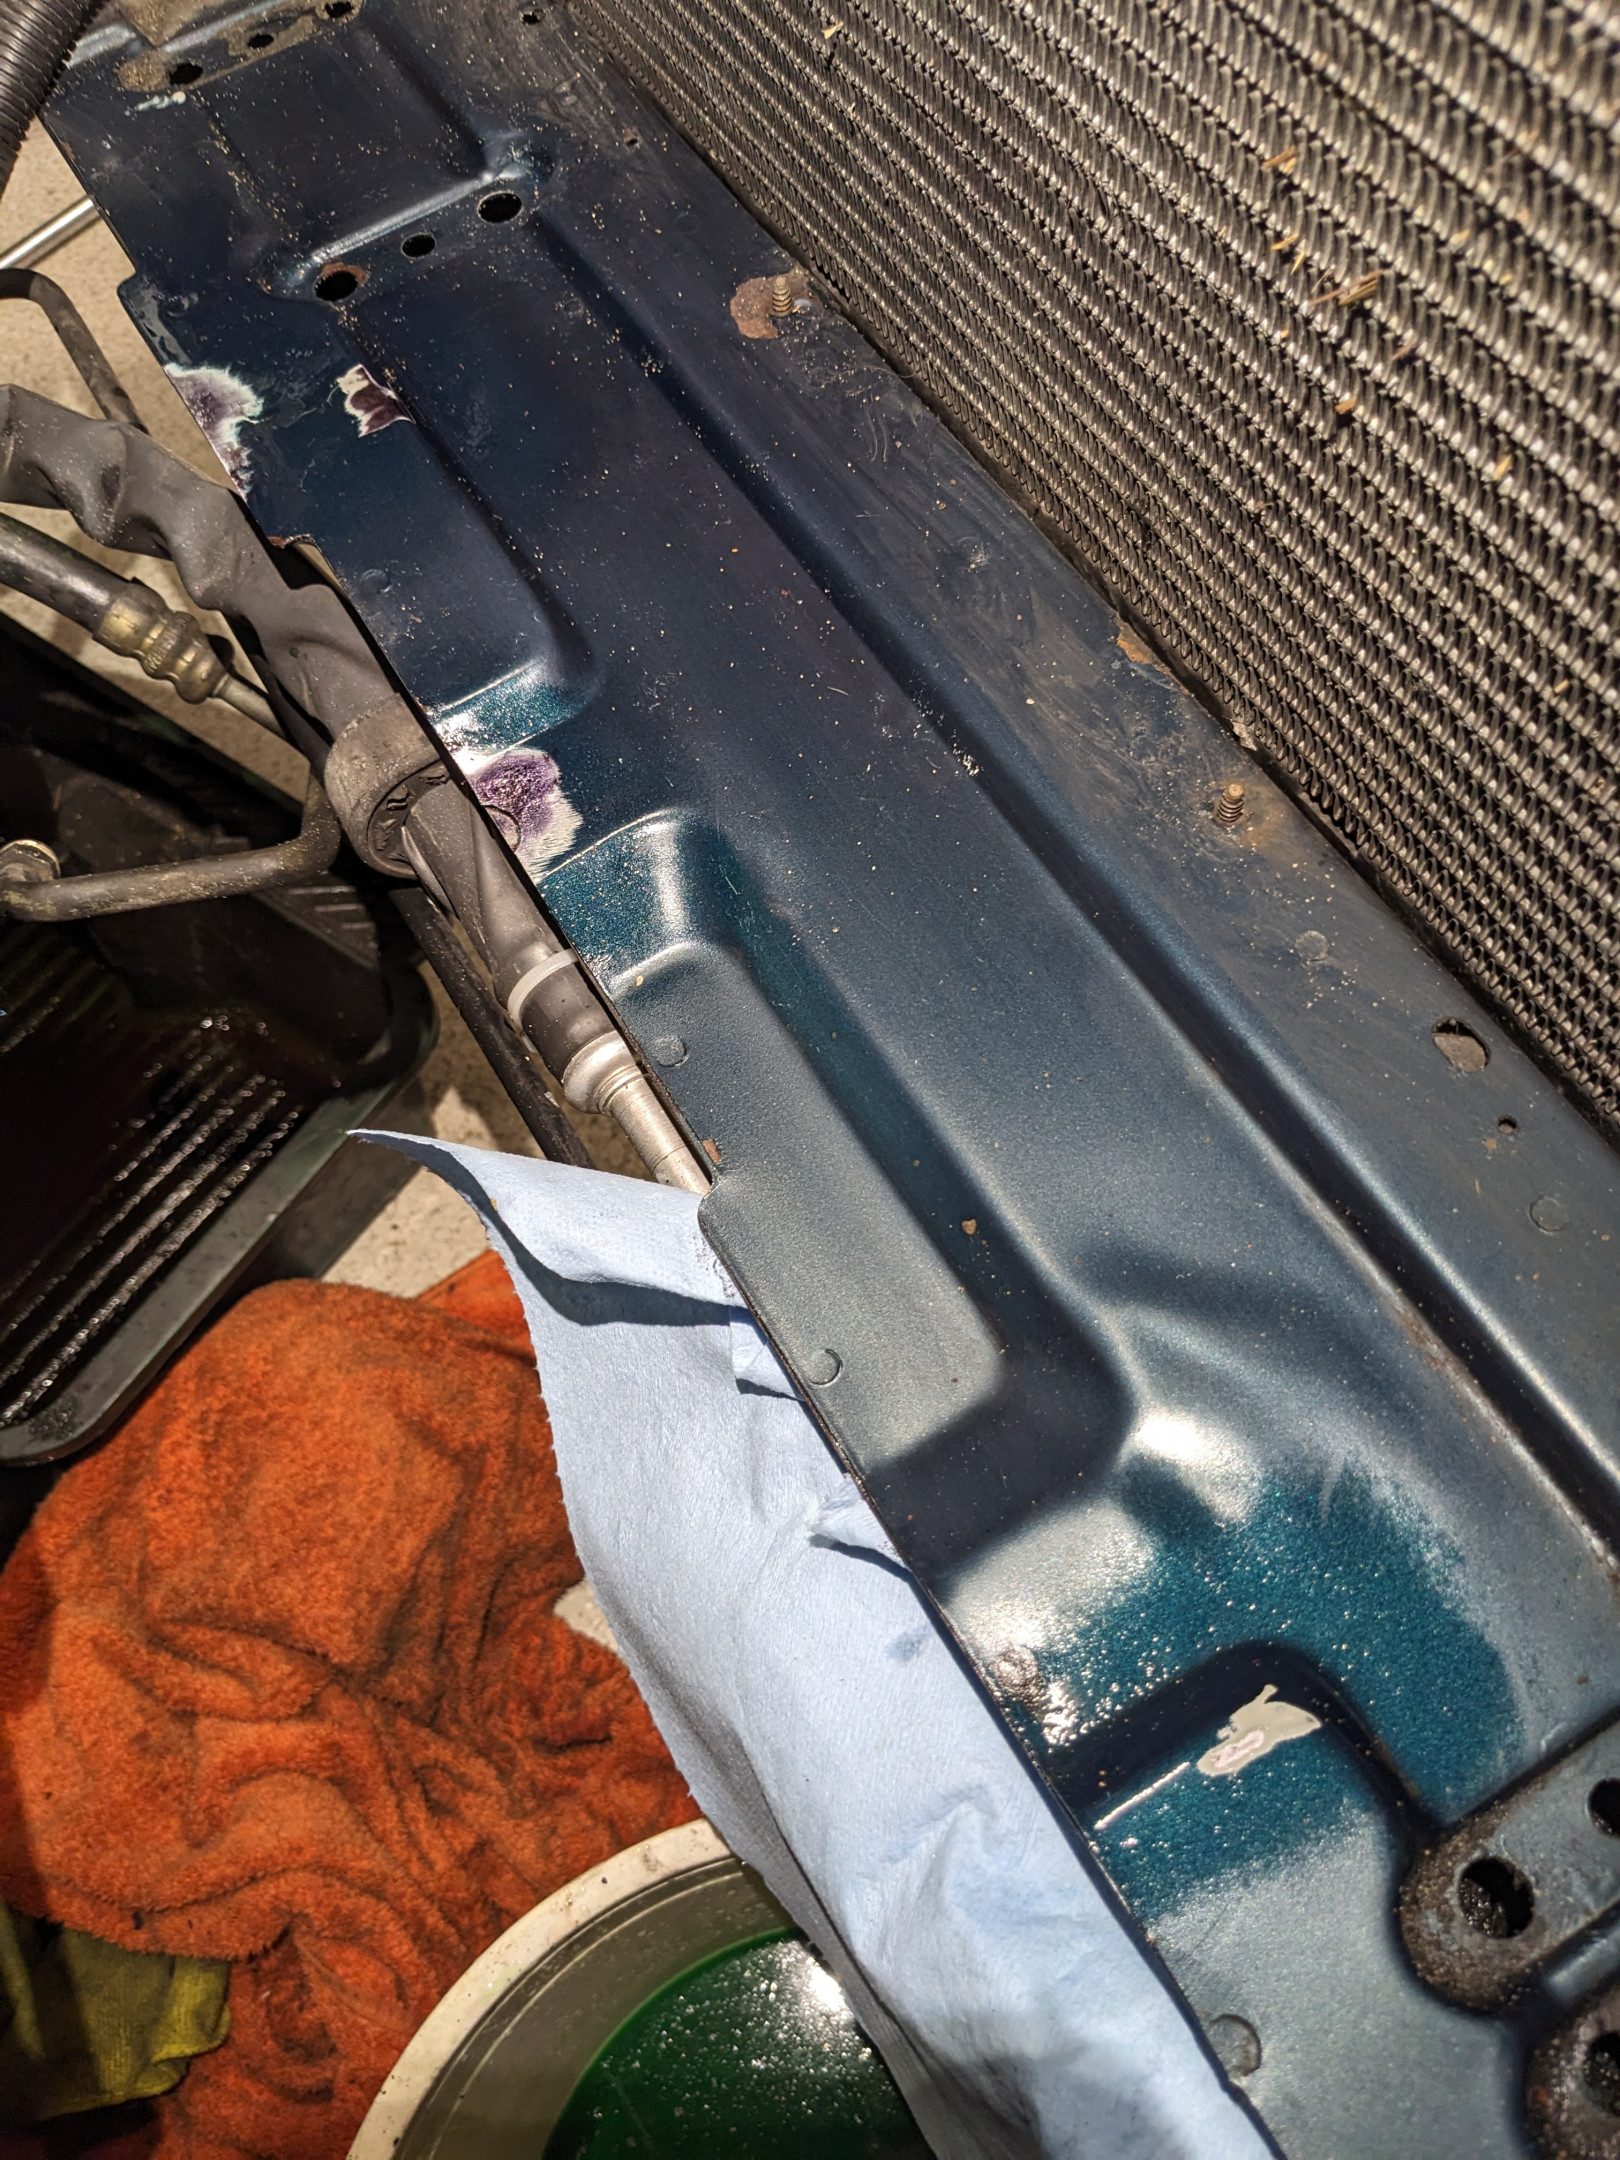
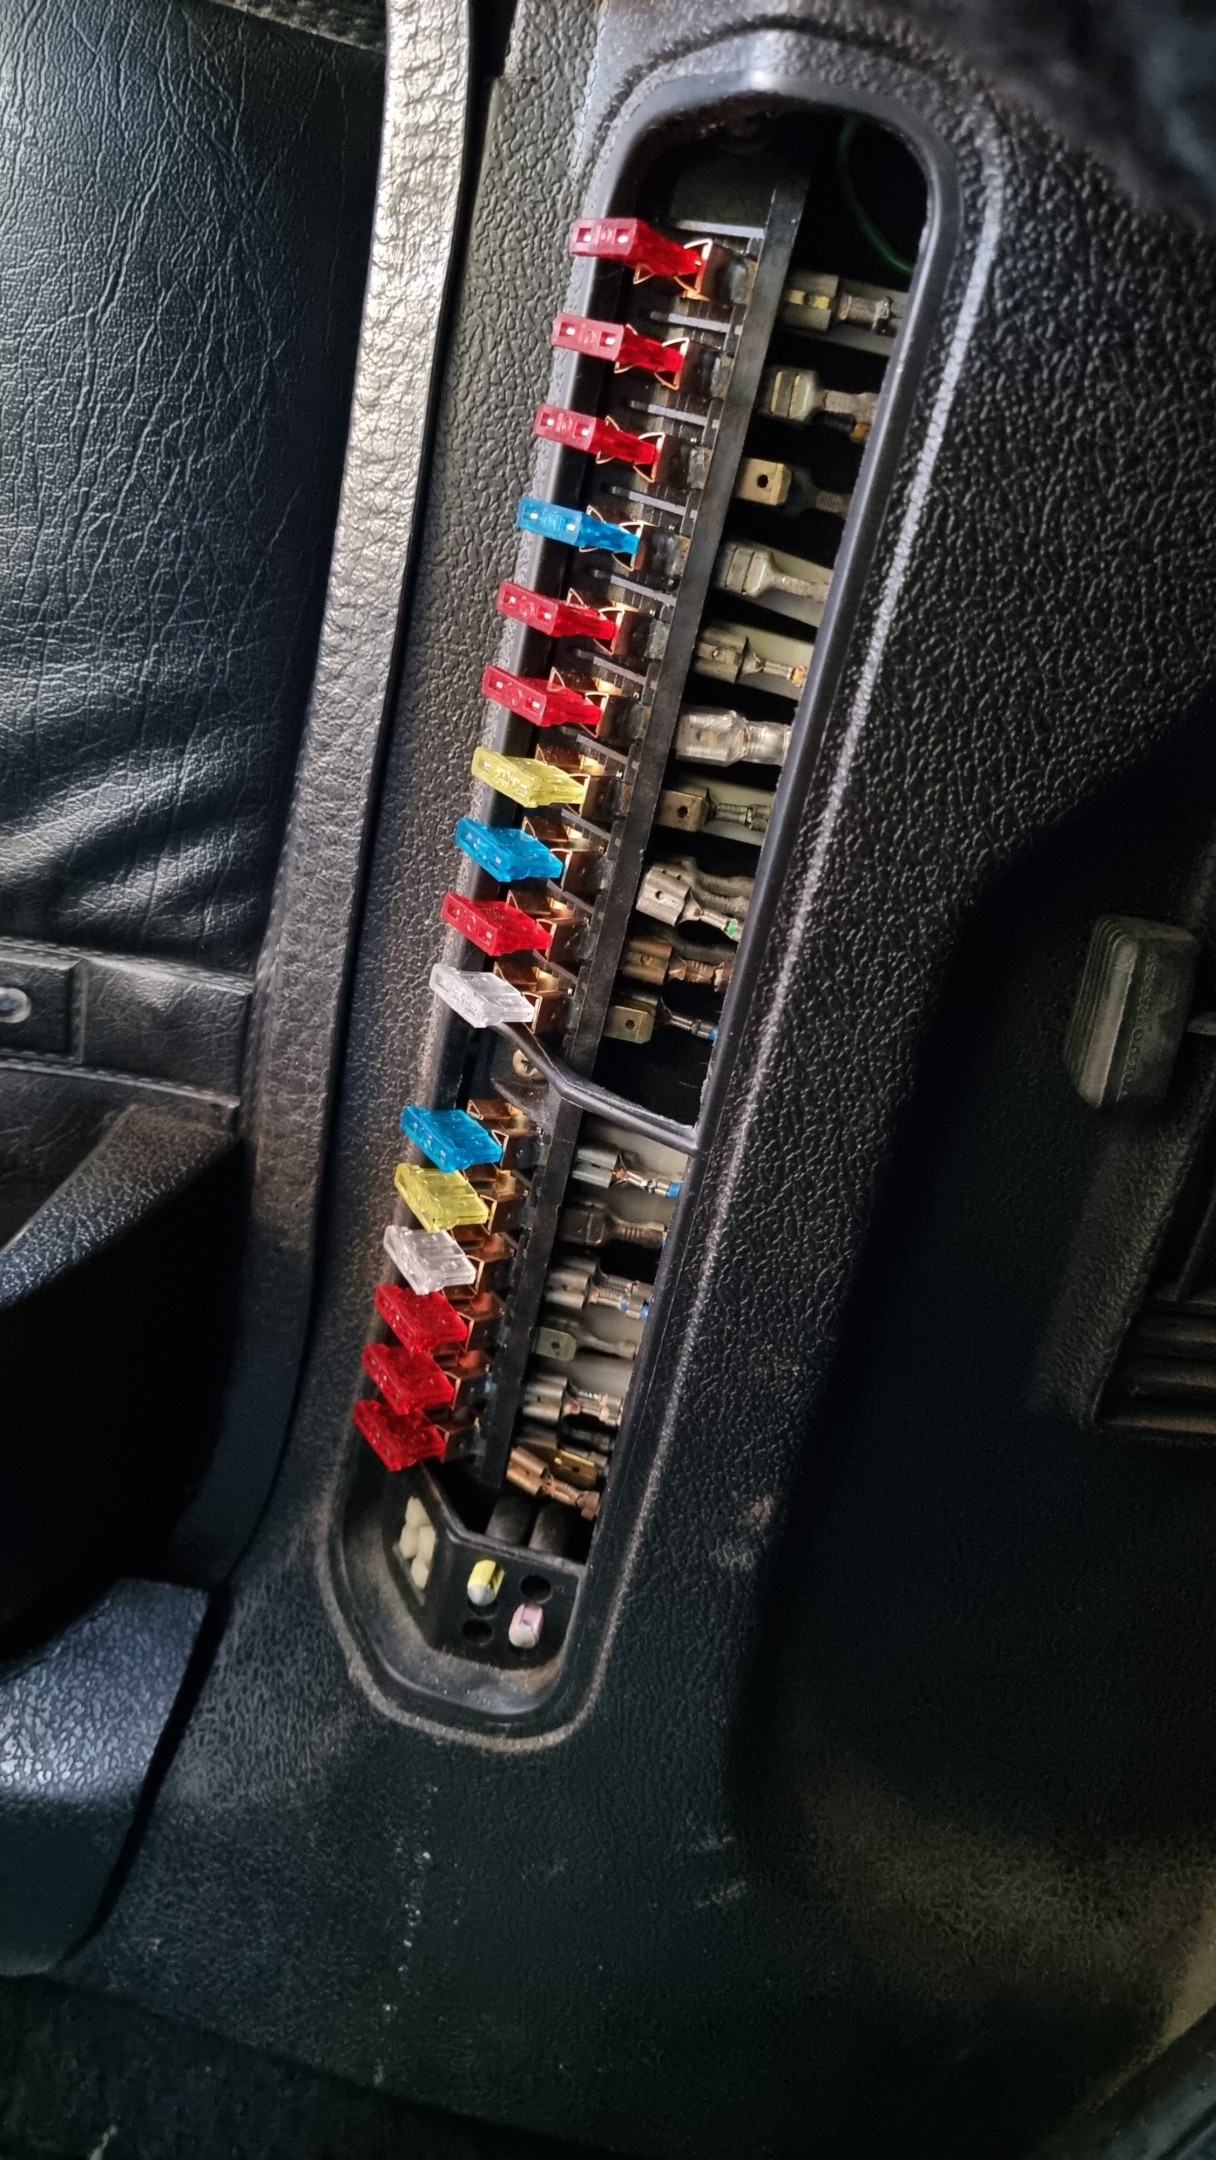
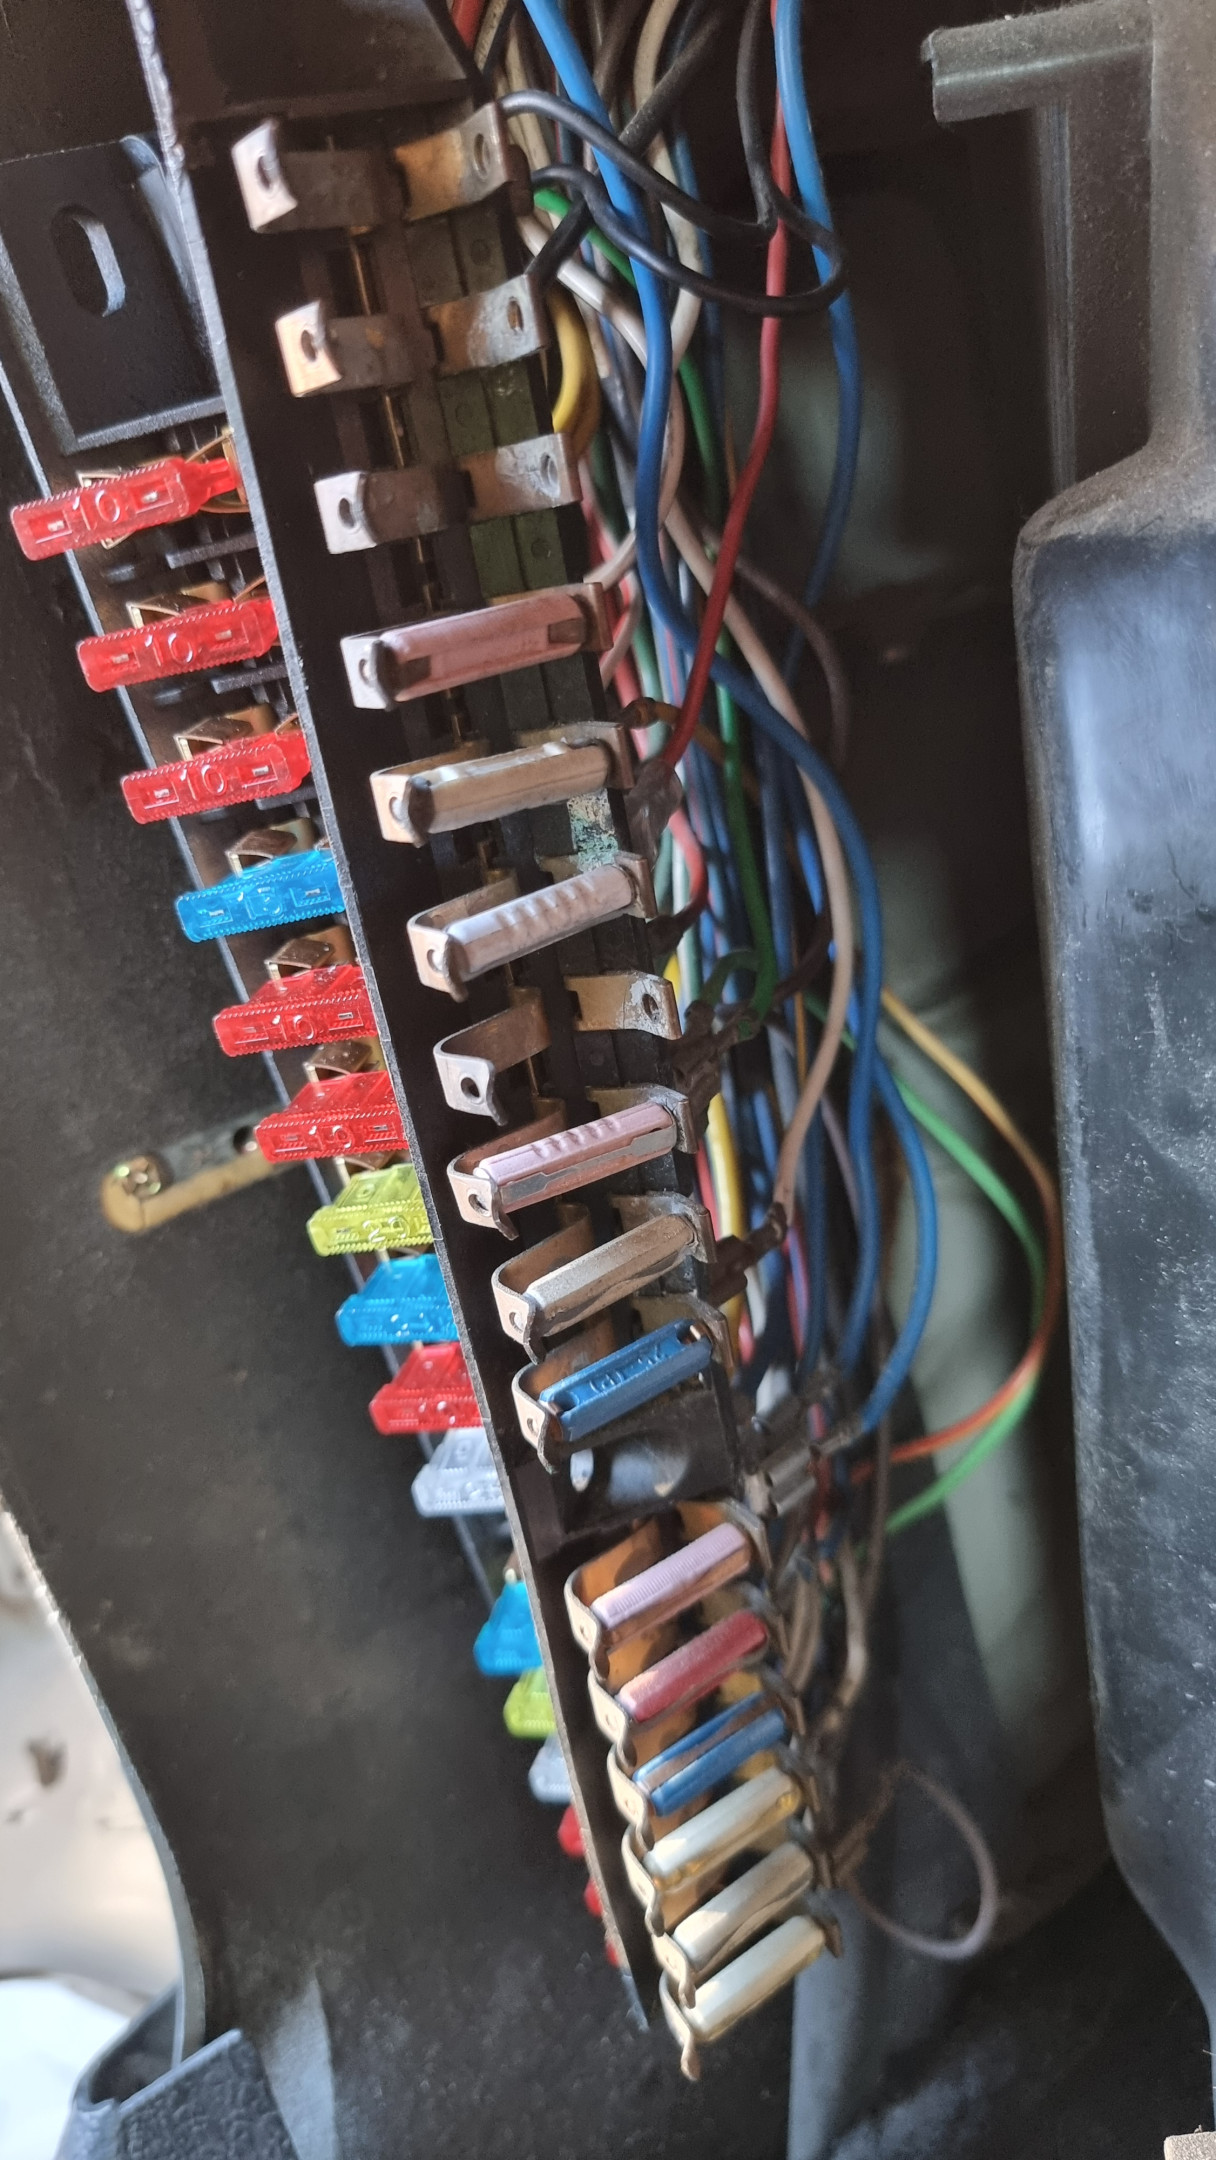
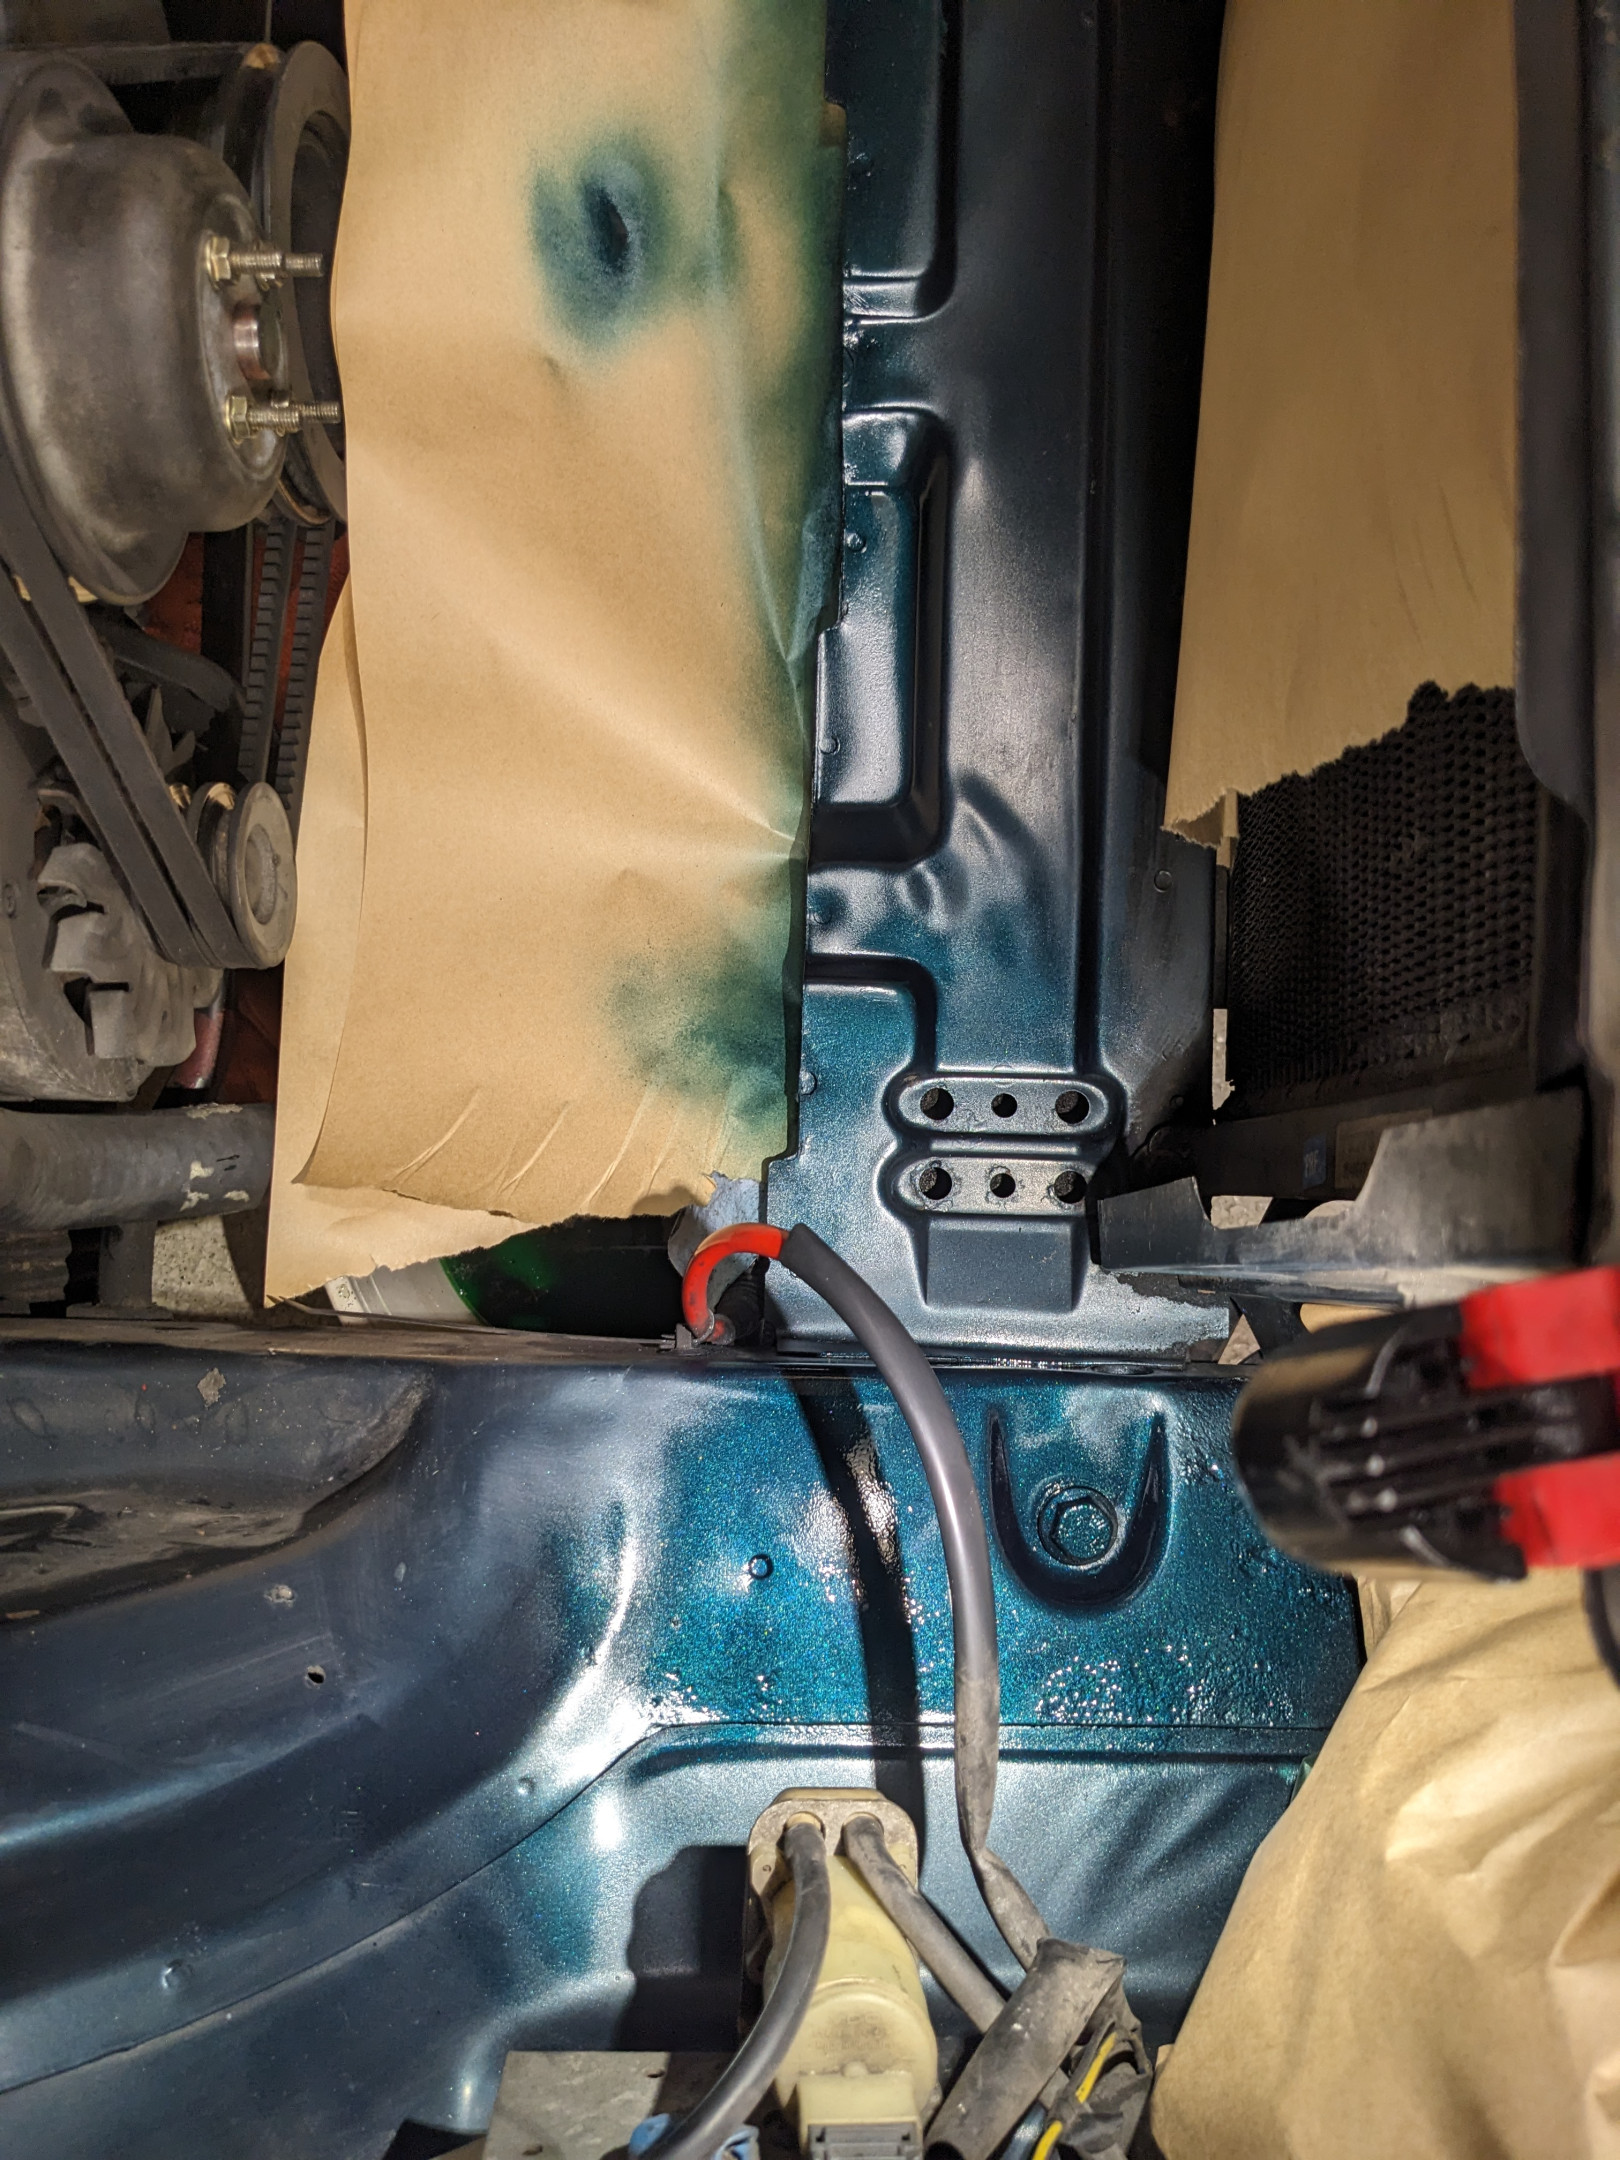
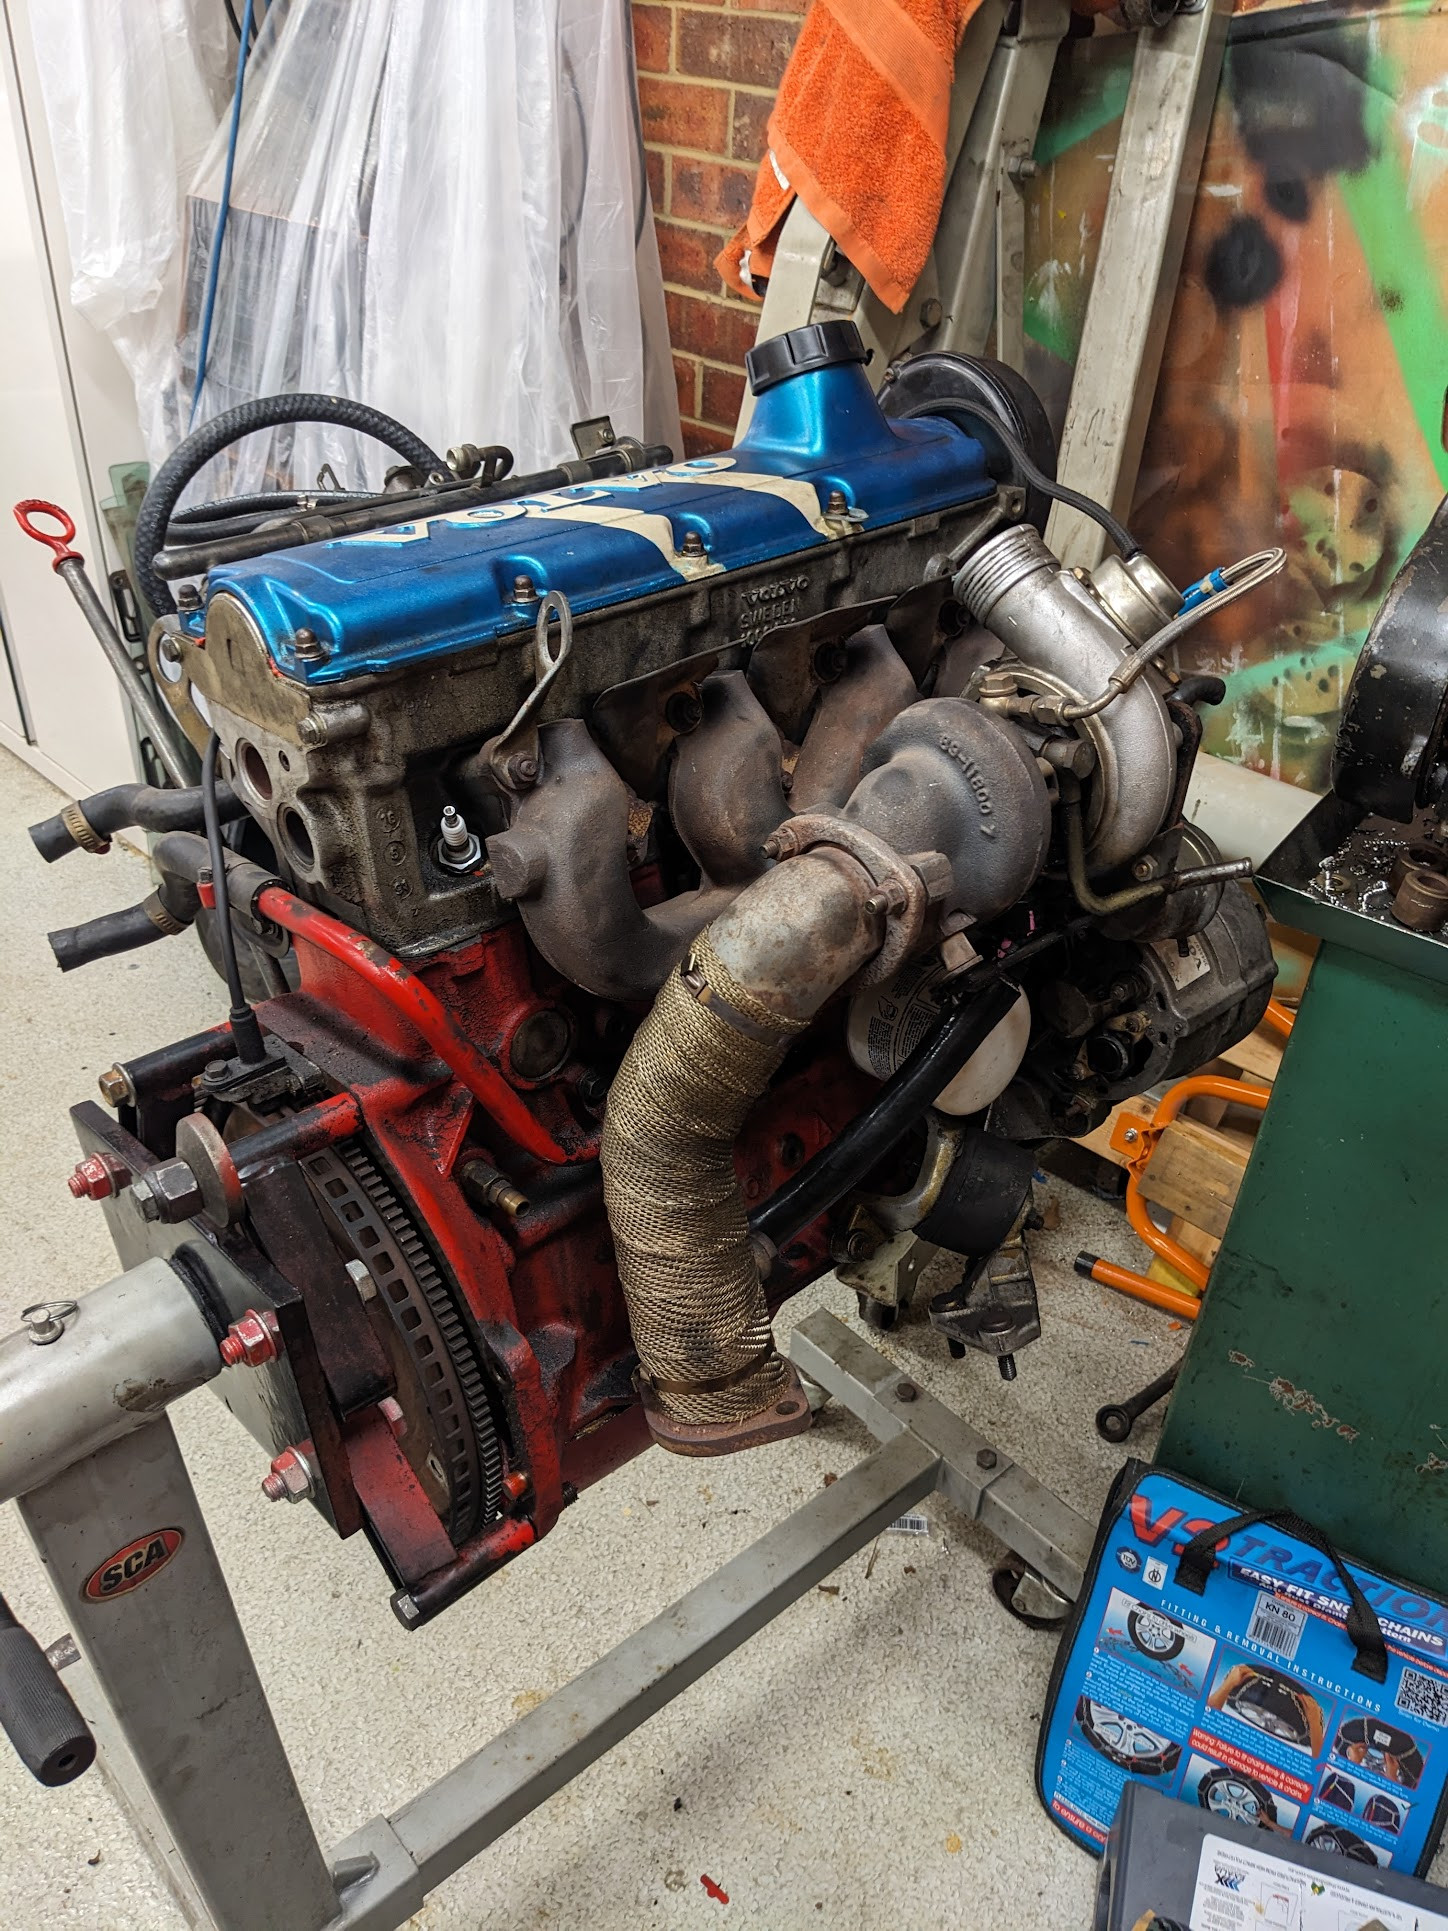
Over the June long weekend, I finally got the ball rolling on the swap. We pulled the turbo package from the wreck. Engine, transmission, intake and exhaust systems. I'll be back in the next week to pick up some electrical items, including the turbo ECU/EZK and the AMM extension harness. Because Crowley is a '92 model, I am going to retain the factory LH-2.4 harness and just modify the AMM sub-harness so I can relocate the AMM to the driver's side.

Image description

Image description

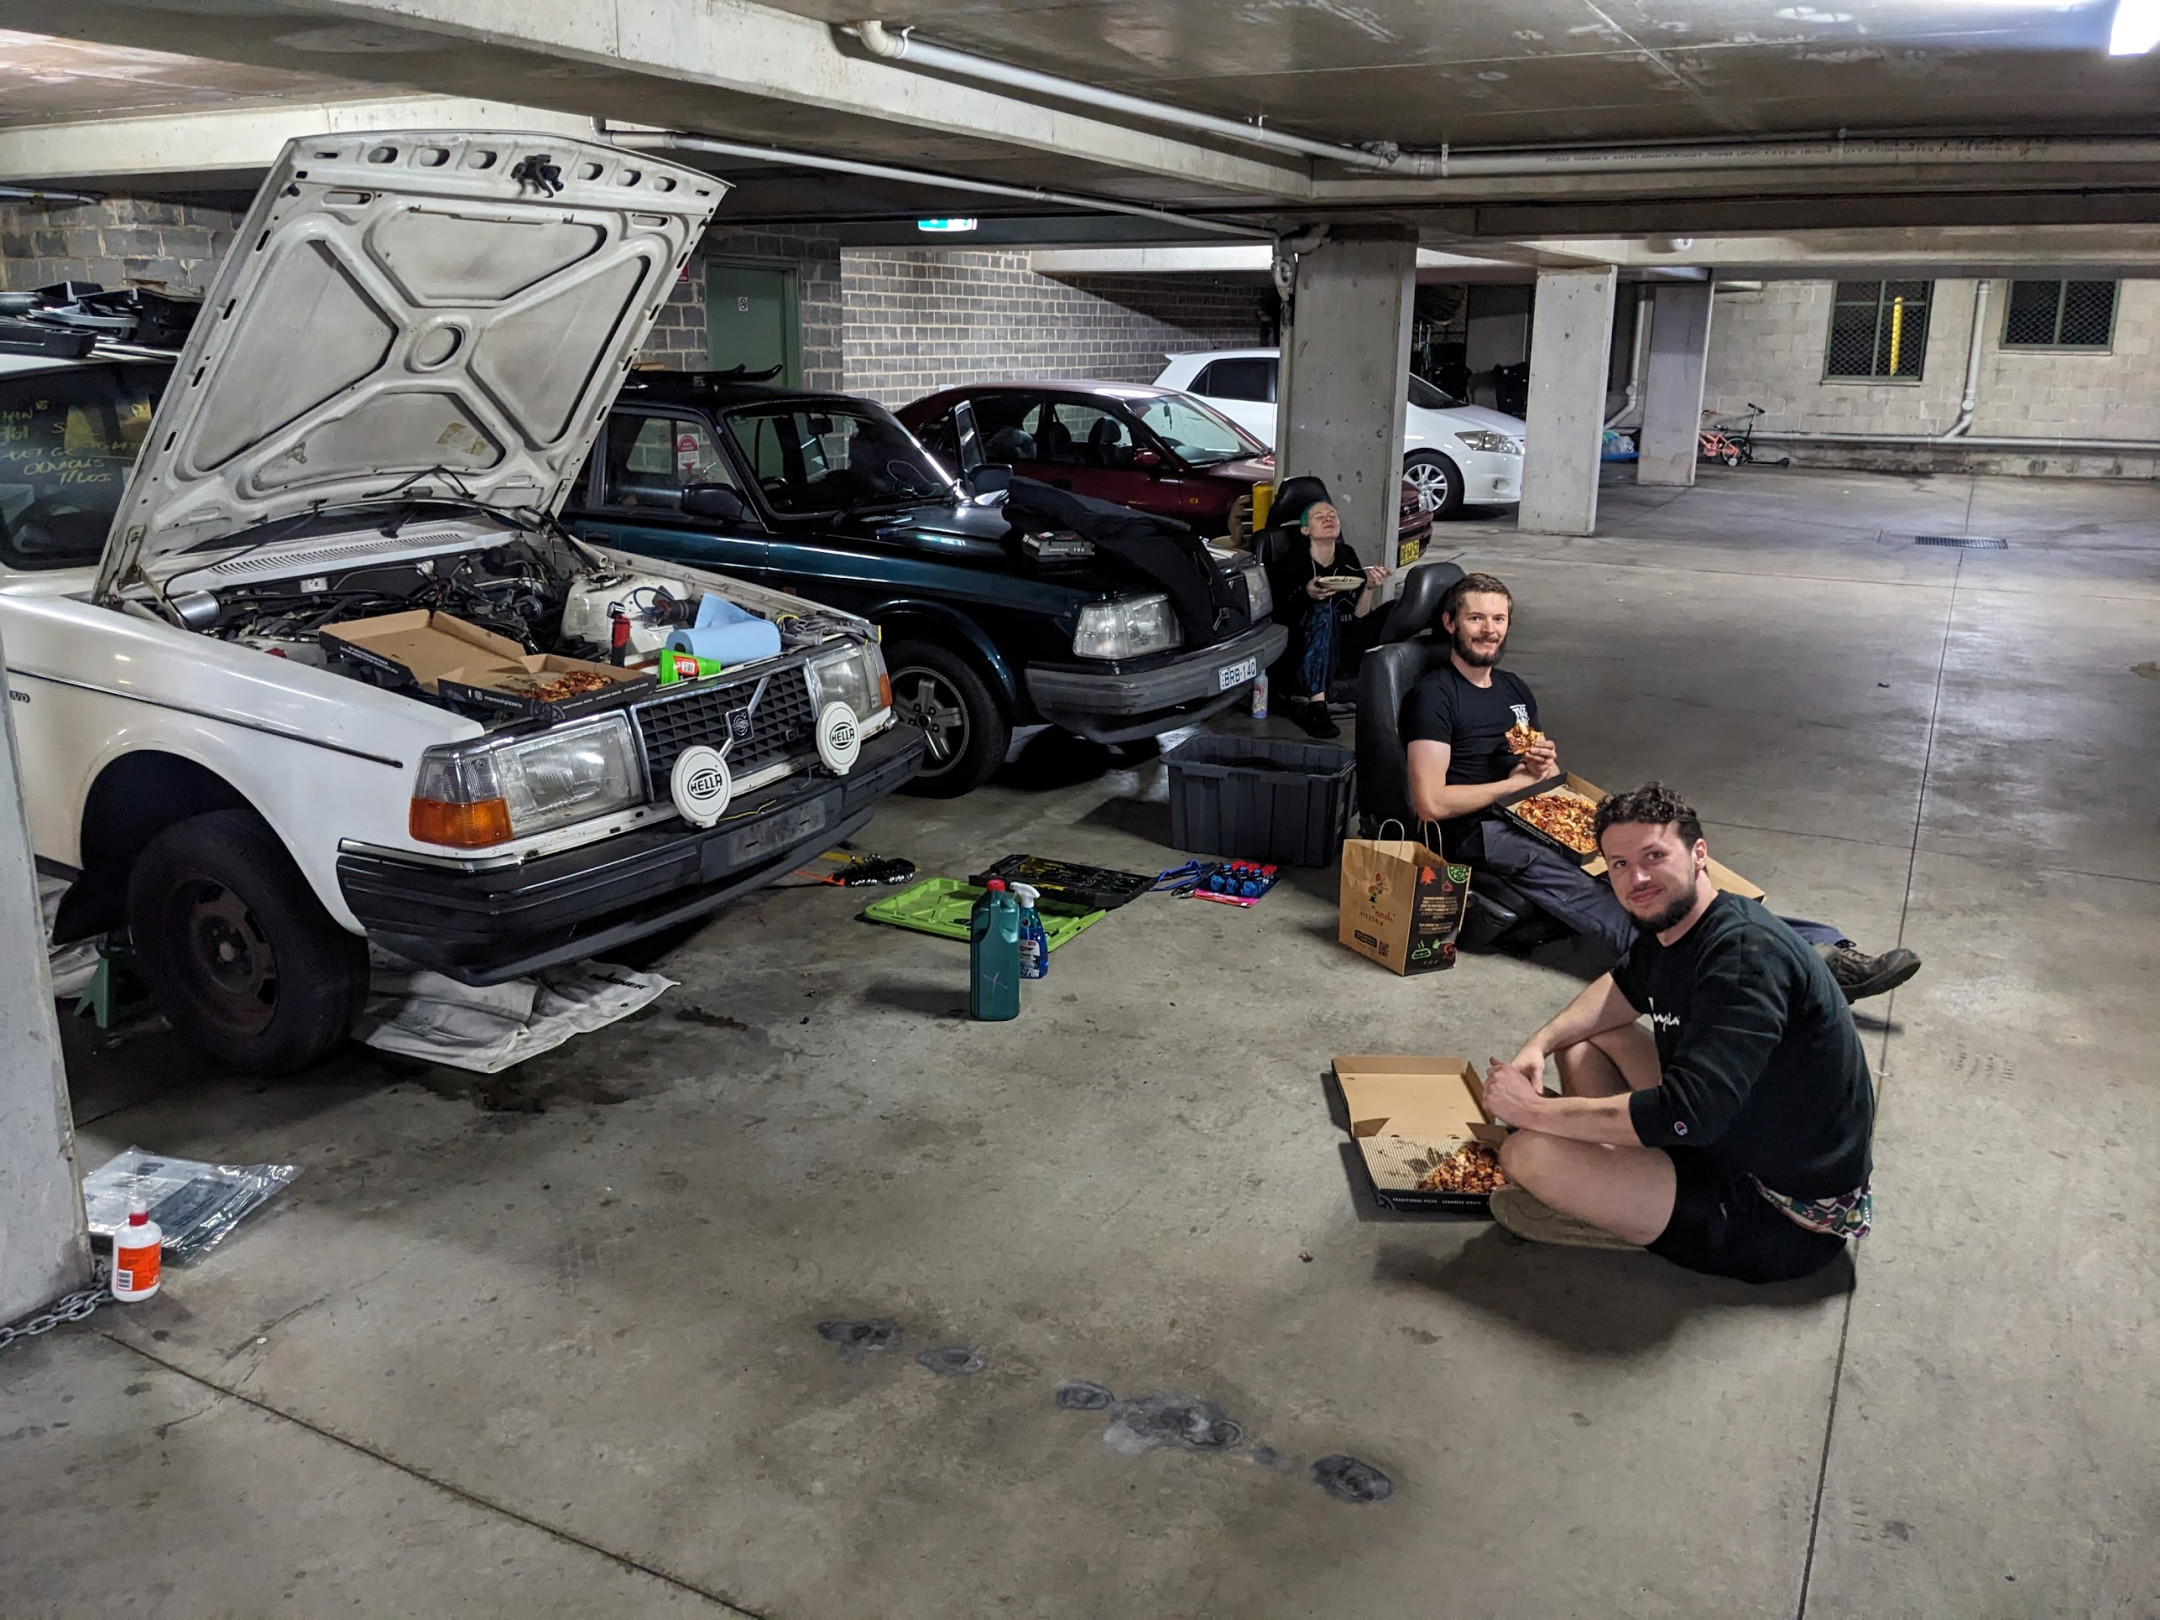
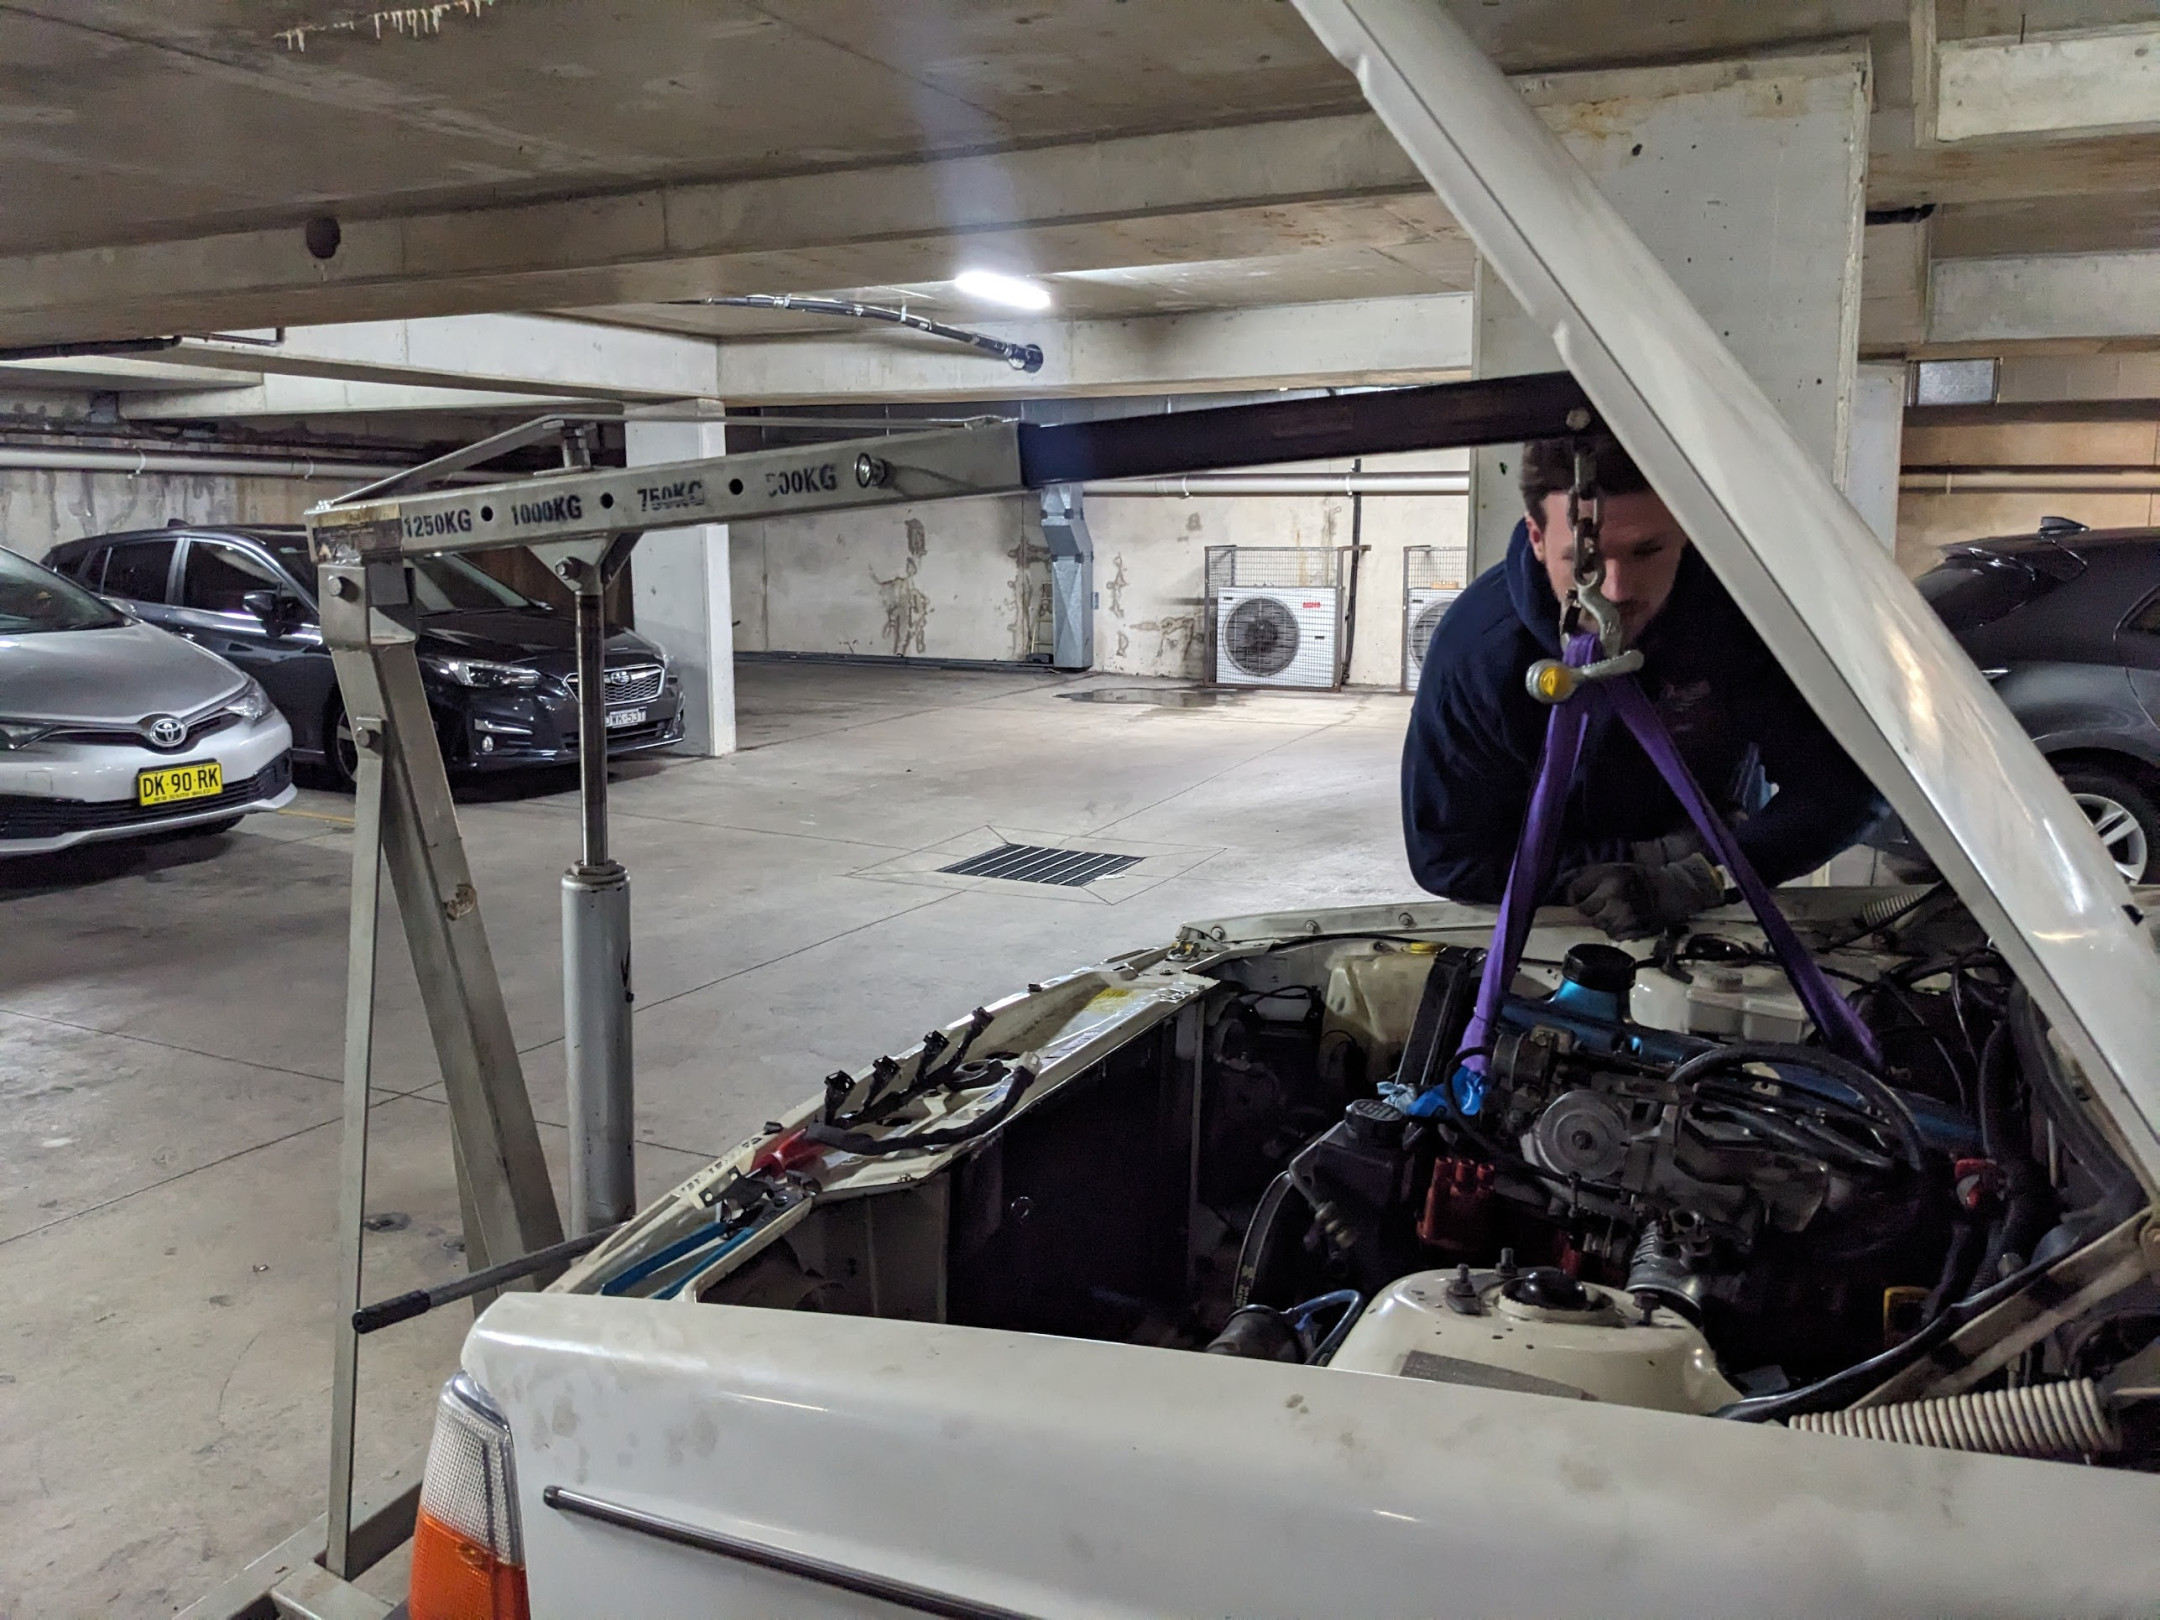
We started Friday night, and by Saturday afternoon it was at home in my workshop. Thanks @Maximus @powder_hound and @VolvoHordz for all the help!

Image description

While Max and I worked on the mechanicals, Brendan and Nina got stuck into the interior. We are moving the blue interior from Billie (which ironically is originally also from a '92 240) into Crowley, along with the S40 seats we ran in Billie. Brendan did a heap of work swapping the interior just so he could get some seatbelt hardware.

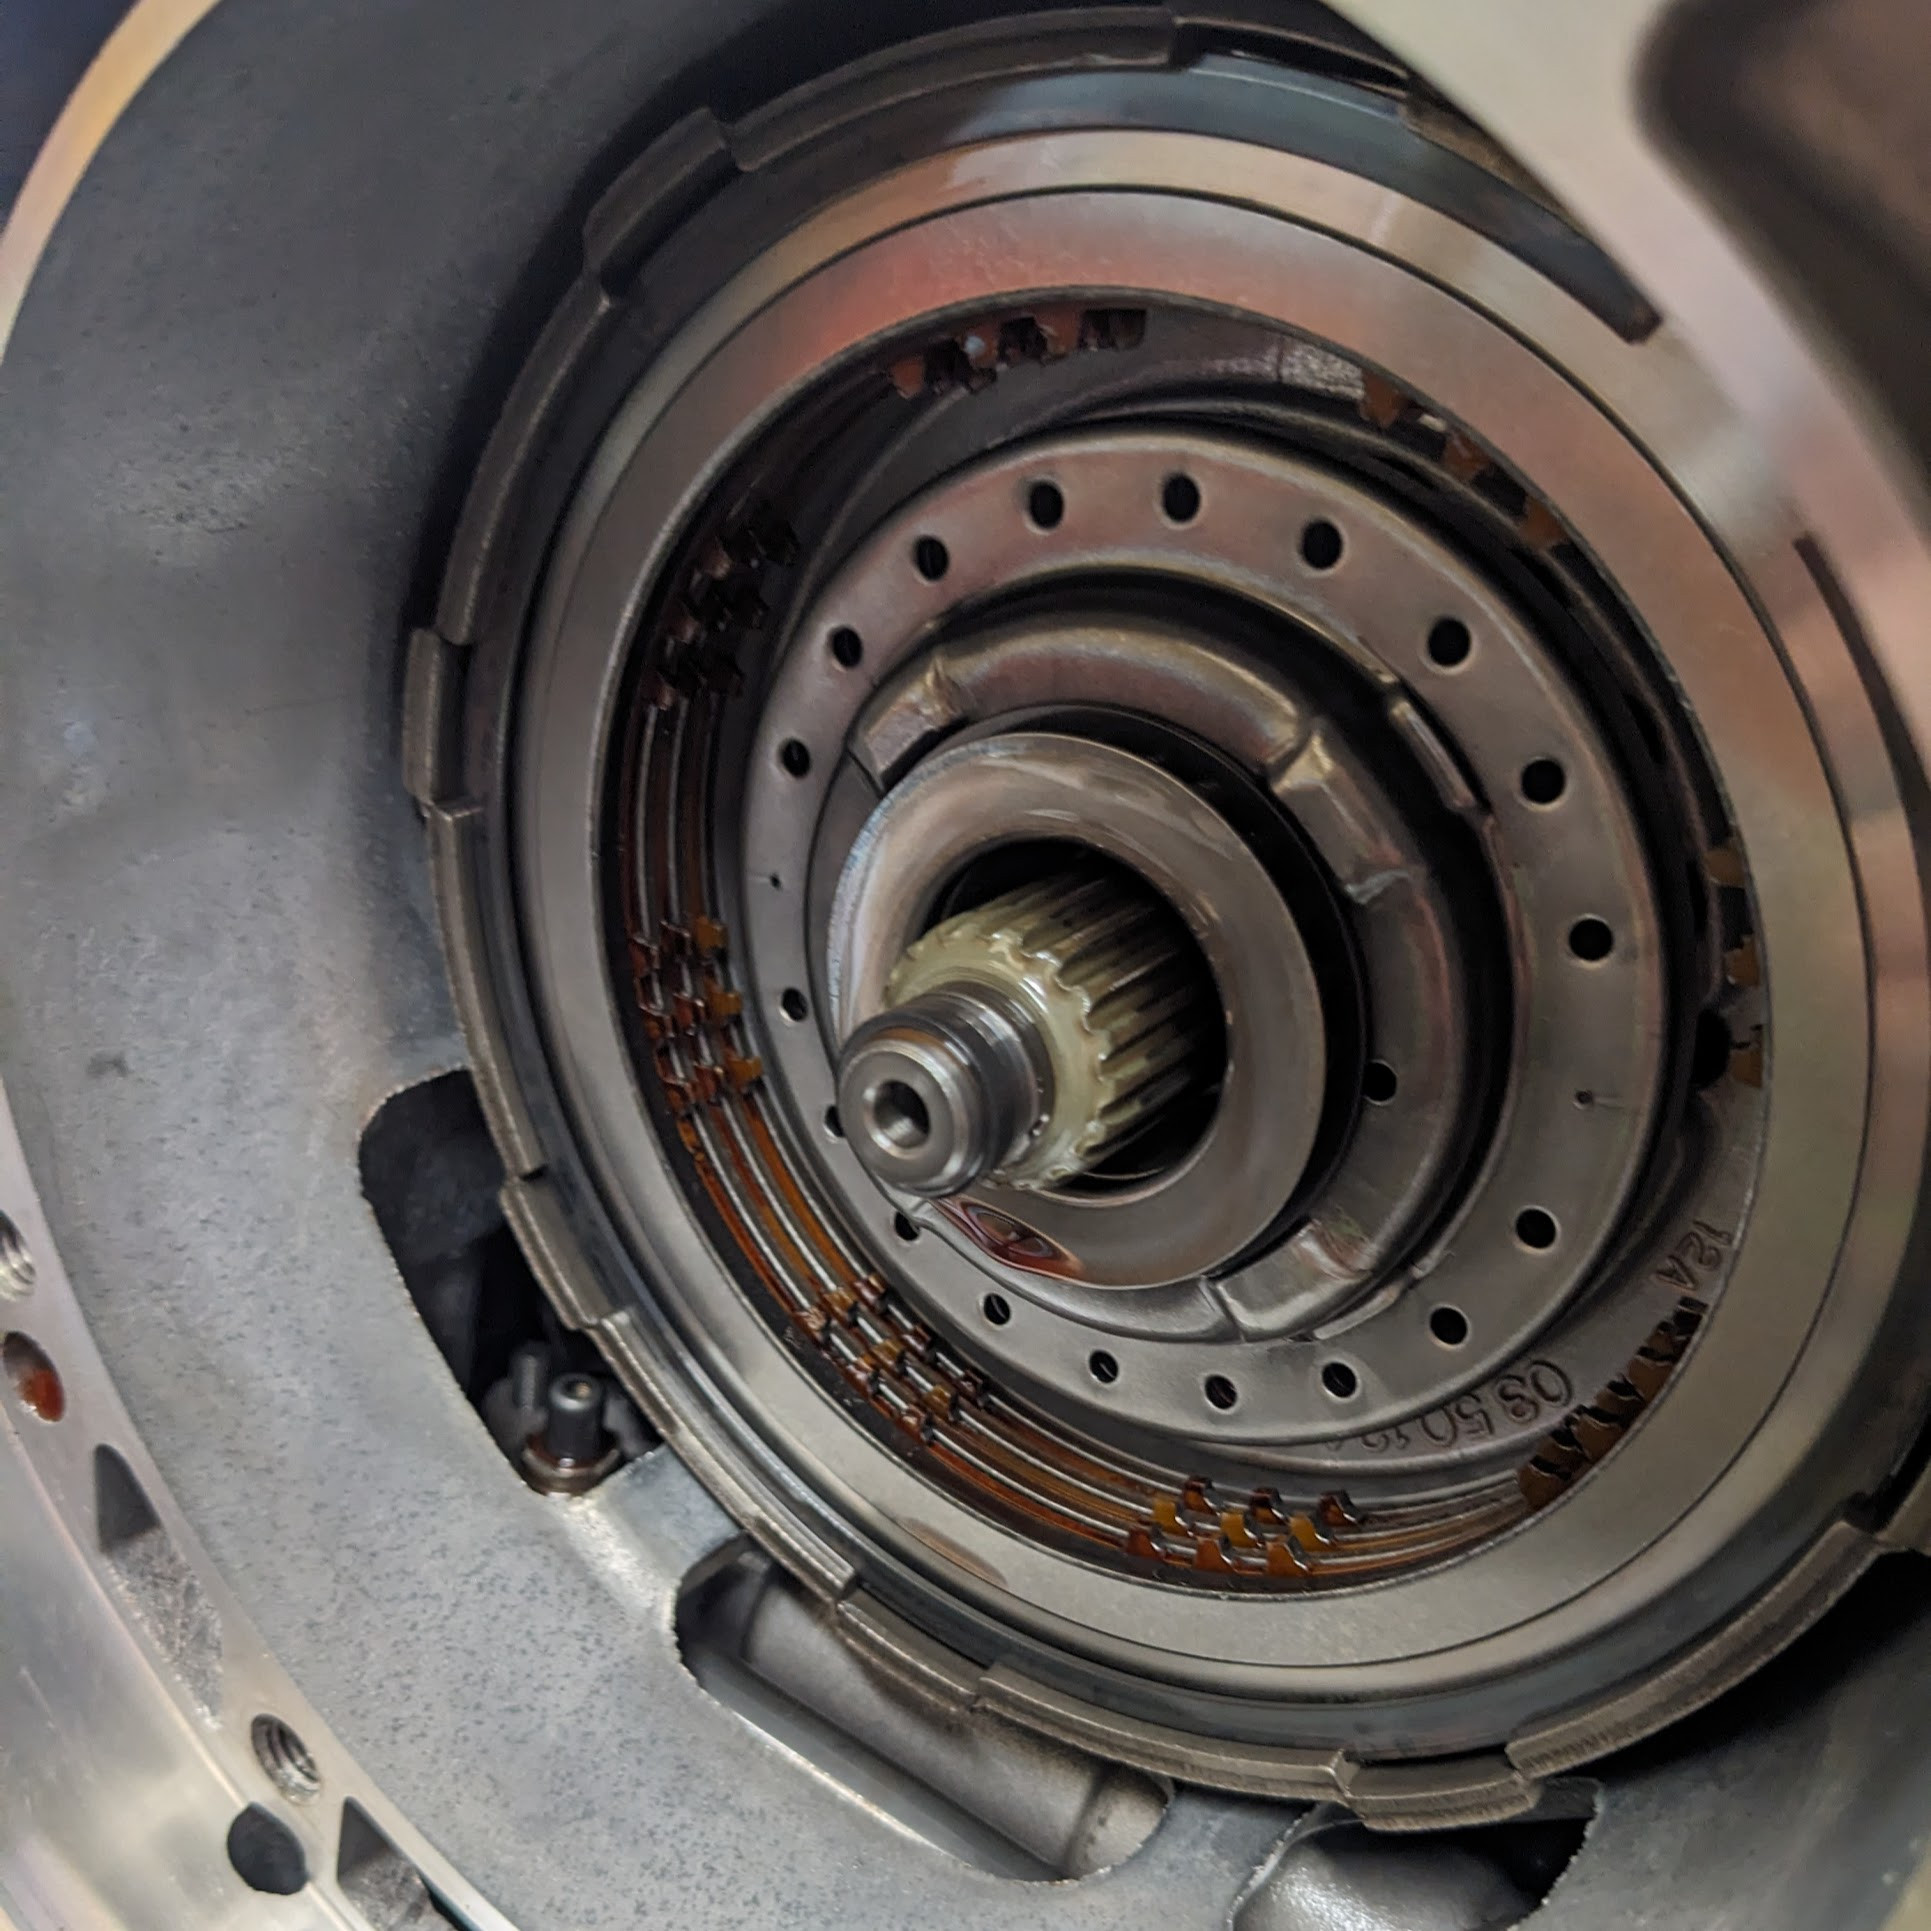
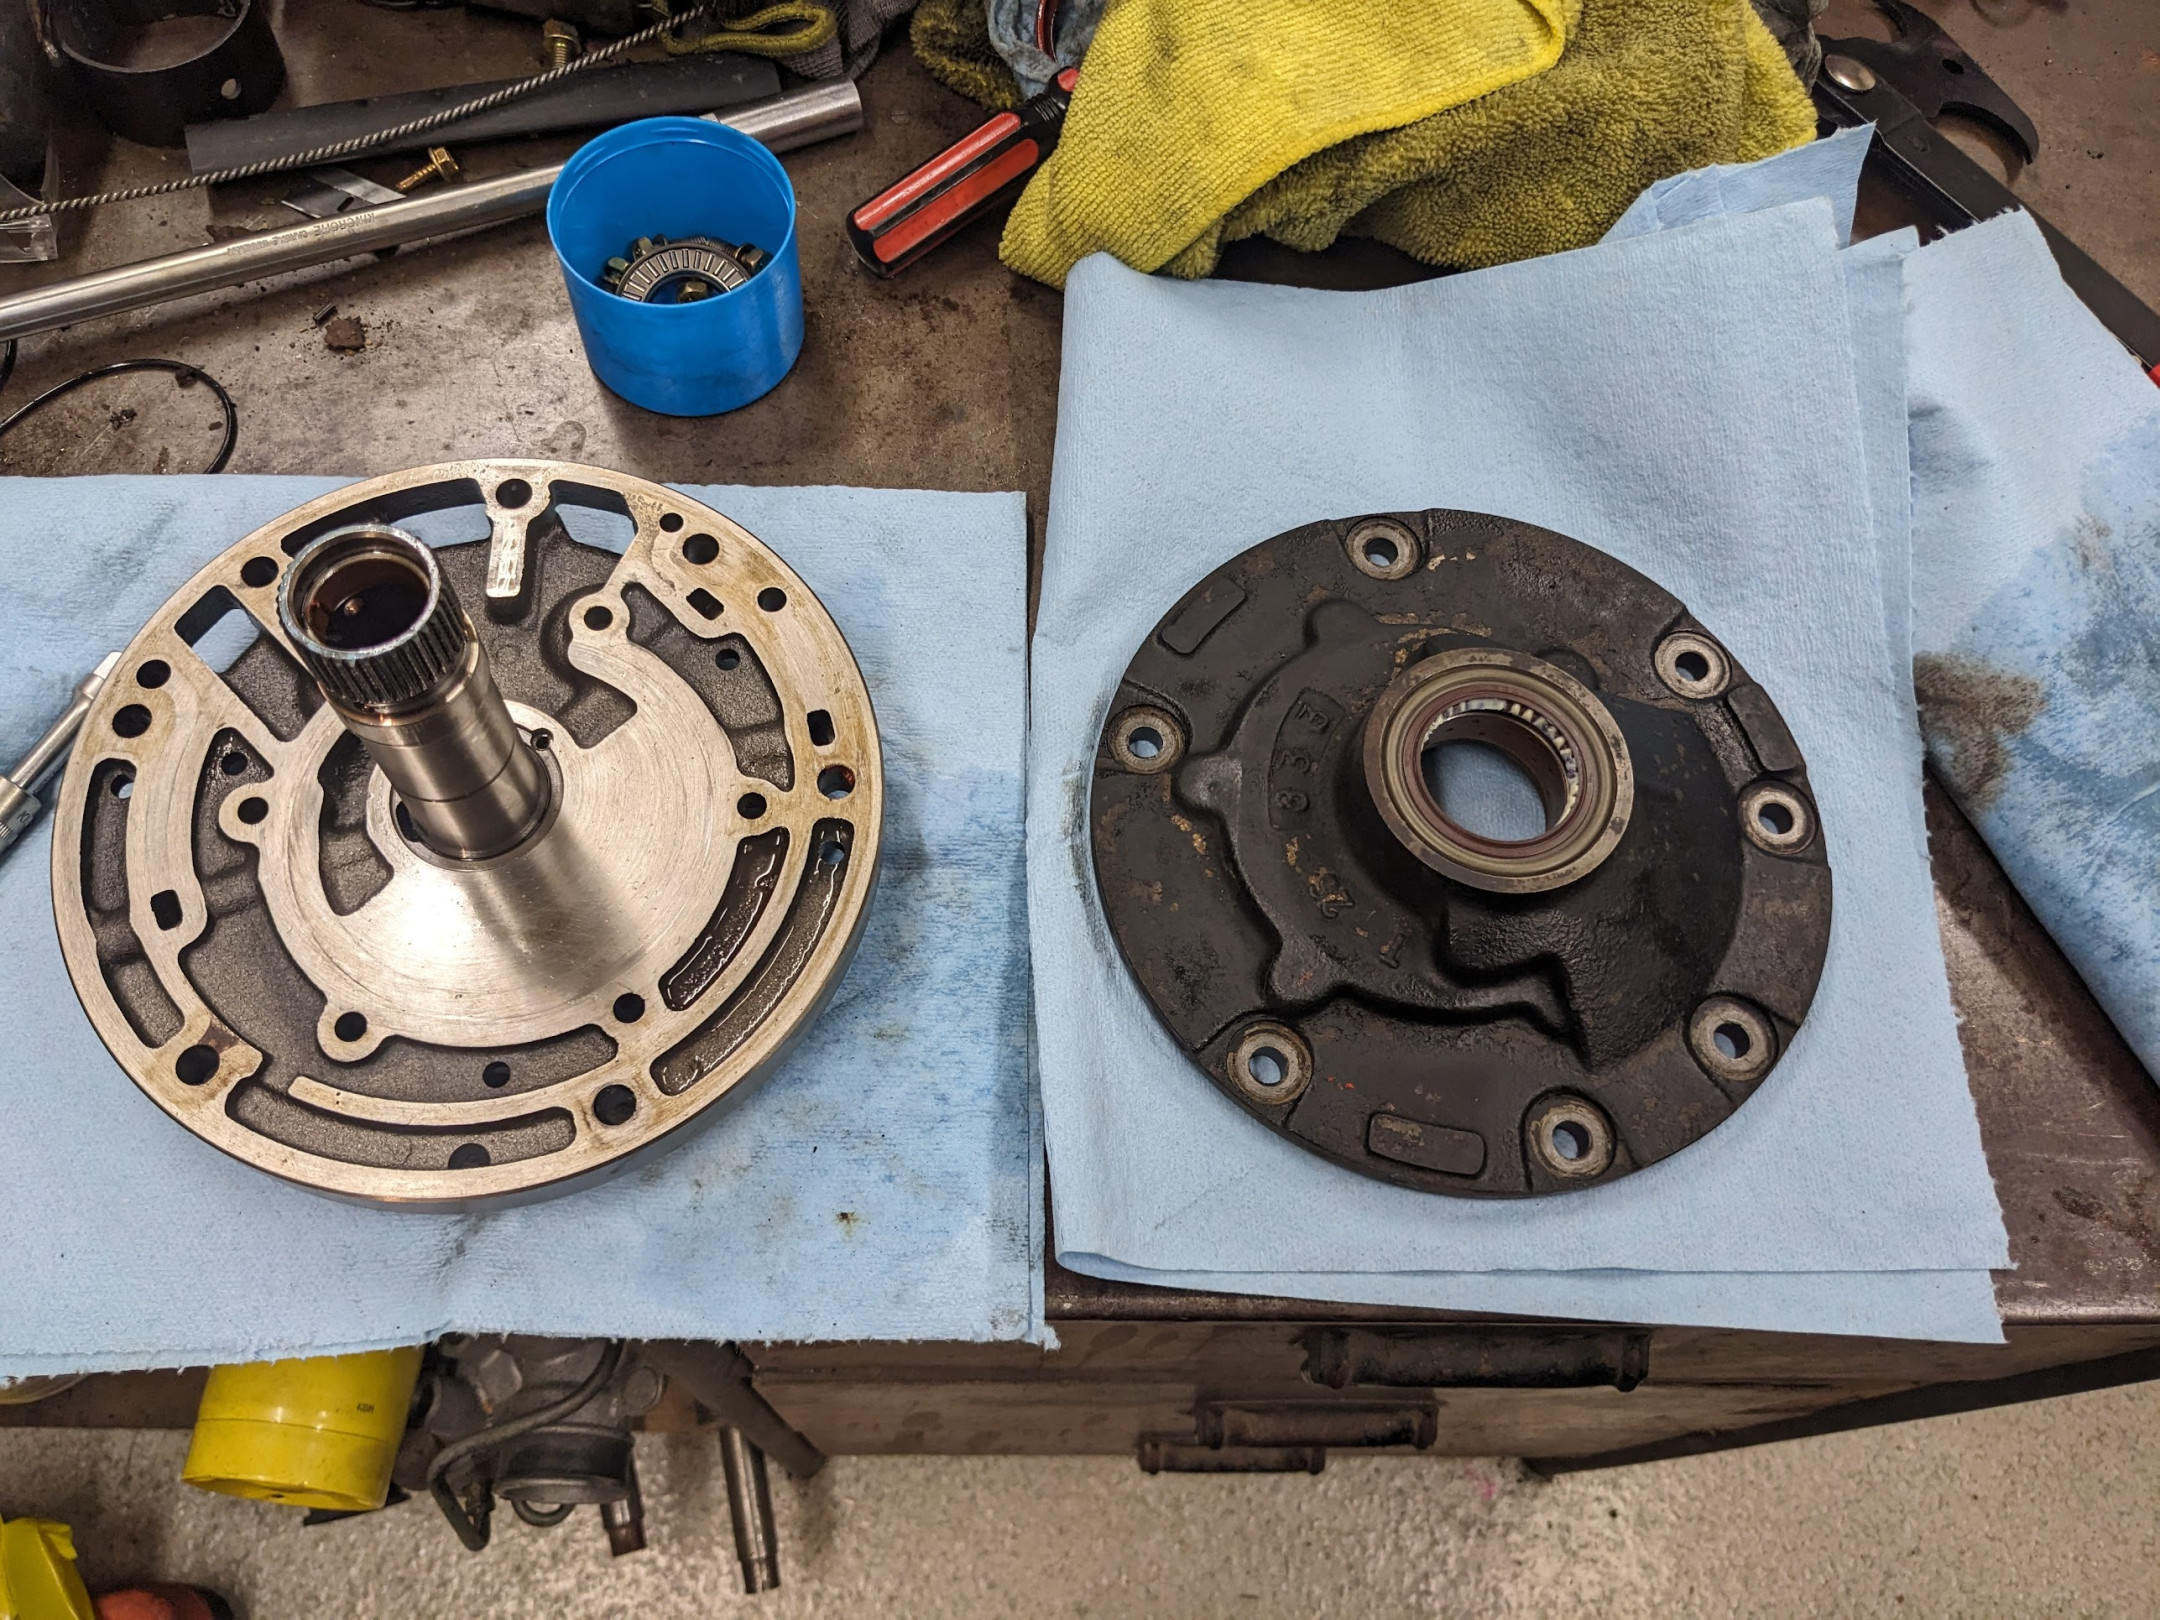
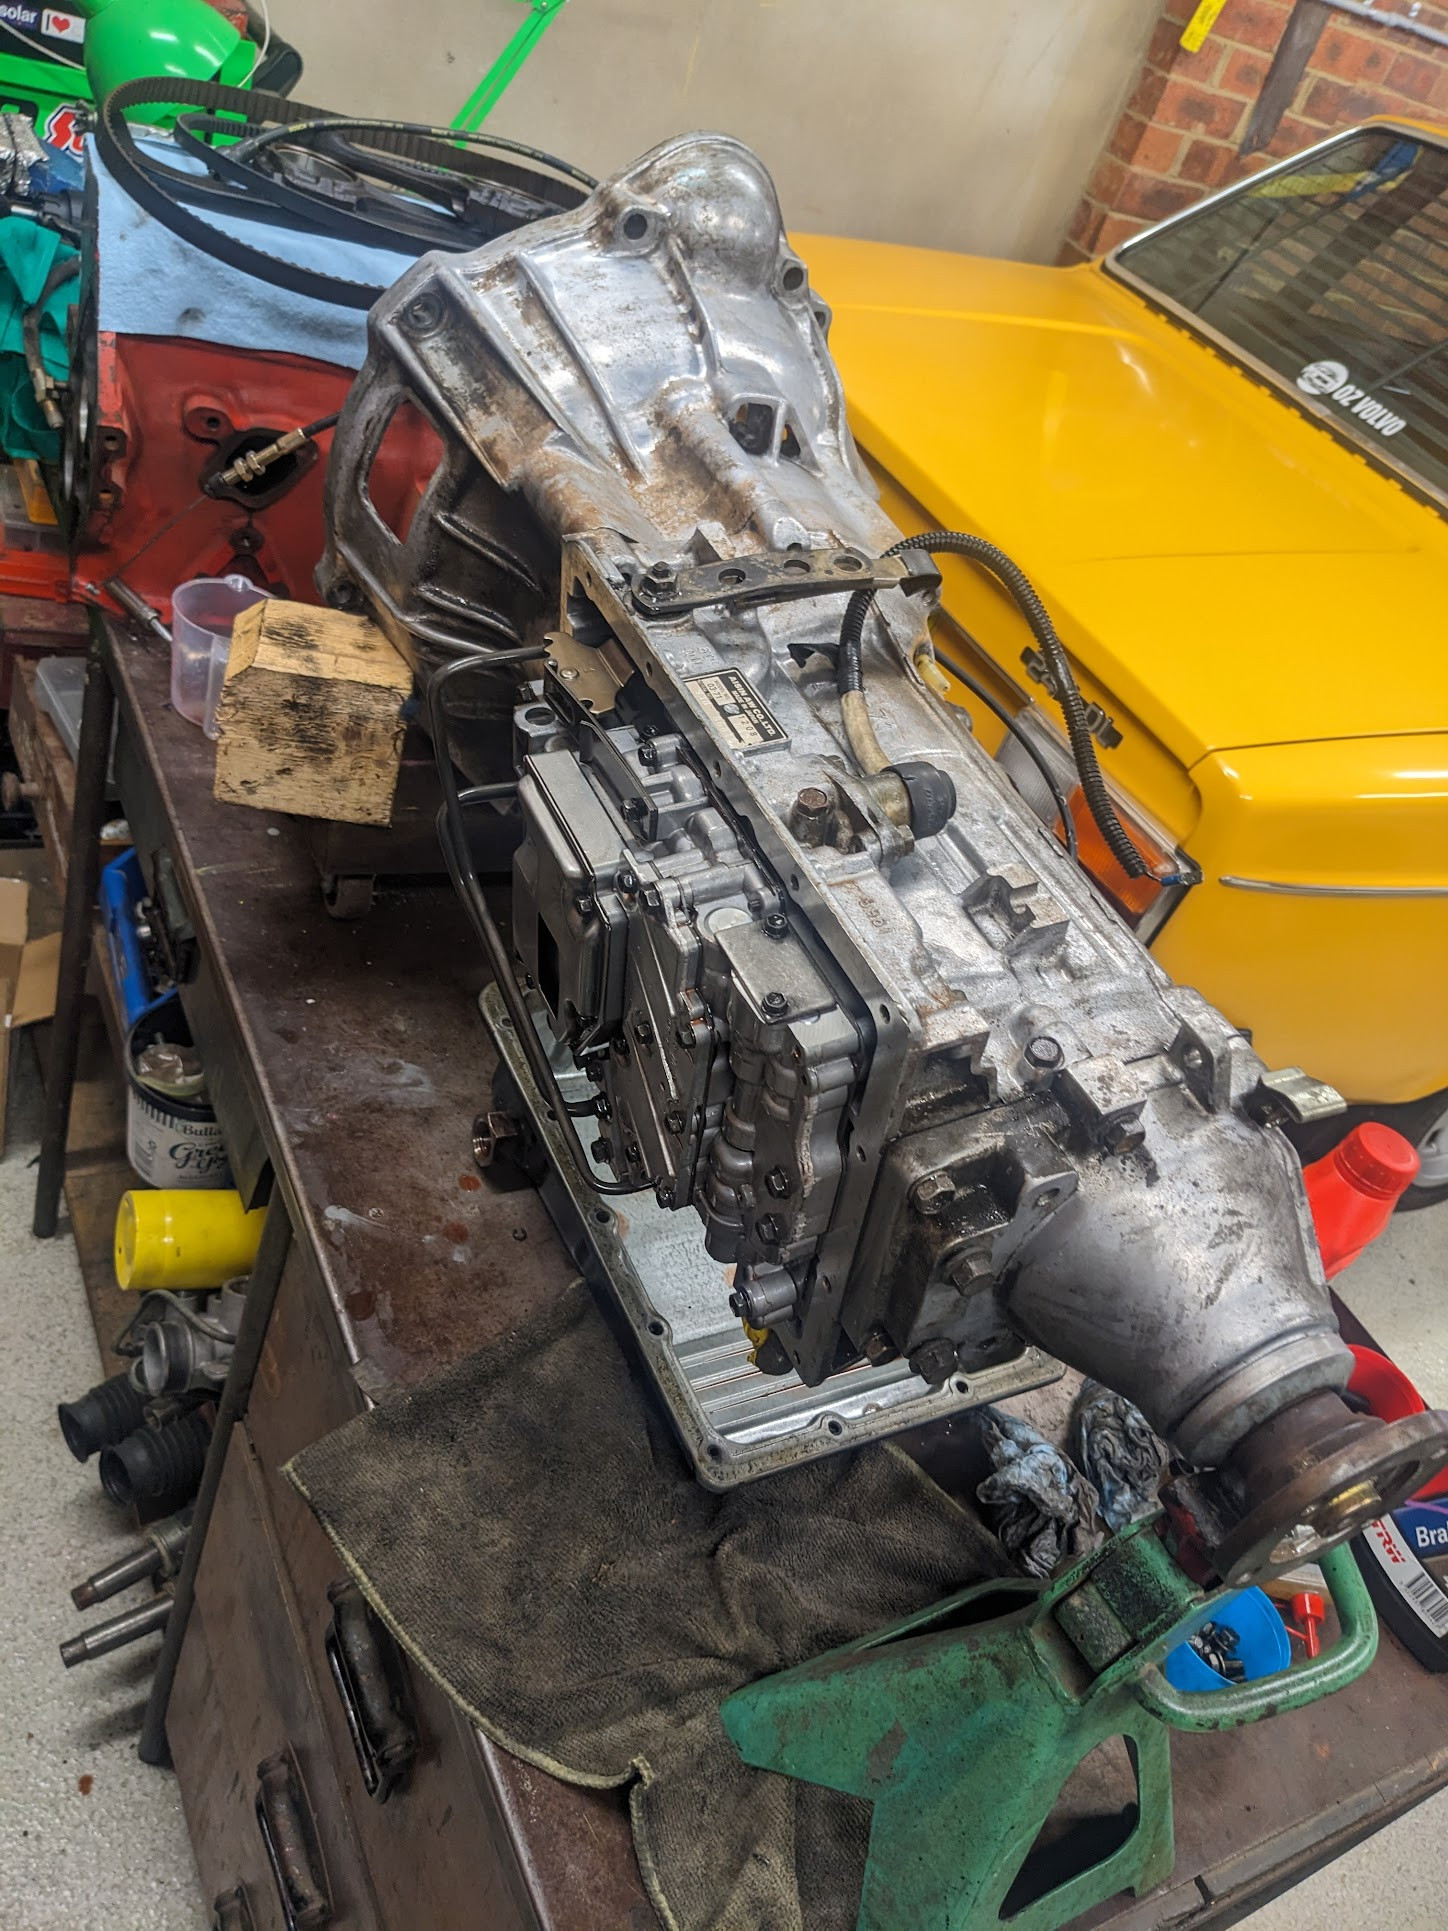
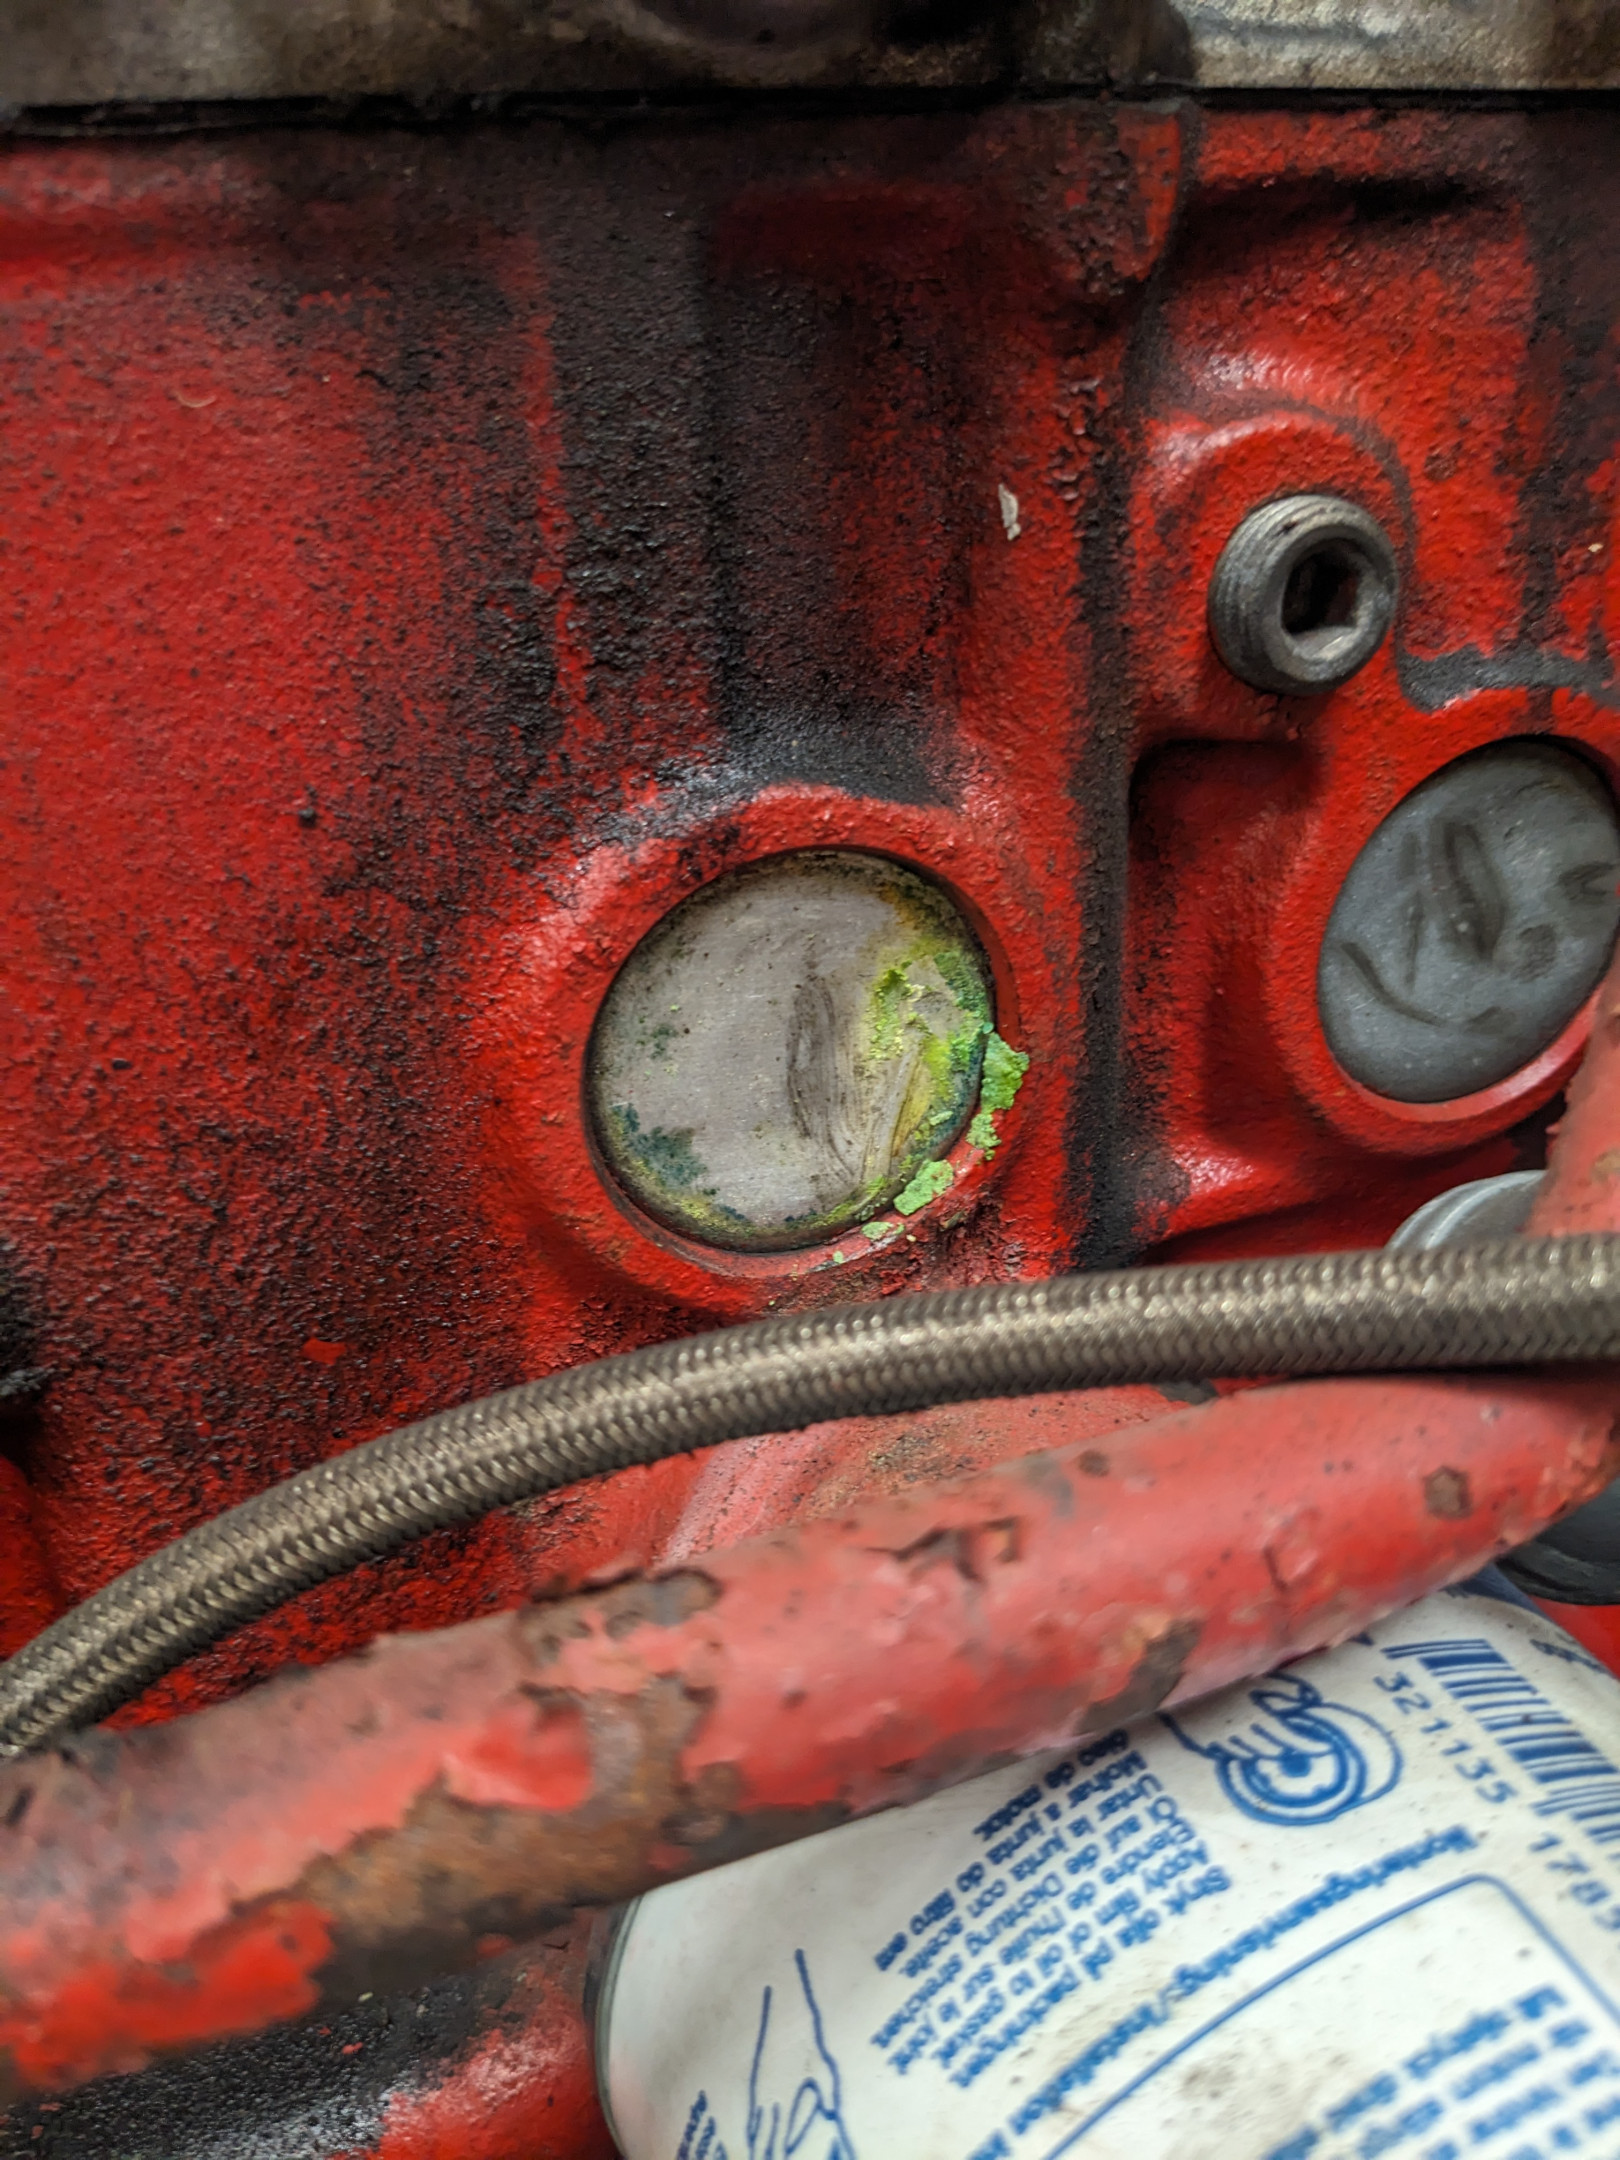
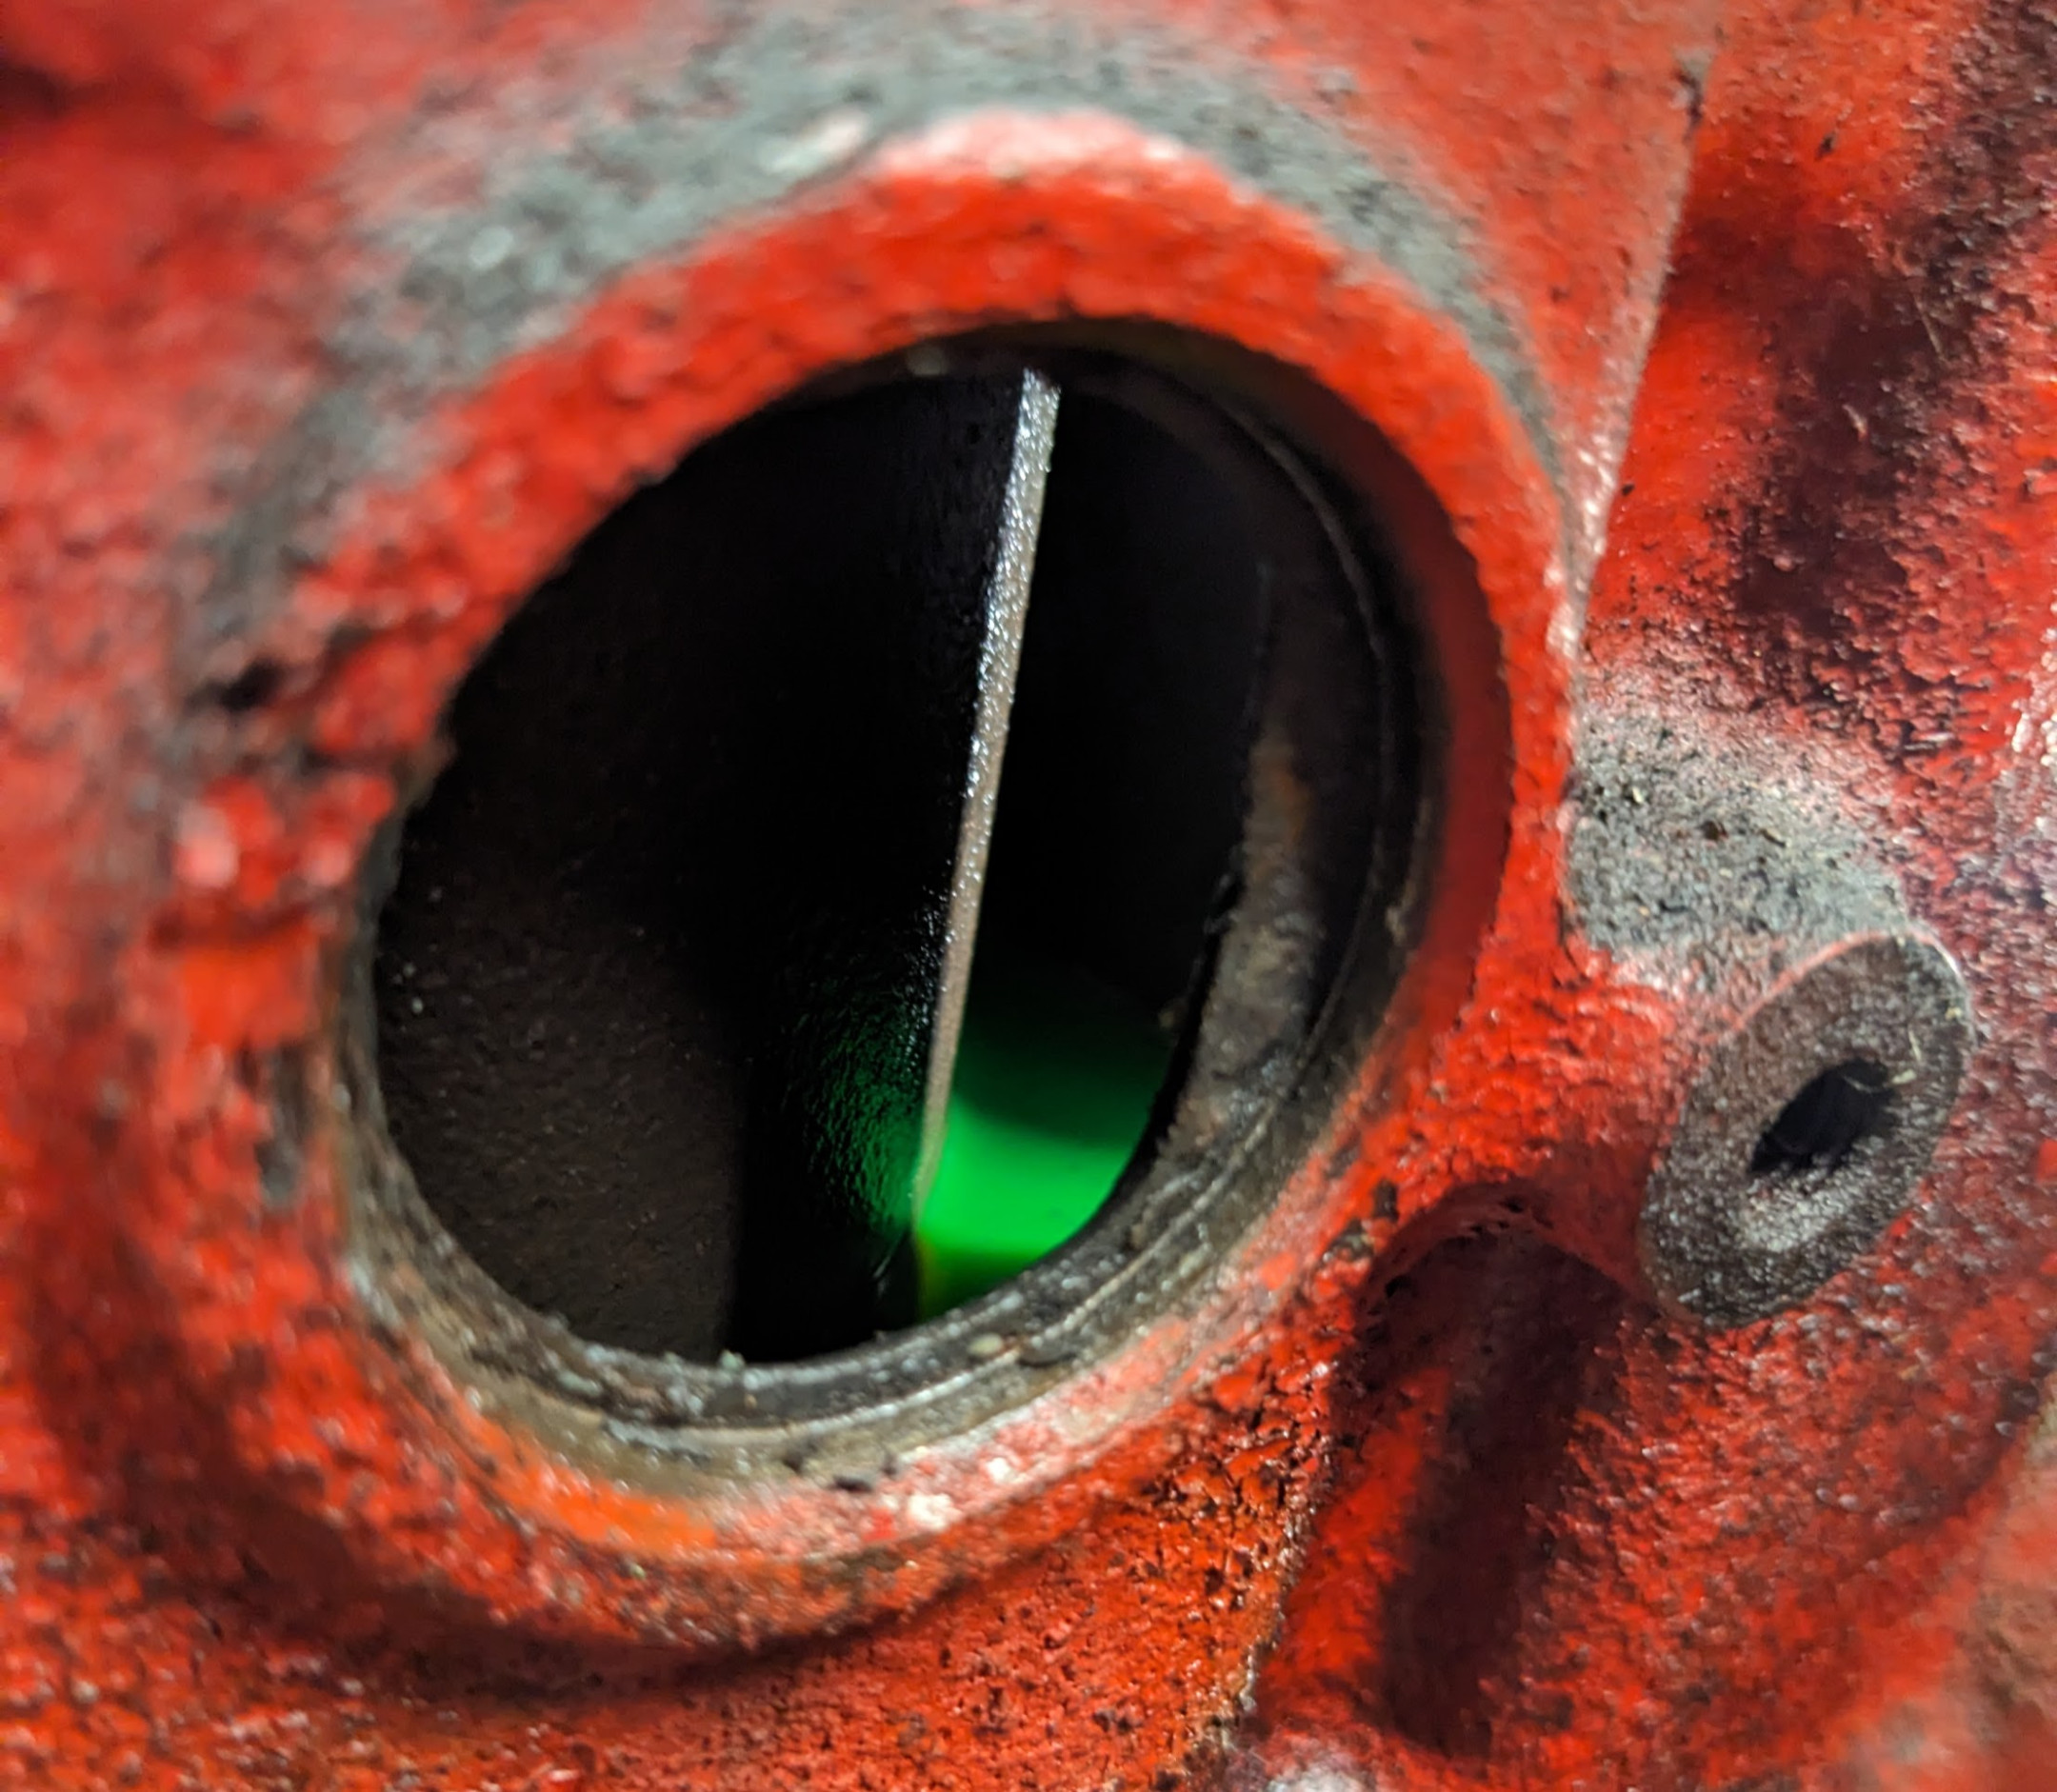
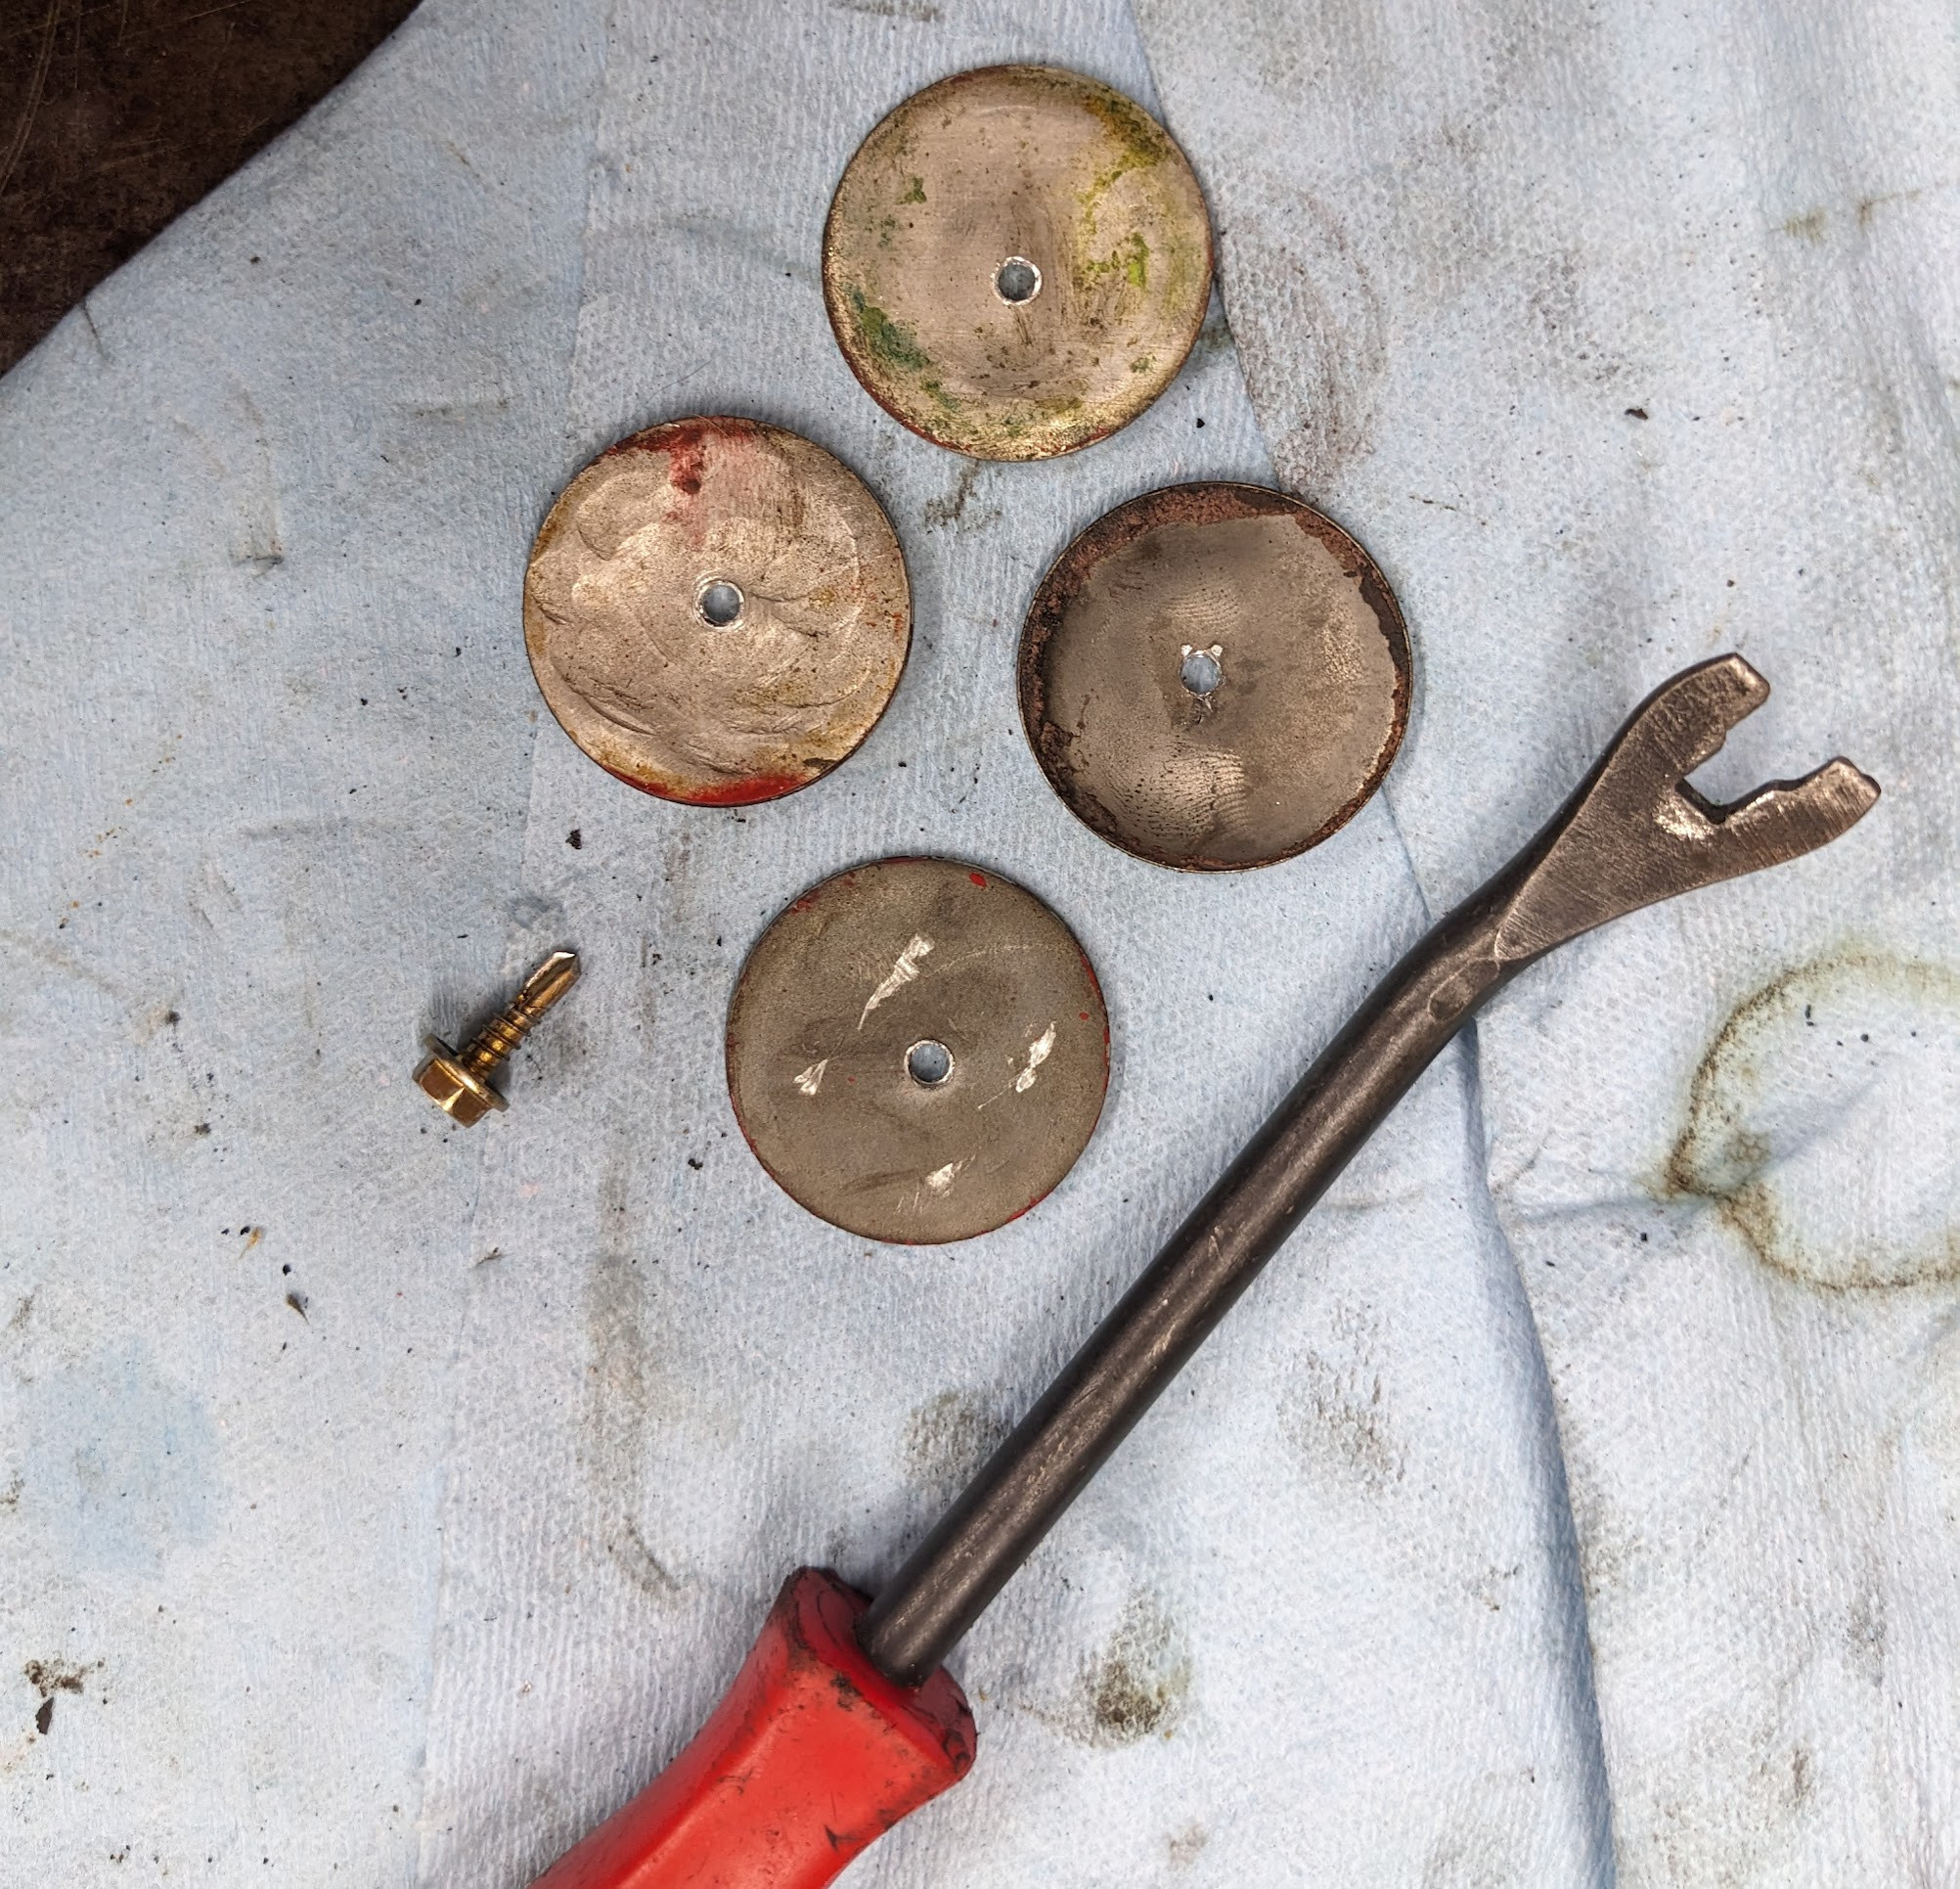
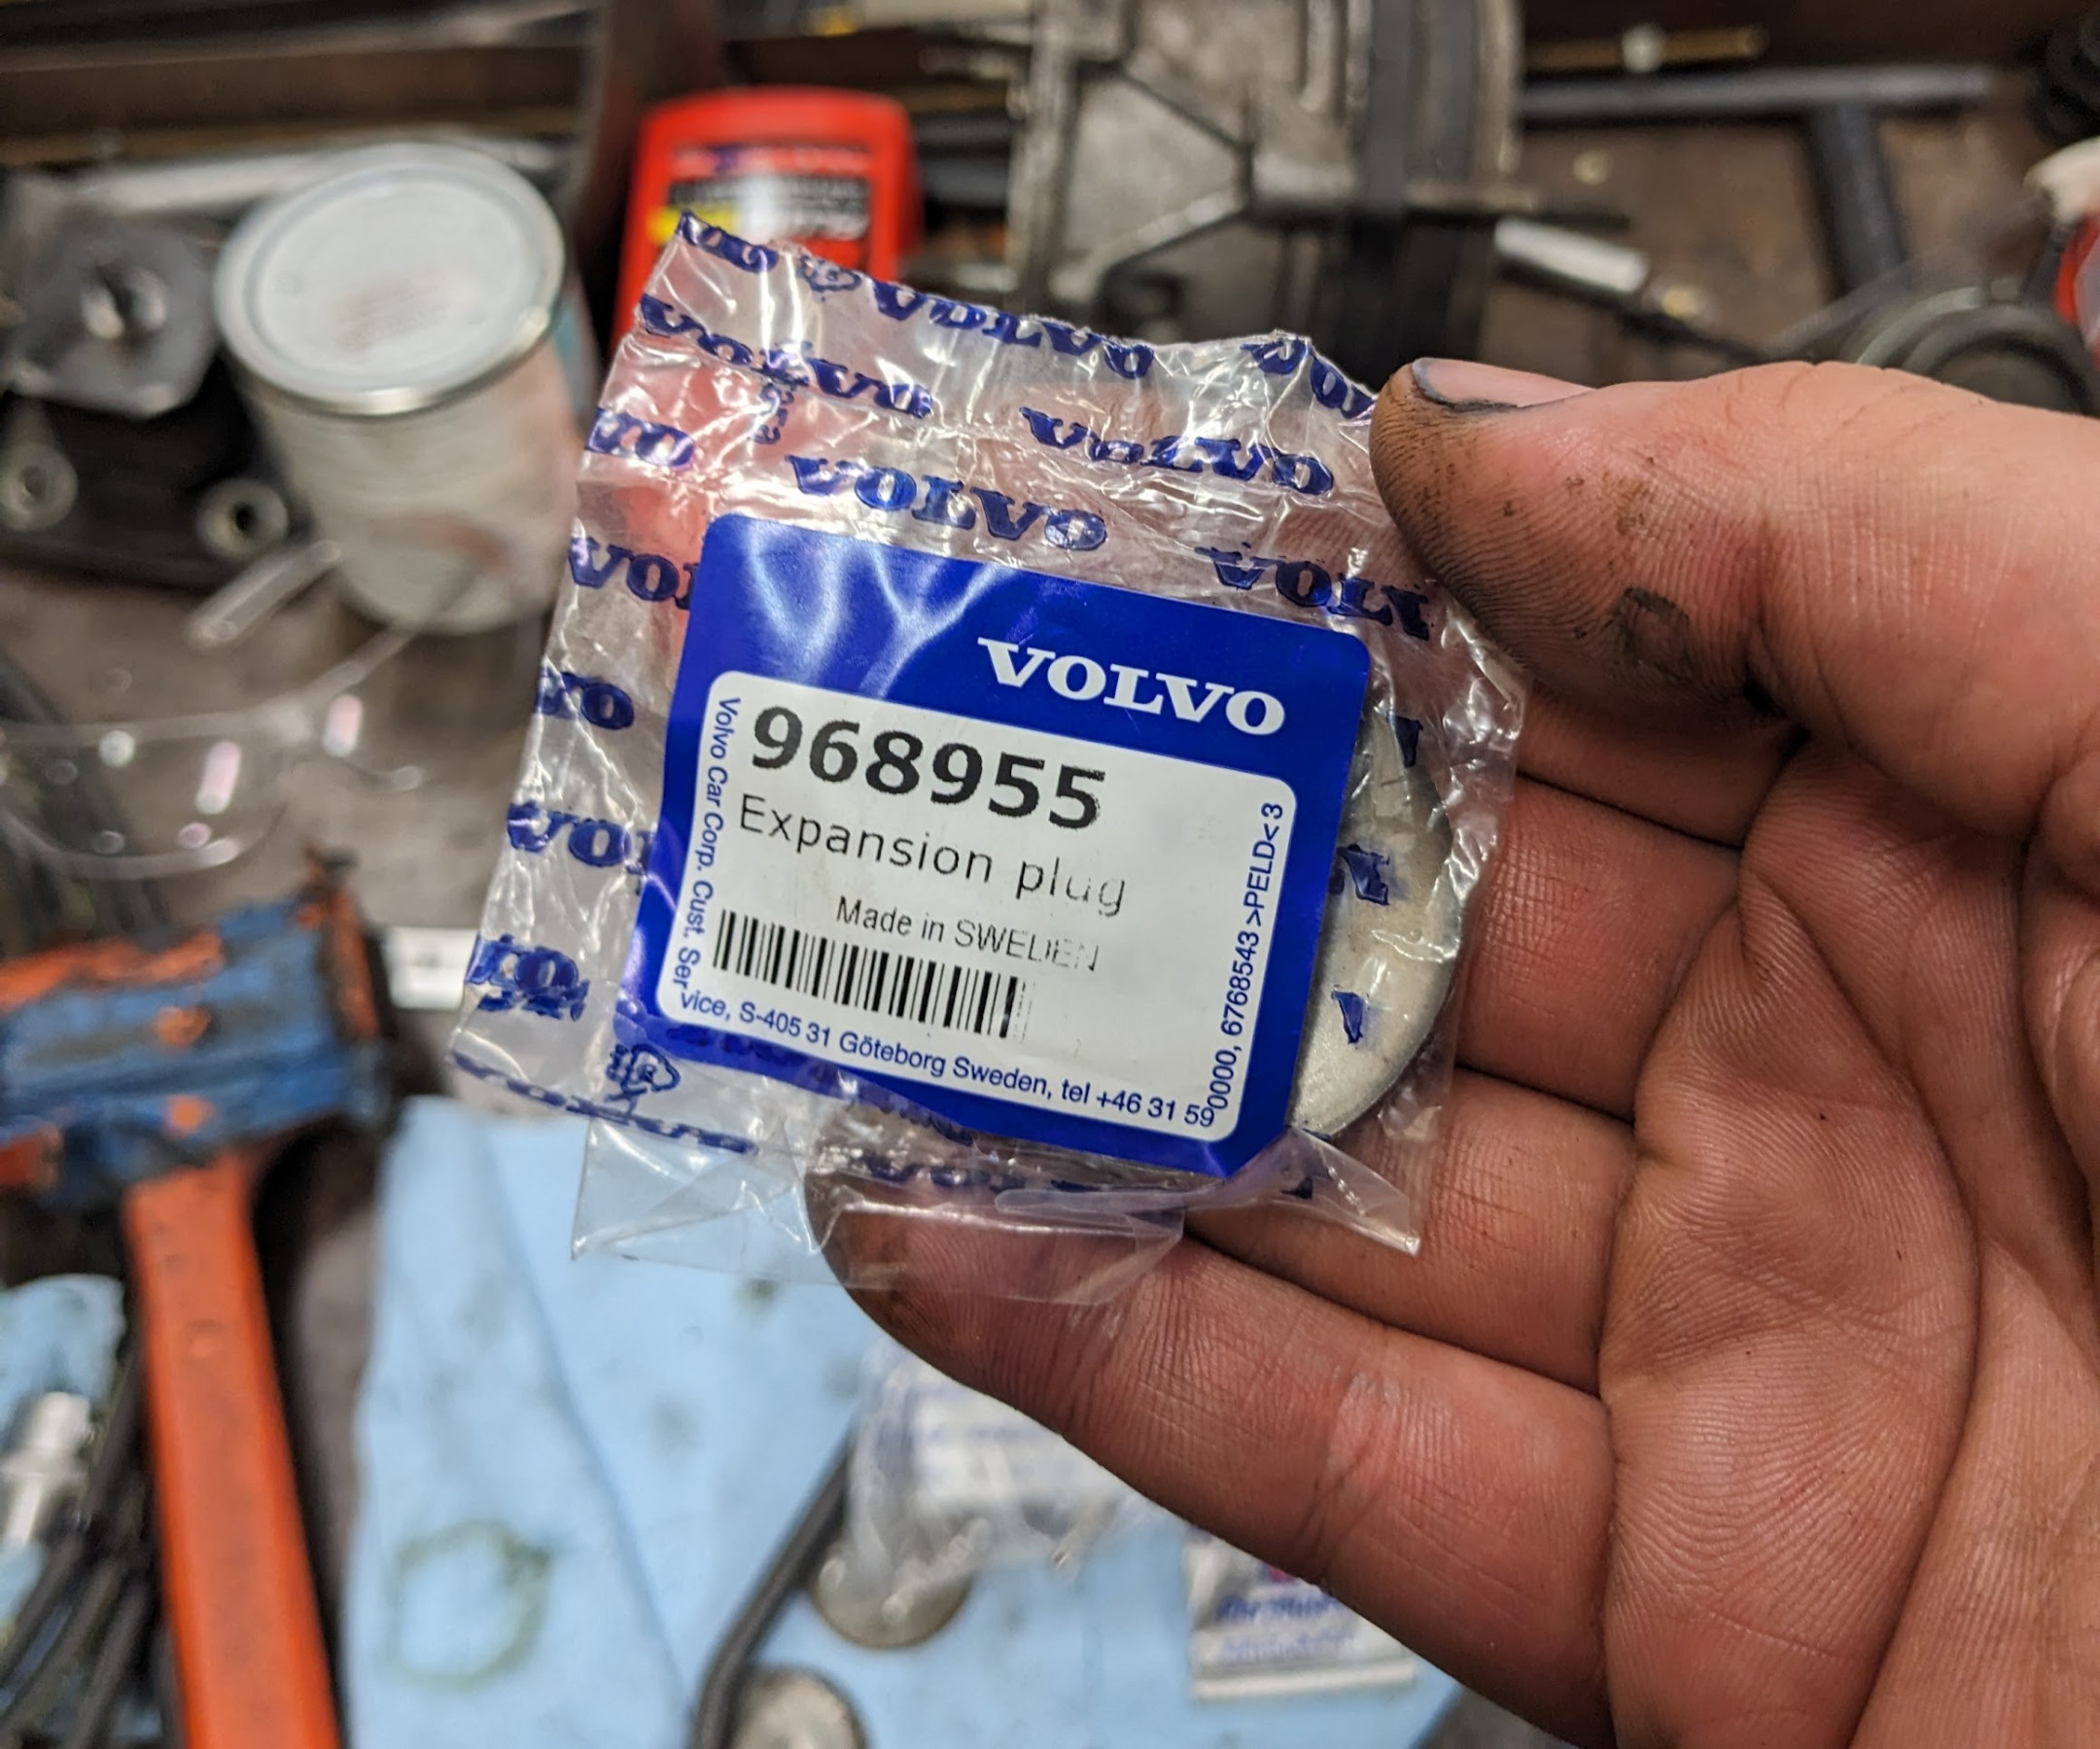
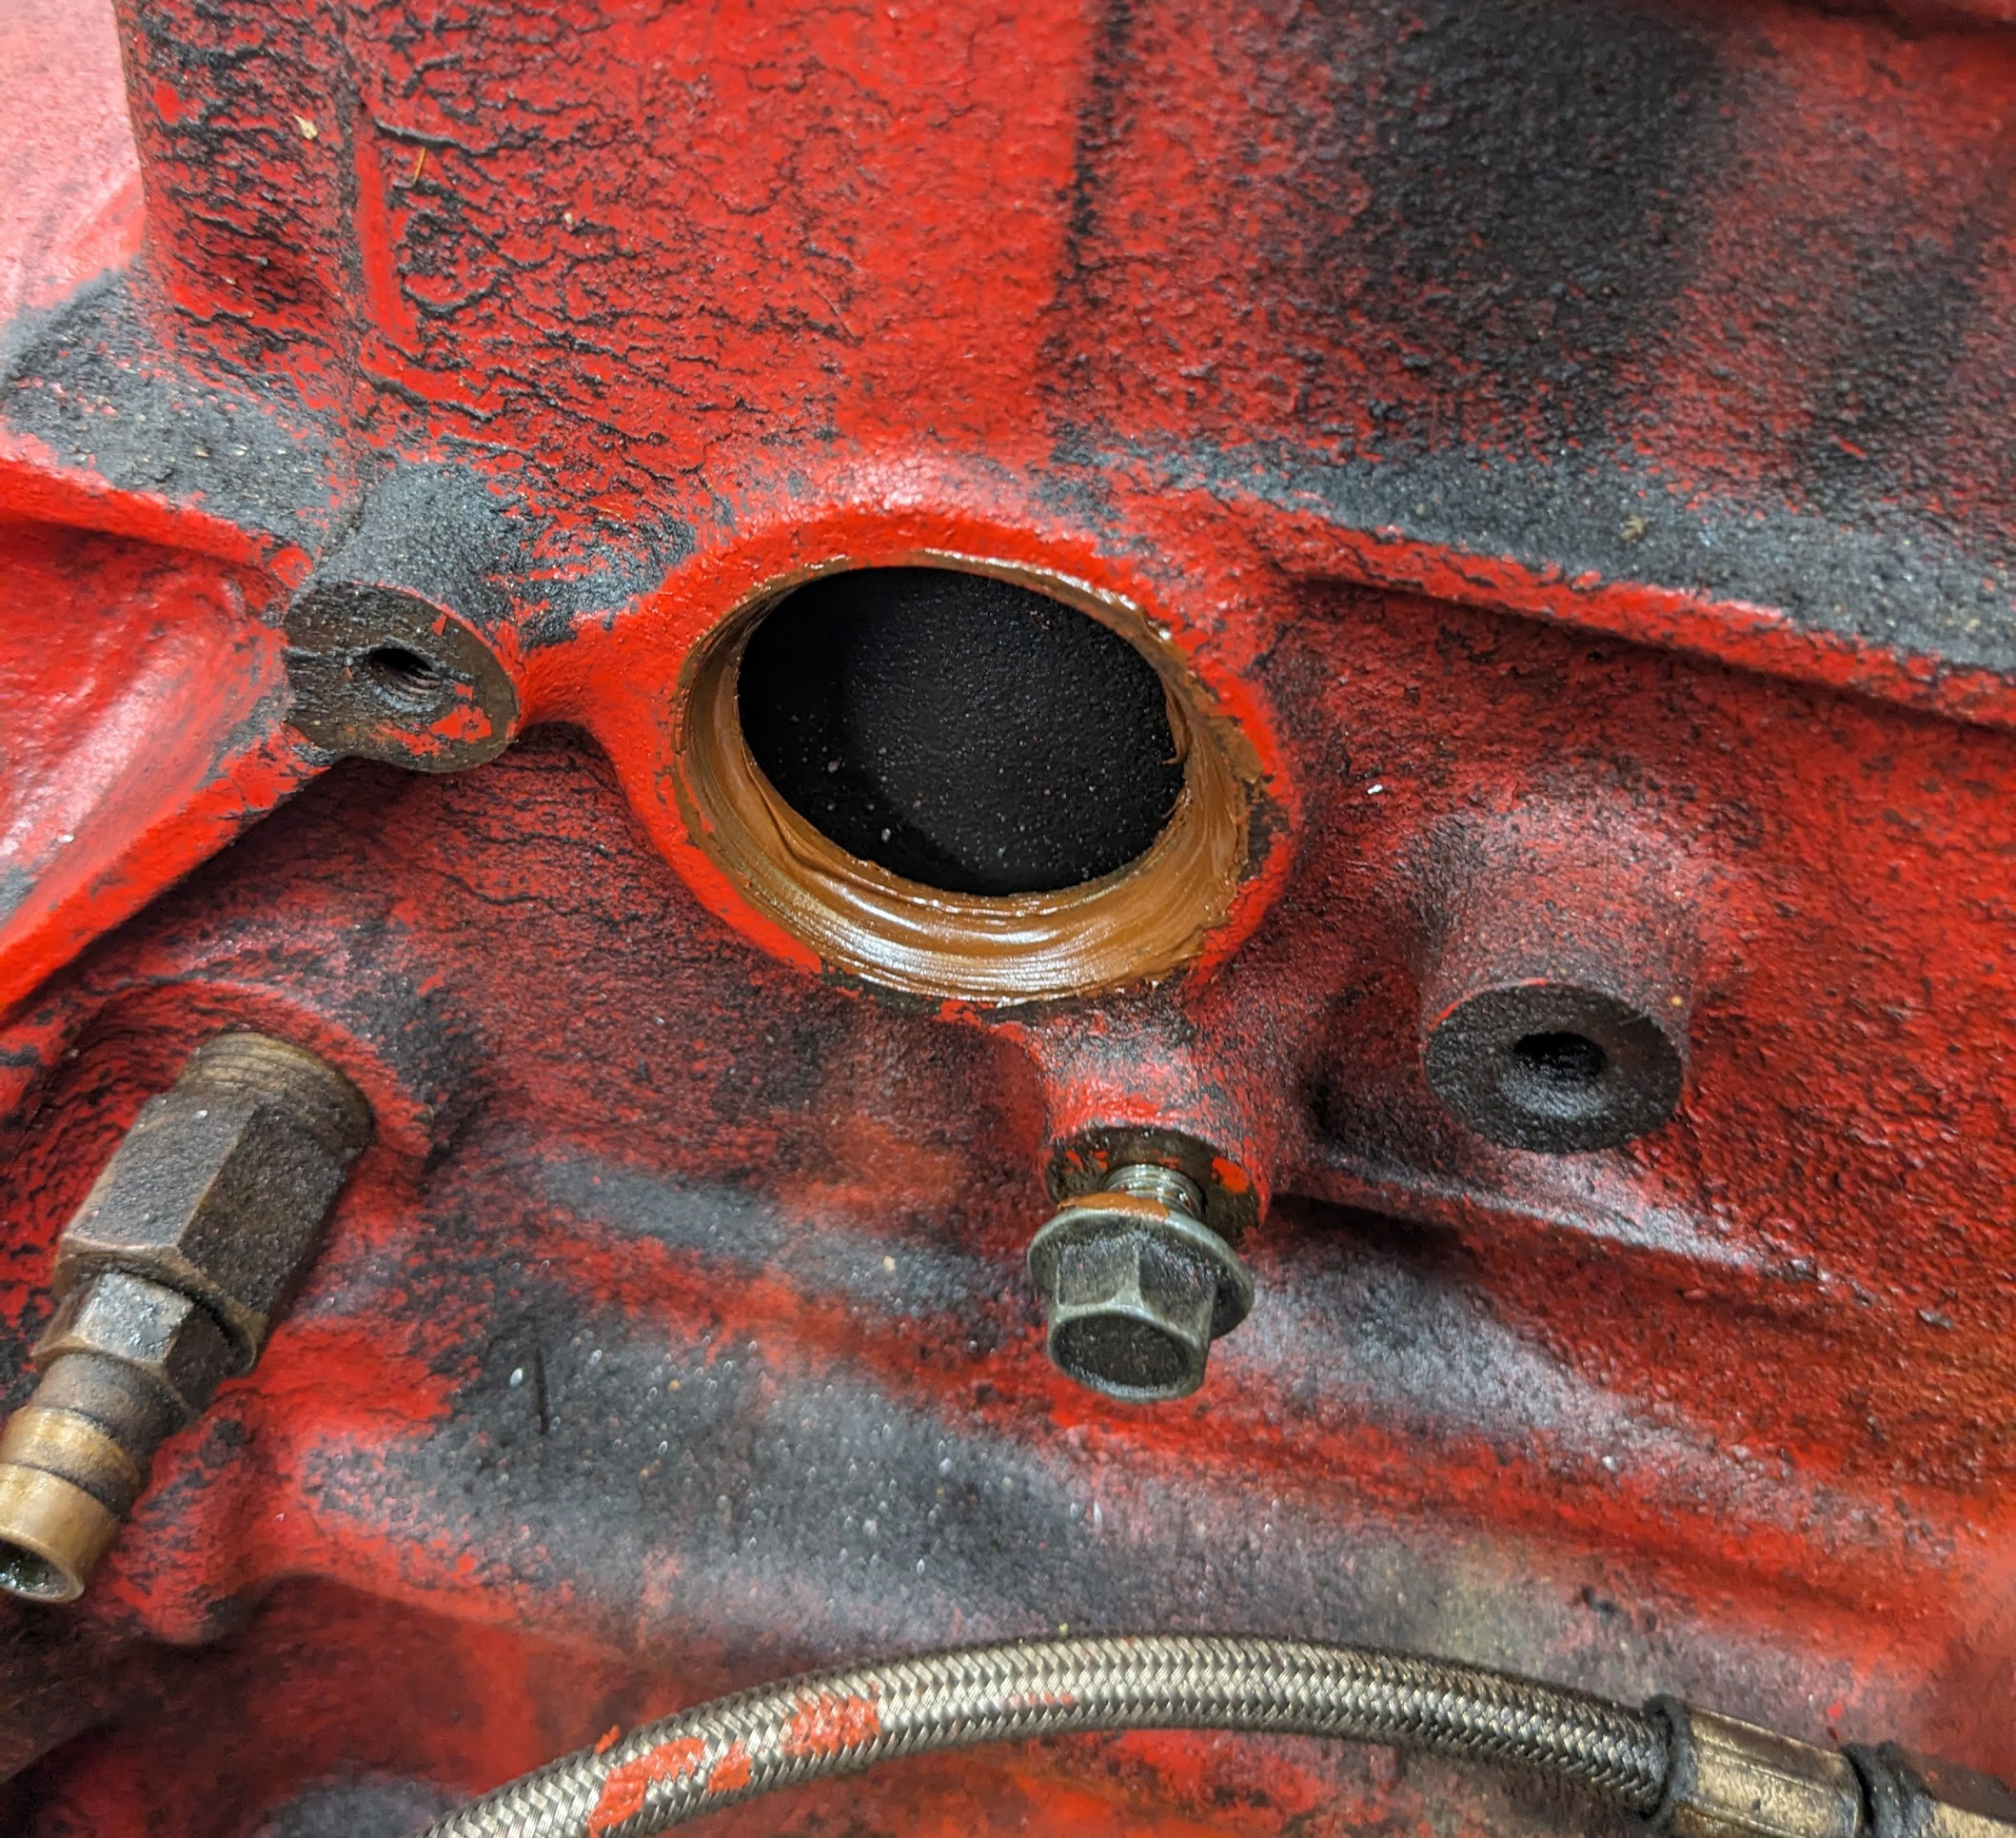
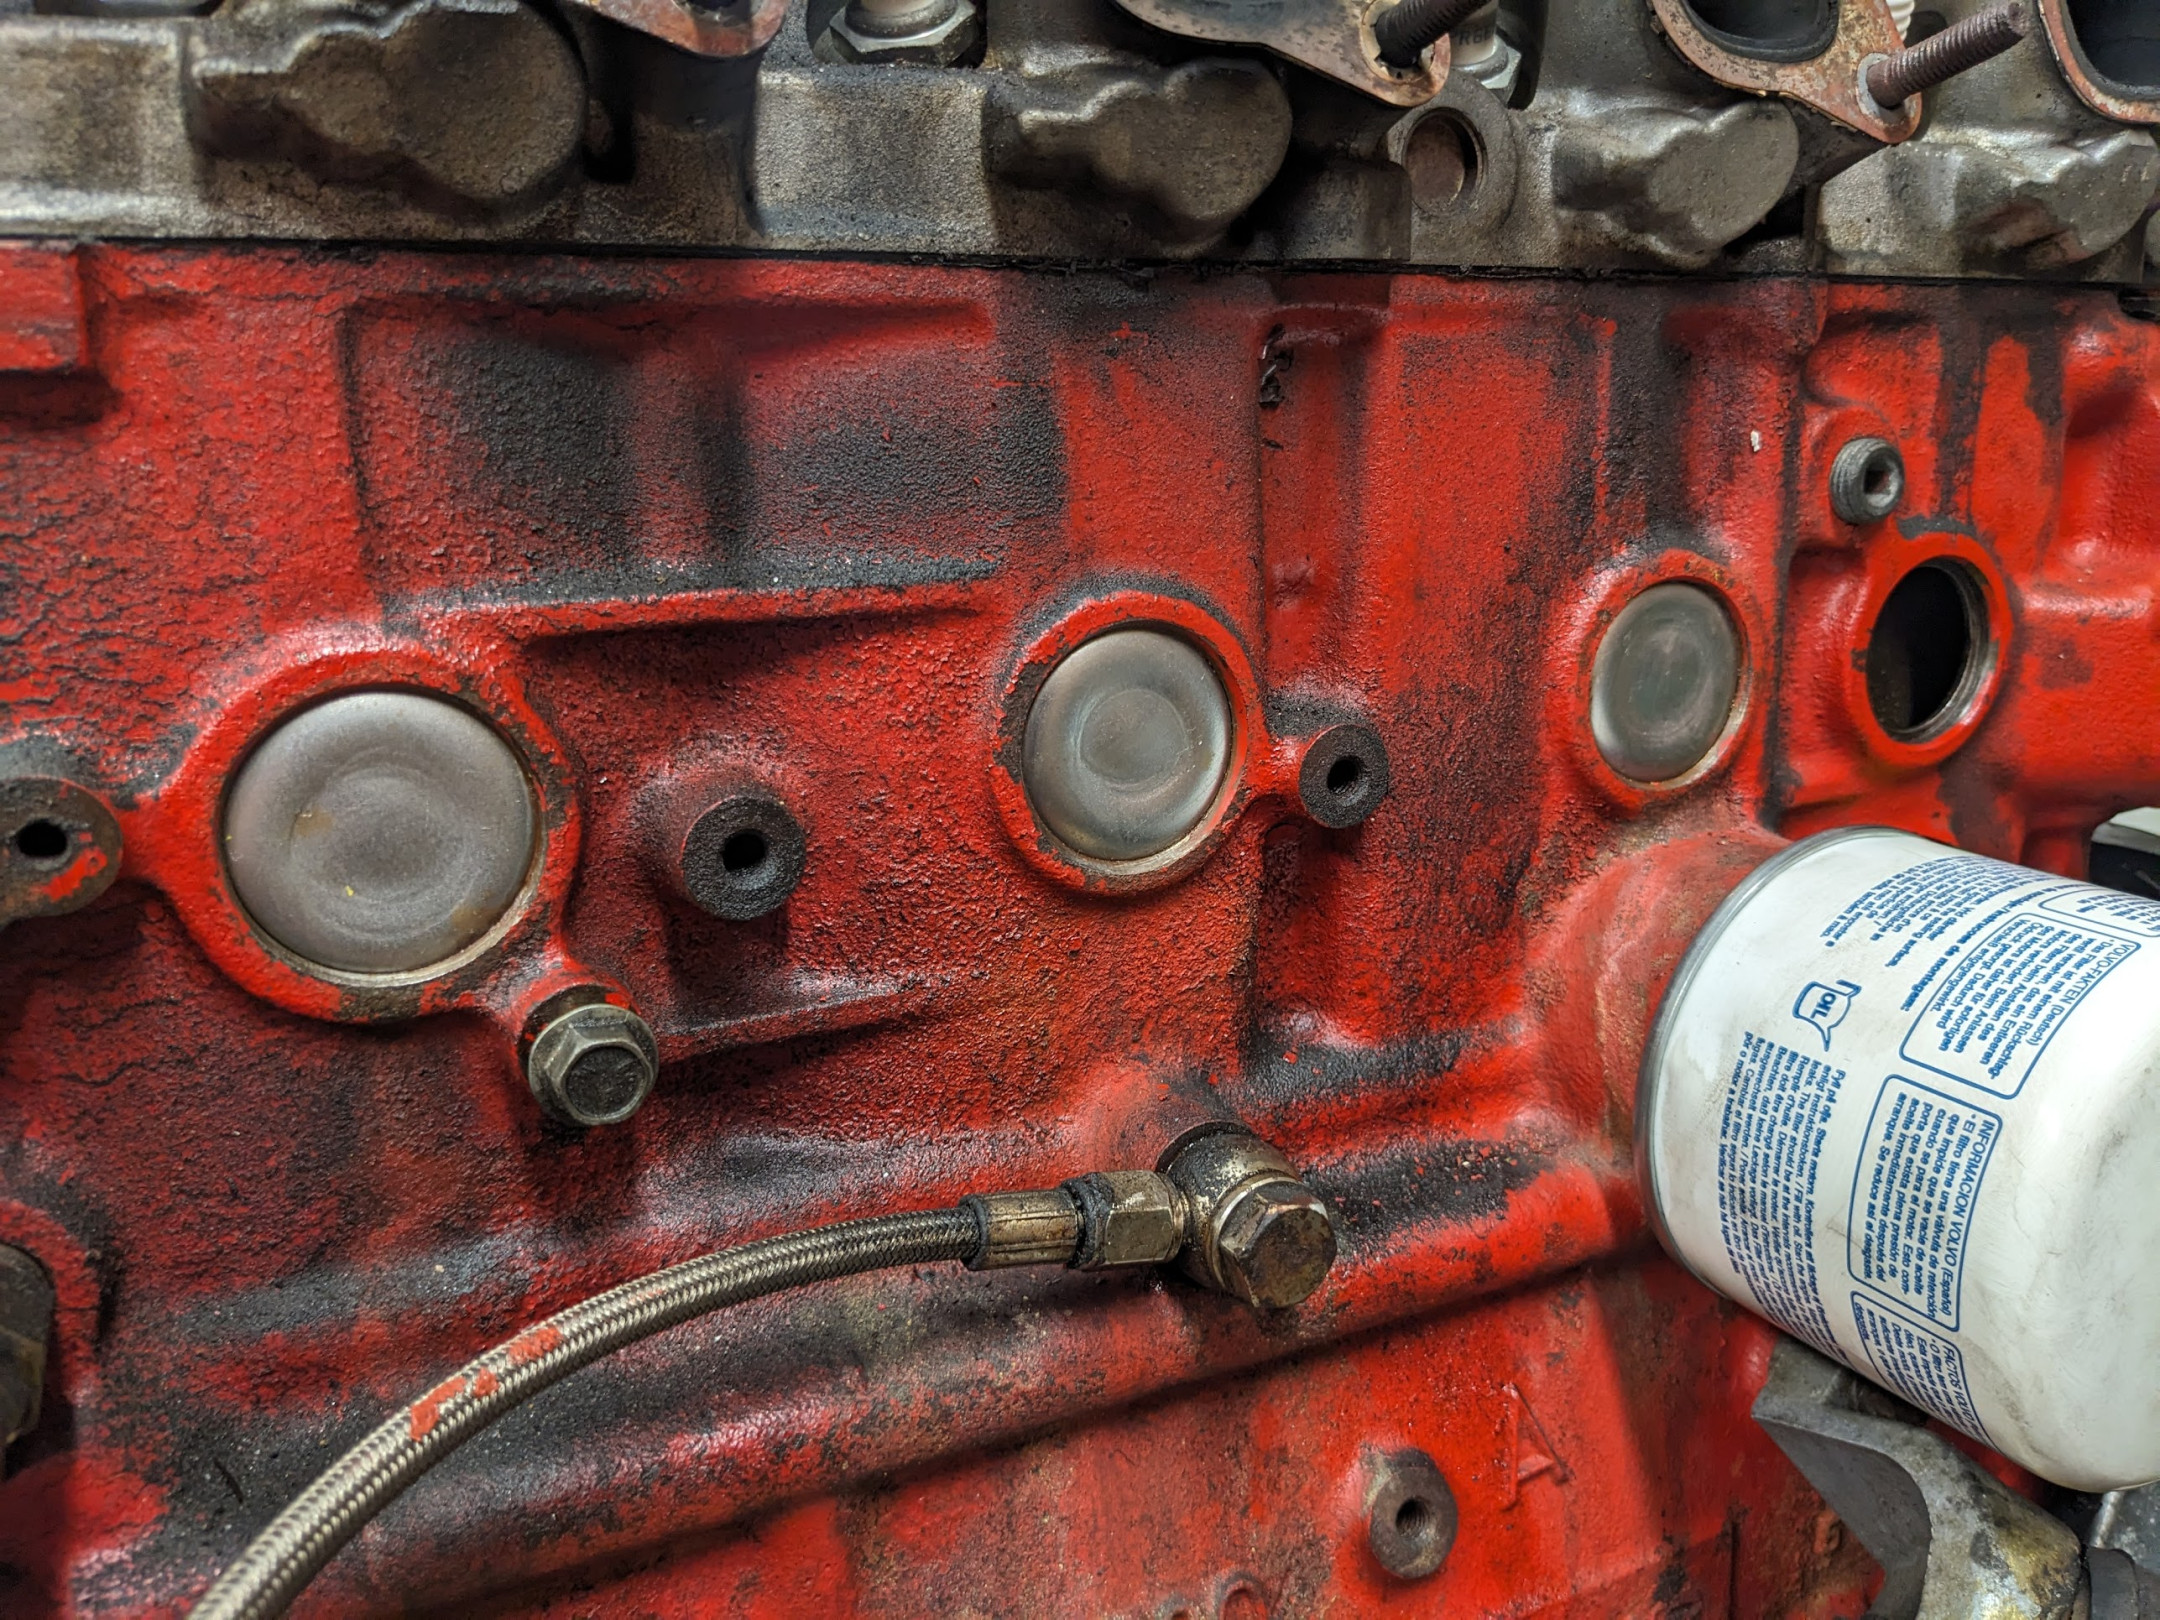
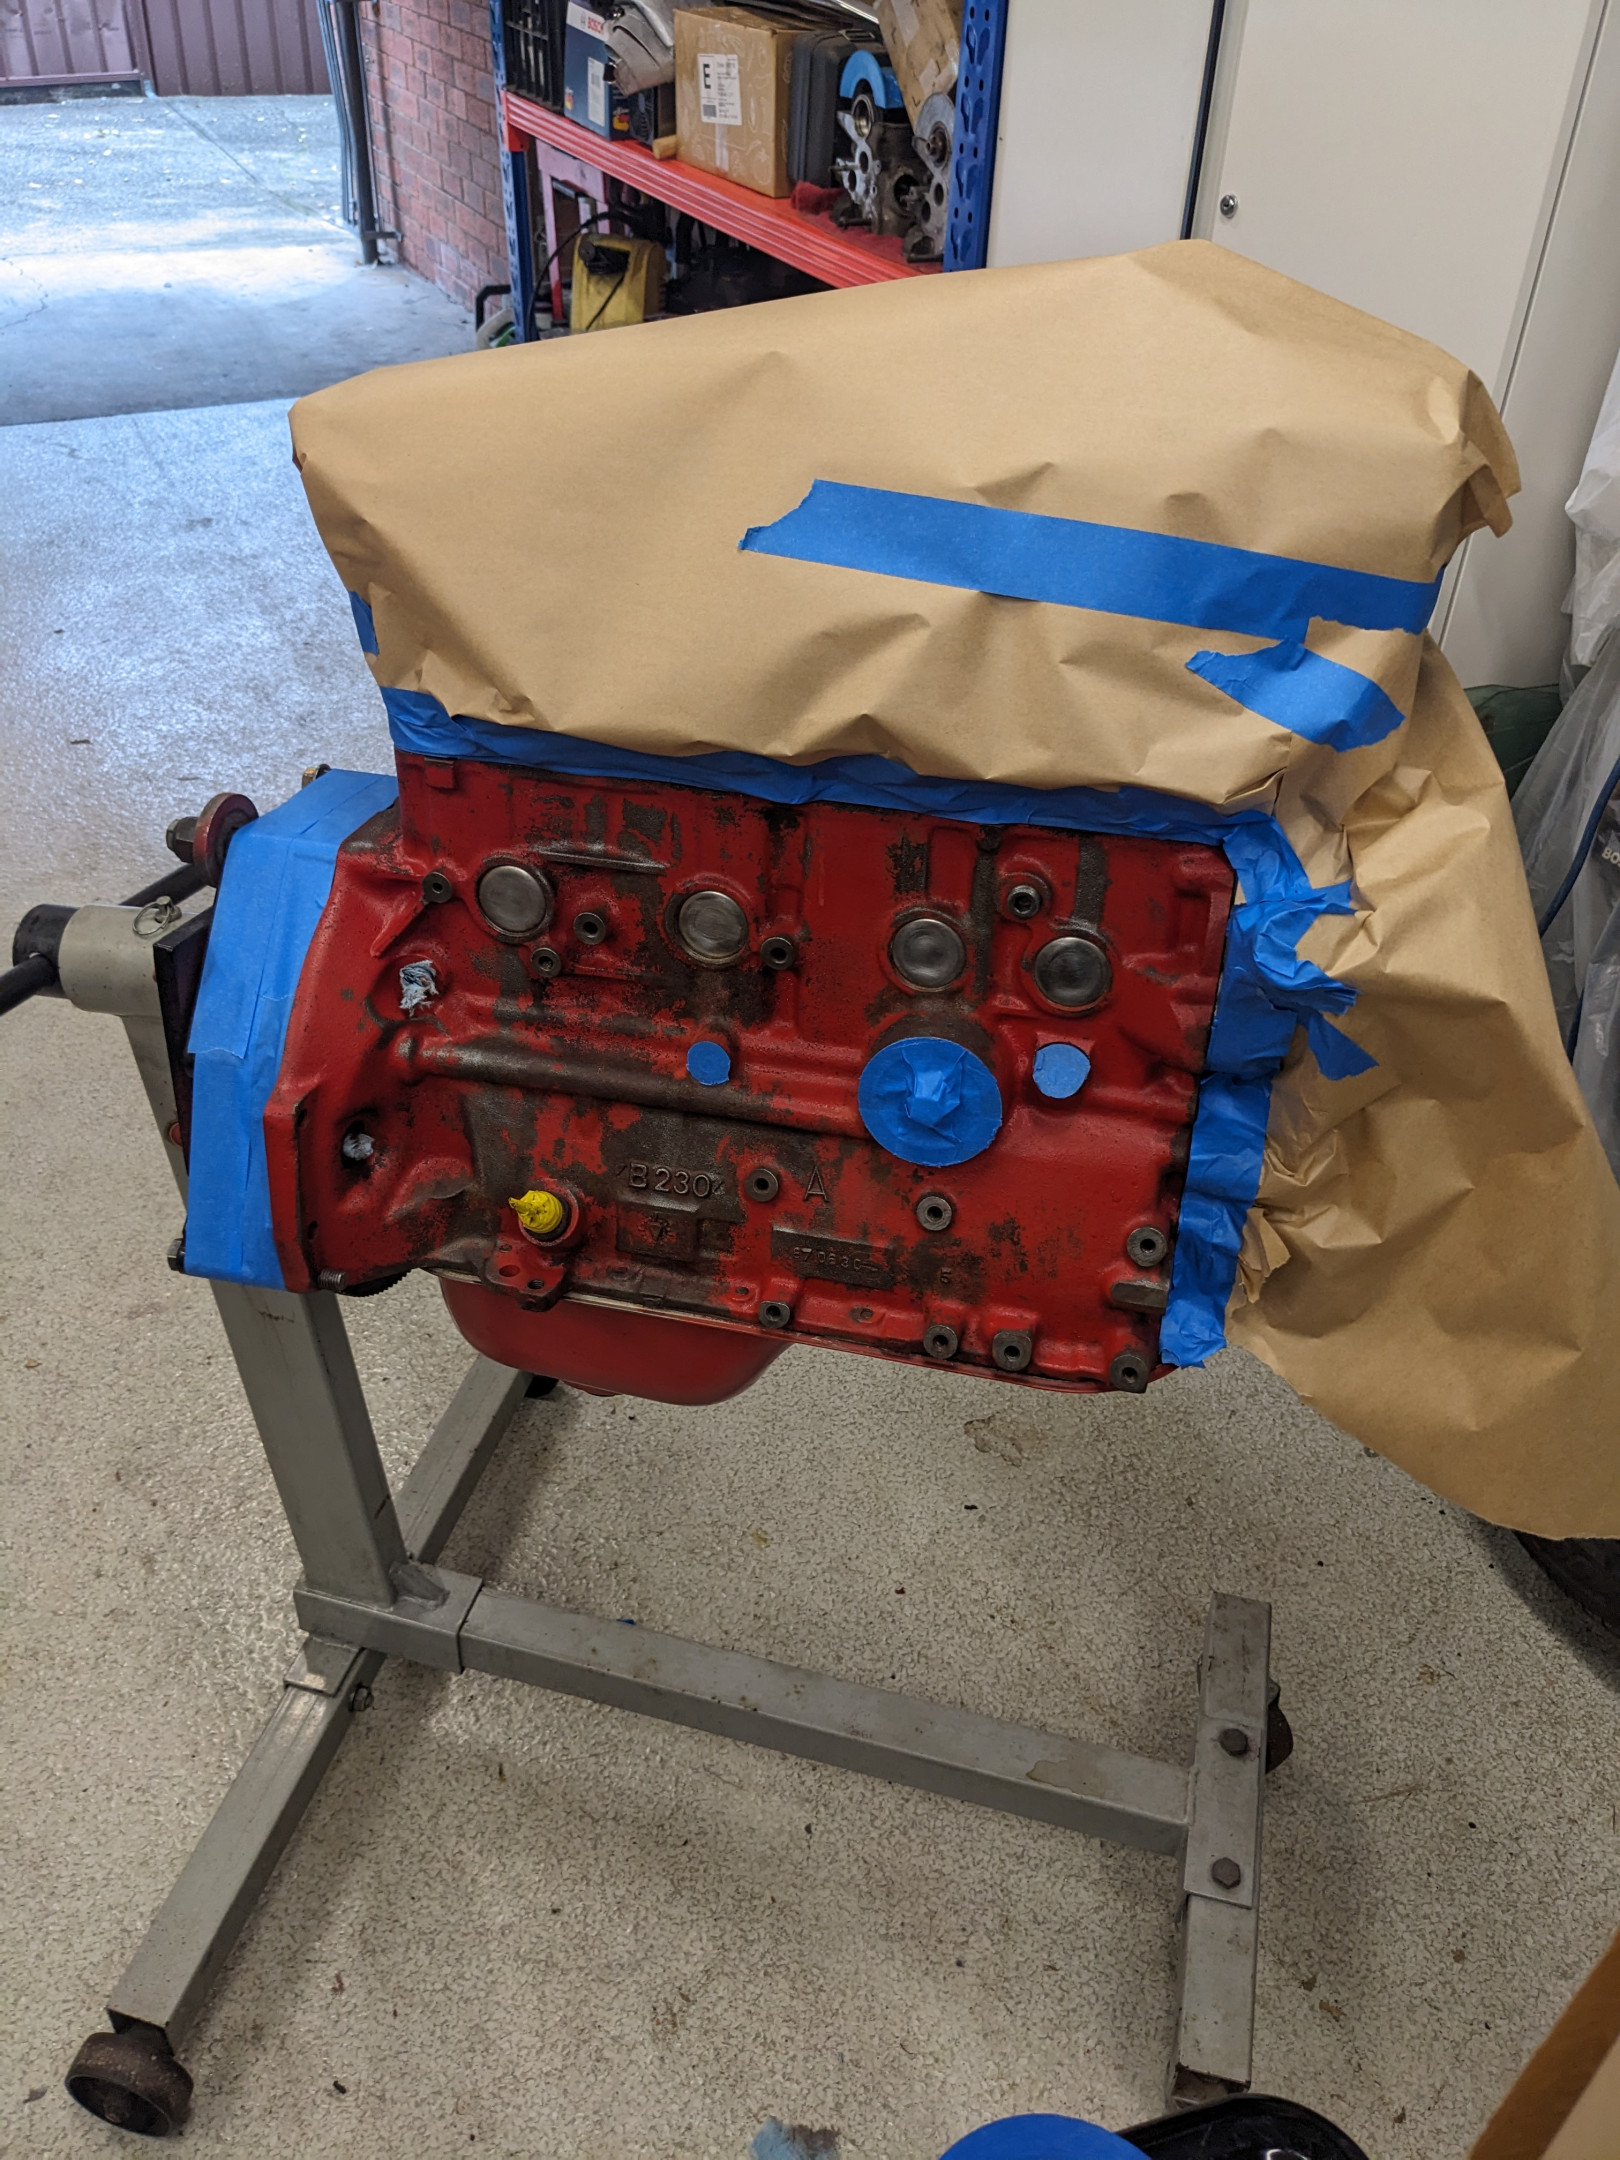
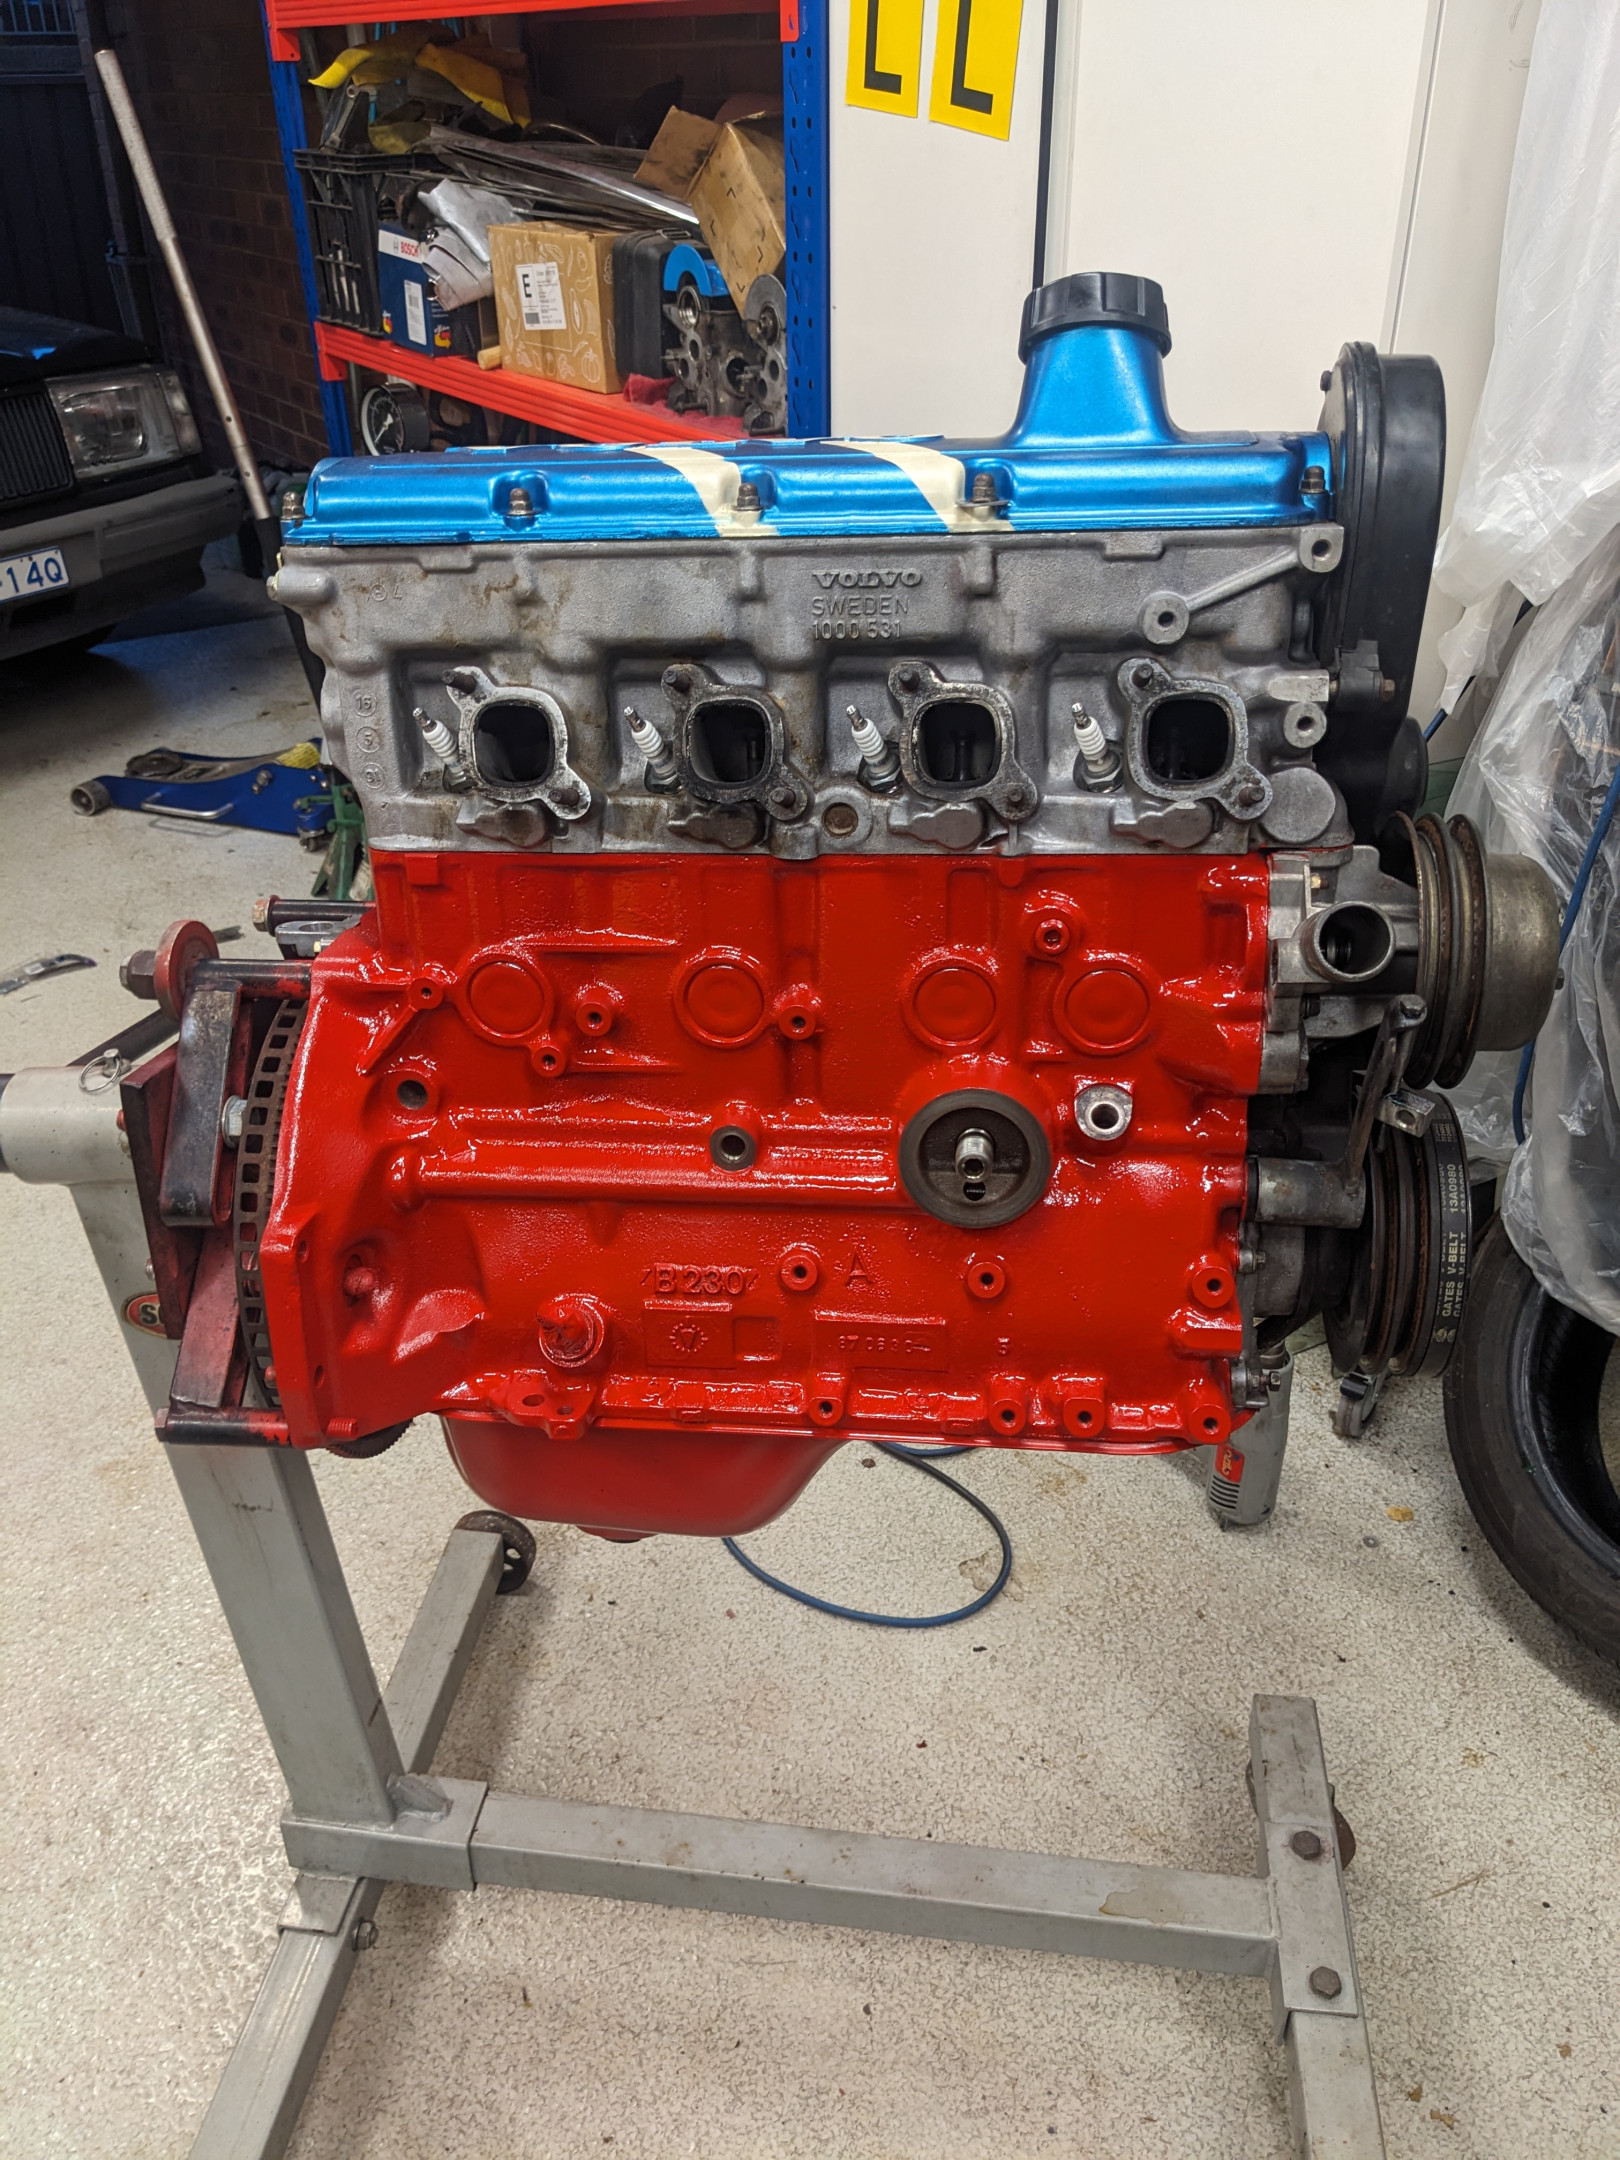
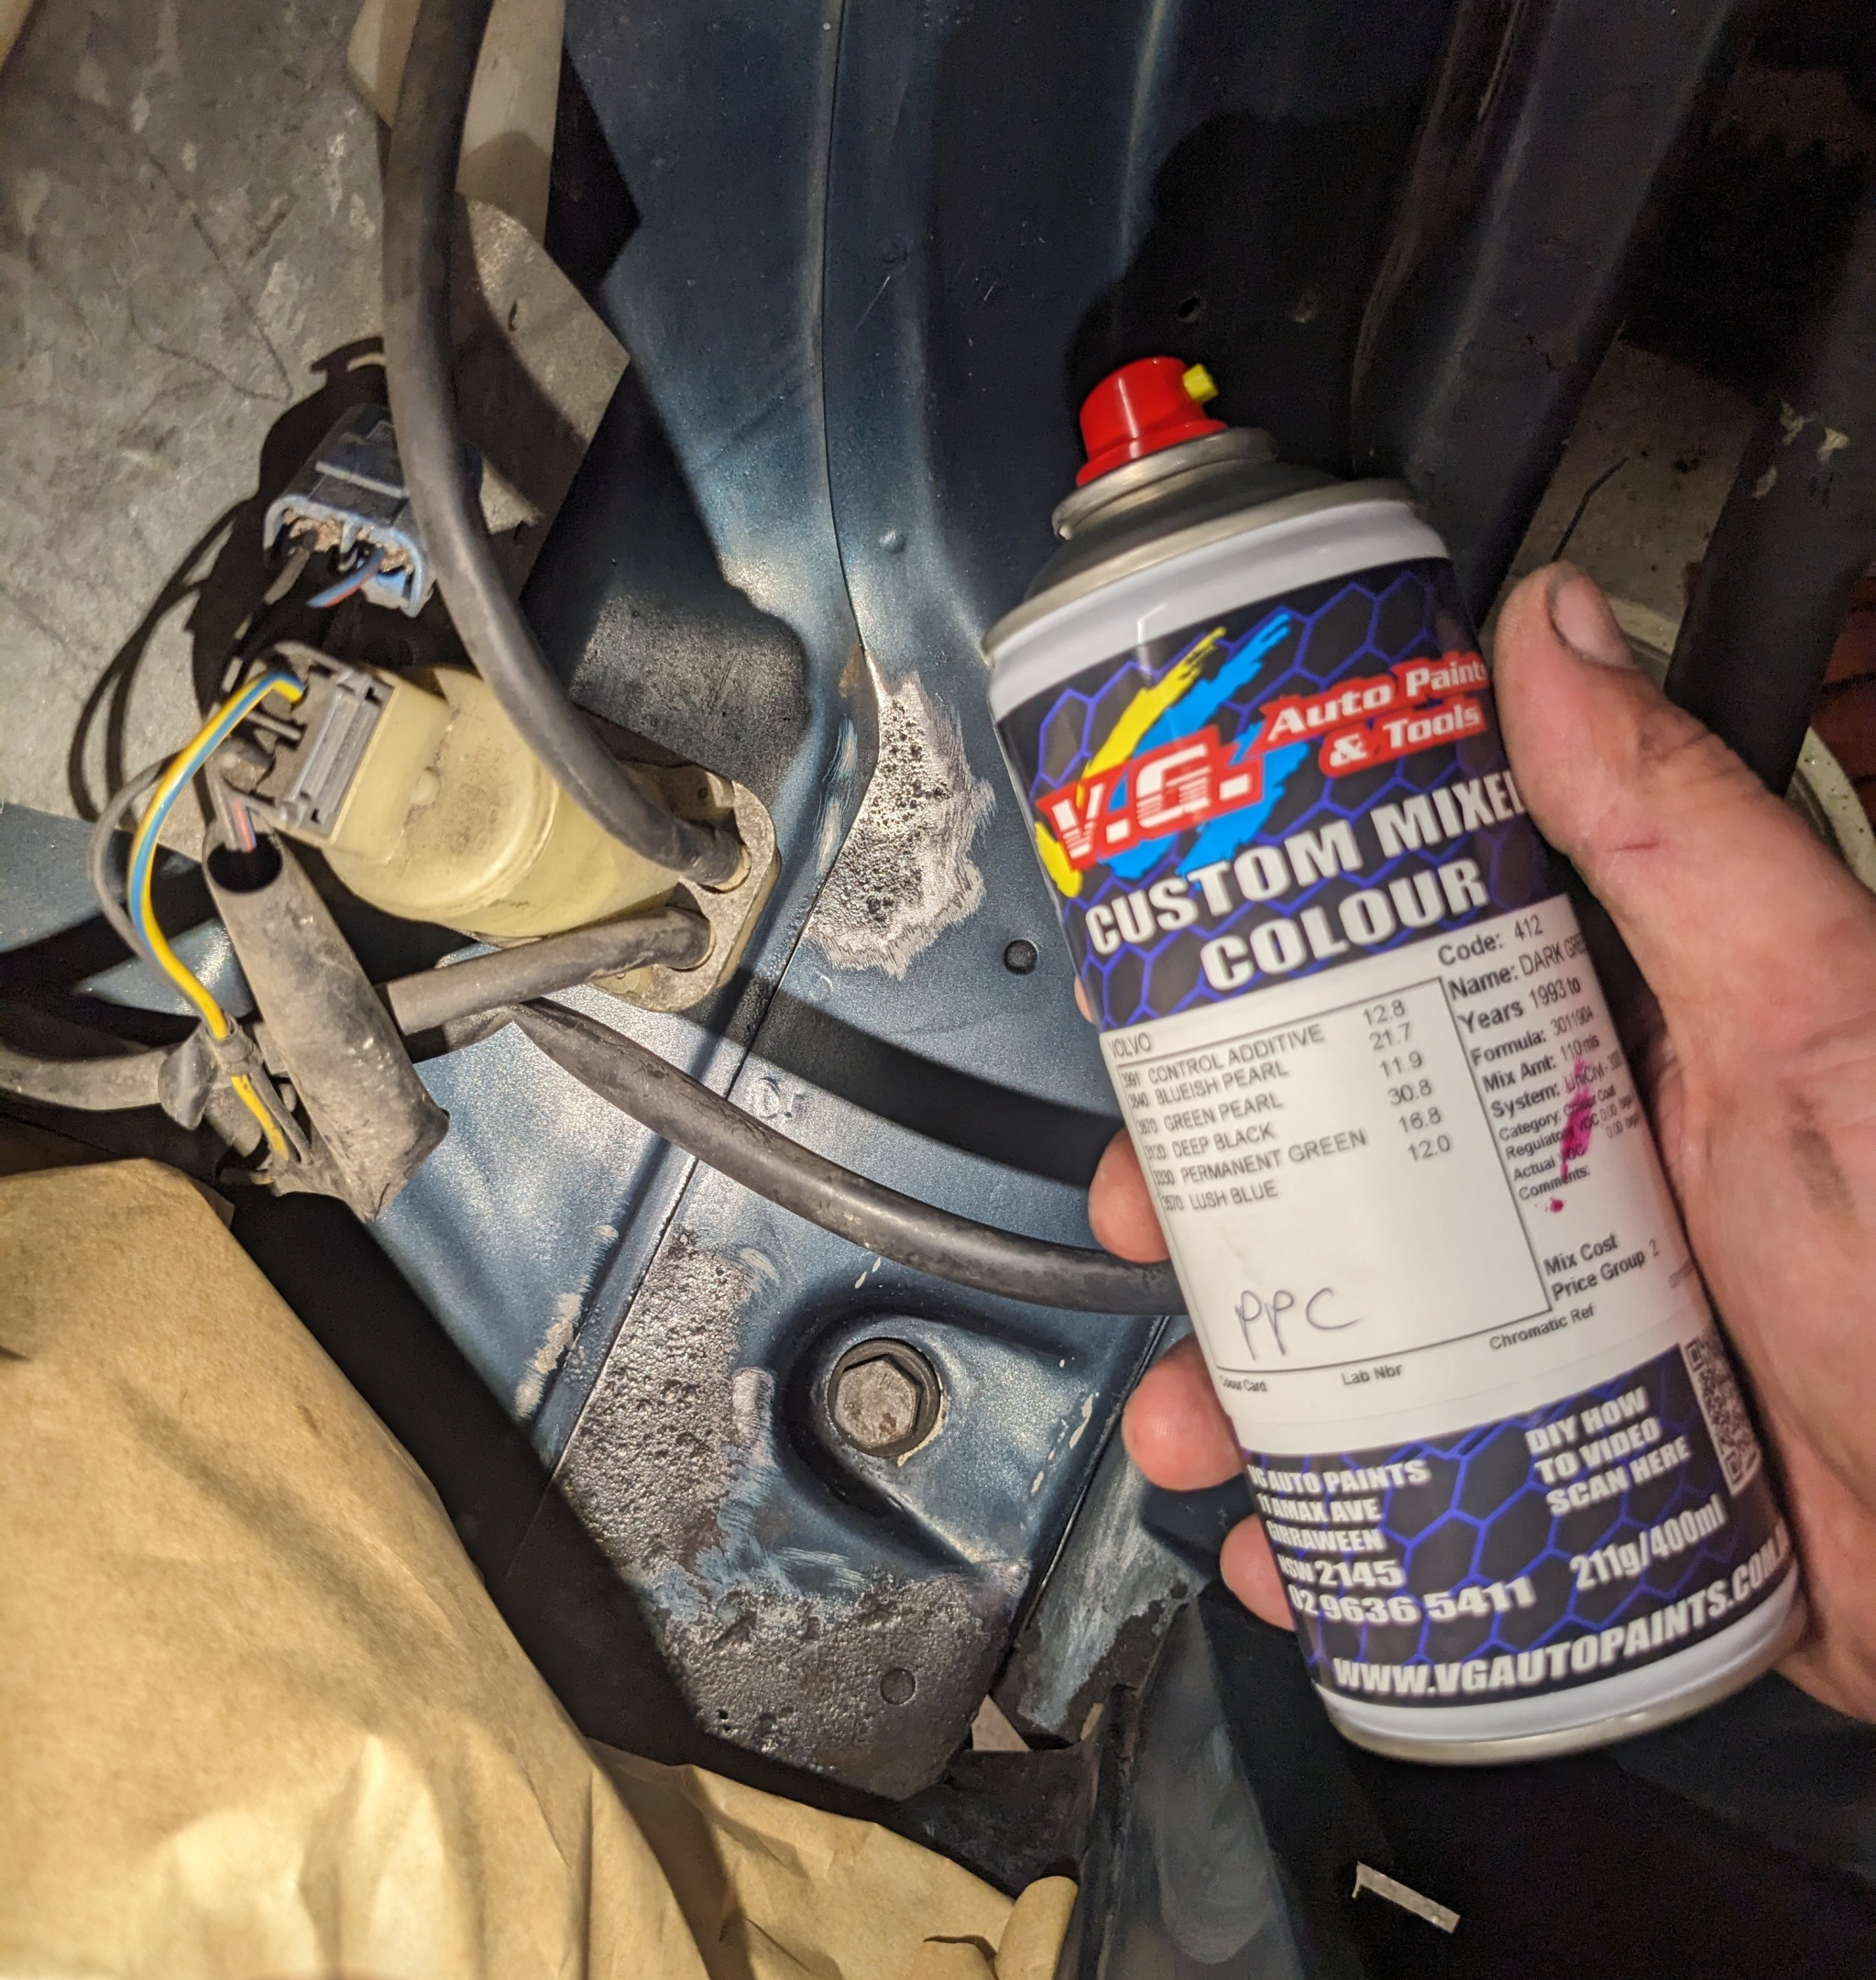
Today some parts from FCP arrived, I have some new seals and o-rings and gaskets for the transmission (AW71 with a modified valve body) as well as some fresh spark plugs. I'm also going to replace the freeze plugs in the block as some of them are leaking, and give everything a clean and a once-over, replacing anything that's tired.

Welcome to the build thread!

Image description

This is how I got the motor back home 😎

Today I spent half an hour on it, I took the torque converter out and actually the transmission input seal doesn't look like it has been leaking. Not super surprising as it isn't that old, but I'm pretty sure one of the giant o-rings around the pump or the casing is leaking as a bunch of ATF is coating everything. The pan gasket is absolutely destroyed too. I have new seals o-rings and pan gasket and filters, so first goal is to sort that all out, then I can put the transmission out of the way and get stuck into the motor.

Will crack the transmission open in the coming days, stay tuned for pics.

Got into the transmission on the weekend, checked a few things and replaced the o-rings and input shaft seal, as well as the pickup screen and gaskets.

Small amount of wear on the teeth in the centre clutch pack:

Image description

Image description

This setup was a bit dicey but I already have an engine on the stand so had to make do. My workshop is very crowded at the moment.

Image description

Am waiting for some Permatex 81180 to arrive to help the pan gasket live its best life and to seal the oil pump housing bolts at the head, as well as a magnet for the drain pan as it was missing entirely (2017 me might be the culprit, I don't remember really).

The magnet and Permatex arrived yesterday and the transmission is now all buttoned up. Will move onto the engine next!

Tore down the exhaust side, ended up tearing the turbo down also (TD04-15G). There was oil leaking from a few places. I ordered a rebuild kit from Mitsubishi.
Mitsubishi TD04-15G CHRA

As it stands:
Image description

An example of why I'm redoing the freeze plugs:
Image description

Exhaust side plugs came out, and I installed 3 new ones which was all I had on hand. The remaining plugs are arriving next week along with some other bits.

B230 freeze plug hole

Old plugs. They came out a bit too easily!
Freeze plugs and tools

OEM plugs:
Volvo B230 expansion freeze plug part 968955

Once I had the plugs out, I hit the sealing surfaces on the block with a pick and wire wheel, blew out the debris and cleaned the surfaces with brake cleaner to give them the best possible chance of sealing.

B230 freeze plug hole dressed with Permatex 80008

As it stands:
B230 with some new freeze plugs installed

6 days later

Put the last plug in today, and degreased and power washed the block. I think I will repaint the exhaust side.

Image description

Image description

a month later

Okay bit more progress, was waiting for some parts. Finished painting the intake side. Replaced the timing belt tensioner.

Image description

New timing case:

Image description

Also put a new filter on it, filled it with oil and primed everything and flushed oil out the turbo feed, no dramas. Will do timing belt tomorrow.

6 days later

Image description

Intake mostly back together now. This build uses red Bosch injectors from a V70 T5, 350cc or thereabouts.

Image description

a month later

Image description

Man these upgraded fusebox designs are so nice.

This car has had endless fuse issues. I refurbished everything but ultimately the metal contacts were too fatigued and weren't gripping the fuses well enough.

I installed this today, which took maybe half an hour, then spent an hour or so trying to debug why the headlights were coming on with the parkers. Ultimately found that the headlight/parker relay, the cabin one you only get on later 240s, someone had replaced it with a 5 pin 87/87 relay, when it's supposed to be 87/87b.

It may seem like an inconsequential difference, but when open, an 87/87 has continuity between those pins, whereas an 87/87b does not, due to each pin having a dedicated switch in the relay.

I also rewired the central locking triggers (both the lock barrel and the pull knob sensors). The wiring was all perished and shorting. For the lock barrel switch, I took the switch completely apart, removed the contact sliders, cut the old wire off them and (painstakingly) soldered new connections. For the door pull I had just enough exposed wire to solder to. The wires were all oxidised, soldering them took a lot of cleaning and fluxing then boiling the flux with the iron, cleaning it up, repeating, until the solder wicked nicely into the wires.

It all works great now, except after one use of the key the barrel cylinder popped off, so I must not have properly clipped it in place. I had been at it for 8 hours by this point so decided to sort it out another day.

Next up will be new shocks on all corners, then of course the turbo swap, which will probably happen after Nats.
Cars are pain!

    Image description
    These cigar fuse to blade fuse conversions are so much better.
    The old colour coded ceramic cigars fuses were changed to coloured plastic that distorted and caused so many electrical issues.

    Looking good. Does the fuse cover fit over the new blade fuse panel? Looks like they stick out heaps, but maybe it's just the angle of the photo.

    Yes fits perfectly over , I did mine a few months ago now , as I've had my 242GT for 35yrs and the coloured plastic cigars fuses have been a constant source of trouble.
    Theyre supposed to be coloured ceramic which don't distort with the heat of amperage.

    Image description

      242GT Thanks! It was probably a stupid question as they'd have a hard time selling something that didn't allow the fuse cover to fit over it LOL!

      a month later

      jamesinc Next up will be new shocks on all corners, then of course the turbo swap, which will probably happen after Nats.

      I return. I did replace all four shocks about two weeks ago, the rears were okay, the fronts were absolute toast, and were Volvo OE shocks so probably original (the strut came from Billie the 1981 244, but actually I believe it really came from the '92 240 @Slowbrick and I parted out a decade ago).

      I loaned Nina my S40 while I got into the turbo swap. @Maximus lent me a bunch of help today also.

      Image description

      Image description

      End of day 1, motor and transmission are completely disconnected and only held in by mounts. Will pick up tomorrow.

      I took a moment to try and put a stop to this nasty rust. I really don't understand the random rust bubbles on this car, it's weird for a '93.

      Image description

      Image description

      I might go to VG Auto Paints in Girraween tomorrow and get them to make me a rattle can of this metallic green so I can dress the engine bay a bit better. I want to power wash it while the engine is out too.

      Went to VG this morning, bought paint and paint accessories, and finished cleaning up this rust.

      Image description

      Image description

      I've thrown in the towel, the heat and humidity today suck and have worn me out rapidly. I might come back to it tonight if it cools off enough.