ramrod Bugger, I’ll see if I can find the correct cover in uncracked condition

Sorry about that, they look identical to the naked eye

No apology needed, I didn't know either so it's just as much my fault. I just found out when doing a side by side yesterday. I should have realised earlier as the new cubby wasn't fitting. .

If you don't have another it's Ok I'll just pass it along for the same price you gave me. It's a very nice console.

Major Ledfoot The early type had the seat belt receptacles housed within; the later type had a coin box.

Yes, the newer coinbox/cubby is a little bigger and doesn't fit. There's also a curve cut out on the bottom rear on the newer panel to bolt in the seat belt receptacles. Slot for the newer seat belt mounting bracket, plus the mounting holes as Ramrod mentioned.

So there were a couple of floor sealing plugs loose that Stu noticed when it was up on the hoist. Had a quick look by lifting the carpet and sound deadener. I'd have to remove the carpet for some temporary repairs.

Next…… vacuum the carpet. Love the Bunnings Ozito shop vac, it was last year's Xmas present from the missus..

Image description

Unscrew the shifter housing * lft it up, remove the various trim panels, unscrew the heater control panel.

Image description

Image description

Lift the carpet out. It looks like some leaves and fuchsia petals found their way between the carpet and sound deadener.

Image description

Image description

Front carpet has worn through at the heel 7 is looking tired so I've ordered some new plush style from Knox Interiors in Melbourne.

Image description

Passengers side sound deadener mat looked sound but smelt 38 year old "musty".

Driver's side sound deadening mat looks like signs of water ingress and the rubber/vinyl cover was cracking. Zinc oxide stains from the galvanized service cover underneath. Plus it smelt…..really bad.

Image description

Service covers. Driver's side will need de-oxidizing & a good coat of silver zinc, passenger's side just a bit of a clean.

Image description

Drain hole and floor panel plugs.

The driver's side was rusty and looks like some bubbling under the bitumen deadener. Also a couple of extra rubber plugs have filled a couple of holes.

Image description

Passengers side was much better with just some surface rust. looks like a bit of a spike on a drain hole which I'll flatten out.

Image description

While up on the hoist, Stu also pointed a triangle cut out of the floor and a bit of metal patched on top covered with liberal amounts of sound deadening spray. He said I'd probably need a new floor pan as it was close to the driveshaft mount.

A quick peek under the rear carpet and saw a heap of white silicon. Put the carpet down and pretended "not to see it".

Out with the rear bench and carpet.

Pulled up the rear sound deadening and Voila! Stu was right, I'm going to need a new floor pan here. Still trying to work out if the patch panel material was a 20litre drum and what brand it was.

Image description

Wide angle view of the floor. Good in places…..not so good in others.

Not sure what those round plastic plugs are. Maybe some Endrust or similar access holes for rust prevention? Or are they factory?Image description

Ugh, that floor pan repair is a bit of a bodge….

Choices - you can cut a replacement out of a wreck; they're pretty much the same from 74 to 93. Or is your want brand new panels, VP Auto stocks replacements, as does Brookhouse (UK), but Wolf (US / Canada) doesn't cover 140s/240.

What are you planning to use to replace the hard, white putty used to hold those floor drain plugs in place? I have number of them which need to go back on the 142.

Oh yeah, btw - those 2 screws which attach the bottom of the centre console to the backing plate (forward of the transmission shift lever)? Don't lose 'em - those screws are unique to that part of the 240, and aren't used anywhere else on the car or on other models. (Unlike many other 240 and Volvo fasteners in general, the same nuts, screws, washers and bolts are often used in multiple places all over the cars and are commonly used in a wide range of models). /trivia

    Major Ledfoot Choices - you can cut a replacement out of a wreck; they're pretty much the same from 74 to 93. Or is your want brand new panels

    I'm going to get new ones. Looks like VP & Brookhouse supply Klokkerholm made panels. Also found an alternate supplier.

    I have a couple of alternative for the plugs. Found some 65mm blanking grommets which fit perfectly but will probably not withstand rocks etc. I'll get s a photo tomorrow. JB Weld epoxy adhesive would probably be best. Their silicion adhesive has kept the bumper on so far. My panel beating colleague at work who is going to repair it may have some other alternatives.

    Thanks for the tip on the screws.

    jamesinc

    Yes I'll take you up on that offer. Still have to drop off the S40 grille too.

      Johnno_ caveat on this one is that the car is in North Strathfield, and probably we will have to stick to using a reciprocating saw rather than grinder (also I don't own a reciprocating saw).

        jamesinc

        I don't have a saw either. North Strathfield isn't an issue, just off the M4

        Ok I'll have a word to panel beater guy tonight and see what he would prefer. Fresh new non-OEM panels or ones cut out of a donor. Cost is going to be about the same once I get a cheap saw.

          Johnno_ I think if cost is the same I'd go with the new stamped parts, as these pans while they aren't rusted out, they aren't perfect and the panel beater would spend more time prepping them than new parts.

          I think for a floor pan I wouldn't lose sleep over it being a non-OEM panel, if the shop has to massage them a bit to get them to fit right, you'll never know it.

            jamesinc Yes that was pretty well what he said too. Easier to work with new ones. Another advantage is the new panels don't have a drain plug hole and are completely solid. So you don't have to worry about sealing in a new plug and having it lose the seal, leak and rust out over time.

            Thanks for the offer. Still have to drop off the grille. Sent you a PM last week.

            8 days later

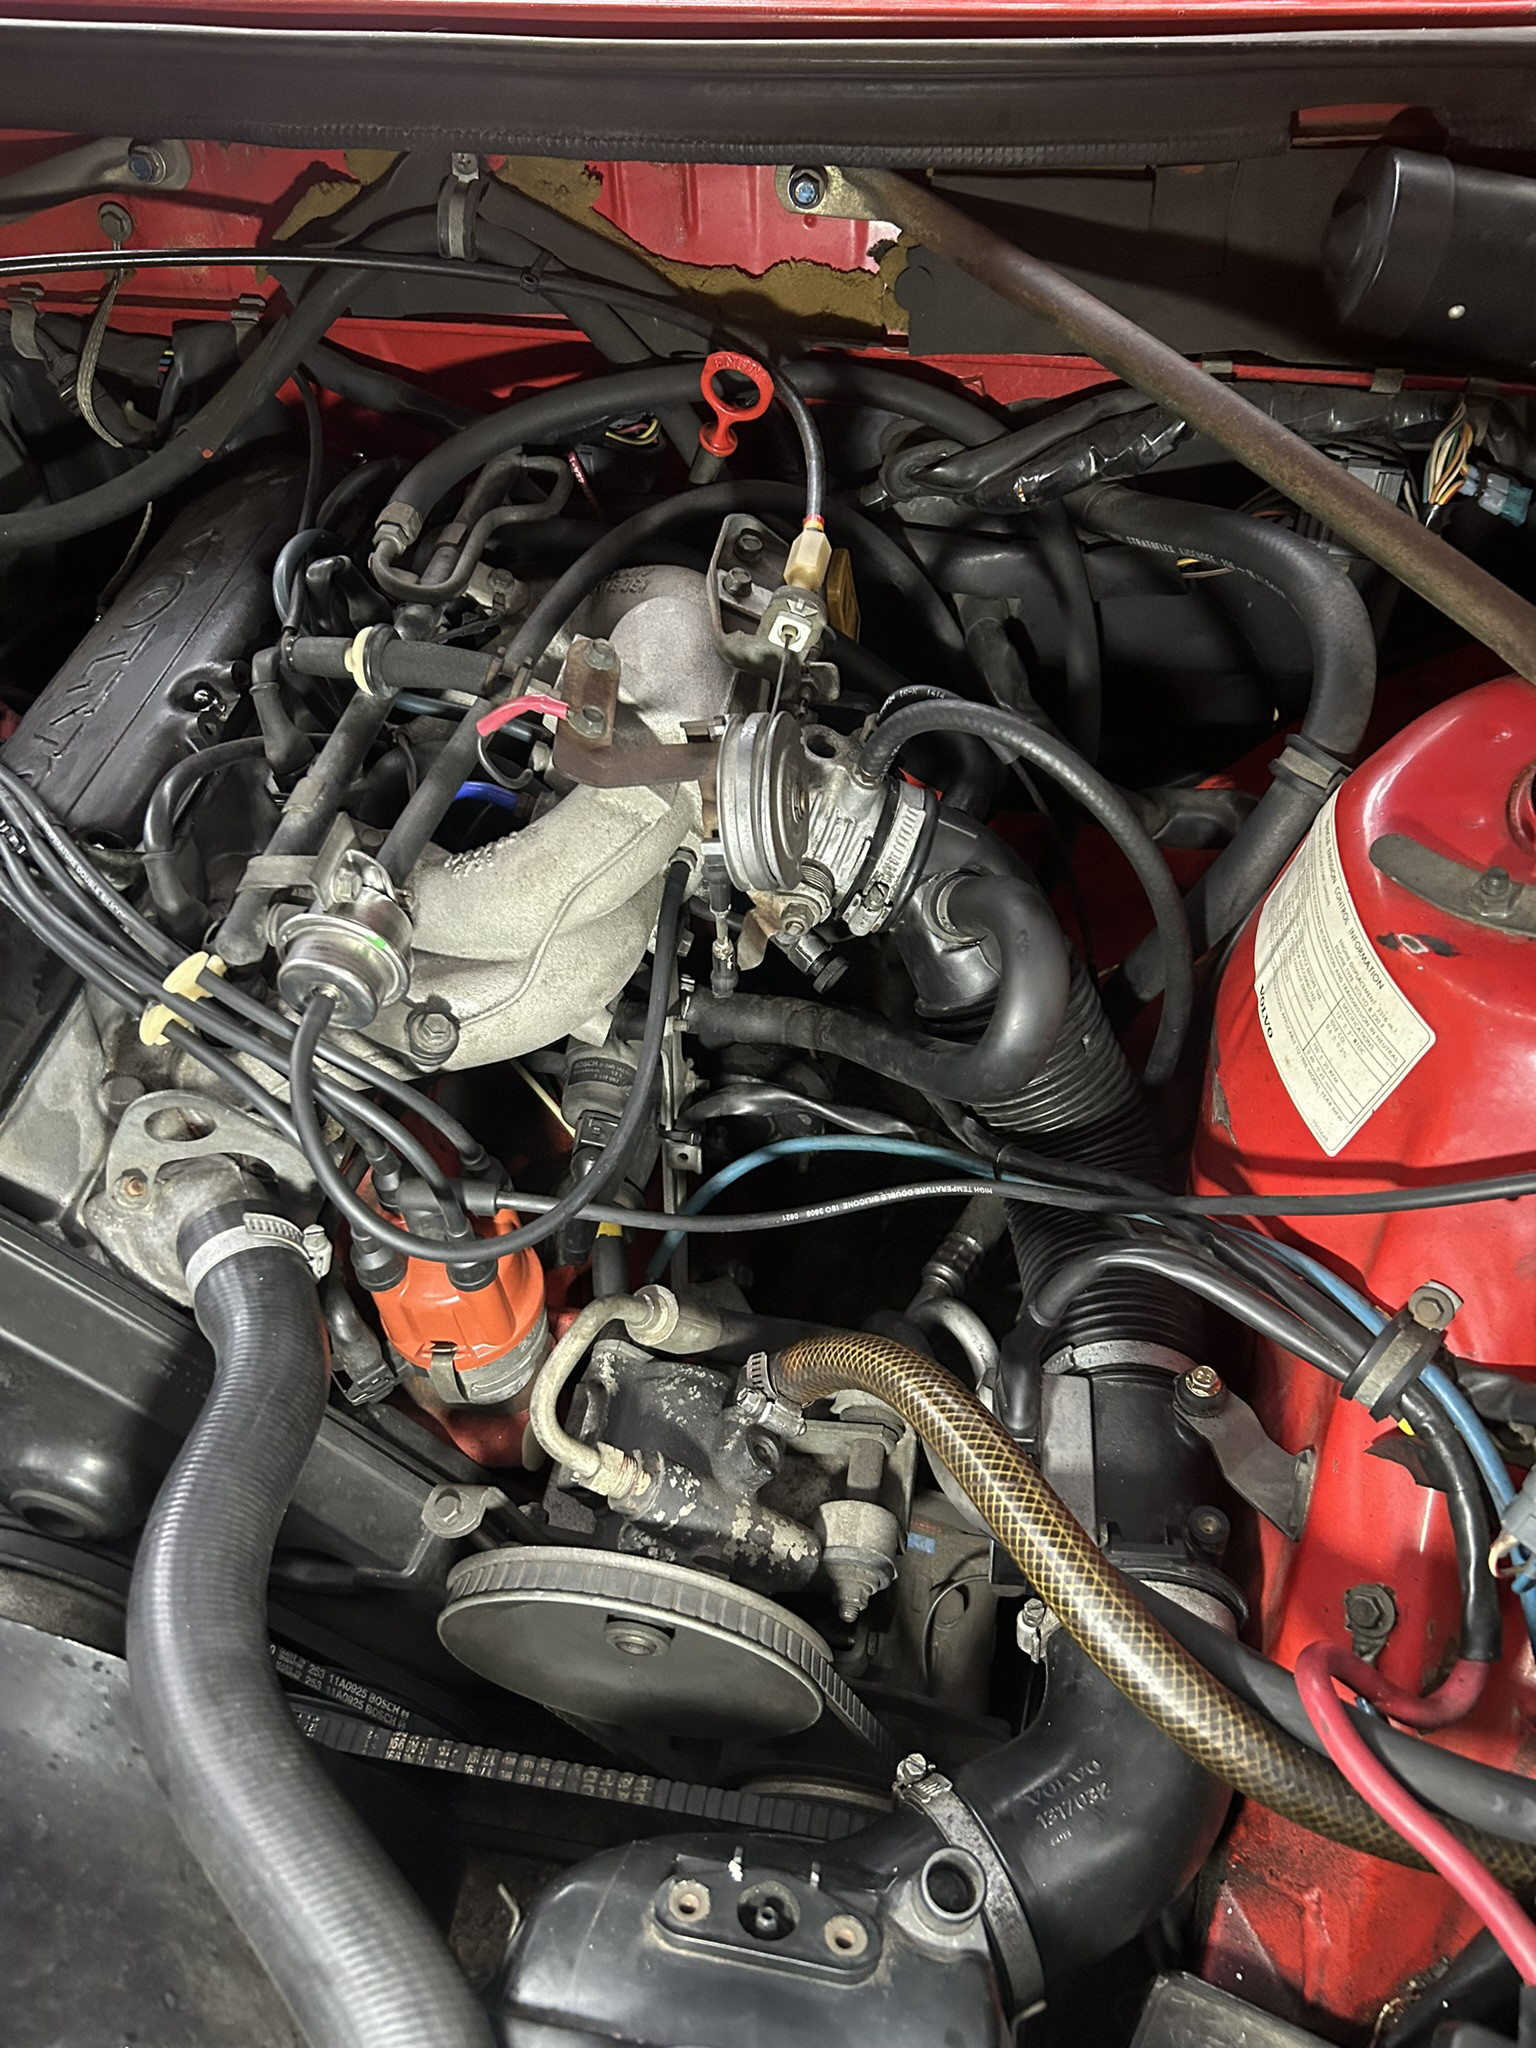
            Time to replace a few bits of vacuum hose and work thropugh the evaporation vapour lines. Good for me as I had a chance to learn how the evap vapour/vapor system works. That boy racer silicon hose is OK if there's an overall theme but a bit naff if used in only a couple of places.

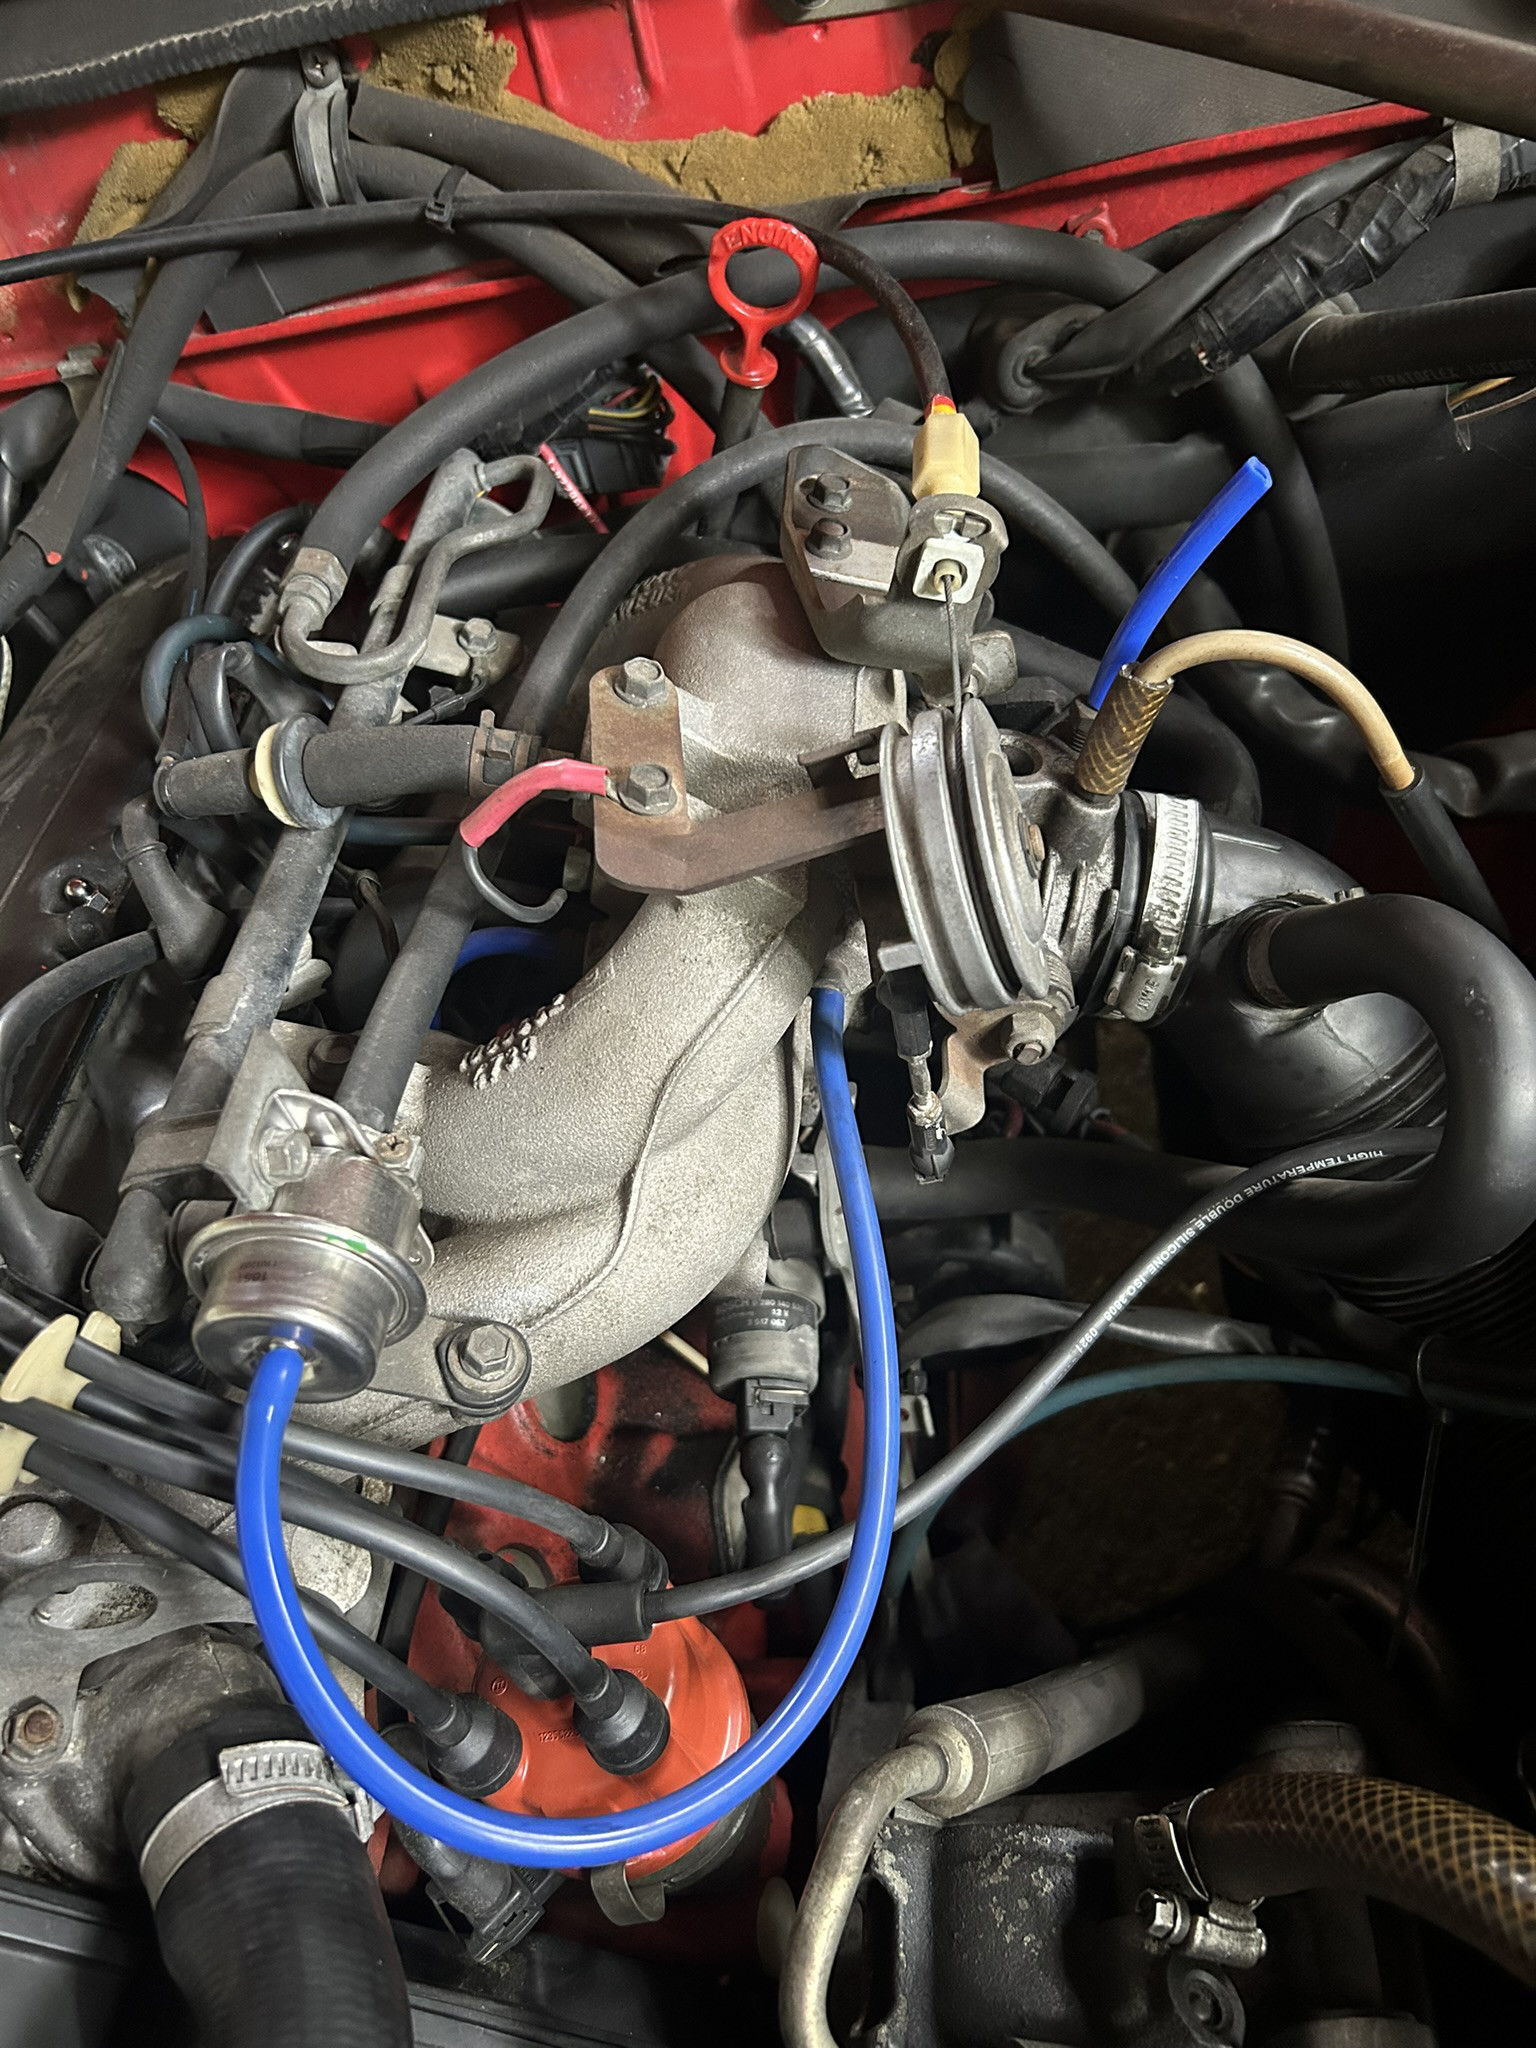
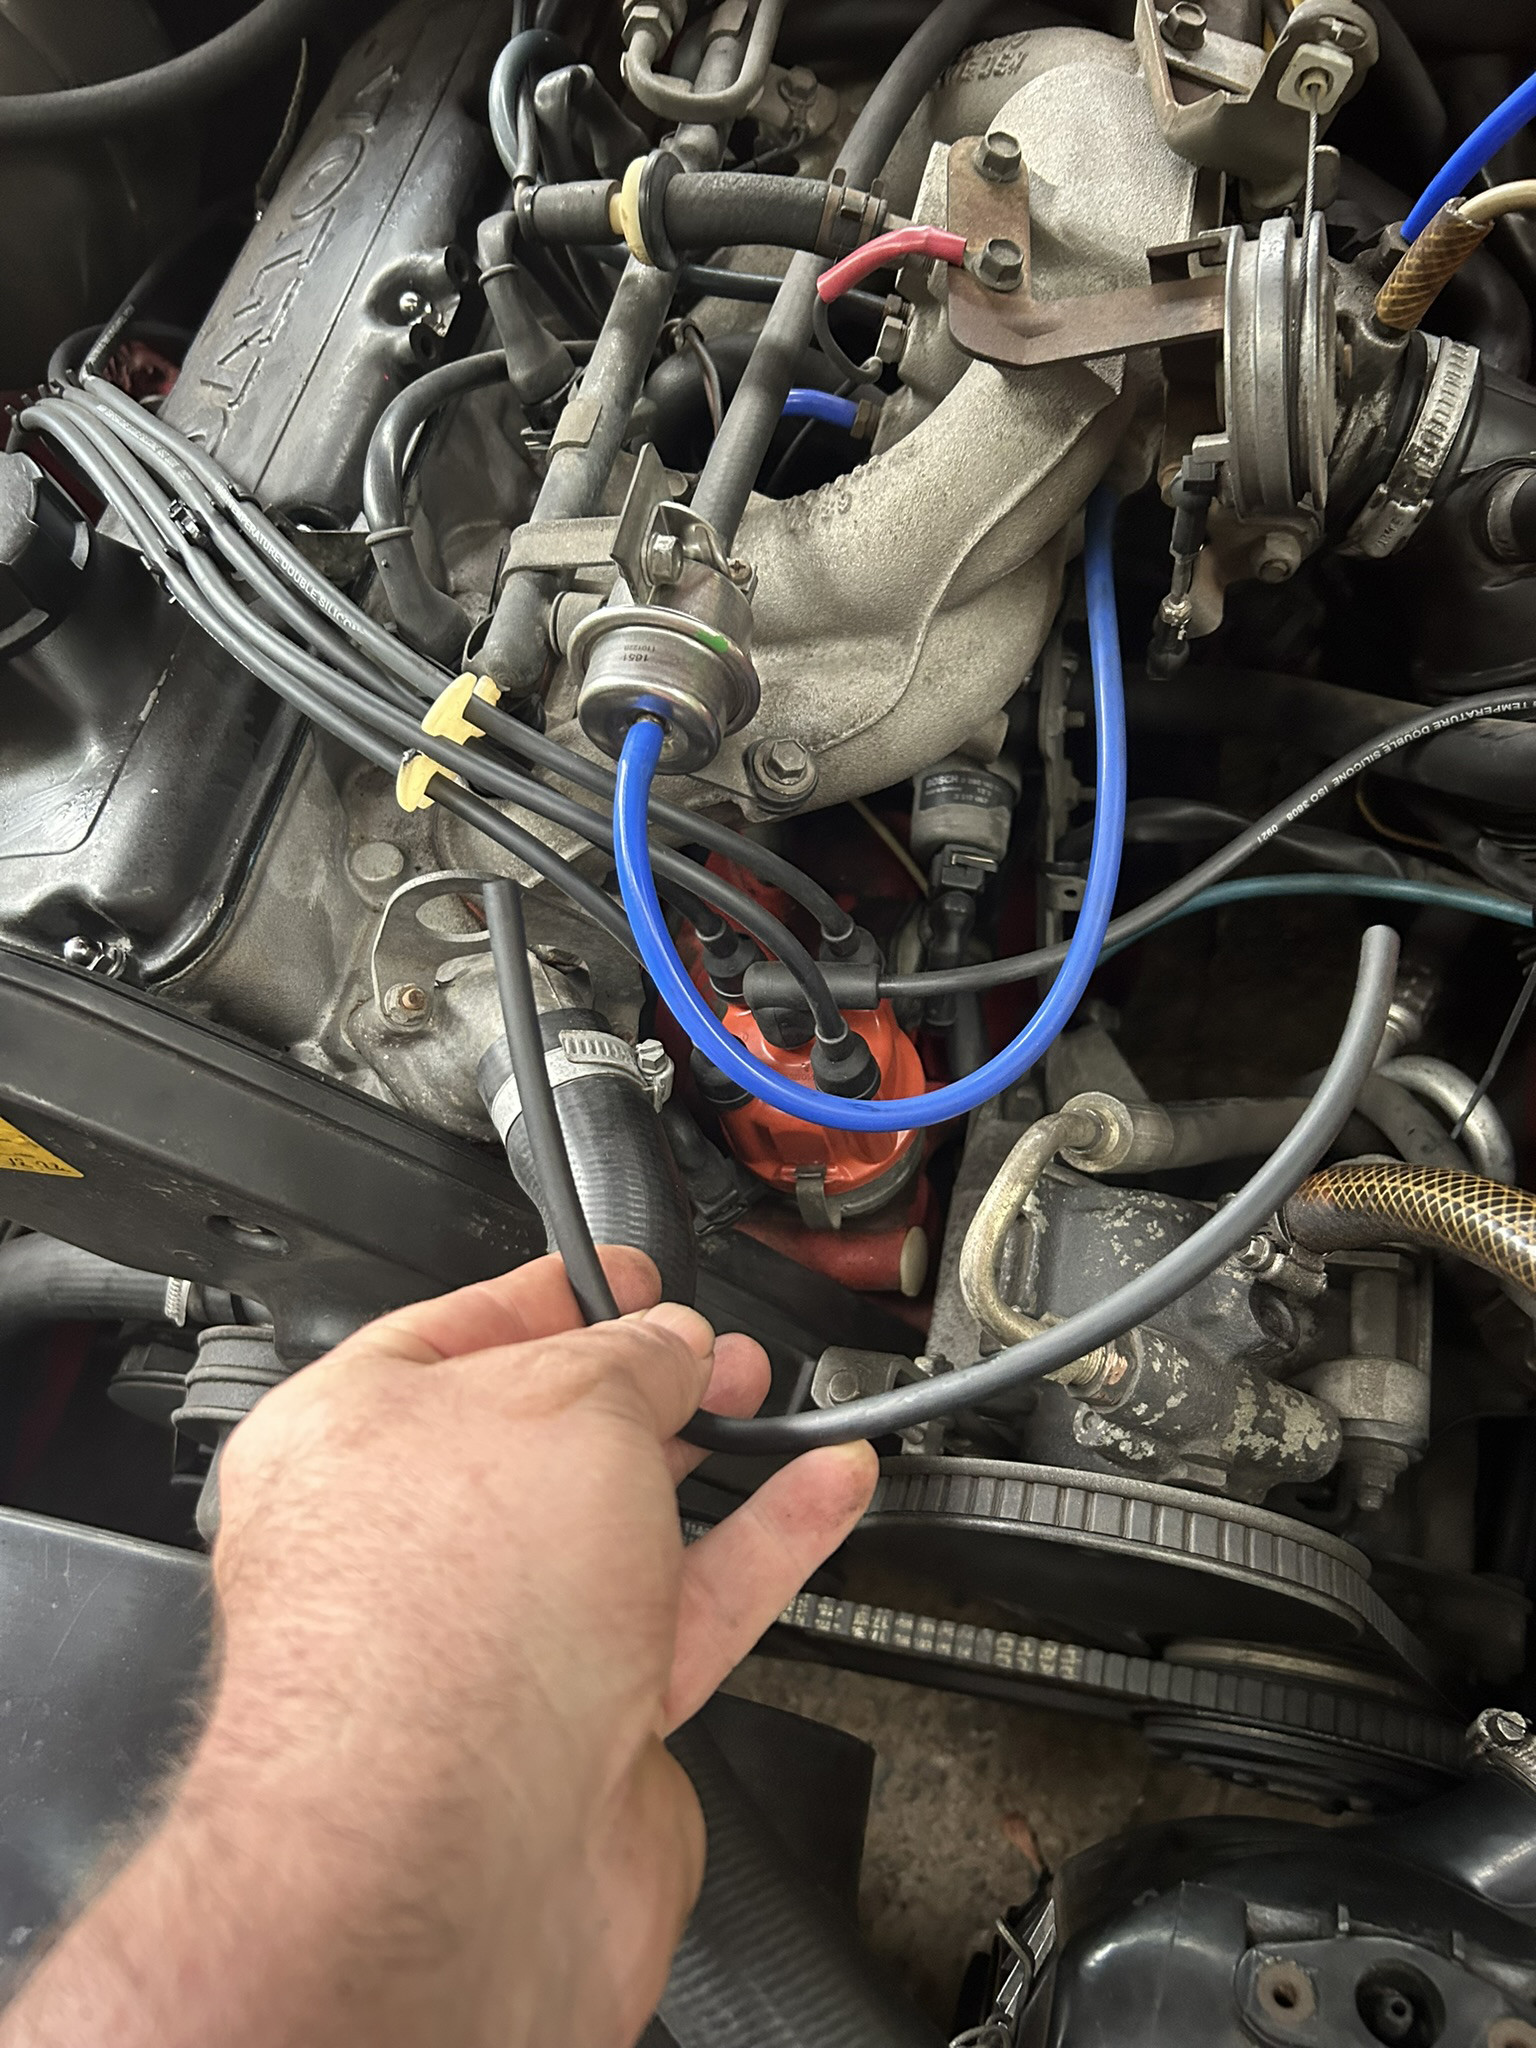
            Current set up. Blue silicon on the FPR. Garden hose to 2mm(?) plastic bend to 6.5mm vapour hose, 3mm blue silicon hose for evap vacuum waving in the wind.

            Image description

            Off to Repco for some replacements. I believe they are 3mm & 6.5mm, I just hand them a sample and asked for 2 metres of each.

            First step replace the fuel pressure reg hose.

            Image description

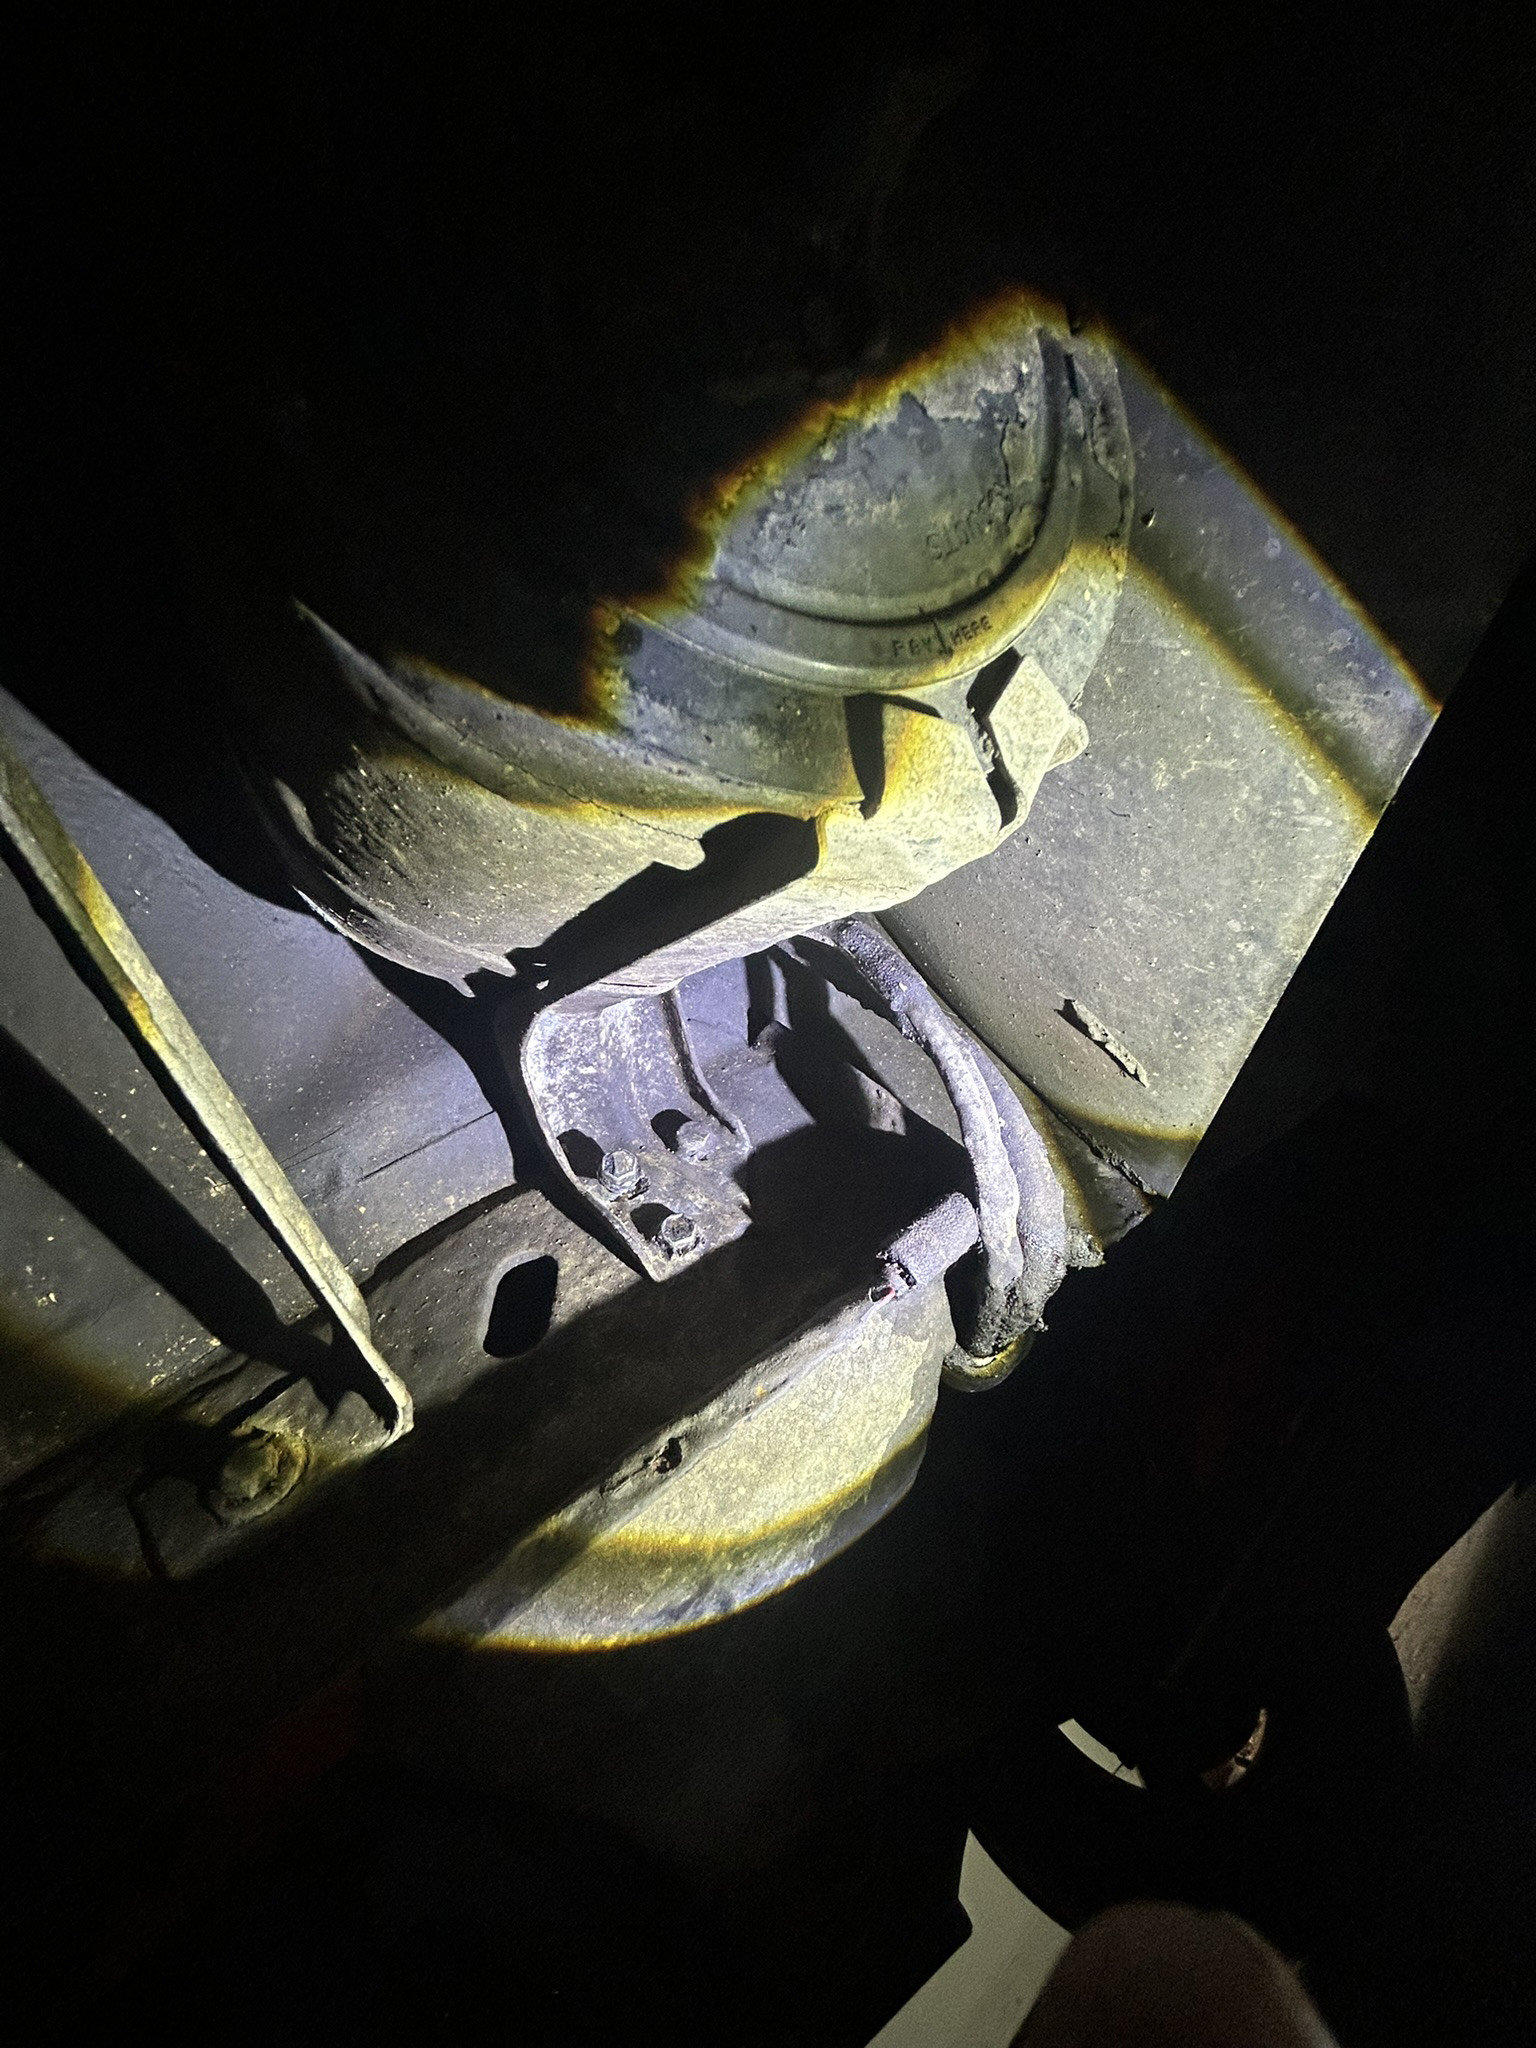
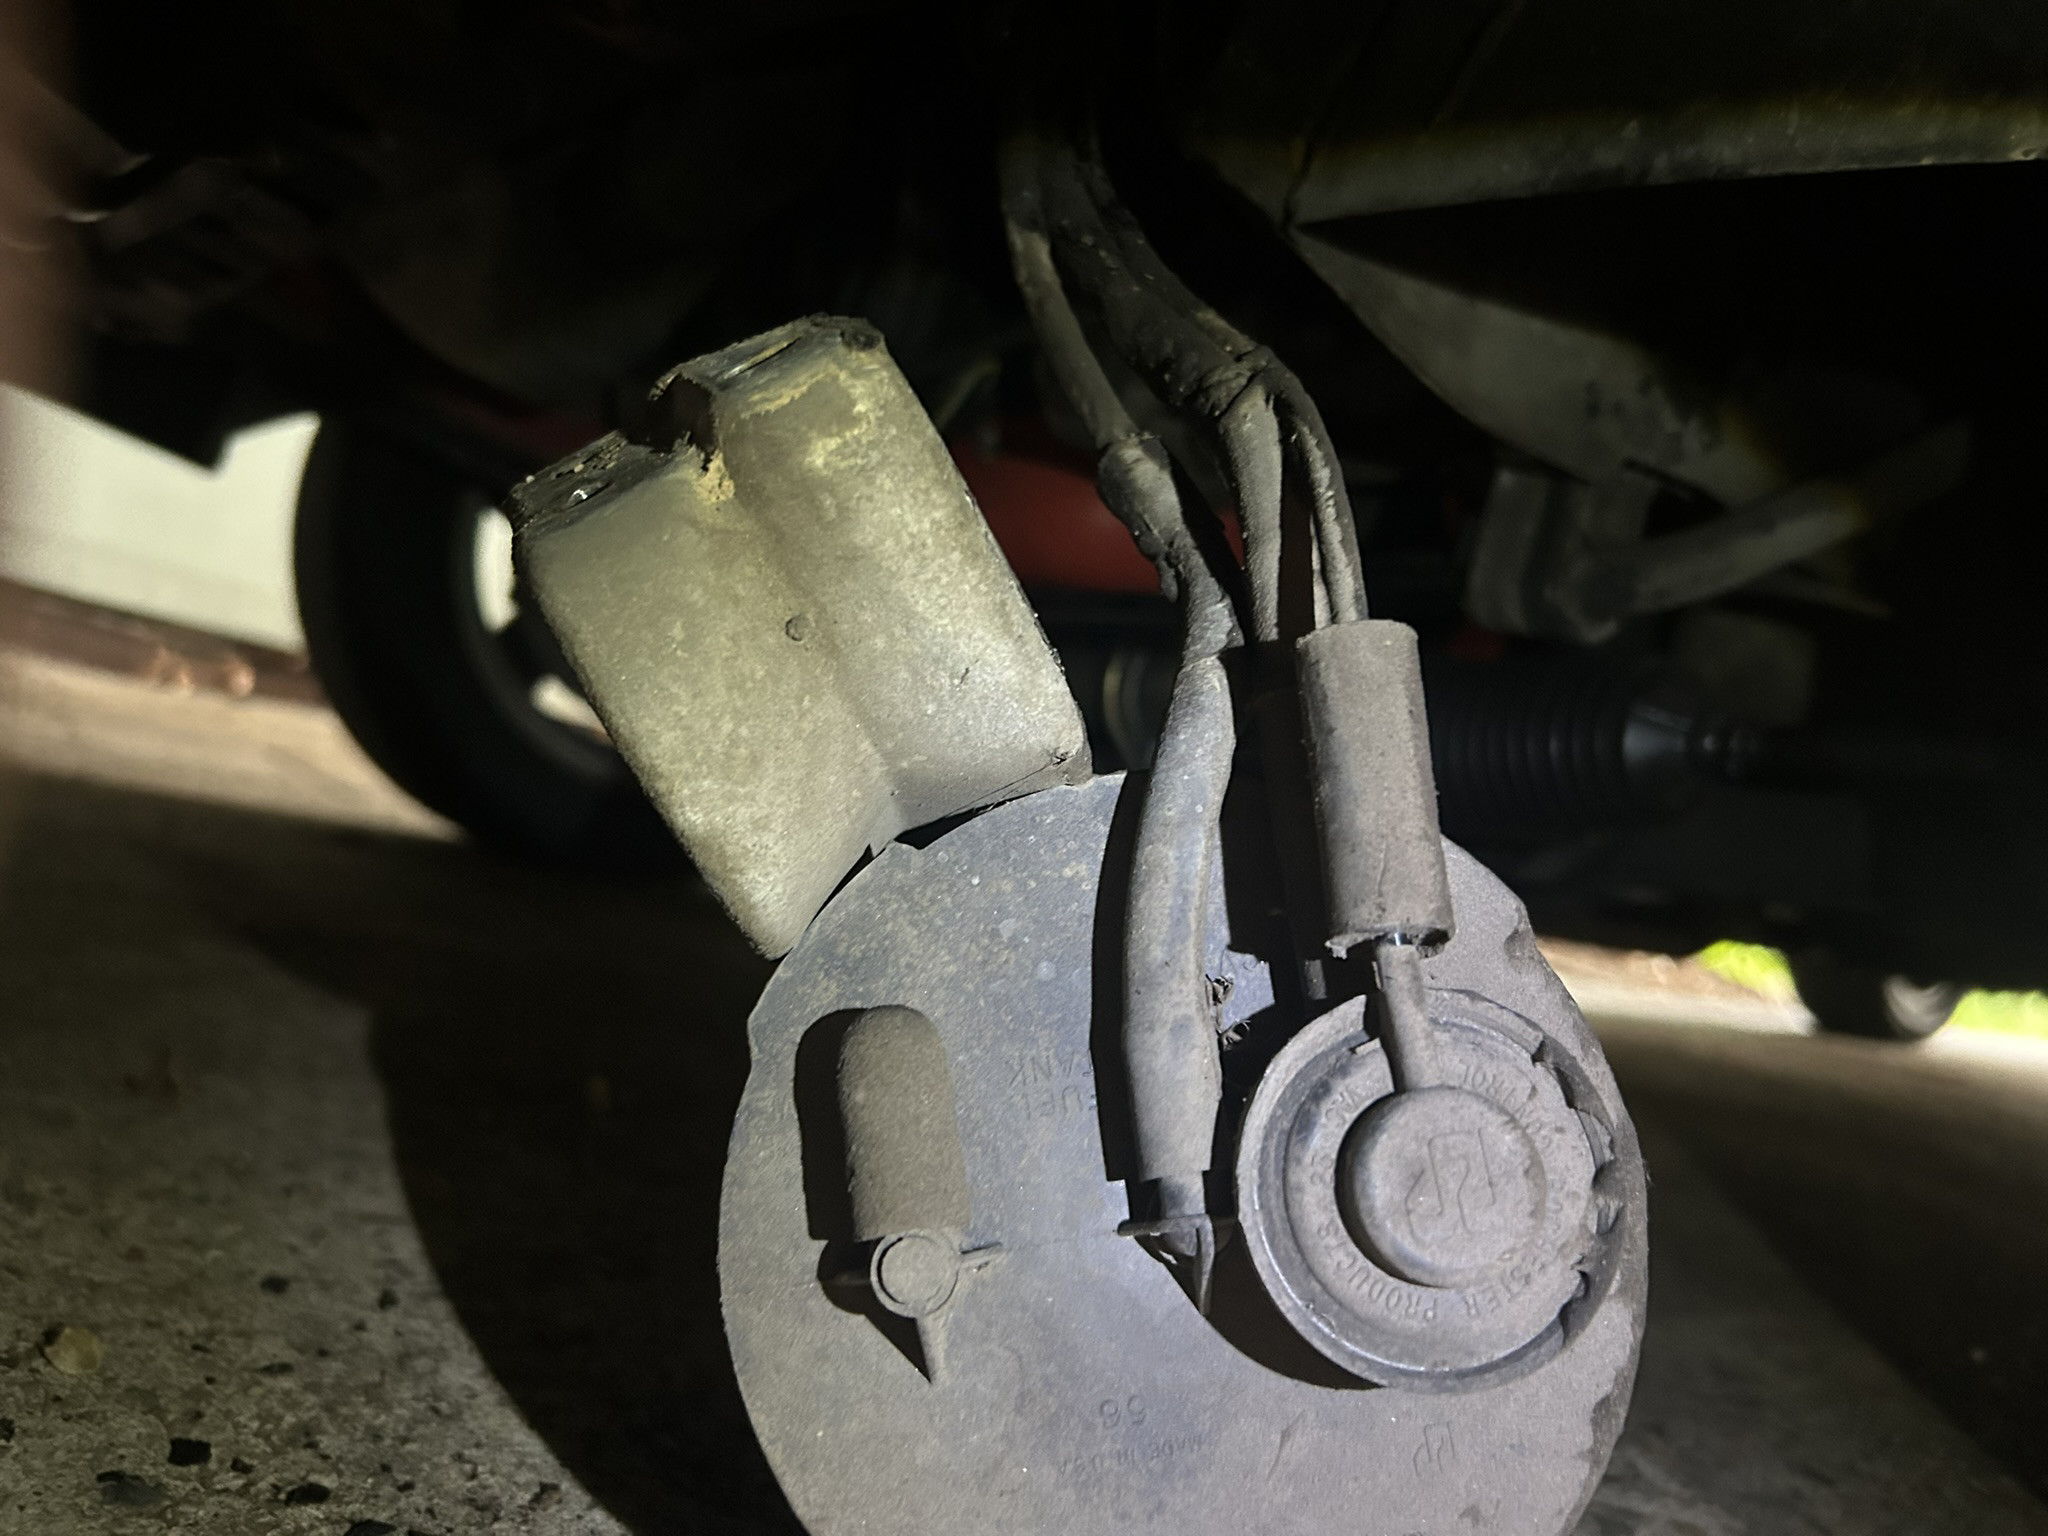
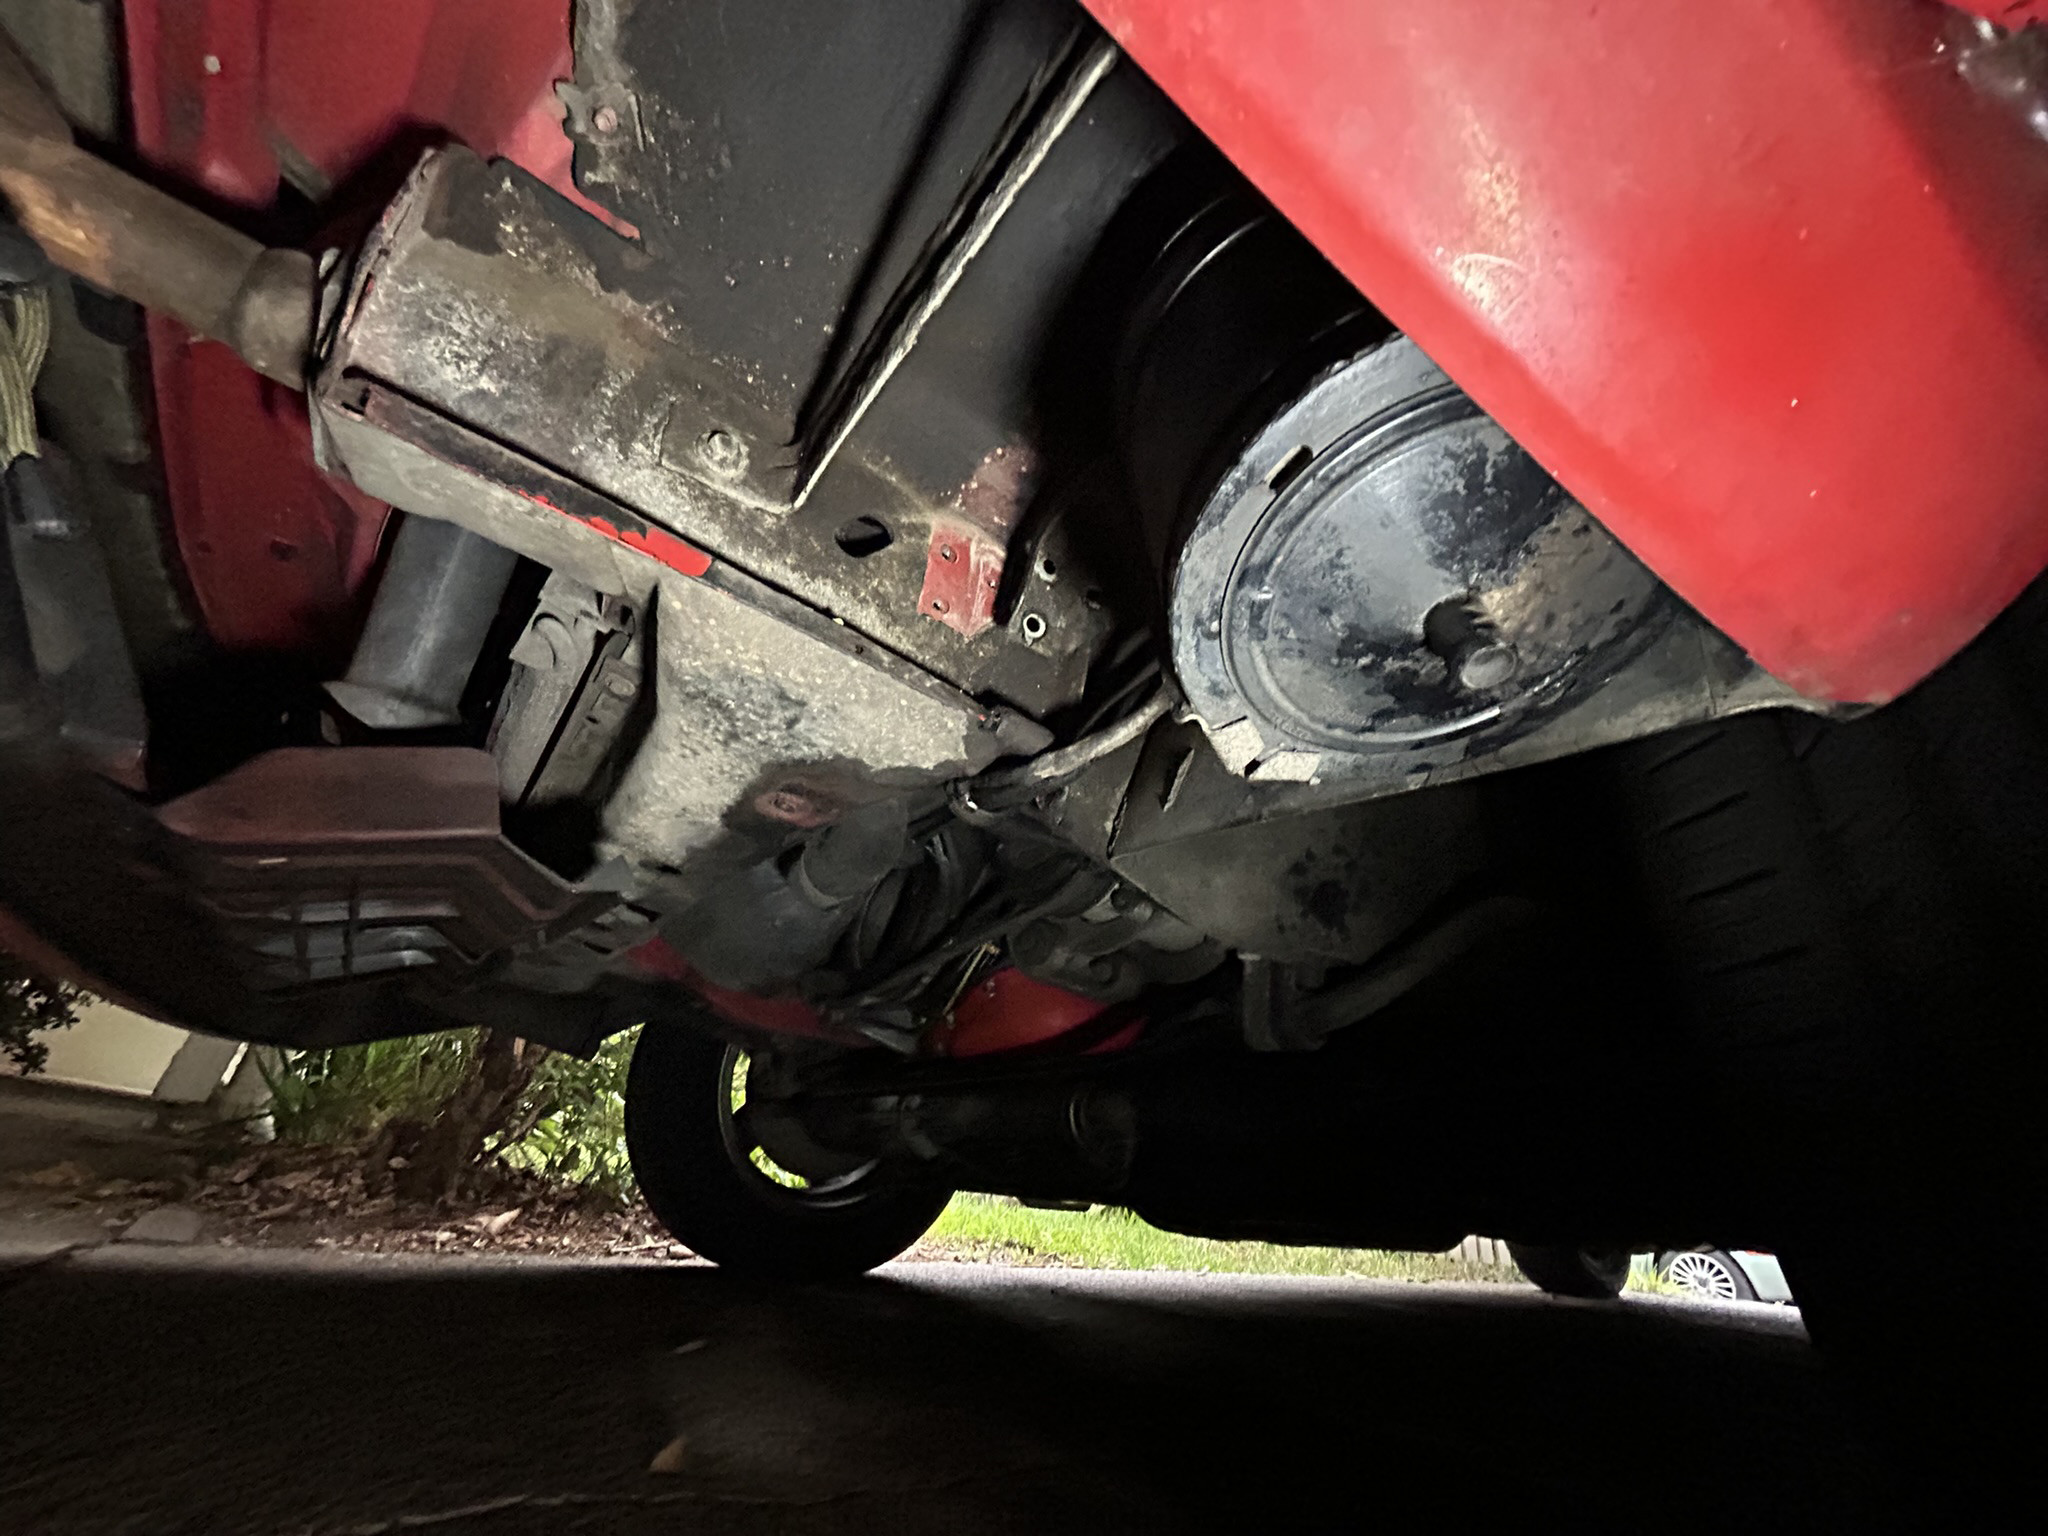
            Next step. Drop the evaporative canister. Three x 10mm bolts holding it in. All bolts were liberally covered with sound deadener which required a lot of scraping to get a good working surface.

            Image description

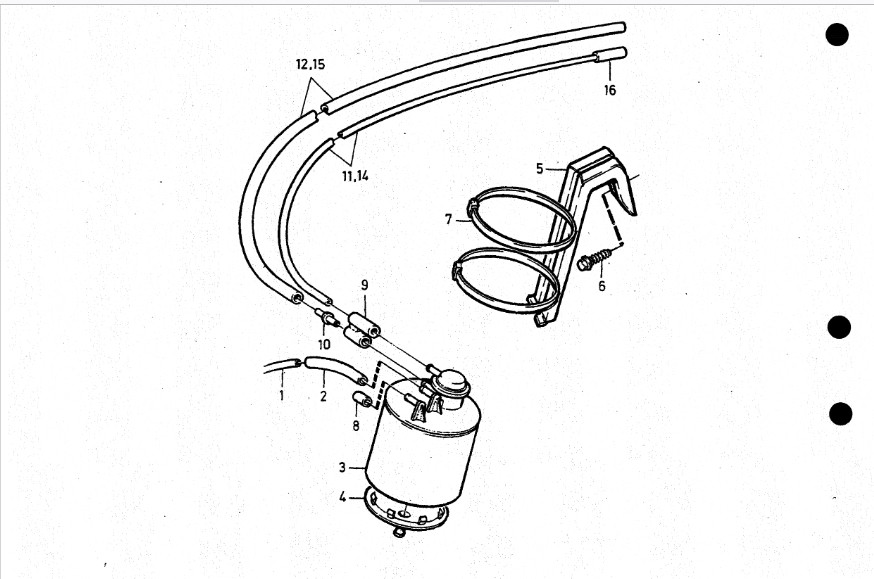
            How it works courtesy of Tubobrick forum. New to me. Fuel tank vapours end up venting to the canister. Vacuum from the throttle body opens a small purge valve that allows to vapour to be burned. It's sort of the same principle as a Zippo lighter

            Image description

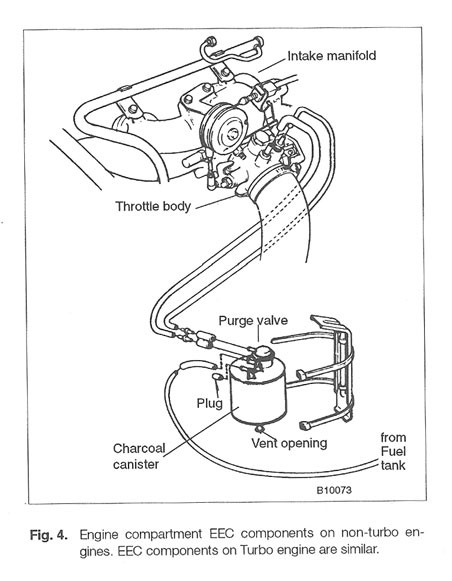
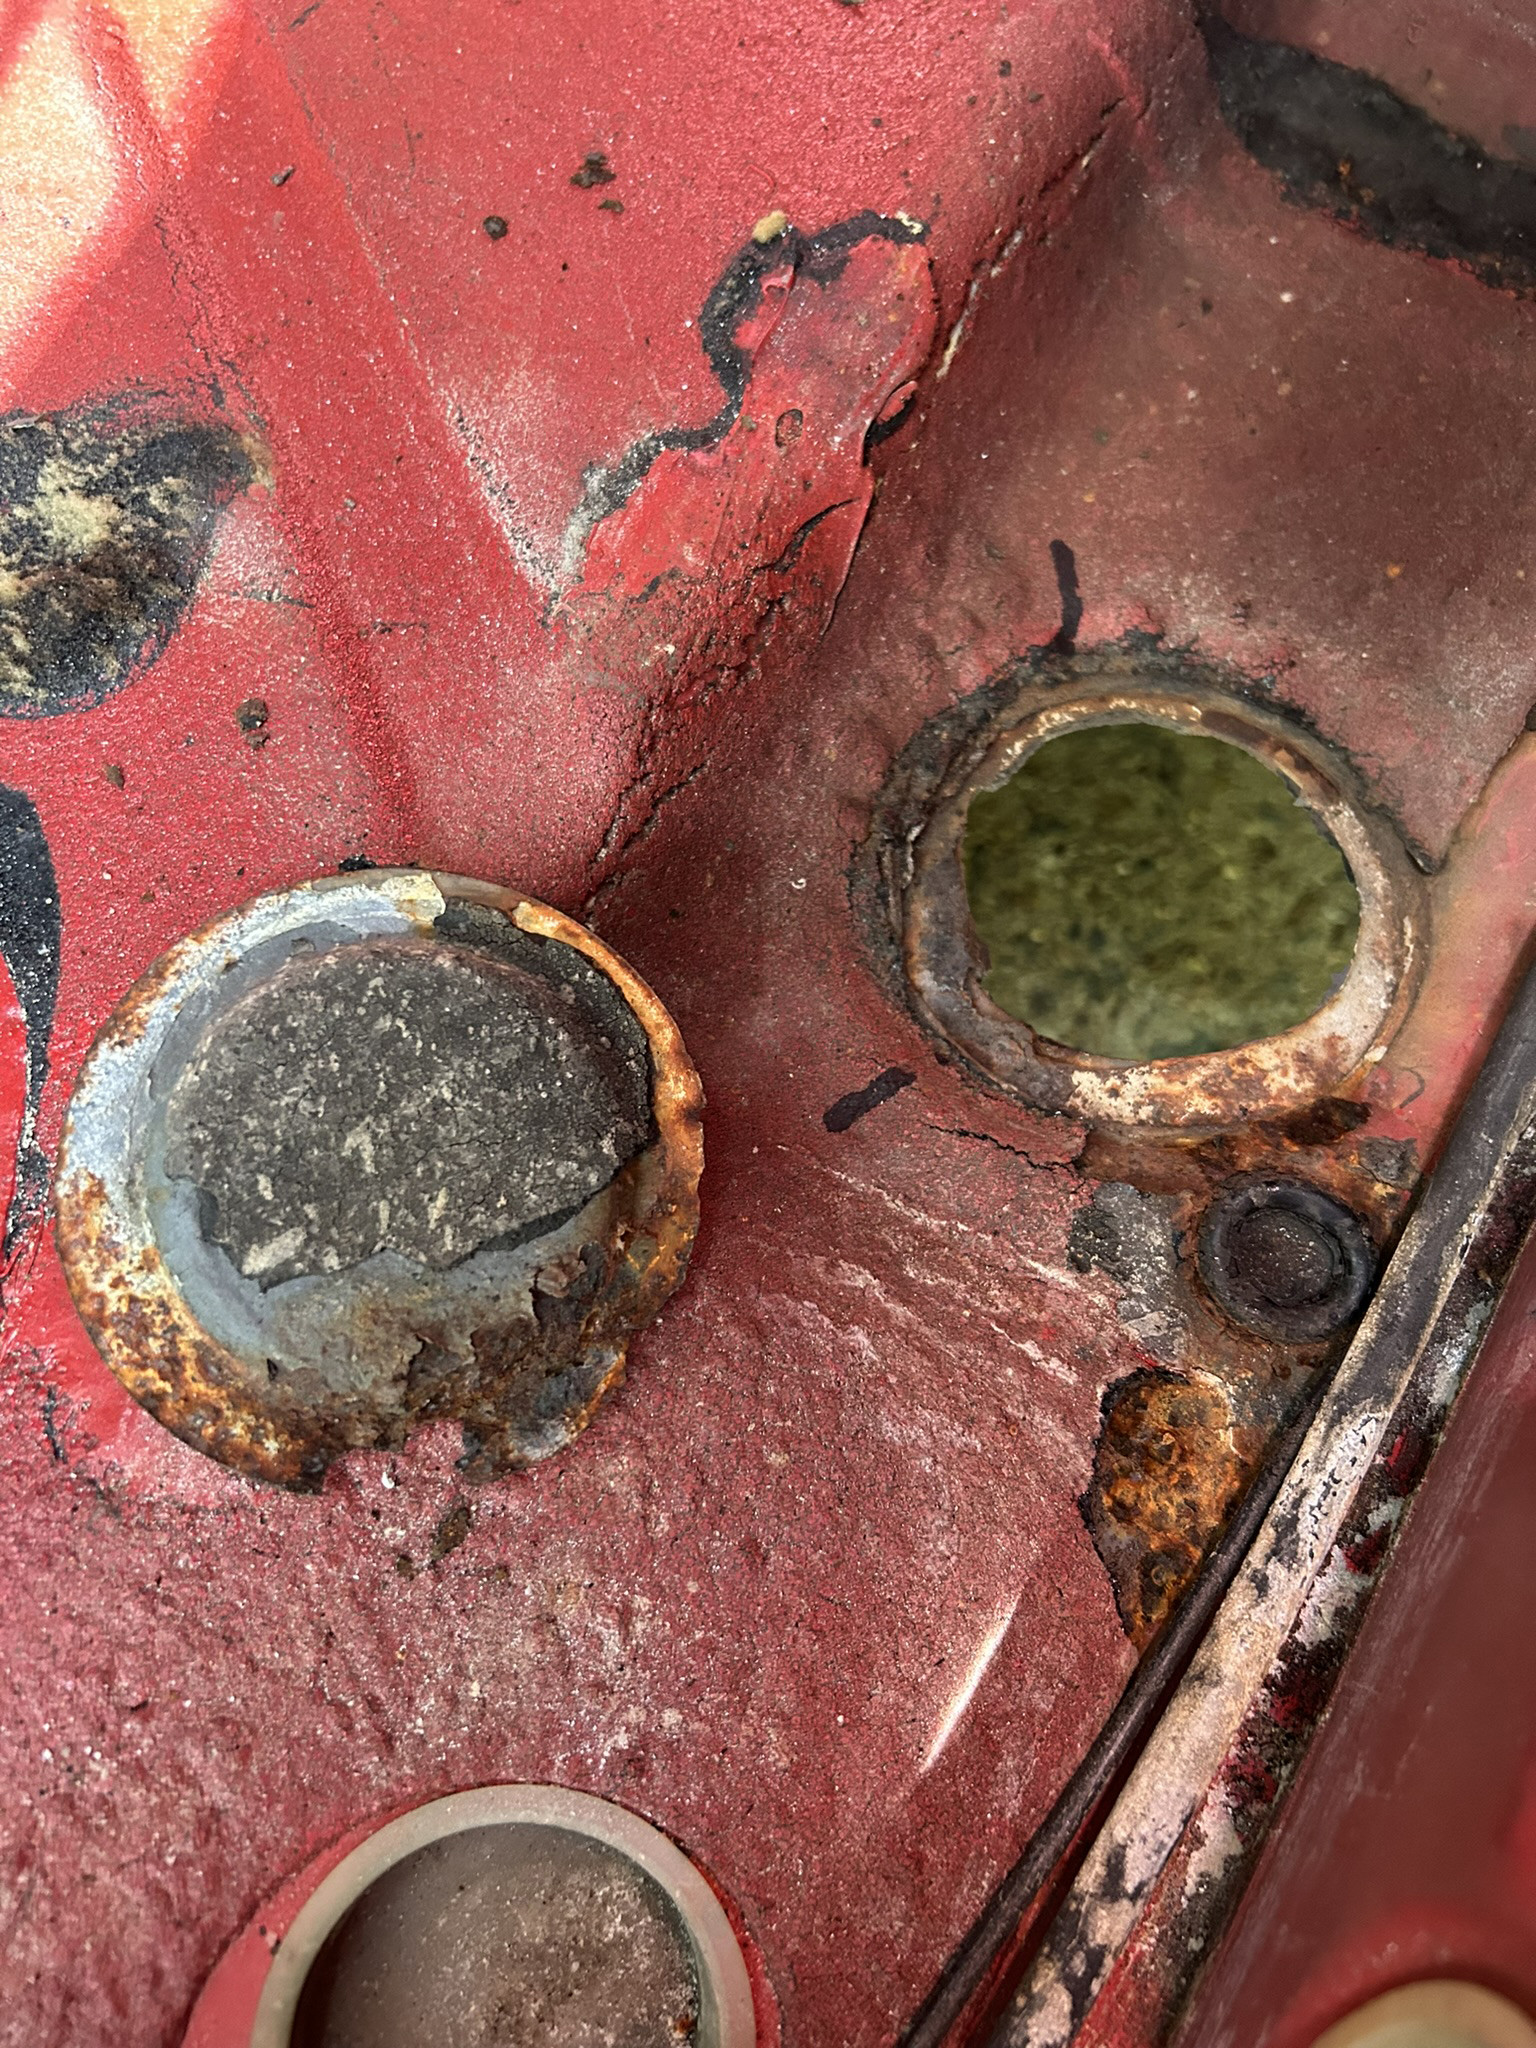
            Drop the canister. Blanked off "Air" nozzle, tank vapour line (middle), throttle body lines (right)

            Image description

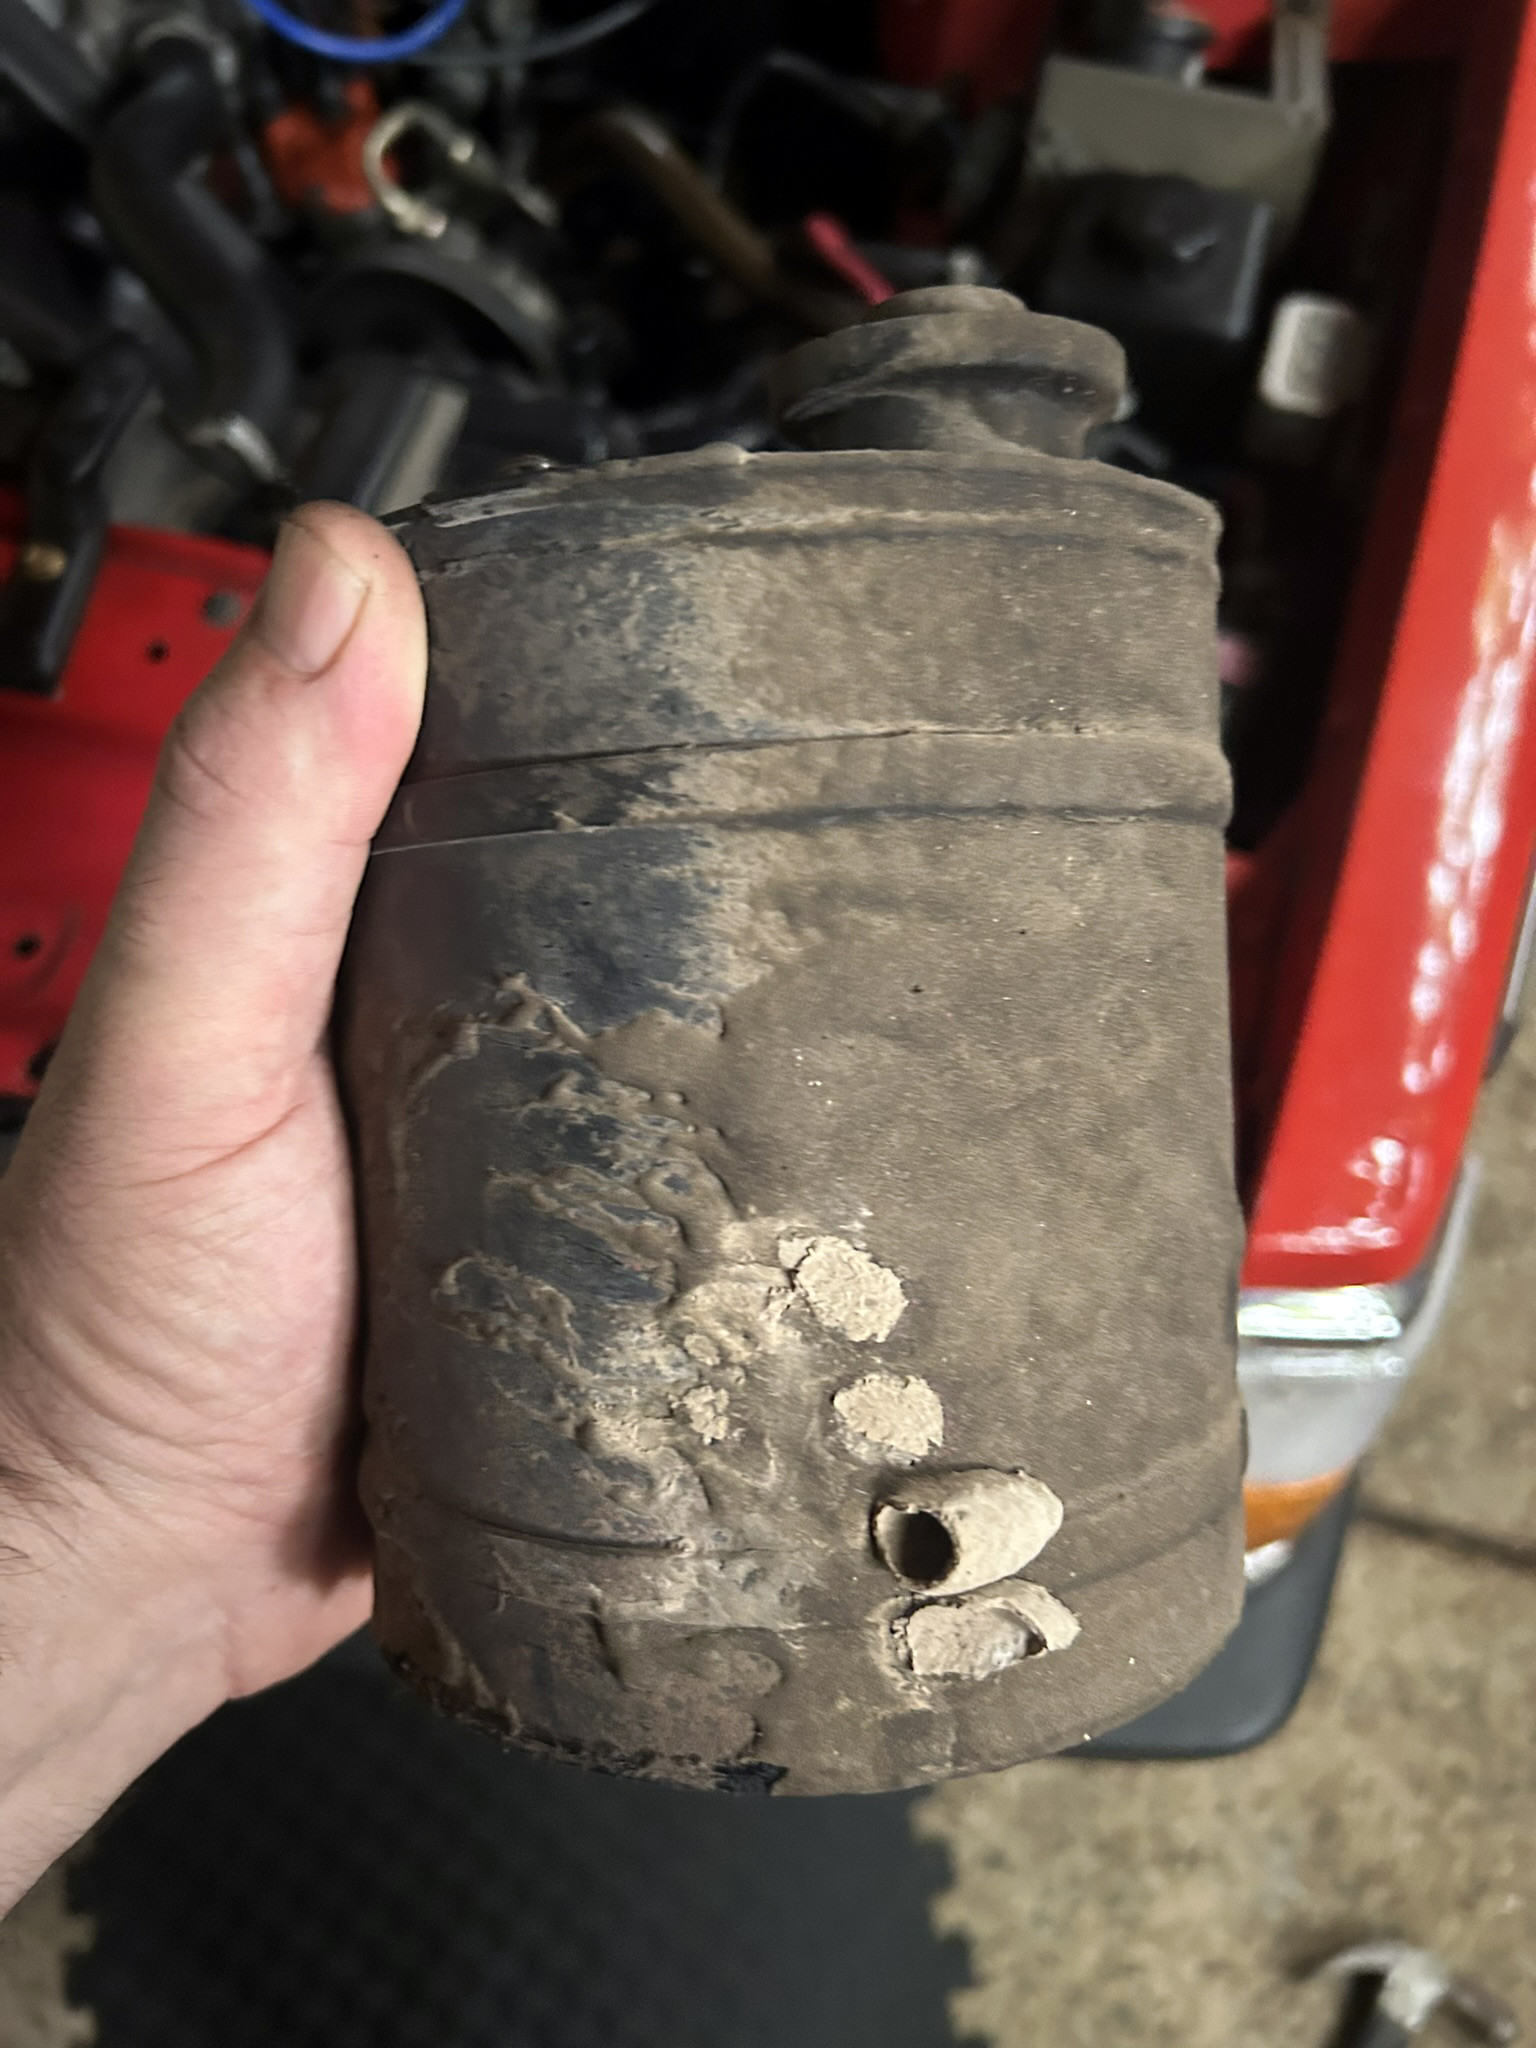
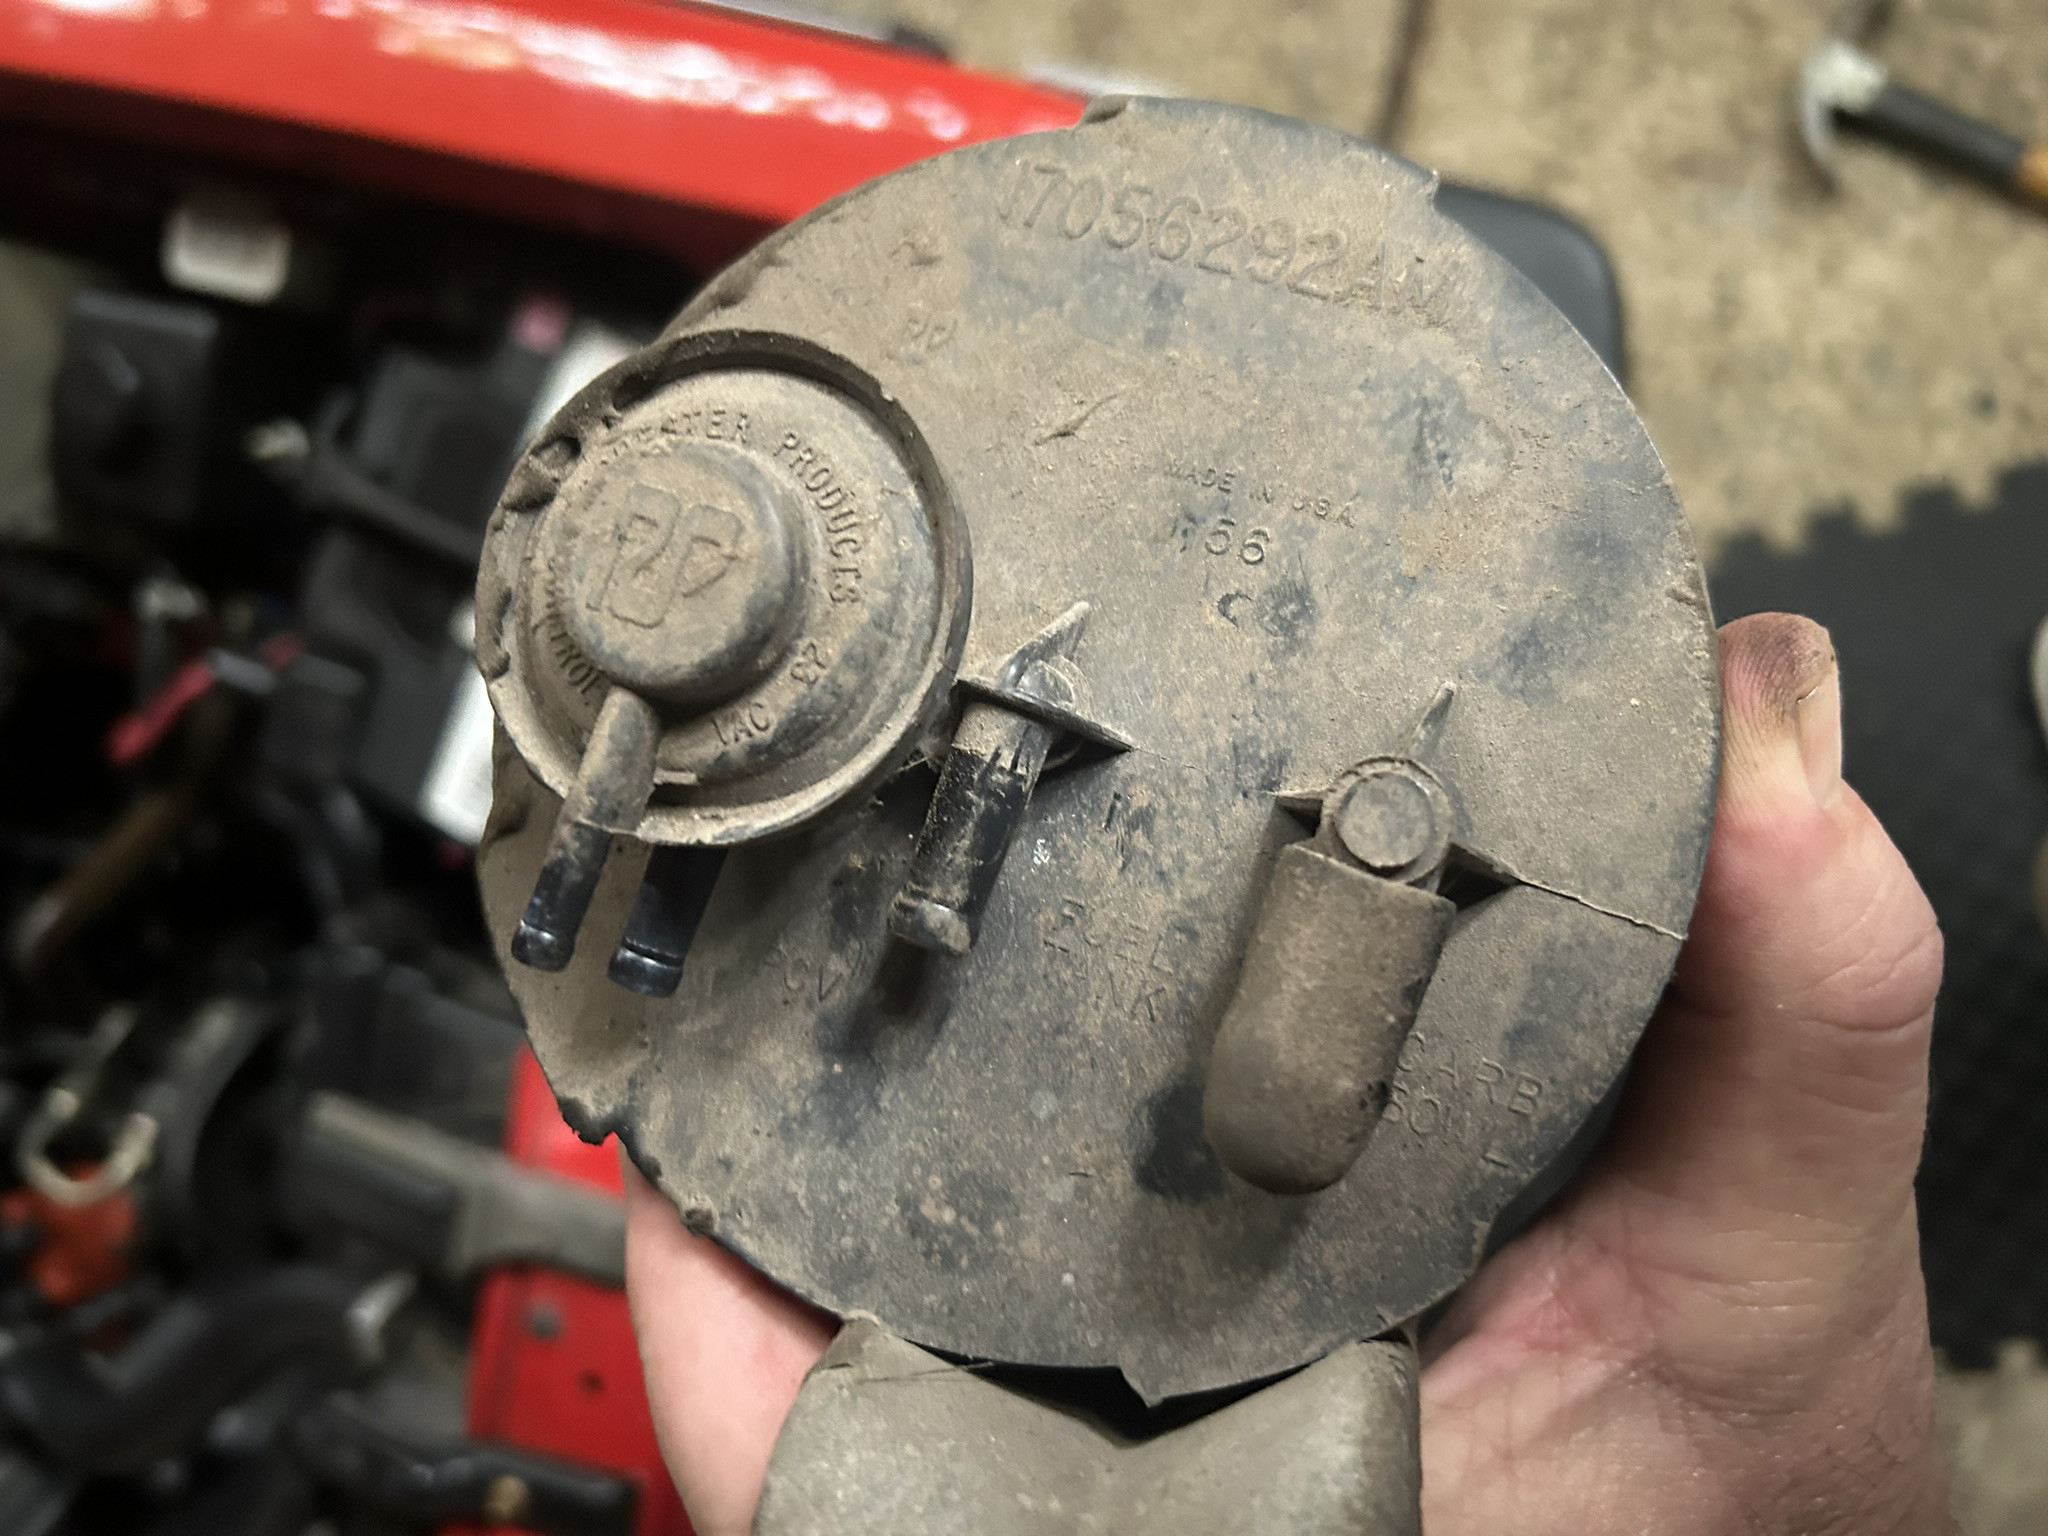
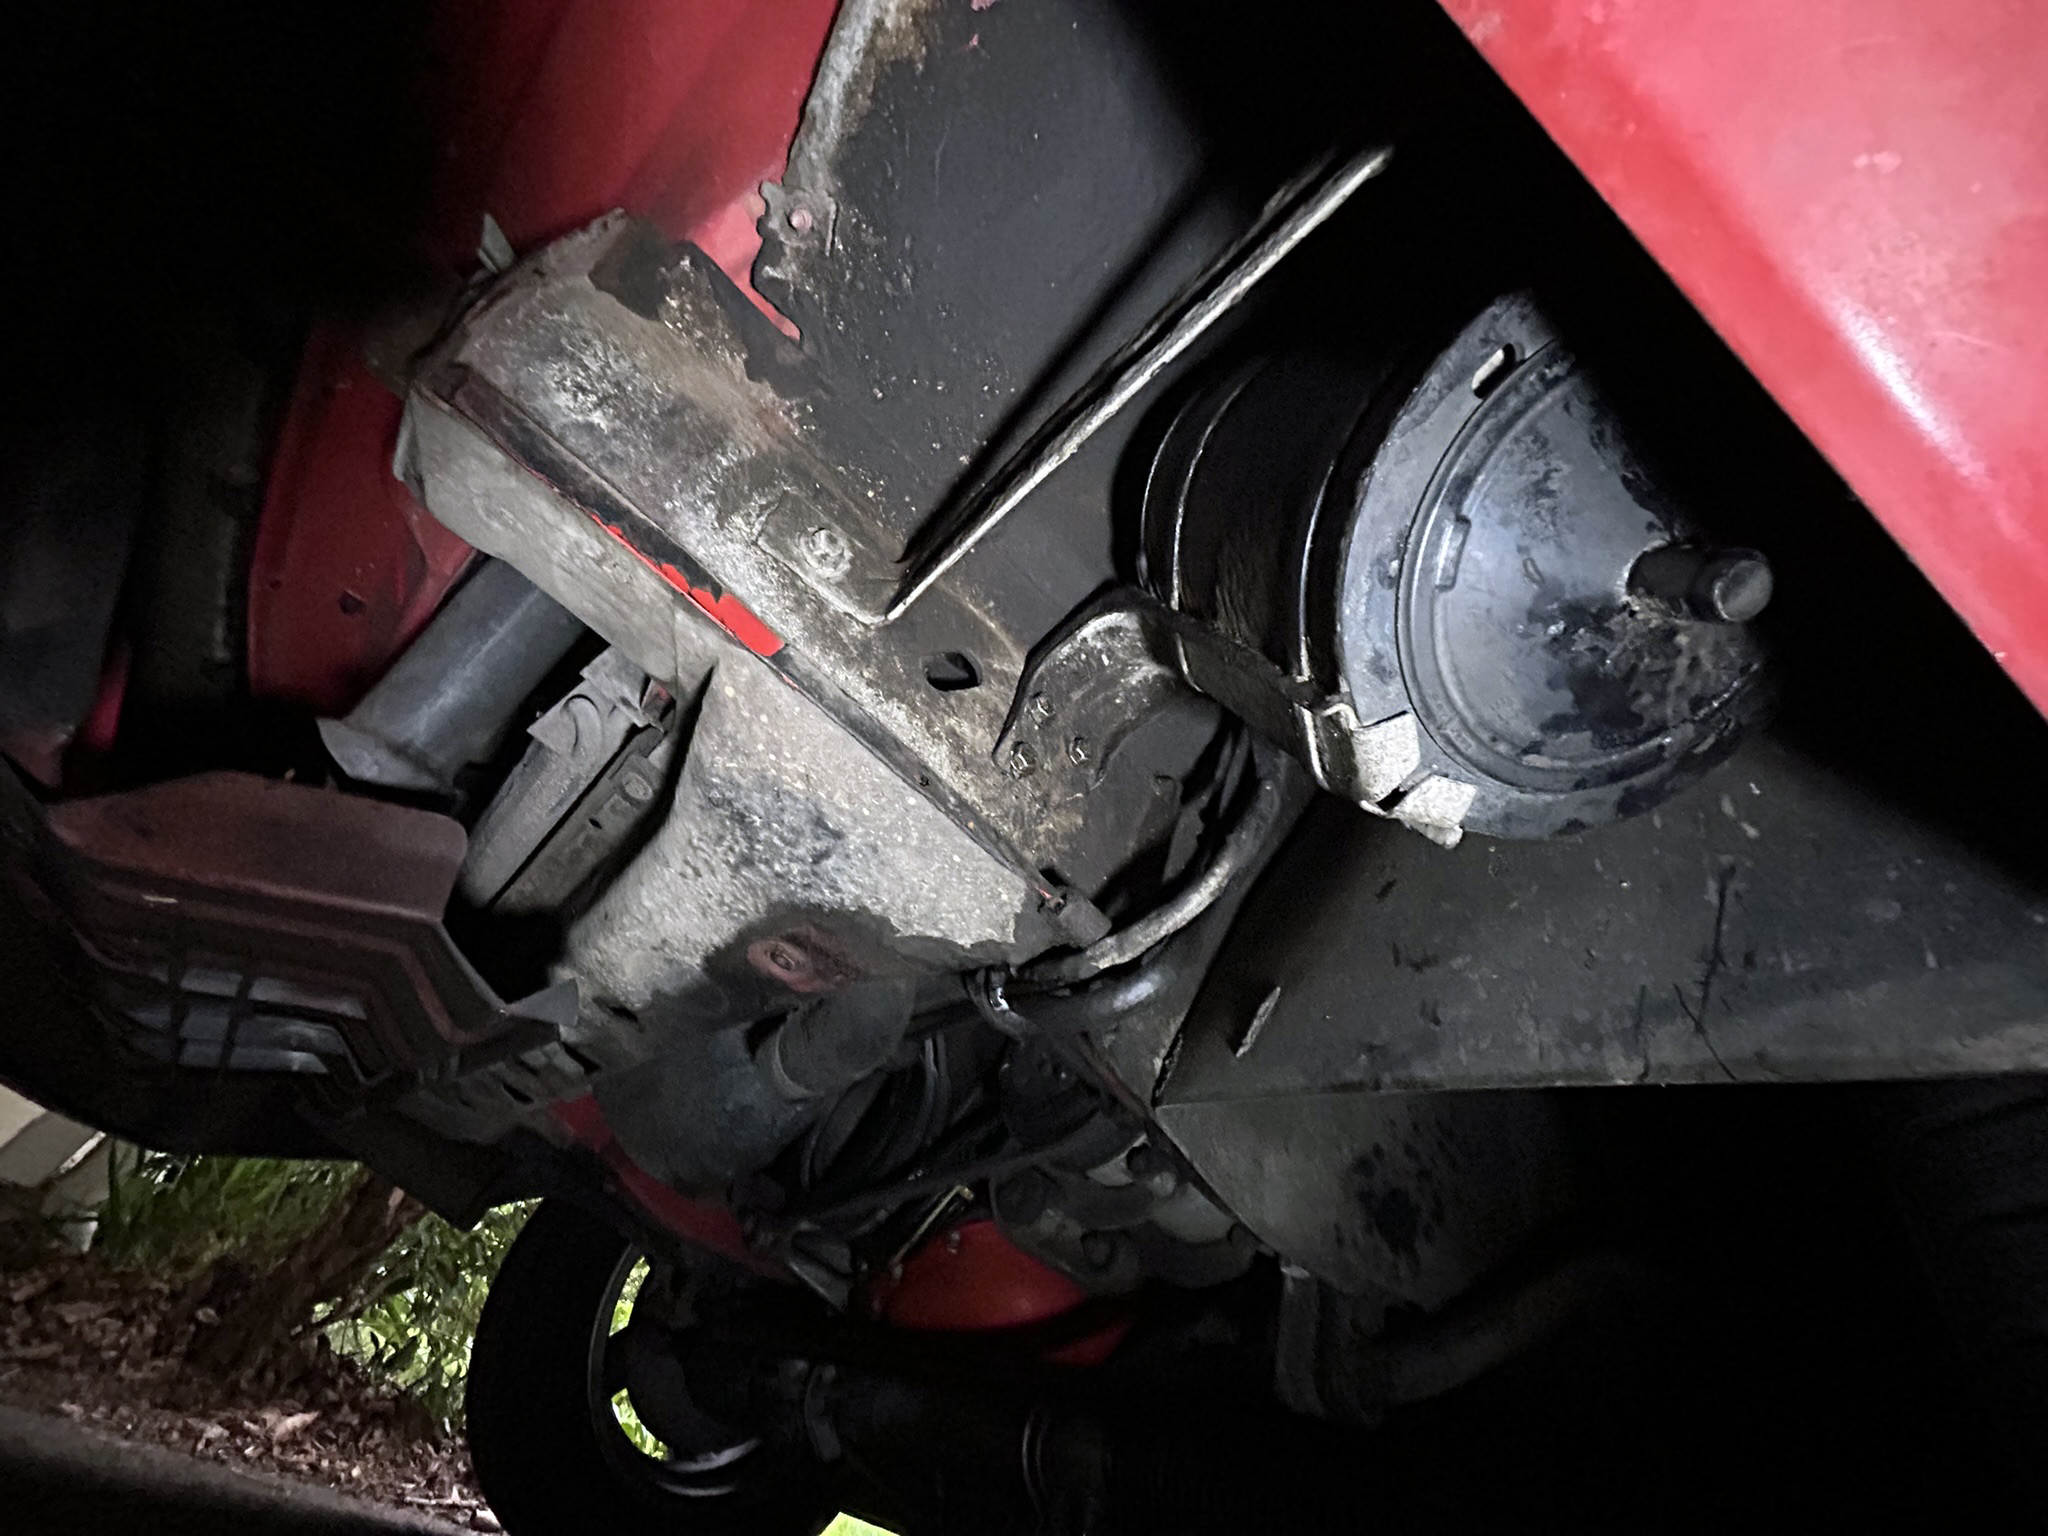
            Pull off the hoses. Lot's of sound deadener & a couple of mud wasp nests. Rochester part number 17056292 AM Volvo part 1276694. Made by Rochester USA and no longer available. I did a few checks around and the canister is no longer made but is very similar to Torana, Kingswood and Commodore canisters at the time.

            Type RB30 available at Vintage Commodore part 17075847-FX looks like it will do the same job.

            https://www.vintagecommodores.com.au/vl-rb30-vapour-canister-3-outlet-6-cyl-efi-gm-17075847-fx.html

            Image description

            Image description

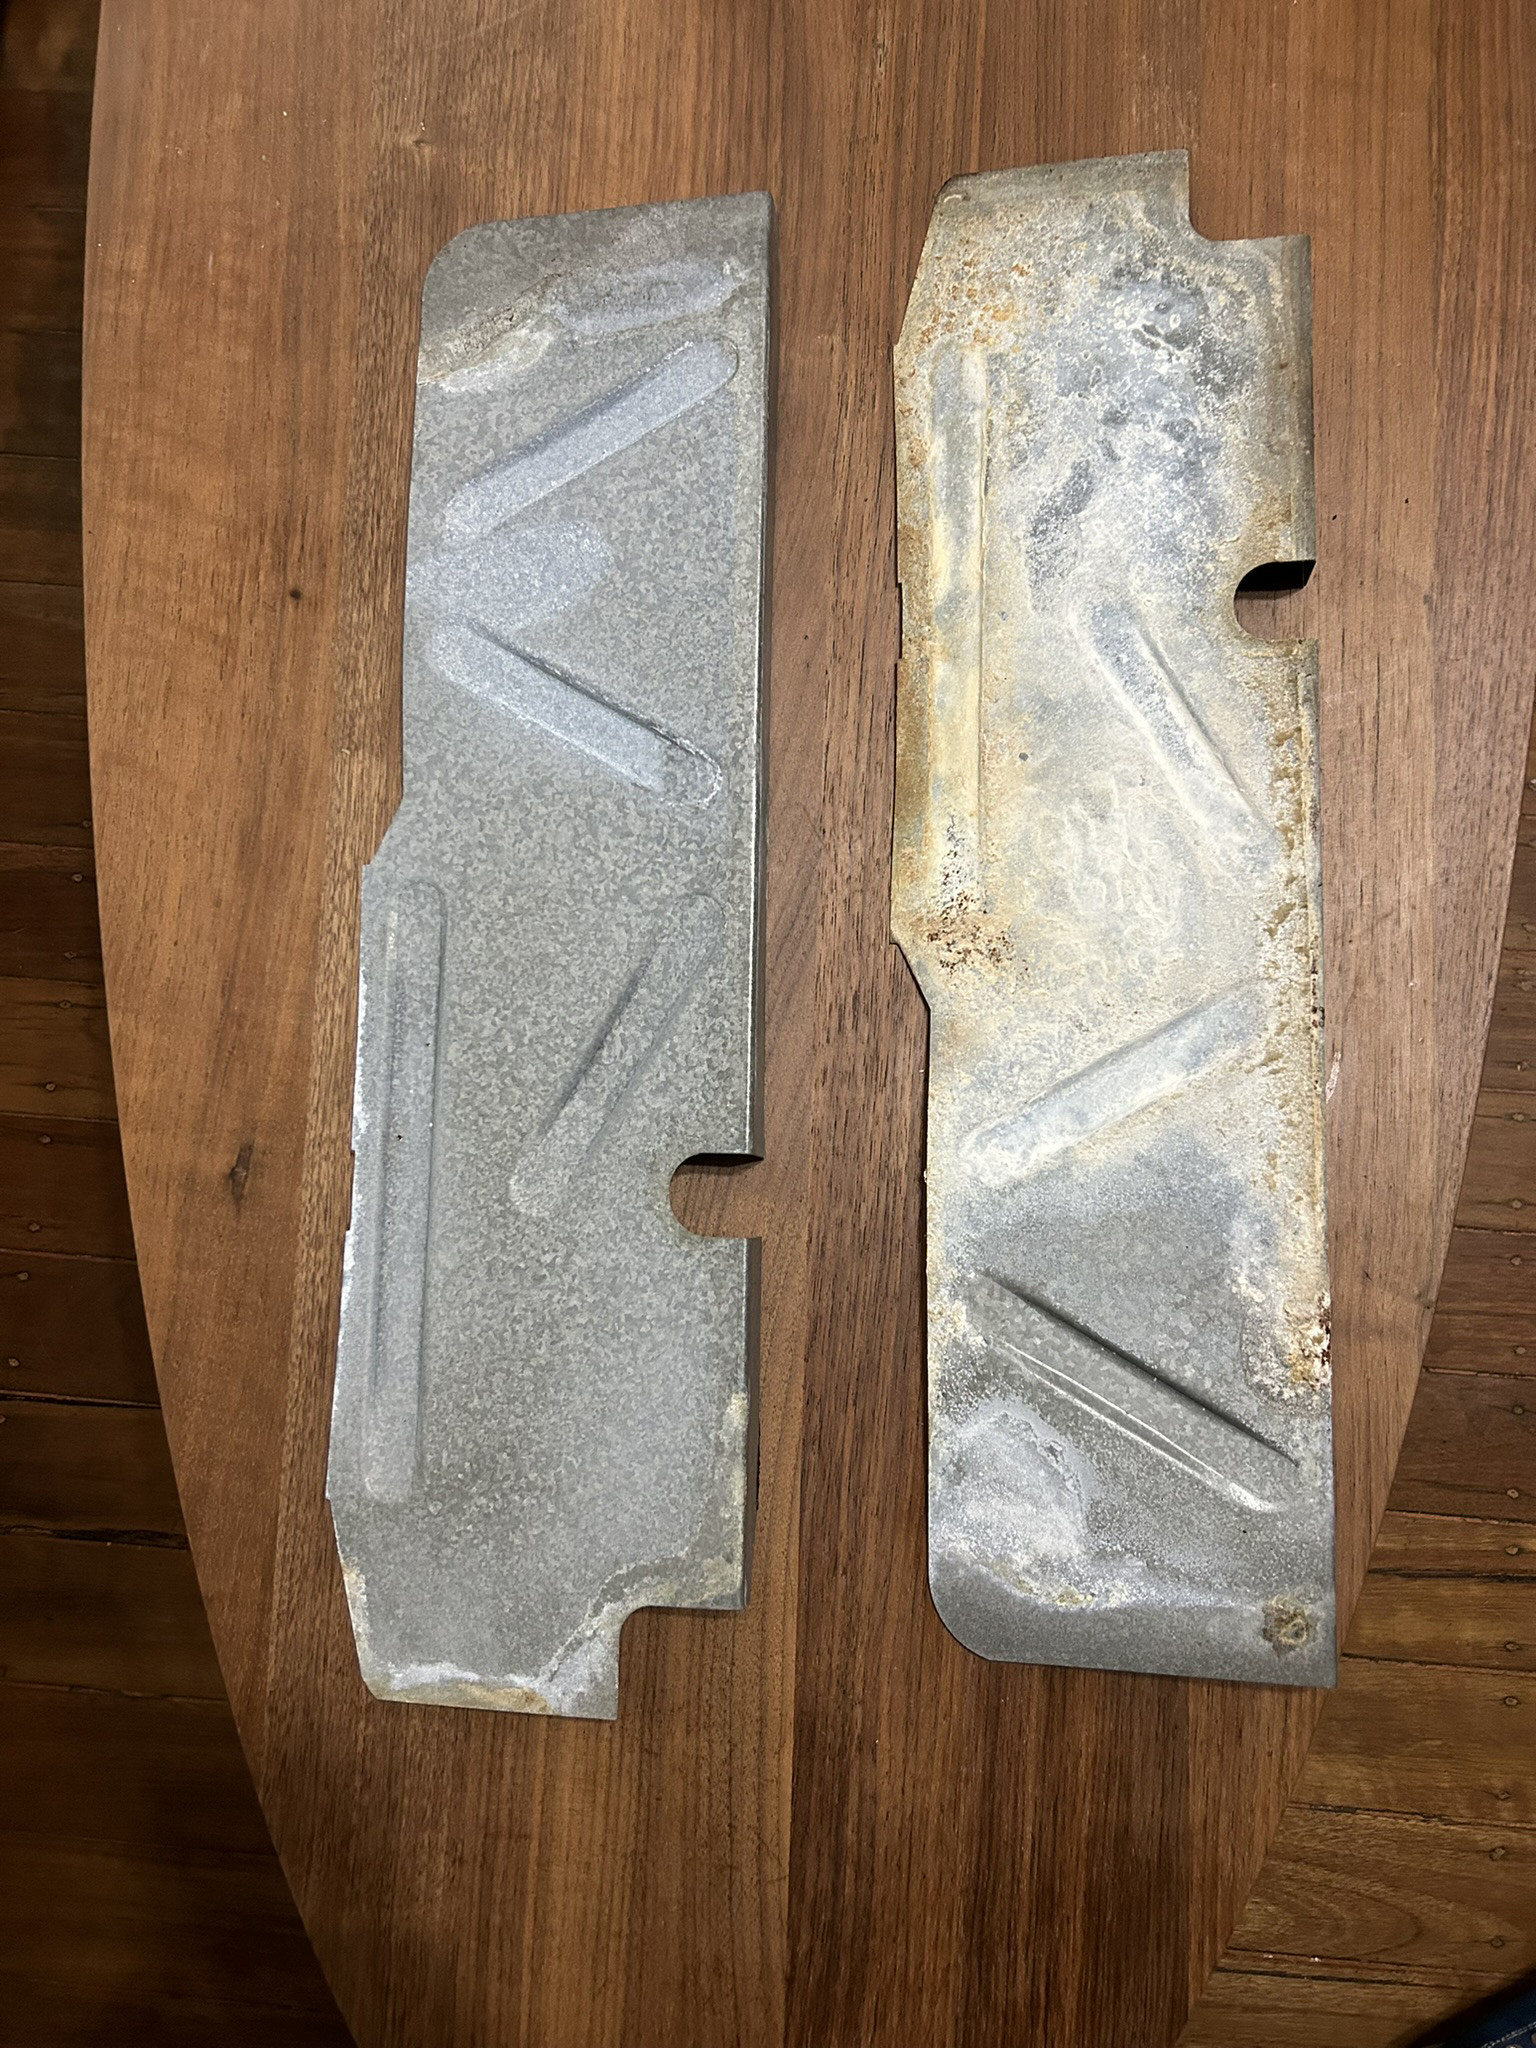
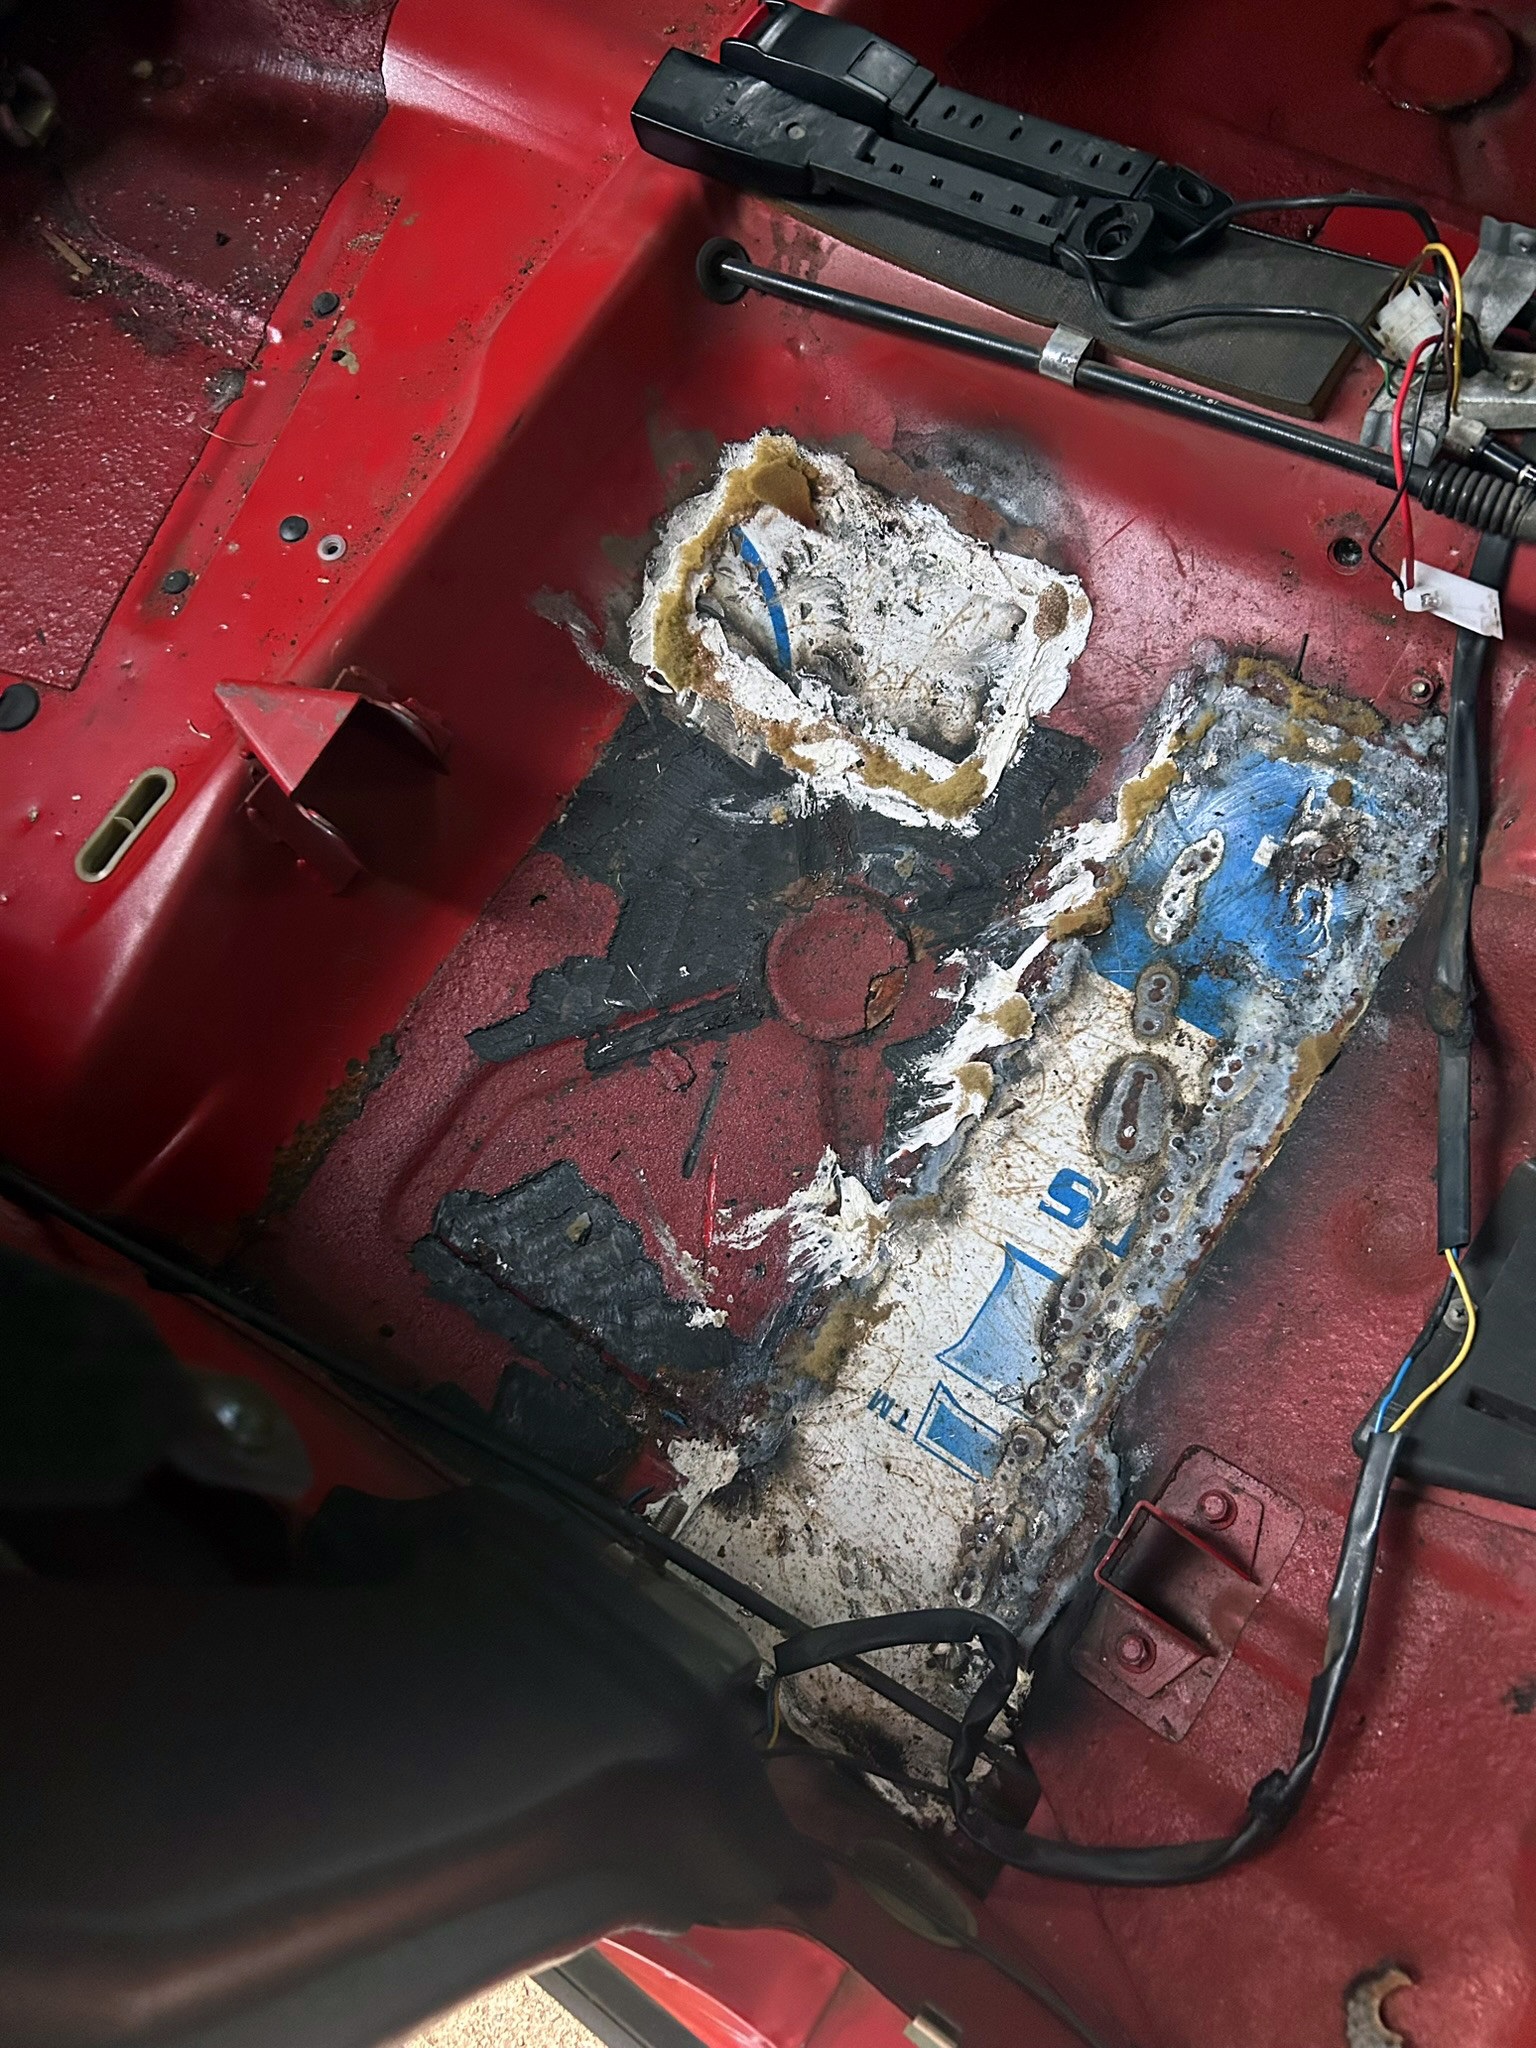
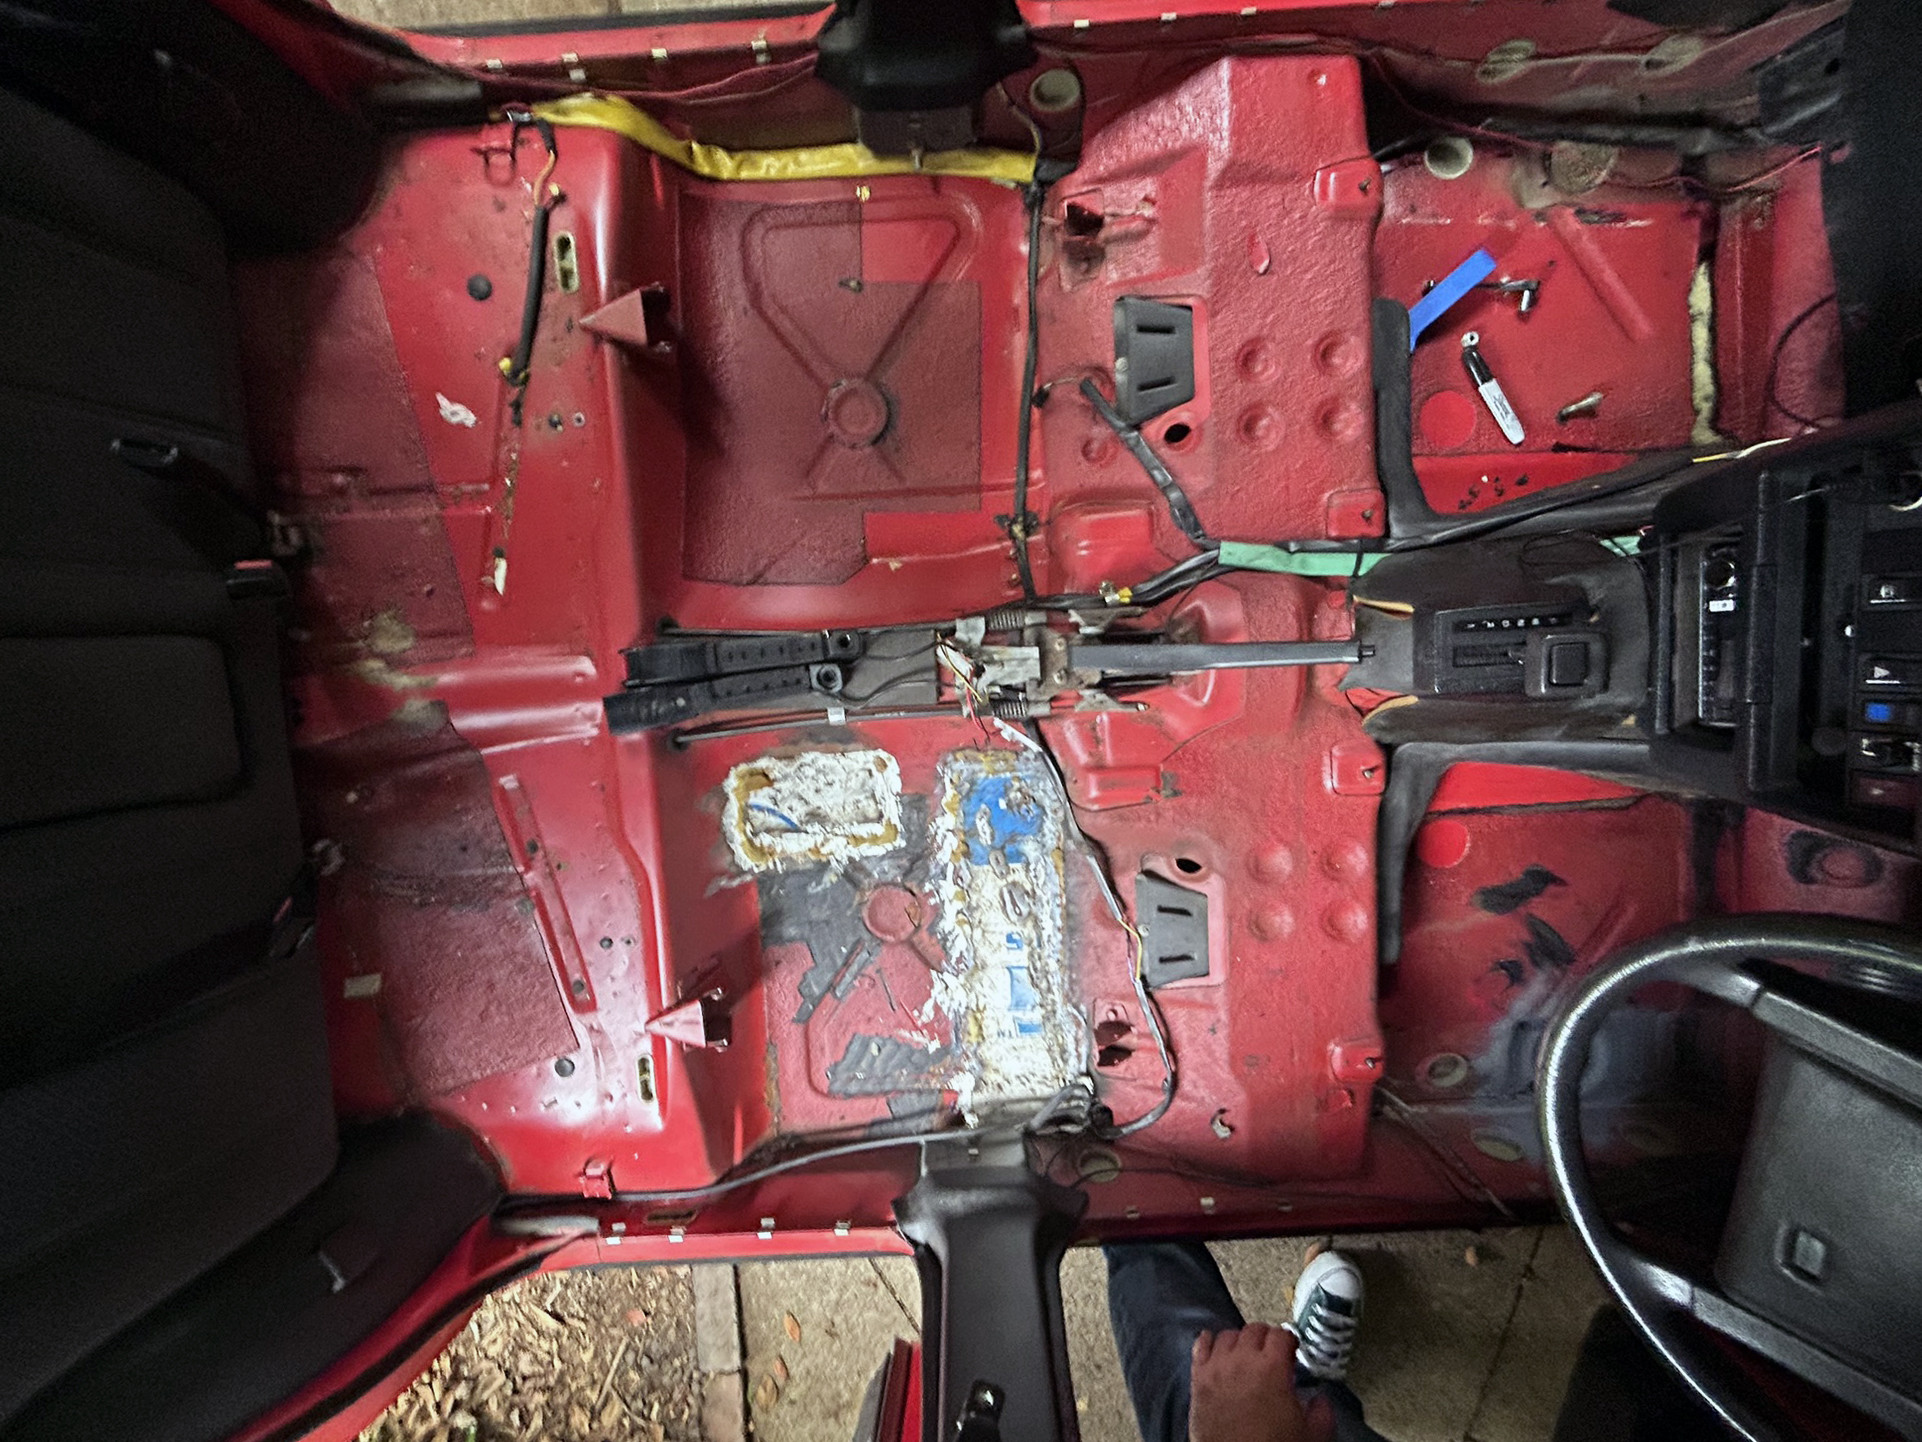
            Scraped off some of the deadener & the wasp nests. First thoughts it was a later patch up but it looks factory. The galvanised frame was well preserved underneath. So I didn't go too hard after realizing 1/2 way through I'd probably hit it with deadener again.

            Image description

            Image description

            Anyway, it cleaned up a little better than before, I wasn't going for a show look and will hit it with some deadener again anyway. The purge valve was working with a quick suck through some hose. I pried off the bottom of the canister and there was some intact fibre material. Looked OK with a slight whiff of fuel.

            Image description

            Image description

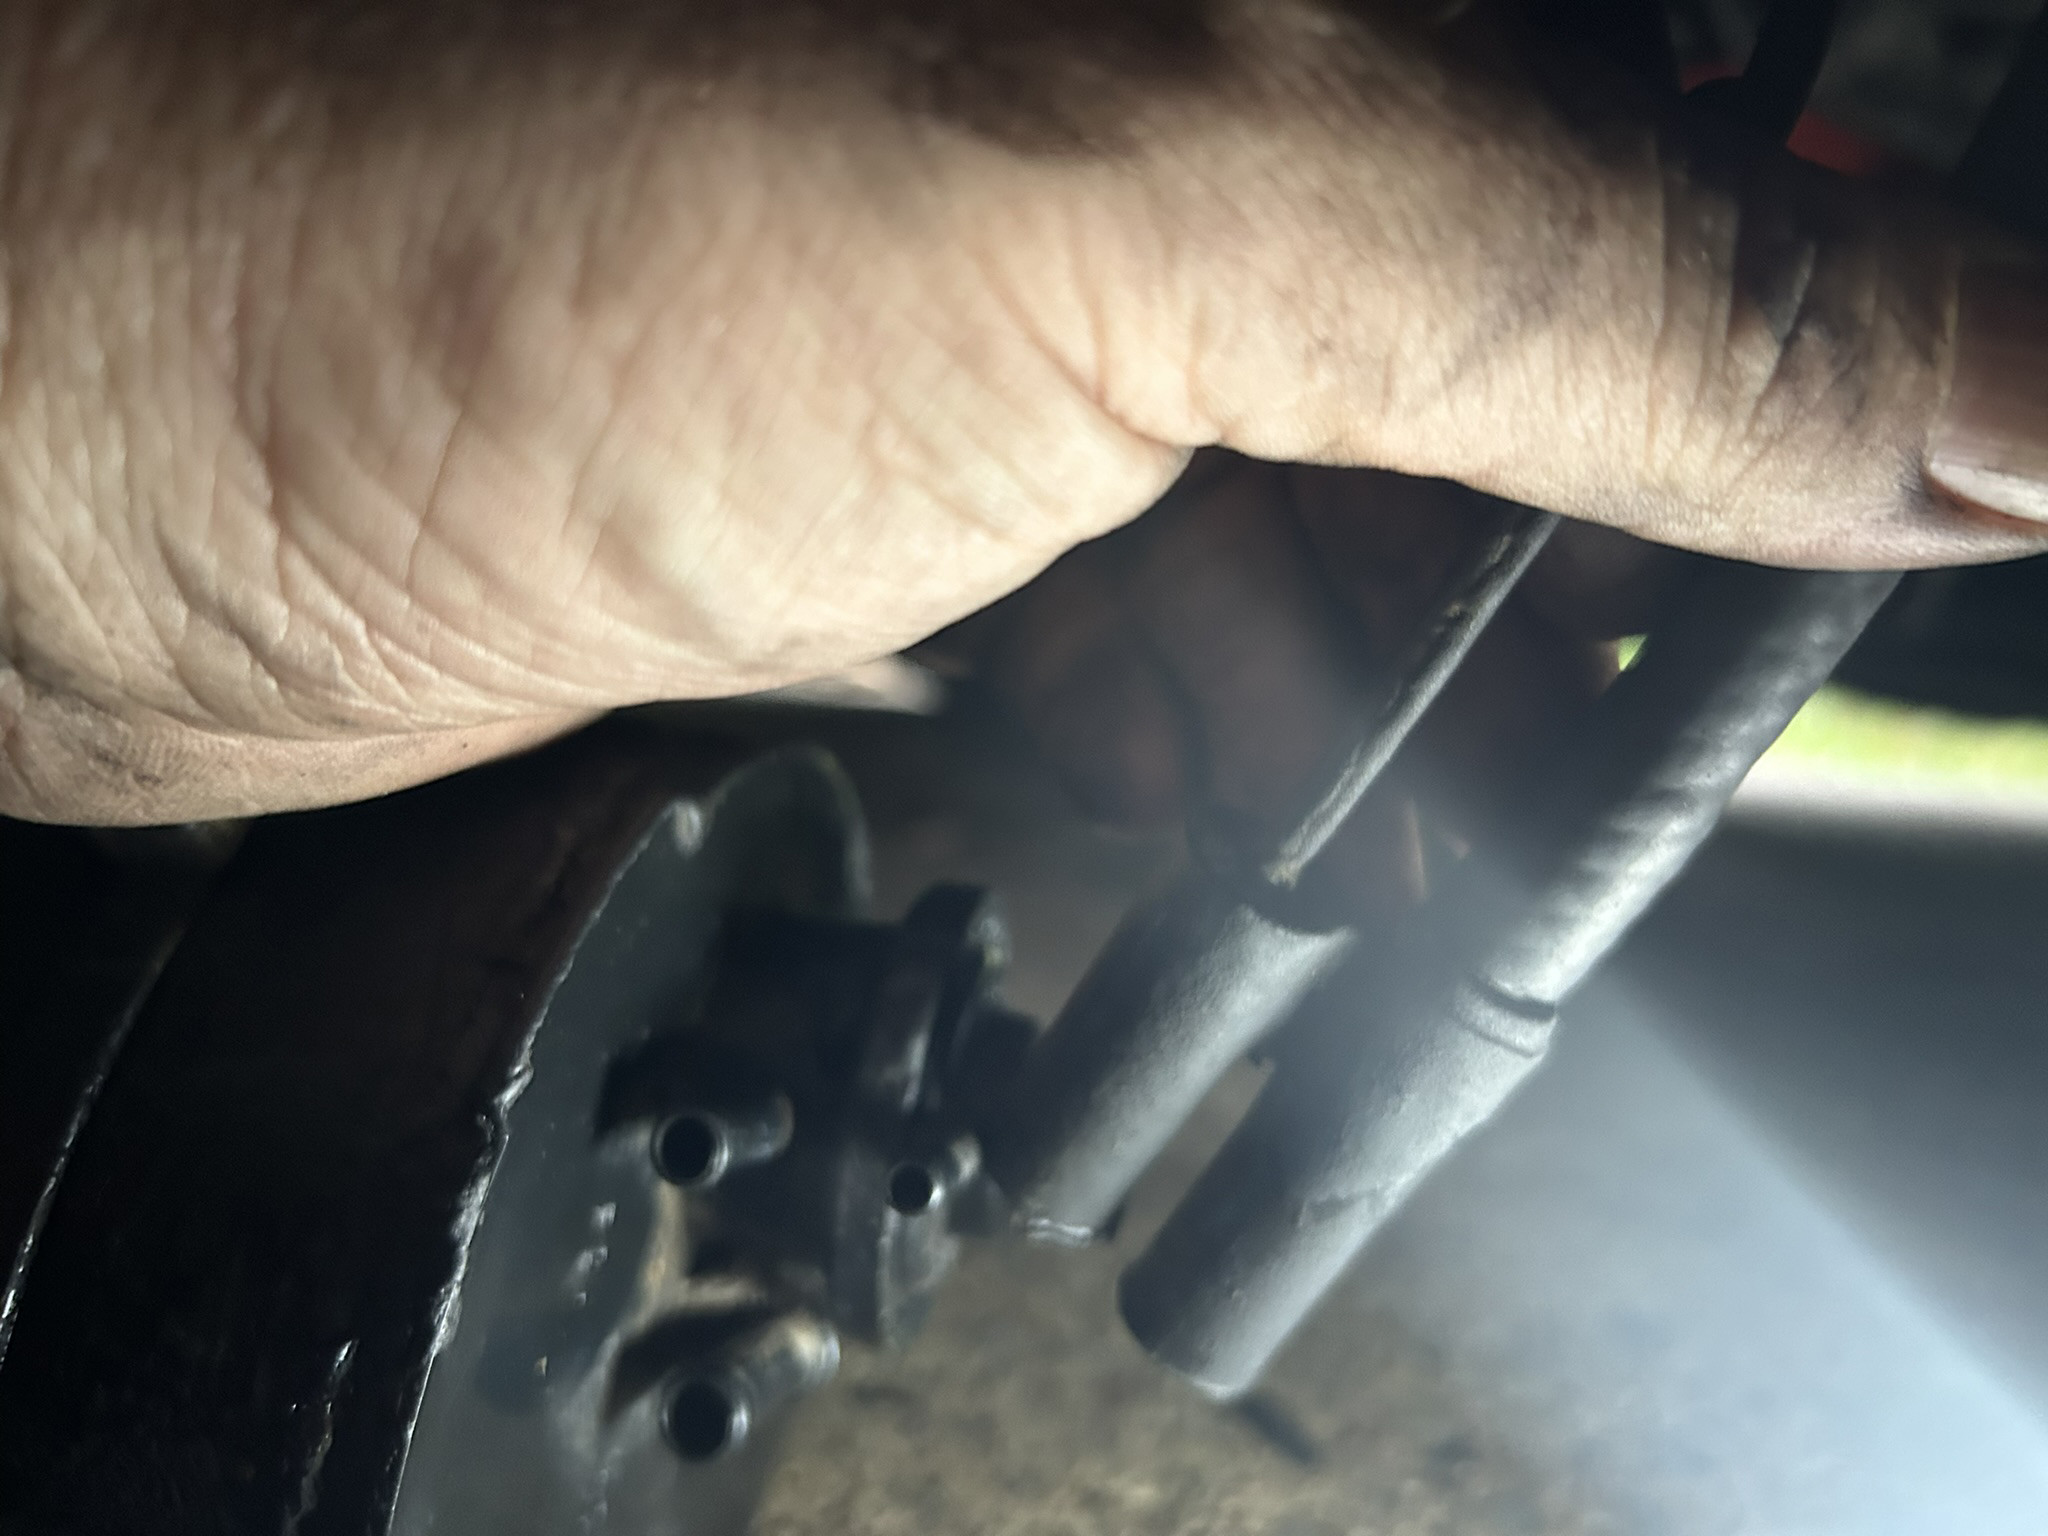
            Removed and threaded through the new 6.5mm purge vapour line. The vacuum line to the evap cannister looks like a 1mm air line, and there's a 3mm air line & nipple on the throttle body. I was worried that it should be 1mm or 3mm hose all the way but it looks like Volvo went a short length of 3mm hose (part 16) that fitted over the 1mm line. So I just did the same…..but not in blue silicon hose.

            Image description

            Image description

            Connected all the hoses and poked it back up there.

            Image description

            Image description

            Engine bay looks a little better. Looks like I missed a small blue vacuum hose coming off the rear of inlet manifold. I'll remedy that today

            I'll pull the canister out again to replace the oversize 38 year old zip ties. It looks like the deadener has preserved them pretty well. But I didn't have any that large around.

            Image description

            10 days later

            Cars & Coffee at Picton on Sunday. Big Red came up all right, courtesy of Capture By Steve. Organizers said take a decoration so Vinterfint from Ikea took a spot on the roof. I almost drove off with him still up there.

            A trailer load of toys for the local kids courtesy of all the attendees. It was a good morning but got a bit hot with all us "car guys" in black t-shirts.

            It was a beaut drive down in the breaking dawn. Really enjoying this old 240GL now so many things have been sorted.

            Image description

            Image description

            Wow. I've only just stumbled across this thread and quickly skipped through. Looks like I need to have a proper read as your works seem very similar attention to detail and works done on my 240 which I sold earlier this year.

            Love it 😊

            Image description

            Image description

              morch_66479 Wow. I've only just stumbled across this thread and quickly skipped through. Looks like I need to have a proper read as your works seem very similar attention to detail and works done on my 240 which I sold earlier this year.

              That's really nice. The interior looks very tidy.

              Still a way to go with mine but this morning's round trip to the airport was lovely! It was a lovely quiet rattle free ride.

              Just had a Black Friday box arrived from GCP…..about the size of a steering wheel. So more to come.

              Image description

              Morning John

              Would that be a steering wheel for airbag cars? If that part number 3516352 is correct, that steering wheel takes an airbag (1993 240 with airbag option)

                ramrod Would that be a steering wheel for airbag cars? If that part number 3516352 is correct, that steering wheel takes an airbag (1993 240 with airbag option)

                Damn!!!!! Well spotted. You are correct. Yet another to add to the incorrectly ordered parts list.