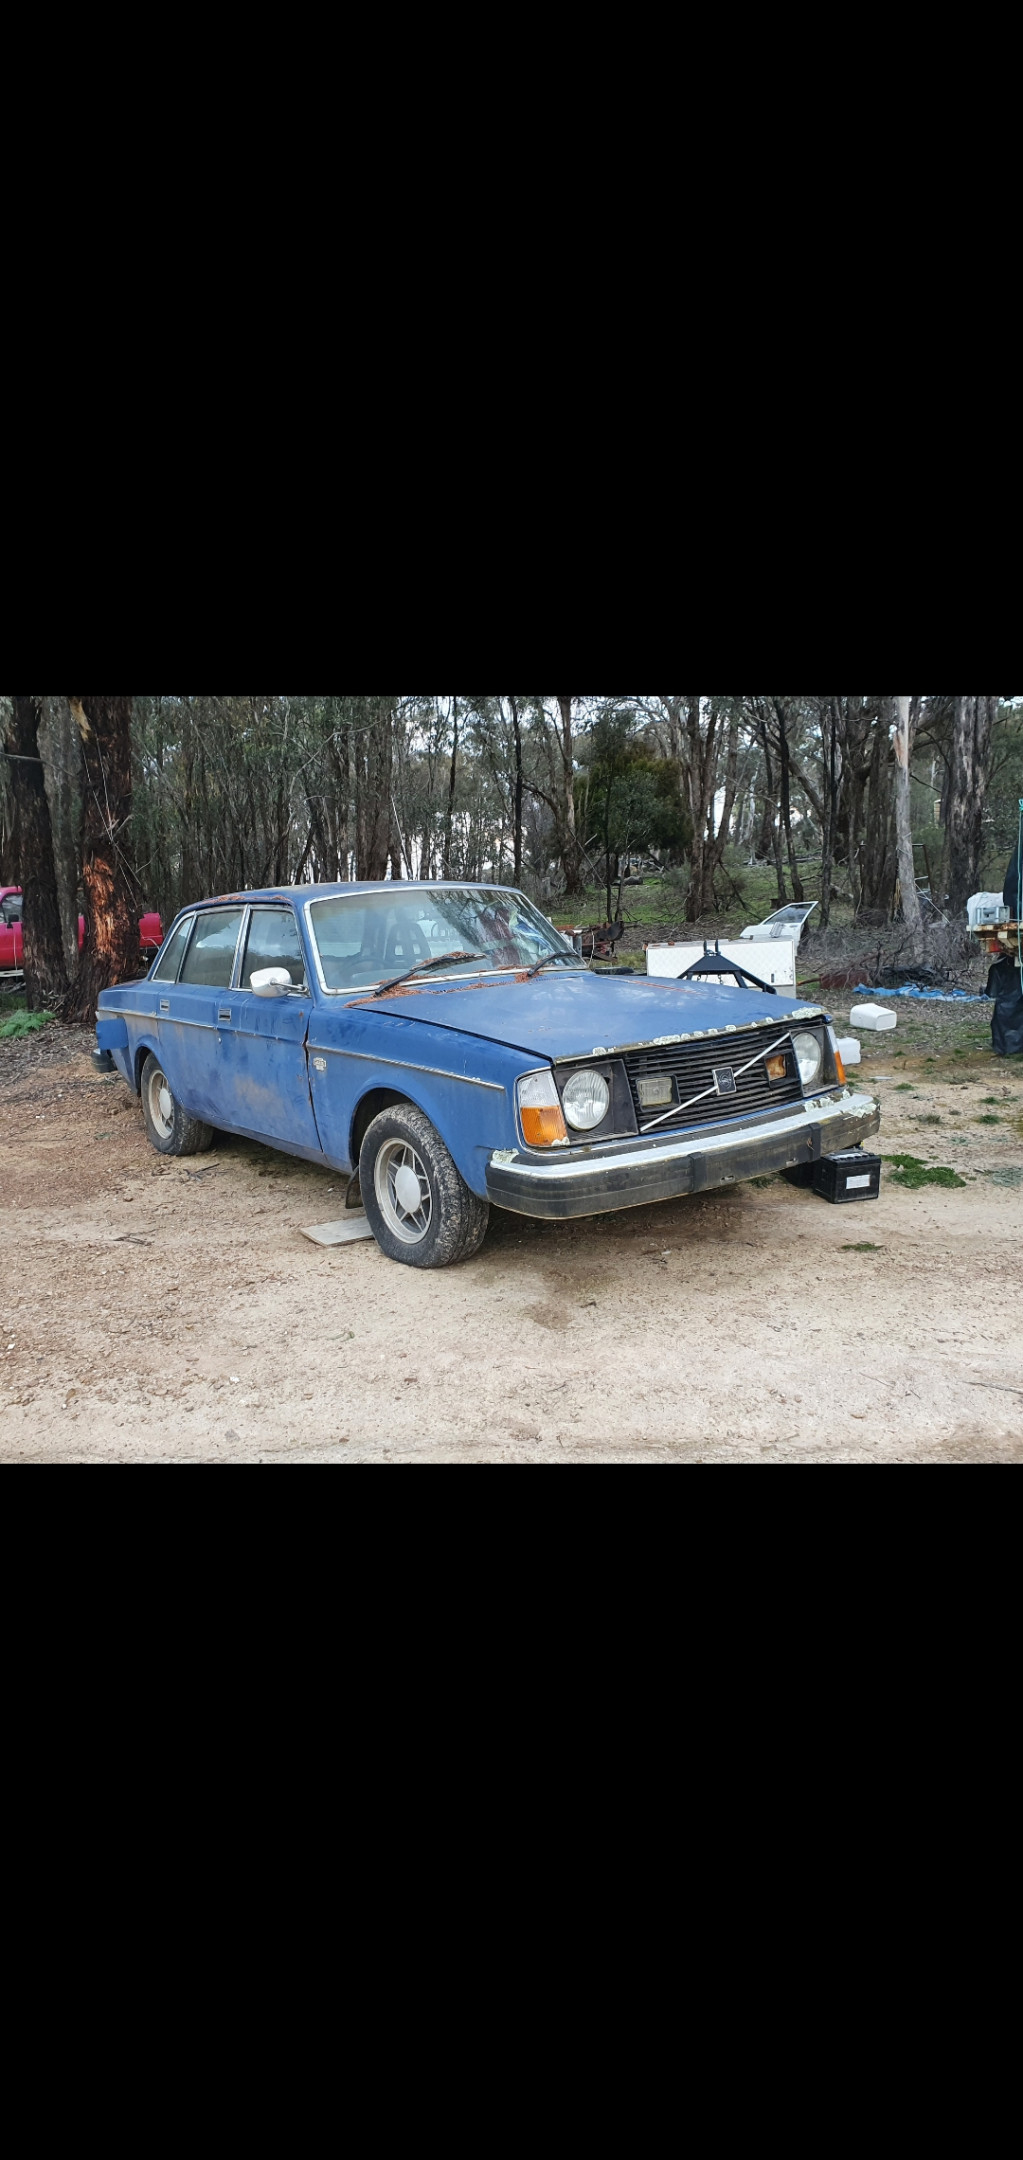
Blue-four-four, aka Spac’s latest silliness.


Haven’t had much time to work on it in the past week, thanks to real life.
VRS gasket kit turned up, so I’m thinking I should pull the head off and have a look before I go any further.
Kind of contradicts my theory of spending no money, but also is insurance against spending time and money on an engine that’s crap.
Could also be an opportunity to do some minor head porting/port matching.
Anyhow, it’s back on four wheels. 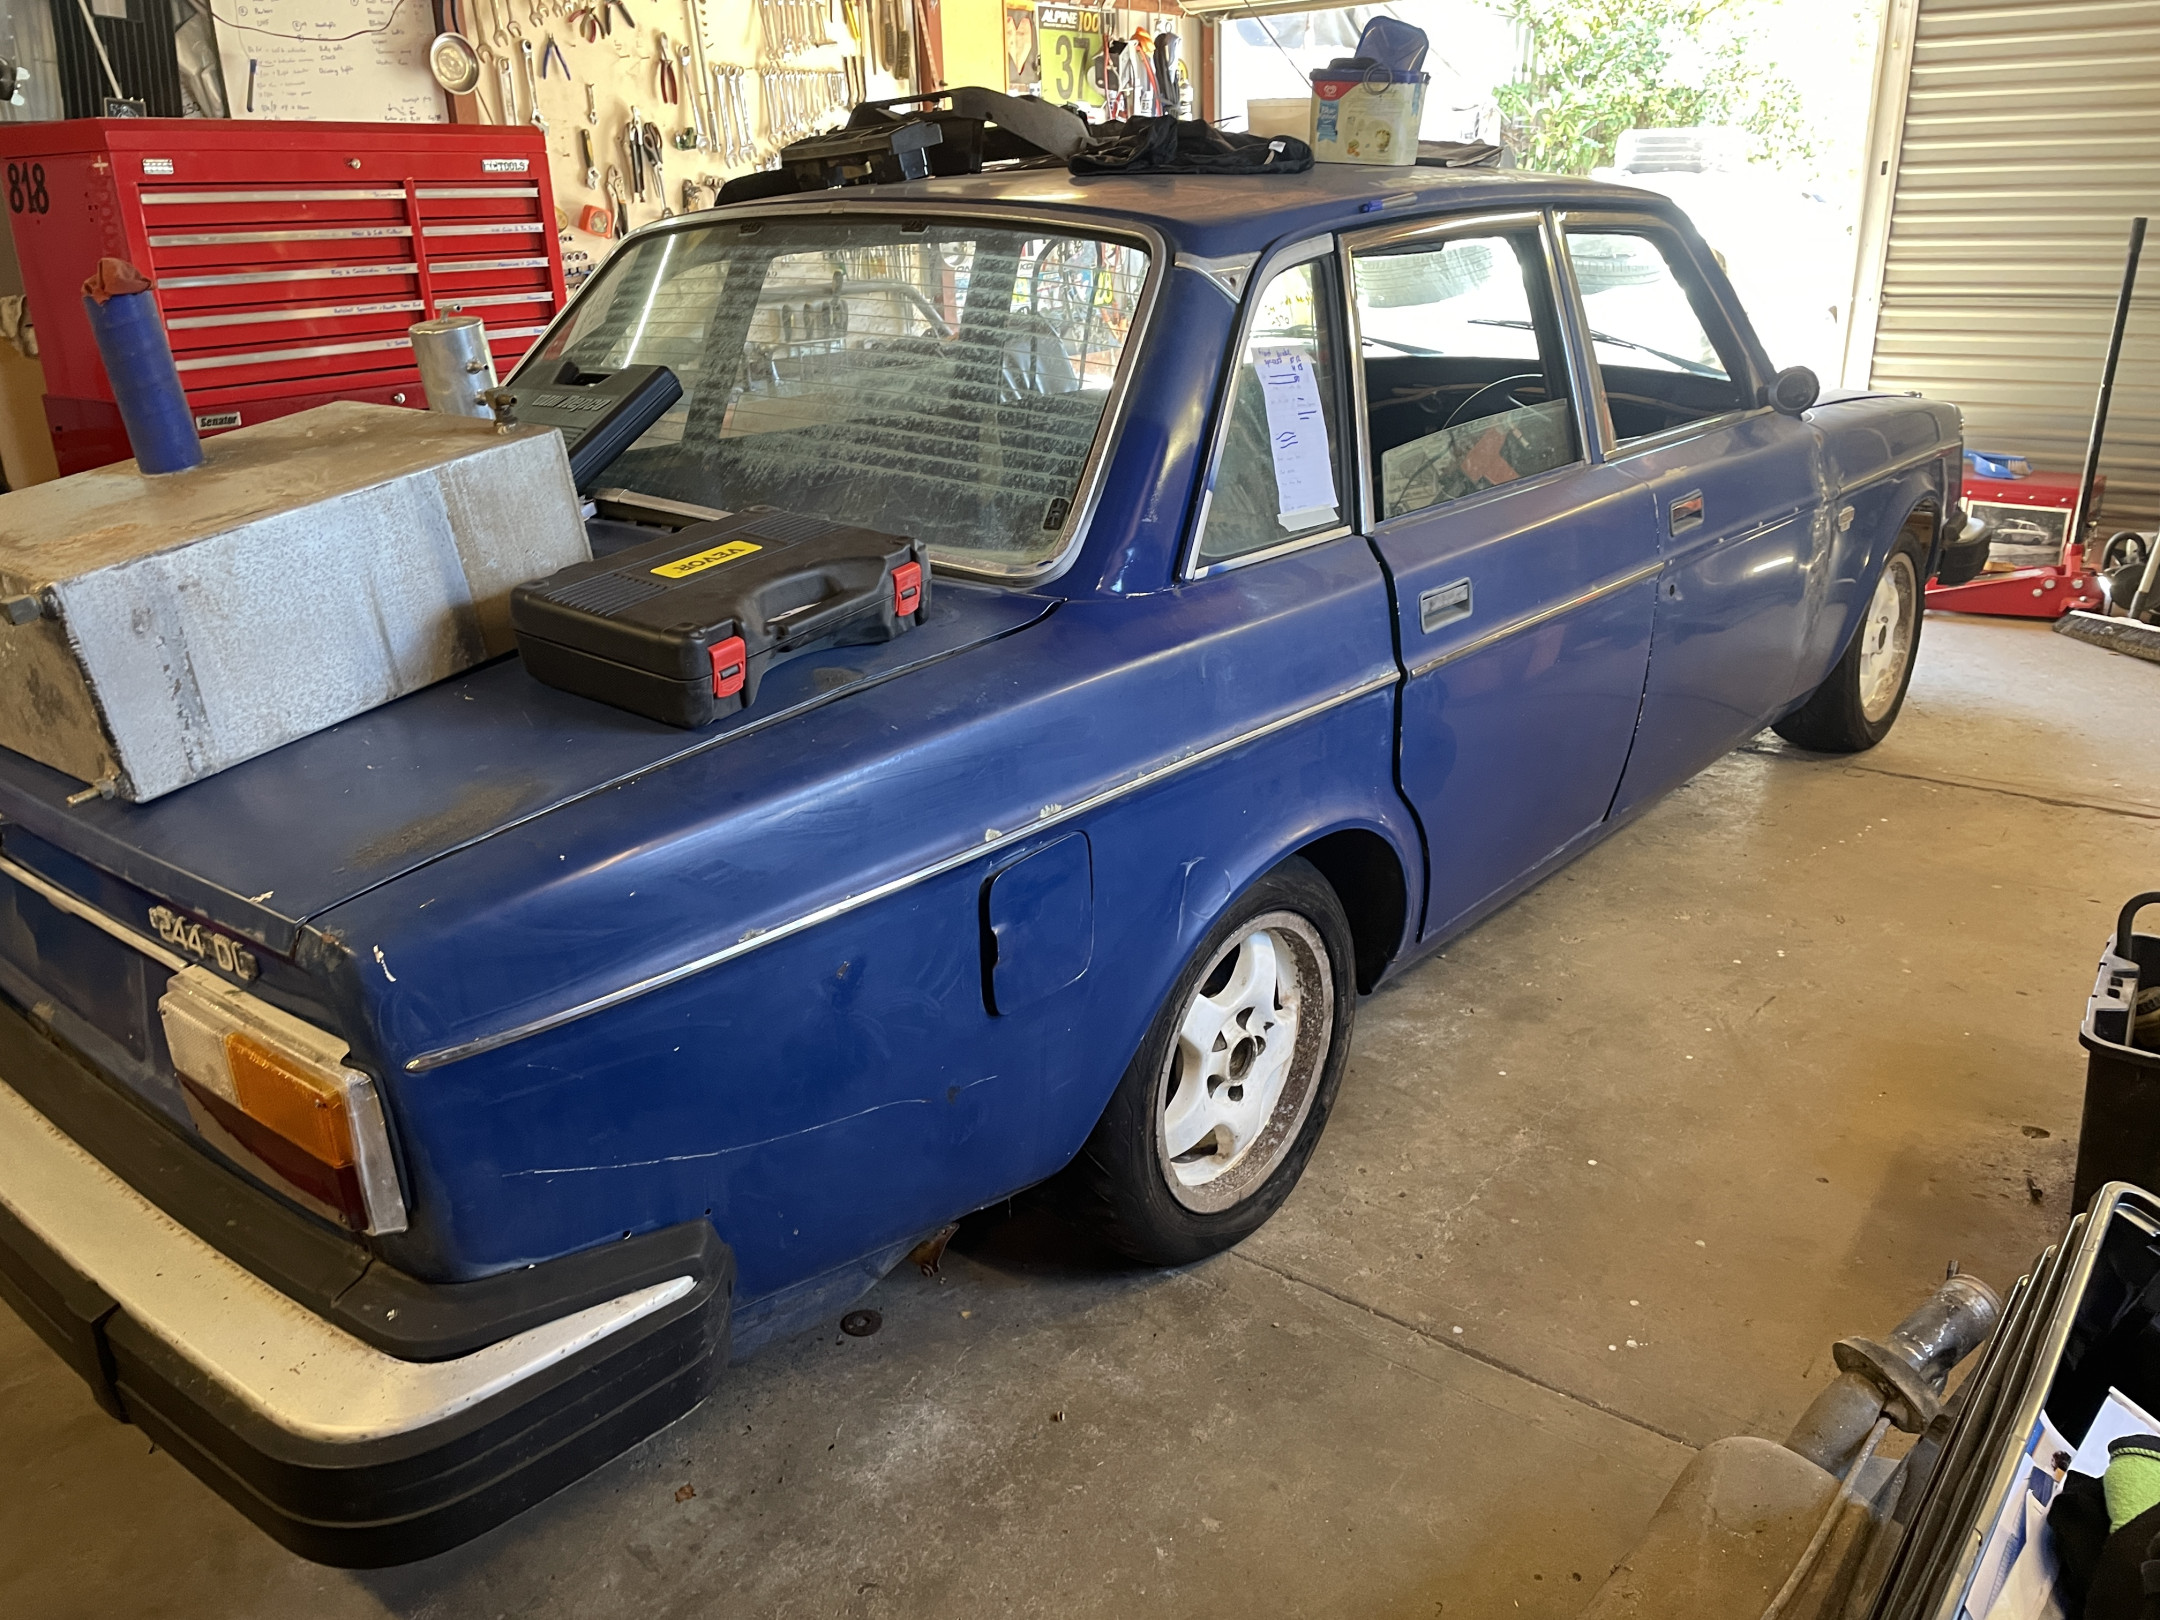
Despite what I said earlier, the back is too high if anything.

The front tyres rub on the struts, so the spacers I had planned are now essential.
Next job will be to plumb in the new brake lines … after I make a decision about what I am doing with the brake master cylinder/pedal box.
I have been doing some work on this, but also been very lazy at updating the thread…
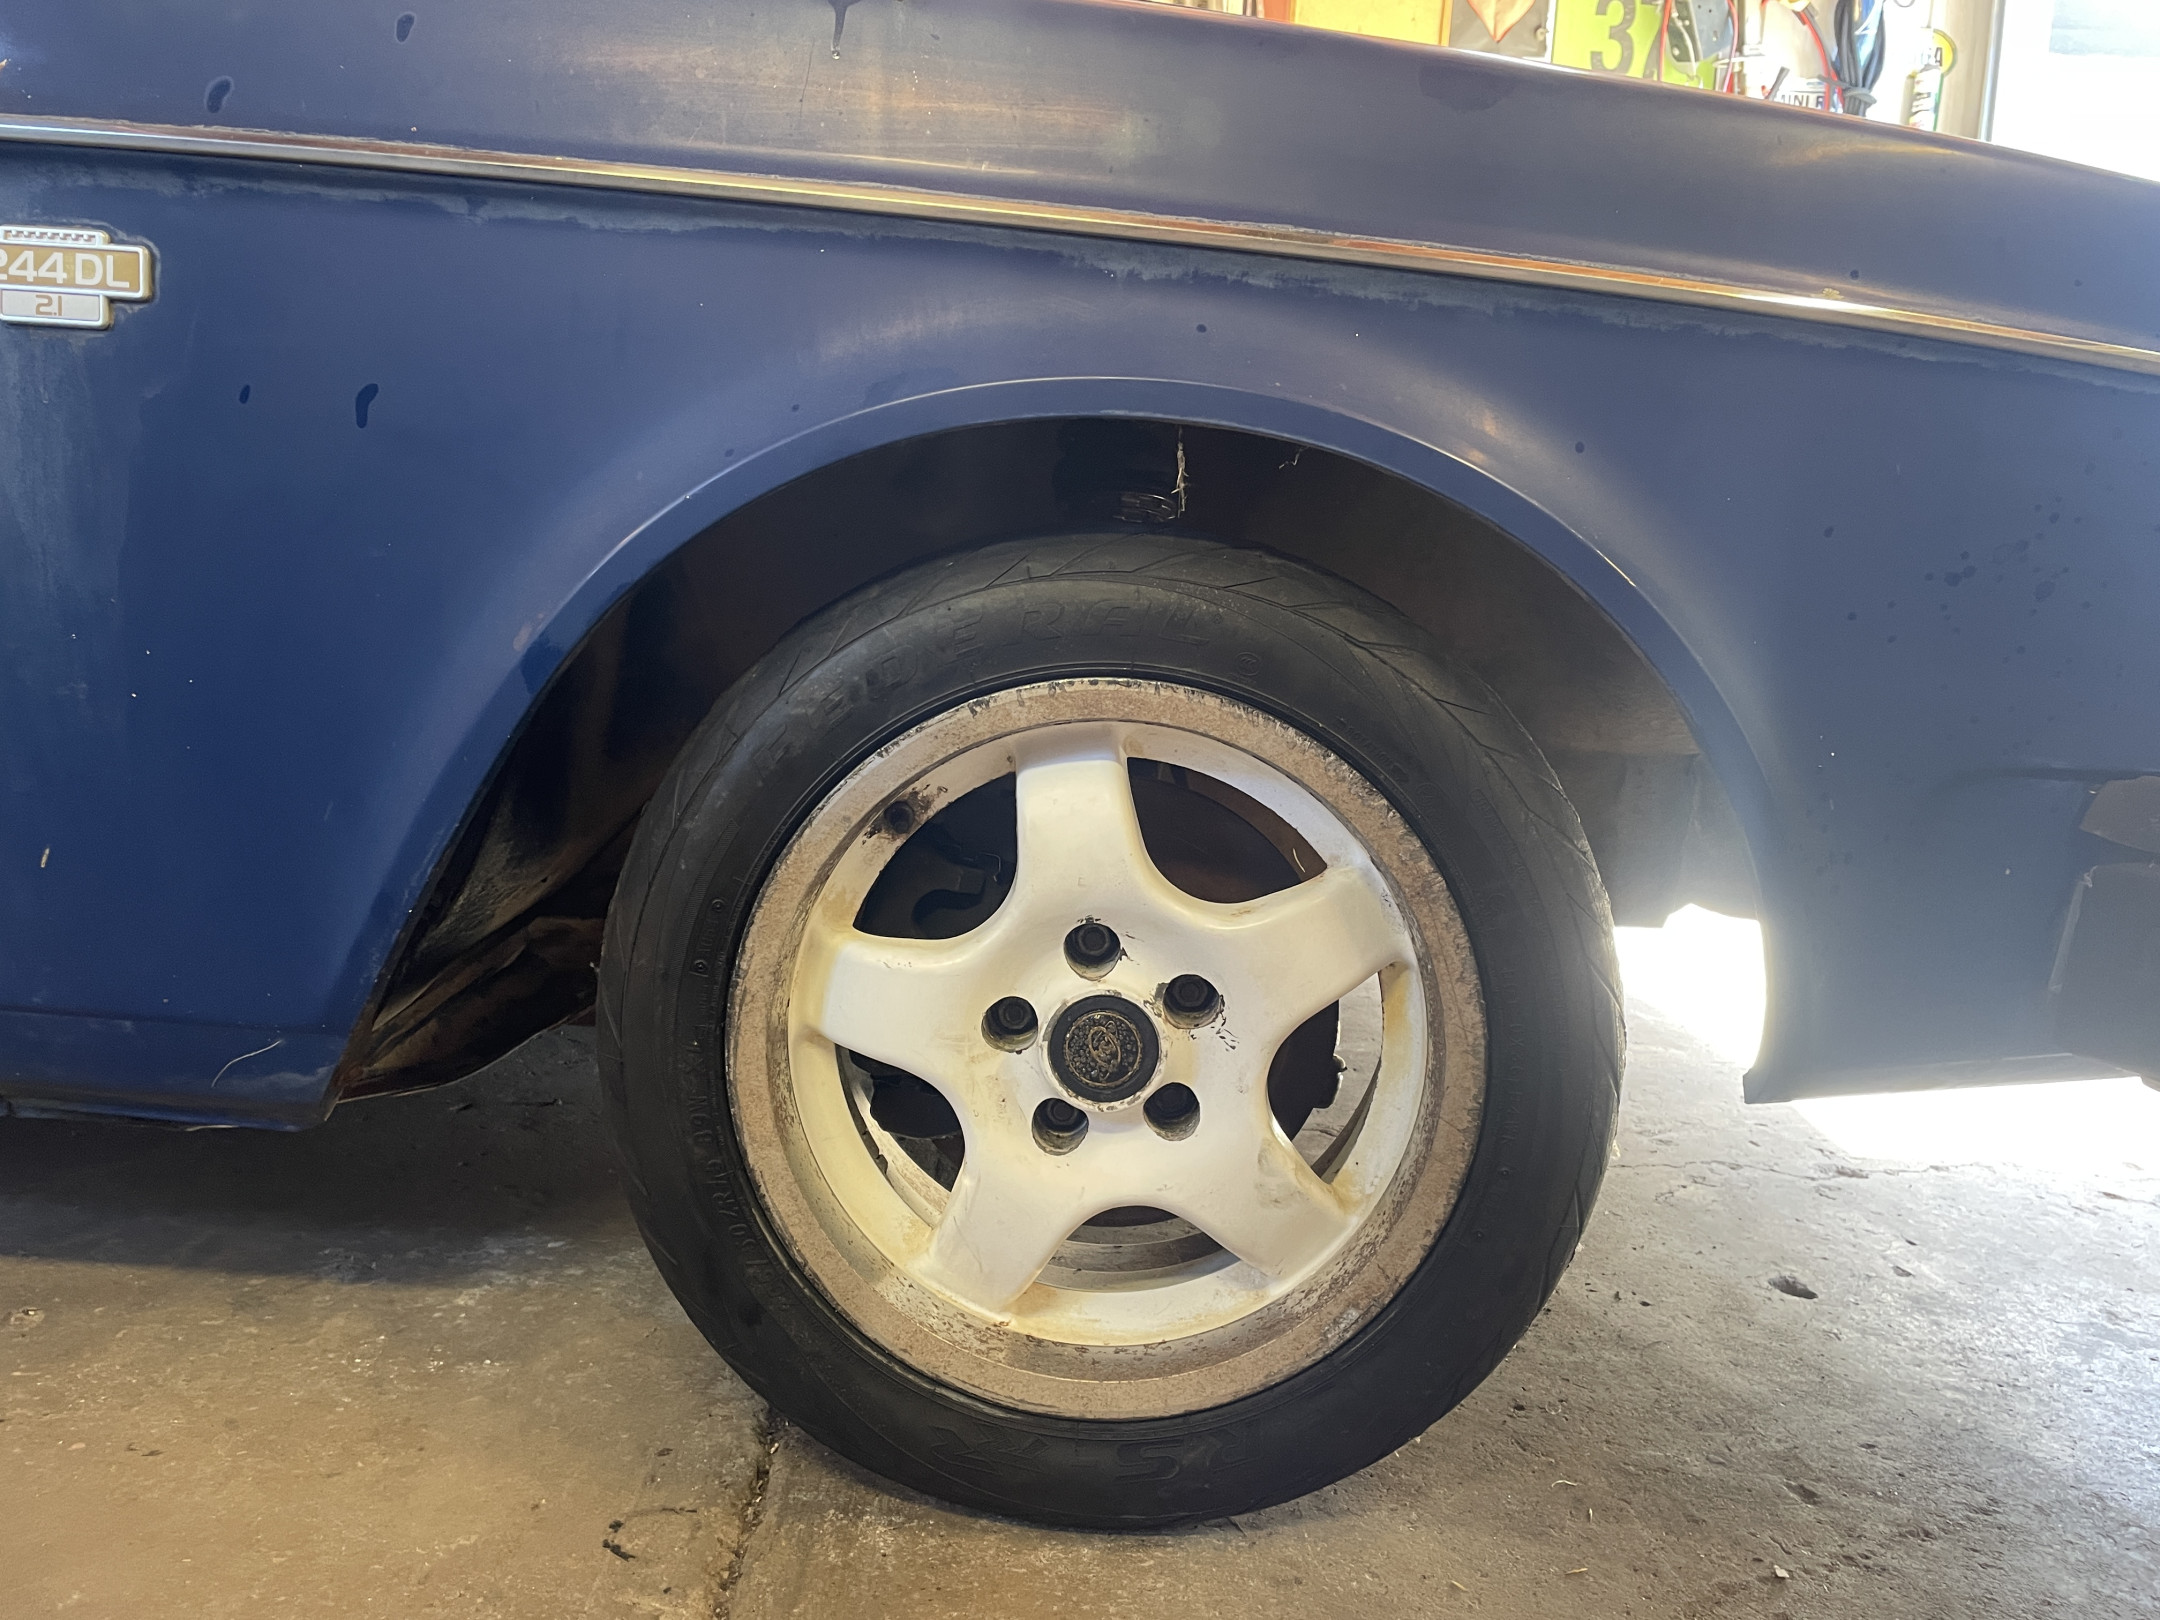
25mm spacers for the front. Would be too much without the negative camber, but close to perfect with the neg.
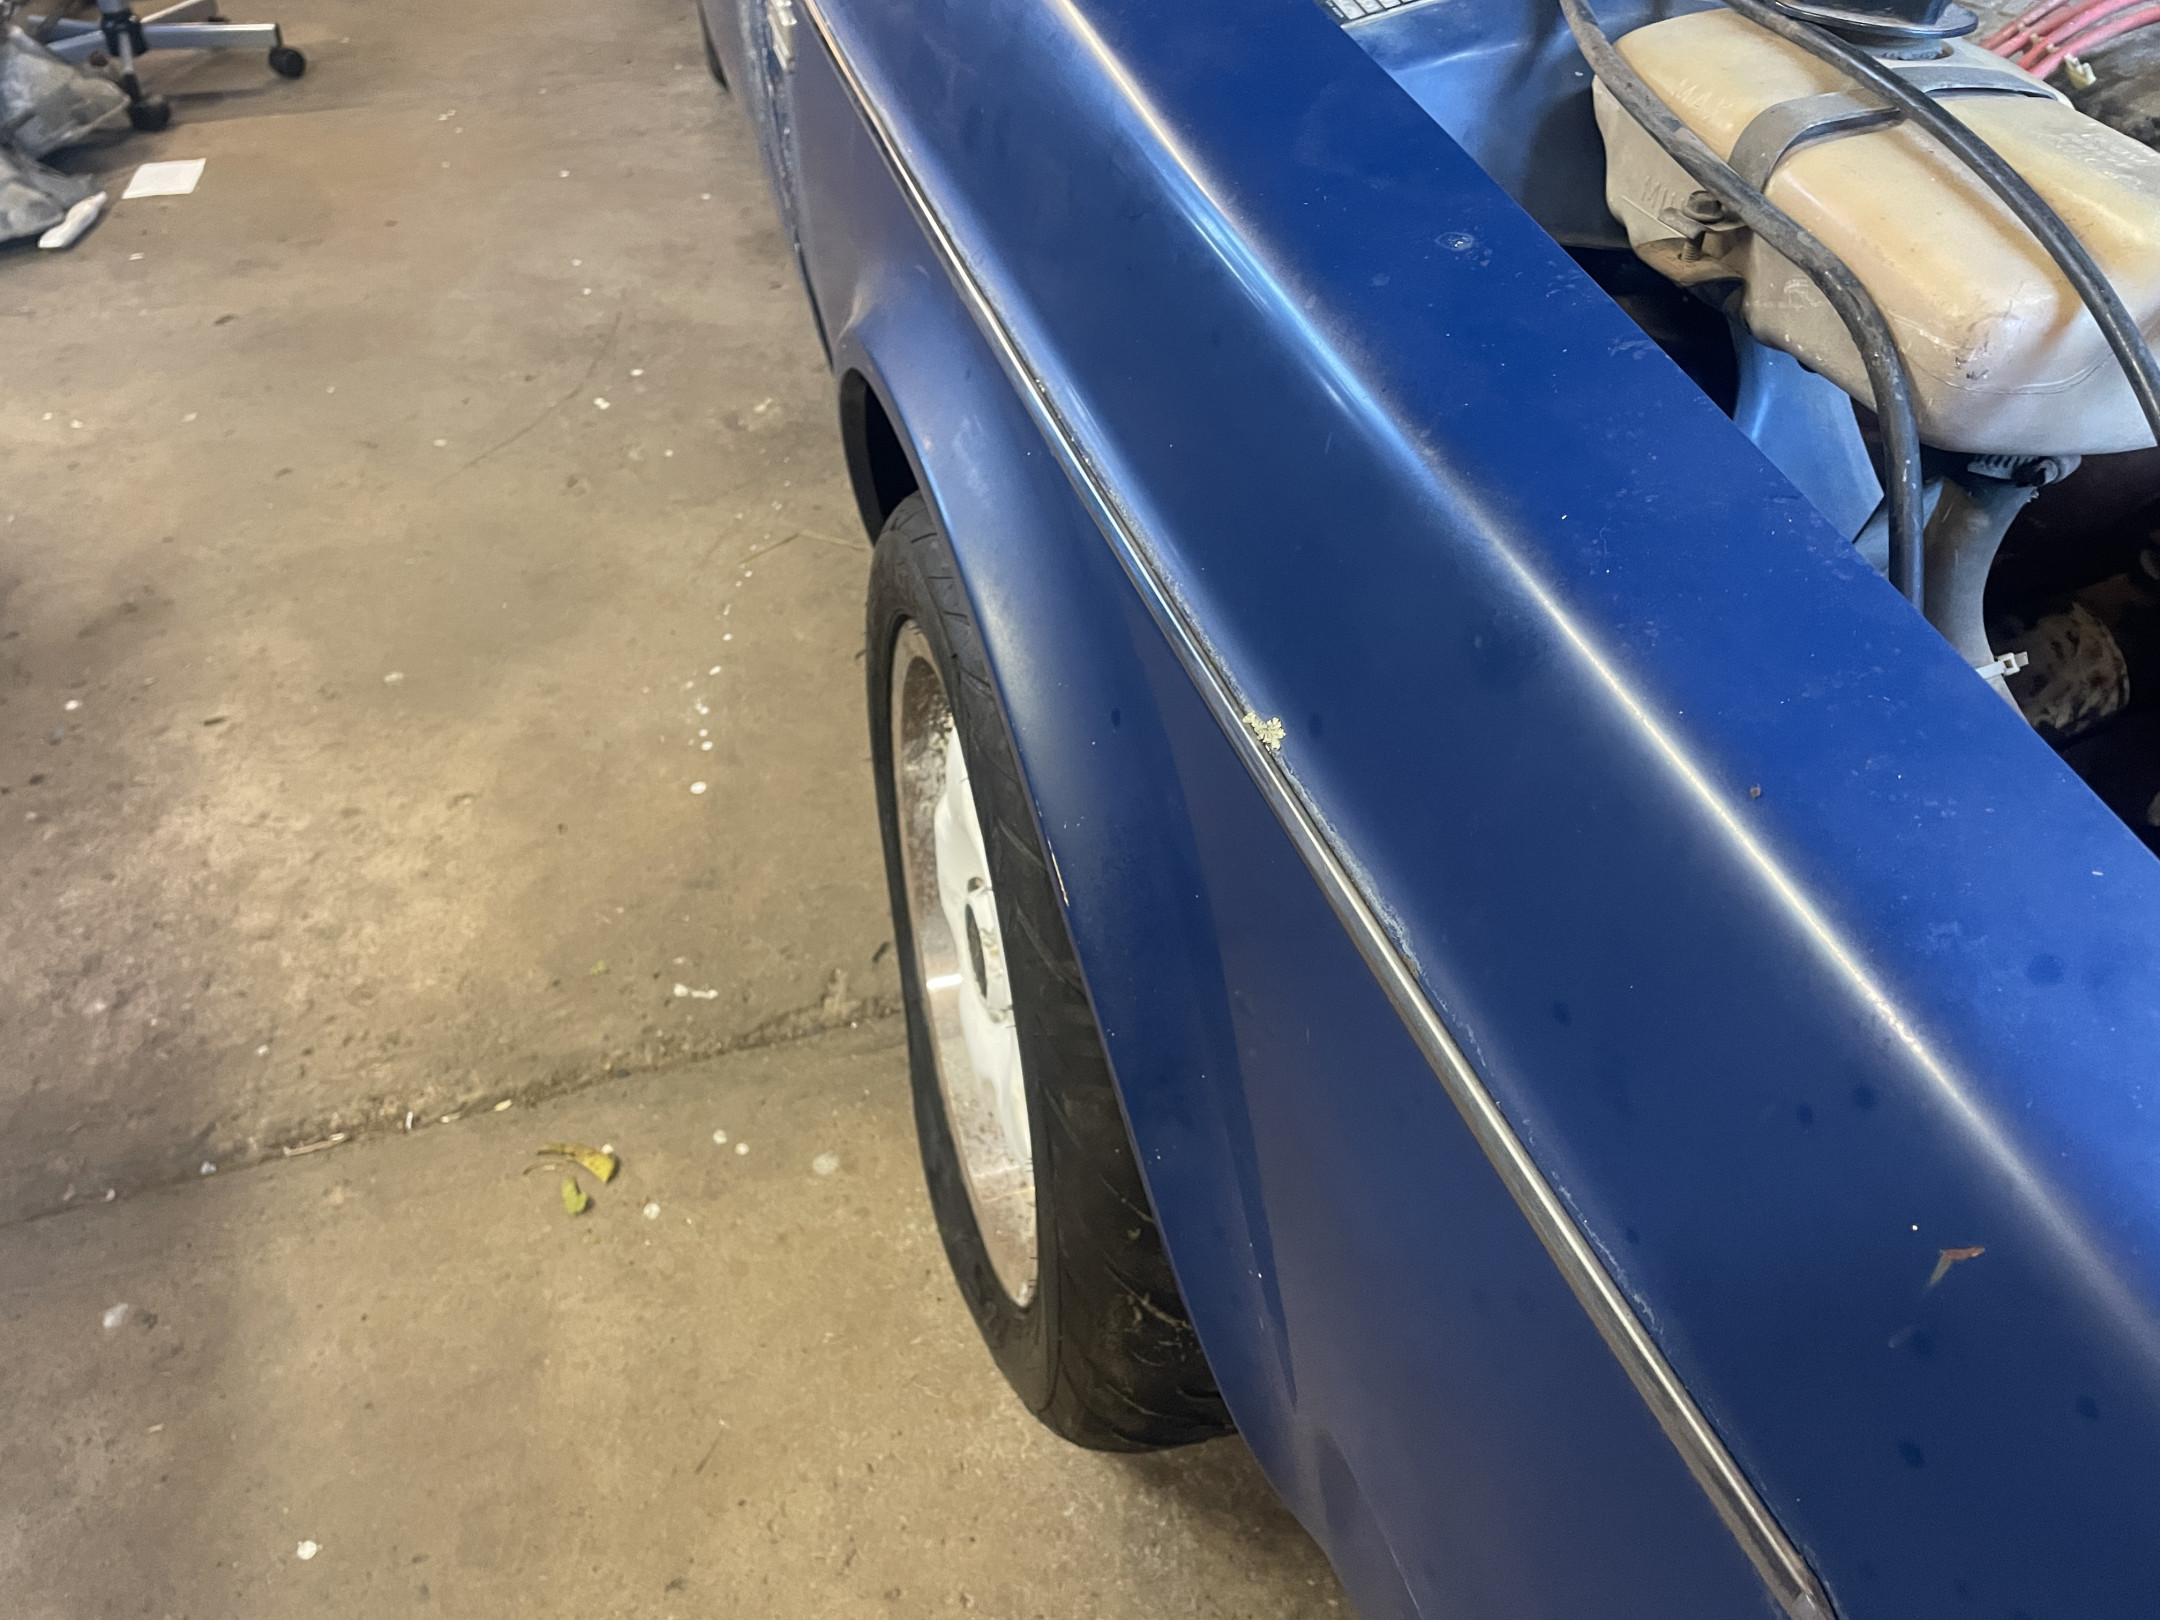
Wheel hangs out with the camber set to neutral, but tucked in when set to something useful.

Bought the wrong bearing for the tailshaft centre bearing.
Several EBay listings said they are a 6007, and I happened to stumble over one in the local machinery supply shop…
But no.
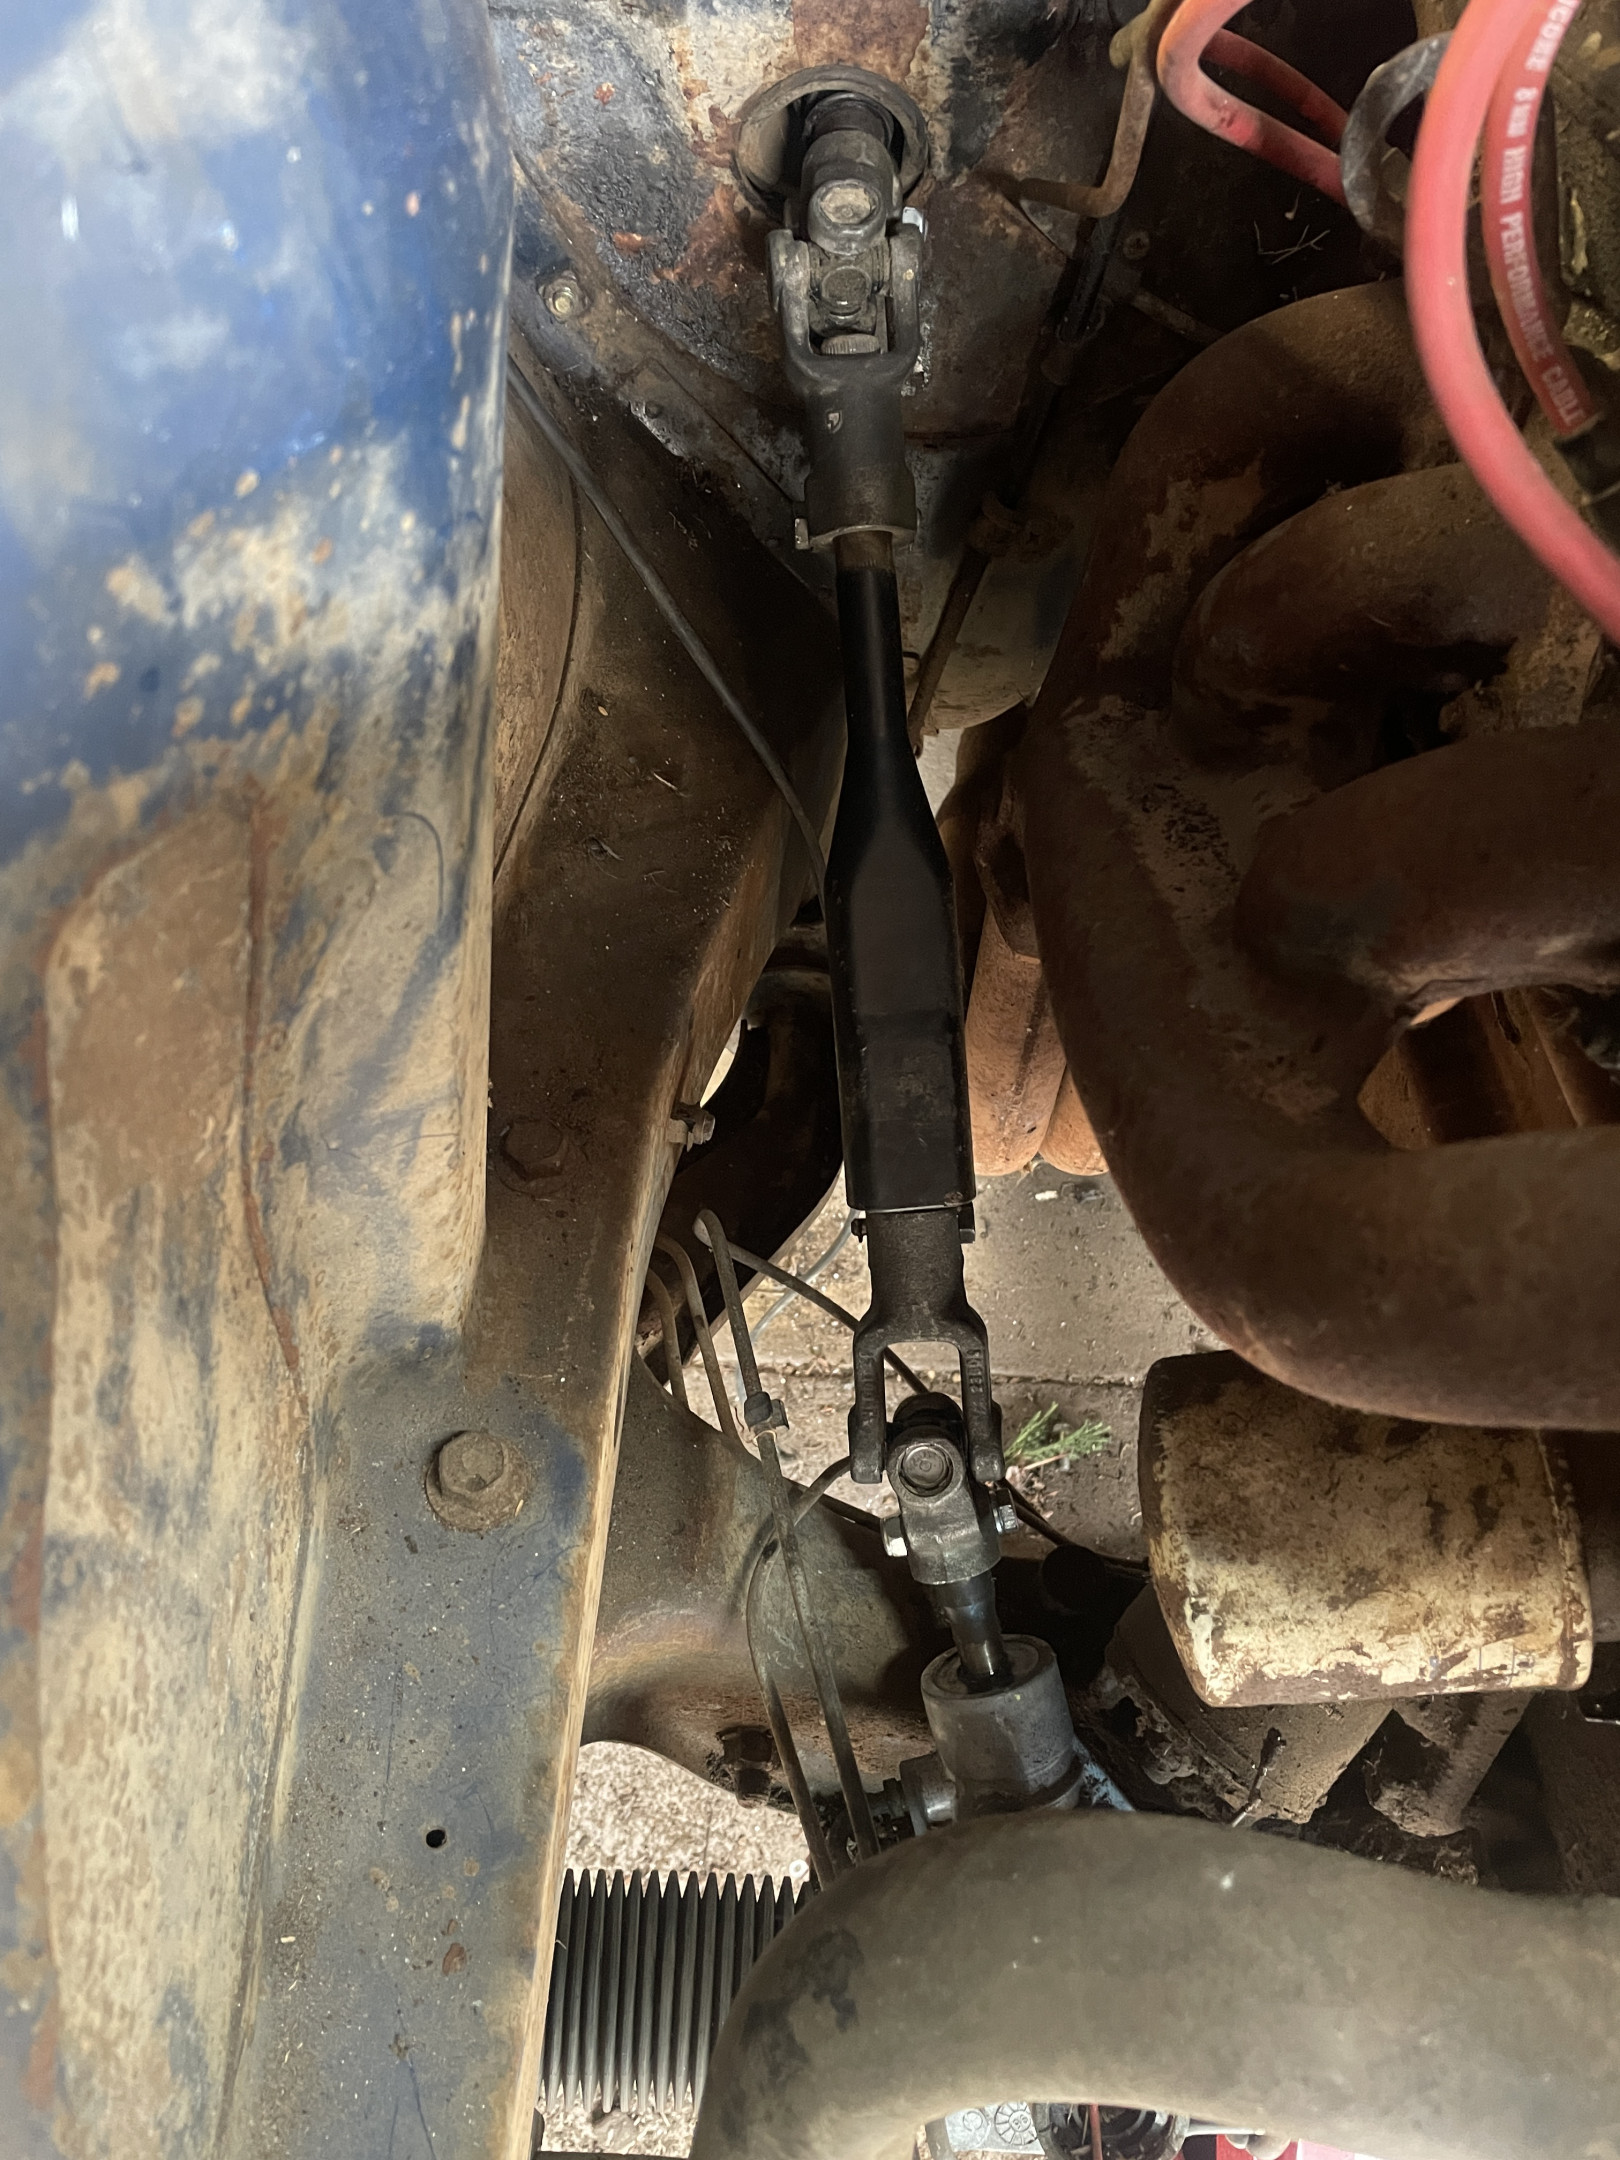
Began converting to power steering. Scored a PS rack from Phil’s stash, but no matching intermediate shaft.
Petey gave me one from Bluemobile, but I had two lower universal joints and no upper ones, so it took a but of juggling to make it all fit.
Have been massively over-complicating the location of the PS pump and alternator.
I want to avoid having anything in the space where the alternator is on an early OHC Redblock. This is partly to make everything easier to access, partly to try to reduce the weight on the RHF corner, but mostly to keep the relatively fragile alternator and PS pump away from the heat of the turbo.
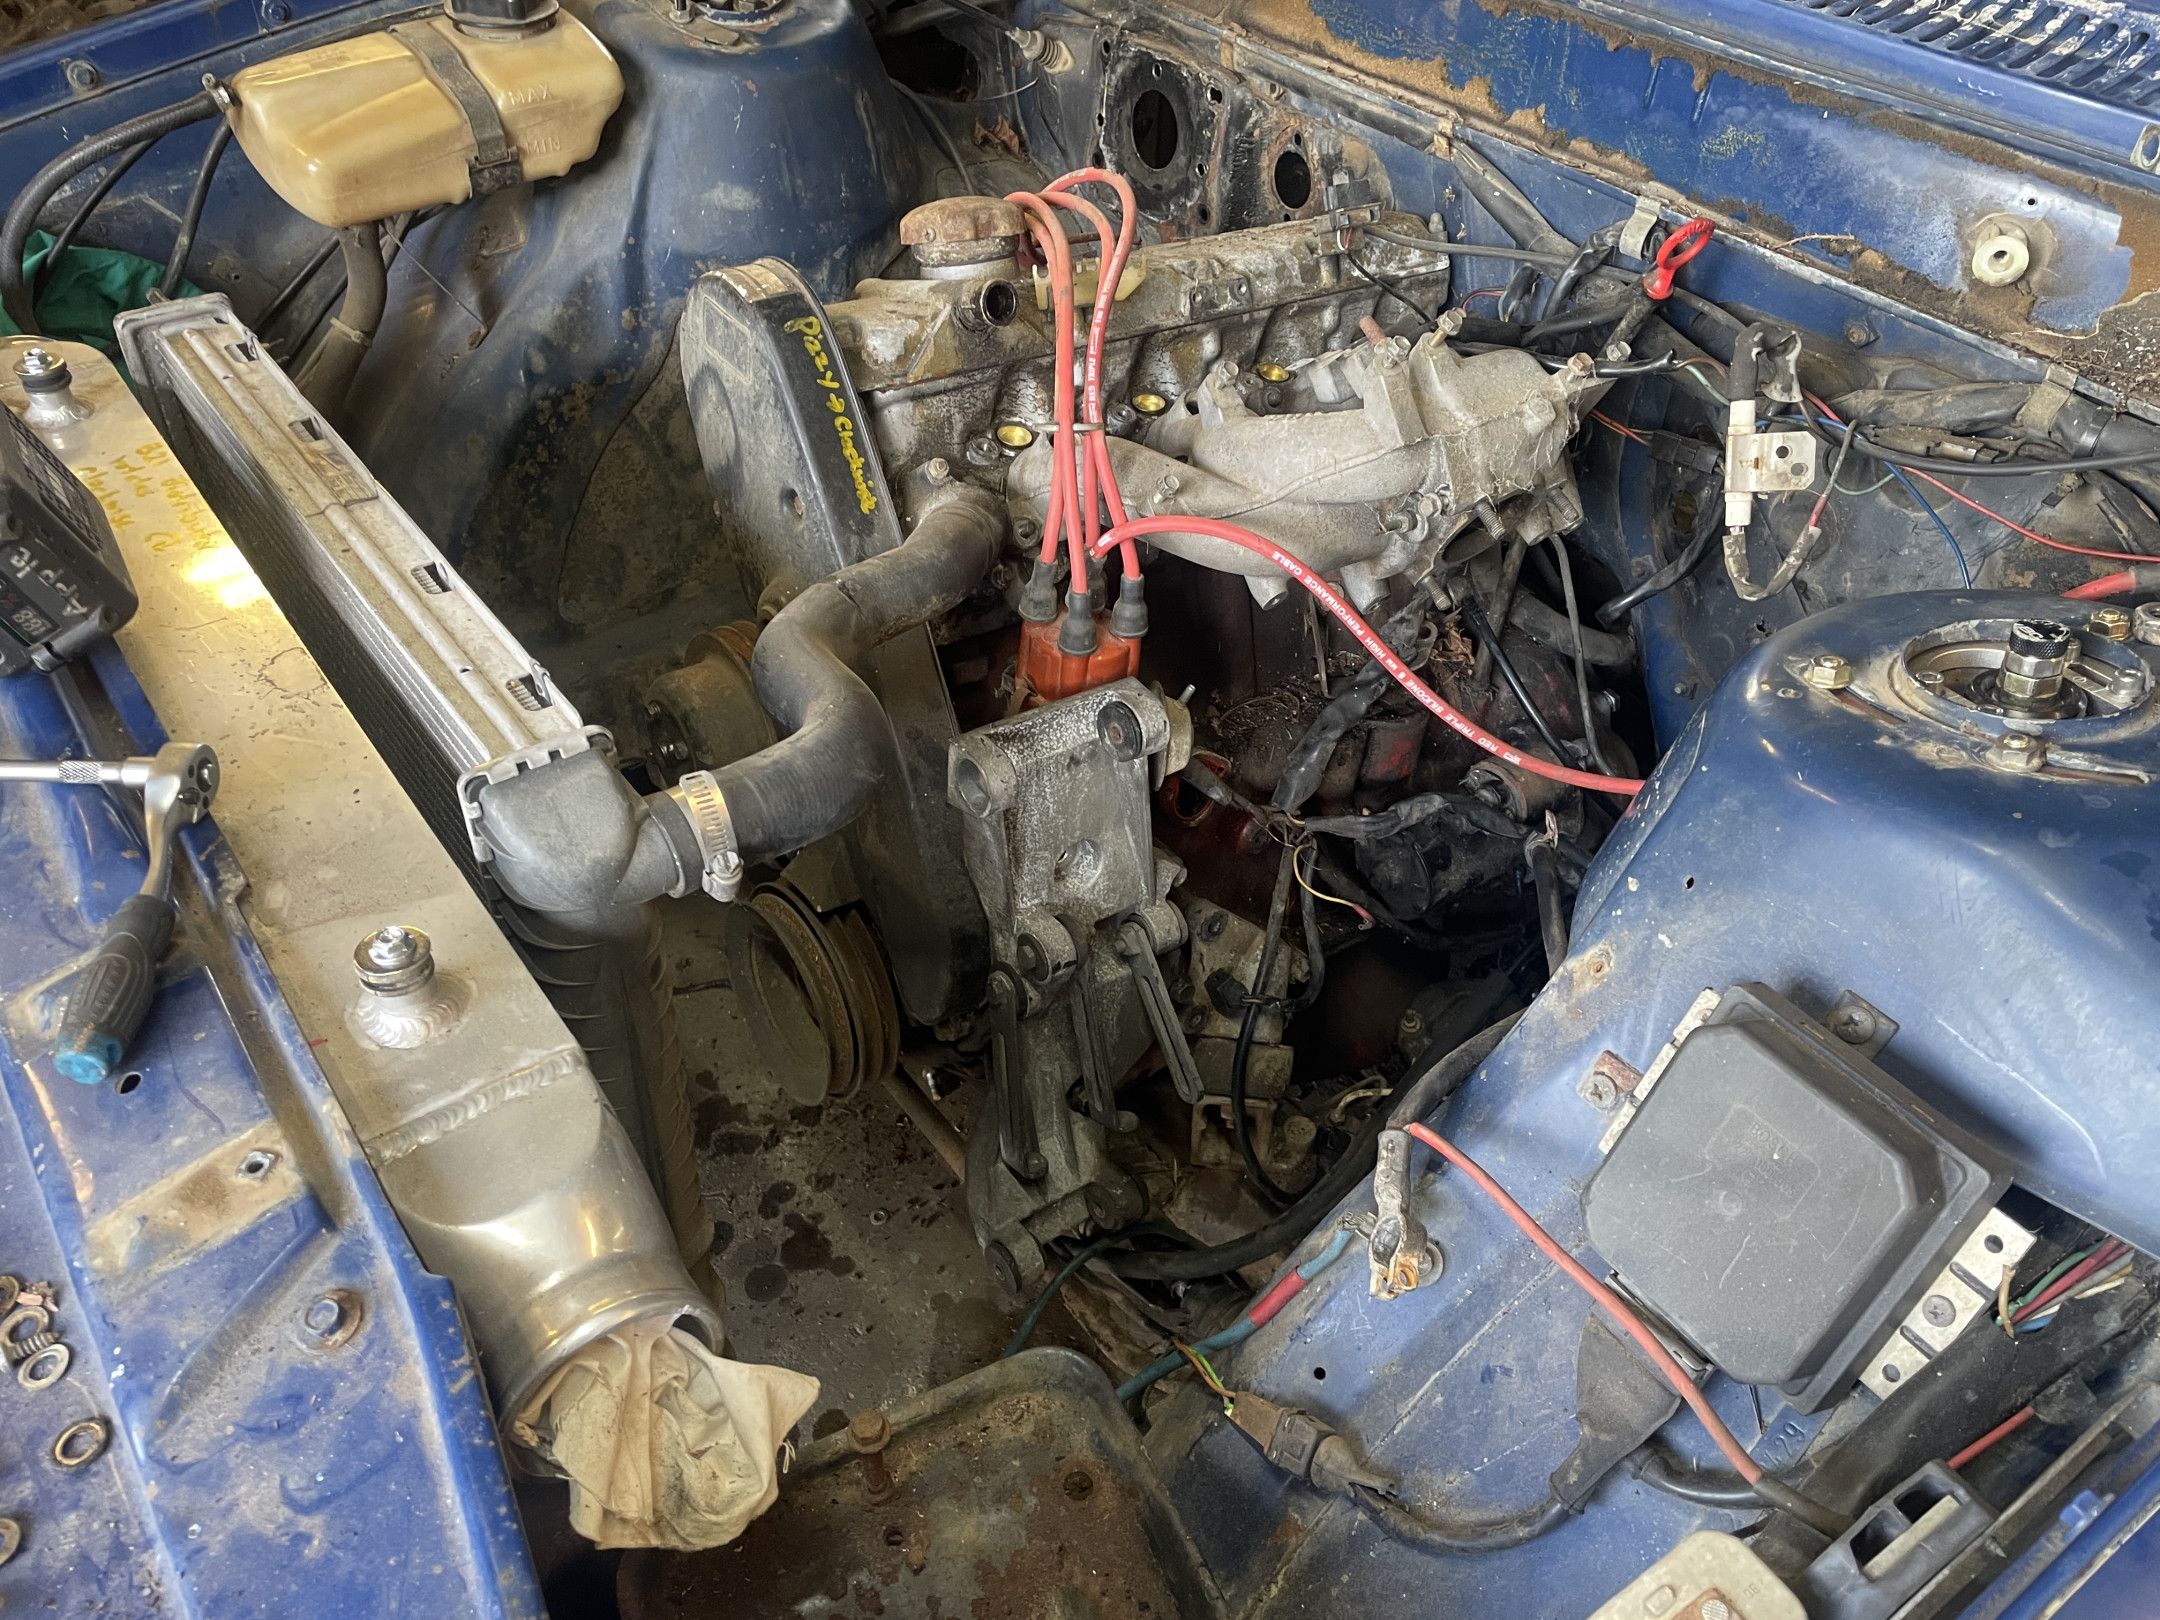
I strongly suspect that I am reinventing the wheel, but currently thinking that the alternator will be mounted up high on the later alternator/AC bracket, and then the later style PS pump will be mounted down low.
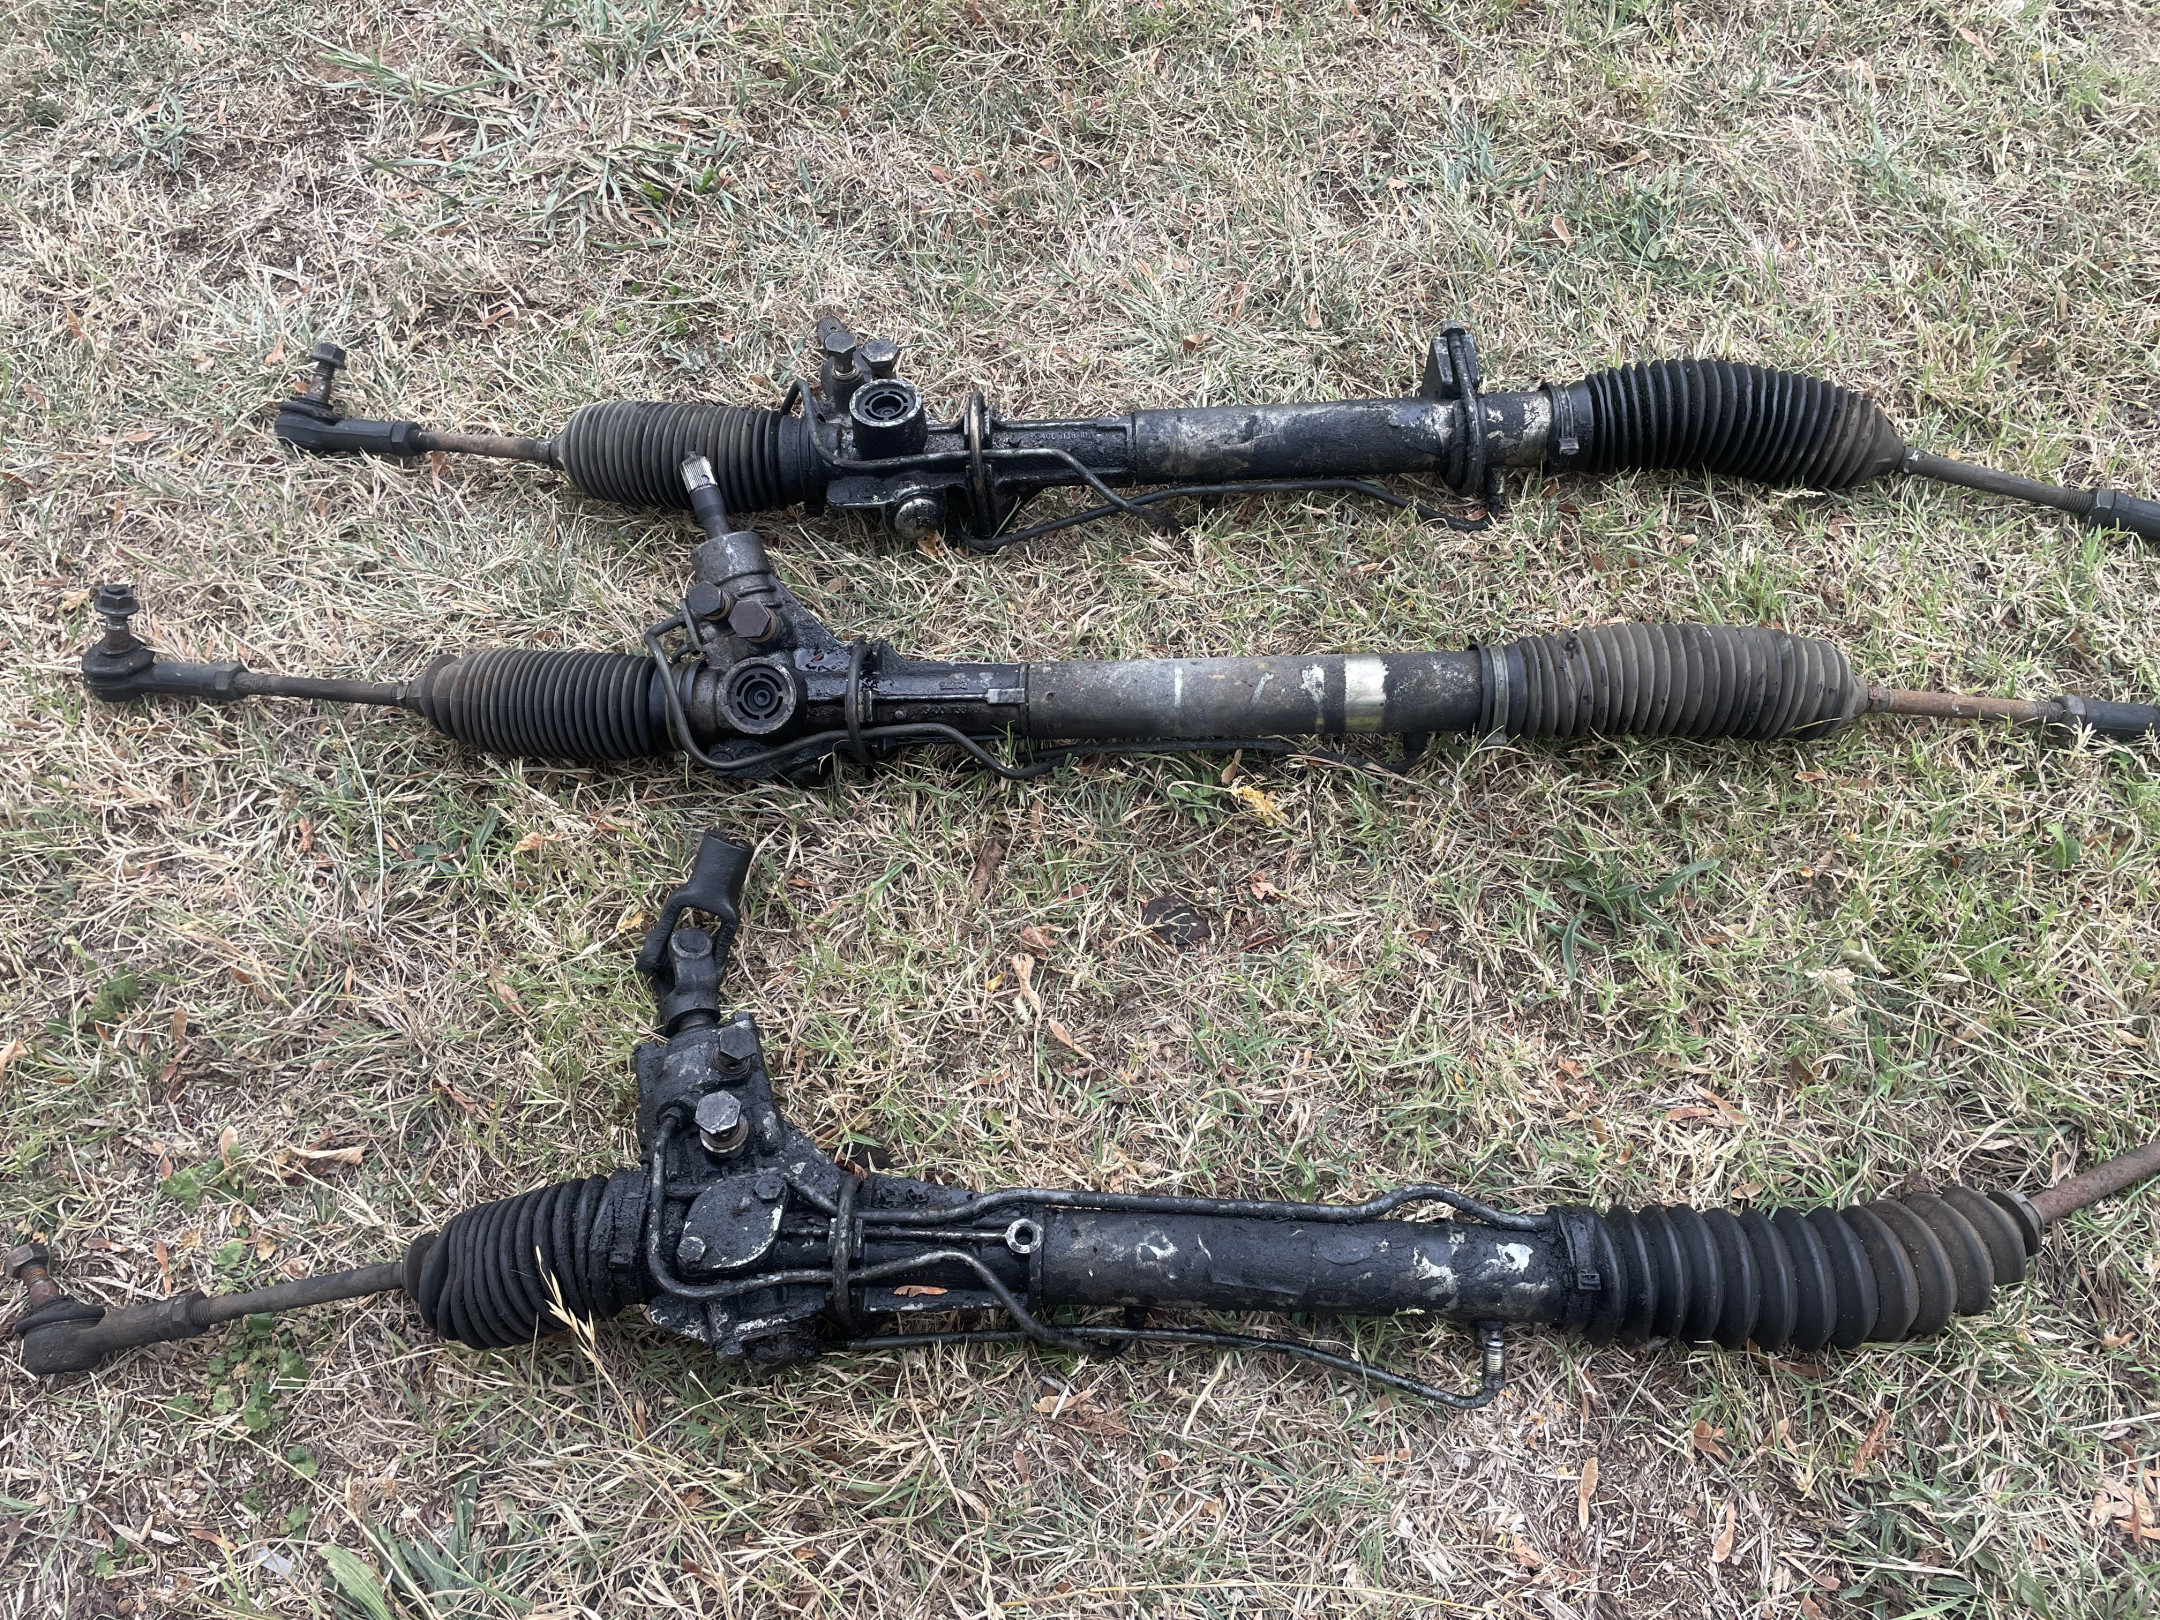
Side note on the steering racks.
Rough numbers, but the manual rack has 4.3 turns lock to lock, the older(?) PS rack is 3.5 turns, the newer(?) PS rack is 3.25.
These don’t allow for the travel of the racks, but considering the amount of lock a 240 has, it supports my theory that a PS 240 has fairly quick steering for a car of their age/type.
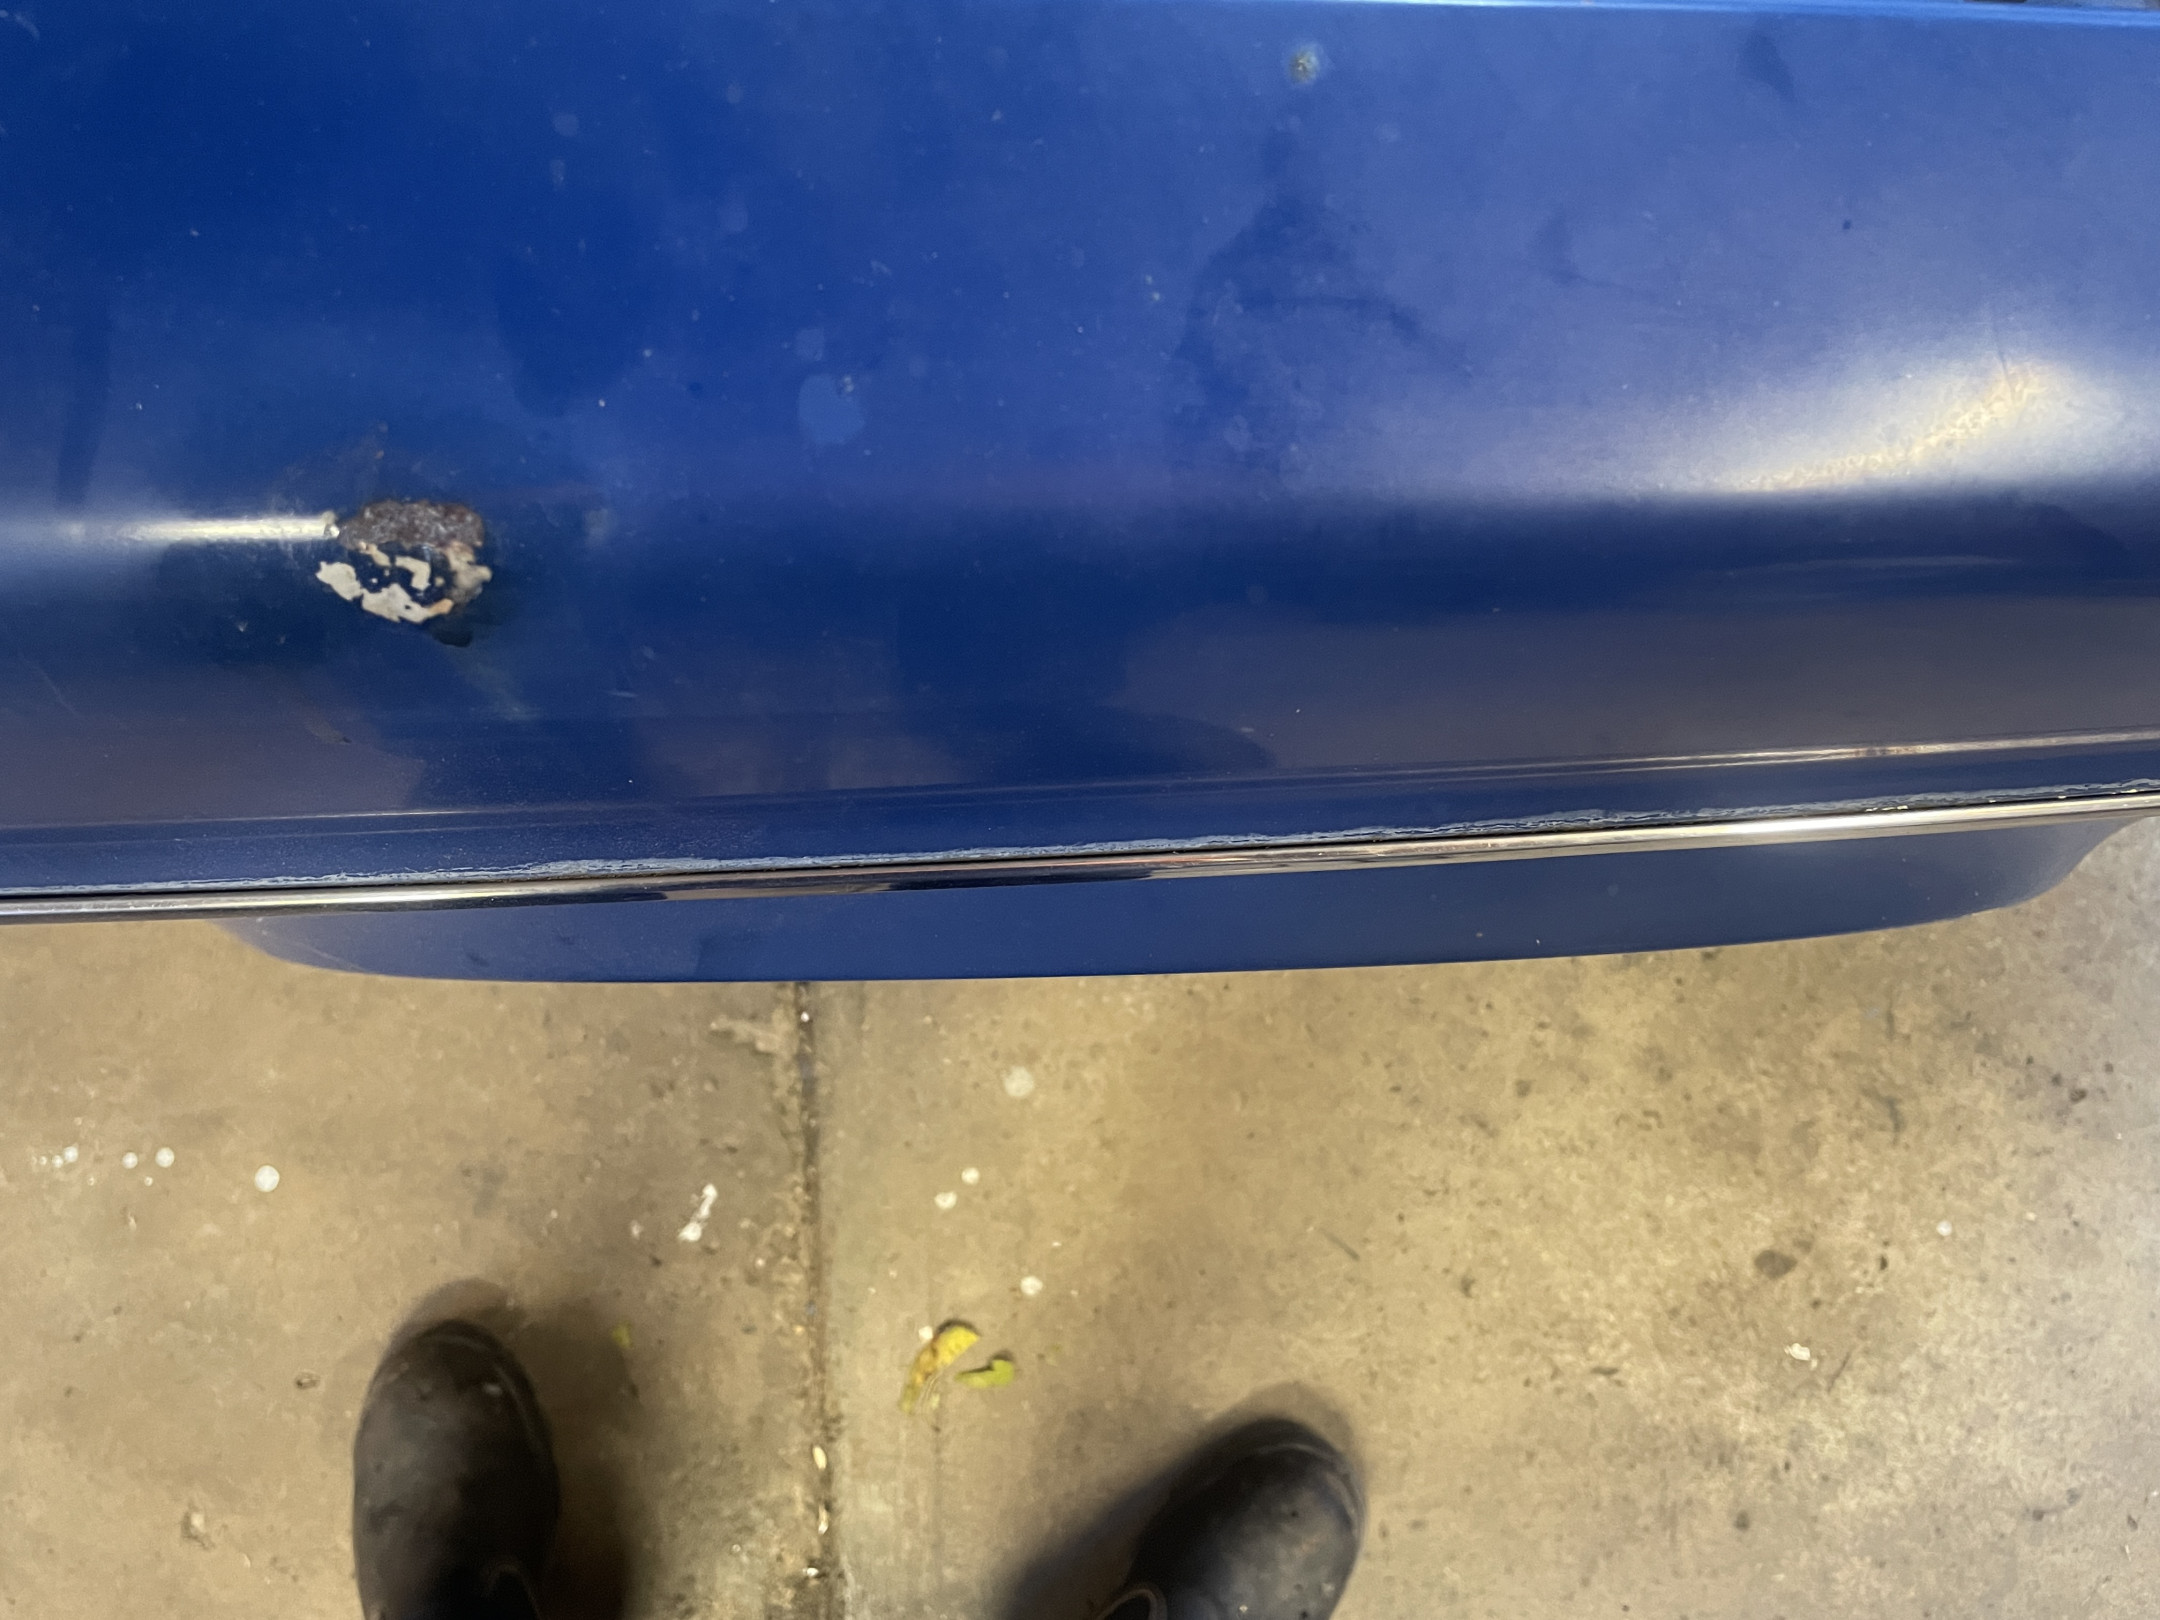
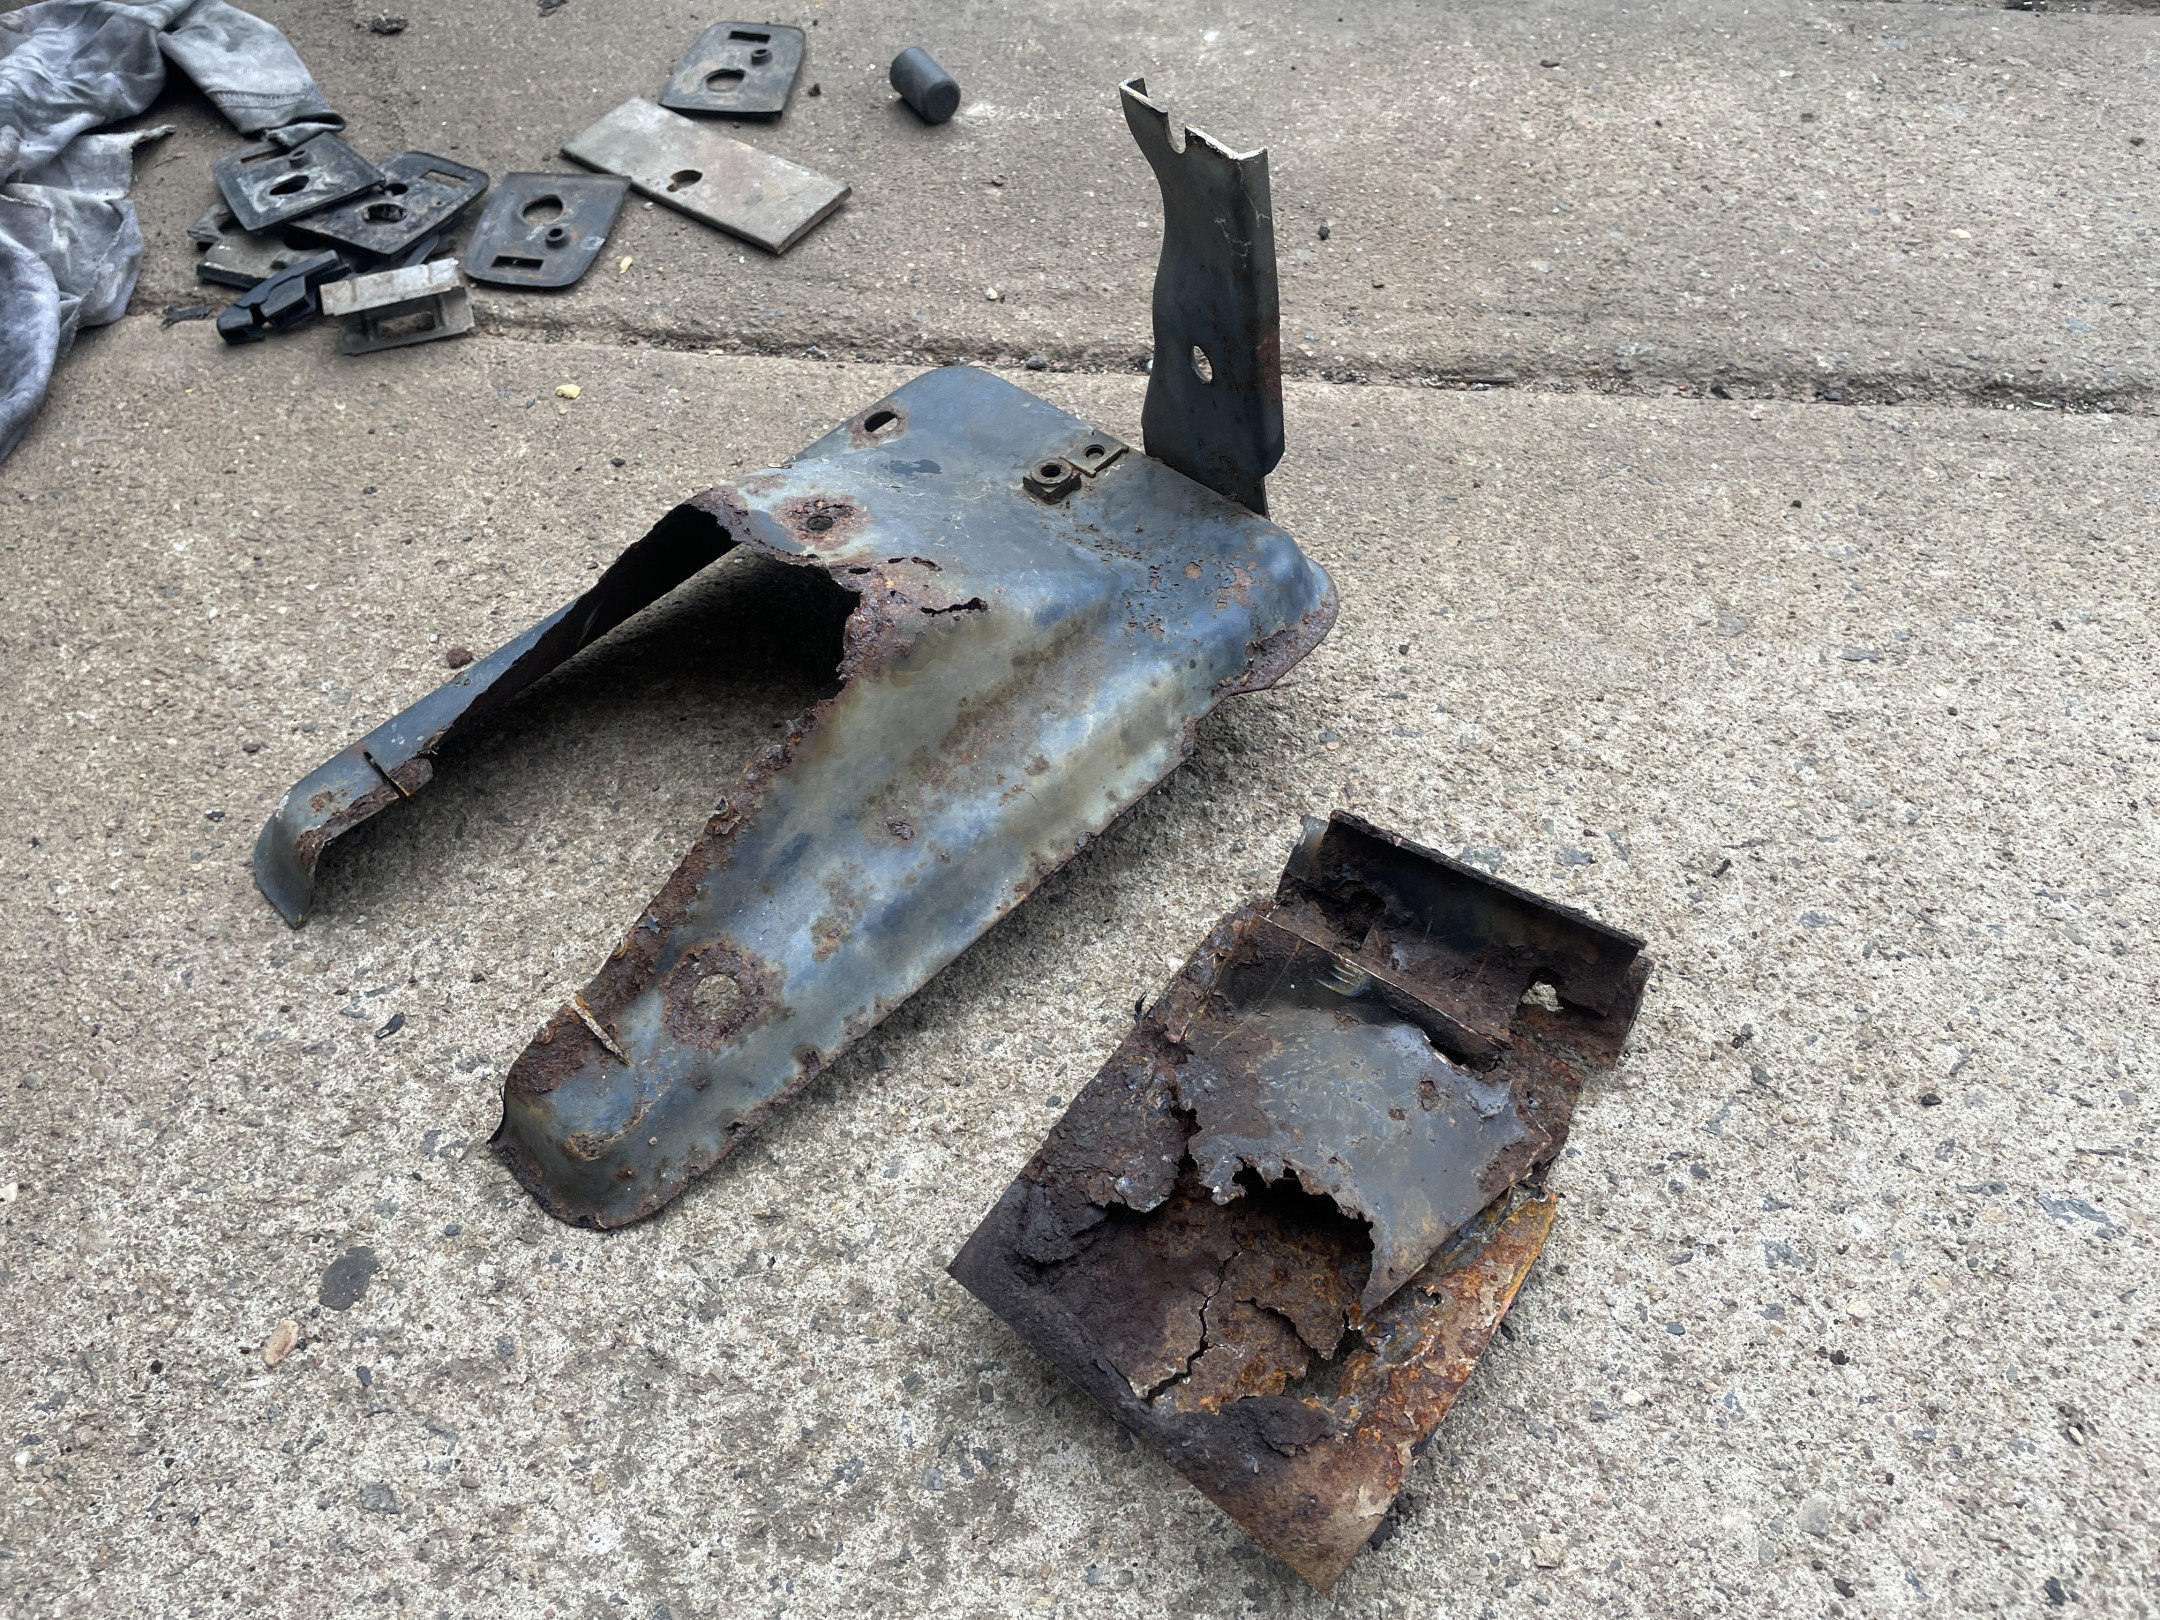
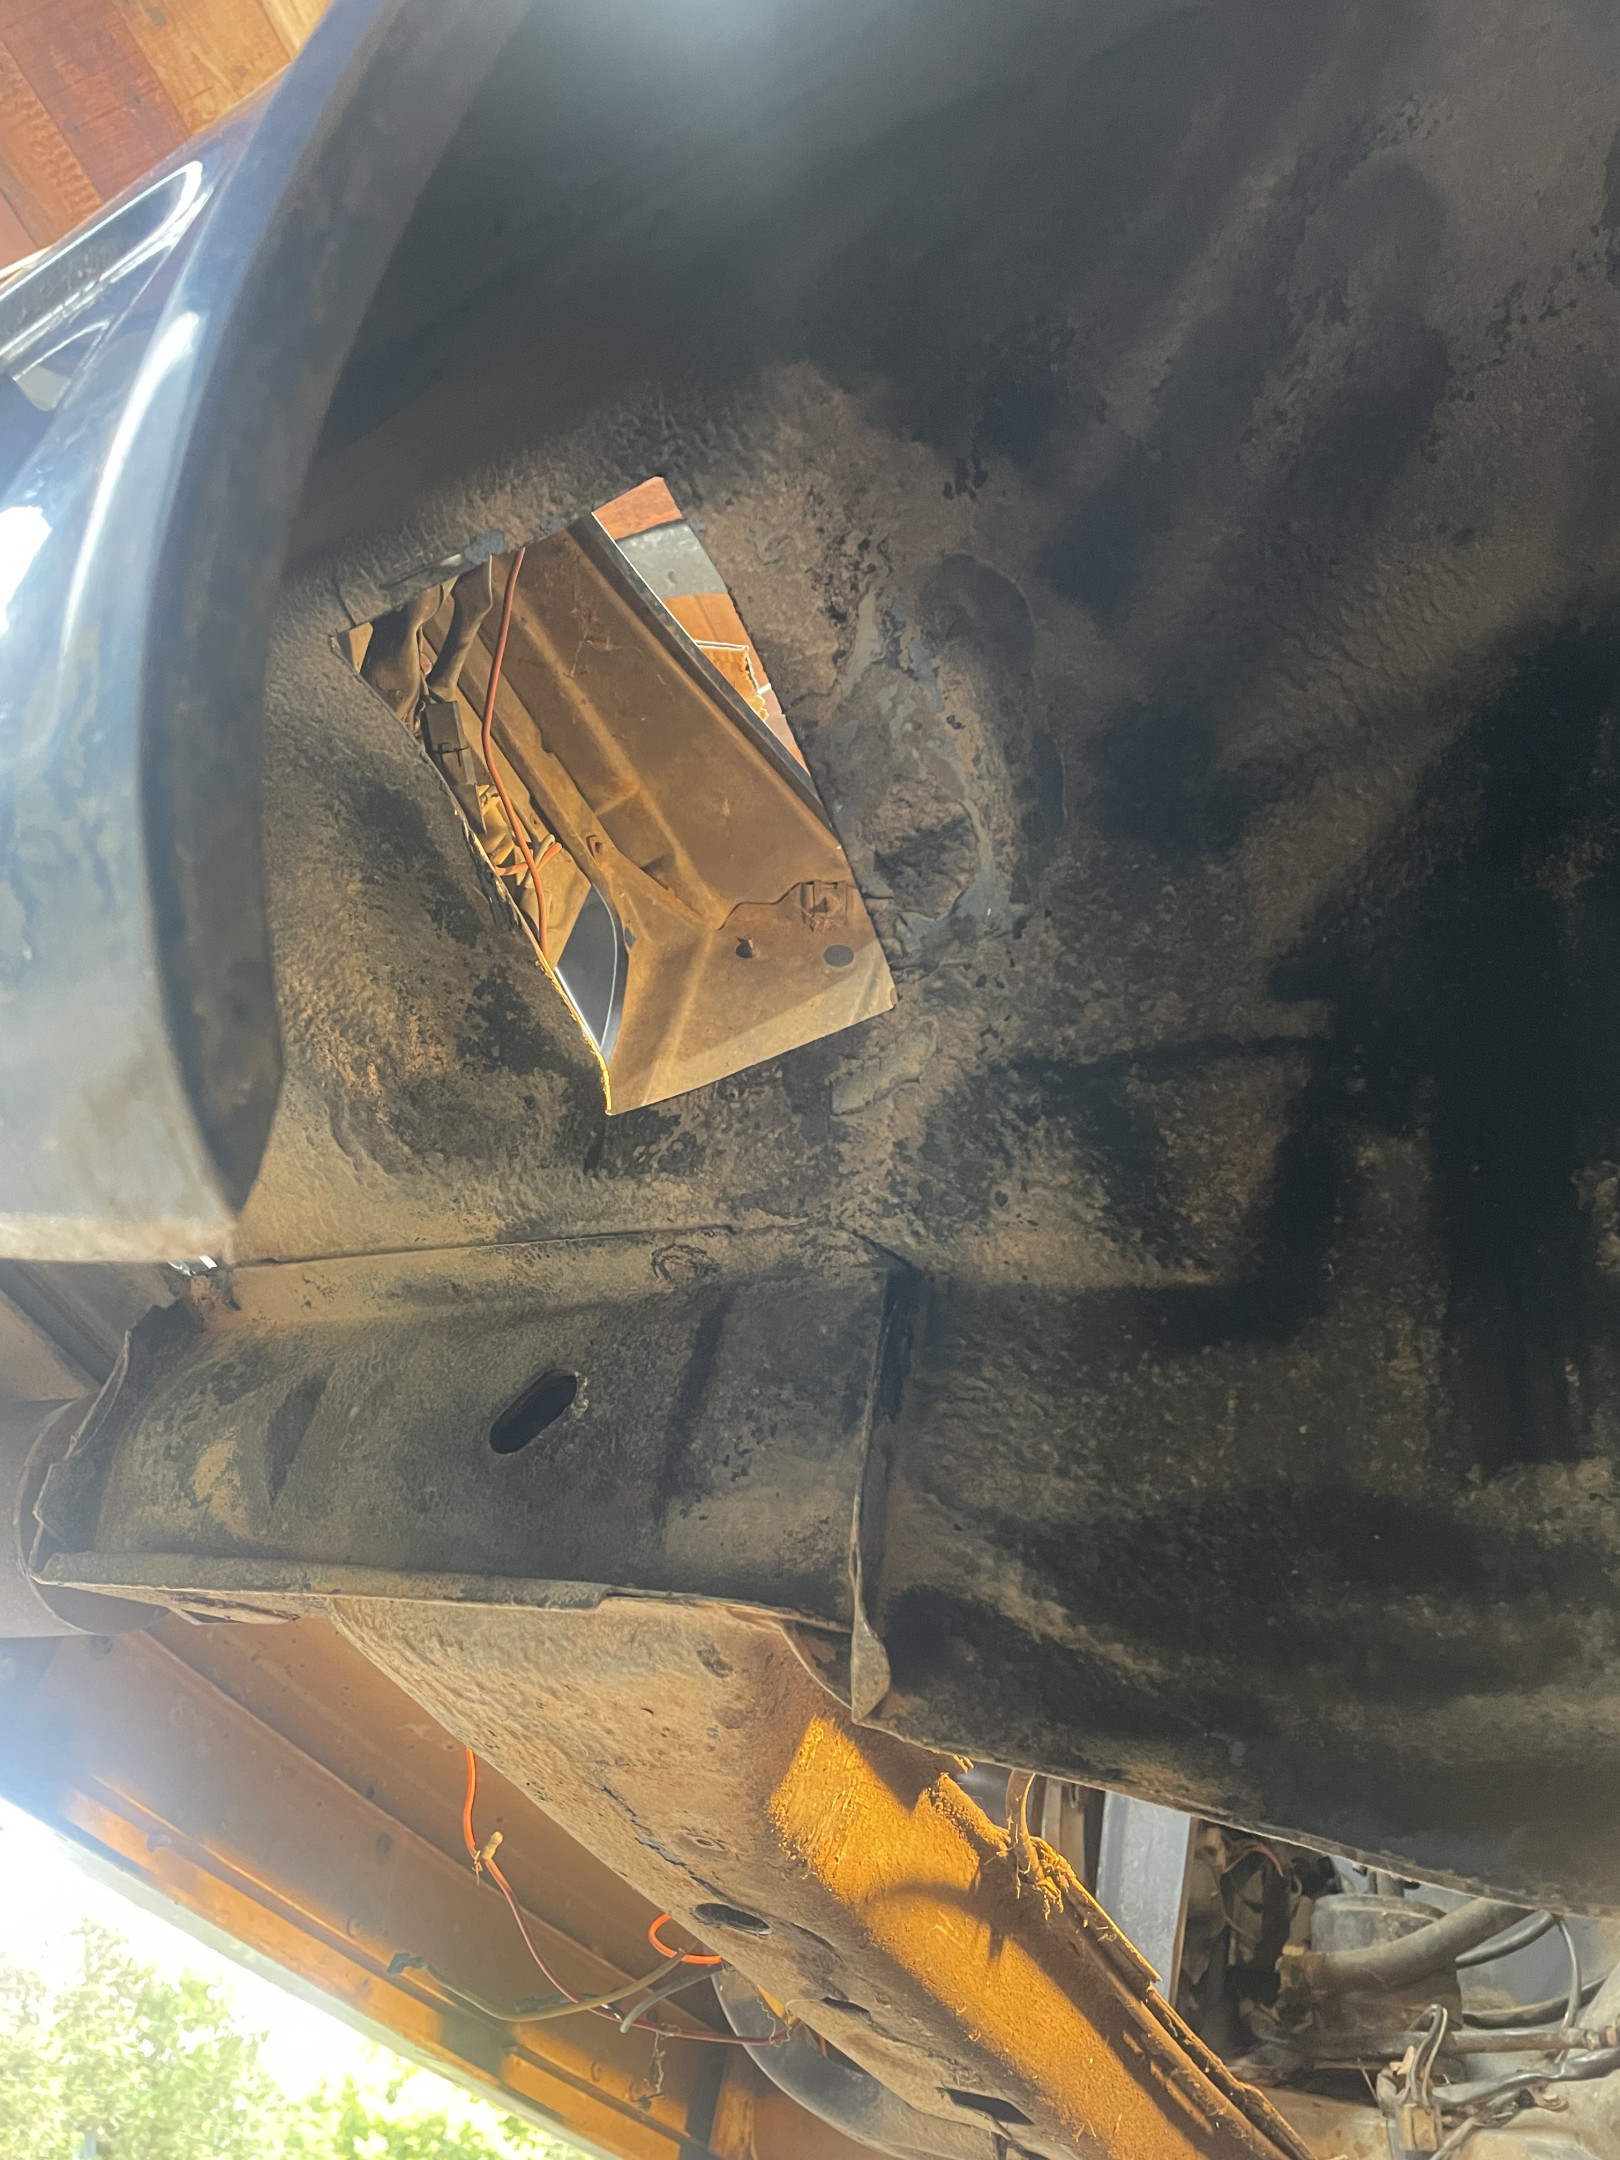
Began cutting out the rusty battery tray, and realised the inner guard was a lot rustier than I thought - what looked like a hole about the size of a 50c coin, was much larger.
So I cut the whole lot of crappy metal out.
Tried to make it a fairly regular shape to make the patch easier to make, but then wondered about maybe fitting the PS oil cooler over this hole.
Mounted the intercooler.
All a bit rough and ready but should do the job.

I will make the top brackets tidier when I get around to it… 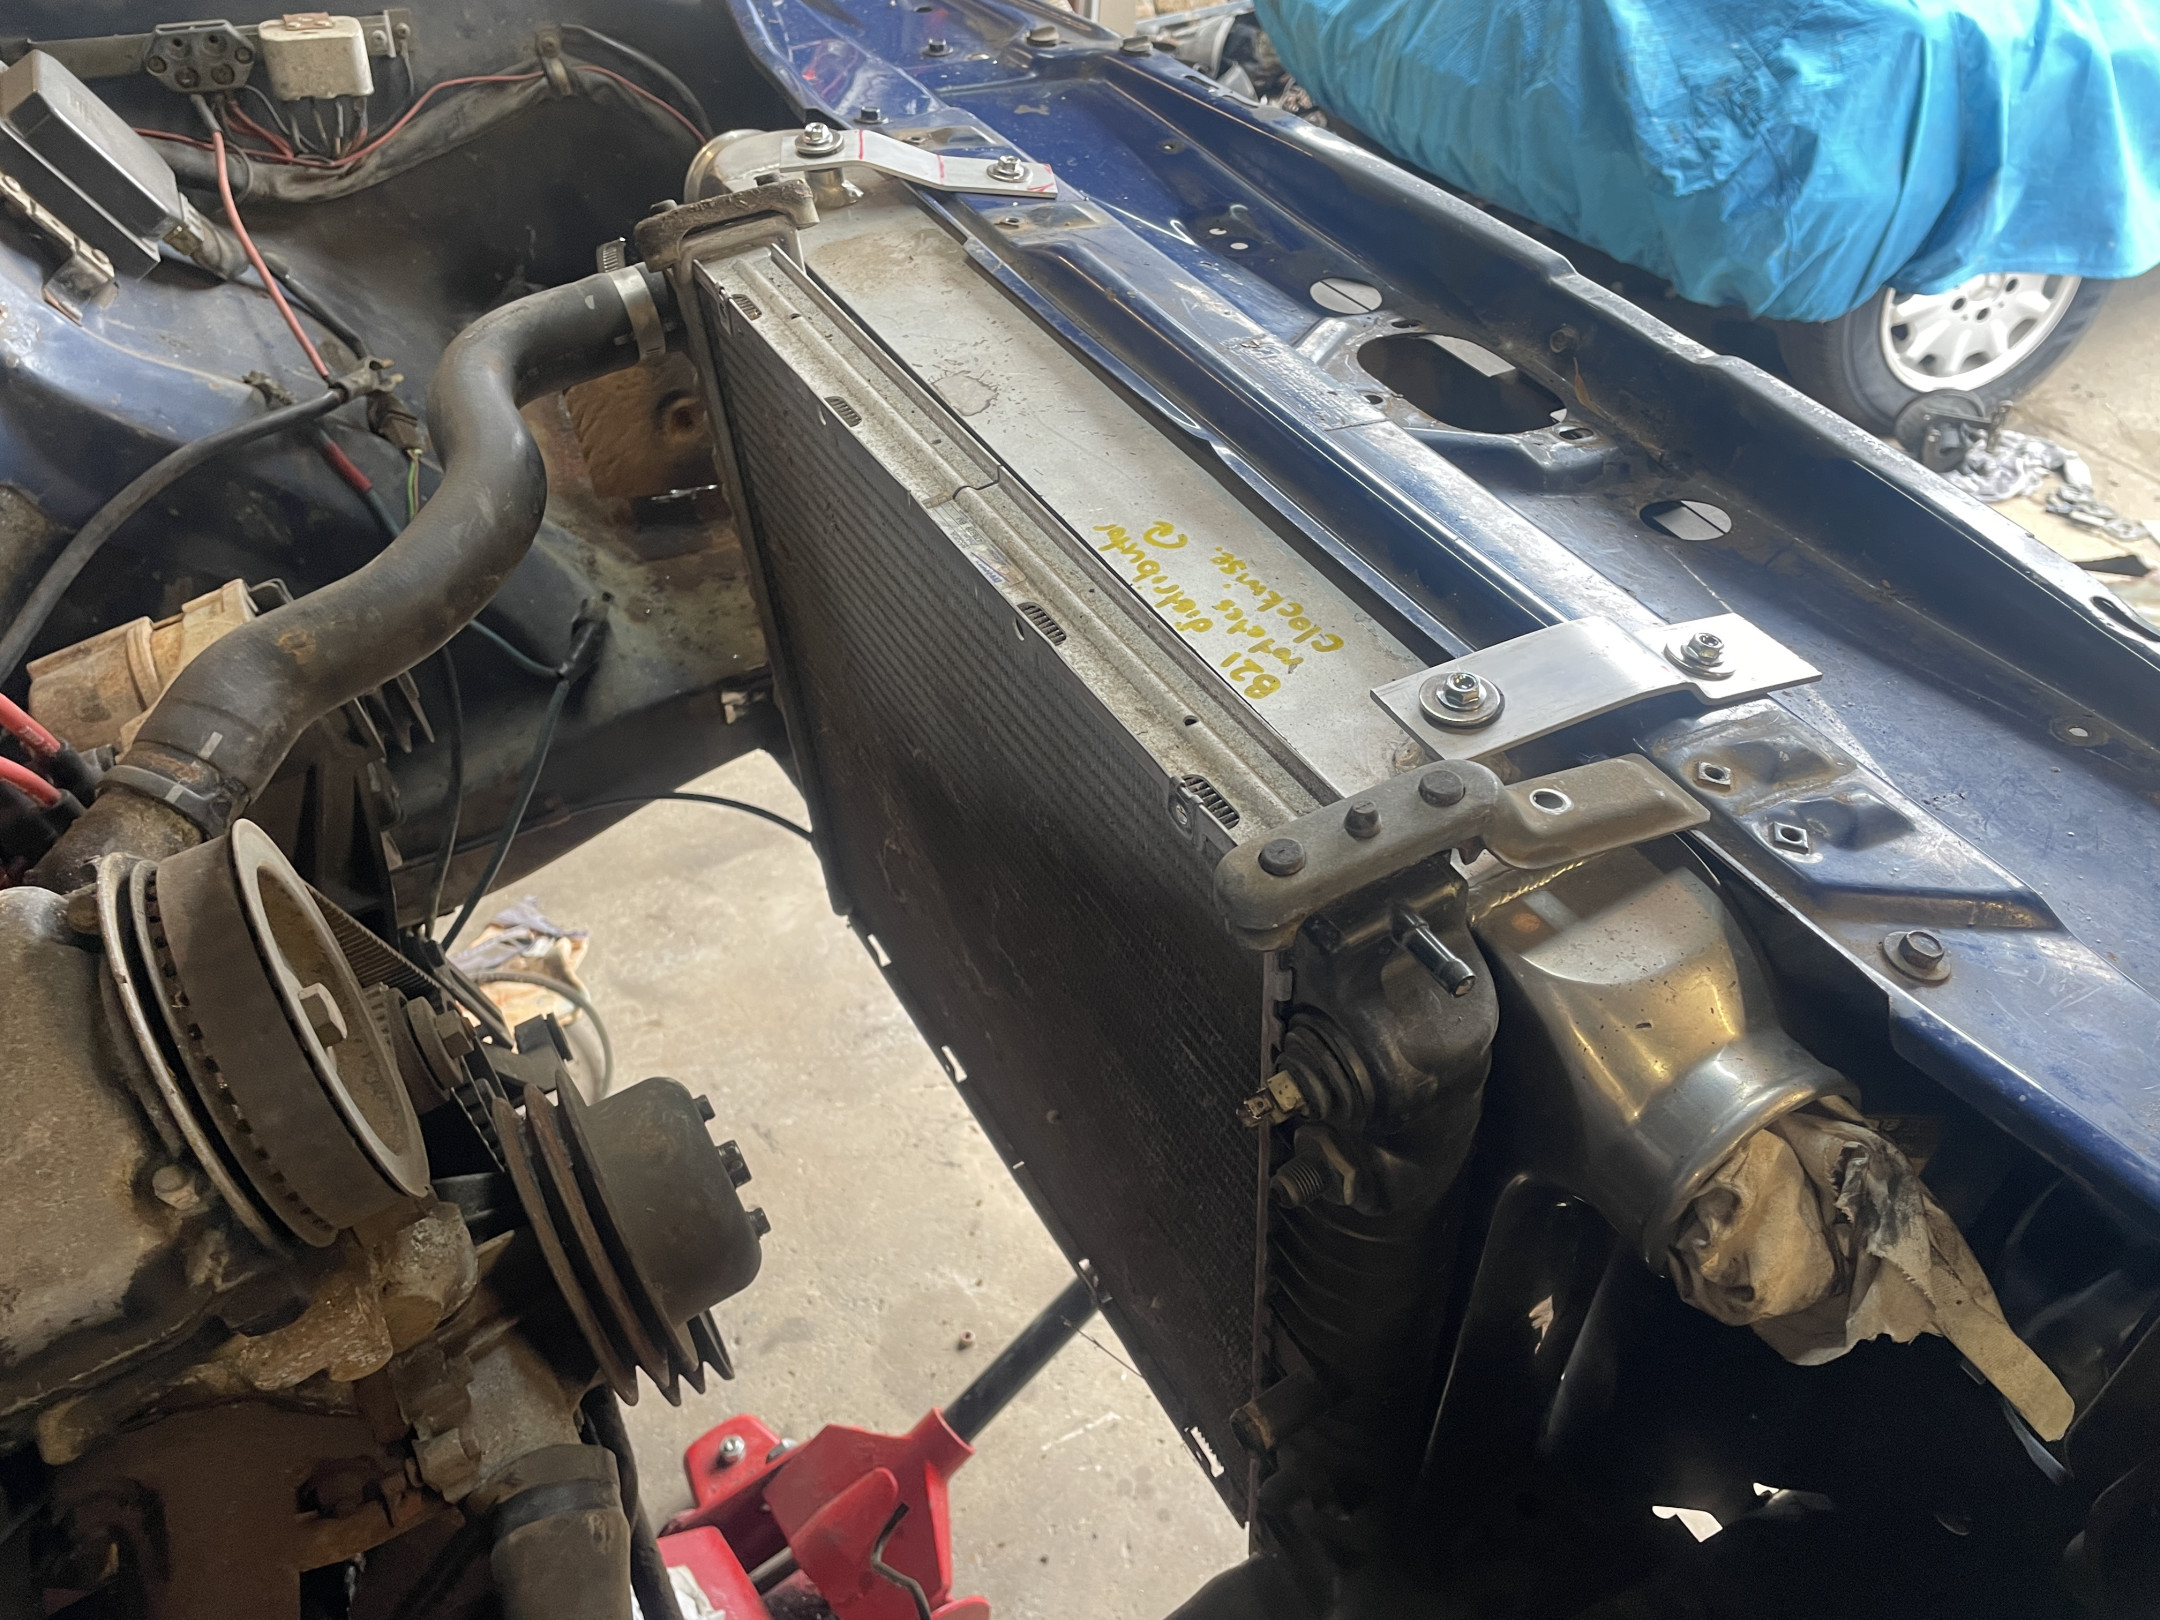
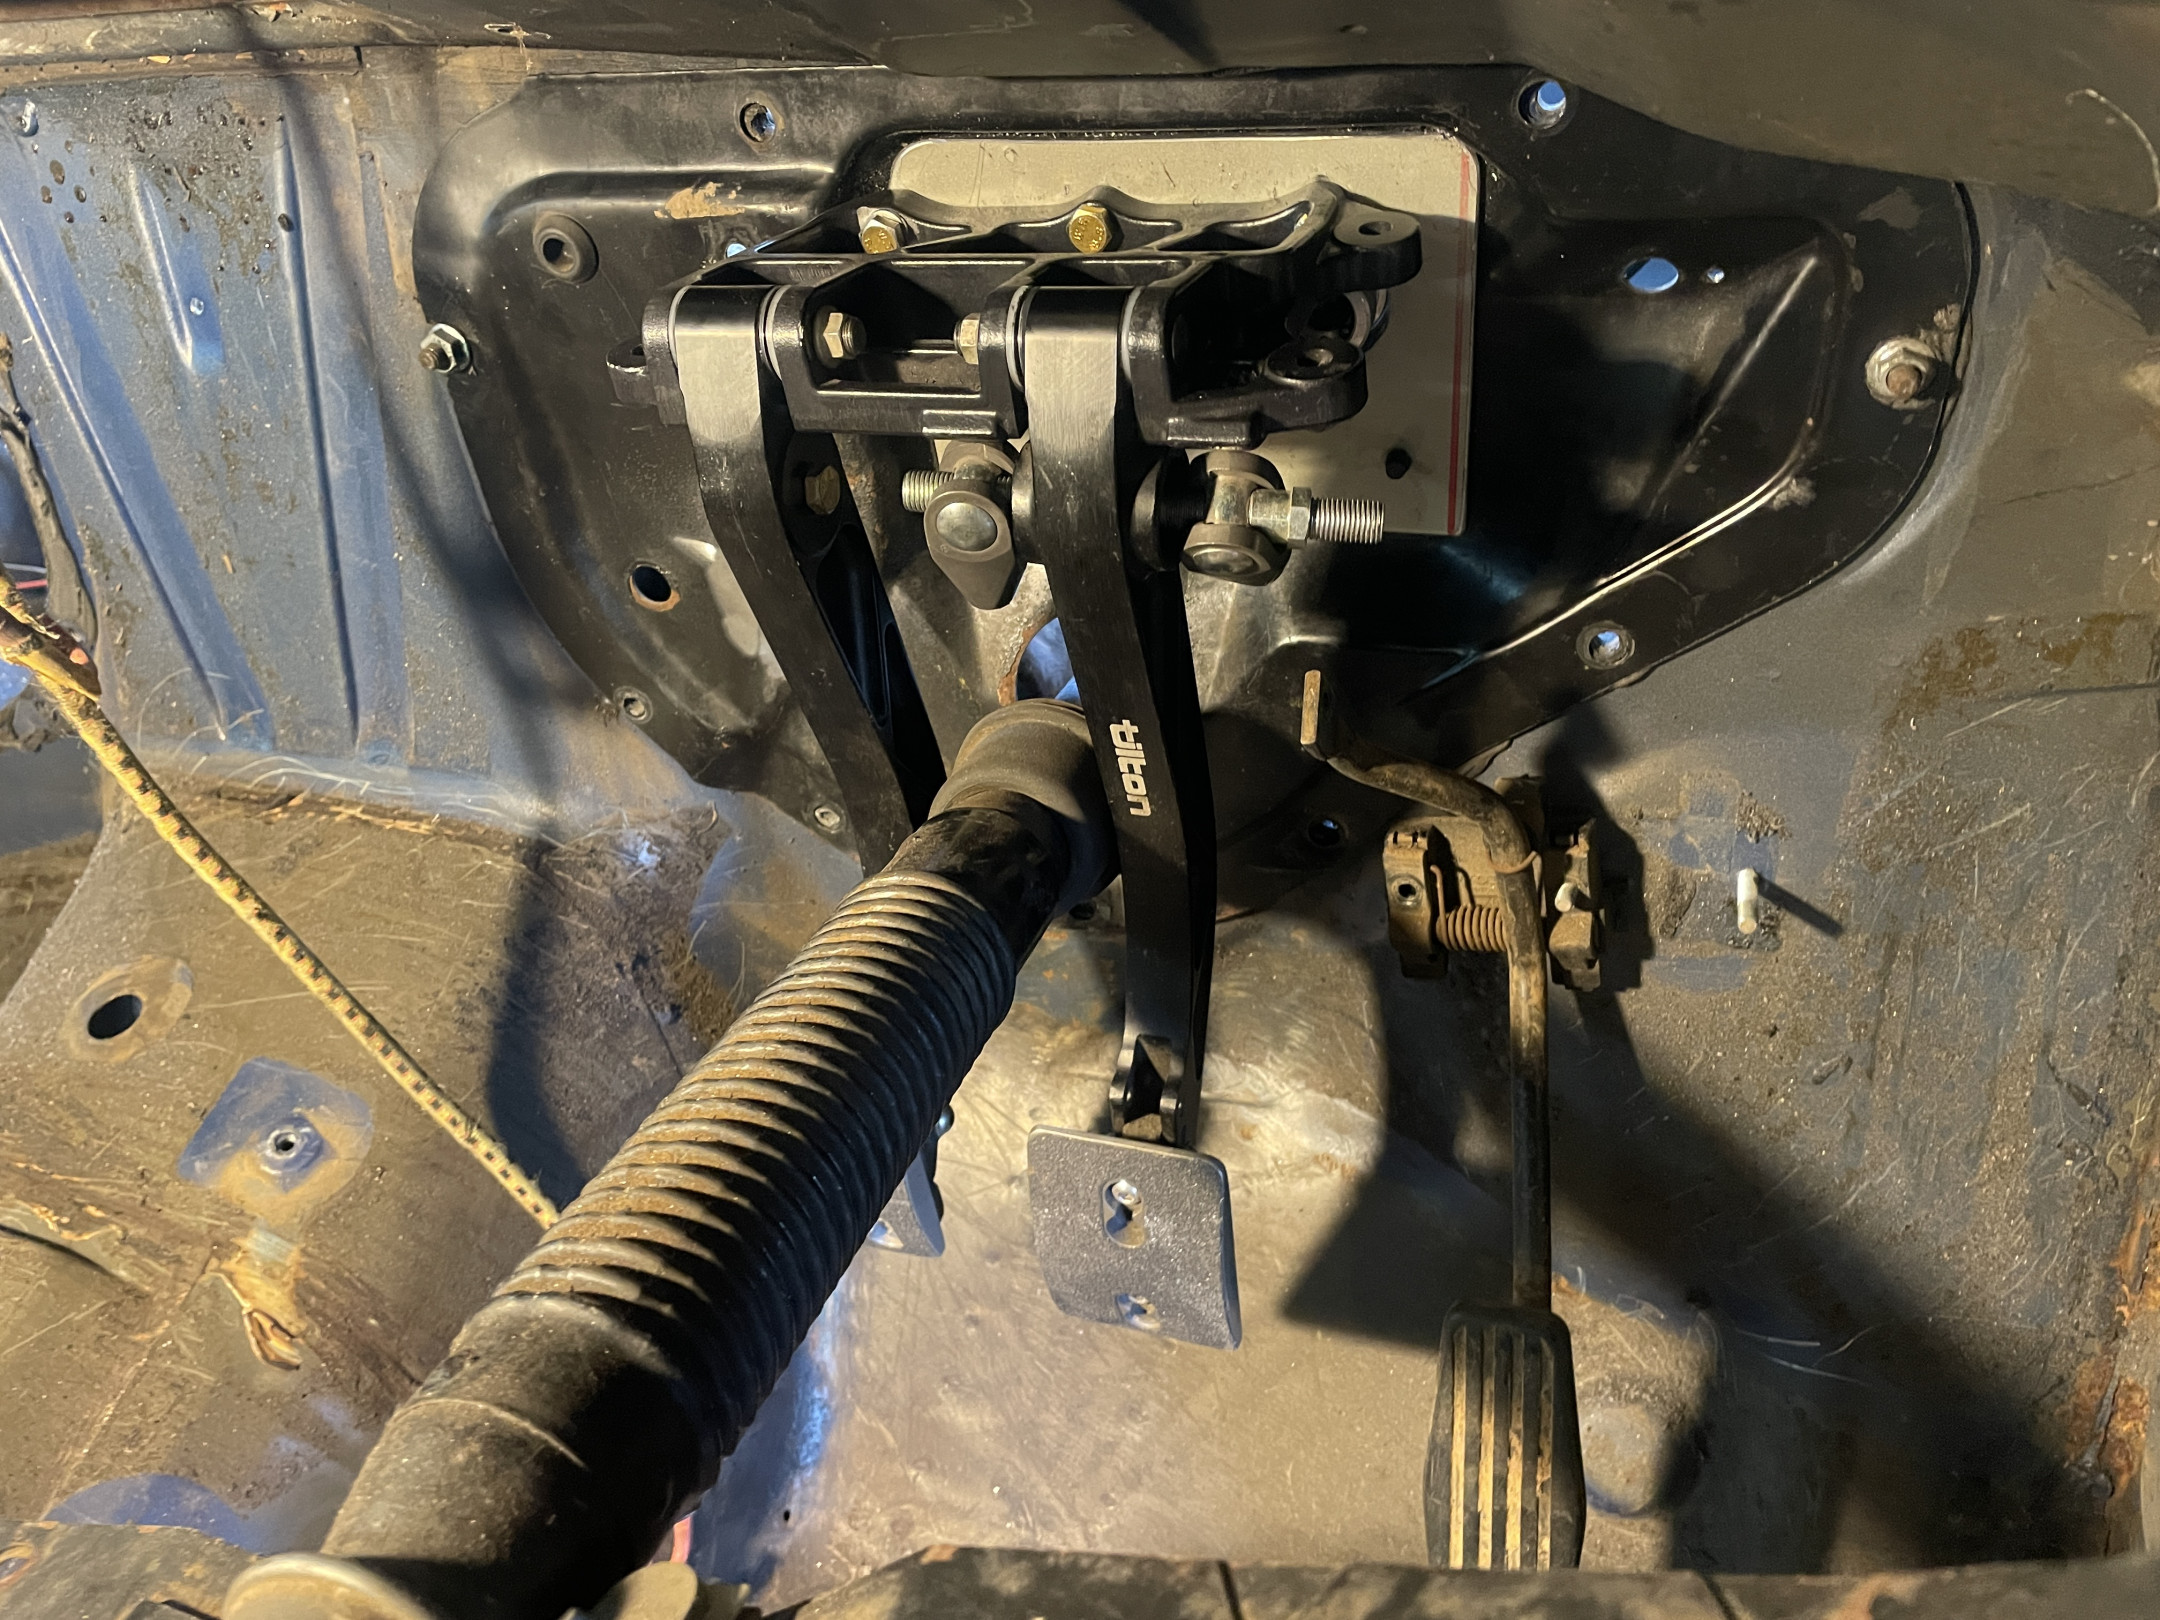
Committed to fitting the Tilton “forward mount” pedal box. It’s ridiculous overkill for this project, but it came as part of a package deal and owes me nothing, so I’m happy enough to fit a $1000 pedal box to a $300 car.
Roughed out where it will fit, but had to stop until the dash is back in and the exact location of the steering column is known. 
I have taken educated guesses on the sizes of the master cylinders.
I have gone with 3/4” for the brakes and 7/8” for the clutch. For the clutch, I calculated it off the standard pedal ratio and adjusted it for the 6.9:1 ratio of the Tilton.
For the brakes, Petey is running the same front calipers with 5/8” masters, so the maths says that 3/4” is good with the extra pedal ratio of the Tilton.
Time will tell if any of this is right!
Cleaned up the interior a bit this morning, ahead of test fitting the dash and to make the fire extinguisher mount.
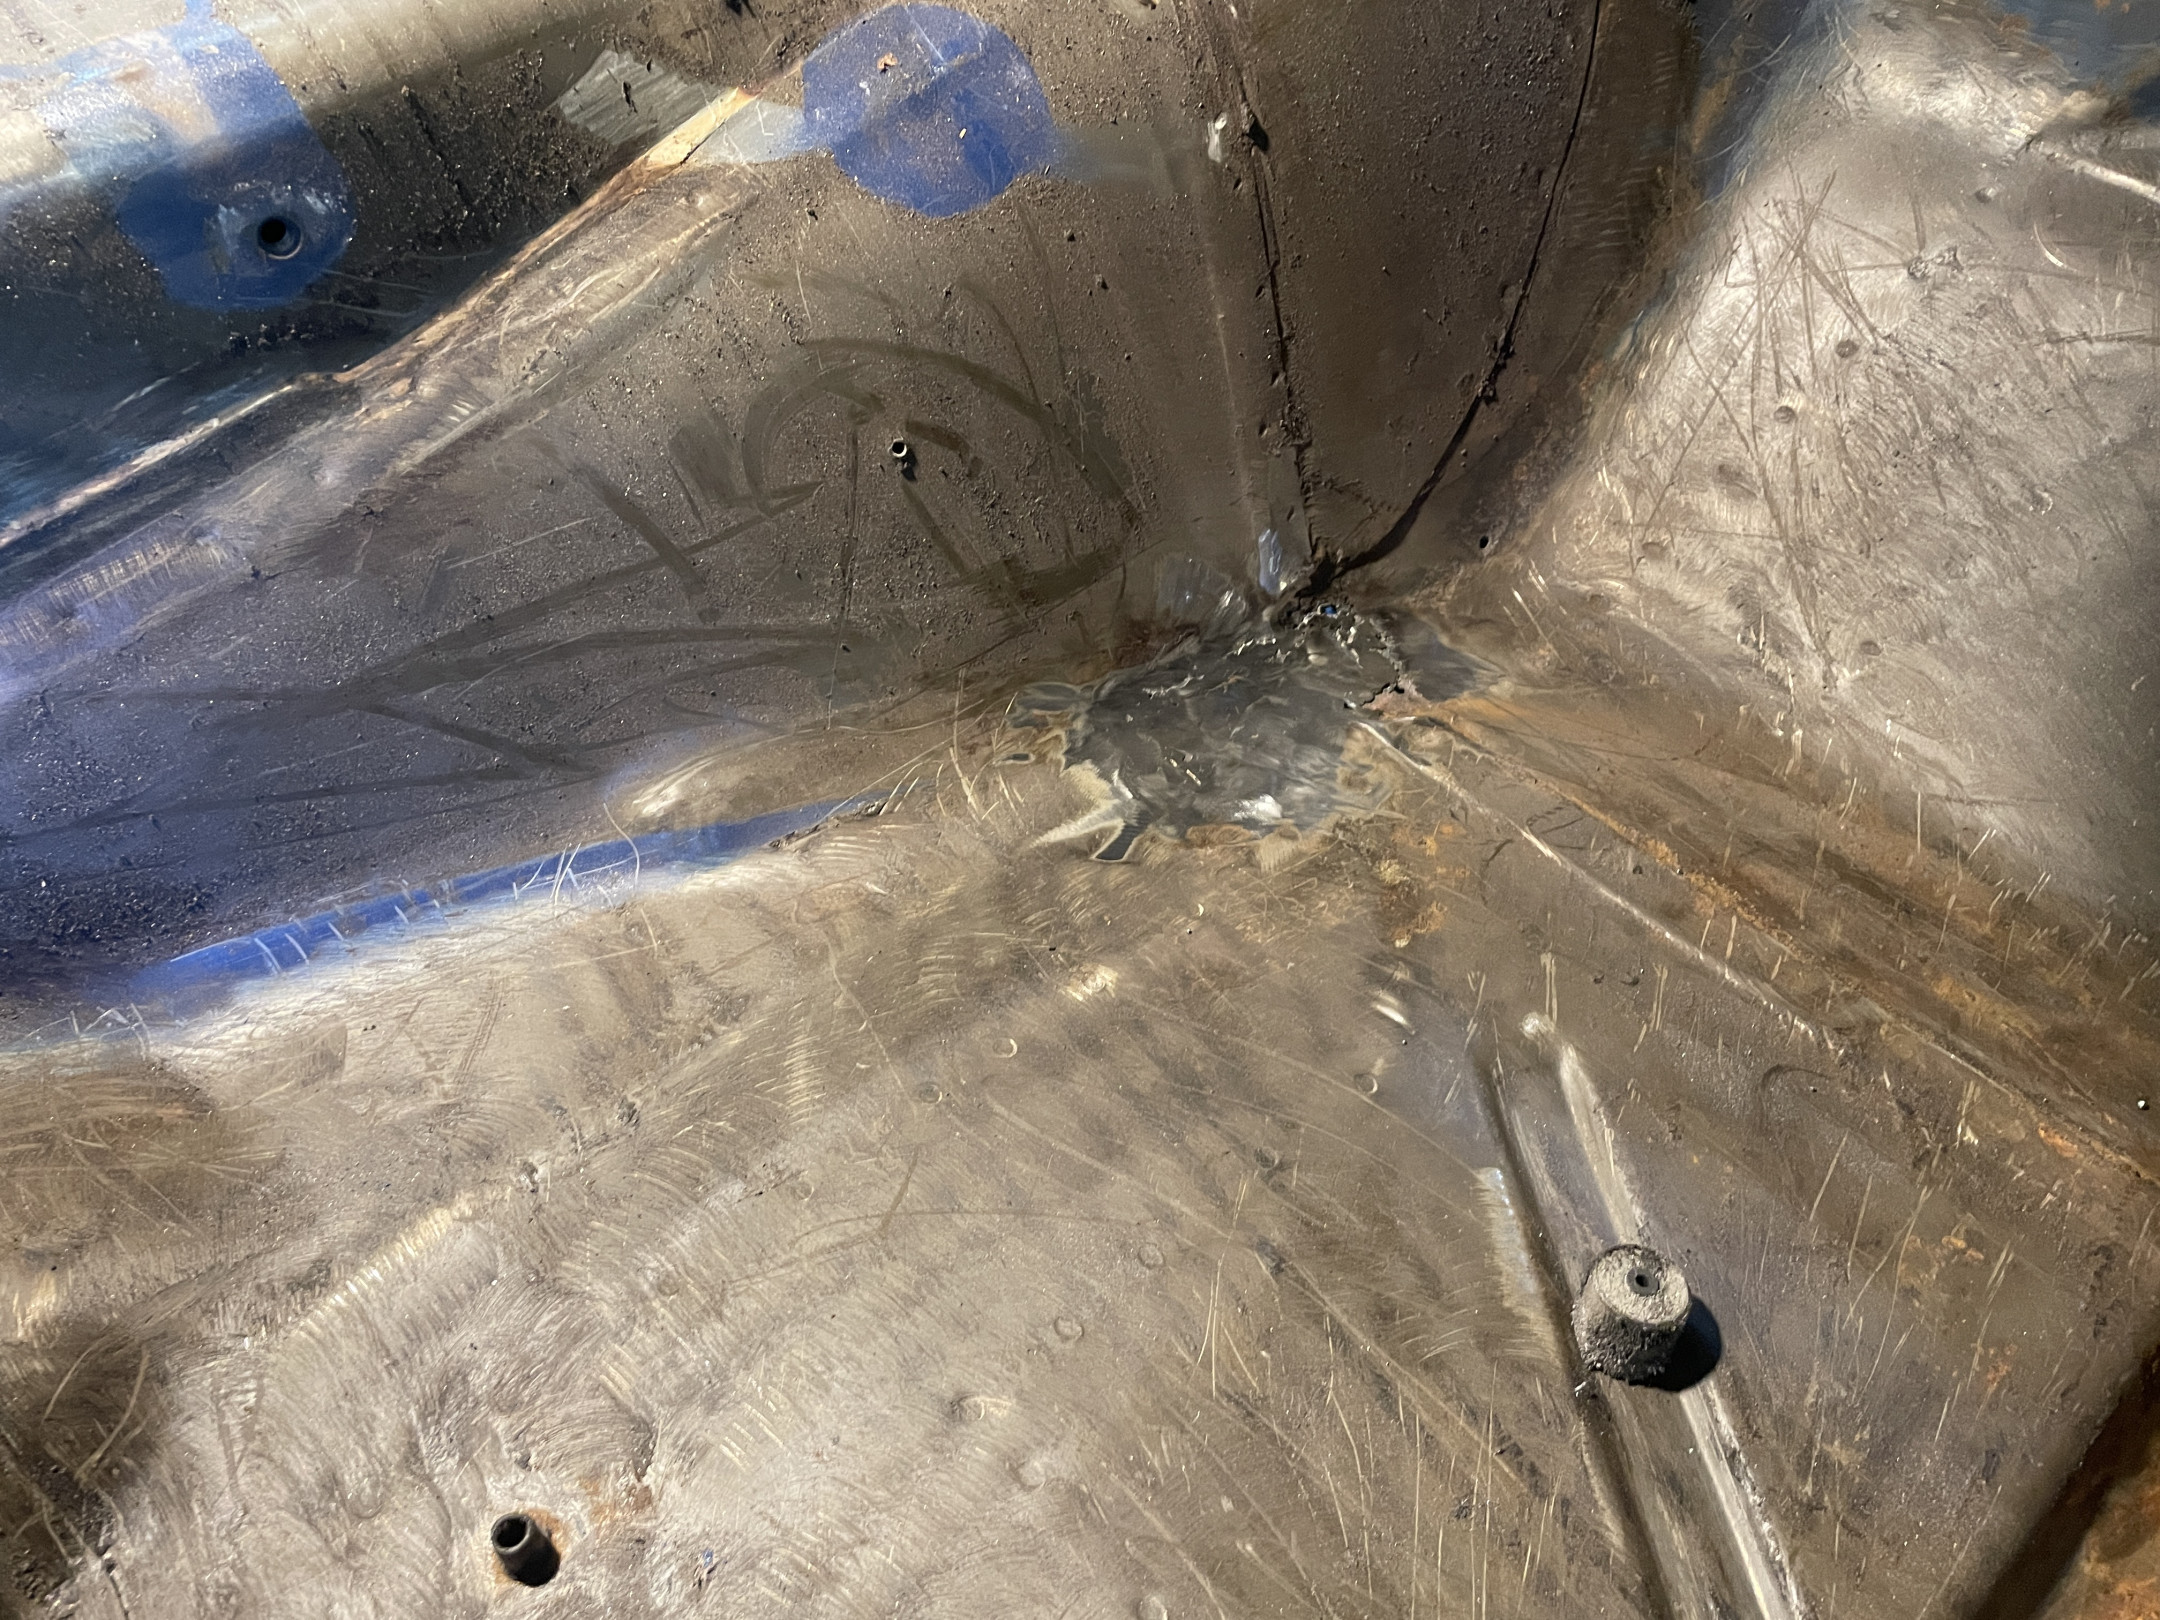
Somehow that snowballed into taking all the tar off the floors and the firewall.
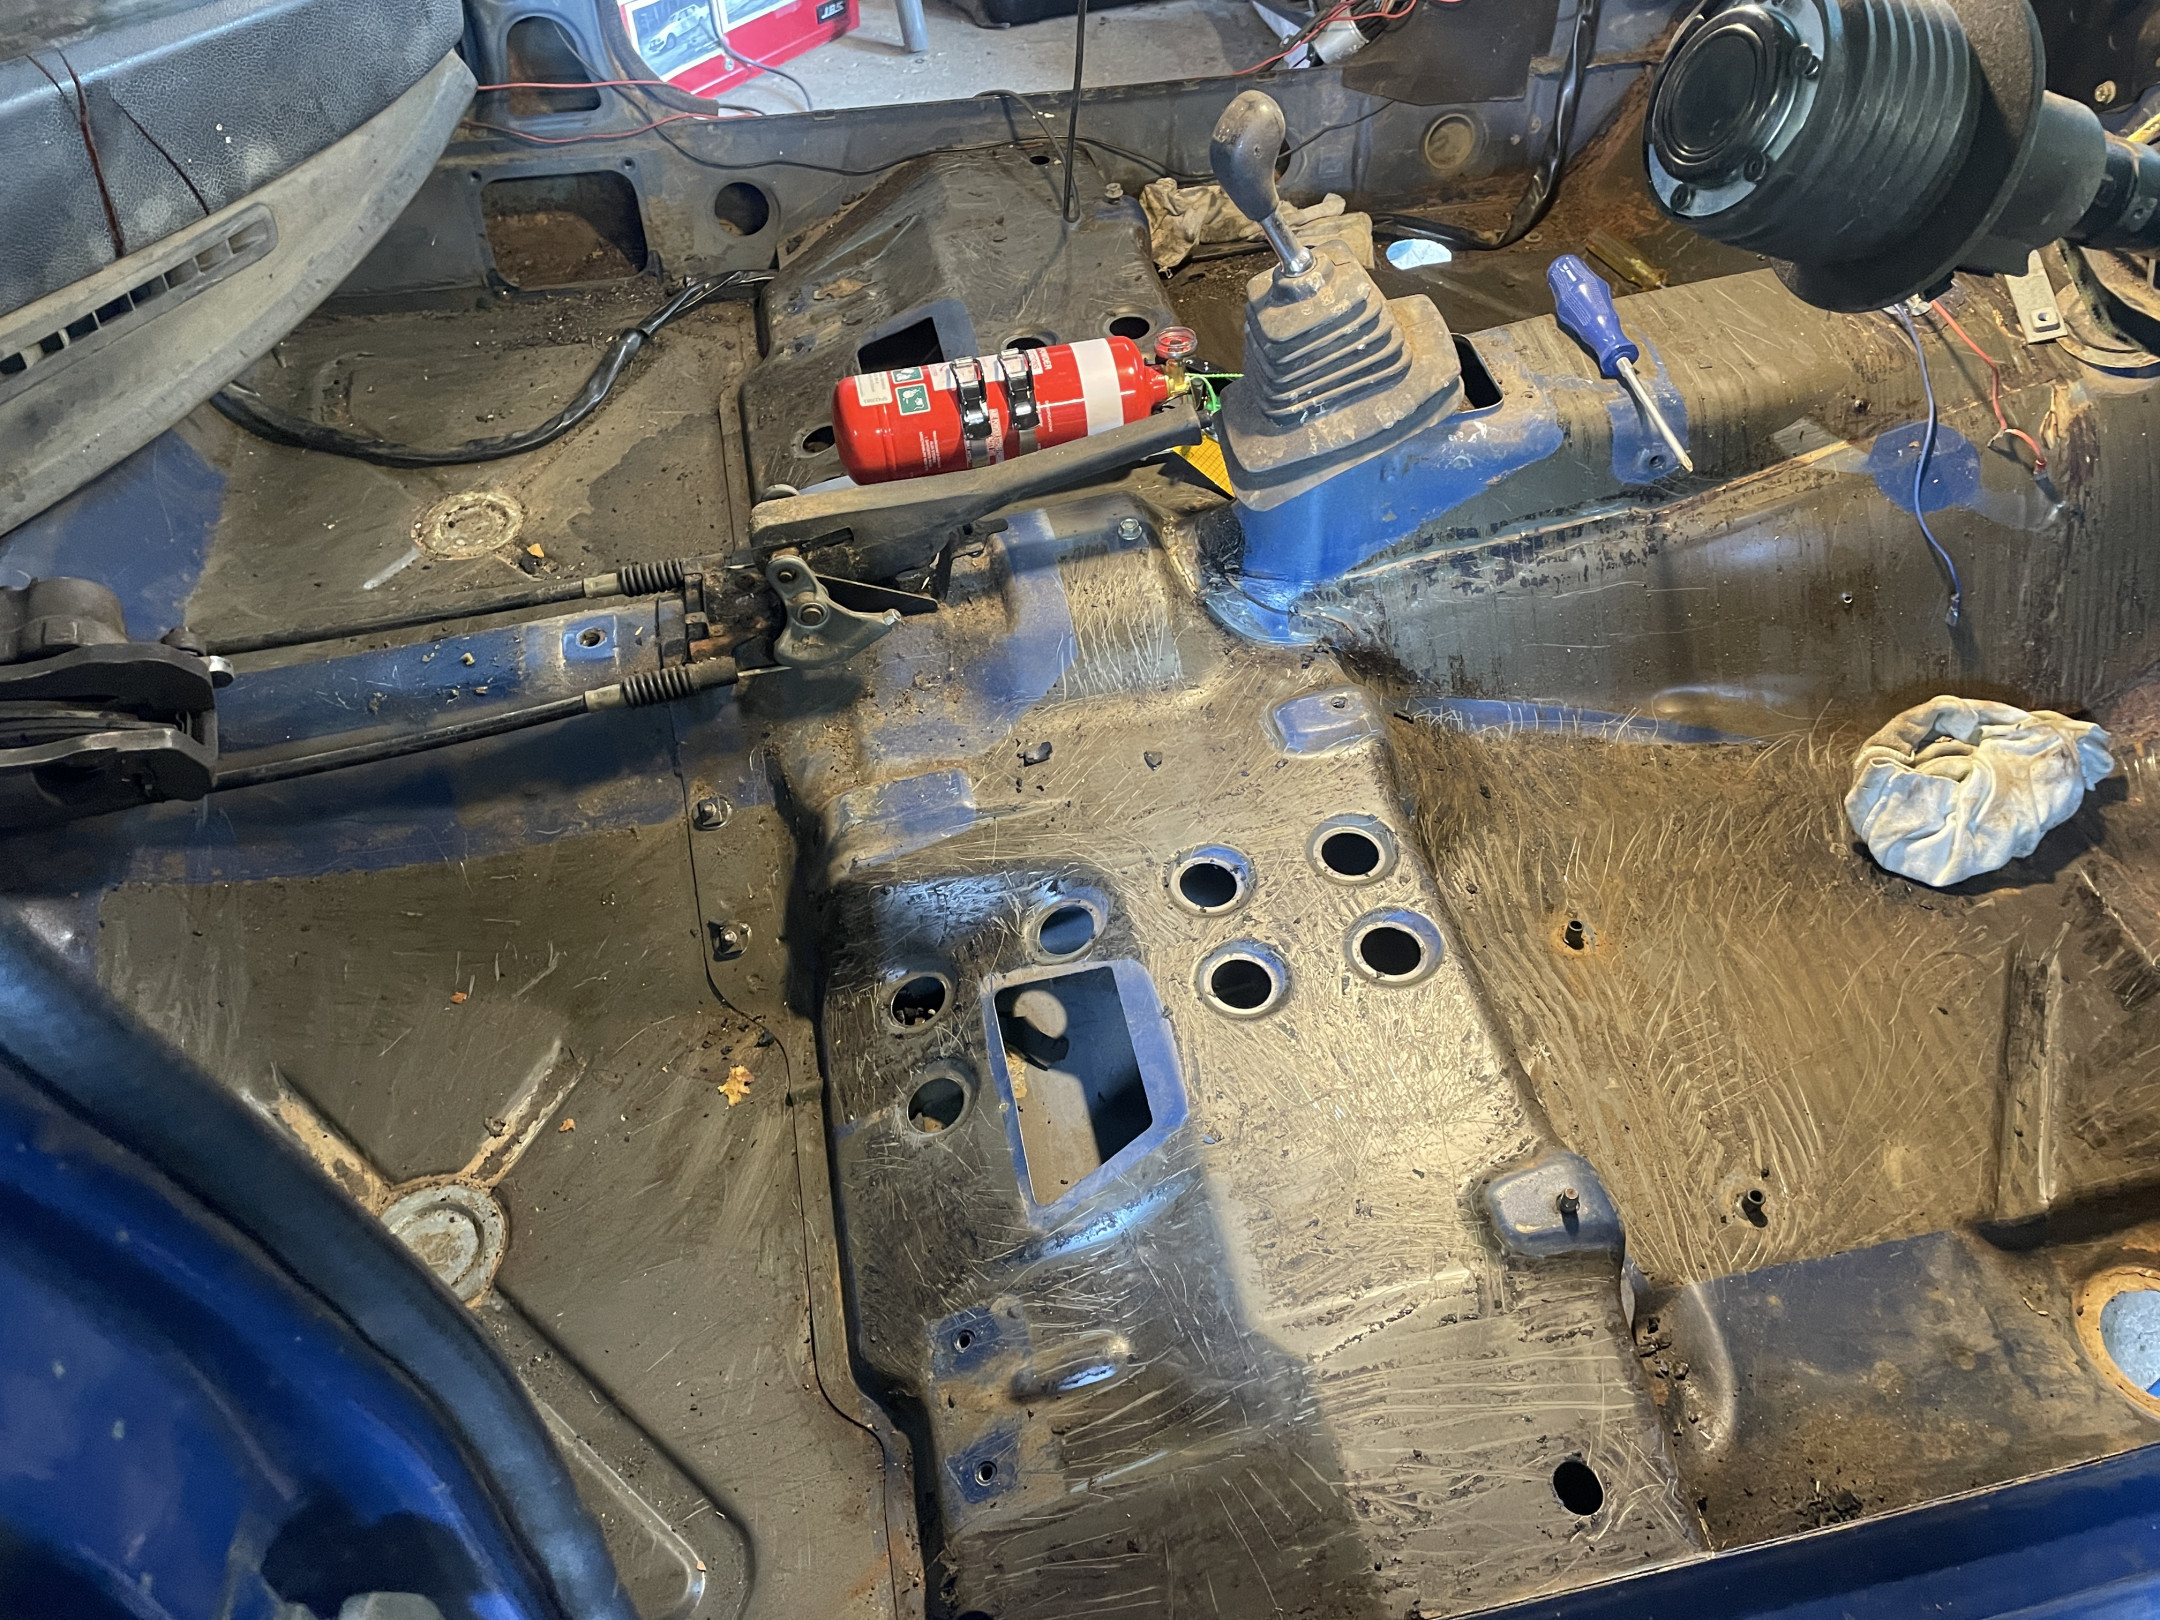
The sections under the front seats were the worst by far, with the rear floors and the transmission tunnel both being super easy.
Still need to do the boot, the rear parcel shelf and the part under the rear seat, but a bit over 10kg has been removed already.
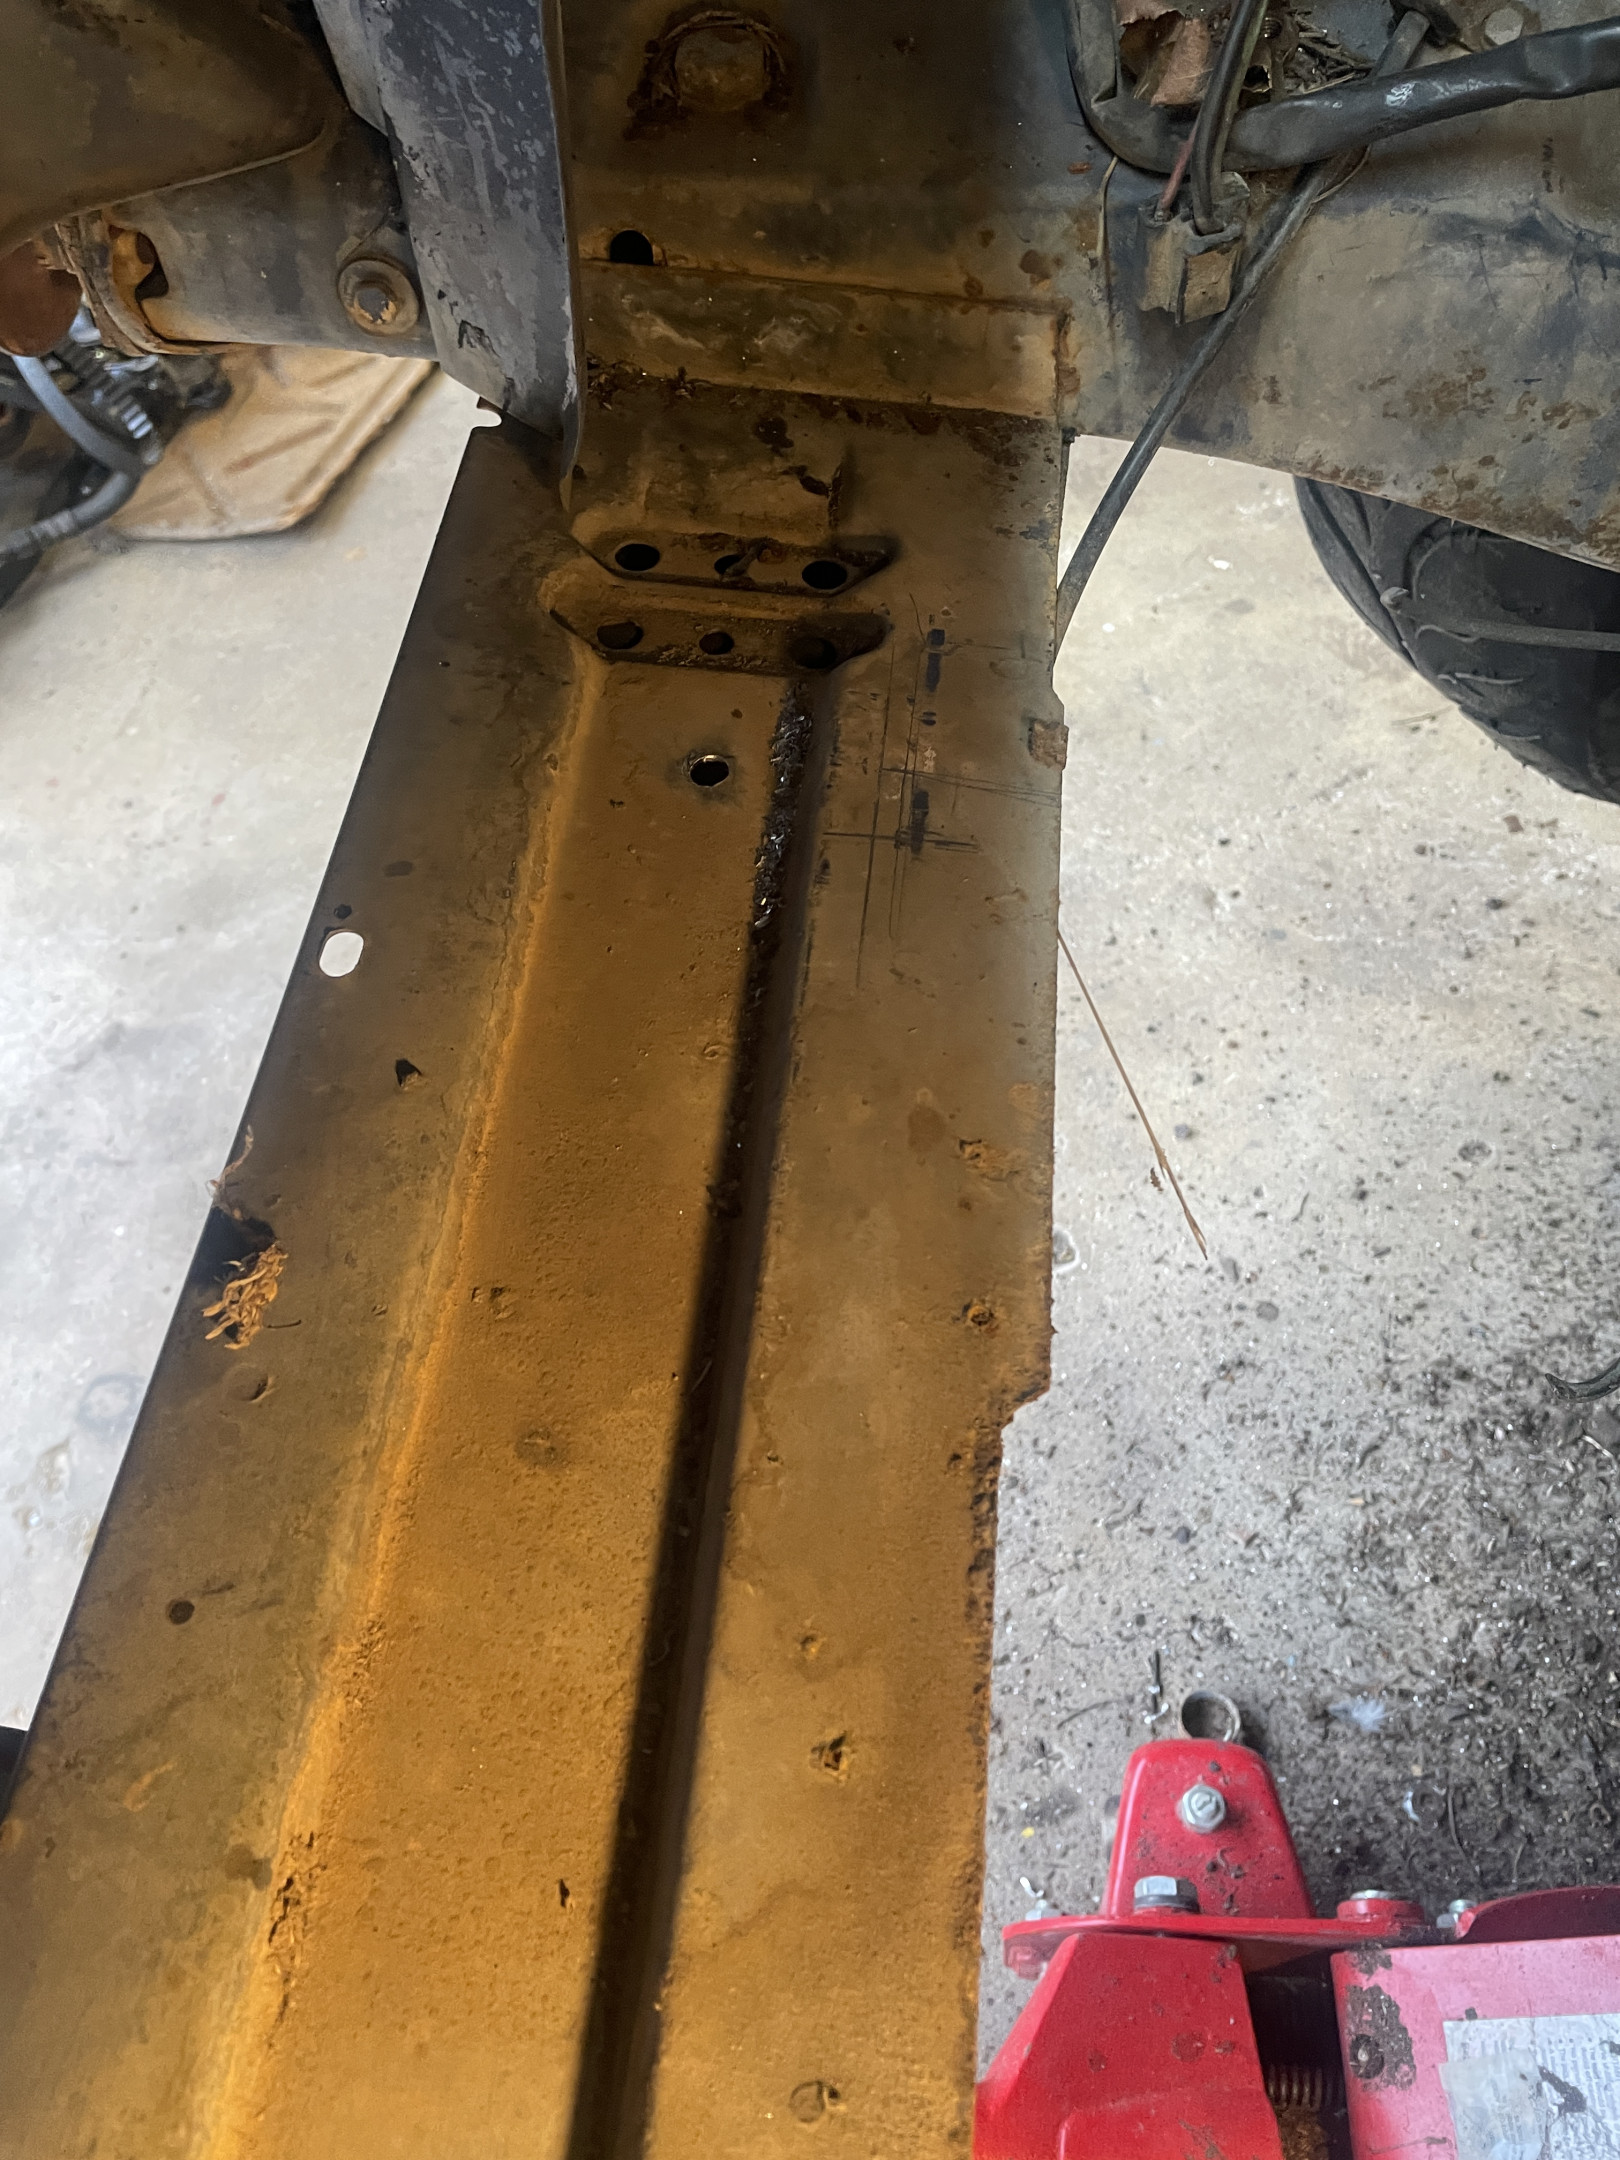
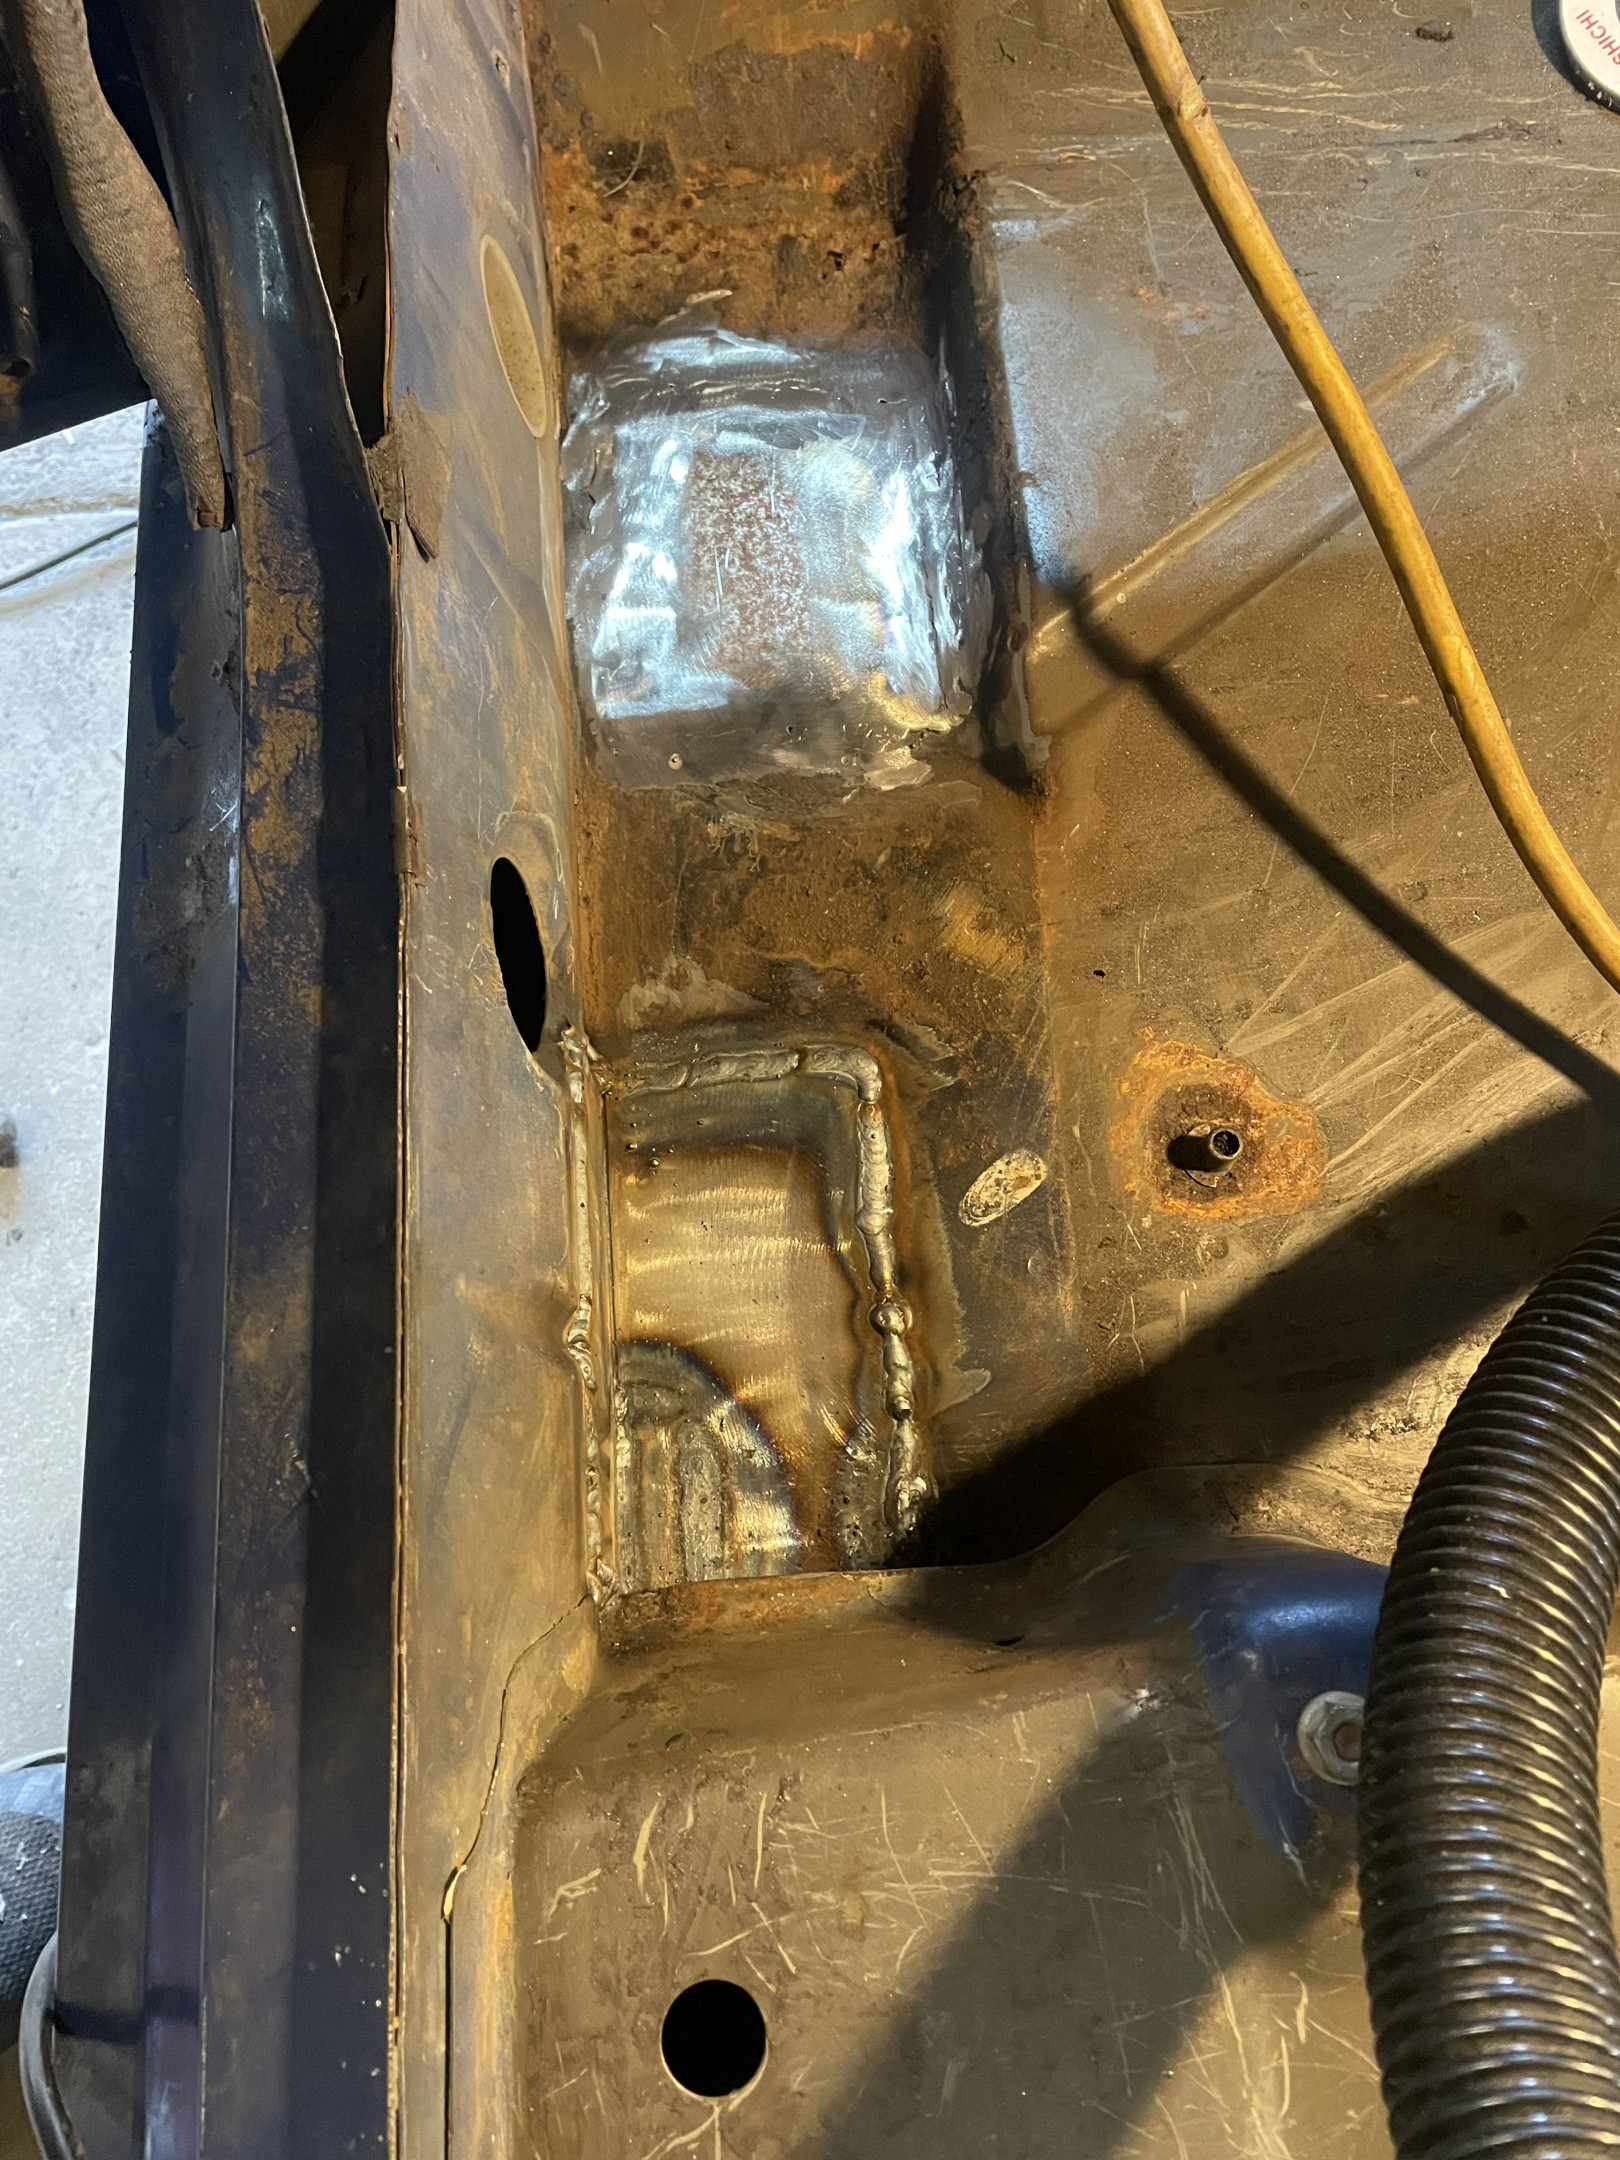
Rust repairs. 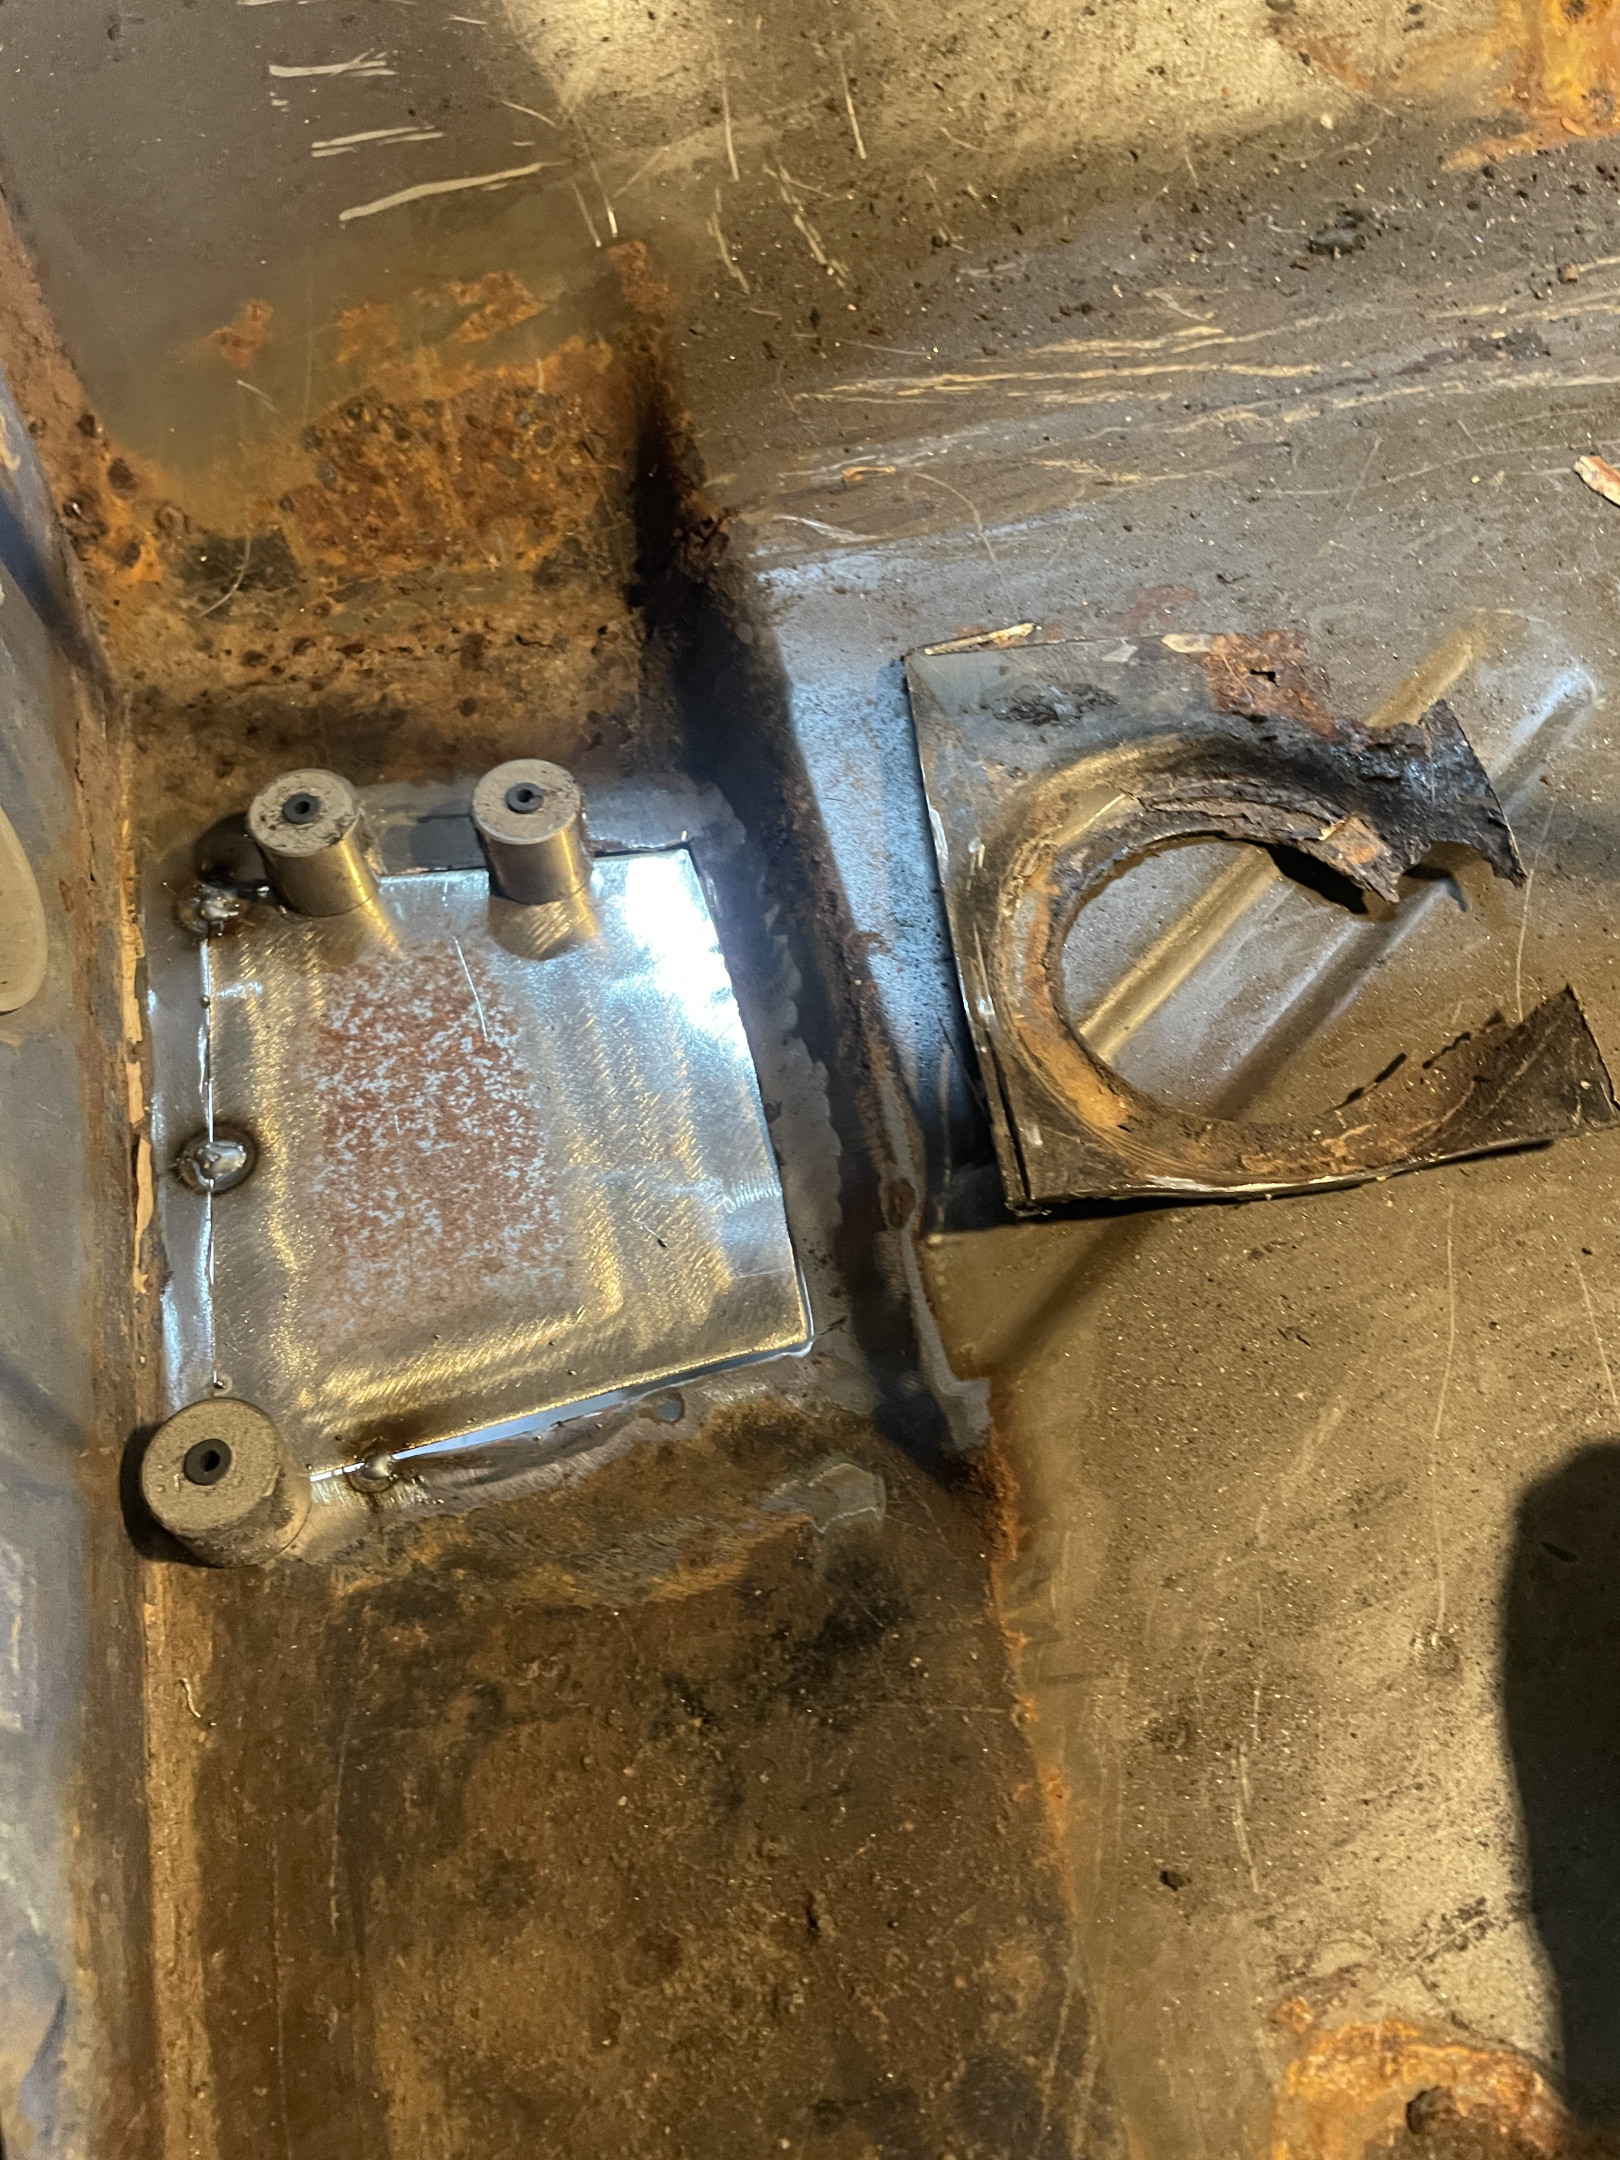
Was supposed to be fixing the exhaust on the Falcon, but it started raining so I played with the 244 instead…
Pedal box progress.
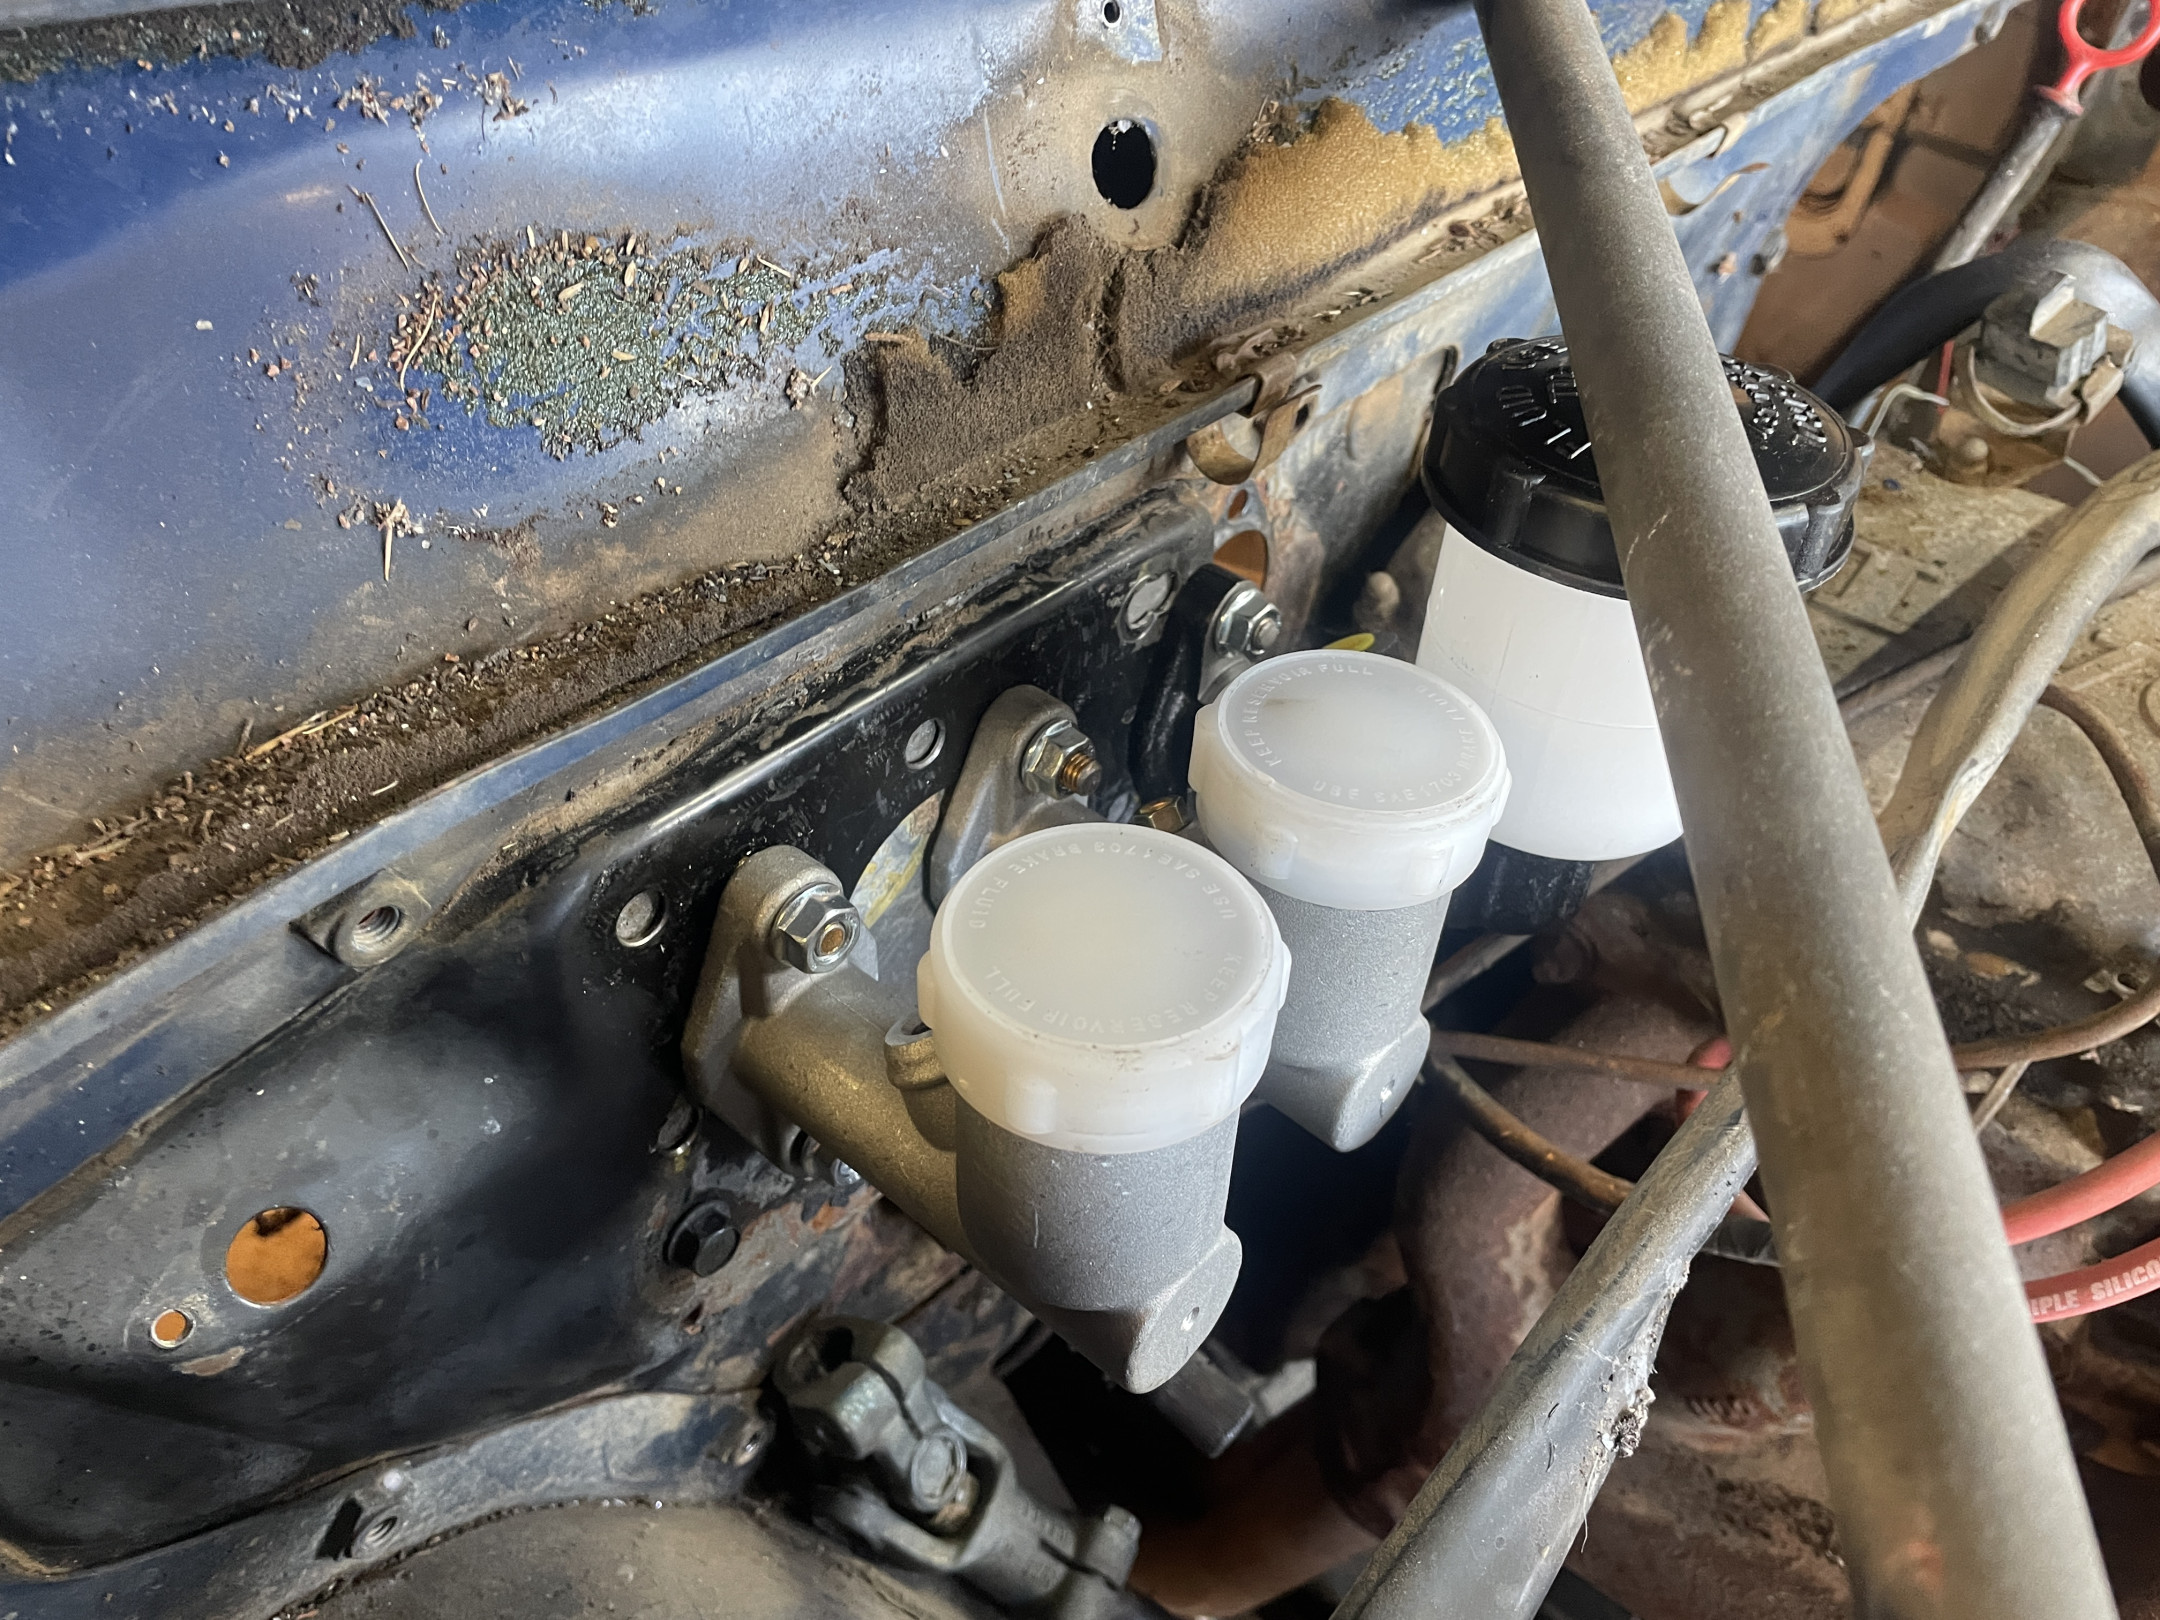
The 7/8” master cylinder reservoir is too big under the strut tower, so I have bought one with a smaller reservoir like the brake MCs.
Removed some more tar off the floor - only bit left is the stuff on the inside of the rear quarter and the underside of the roof.
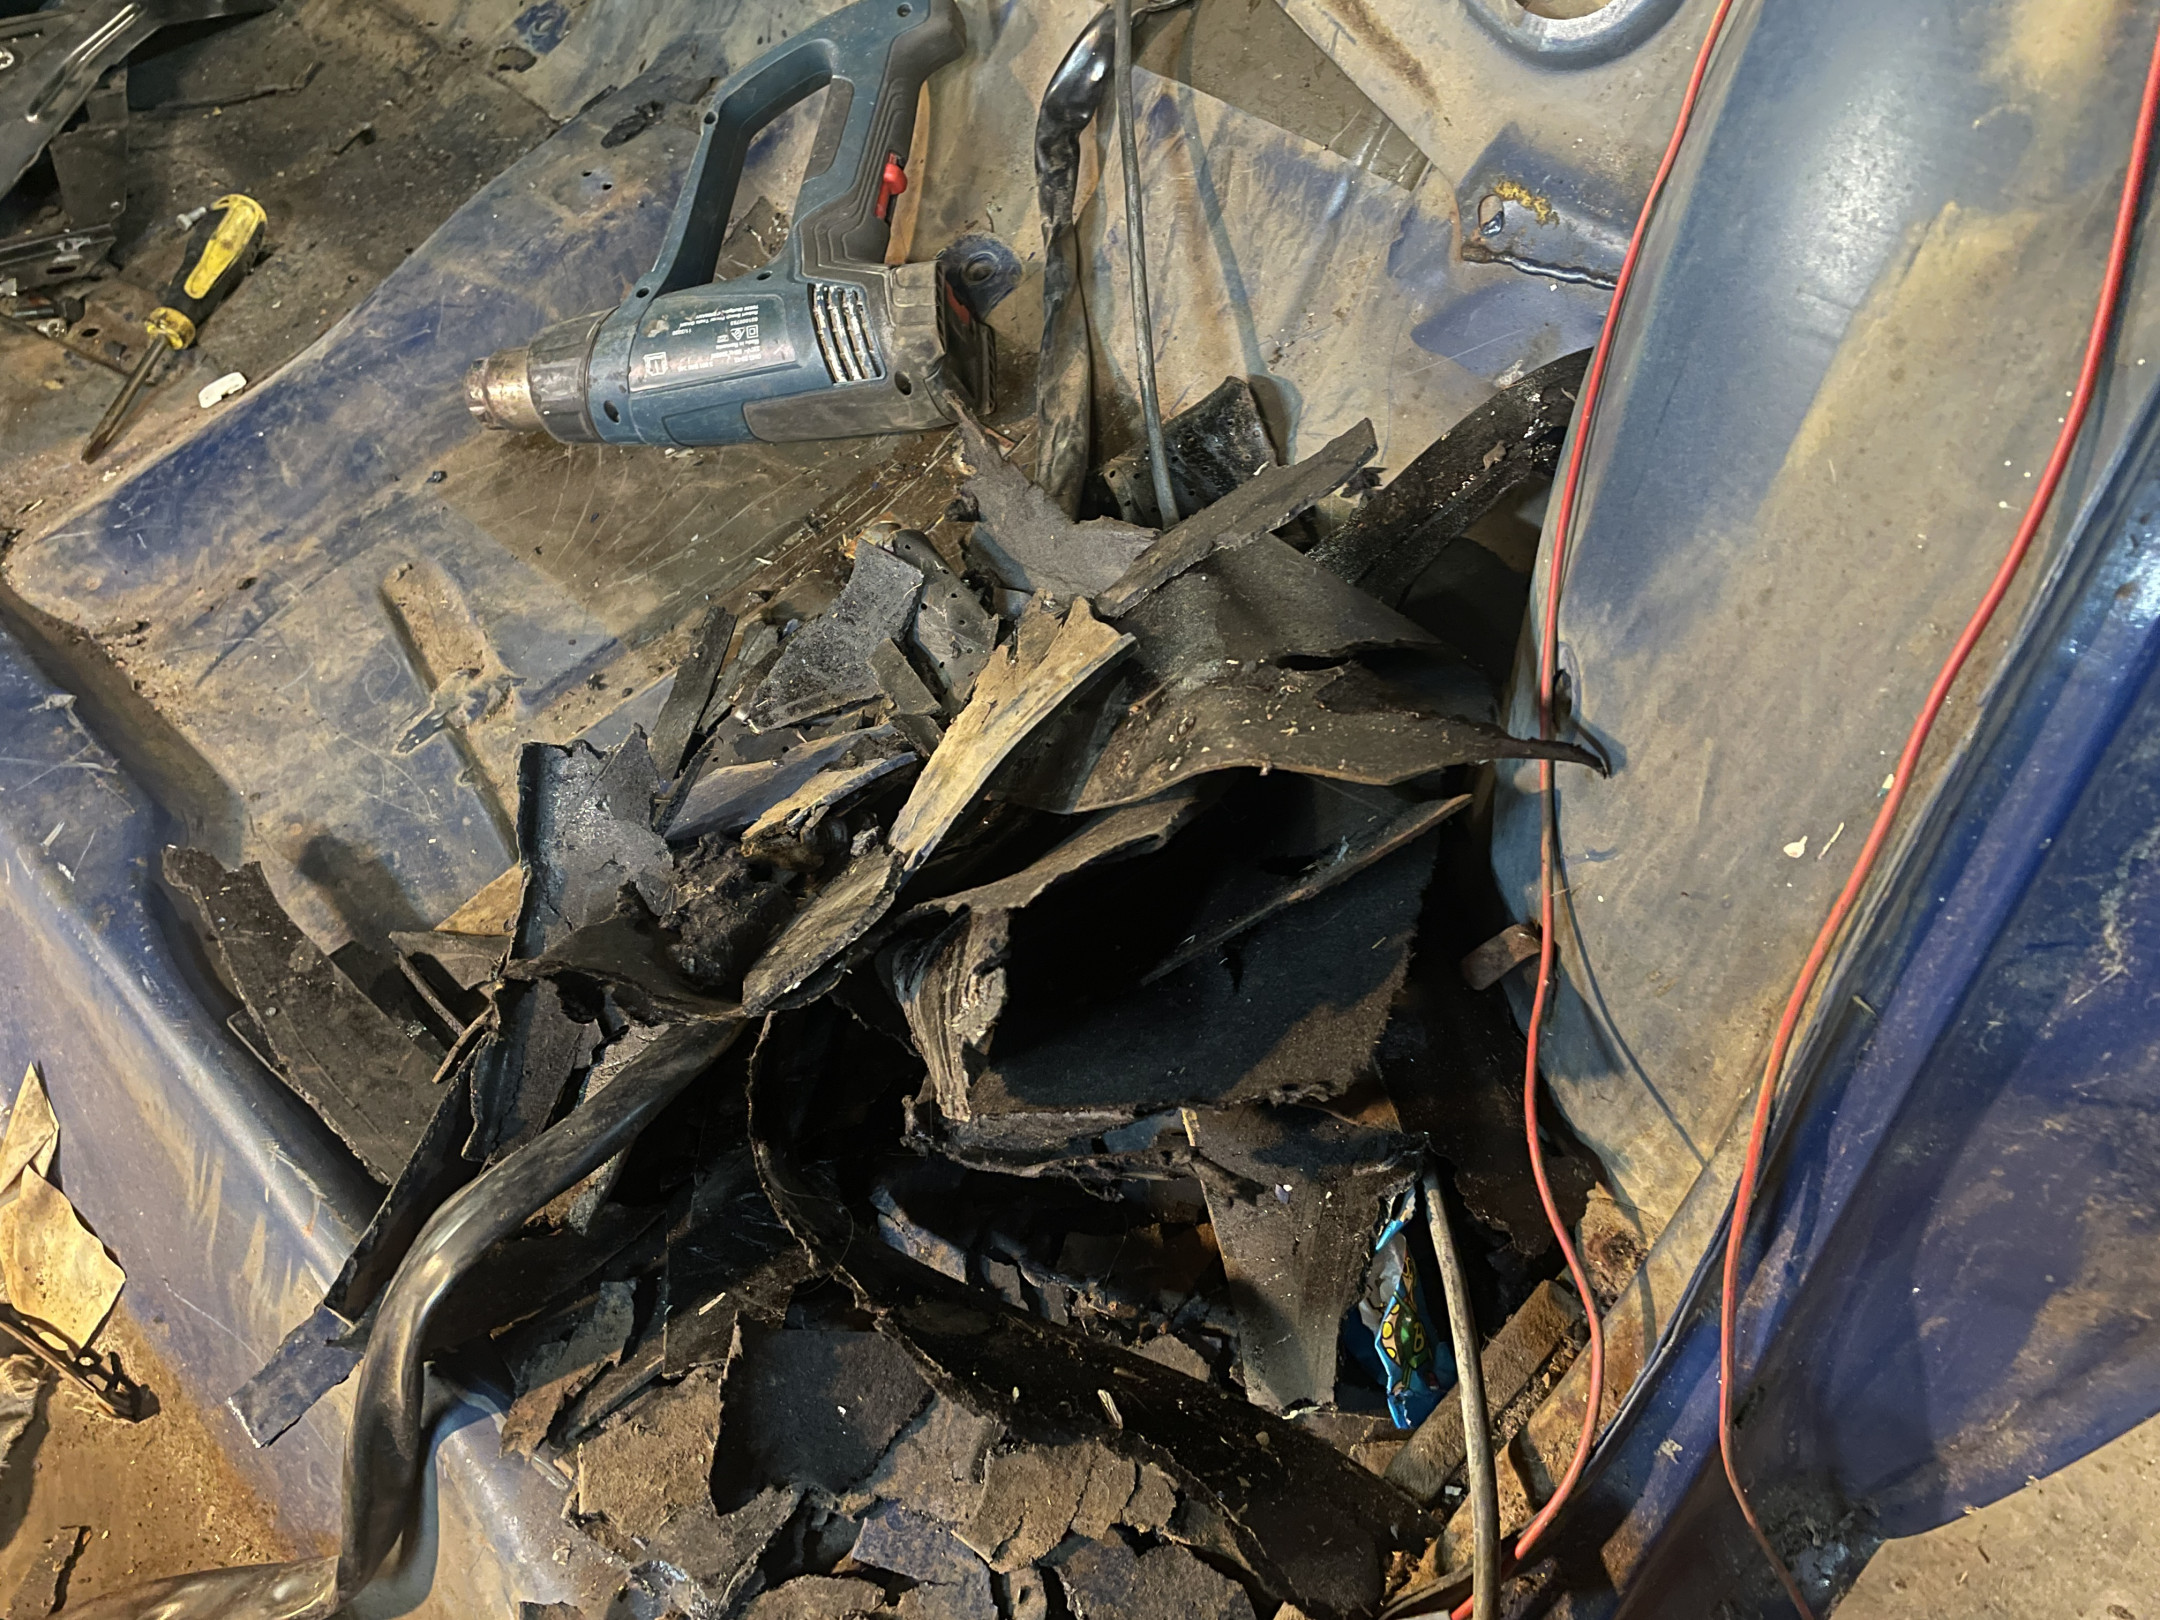
Earlier estimate of about 20kg of floor tar still seems about right.
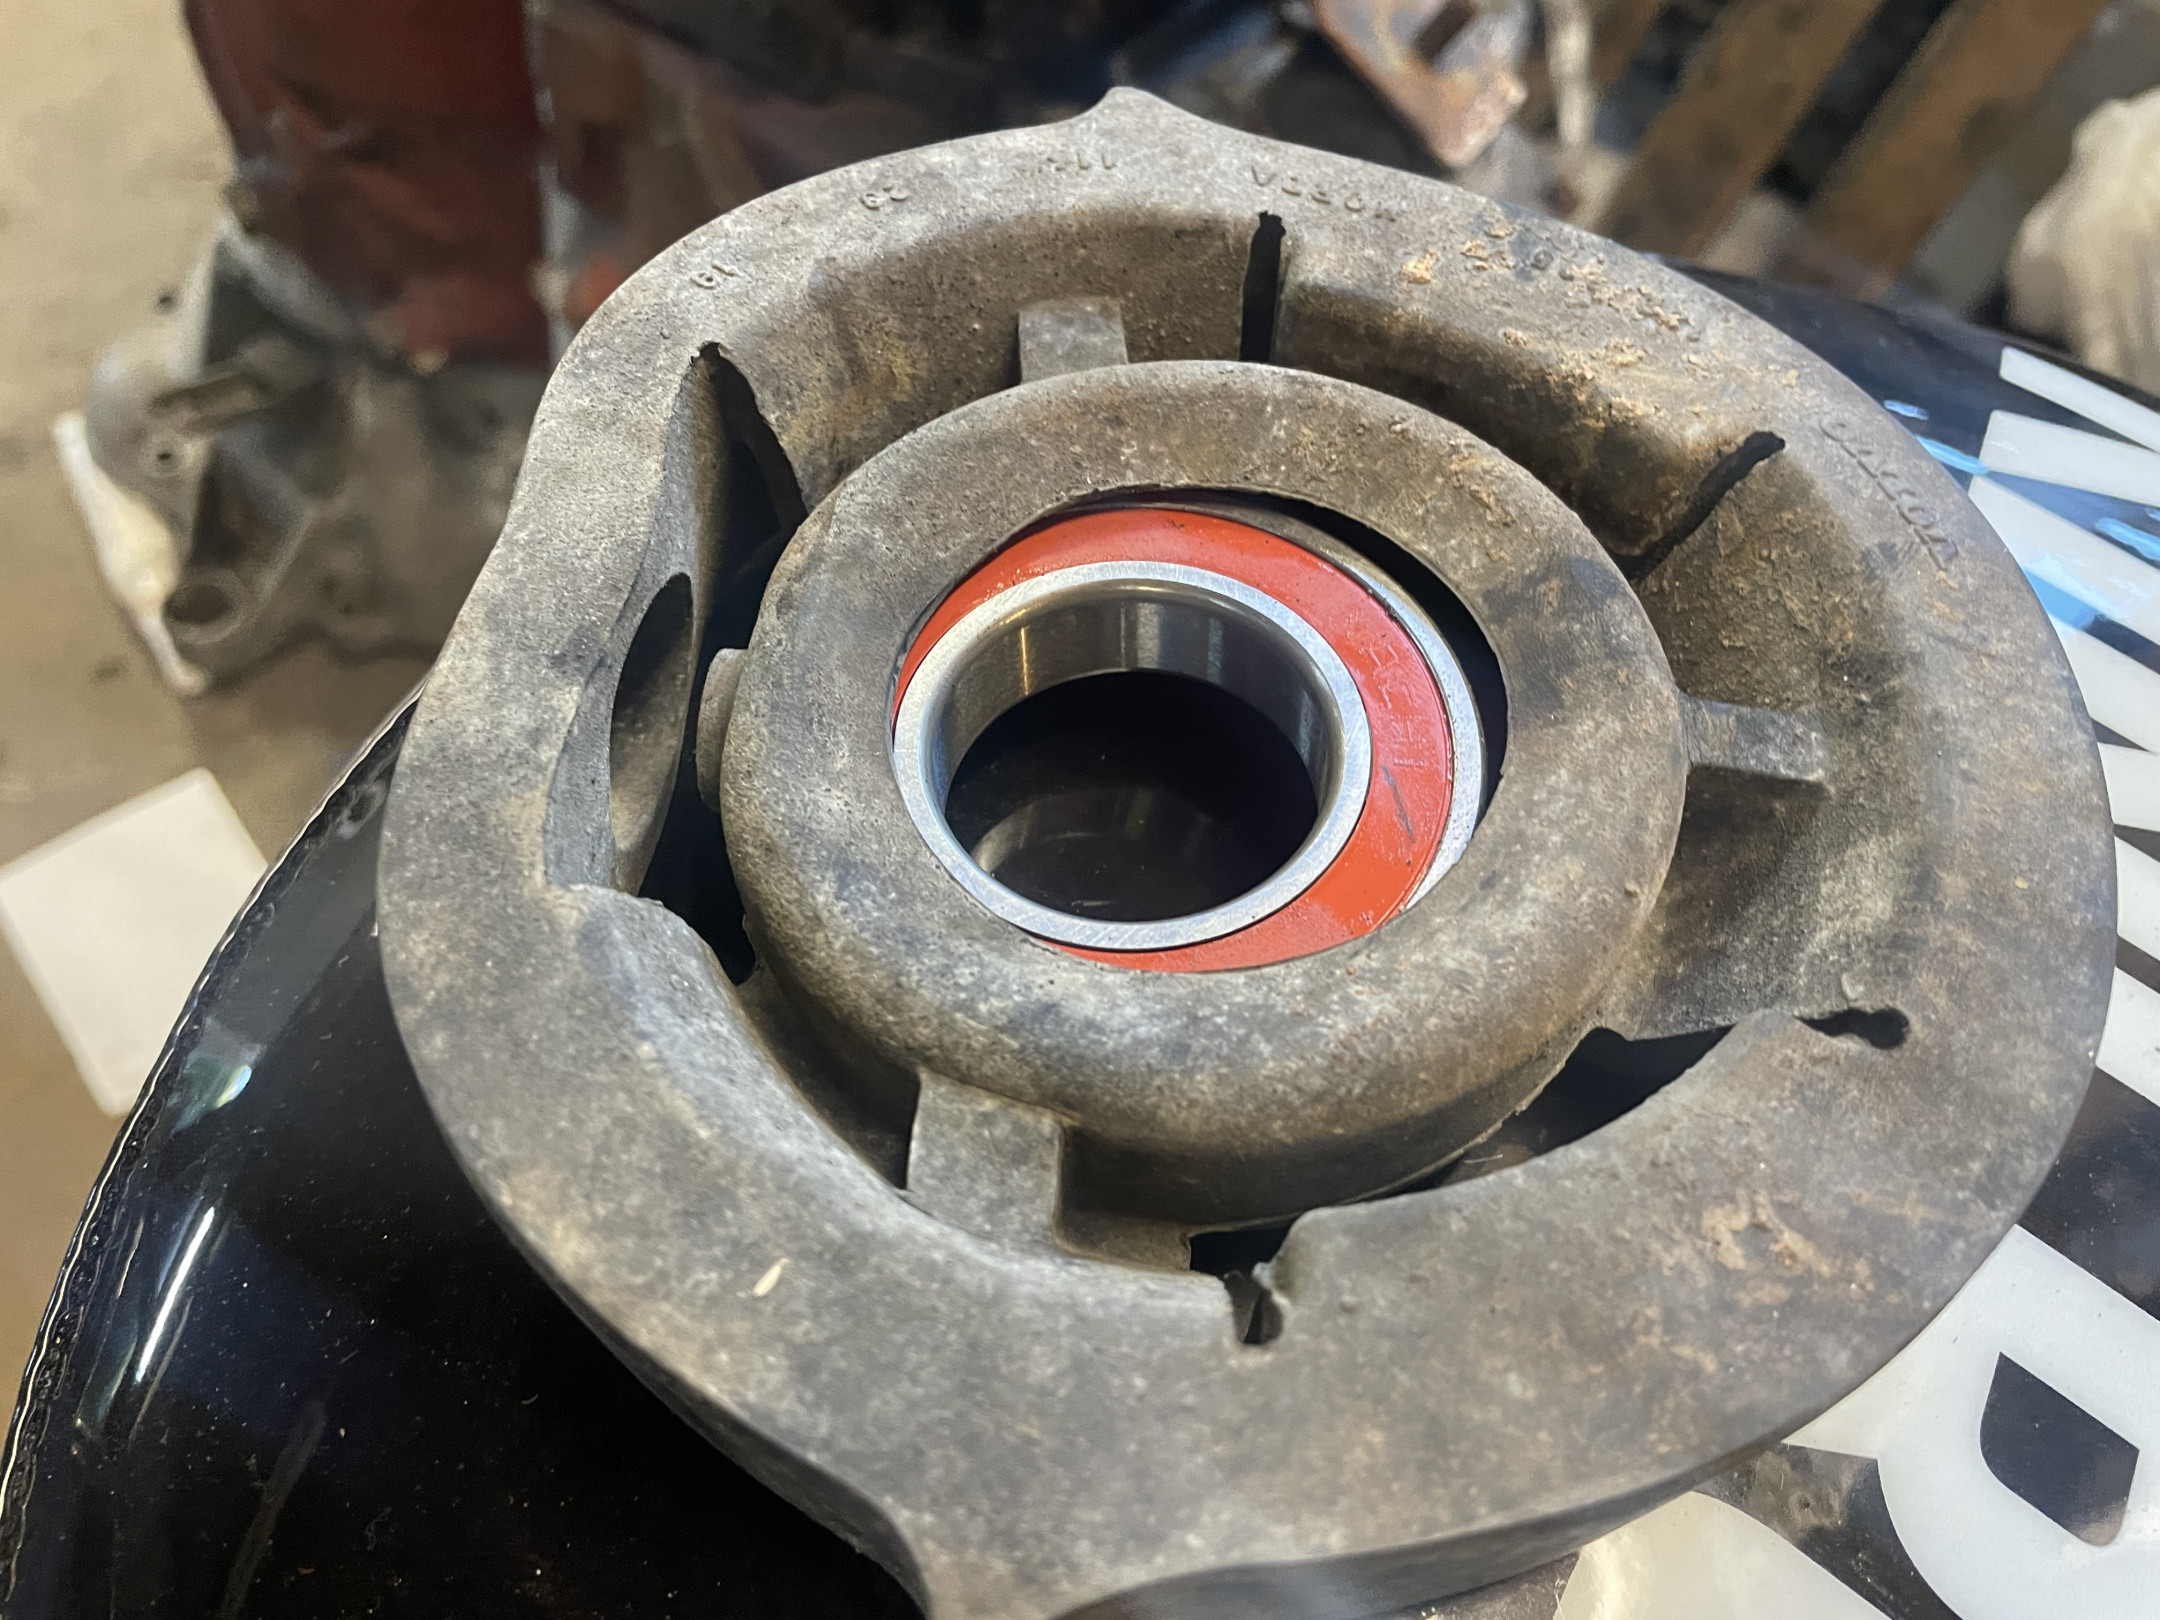
The tailshaft centre bearing … usual 240 tailshaft bolts being a turd to remove, and confirmed the bearing is stuffed.
Seems that the seal on bearing was damaged and allowed moisture in, which has then rusted when the car sat around.
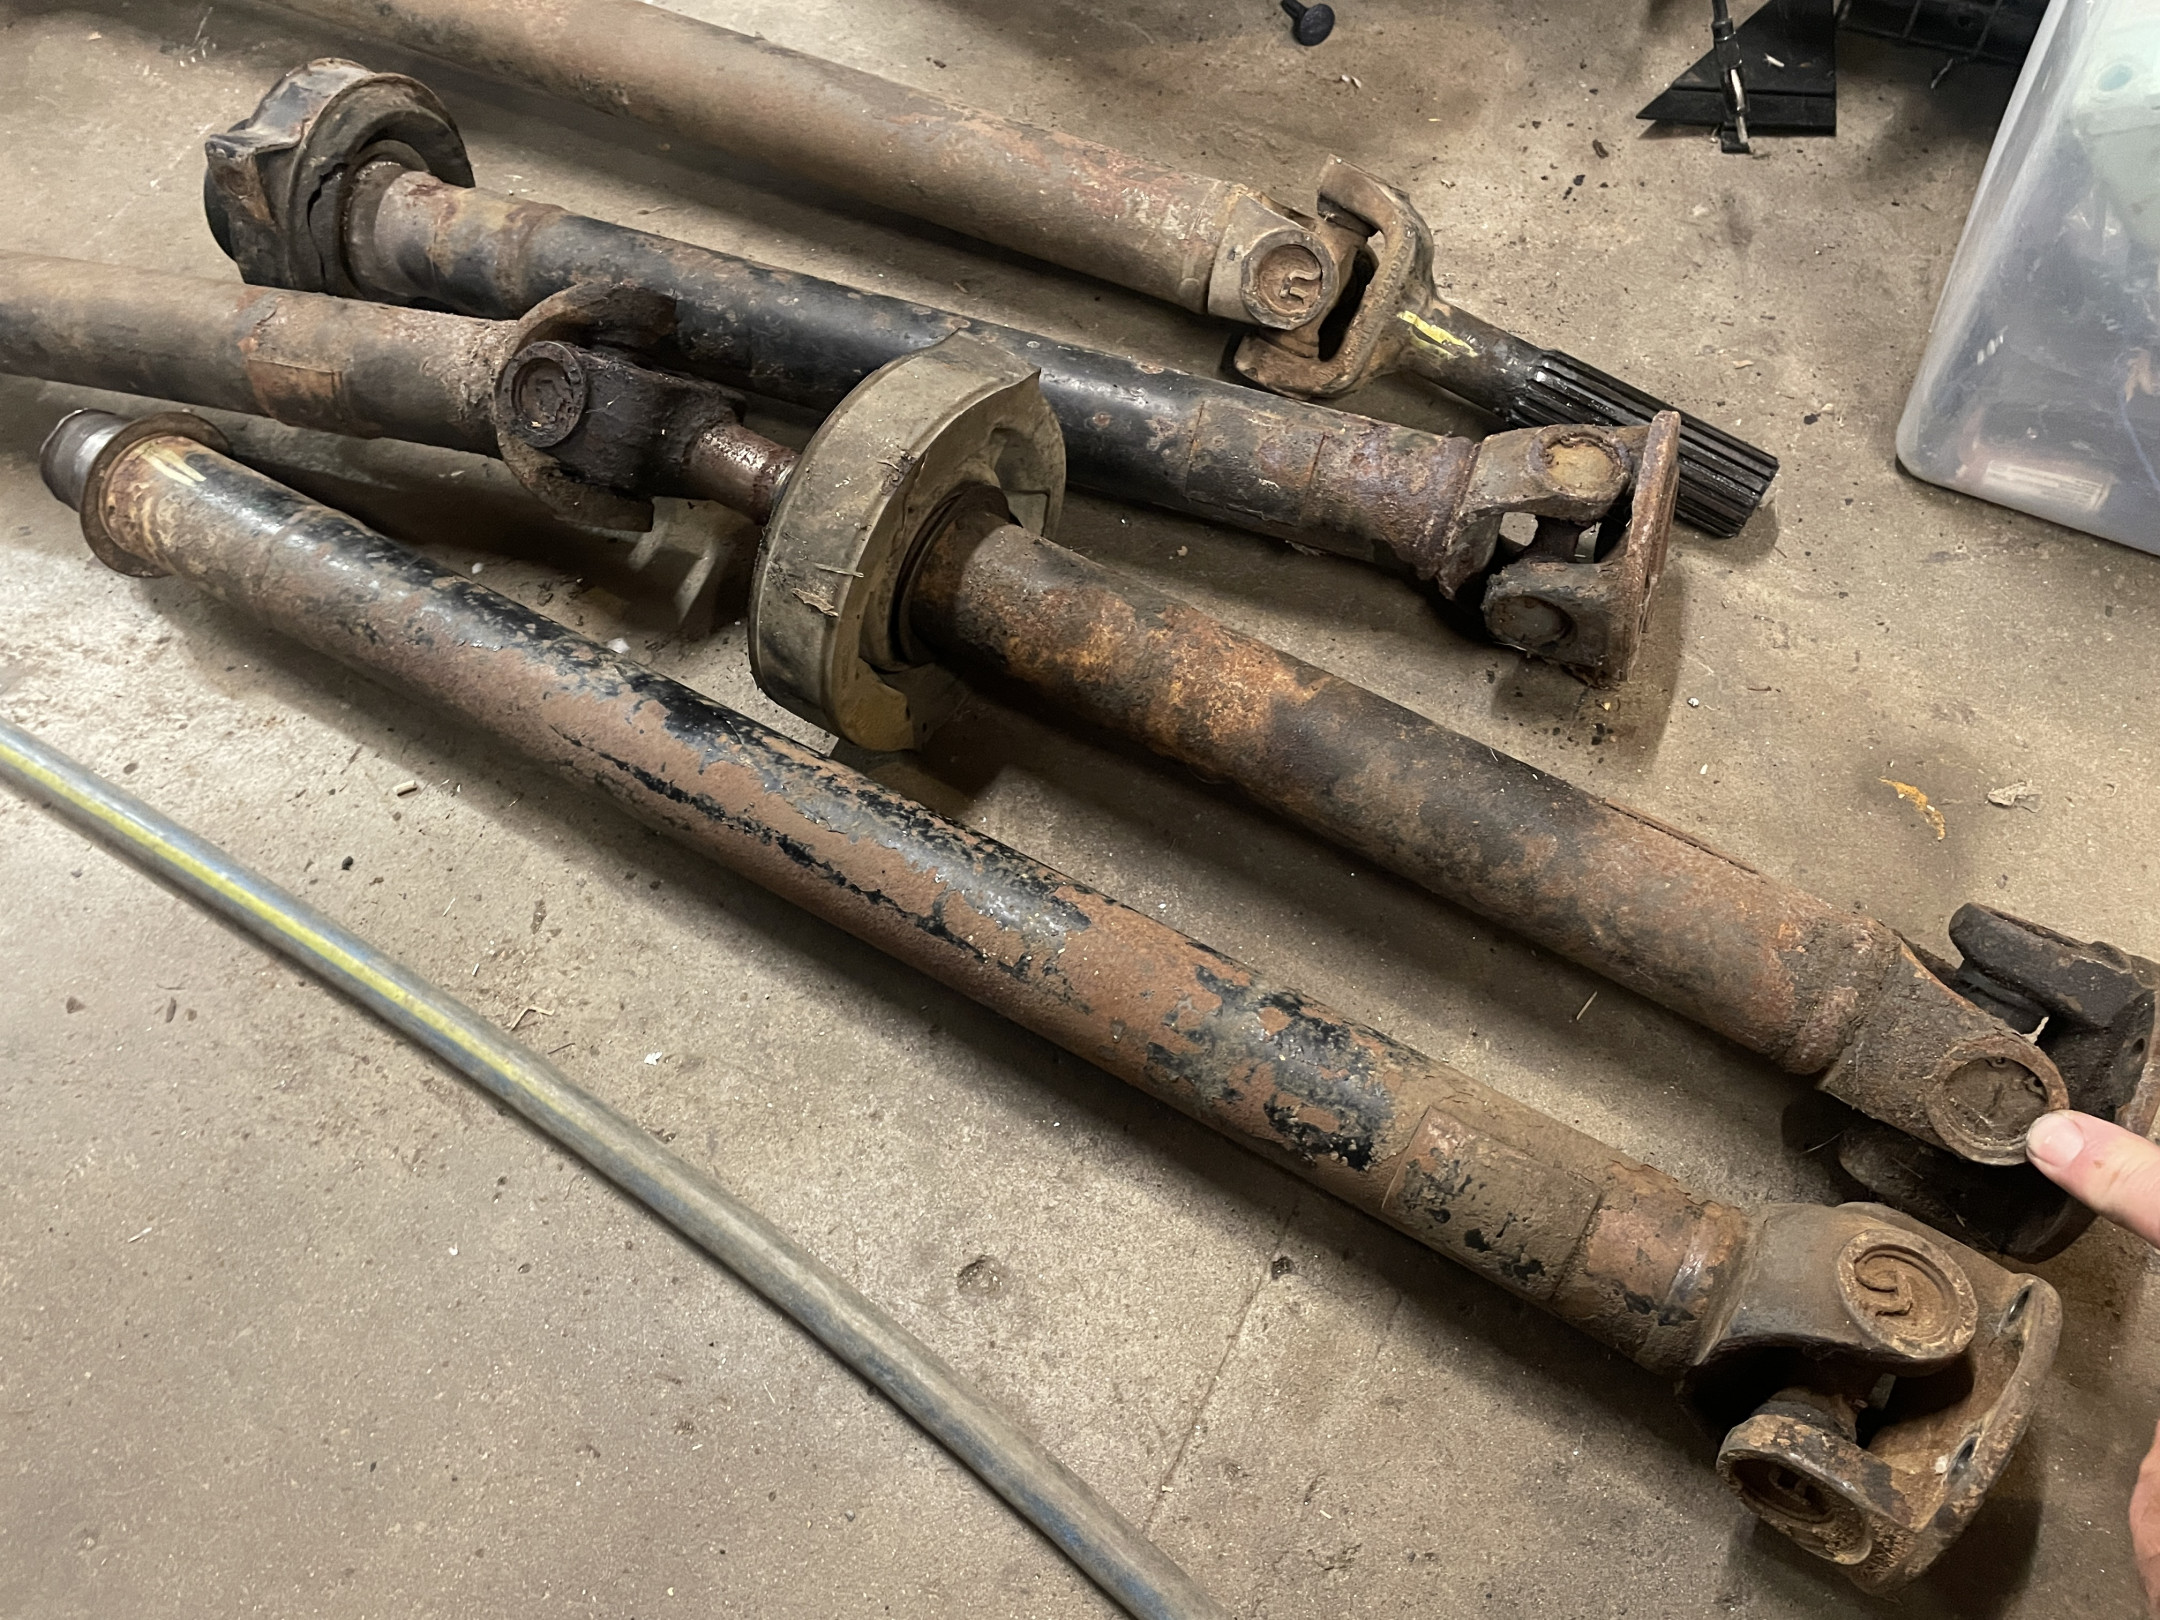
The bearing came off fairly nicely and now I have to wait for the new ones to arrive.
I measured the old one and it comes up as a 6009 2RS. I bought four of them off eBay for about 150% of the price of one “Volvo centre bearing”.
Onto mounting the fuel system.
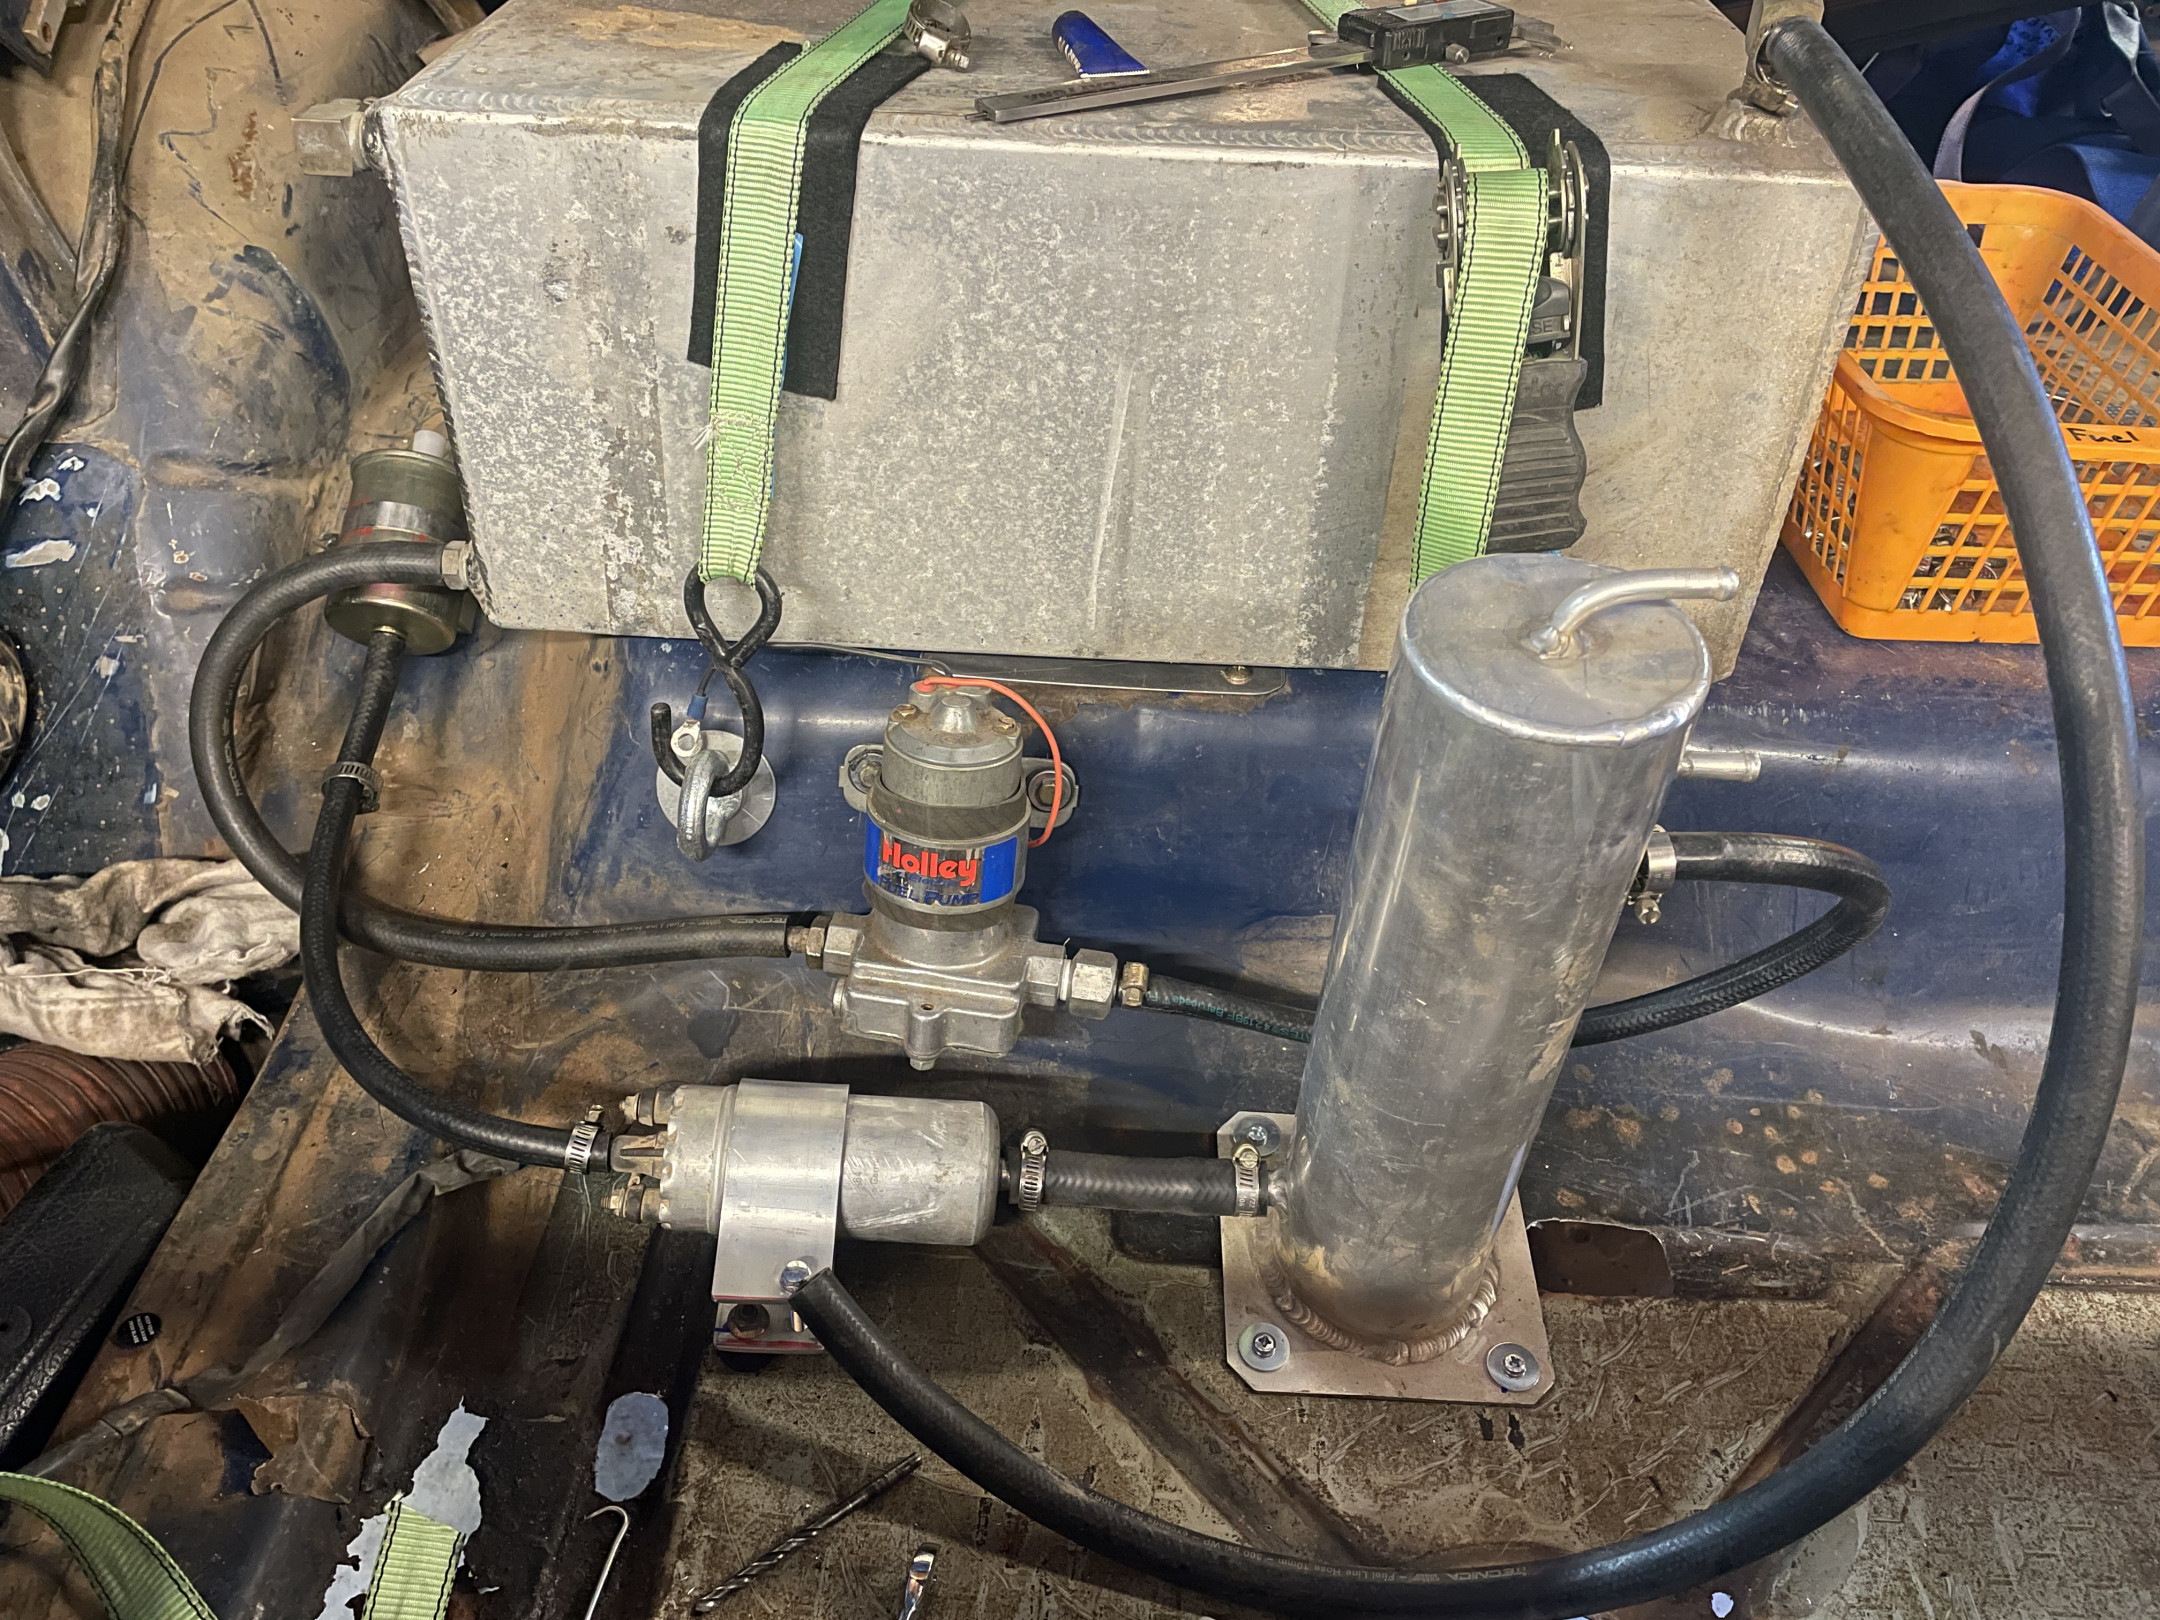
Fuel tank needs another strap (side to side), but it is close to where it needs to be. 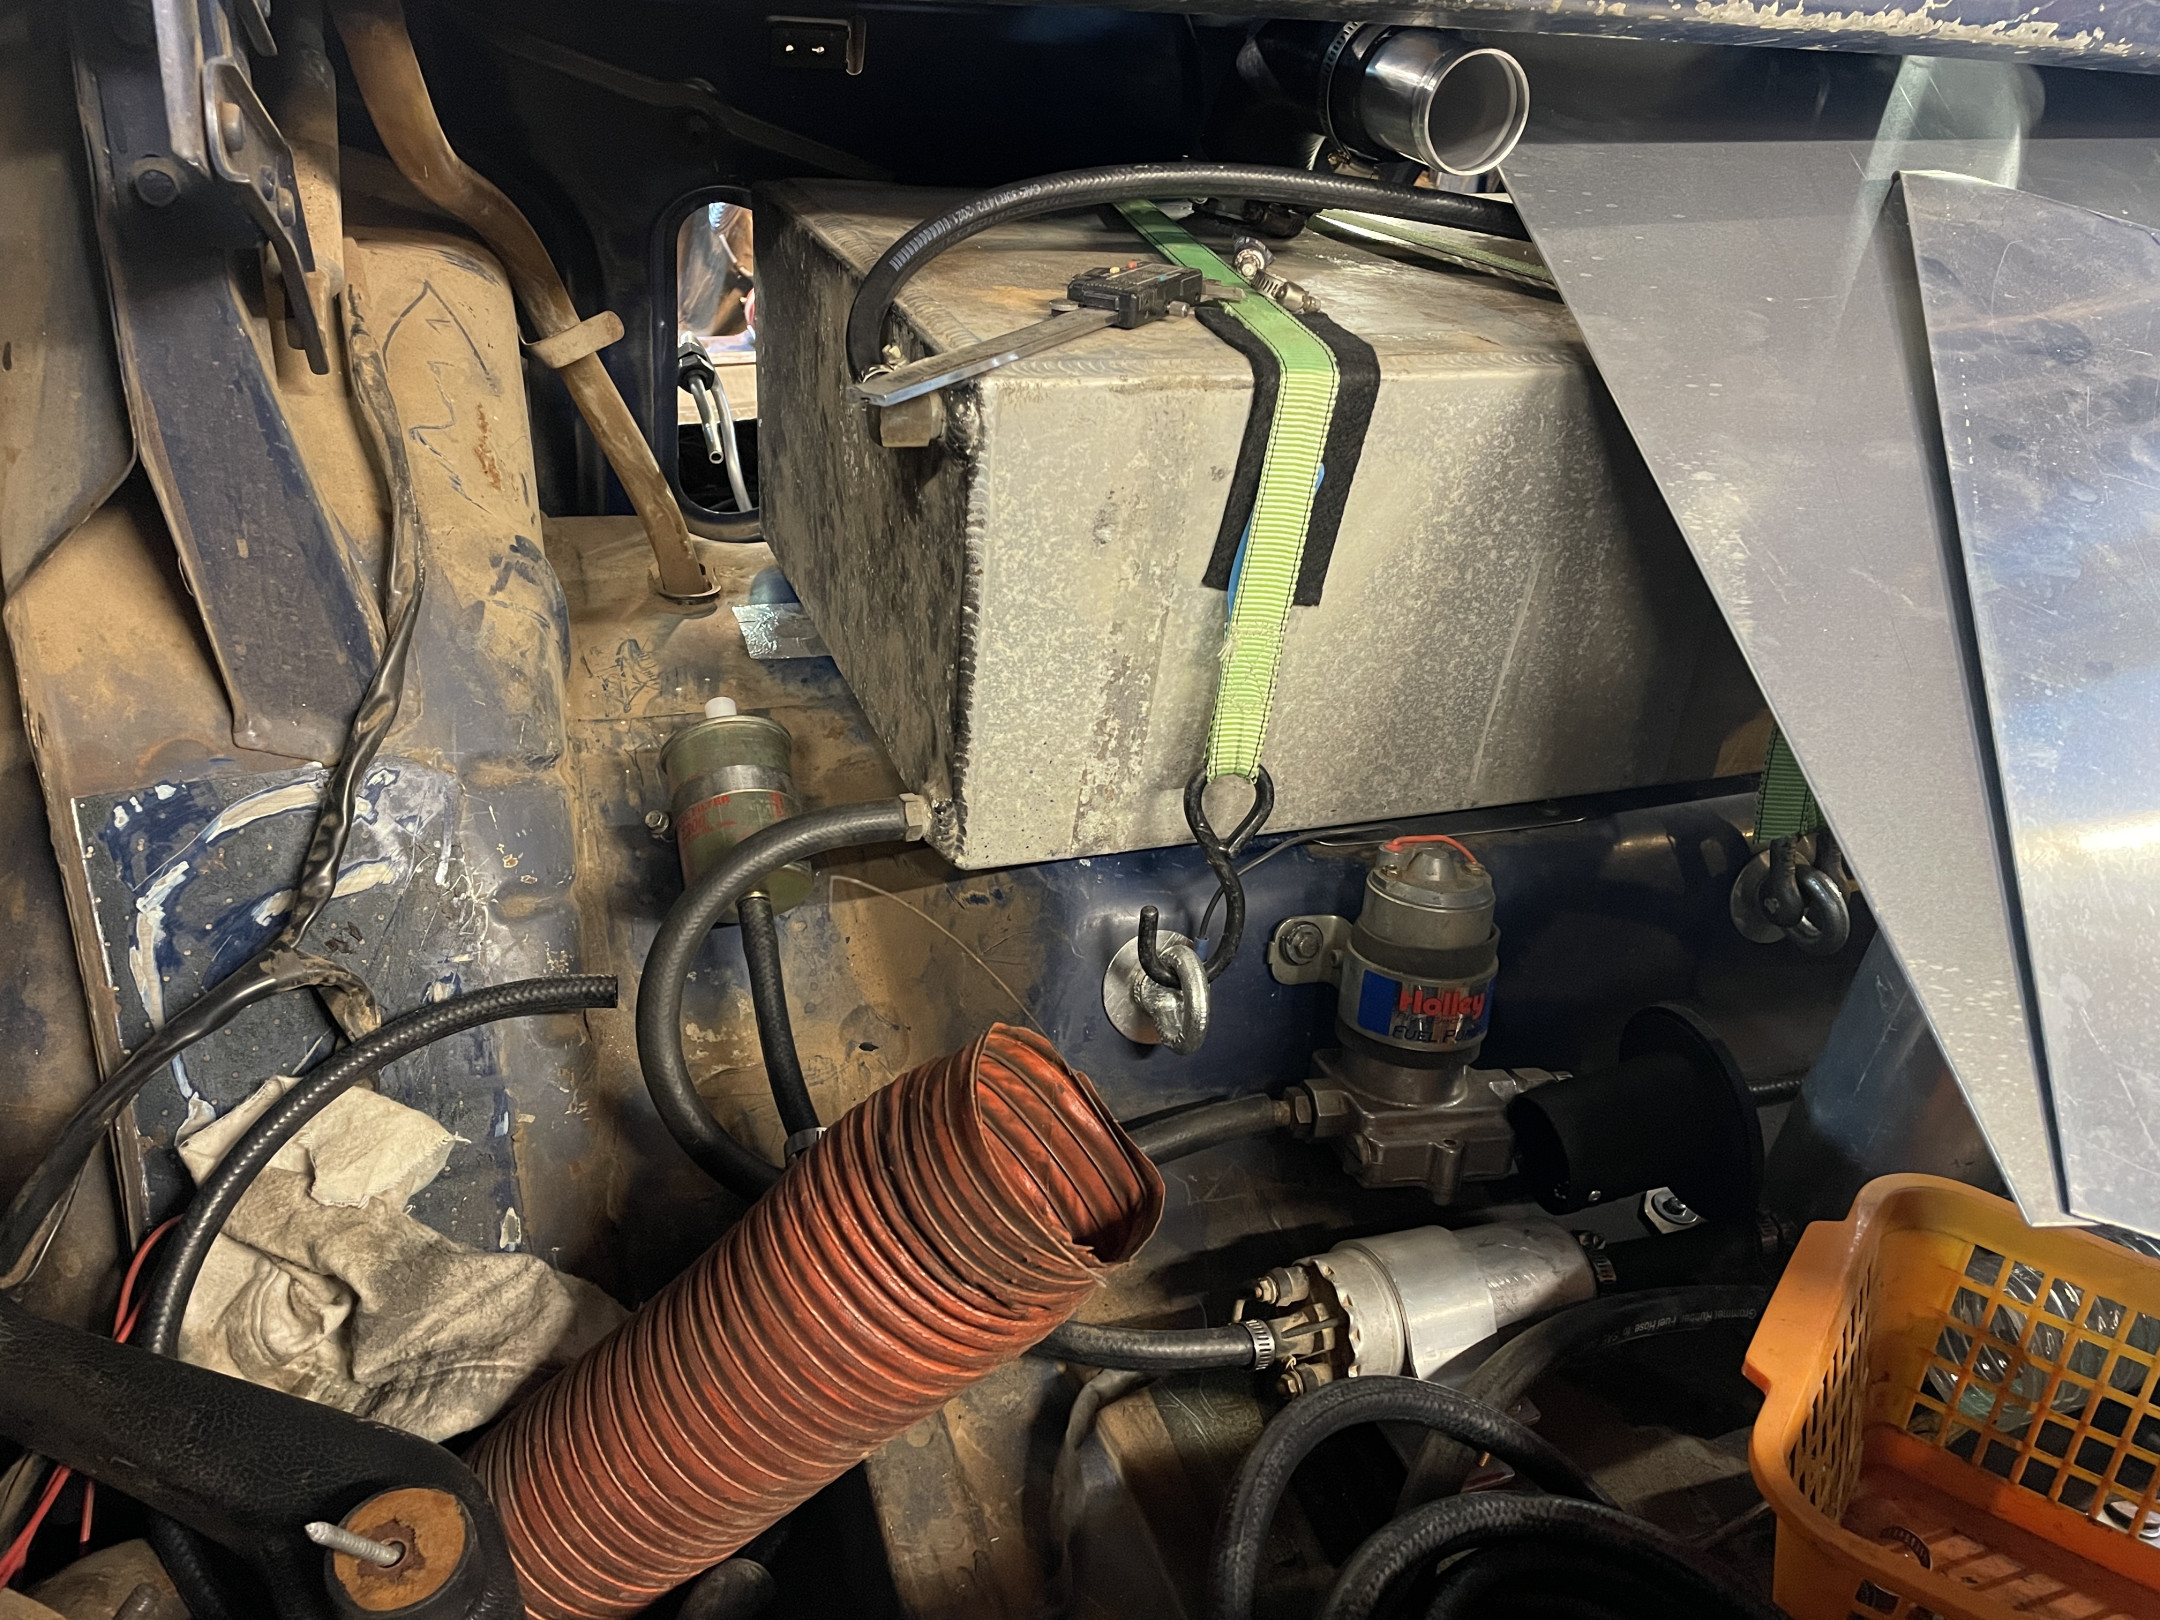
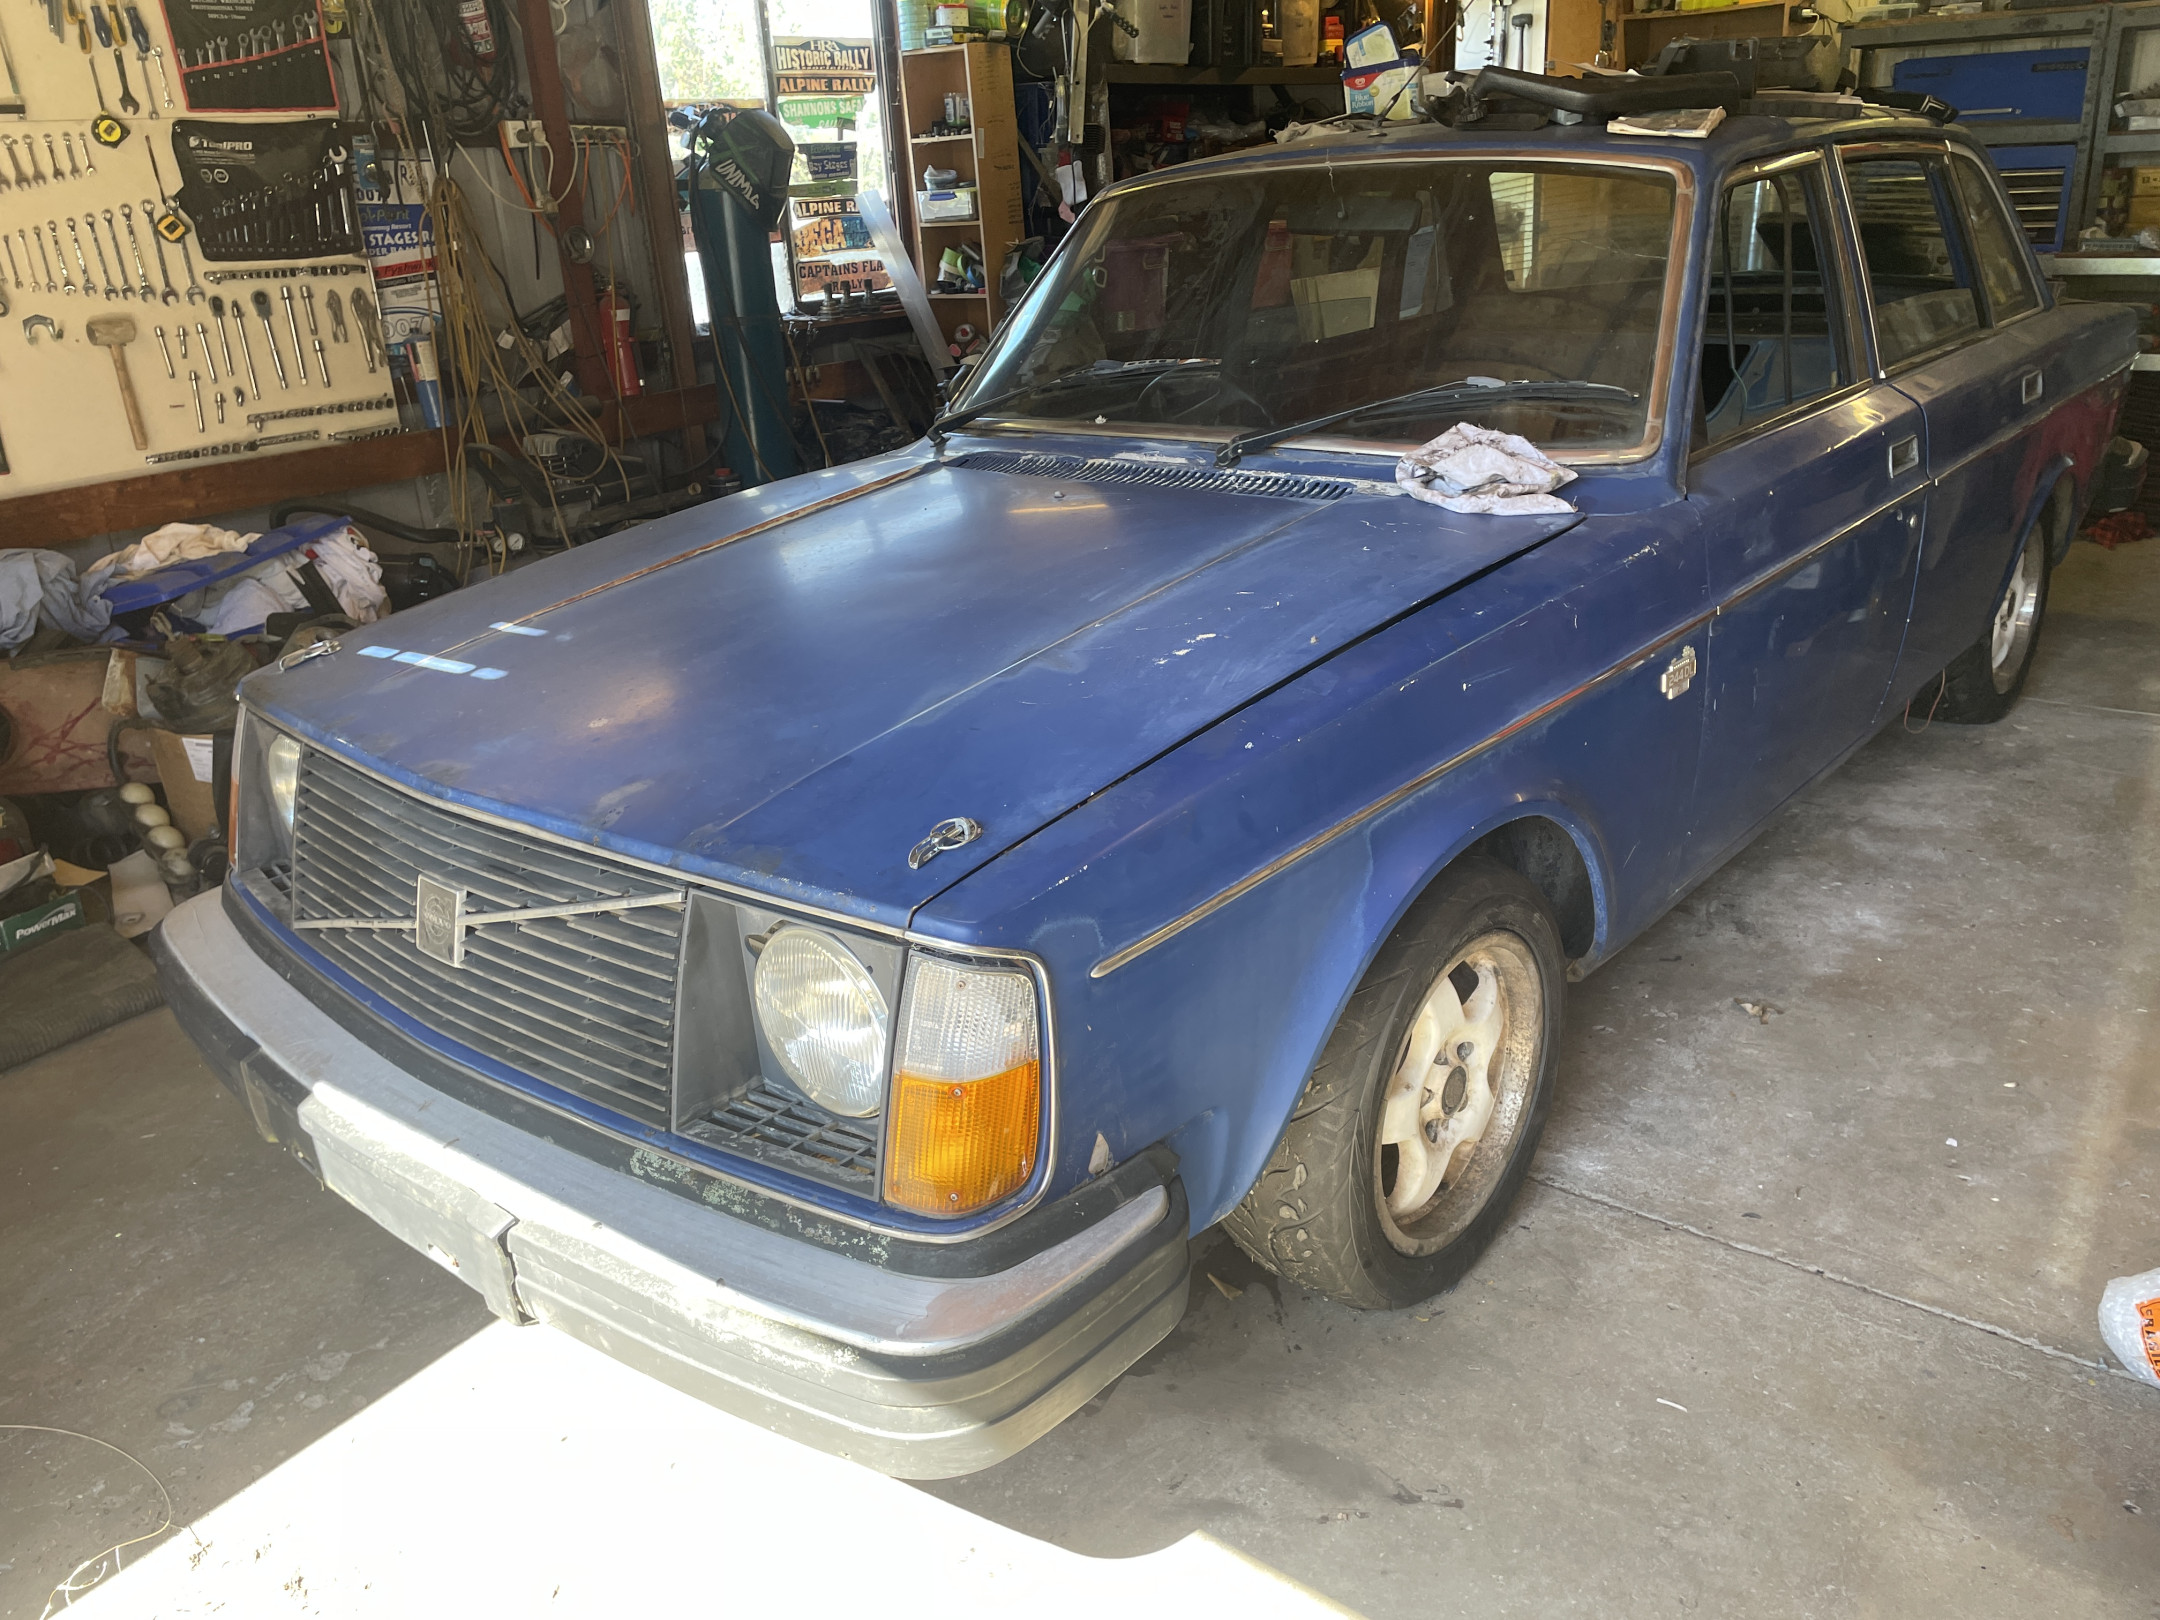
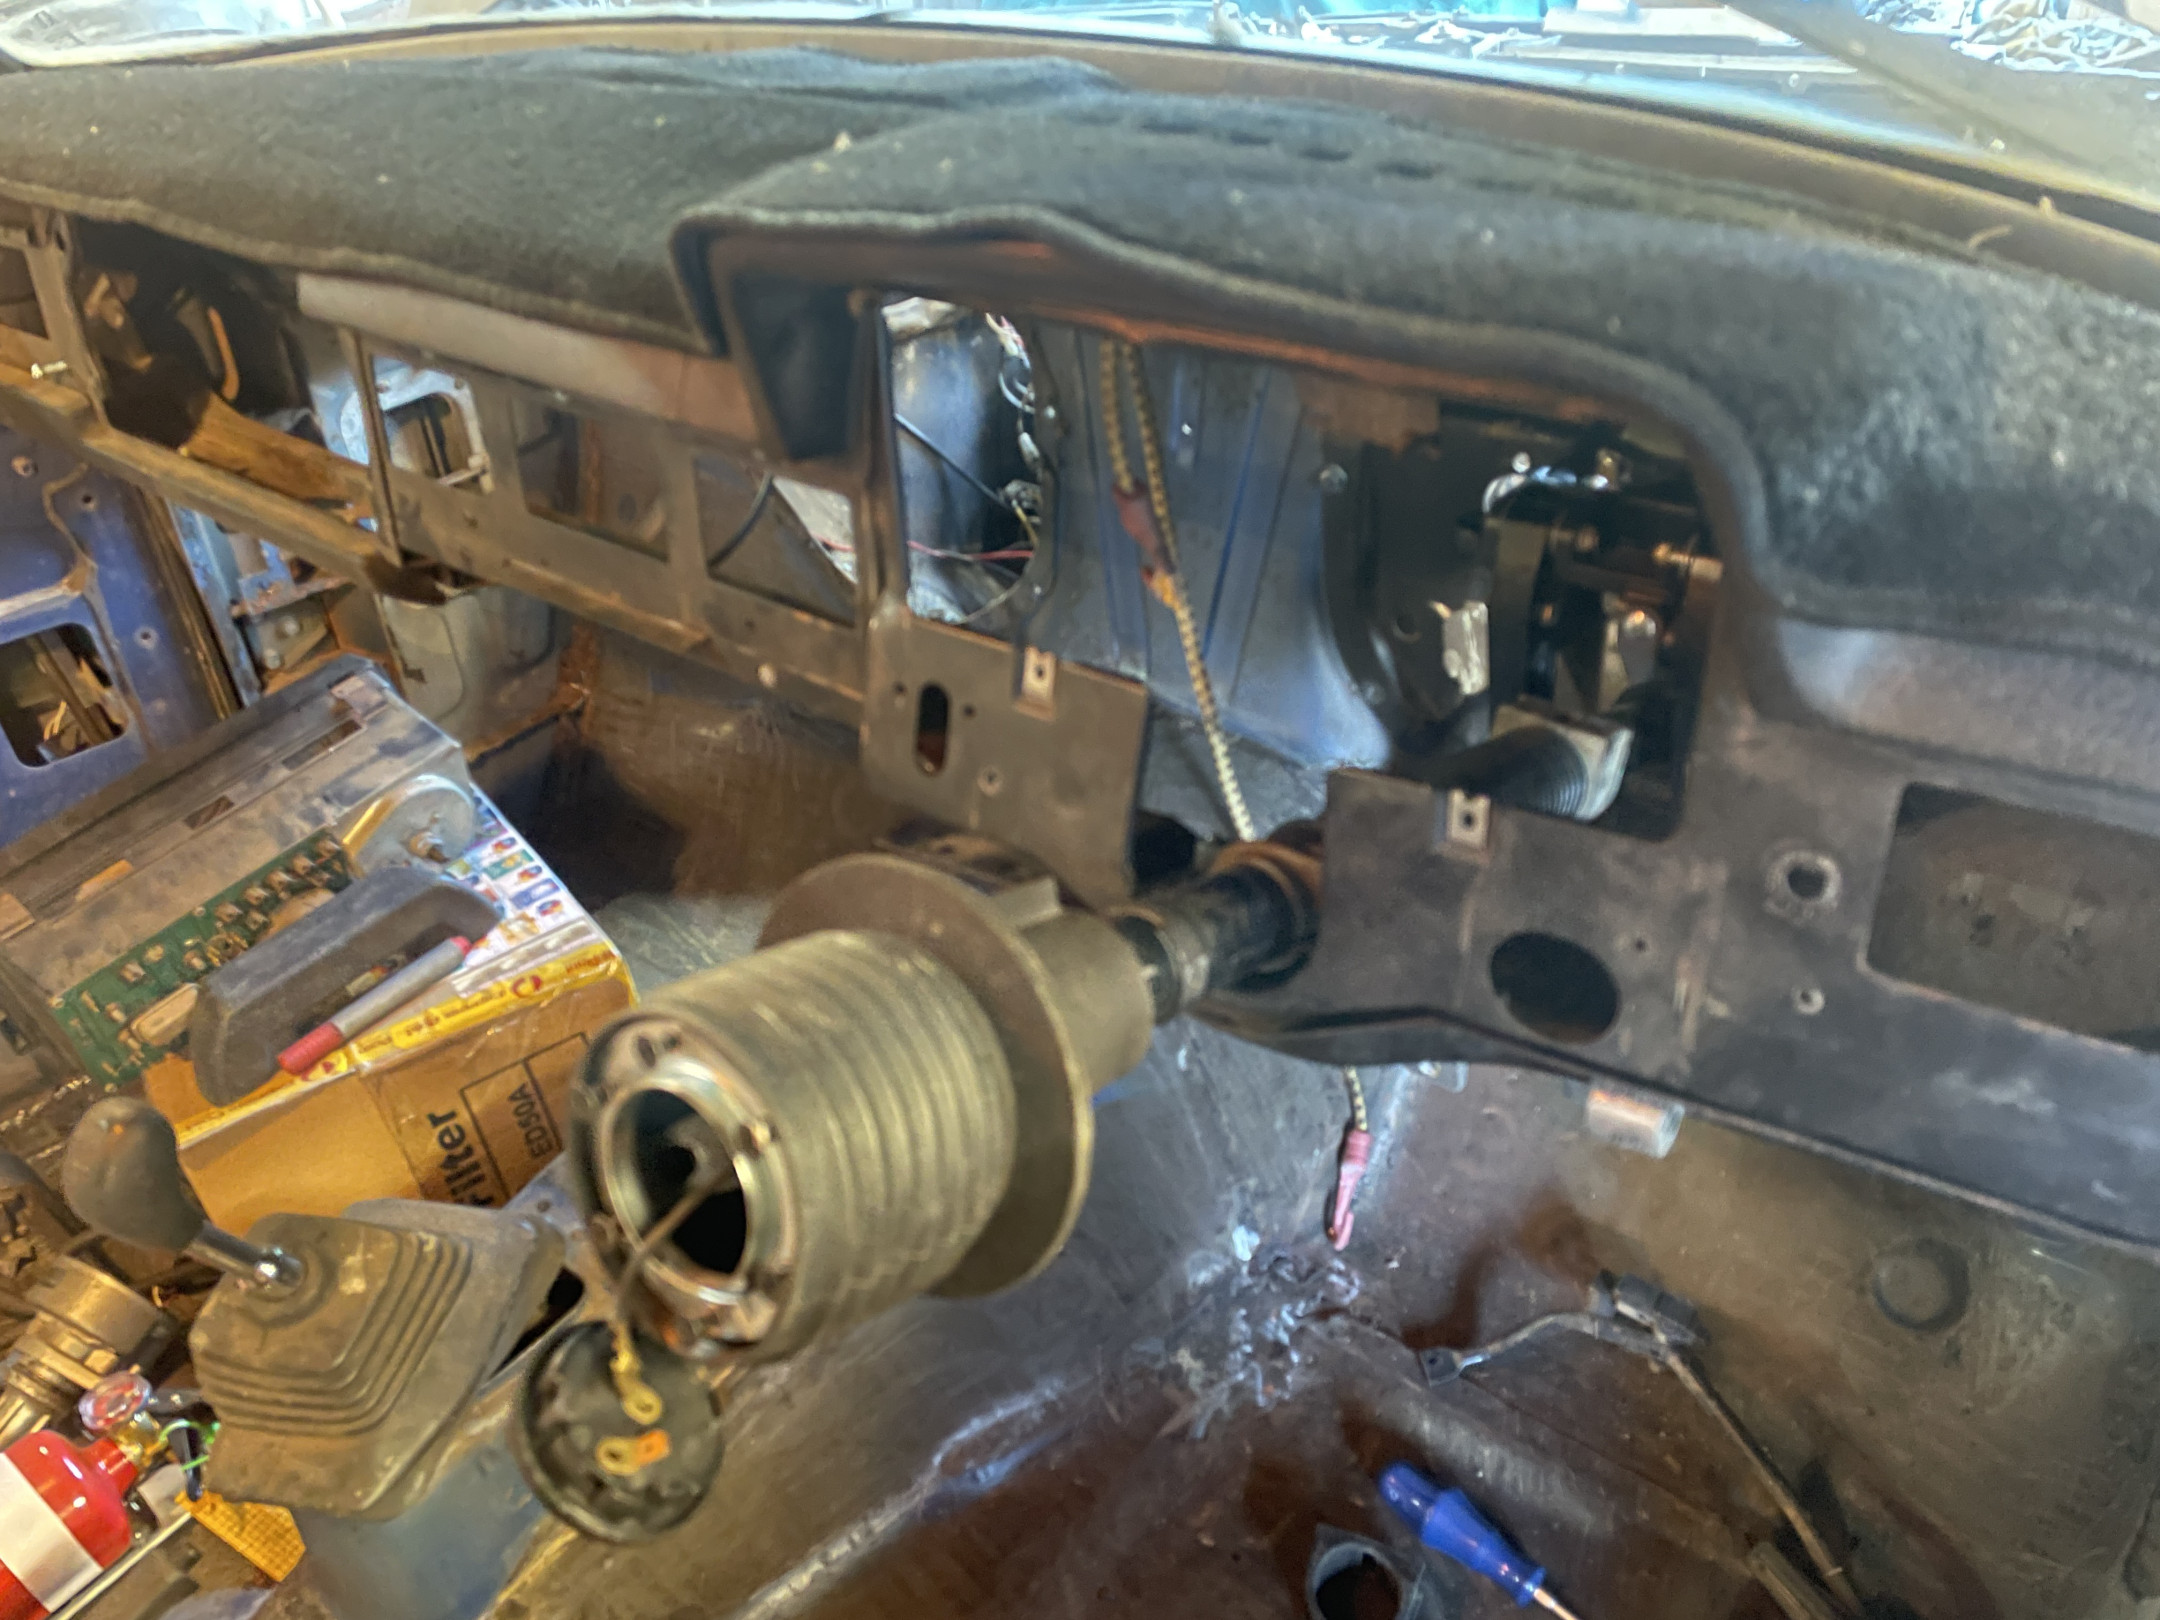
Dash back in place. It has been bent in the past, for reasons that I don’t understand. Makes reassembly a real turd.
Other news is that the bell housing has a big weld repair… and another new crack.
I can only assume that there is something pretty significantly wrong with this box/clutch/flywheel.
The car came with a M45 and another clutch/FW, so I think it will all have to go in. I had been hoping to keep the M40 and probably fit an early 140 box at a later date, but apparently not.
(The early 140 M40 has less terrible ratios than the early 240 M40, which has less terrible ratios than the M45).
Maybe something will happen with a spare Toyota Crown M40 box in the future.
Or maybe not.
Anyway, it is about to be evicted from the shed so I can do some work on some other people’s cars.

You have a M40 to B21 bellhousing? Wow, unicorn!
Major Ledfoot Yes… and why I’m not going to bother chasing another one.
This has been pushed into the backyard while a whole bunch of other things happen in my life, but I have bought a few things for it, like a rollover valve for the fuel tank.
But I have mostly been ignoring it.
Inadvertently, I made progress…
I bought a set of 15x7 Performance Superlite wheels cheaply a few weeks ago … but couldn’t pick them up until earlier this week due to broken arm shenanigans.
They were supposed to be 4x114.3 stud pattern and +30ish offset. This meant I could use them on a number of different cars…
Except they turned out to be 4x10⁸ and +12, which is a lot less useful. The offset means that adaptor spacers aren’t a viable option.
After a bunch of head-scratching, I figured that 4x10⁸ is a starting point to convert them to 5x10⁸ and then they can be used on one of the 240s.
So anyway, I spent ages trying to work out if I can mark them up accurately enough.
Short answer is yes.
After a bunch of messing around and not being happy with the results, I machined up this spacer to find the centre of one of the stud holes (yes, “Spac bought himself a lathe” is probably going to be a recurring feature for a while now…  )
)
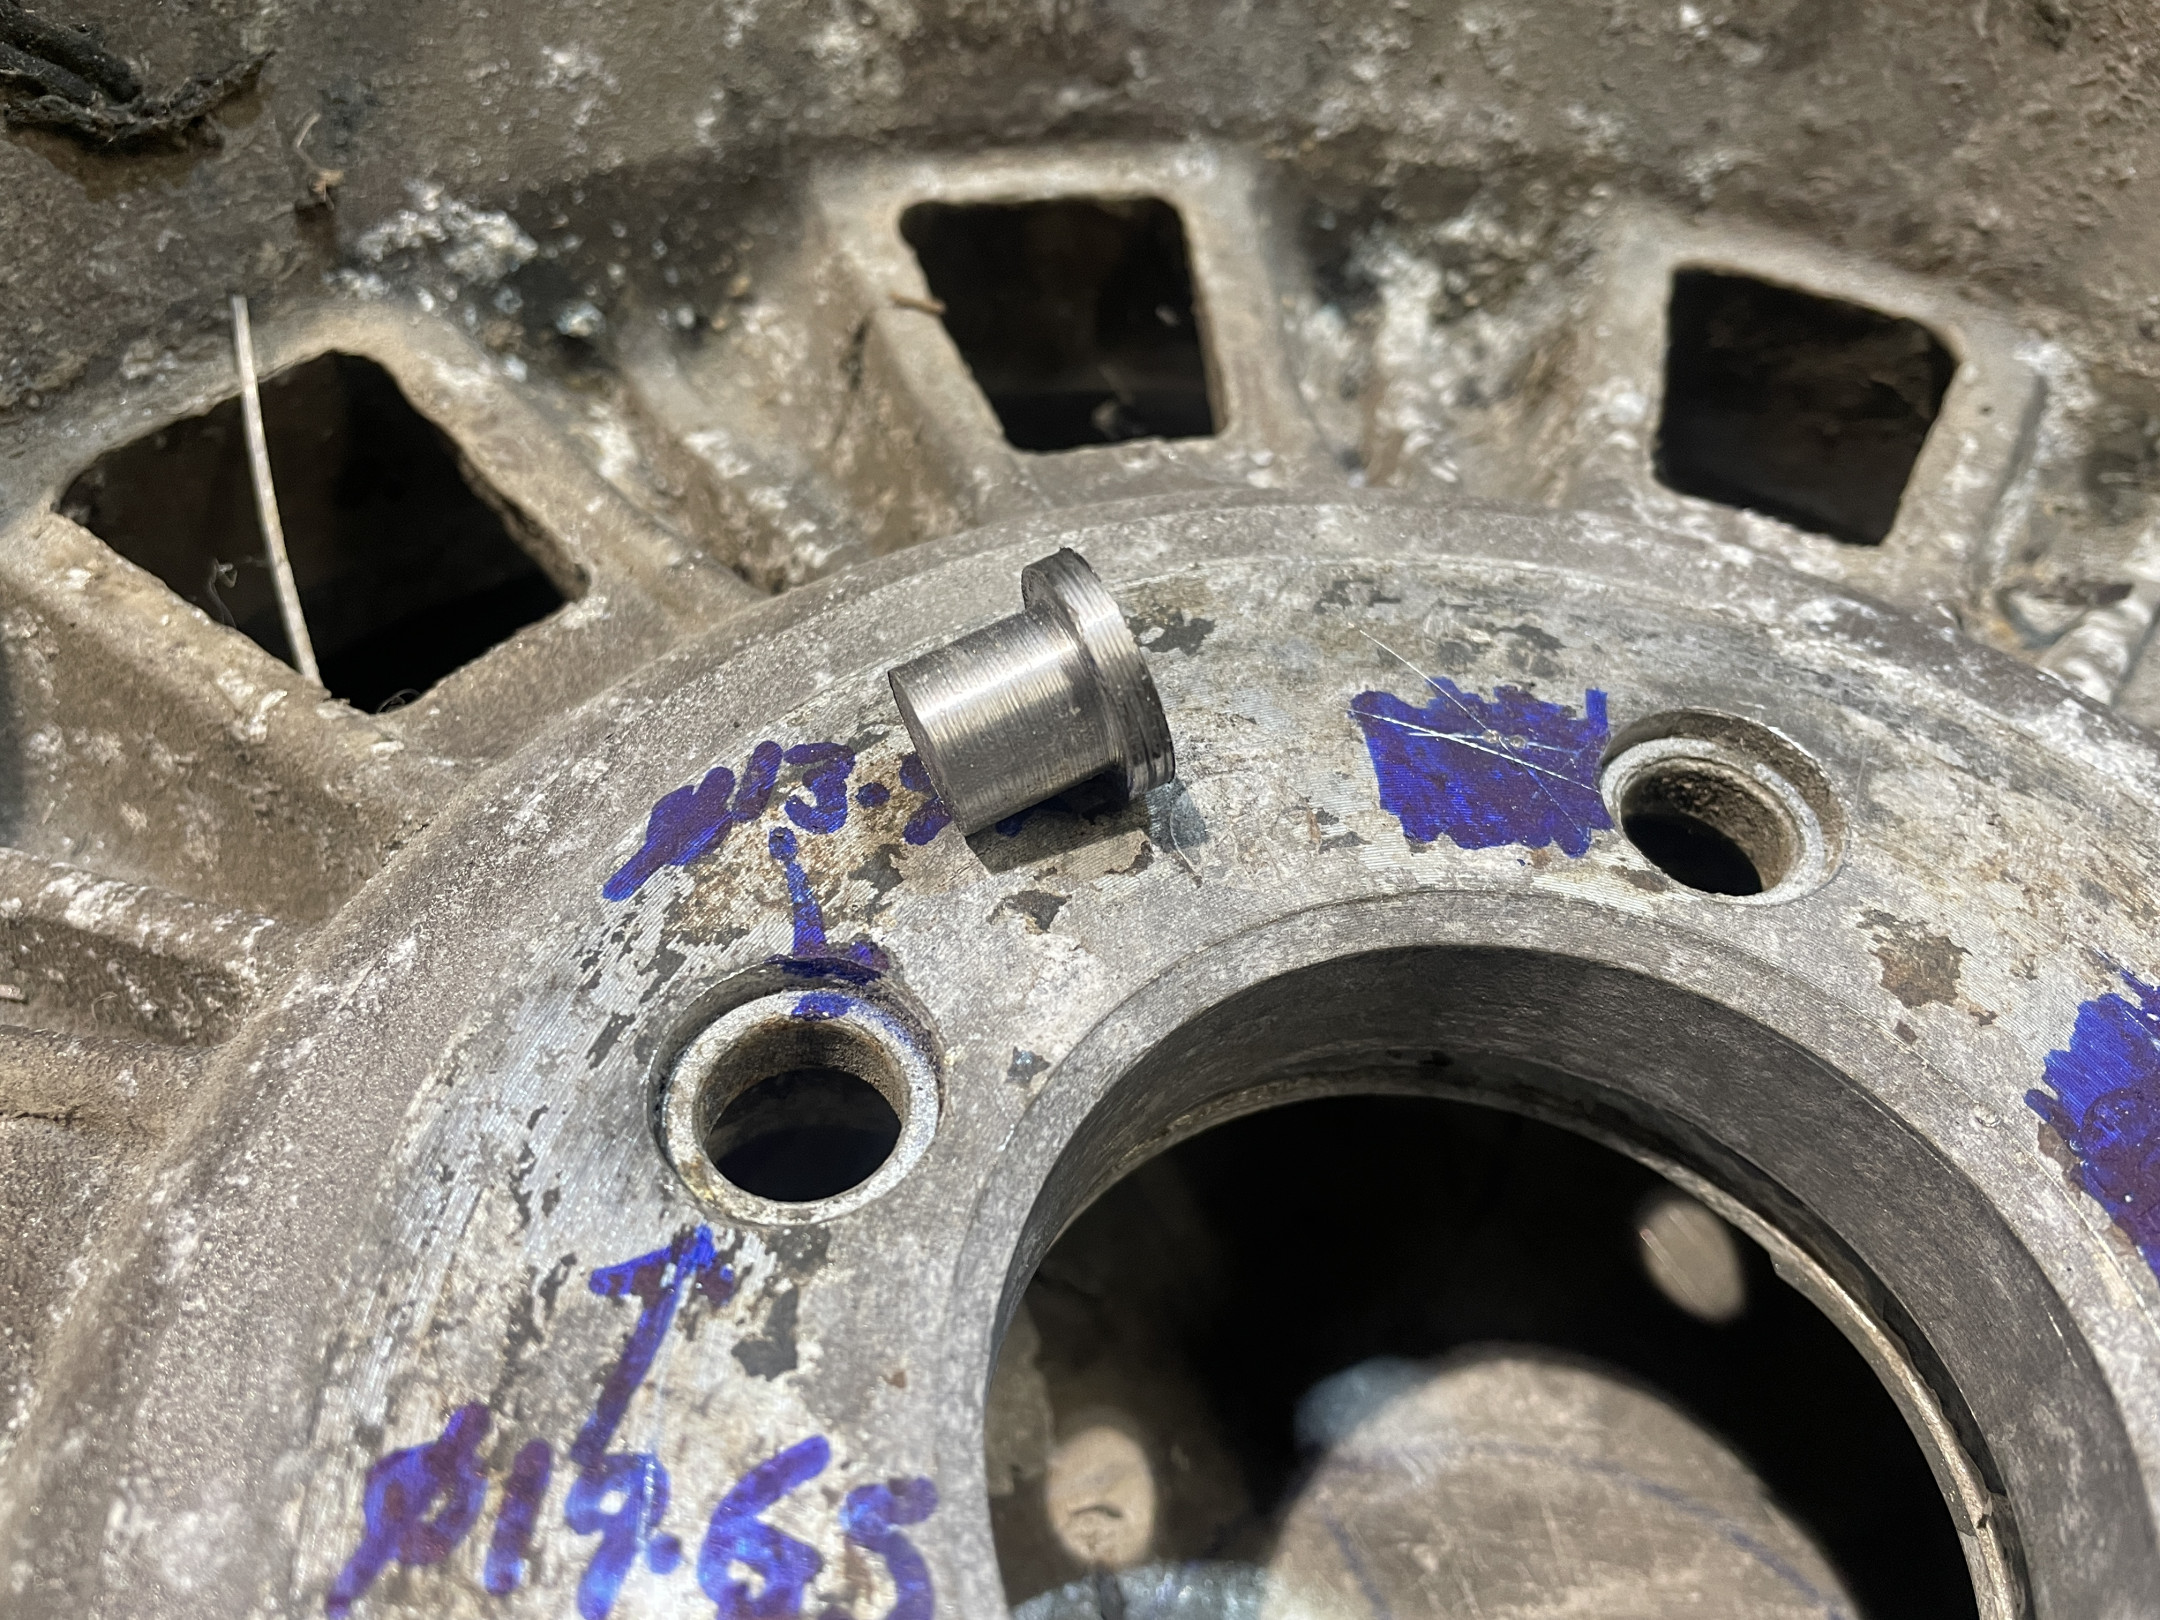
Having a stable, reasonably accurate centre is one part of it, but having the centre at the same height as the mounting face also improves accuracy.
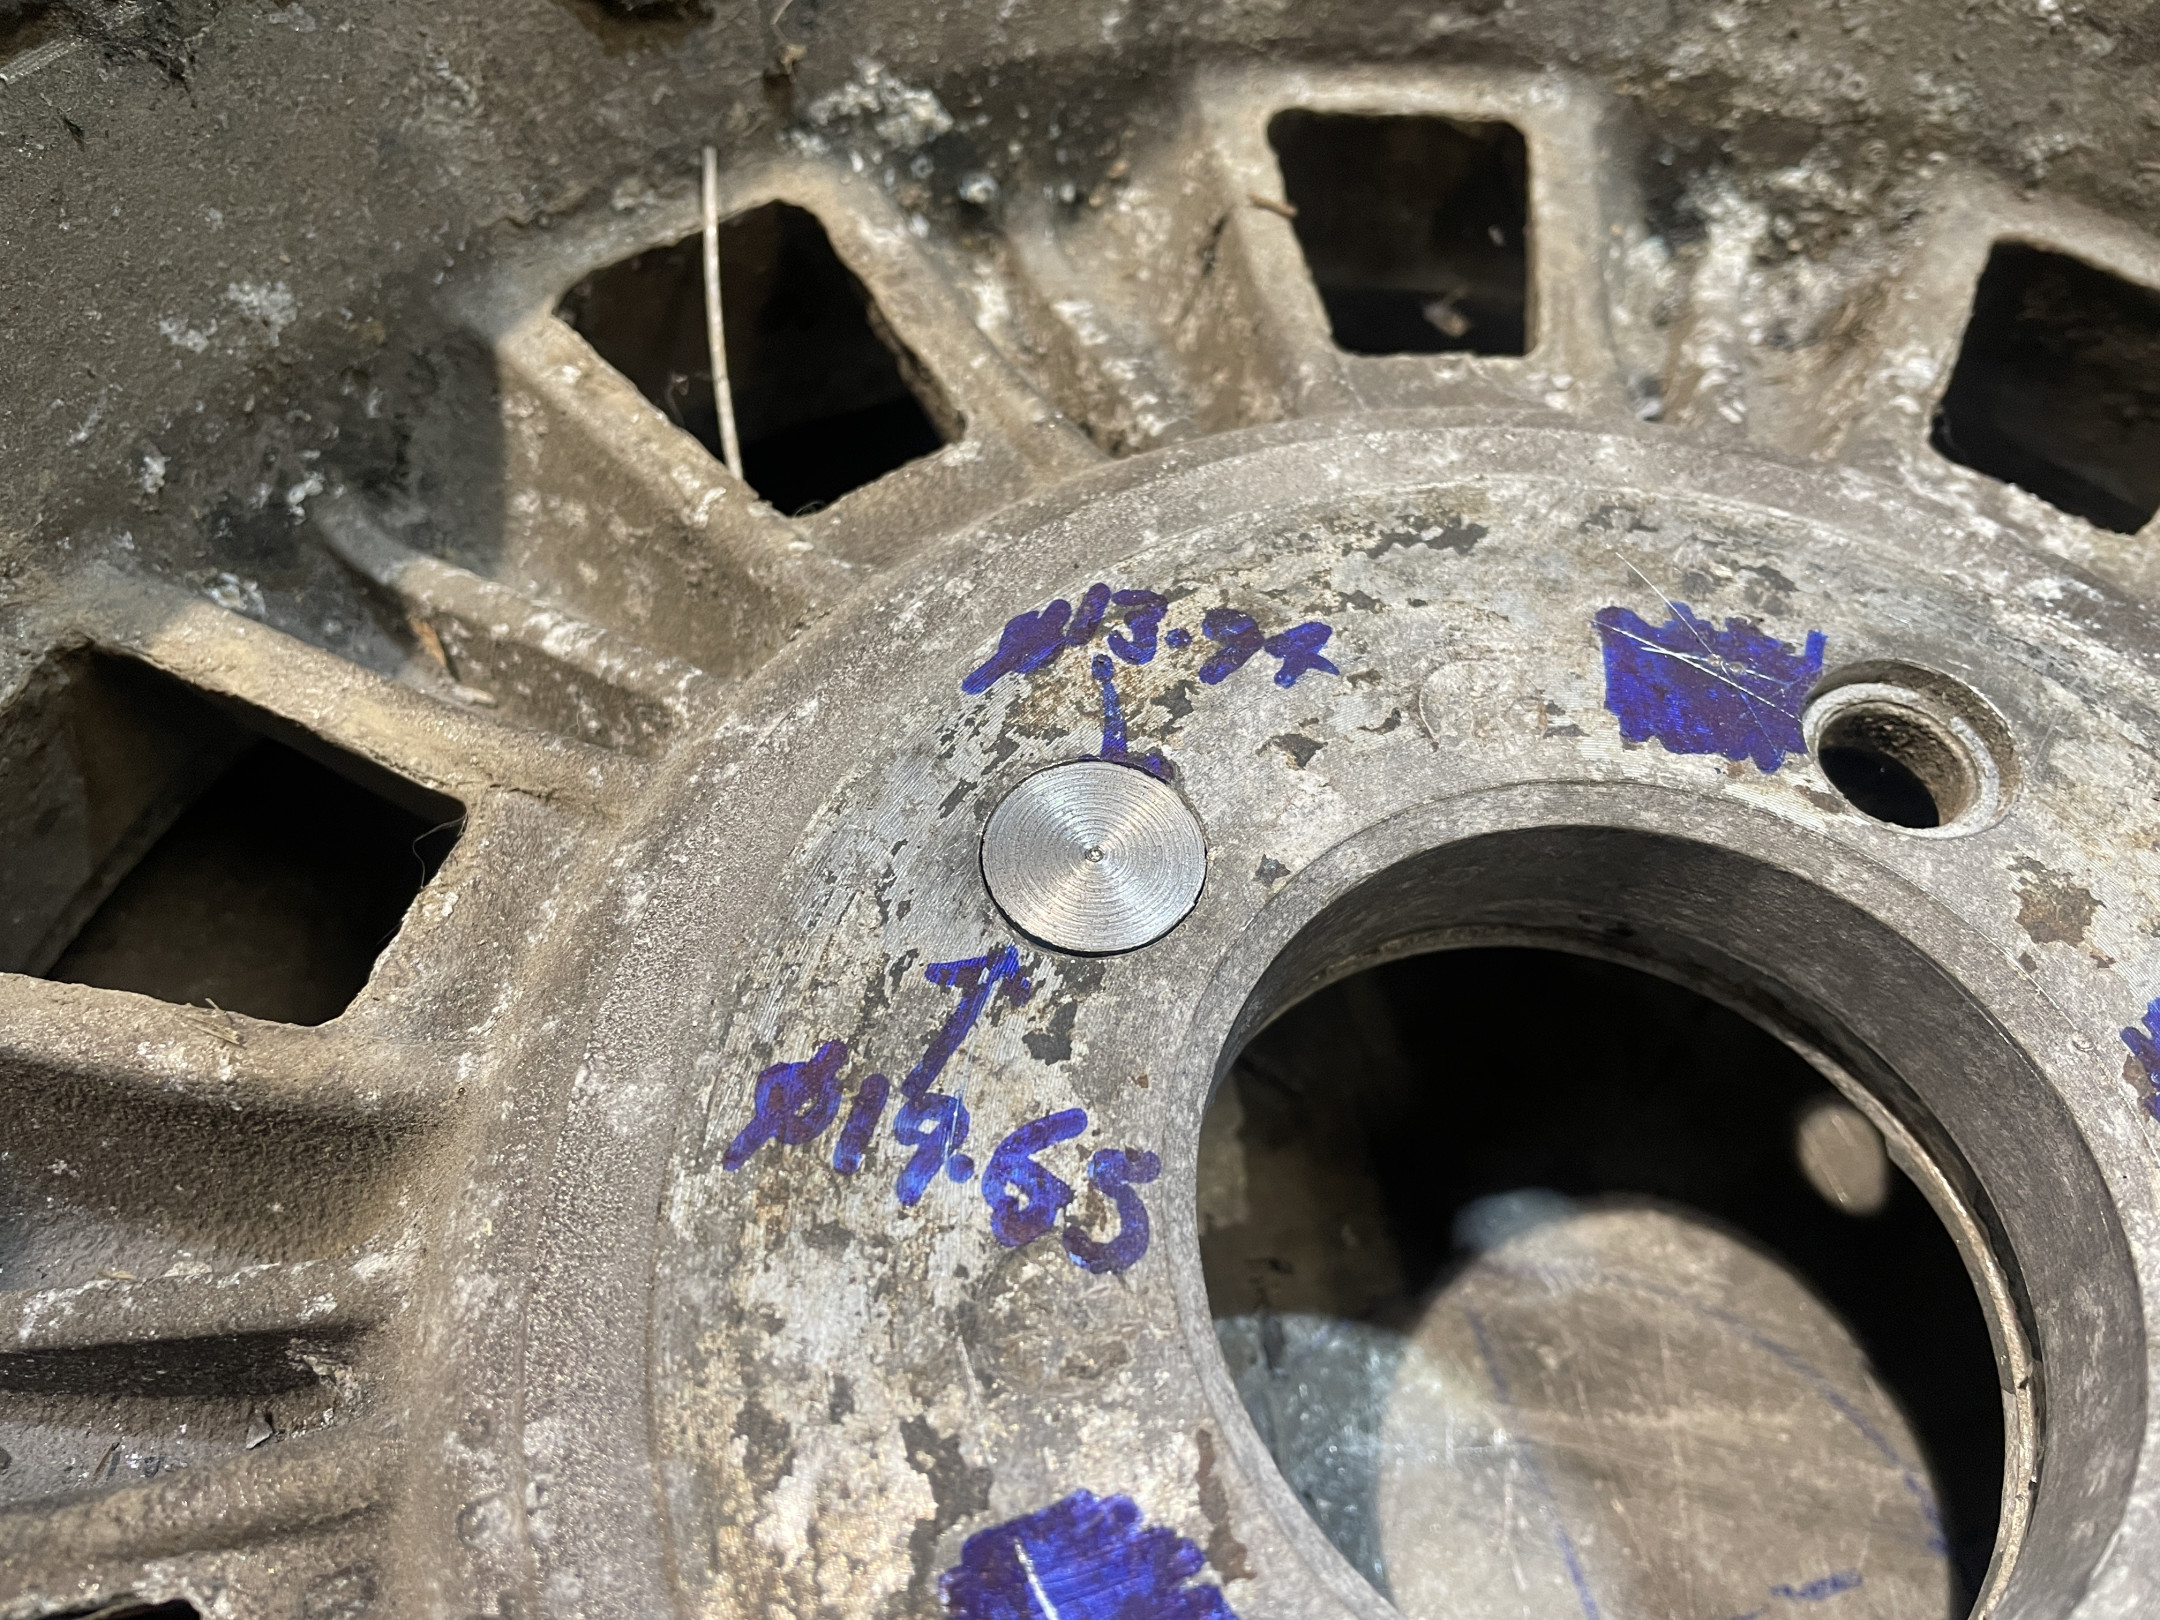
The other big step was to have a measurement from one stud to the “opposite” stud AS WELL AS the measurement to the adjacent studs. 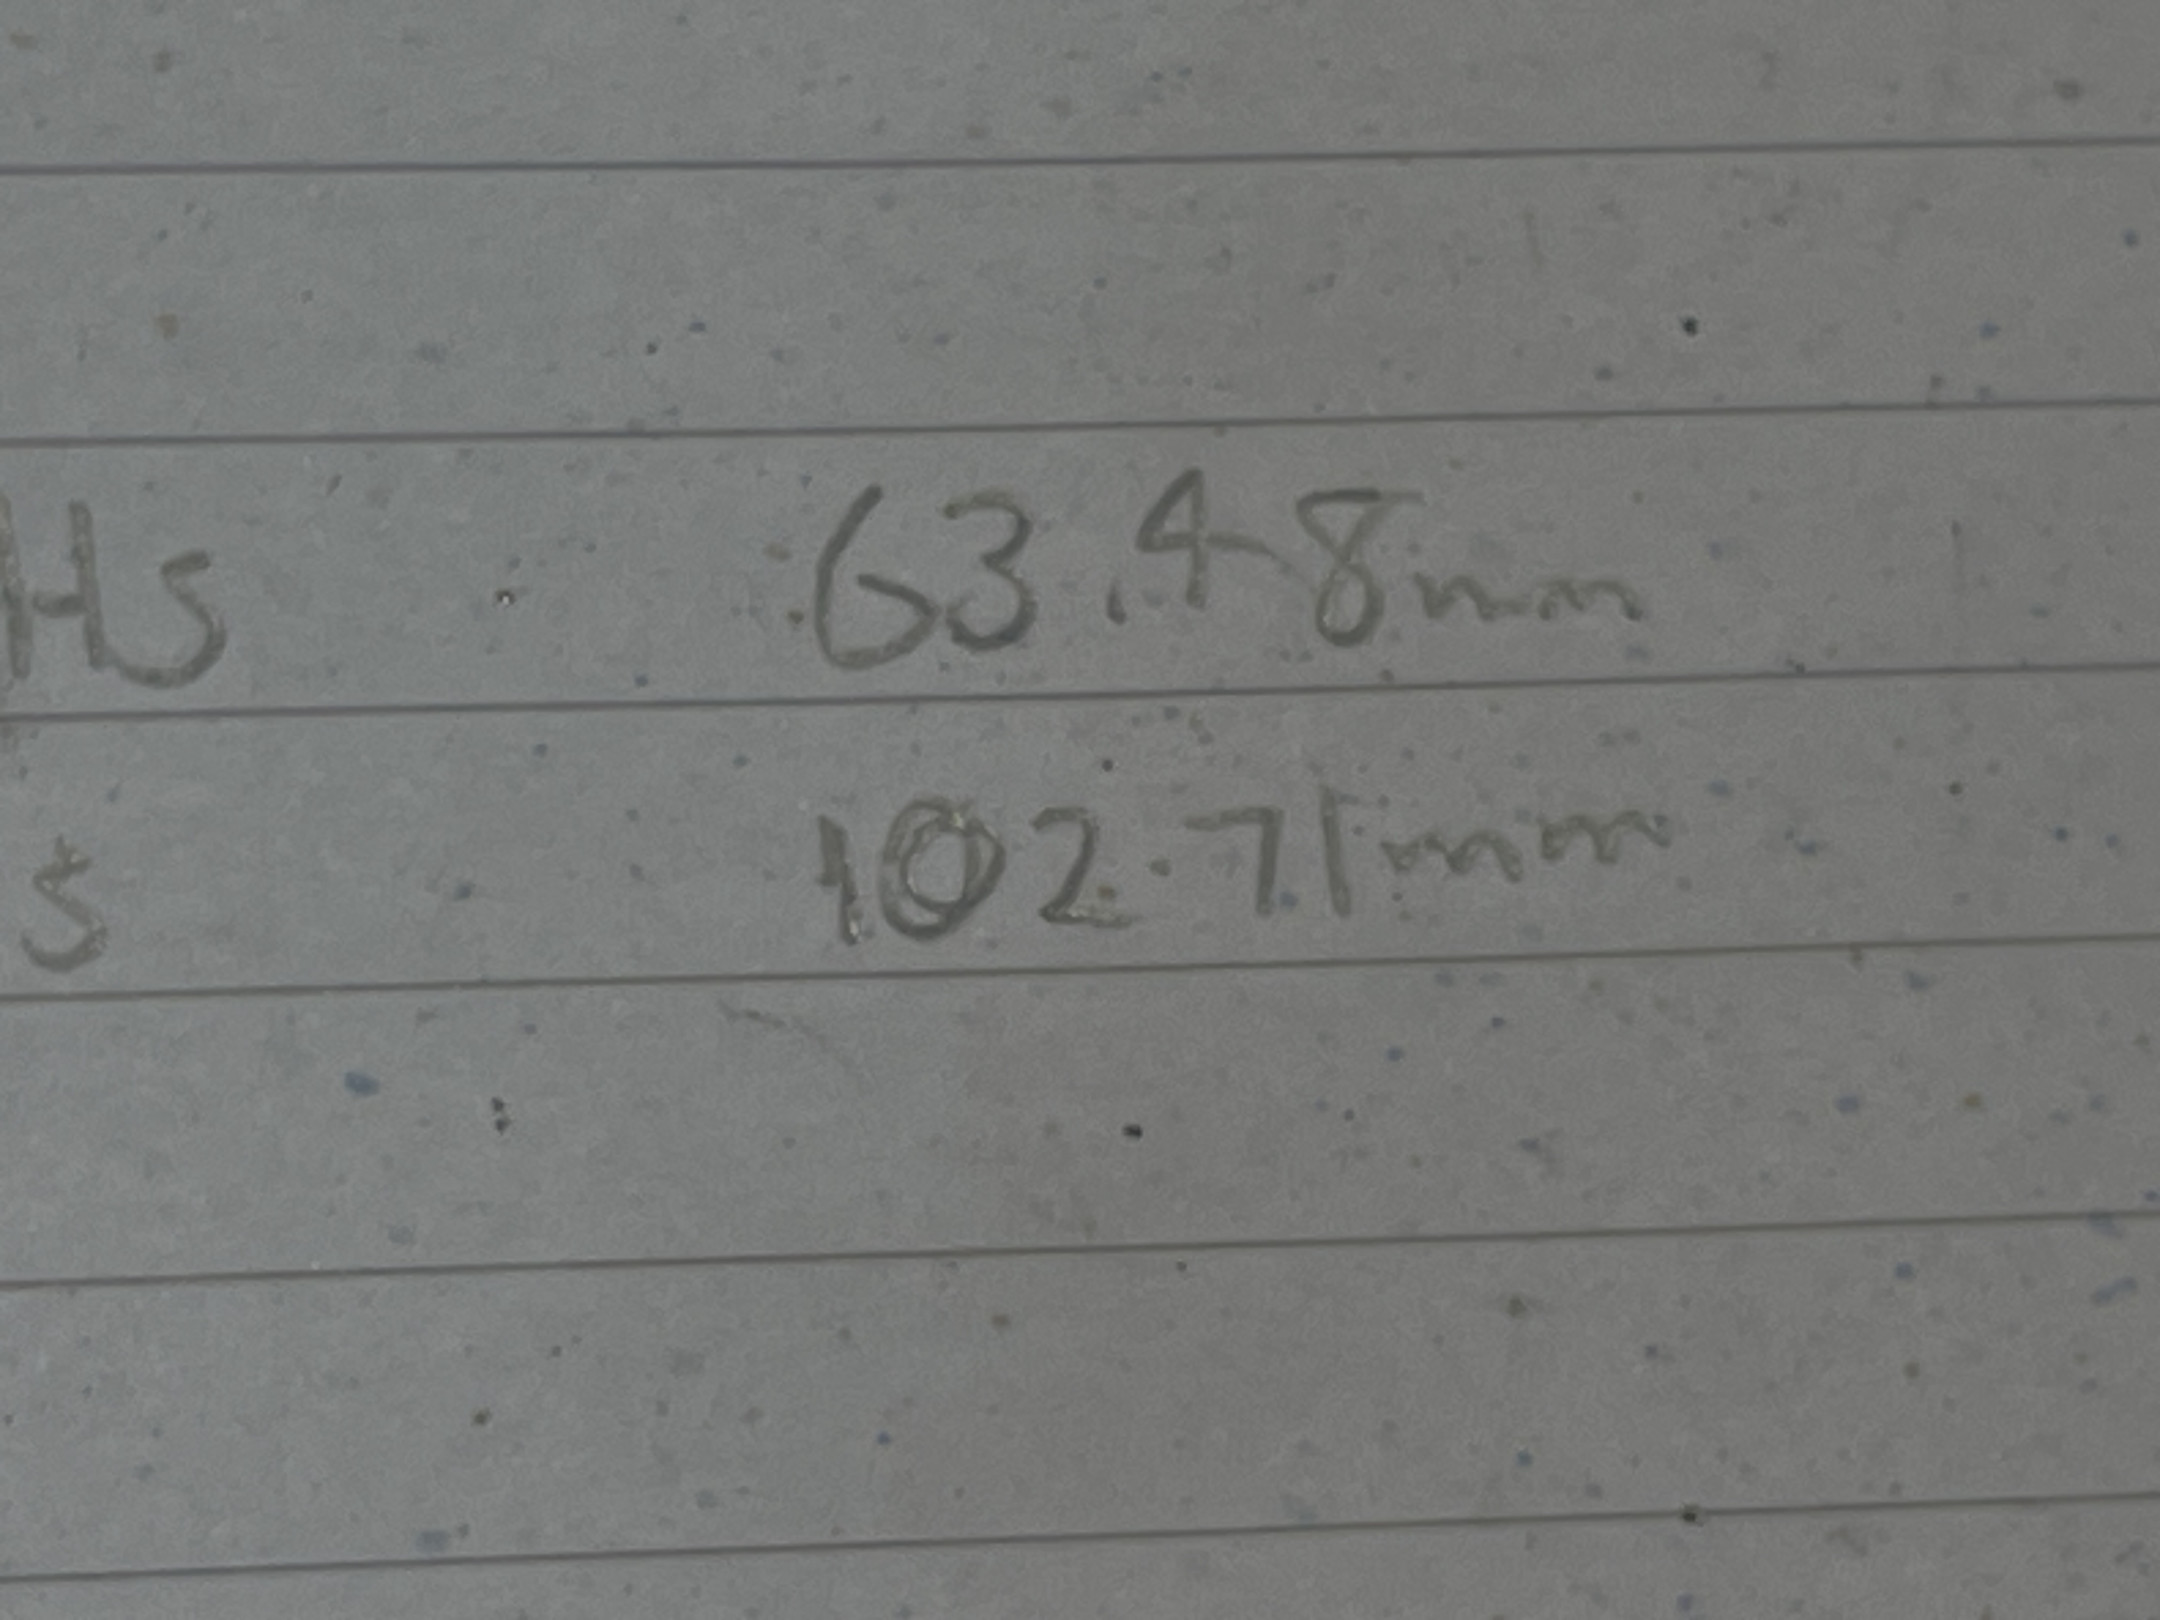
So yeah, I reckon I can find the location of the holes to convert to 5x10⁸.
Next task will be to work out a way to drill those holes accurately… without just buying a milling machine…

You know you need a milling machine now you have a lathe...

IMO you will want a mill. I think you can drill the through-holes without a mill, you do everything on a pedestal drill:
centre punch
spot drill
drill undersize
ream to 12mm (or whatever final size is)
But you also will need a counterbore or a taper I assume, which will be difficult to do, you can get counter boring bits with a pilot that will be a close fit to the reamed holes, but on a pedestal drill it will chatter like crazy and may even send things flying.
tl;dr buy a mill buy a mill buy a mill buy a mill buy a mill
Yeh… I have an old drill press that I have been considering turning into a sort of radial arm drill.
Like always, the question is whether it’s worth the time and effort for an indeterminate outcome.
I also don’t have space for a decent sized mill.
If I spend the money, I want it to be large enough to do a Redblock cylinder head at least…

A 740/940 alternator /ps bracket may do what you want regarding moving away from the heat.
dmc The problem with using 7/9 alt/PS brackets might be the various accessories intruding into the space for the block mounted distributor.
- Edited
Fiddling with the drill idea this morning. 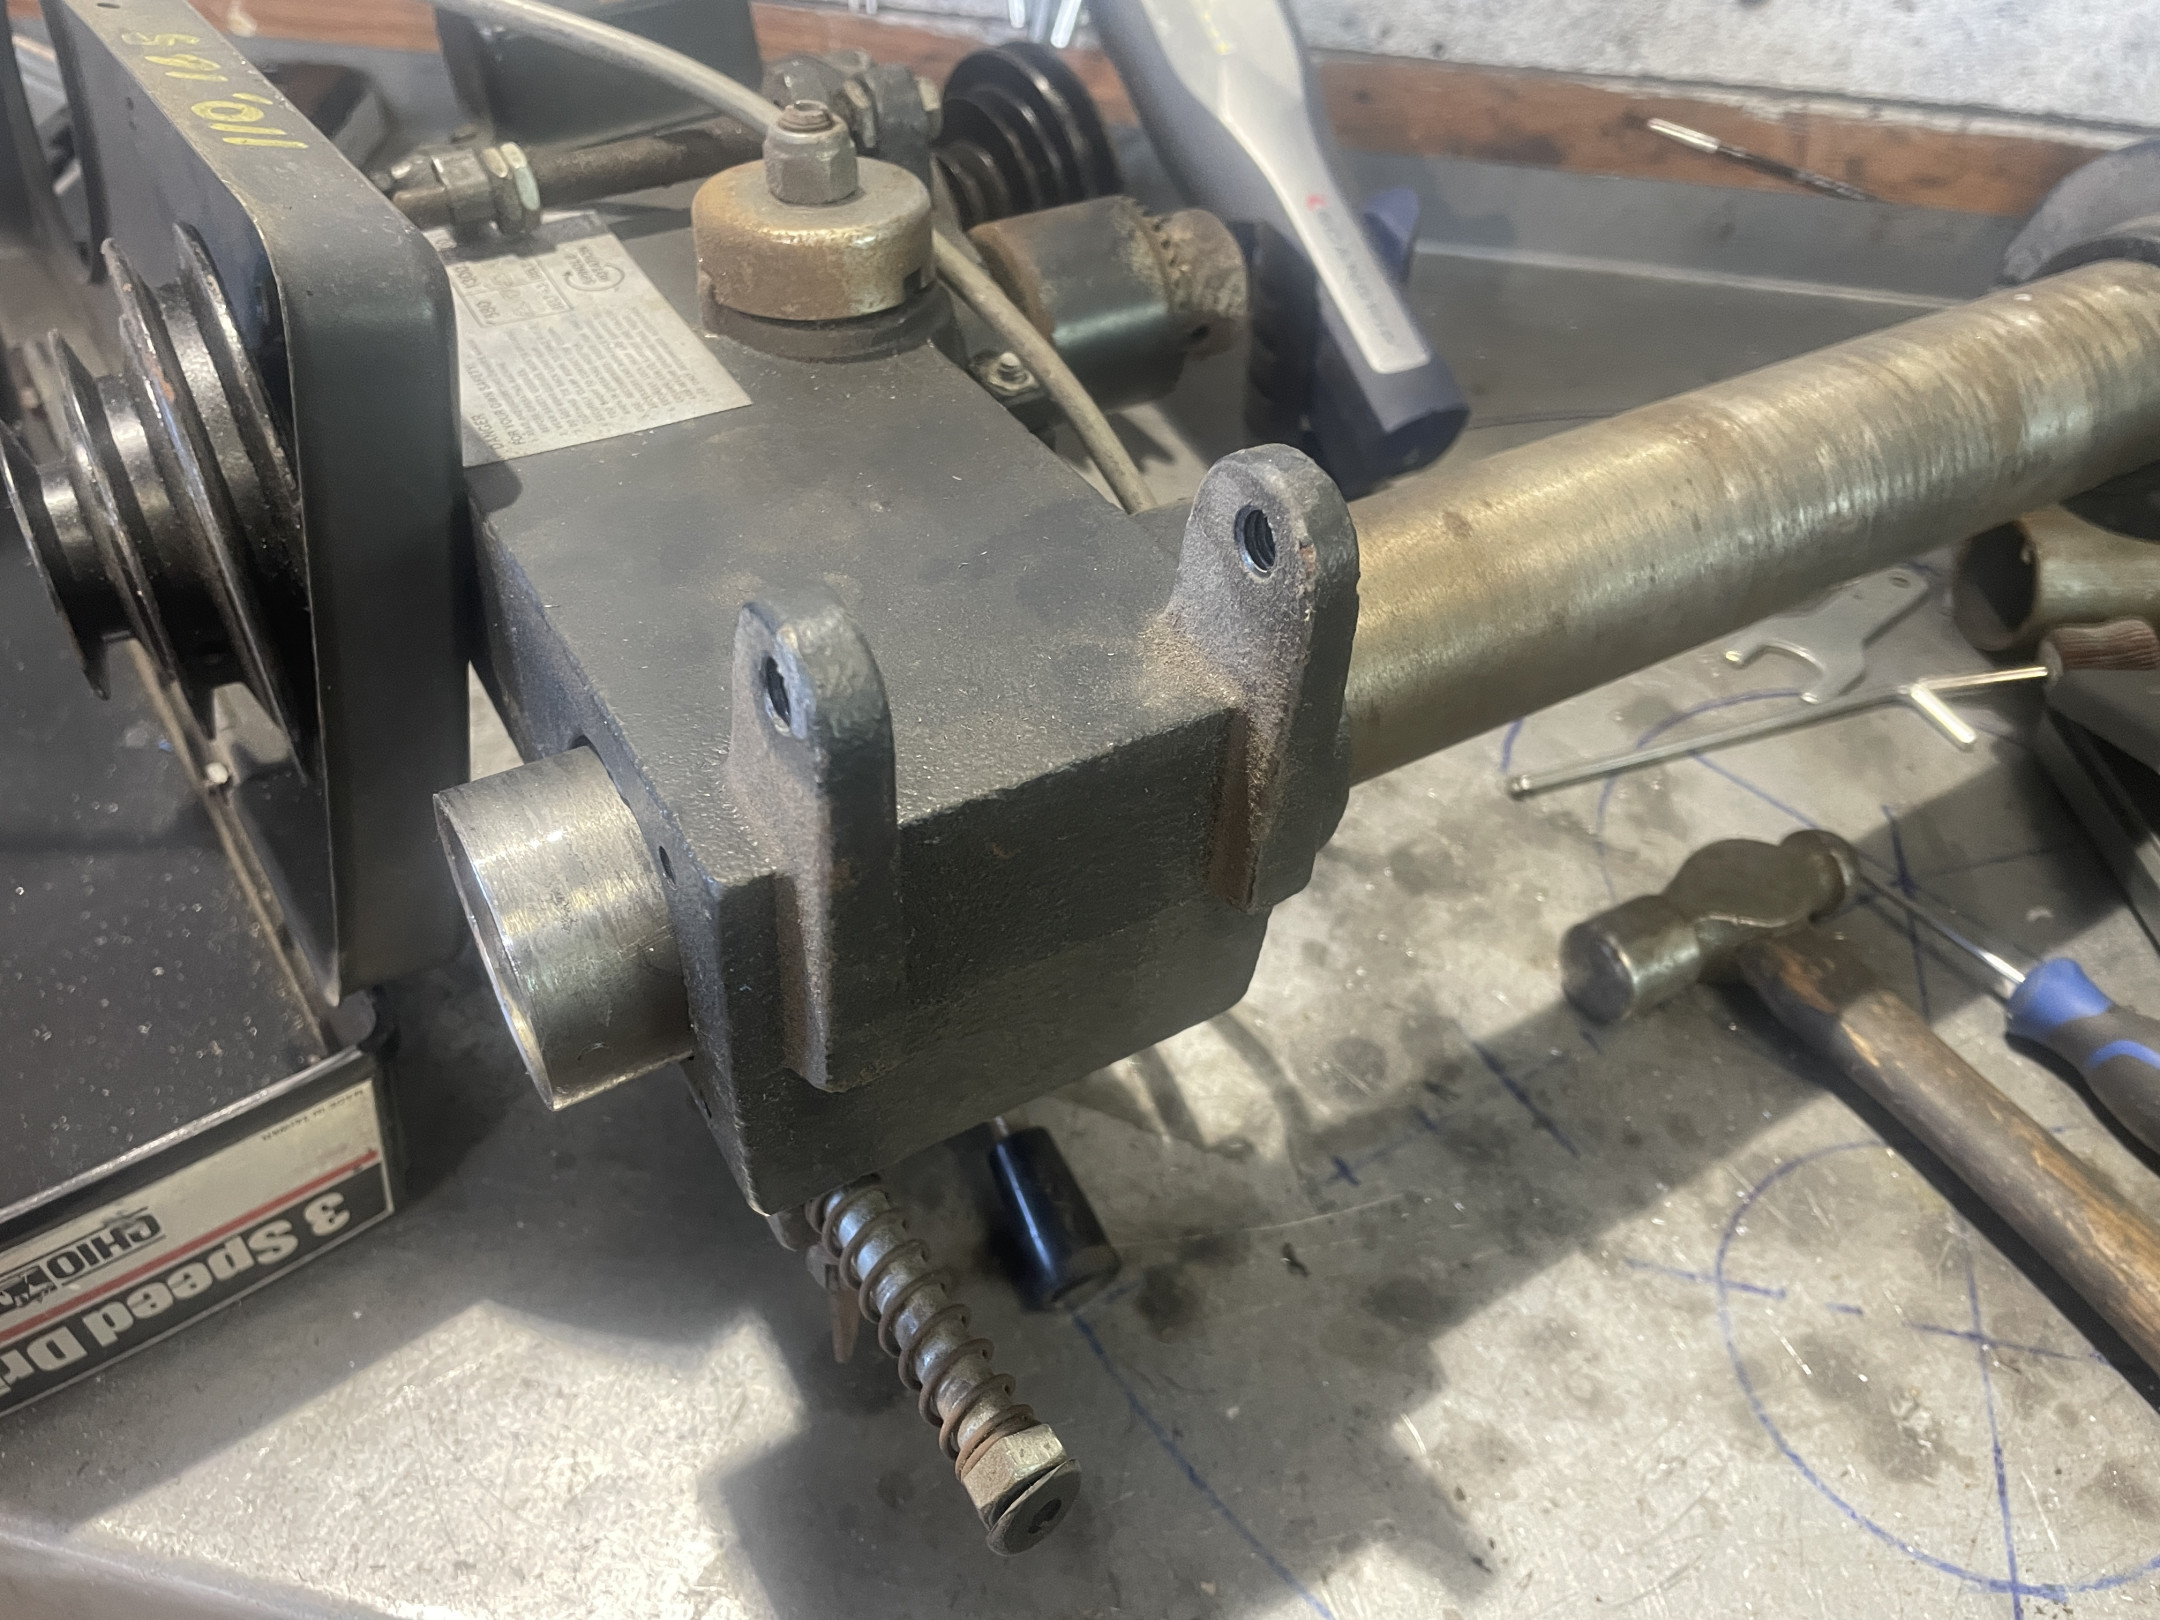
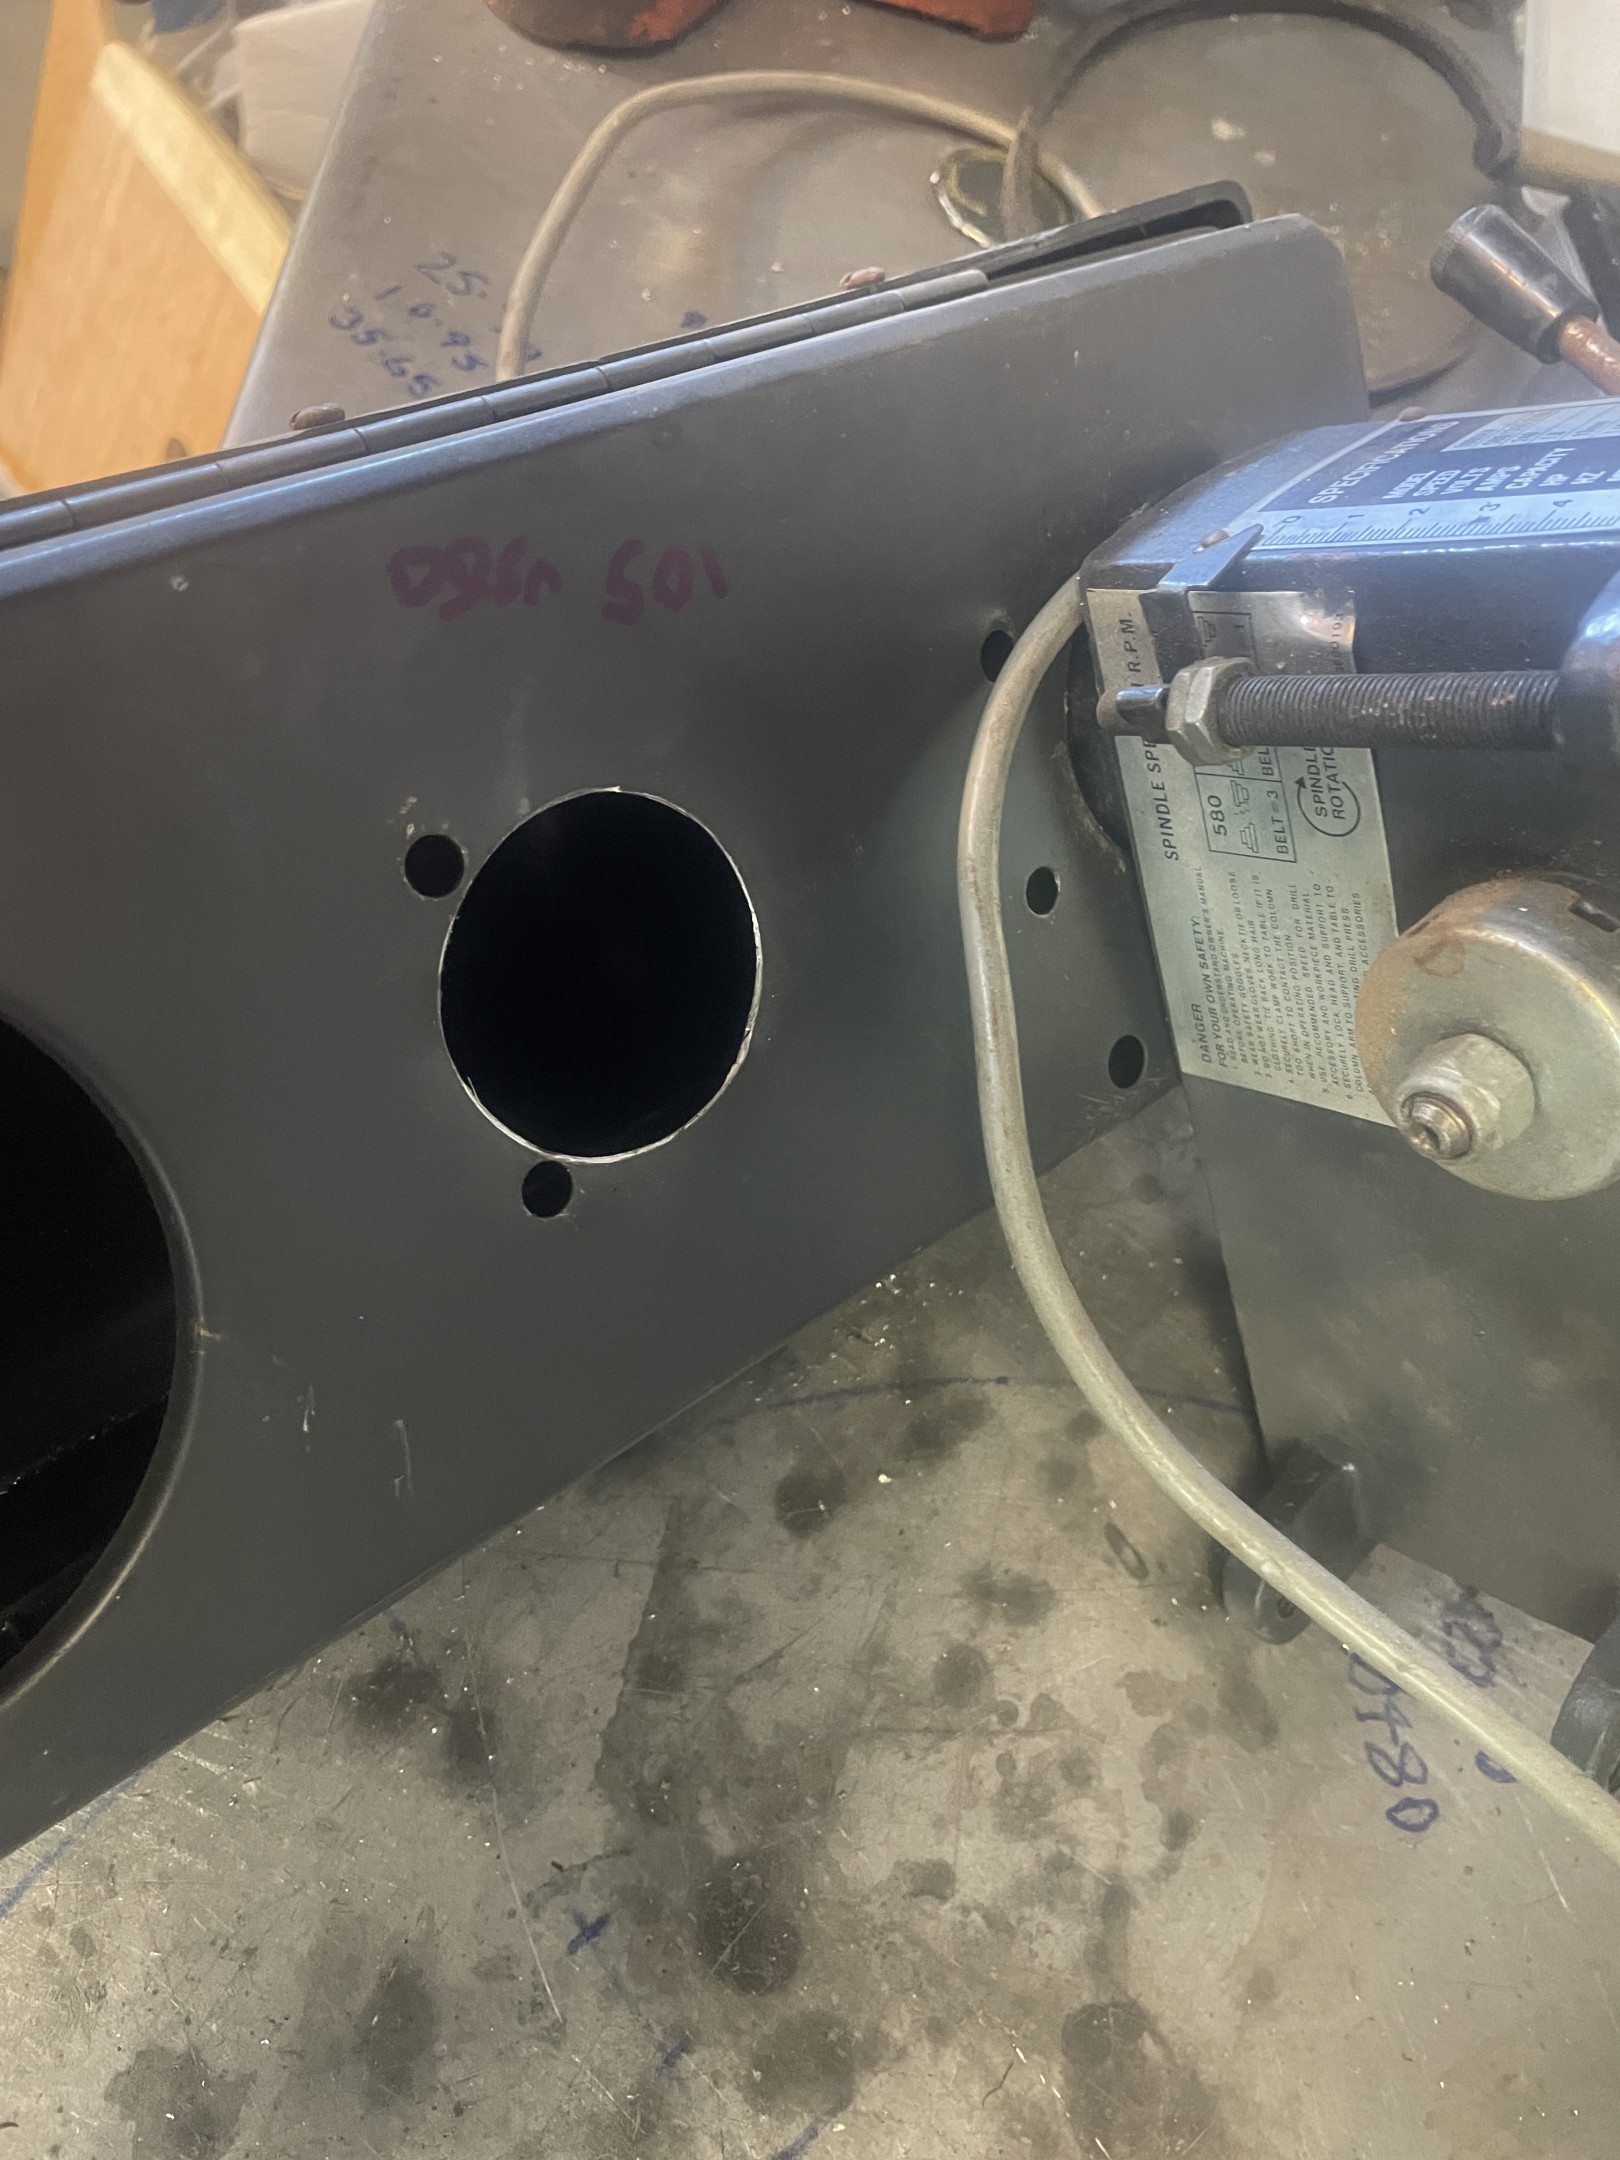
A bit of die-grinding and a bit of hole-sawing means that the head can move up and down on the column. There’s about 300mm of travel, plus the 50mm of plunge that’s built into the drill press.
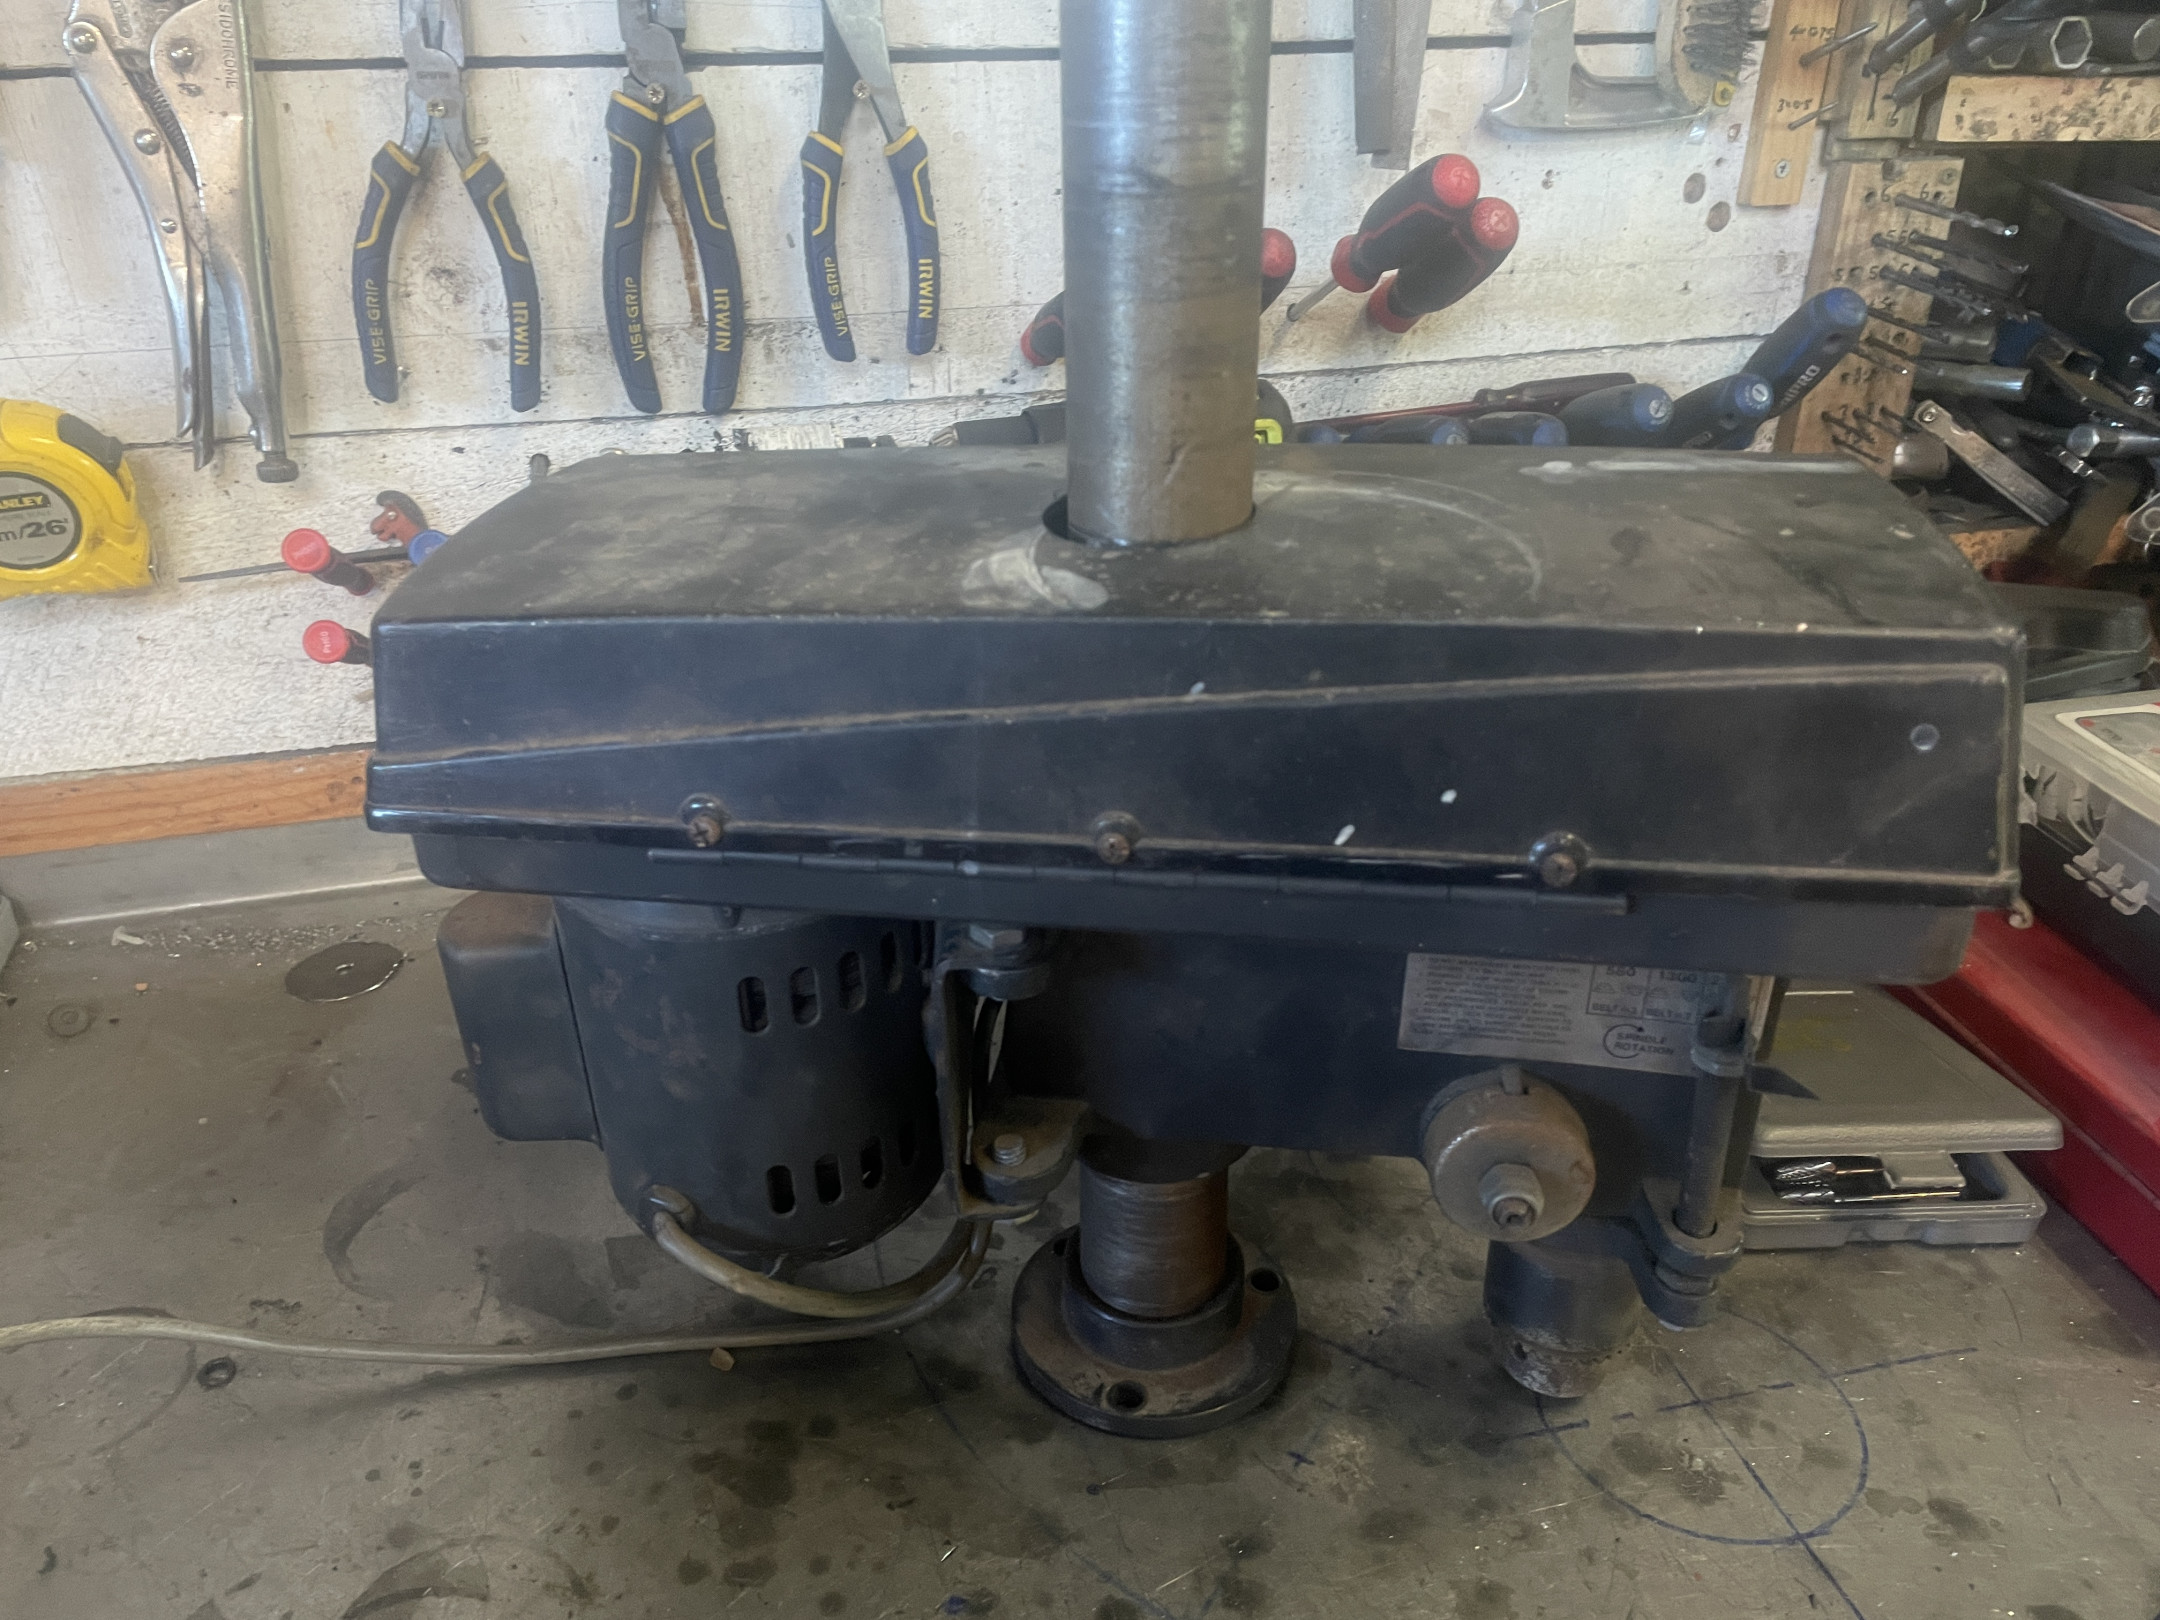
Yes, the belt clears… although it is close in the middle position/speed. 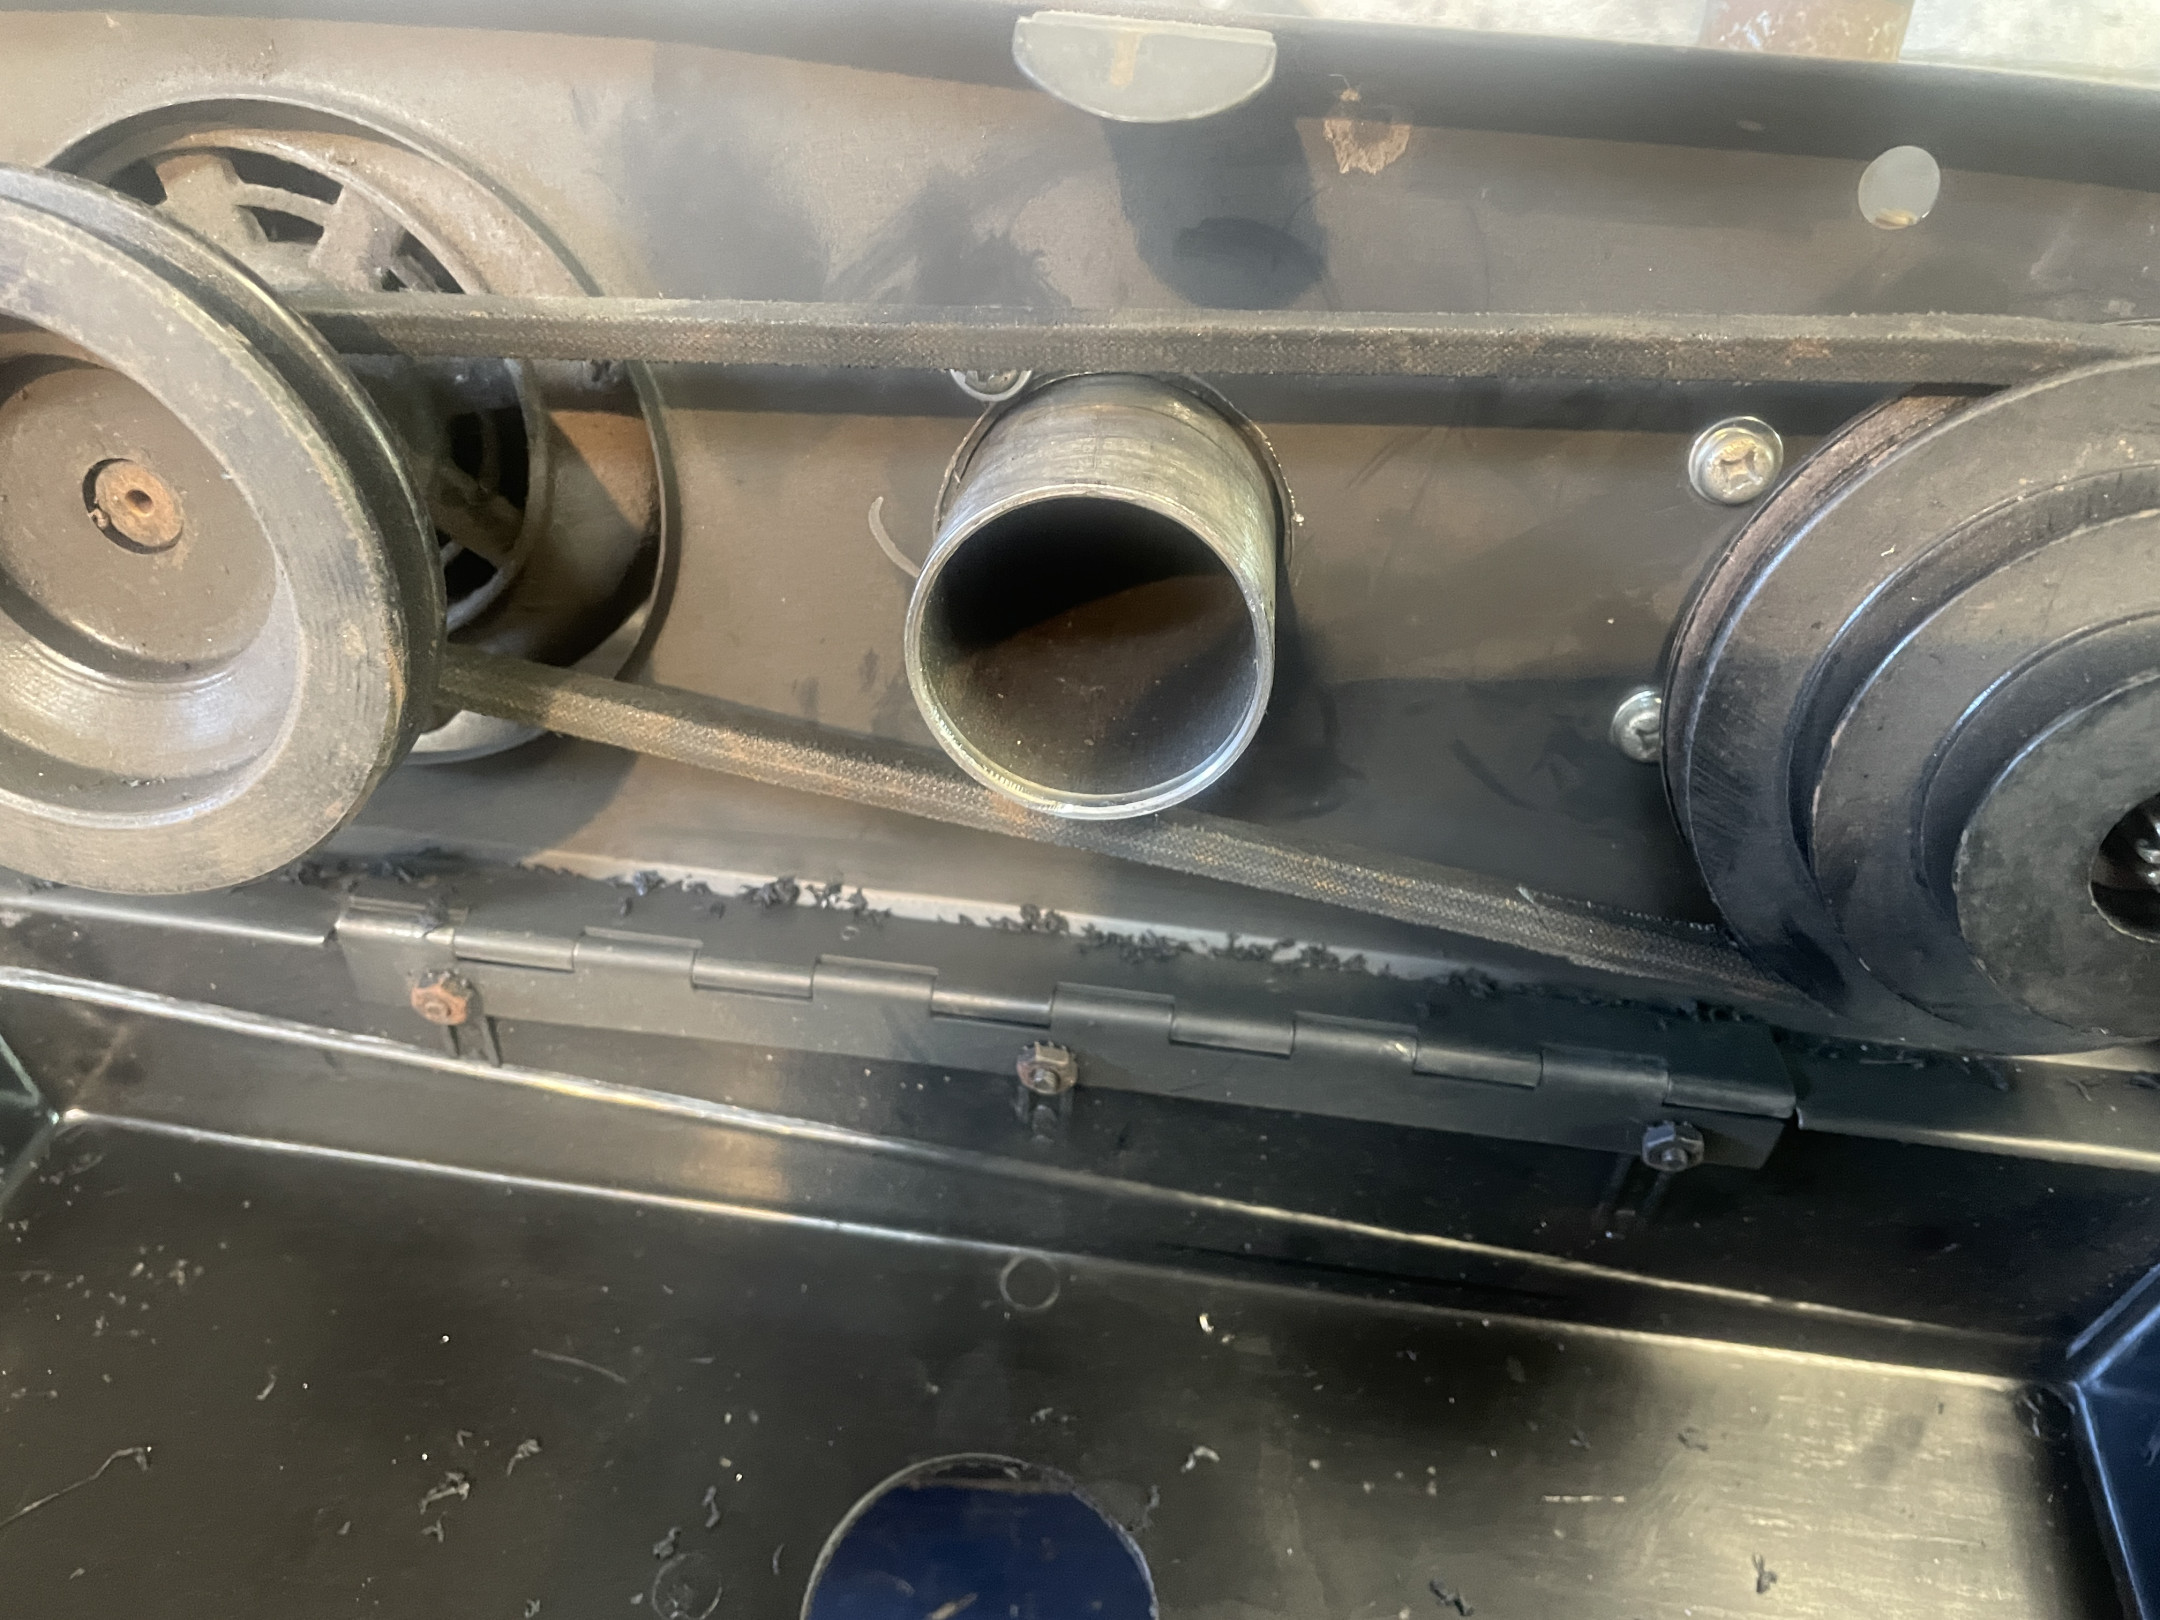
Next step will be to make a frame that allows it to sit over the top of a wheel while being rigid and square.
Screw you guys!
This happened today… 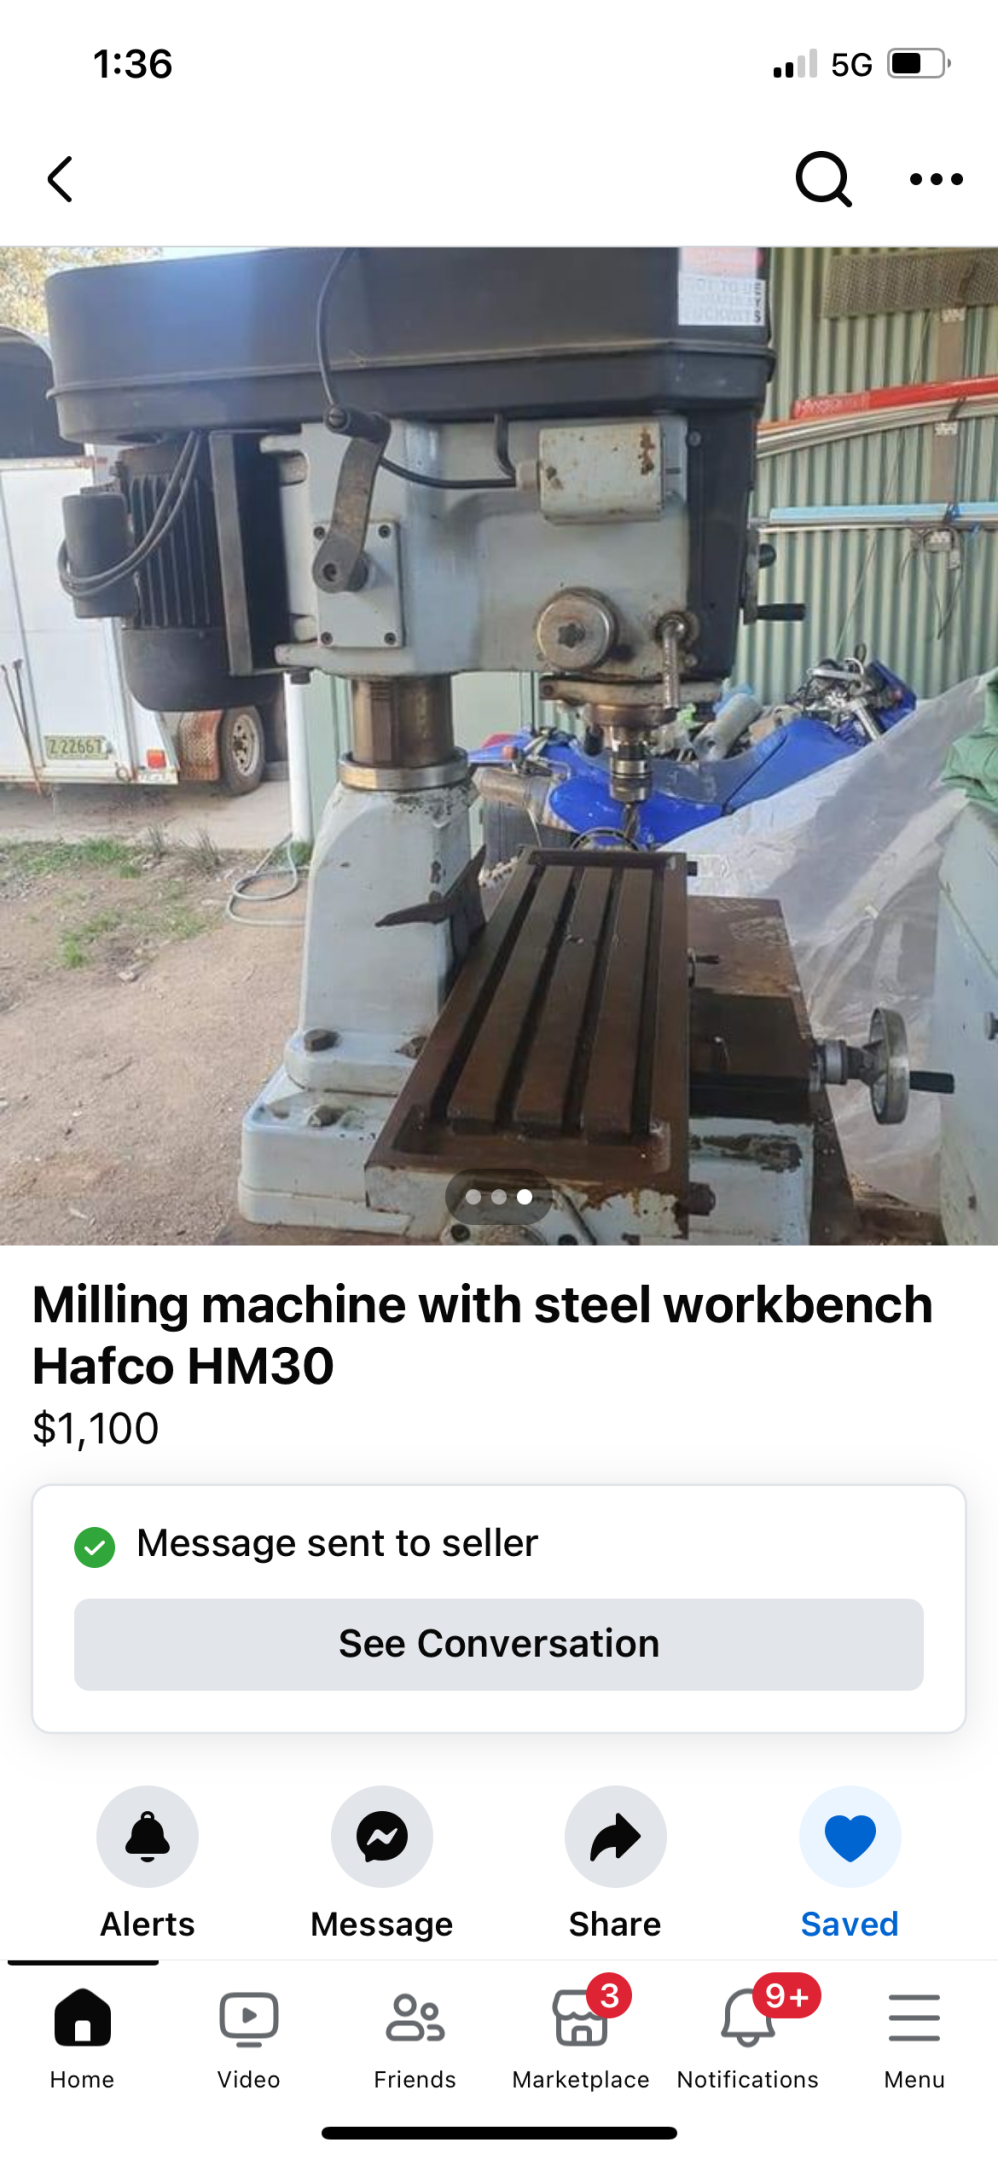
Turns out that it belongs to one of my rally mates from a long time ago… will go and get it during the week.
The door strap looks like one from a 140. I reckon I have a spare you can have.

whilst i don't doubt your engineering prowess, I think the milling machine would be on point and have little issues in creating, modifying the gear you want to make, could be a good side hustle too 