Went to the indoor gokarts this morning, so not a productive day on the car.
Started on the “interpretation” of the TME Evo stripes.


Not happy with the front part, will re-do it.

Cut out the door number plates.

Went to the indoor gokarts this morning, so not a productive day on the car.
Started on the “interpretation” of the TME Evo stripes.
Not happy with the front part, will re-do it.
Cut out the door number plates.
Worthwhile progress today.
Got the motor and box in this morning.
Got about half the stuff reconnected/refitted.
Some sticker progress, but the top of the yellow needs to be finished.
The real purpose of this photo is to show how far the bonnet opens with the standard bonnet hinges and stay.
Then with the modified hinges and new stay.
It even clips in nicely.
A few hiccups along the way - things like the hose from the PS reservoir is different between the 1.5 and 1.8. I discovered this when the hose was hard up against the pulley on the pump.
The 1.8 hose was on the green Mirage, so of course I made a mess of ATF swapping them.
Similarly, the 1.5 alternator has a 2-pin plug, where the 1.8 has a three pin plug, so that part of the loom had to be swapped over.
The driver’s side strut top needed a piece cut out to clear the captive nuts for the bonnet stay.
Put the headlights in. Discovered that the radiator support was slightly bent down on the passenger side, but nothing a mallet couldn’t deal with.
Guard stickers finished. Can’t do the bonnet or passenger’s side door/rear quarter until I have fixed the clear coat on those panels.
This photo clearly shows the join between the two different silvers… It is visible IRL, but not this obvious
I am going to fit bonnet pins, but wanted to keep the secondary catch on the bonnet latch. Figured this would be a nice way to fill in half an hour…
The original plan was som 30x3mm aluminium flat bar, but it quickly got out of control…
First problem was replicating the riveted pin that I drilled out. I had a bolt with the perfect oversized shoulder, but it needed a crush tube… So I cut a very short length of aluminium tube, and then spent ages hand filing it to size.
.
The heavy-walled aluminium channel was a good size and shape for the basis.
…but of course it can’t be that easy.
Photo shows the first attempt at the vertical support, which I cut too short.
Finished!
…except no. The hook travels too far over (to the right) and doesn’t automatically engage the catch on the bonnet, so I needed a stopper.
The stopper was easy enough, but then I discovered that my new latch interferes with the catch section of the bonnet and stops the bonnet from closing properly (the area above the red texta L on the latch).
/\ I took the opportunity to trim a bit more off the other side, mostly to make it easier to access the top mounting bolts.
So, three hours later, I had nicely filled in 30 minutes!
It works really nicely, and is marginally more rigid than the original setup. It is also lighter, by about 120g… ?
Paint it dayglow orange and declare it a safety item to screw with the screwtiniers
More work on making the paint look less shit.
First up was removing the dash - this might sound odd, but it needed to come out to allow me to remove the radio aerial that lives in the A-pillar. Plus the dash has to come out to remove the heater stuff and allow me to change the engine loom to the 1.8 loom.
The external part of the rear side window seal was weathered and perished, so I cut it away. Worked out quite well, actually.
Quick colour recoat of the A and C-pillars and the part of the roof over the top of the doors. This car is really making me despise the way panel repair shops work… although I guess the good repairs are not the ones you see…
This overspray on the mirror mount also leaves me less than impressed.
Used the last of the third aerosol can of paint on the passenger’s door. It needed a few parts touched up, mostly an old repair where I rubbed through the colour.
The door looks absolutely terrible. I really couldn’t get the aerosol can to co-operate and got a bunch of sags and horribly inconsistent thickness.
It’s acrylic, so I can rub the crappy bits off before covering it with clear.
Hopefully I will be able to get some clear coat on it tomorrow. Will depend on the weather, mostly.
I spent some time working out exhaust stuff too, including dragging out my collection of old exhausts.
Long story short, I discovered that the middle/main section of the Lancer’s exhaust is an aftermarket 2” system… but that a standard 3.0 litre Magna exhaust is 2.25” and close to the right shape. The outlet of the extractors is 2.25” so this seems to make sense.
Top of photo is the road Mirage’s 2” system, then the Magna exhaust upside down on the Lancer’s exhaust.
I scrounged up a 2.25” flex join, and ‘sports’ rear muffler. Will need to buy a pair of flange plates and some more pipe, but it should be a fairly cheap exhaust at the end.
Might price up a resonator too.
I thought I took more photos than this, but I made progress on the exhaust today.
Fiddly, time consuming process, that was made worse by my insistence on reusing stuff rather than buying new … but it is most of the way there.
I did buy 1.5 metres of new pipe, for $37. I thought it was plenty, but I have about 100mm left.
All of the bends and rest of the pipe are the recycled Magna exhaust.
I am pretty happy with how it has come out, so far… although I really struggled with the welding. Lack of practice is definitely a big part of it, but the Magna pipe is a mongrel to weld.
I need another bend into the rear muffler - hoping that my 100mm piece is long enough to make a bunch of pie cuts. Because it is at the end, I will be able to get the die grinder into the pipe to clean up any daggy welds inside the pipe.
Probably will relent and buy another flange from the muffler shop, or might go full tightarse and make a flange to match the Magna one that’s already on the end of pipe.
I've welded Magna pipe before...it is indeed horrible.
Brackets for the exhaust took a huge chunk of the day. Test fitted it at least a dozen times, and had a brain fart over how to deal with the rubber stretching.
Took more of the heater/AC stuff out, mostly so I could remove the 1.5 ECU and engine loom.
…which allowed me to fit the 1.8 loom to the engine.
It also meant that I can remove the rubber/felt sound deadening from the firewall. This included needing to remove the brake pedal & mount… in turn, this allowed me to get the last of the sound deadening from the engine bay, where it was trapped under the brake booster.
Here’s an unremarkable picture of the engine with the loom mostly fitted.
Discovered that the 1.5 and 1.8 throttle cables are different. Will price a new 1.8 one, but am inclined to make an adapter bracket.
The bosses above my hand are where the 1.8 cable is supposed to mount to the intake manifold.
.
Wandered outside without a set agenda…
There was still a solid frost on the ground, so I decided to do something with the heat gun. …which was a removing the tar from the floor.
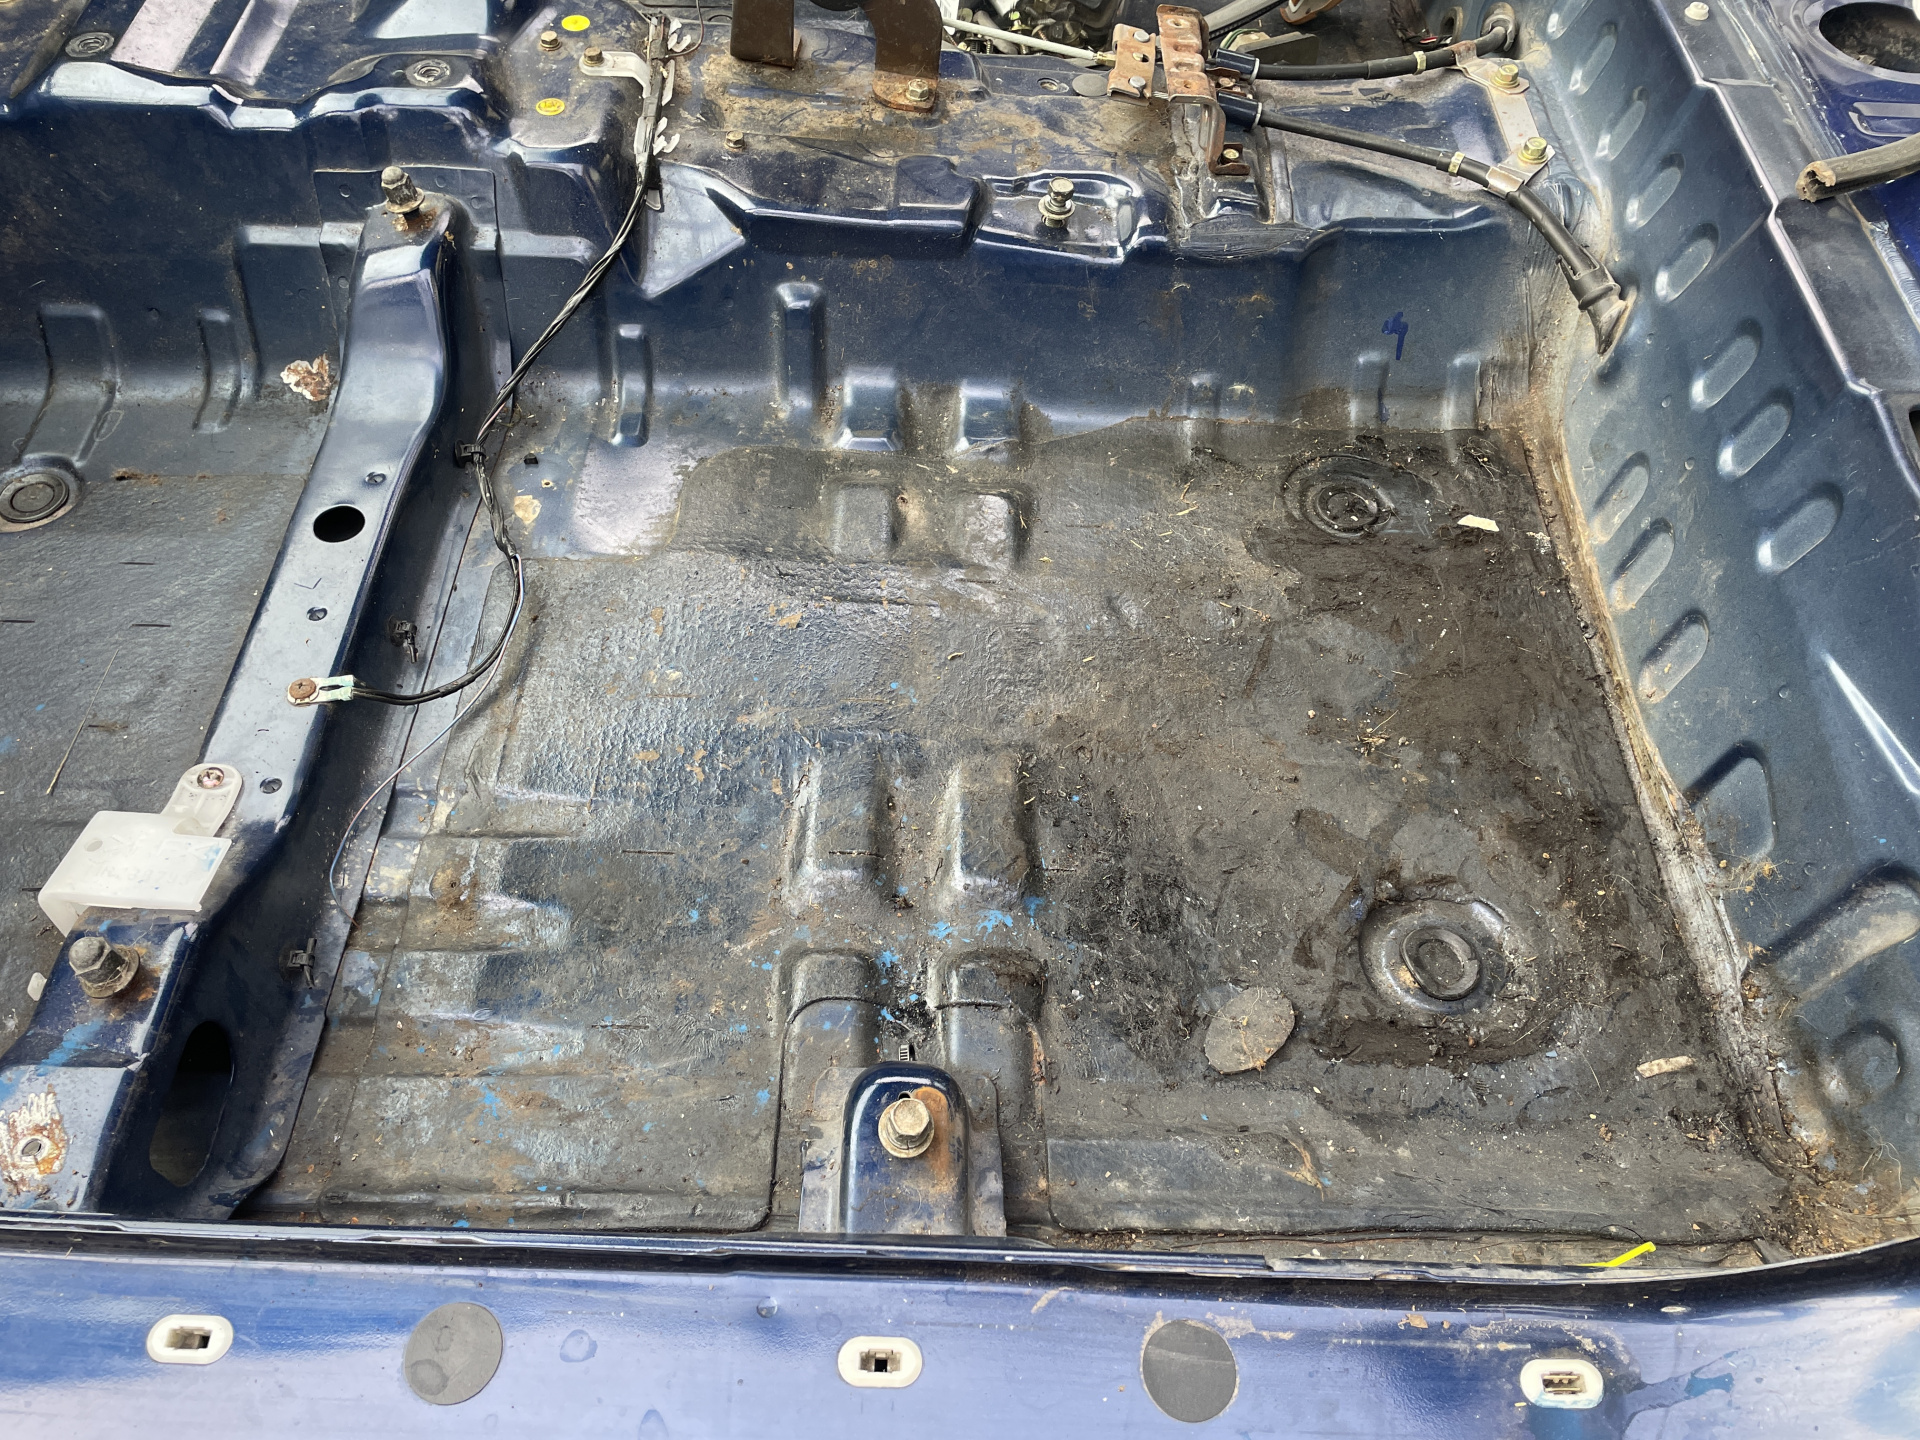
Specifically, I tried the technique that worked well with the Mercedes, which is to heat the underside of the floor.
It worked well.
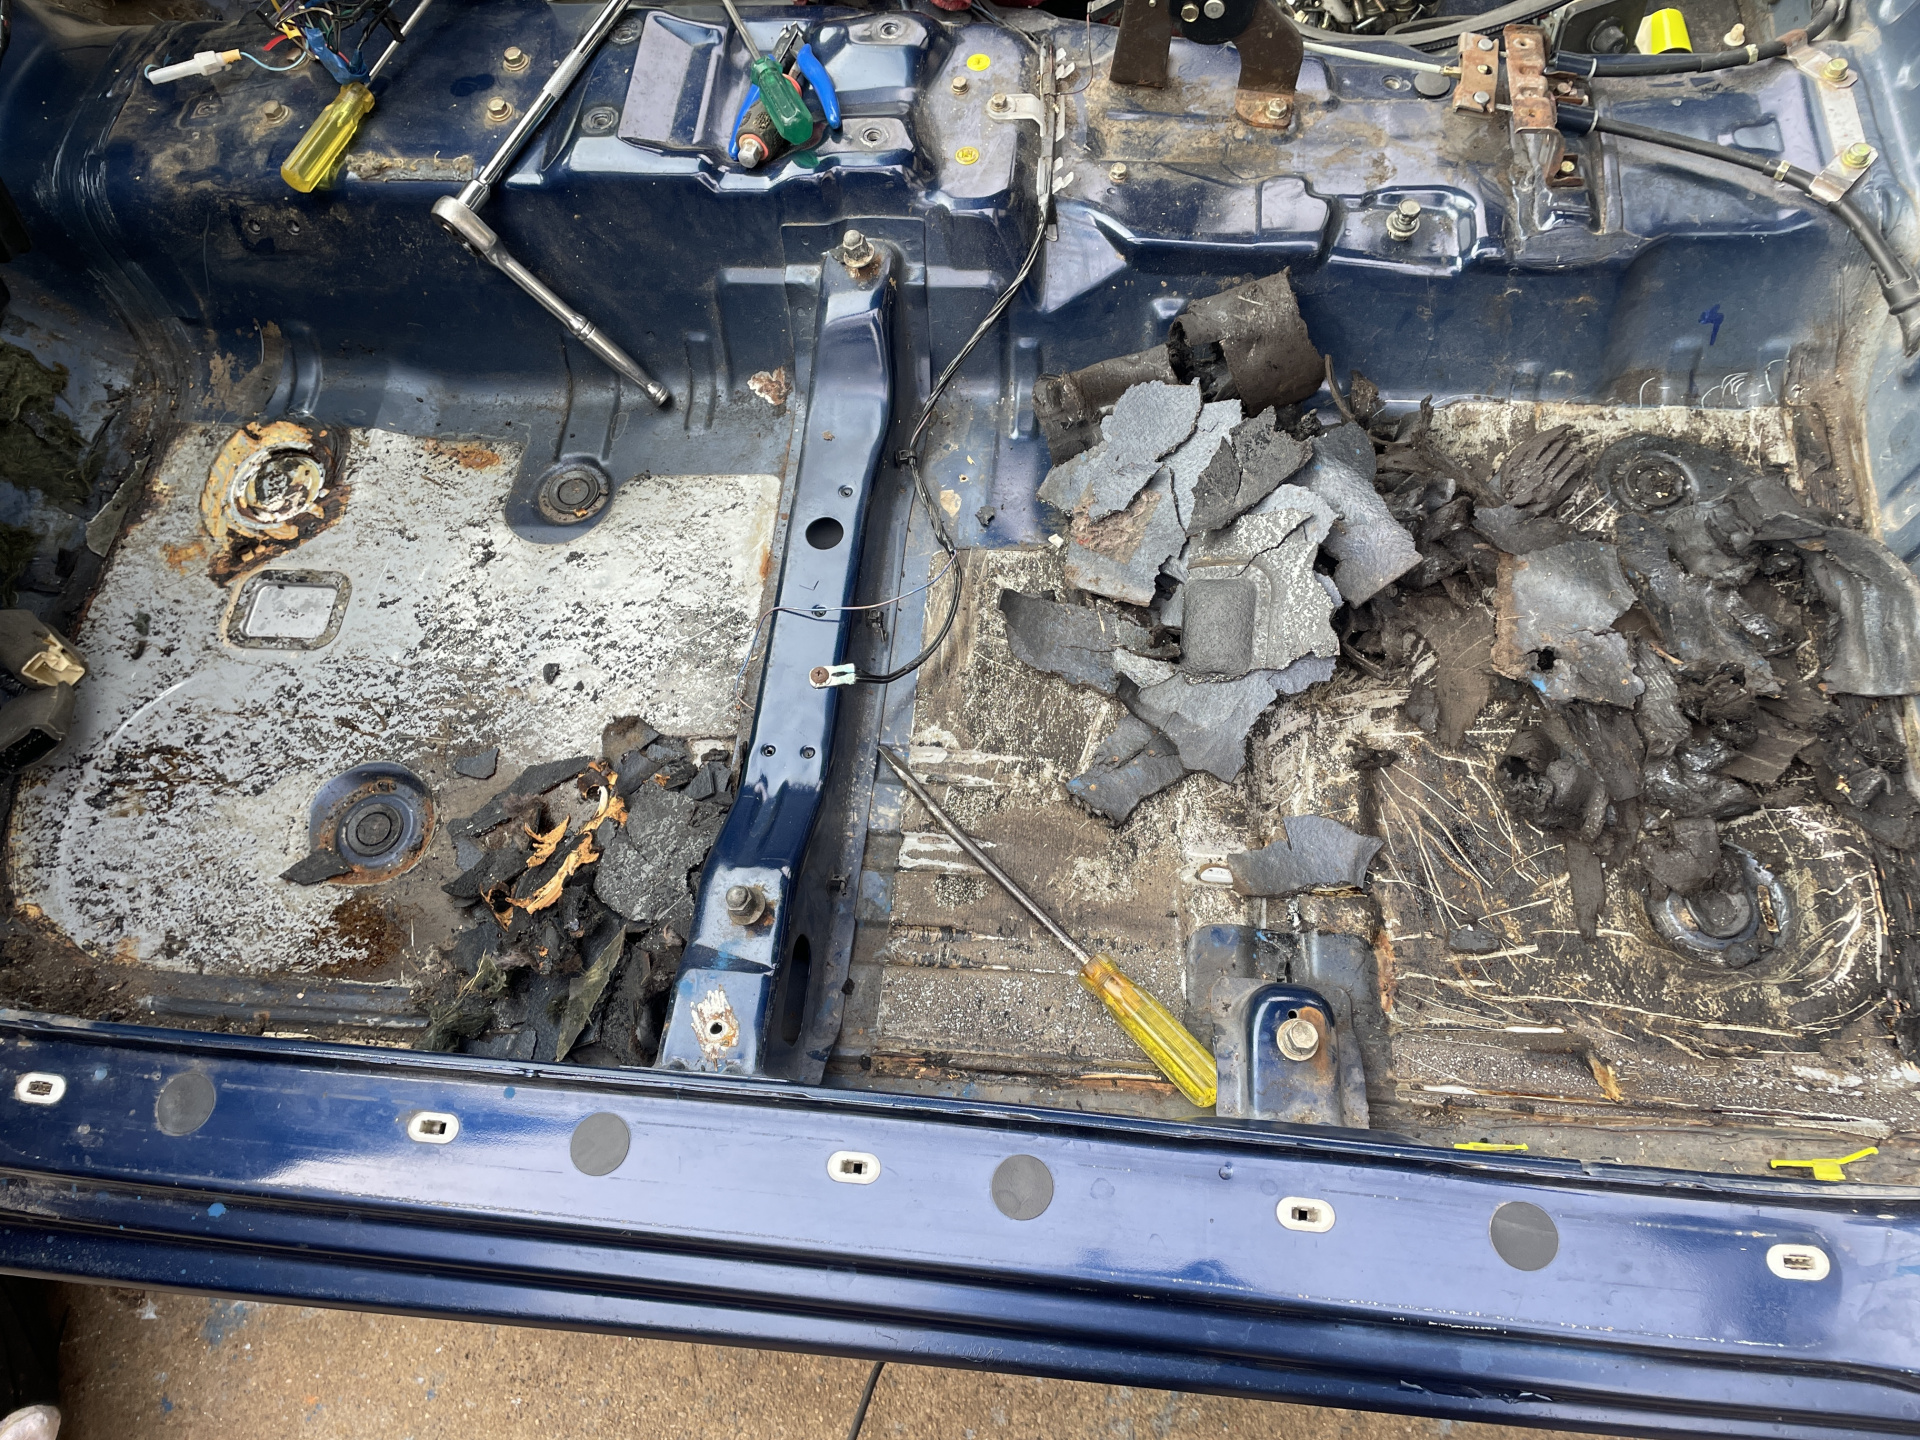
All four sections of the floor took less than an hour. There’s a plug at the front of both front floors that’s a mess of body sealant, which sucked, but the rest of it was pretty easy.
Then clean the remainder off with thinners. Cold morning means that I didn’t gas myself with fumes either.
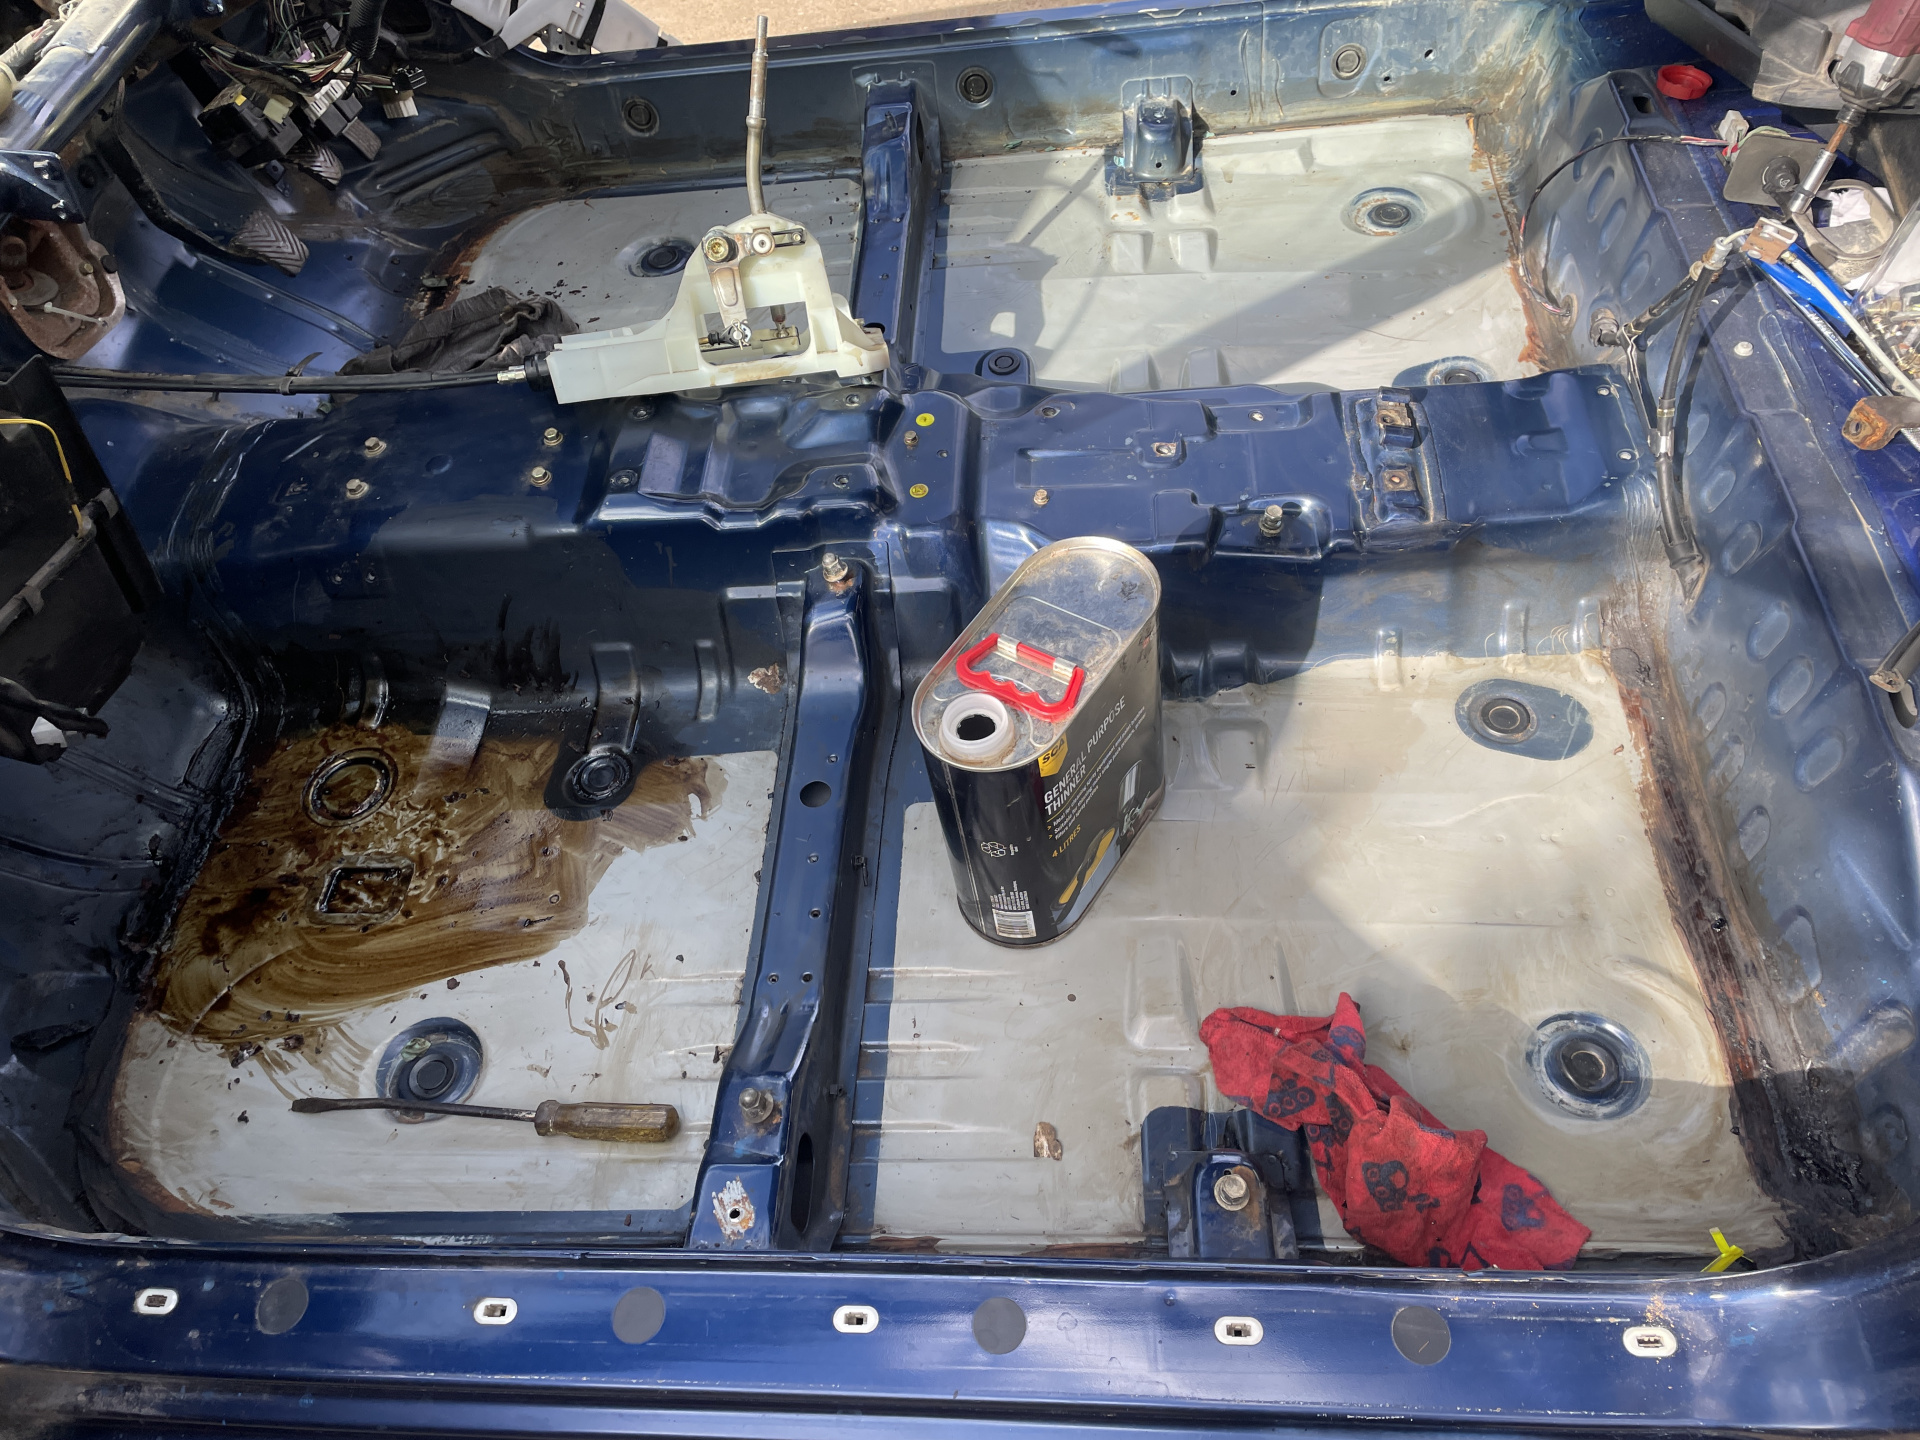
The “heavy duty” gloves don’t survive well. If you look closely, this was triple bagged…
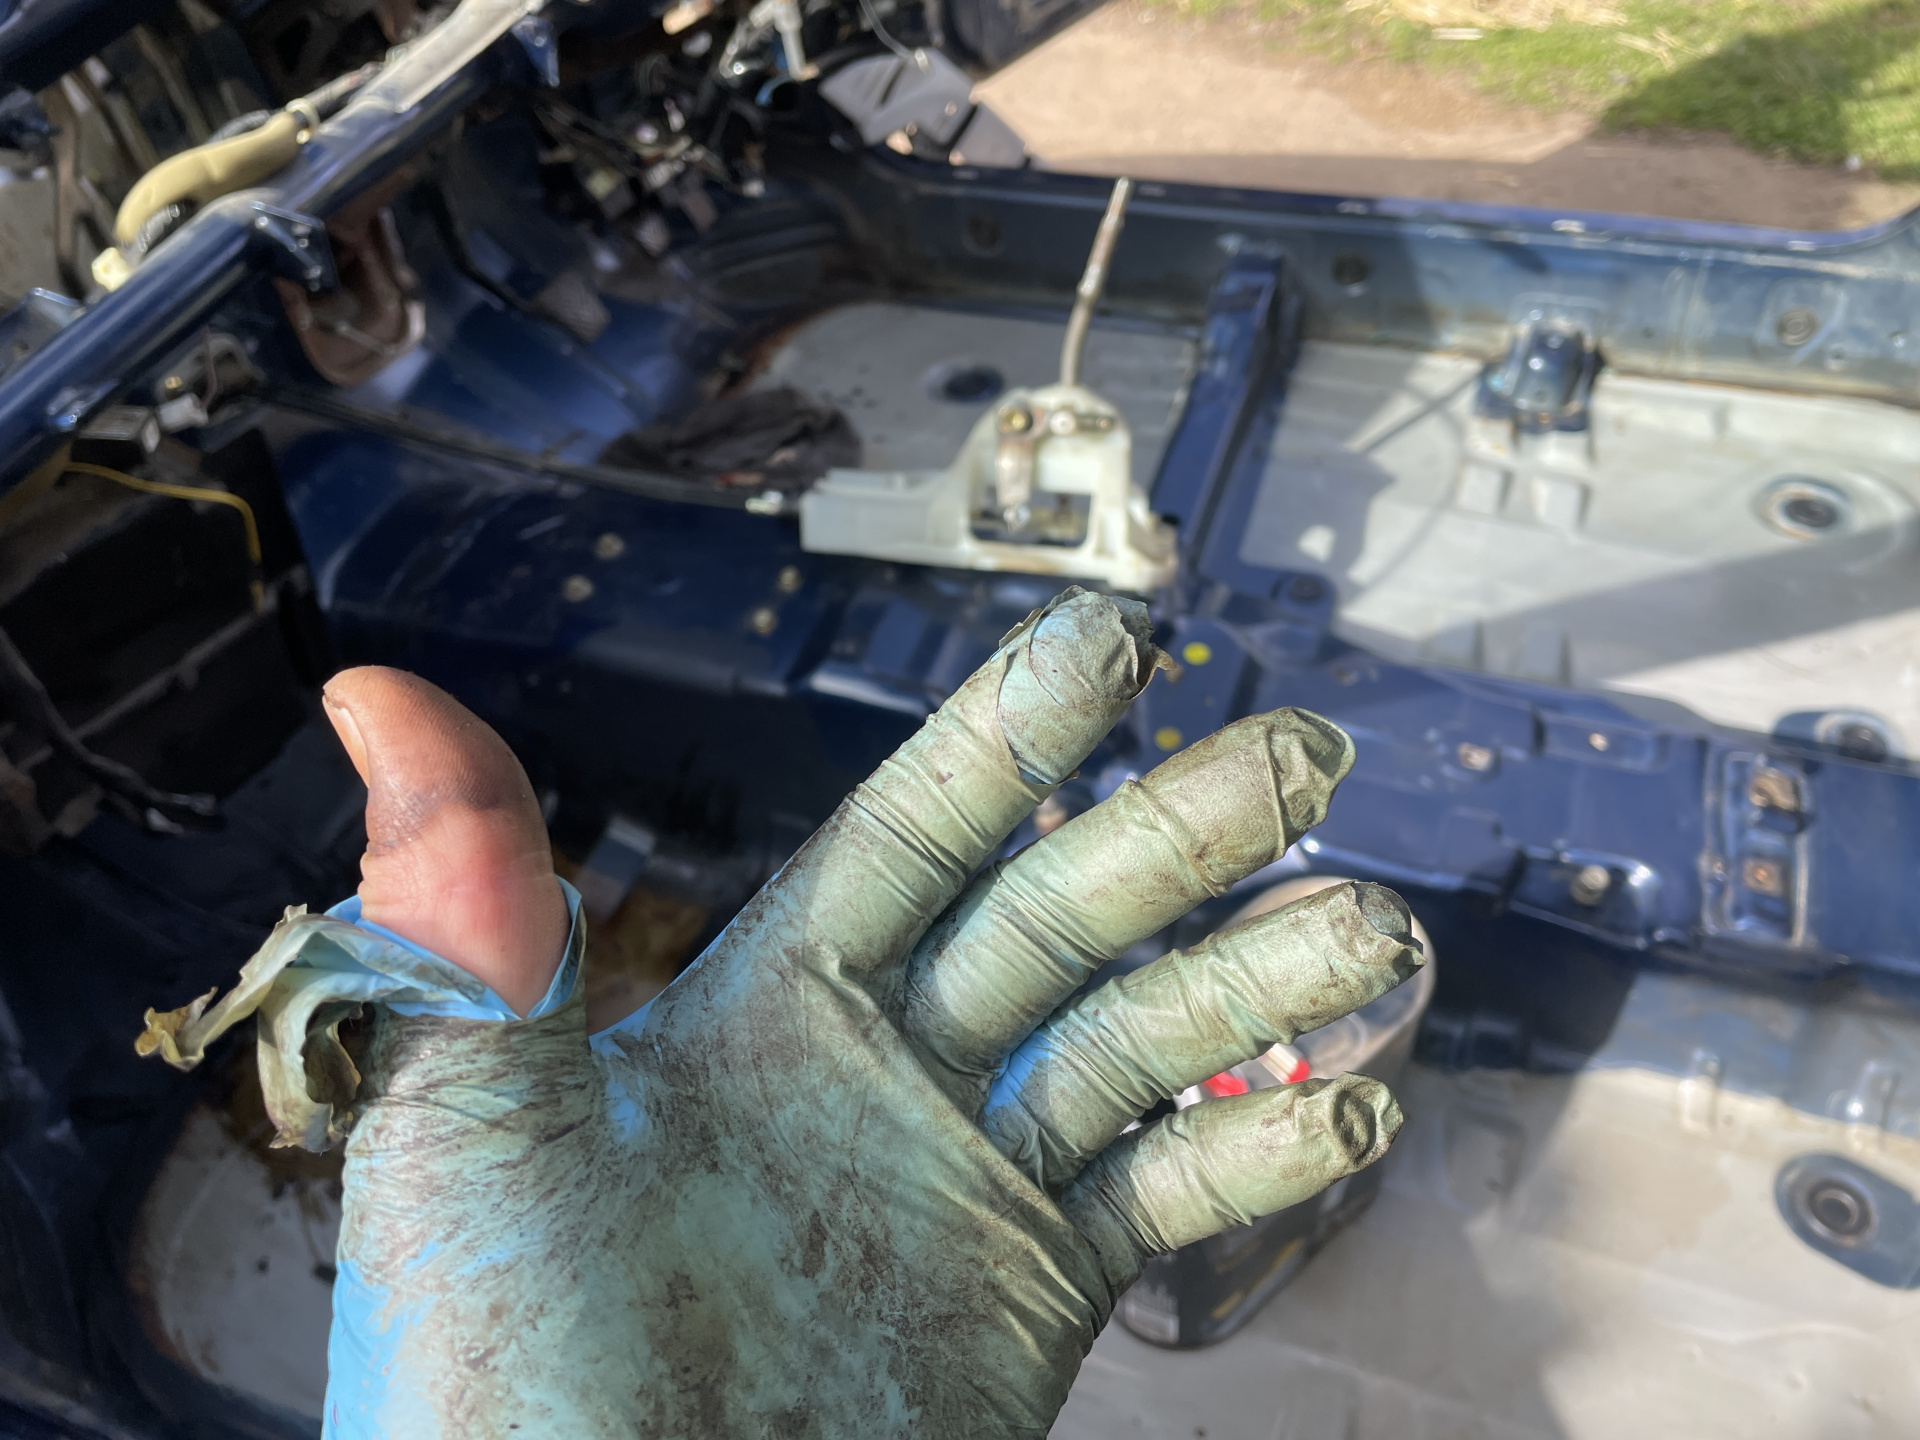
Onto the tar on the firewall. I assumed that it would be about the same as the floor stuff, only thinner.
It isn’t. It melts a lot easier, and I struggled with access and (particularly) modulating the heat, so this much smaller area took about an hour.
The big positive is that I discovered that I can simply heat the residual goo and wipe it off without thinners.
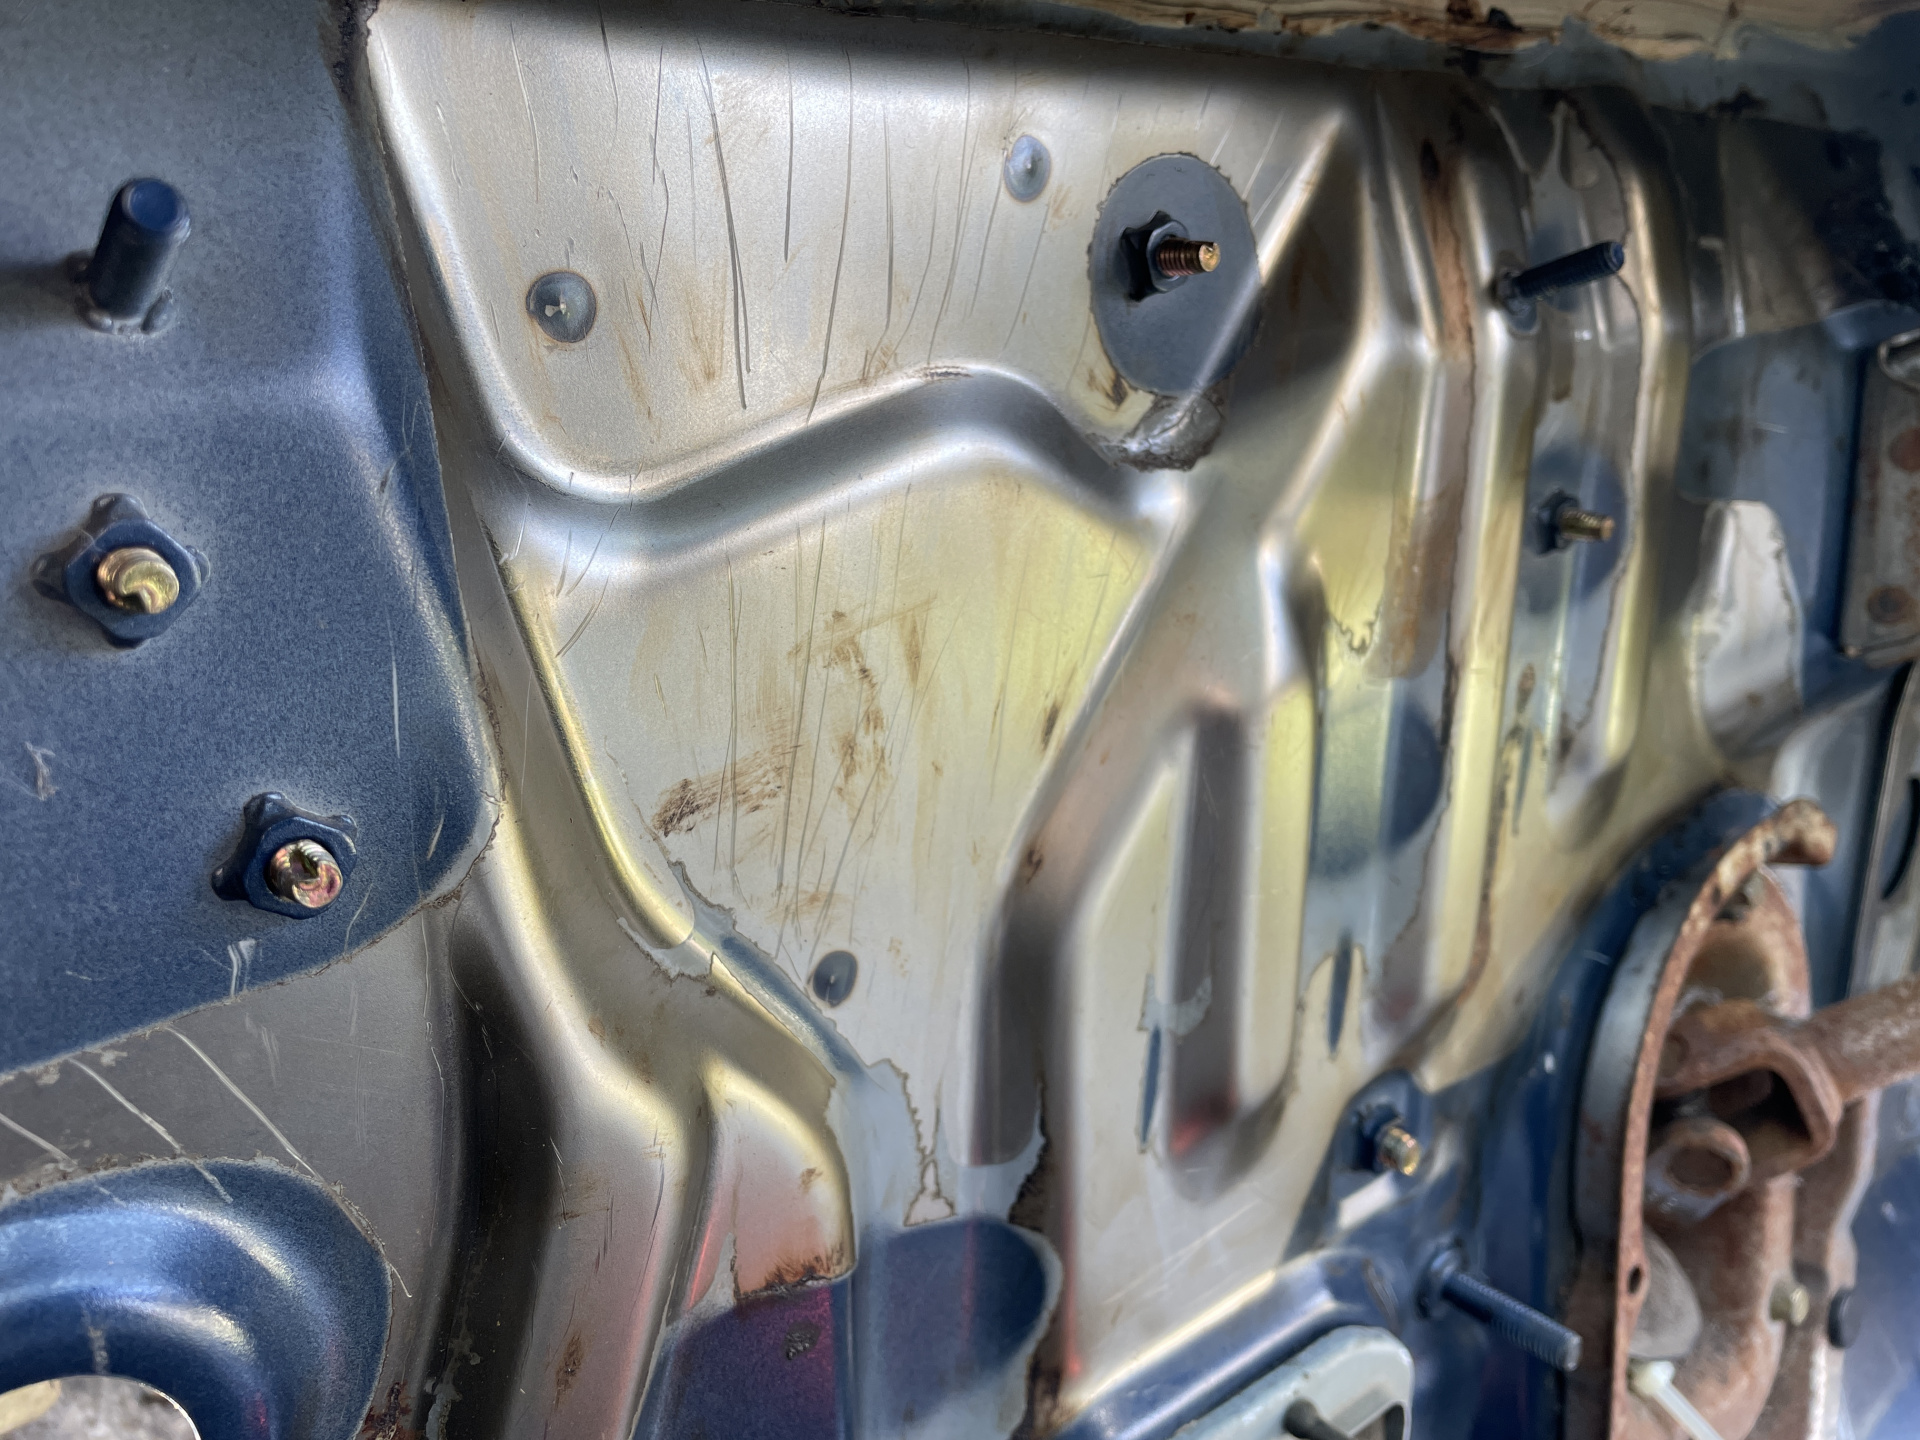
Moar cleaning, and then some aerosol paint.
Like always, the photos are flattering, but it looks pretty good.
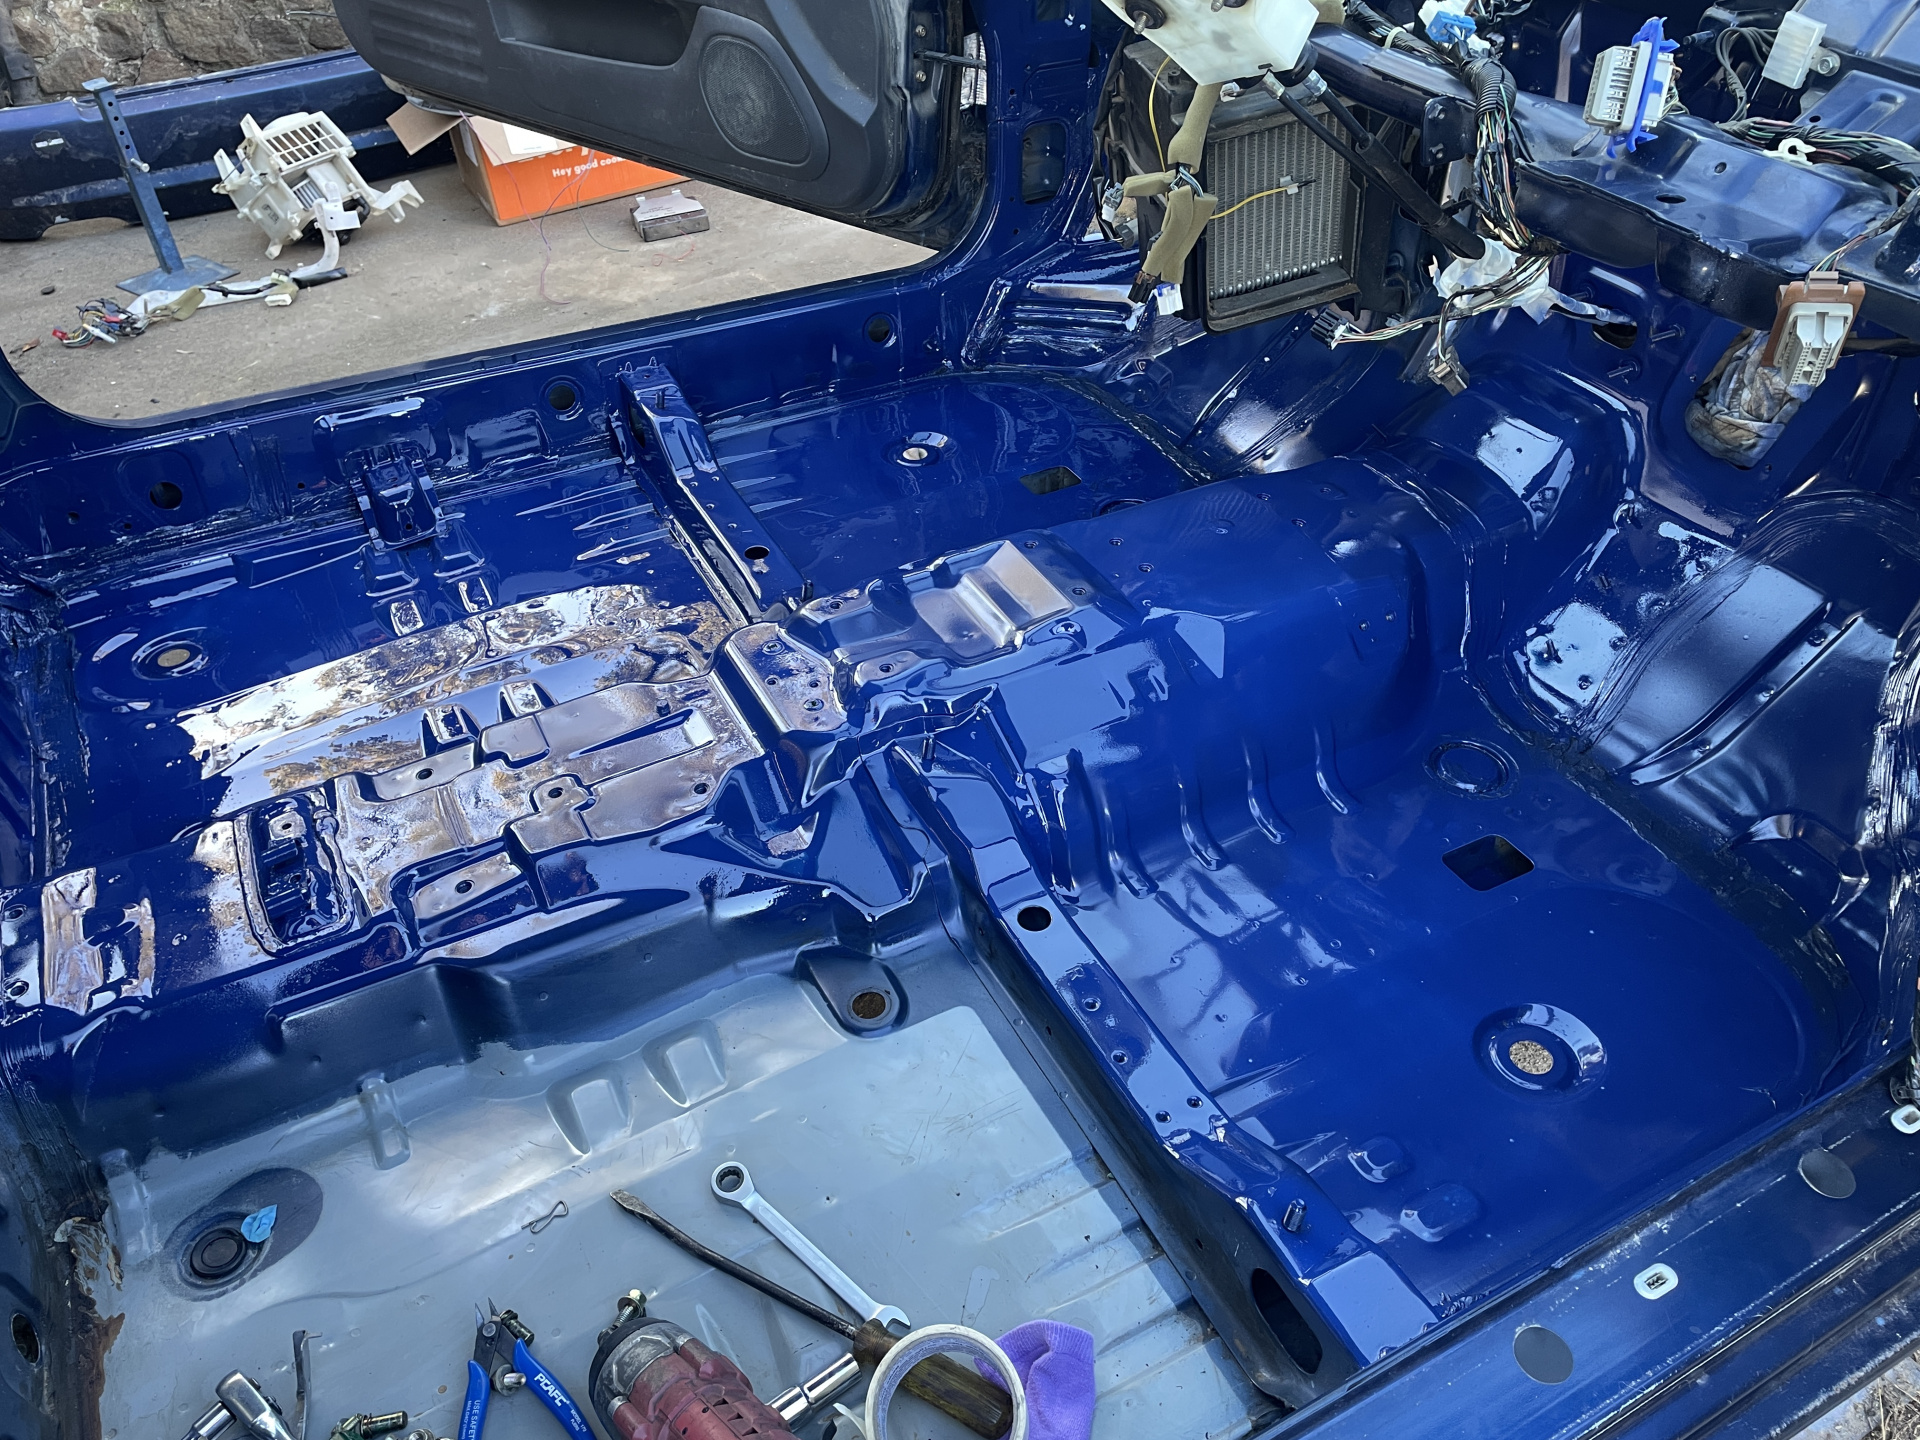
Because this car sat around, all the bare metal under the dash has surface rust - not noticeable on a road car, but pretty obvious when the interior was stripped out.
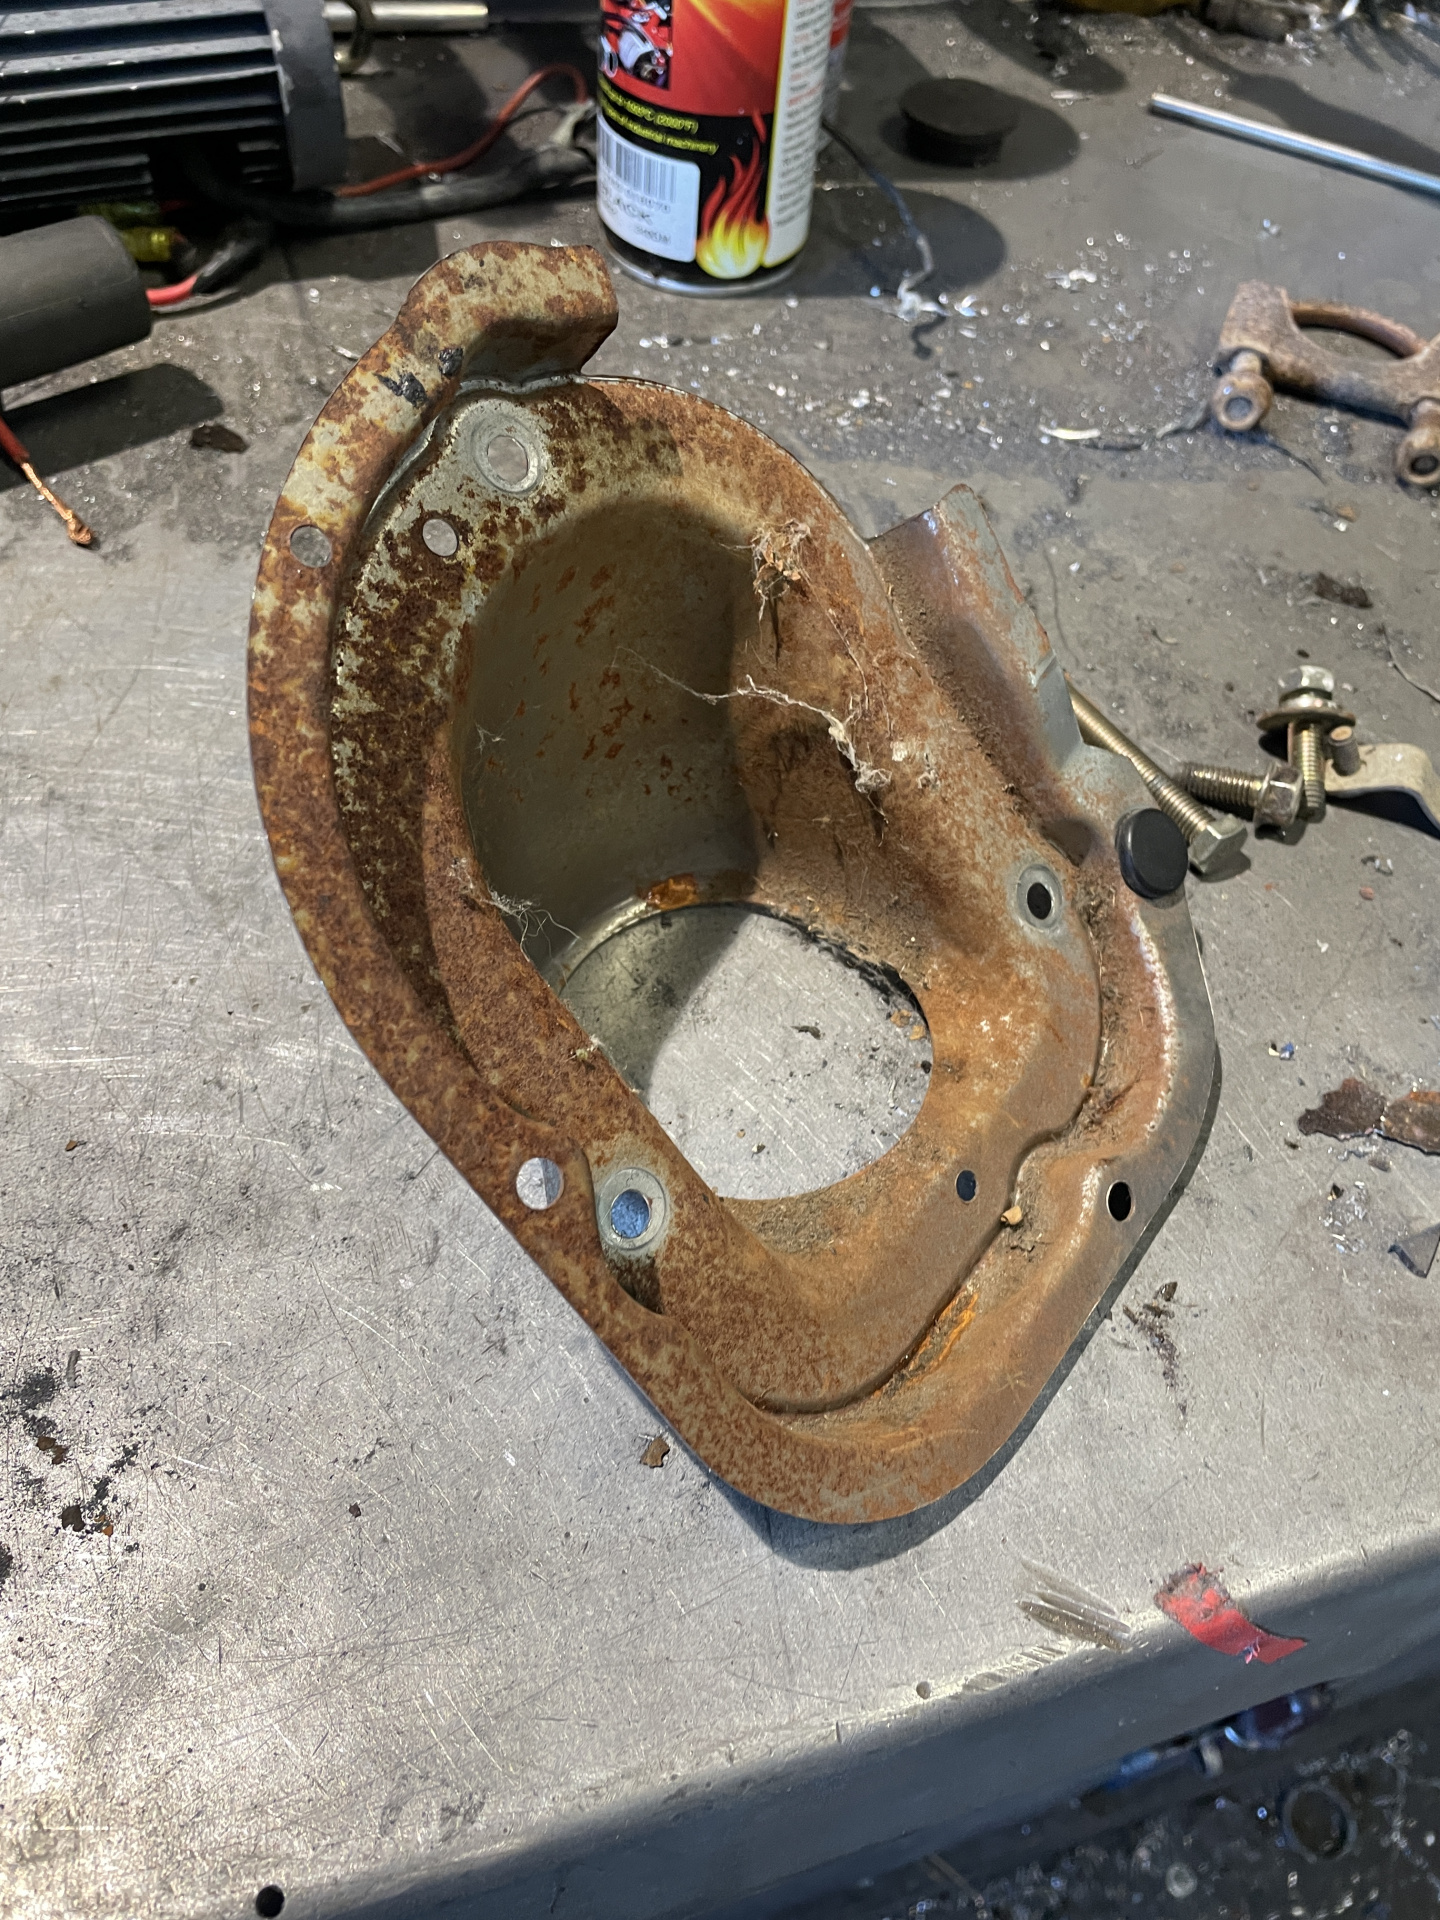
The surround for the steering column has a second flange to hold the carpet down, so I cut that out before painting it.
Forgot to take “before” photos, but here’s the “after”.
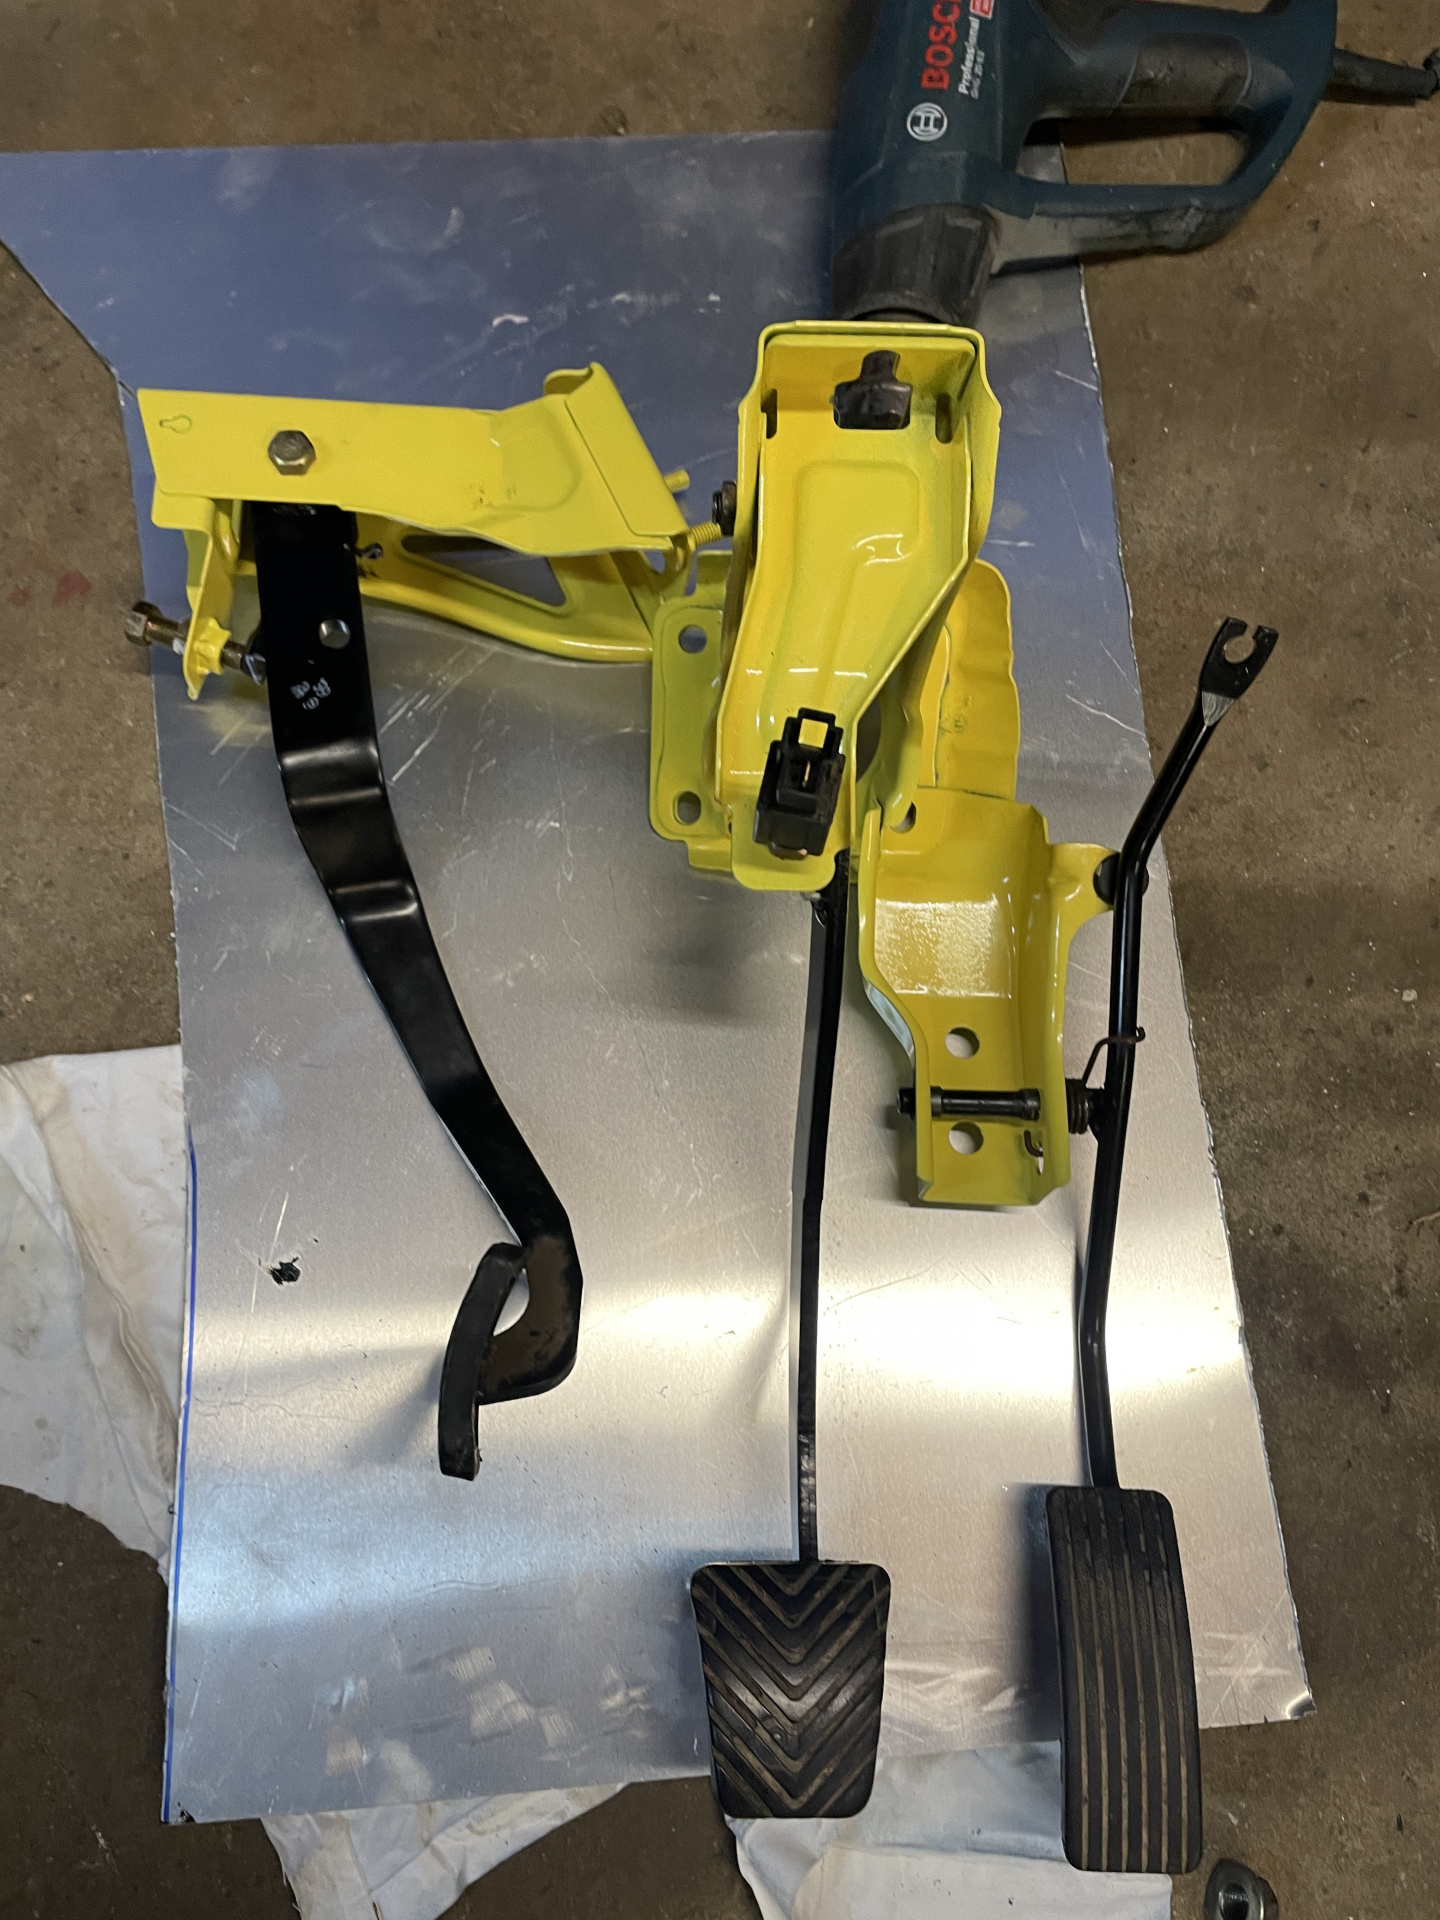
Note the spacers under the shifter assembly. They’re a length of threaded rod with a rod coupler screwed on, and then a lock nut on each end. Raises the shifter by almost 60mm.
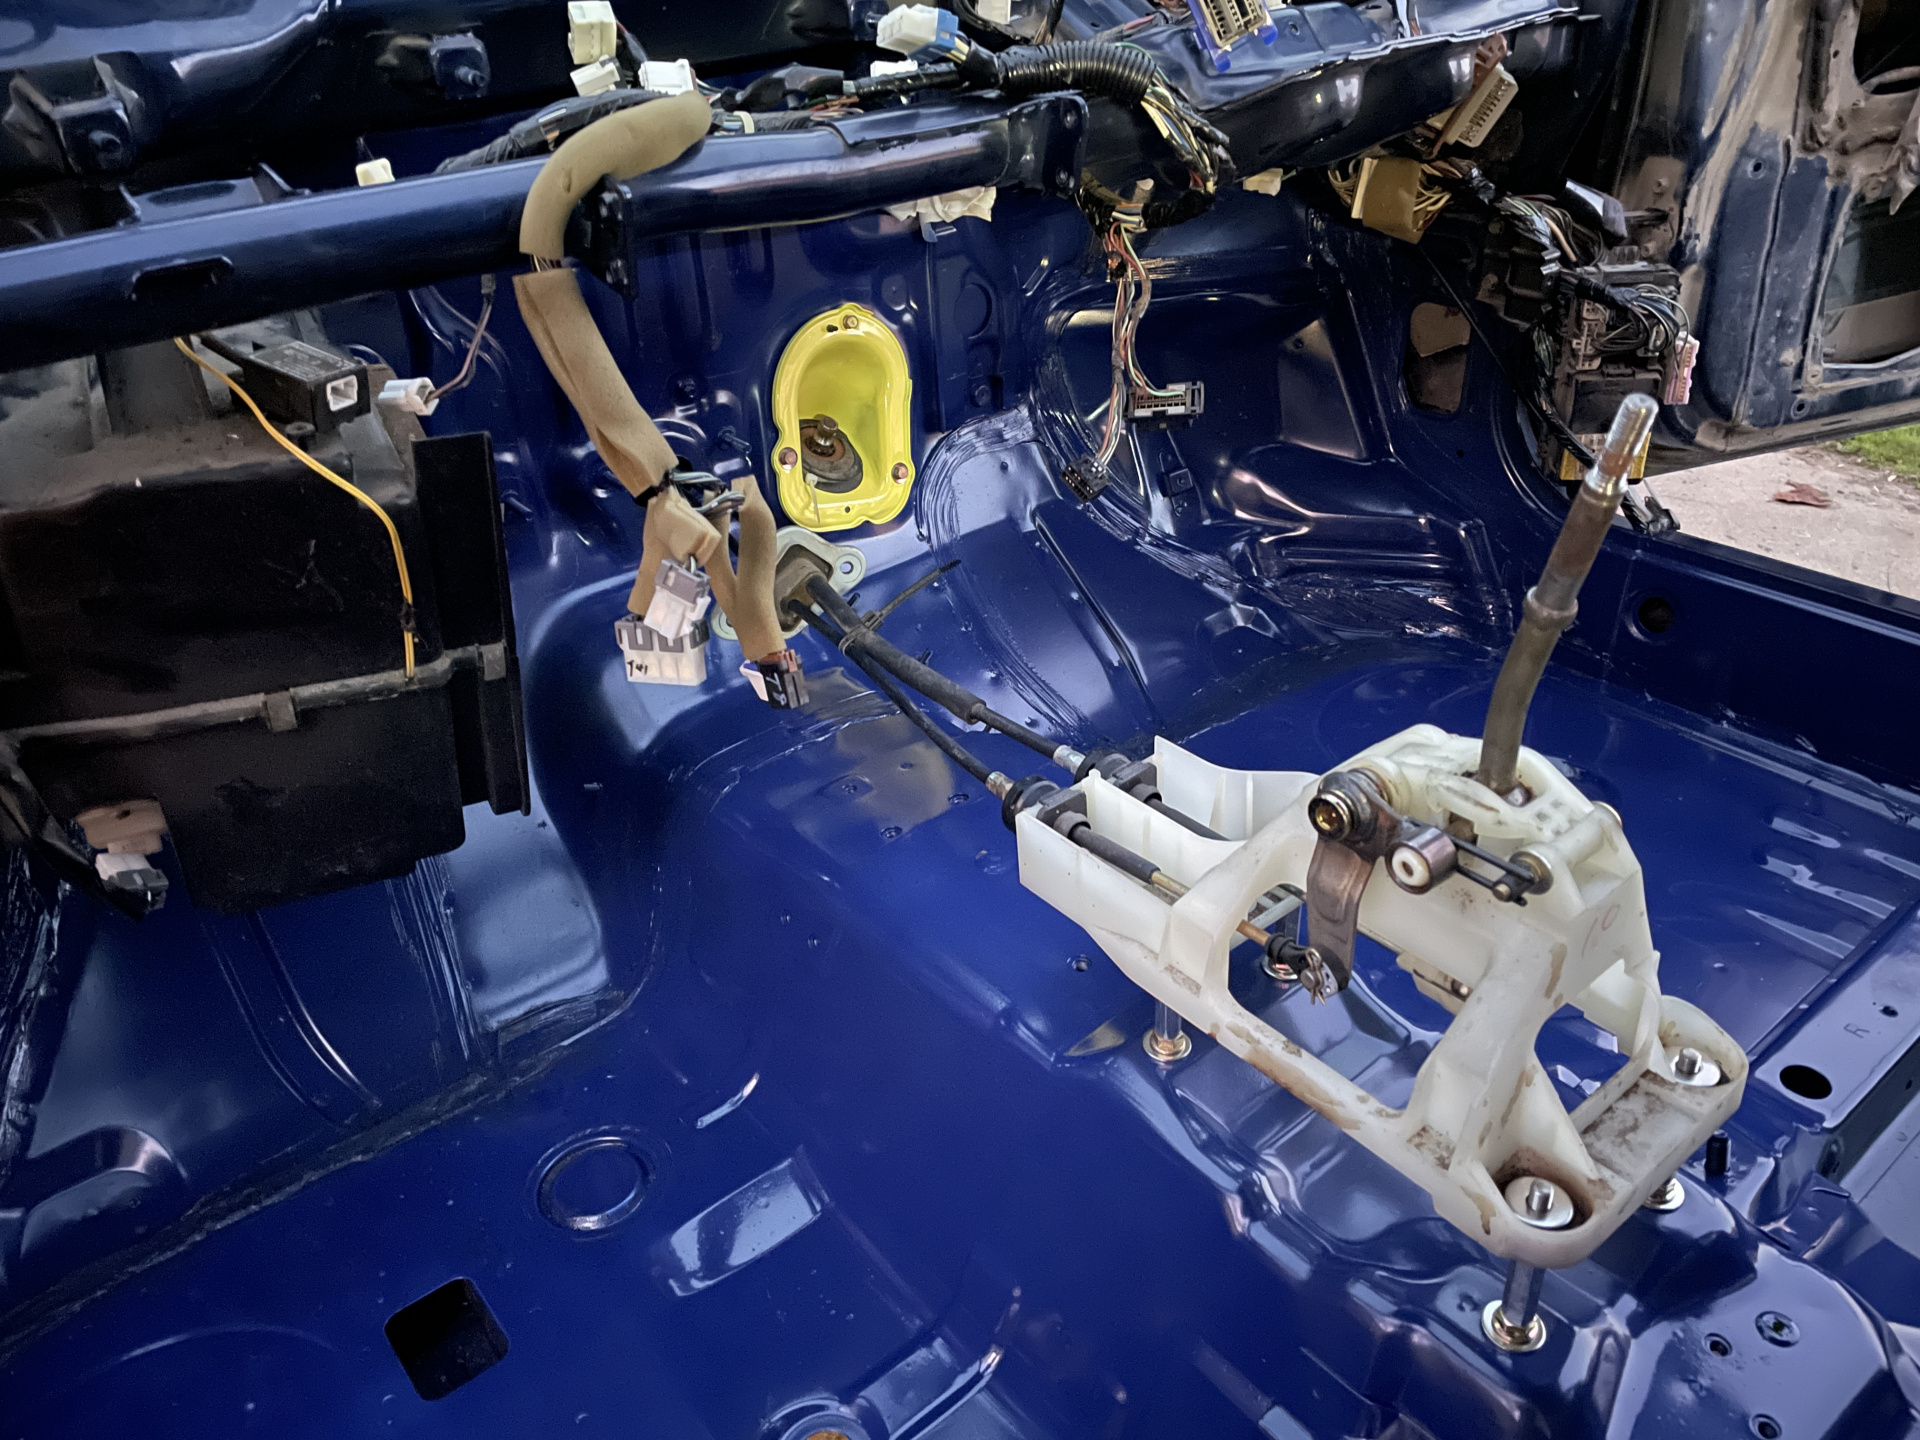
Yes, the yellow is a bit garish, but it’s a clean, bright colour and makes things easier to see under the dash.
Obligatory steering lock-ectomy.
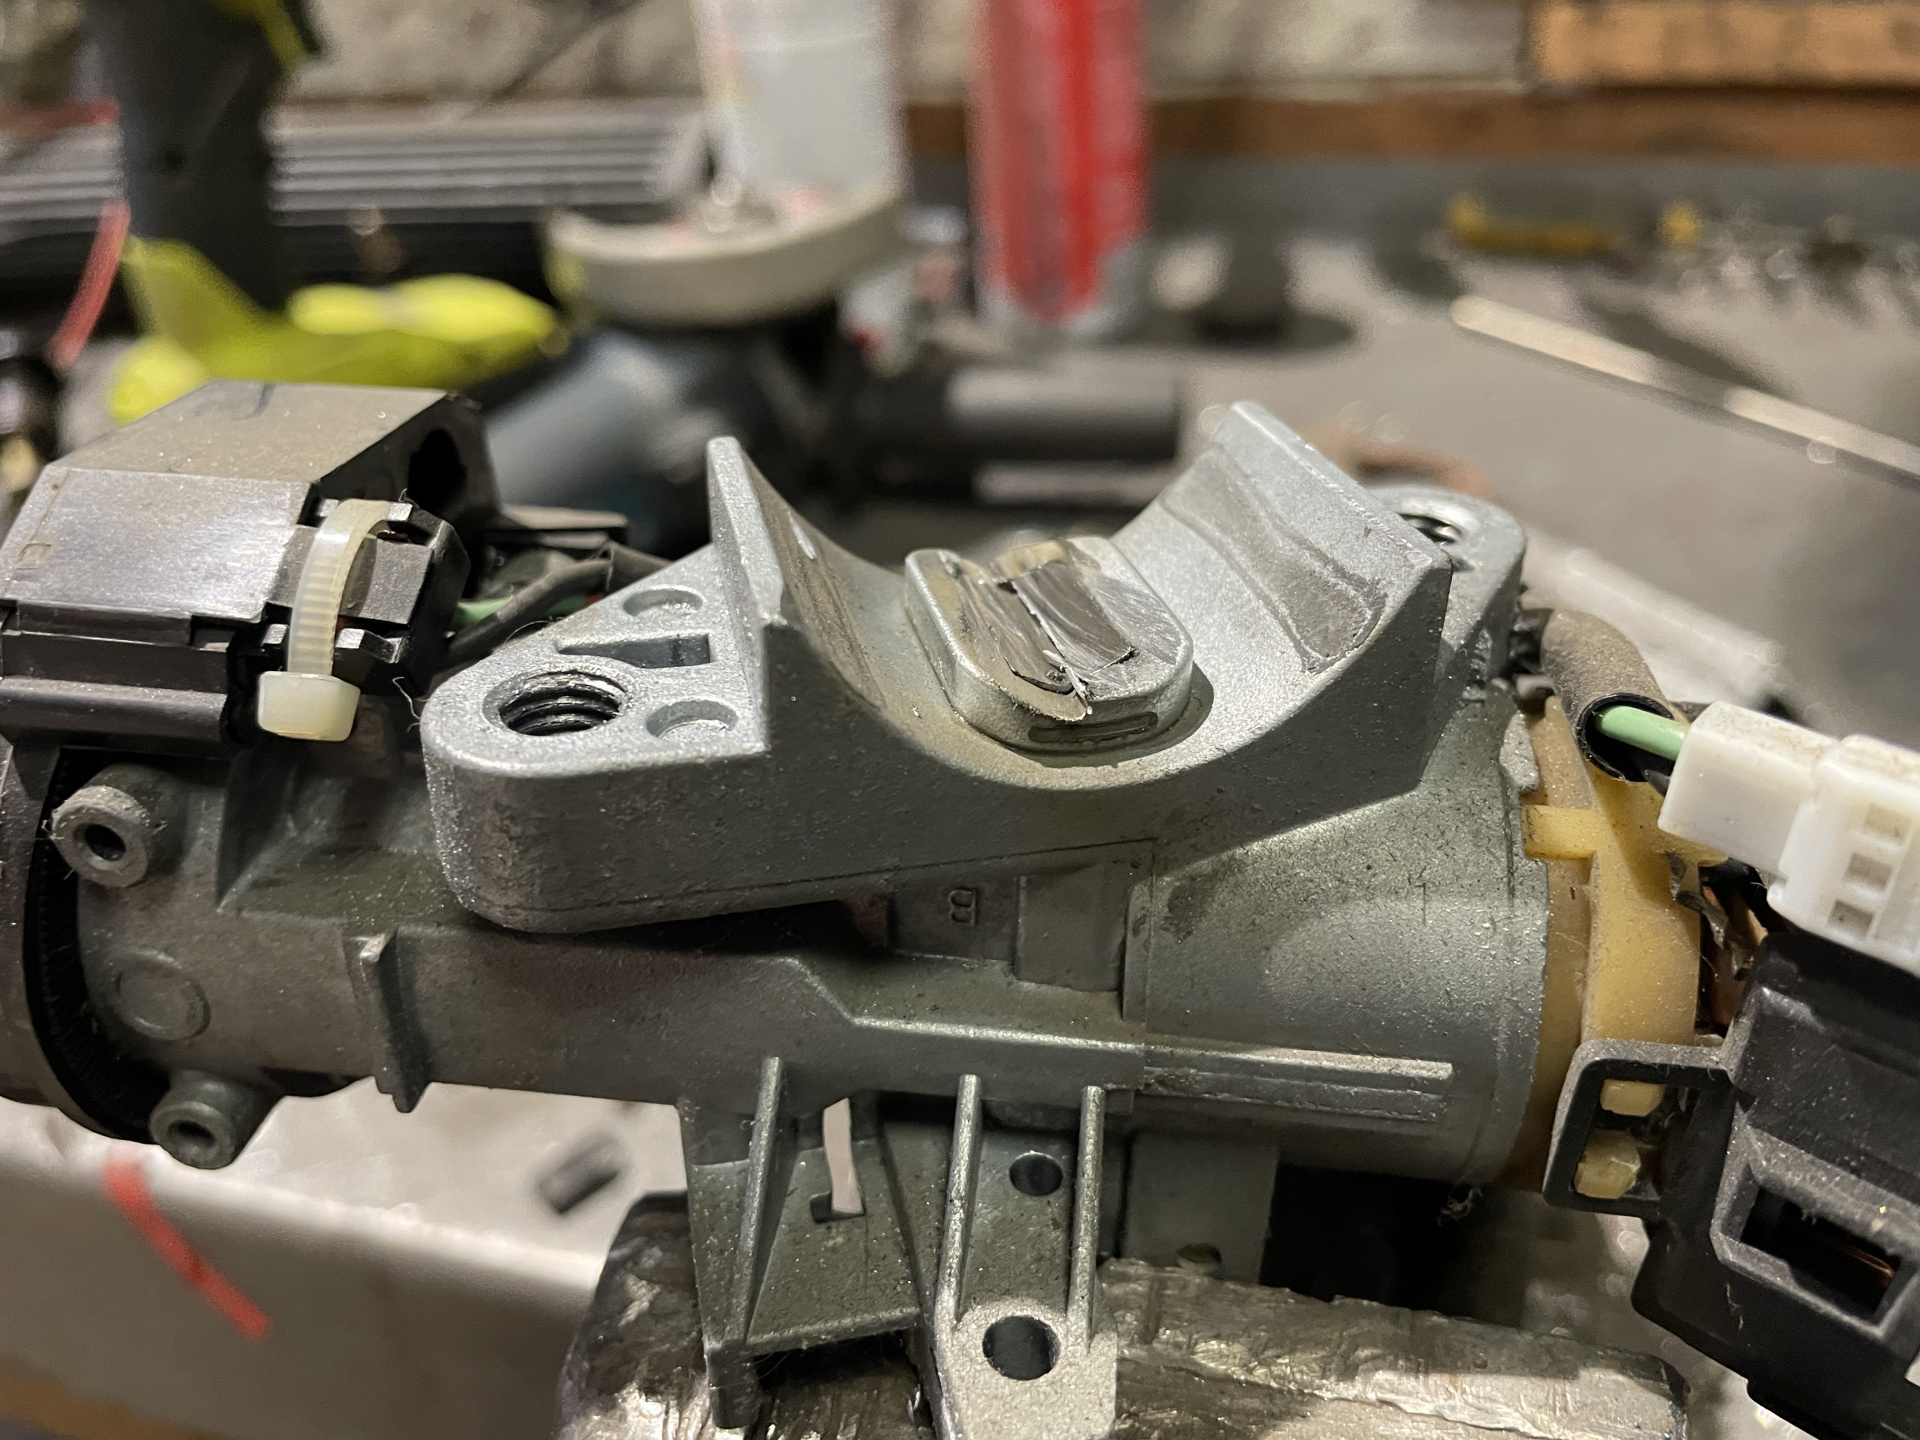
Used up some old silver on the steering column. Looks awful (like the Tim Man), but better than rust.
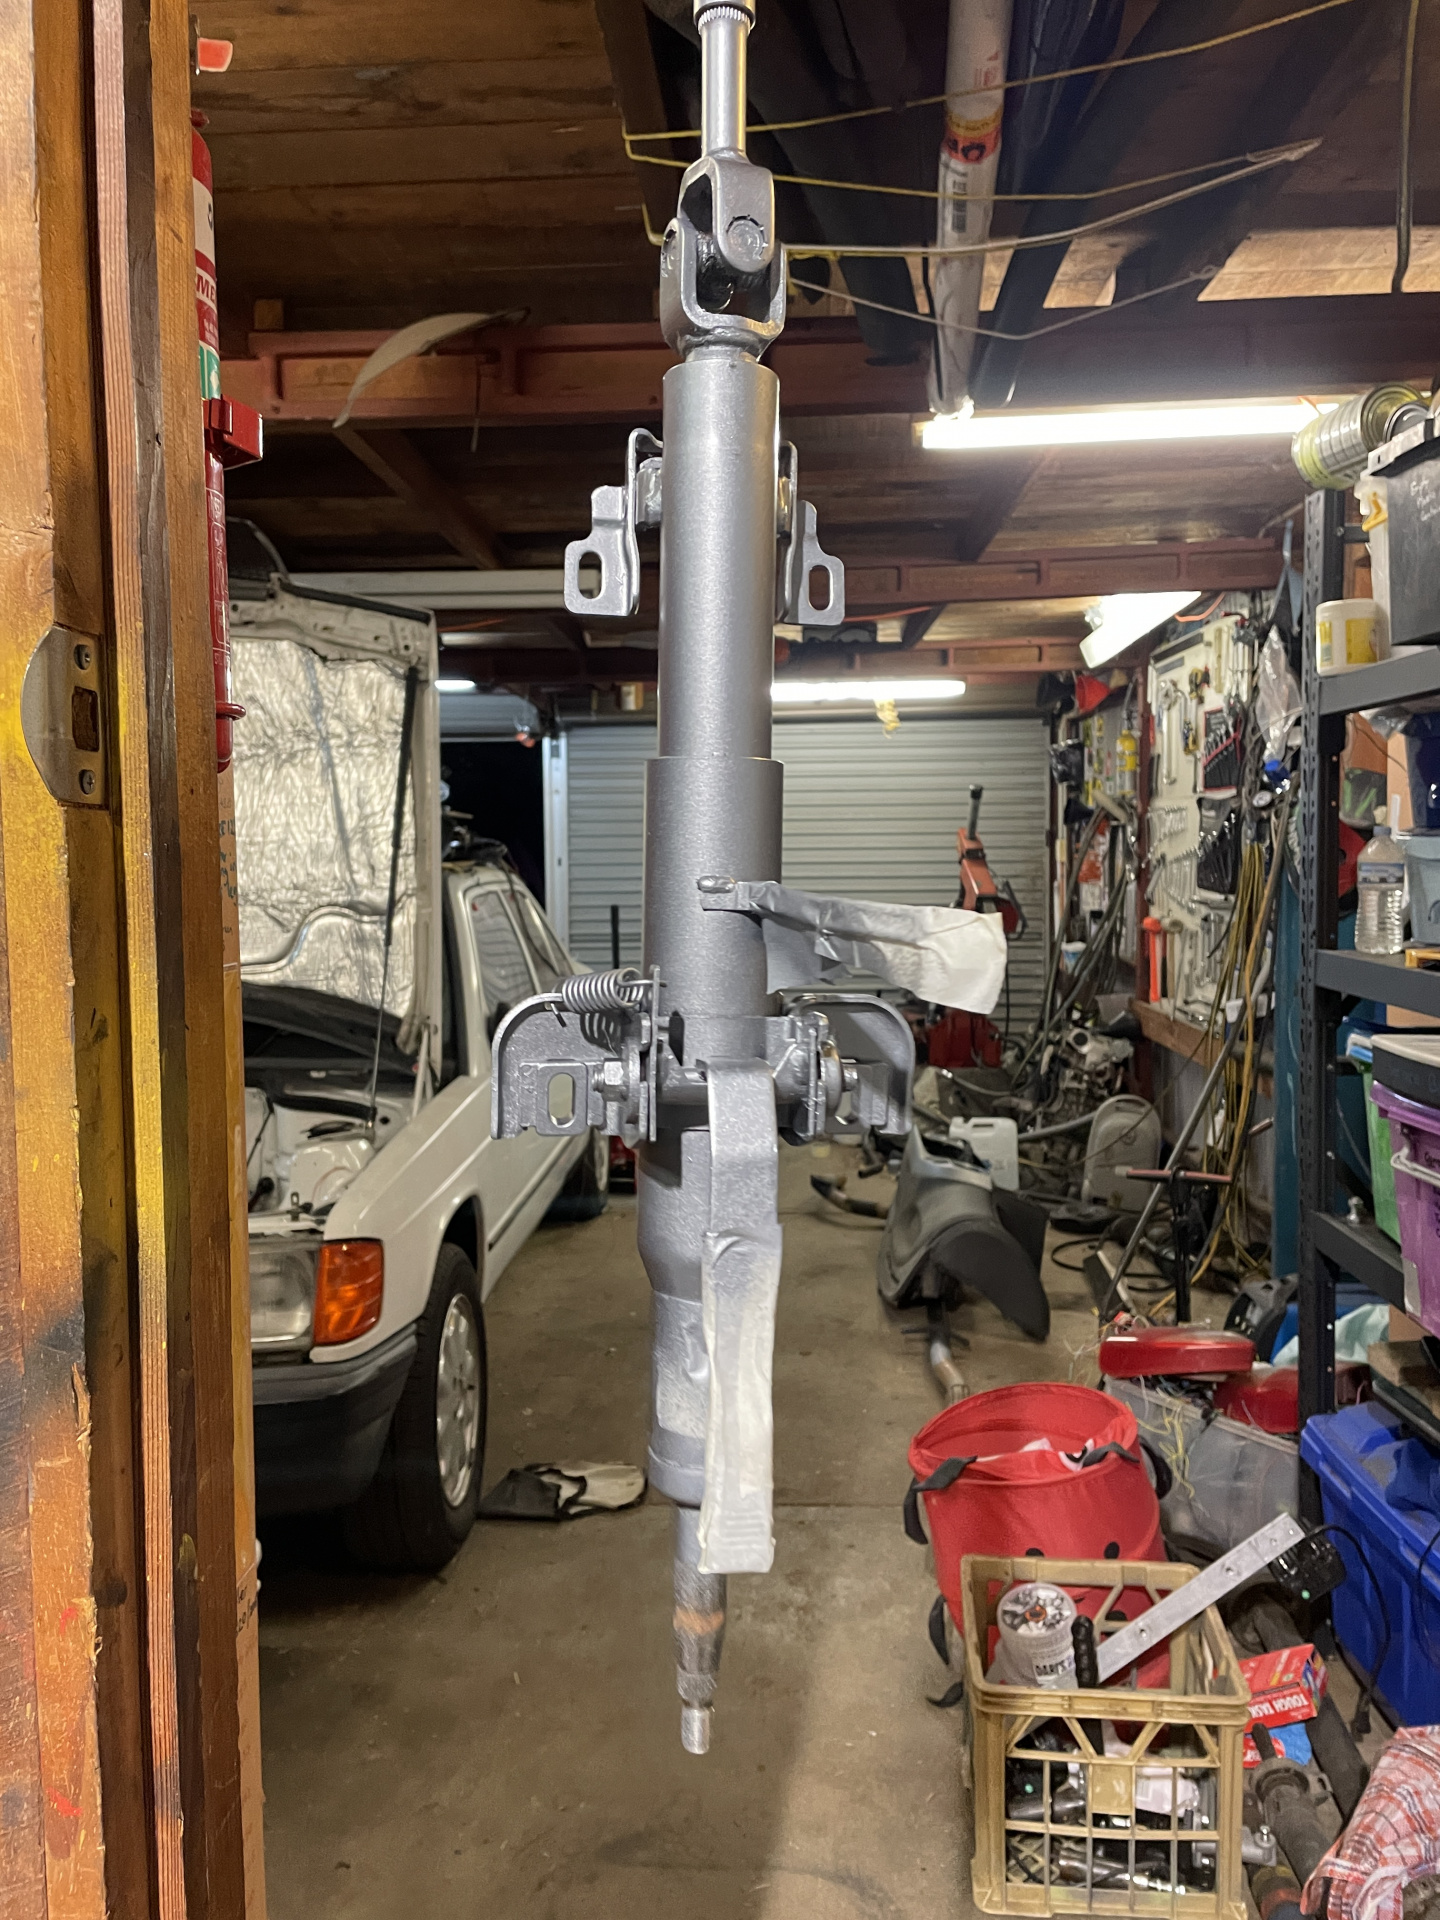
Edit: The tar I collected weighed a total of 4kg. It’s a lot of work for a 4kg saving, but it does make the interior look a lot better too.
Haven’t updated the costs in a while.
Two more tins of paint: $21.
Adhesive vinyl: $50 ($40 for the 102mm wide roll of yellow from ebay, $10 for the white and silver offcuts from the local sign writer).
8mm threaded rod: $8
1.5m of Exhaust pipe: $37
Still need to include the tin of clear and thinners.
Got a bit carried away with the handbrake lever. Was originally just going to cut down the extra flange part, but decided to paint the mounting bracket part , which meant pulling the lever apart…
Reassembly.
These are the mounting studs for the factory foot rest. The middle one isn’t used. The foot rest is held down by two stupid plastic tube nuts that always have stripped threads.
My solution is two cut down rod couplers and bolts from the top. Took ages to get the lengths right, but it is quite good now.
The shouldered bolts are a really nice fit in the footrest.
Repainted the poxy silver dash parts in satin black. Whoever had done this, did a good job on the upper section, including removing the dash to seperate it from the main dash body - definitely some commitment to making things look bad.
The lower section (around the stereo) was abysmal, with apparently no prep and the paint flaking off.
I also took the opportunity to remove the heater/AC ducting that’s screwed to the underside of the dash. Not much weight in it, but it does make a lot more space.
Mostly back together.
Had the predictable messing around with missing earths and missed plugs but all seems good now…
…except for the fact that the windscreen wipers run whenever the ignition is on. Ttlhe cold and dark and need to feed the offspring meant that it’s a problem for tomorrow.
Took the rear coilovers out of Damage. Reminded me that I need to finish Damage.
.Coilovers went into the Lancer. Took the opportunity to have a look at the rear brakes - which were beautiful.
So I painted the drums because nothing screams “race car” like freshly painted drums… ?
Installed the unfinished exhaust. Decided that I can’t finish it until I have re-installed the rear bumper.
This photo is looking forwards from behind the rear suspension. The flanges are just sitting there, but I was ensuring that there was enough clearance over the control arm.
Here it is now. I wanted to fit the front wheels, but the half shafts seem too long?! I assumed one of the inner, tripod joints was out of place, but it didn’t seem to be. Will investigate tomorrow…
All of this is in aid of being able to get the air conditioning degassed on Tuesday.
Oh, and the wiper problem is because the washer pump was removed?! Apparently a known problem, which meant that the correct advice was easy to find.
Then I tried to start it… everything seems fine, but the doesn’t turn. The solenoid throws out but that’s all. It could be a crook battery but I think the starter is kaput - the electrics of the donor car (Ratty) had been messed with, and I am now suspecting that it was a futile attempt at addressing what was actually a dead starter motor.
Today’s goal was to get it rolling so it can be put on the trailer tomorrow.
First up was sorting the half shafts - despite what I said yesterday, the tripod joints had popped out. Easy enough to wriggle them back into place once I figured this out.
Unexpected problem was the the front wheels wouldn’t turn once the wheels were tightened. The caliper slides were touching the brake rotors. Easy fix is a washer between the caliper mount and the upright.
Then I drilled out the strut mounting holes on the suspension uprights: 12mm to 14mm, to match the holes in the Evo struts.
While I was under the front of the car, I discovered a stray power wire that goes to the starter motor… and should be (but wasn’t) connected to the battery!
Once I fixed that, it literally cranked about half a turn and then fired and ran beautifully. So that was pleasing!
Then made the adapter bracket to fit the 1.5 accelerator cable to the 1.8. It started as a length of 30x30x3 U-channel aluminium, although 35x35 would have been better.
Starting it revealed the startling fact that a car with a large exhaust and no mufflers is obnoxiously loud!
So back to the exhaust. I welded the flange onto the tail pipe m, and made the second bend of join to the muffler (no photos, sorry).
Then I sat the rear bumper bar back on to confirm muffler placement. Note also the clear coat on the rear quarter… I got impatient and did it today, after using some not-quite-right blue to touch up some defects in the base coat.
Turns out that the guess for the muffler location was very close (ignore the tilt!).
And so this is how it sits.
Looks like I should be able to drive it onto the trailer tomorrow!
Will need a wheel alignment - it currently has too much negative camber (probably) and too much toe-in (definitely). Will also get an offspring to help me bleed the brakes once I have bought some brake fluid tomorrow.
While there’s still a million little things to do (and several big things), the light at the end of the tunnel has suddenly become a lot brighter.
Finished the exhaust today.
Pie cut bend.
old tail pipe had been slid into the muffler. Cutting the weld off was easy, but the pipe was stuck inside the muffler.
Used the spot weld drill to drill through the muffler pipe but not the shitty bit. Then collapsed it with a punch.
Brackets are ugly, but are intended to spread the load over multiple planes.
Here’s the two flanges once everything is bolted into place. Pretty happy with how that worked out.
It sounds beautiful at idle, with a nice note but fairly quiet.
And then it sounds absolutely terrible when you give it some revs - really unpleasant bark.
I predicted this and bought and ebay resonator last night.
The tail pipe is reused off the BMW muffler. It should clear once the bumper is bolted on properly. Happy to trim the bumper if needed.
Fitted the bonnet pins in a mad rush.
And then drove it onto the trailer. Seems a lot smaller when it’s on the ground!
Also put the stripes on the rear quarter after buffing back the clear.
Did a better job on this side than the driver’s side.
Absolutely rooted now.
The other alternative is a 1/4 wave resonator or a Helmholtz resonator affixed using a 45 deg to the main pipe.
AC was degassed on Tuesday. $77.
I removed the AC bits yesterday - makes the engine bay much easier to navigate! Wish I’d done this earlier in the process, but you live and learn.
Refitted the radiator. Had a long head scratching moment with the bottom radiator hose not lining up, until I realised the neck on the thermostat housing is different between manual and automatic engines.
Easy to go and swap the neck with the old motor out of Ratty.
Began working out the seat mounting today. I have a seat that we all seem to fit into reasonably well, so it’s the seat of choice.
Looks like I can put it on runners, without it sitting too high.
Quiet day today, thanks to rain and work BS knocking me around a bit.
.
Main Lancer progress was to shorten the throw on the gear shifter.
These are the arms for the lateral movement for two cars. Photo isn’t obvious, but I made the arm at the bottom of the photo longer by cutting a short part off the end, and then welding a longer piece cut from the second shifter.
Red texta on the bench is the outline of the unmodified arm.
The arm in the top of the photo is the two short parts, with an extension piece welded in.
Same again with the bottom of the lever itself - the extra piece I added is scrap from the bonnet pins … it was literally sitting on the bench and was the right length!
Put a sleeve over both of them just to be sure.
Cutting down the crush tubes in the rubber mounts makes the whole lot more rigid.
Tah-duh!
The throw in both planes is down to about 70% for the “good” one (without the extra bits added. The other one is slightly faster, but not expecting it to be too much different - it will go into the blue khana Mirage.
The $16 pinchweld turned up, so I fitted it around the door opening. It’s just a nice little thing that helps stops helmets getting chipped when they are bumped into the door opening.
Photo also shows the glovebox refitted, and
the silver vertical support for the dash (to the right of the glovebox, going down to the transmission tunnel.
Side project was to fix my bent press.
I have no idea how I did this - I just looked at it one day and saw it was bent.
The problem is that it wasn’t pushing straight anymore - it pressed slightly rearward and to the left, which made everything much harder and some things were downright dicey.
I considered trying to straighten it, then decided to flip it and reset the new underside to be parallel to the base plate.
All worked out really well. Haven’t used it properly yet.
Oh, and the resonator turned up today. I expected it to be no-name garbage, but it’s Redback brand which is better than I expected.
Rollcage has been ordered through Bond. I was going to do this weeks ago, but my two previous pays haven’t arrived and it seemed frivolous to be spending that sort of money when I have no income coming in.
One fortnight’s pay arrived today, so I ordered the cage.
A reasonable morning’s work in one photo.
Battery tray is a chopping board, that I heated and bent the ends up.
The battery isolator mount is pretty agricultural, but I wanted to make it bolt into any CE.
The cable is the old boot release cable. The old filler flap cable will be used for driver.
Will try to get it wired up tomorrow.
Terrible photo of the isolator wired up.
.Cut the standard seat mount out in anticipation of remaking the mounts. Can also just see the $16 ebay pinch weld on the door opening.
. .
The external pull cable for the isolator was hurting my brain. Ended up using an offcut from the Magna strut tops I made.
Very happy with the result. It bolts to the back bolt for the bonnet hinge, and feeds the cable inner up to the base of the windscreen.
Looks good, works great.
All of that was yesterday. /\
Didn’t do much on the car today. There was a very tidy white Mirage advertised for wrecking in Canberra, so I went and bought all of the bolt on panels for a reasonable price.
Then the challenge was making them fit in my storage space, so I spent a chunk of today doing that. Big win was working out that I can store a Mirage/Lancer coupe bonnet in the gaps between the support beams.
.
Apart from the 940 bumper sneaking into the top left, all of the panels here are Mirage/Lancer…. There’s another rough bonnet, several doors and two tailgates on the outside of the wall too.
I also took the quite nice door trims from the new doors and fitted them to the Lancer (but forgot to take a photo…).
Busy doing “real life” stuff for most of today, plus the flu has gotten a hold of me…
Did manage to wire up the tacho. Originally 1.5 litre cars are missing the signal wire between the ECU and instrument cluster, and the tacho earth. So now the tacho works.
Refitted some more of the dash, including replacing the poxy painted surround around the instruments with a black one.
Similarly replaced the crack blue plastic/rubber steering wheel with the lovely old suede Nardi that was in the S40 race car.
Also bought some a litre of acrylic paint for the bonnet and passenger’s door. $89.
Will try to get that on the car in the next couple of days if I am feeling energetic.
And booked in for a new windscreen next week. $360 is a lot more than I paid last time … but that was probably 15 years ago!