Some typical Spac logic coming up…

El Wifeo and I decided that The Boy needs a rollcage before he goes back to Pheasant Wood (or any other circuit).

We also decided that we would wanted a simple track car again … ideally something legal for D4H.

The obvious thought was another Mirage, but talking to Scott from PWC, he wasn’t keen on a 1.8 litre Mirage (because Mirages never came with 1.8 litre engines in Australia).

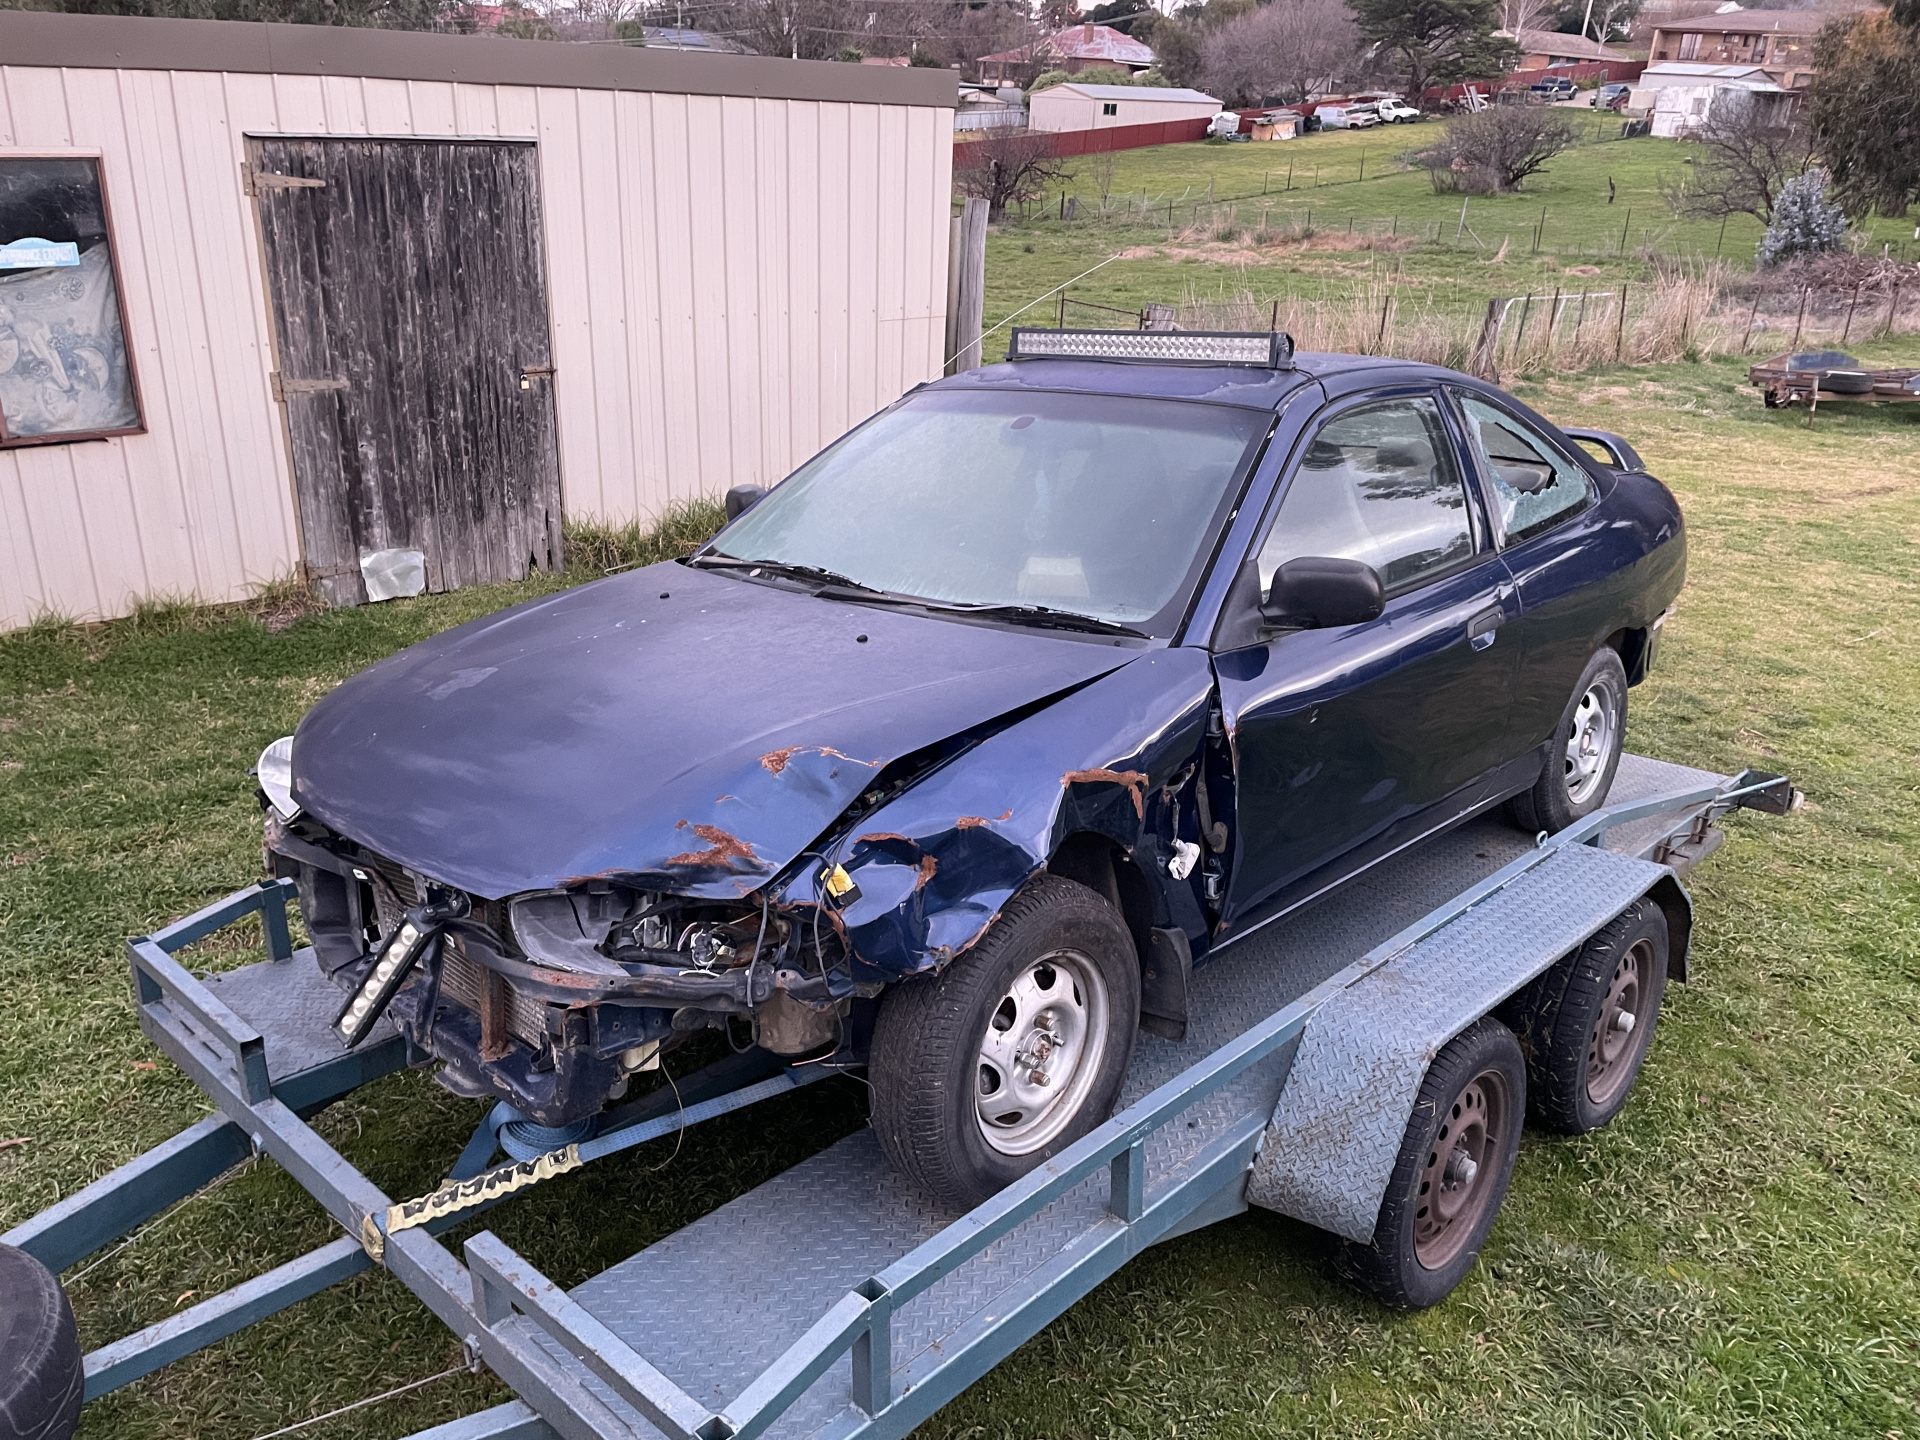
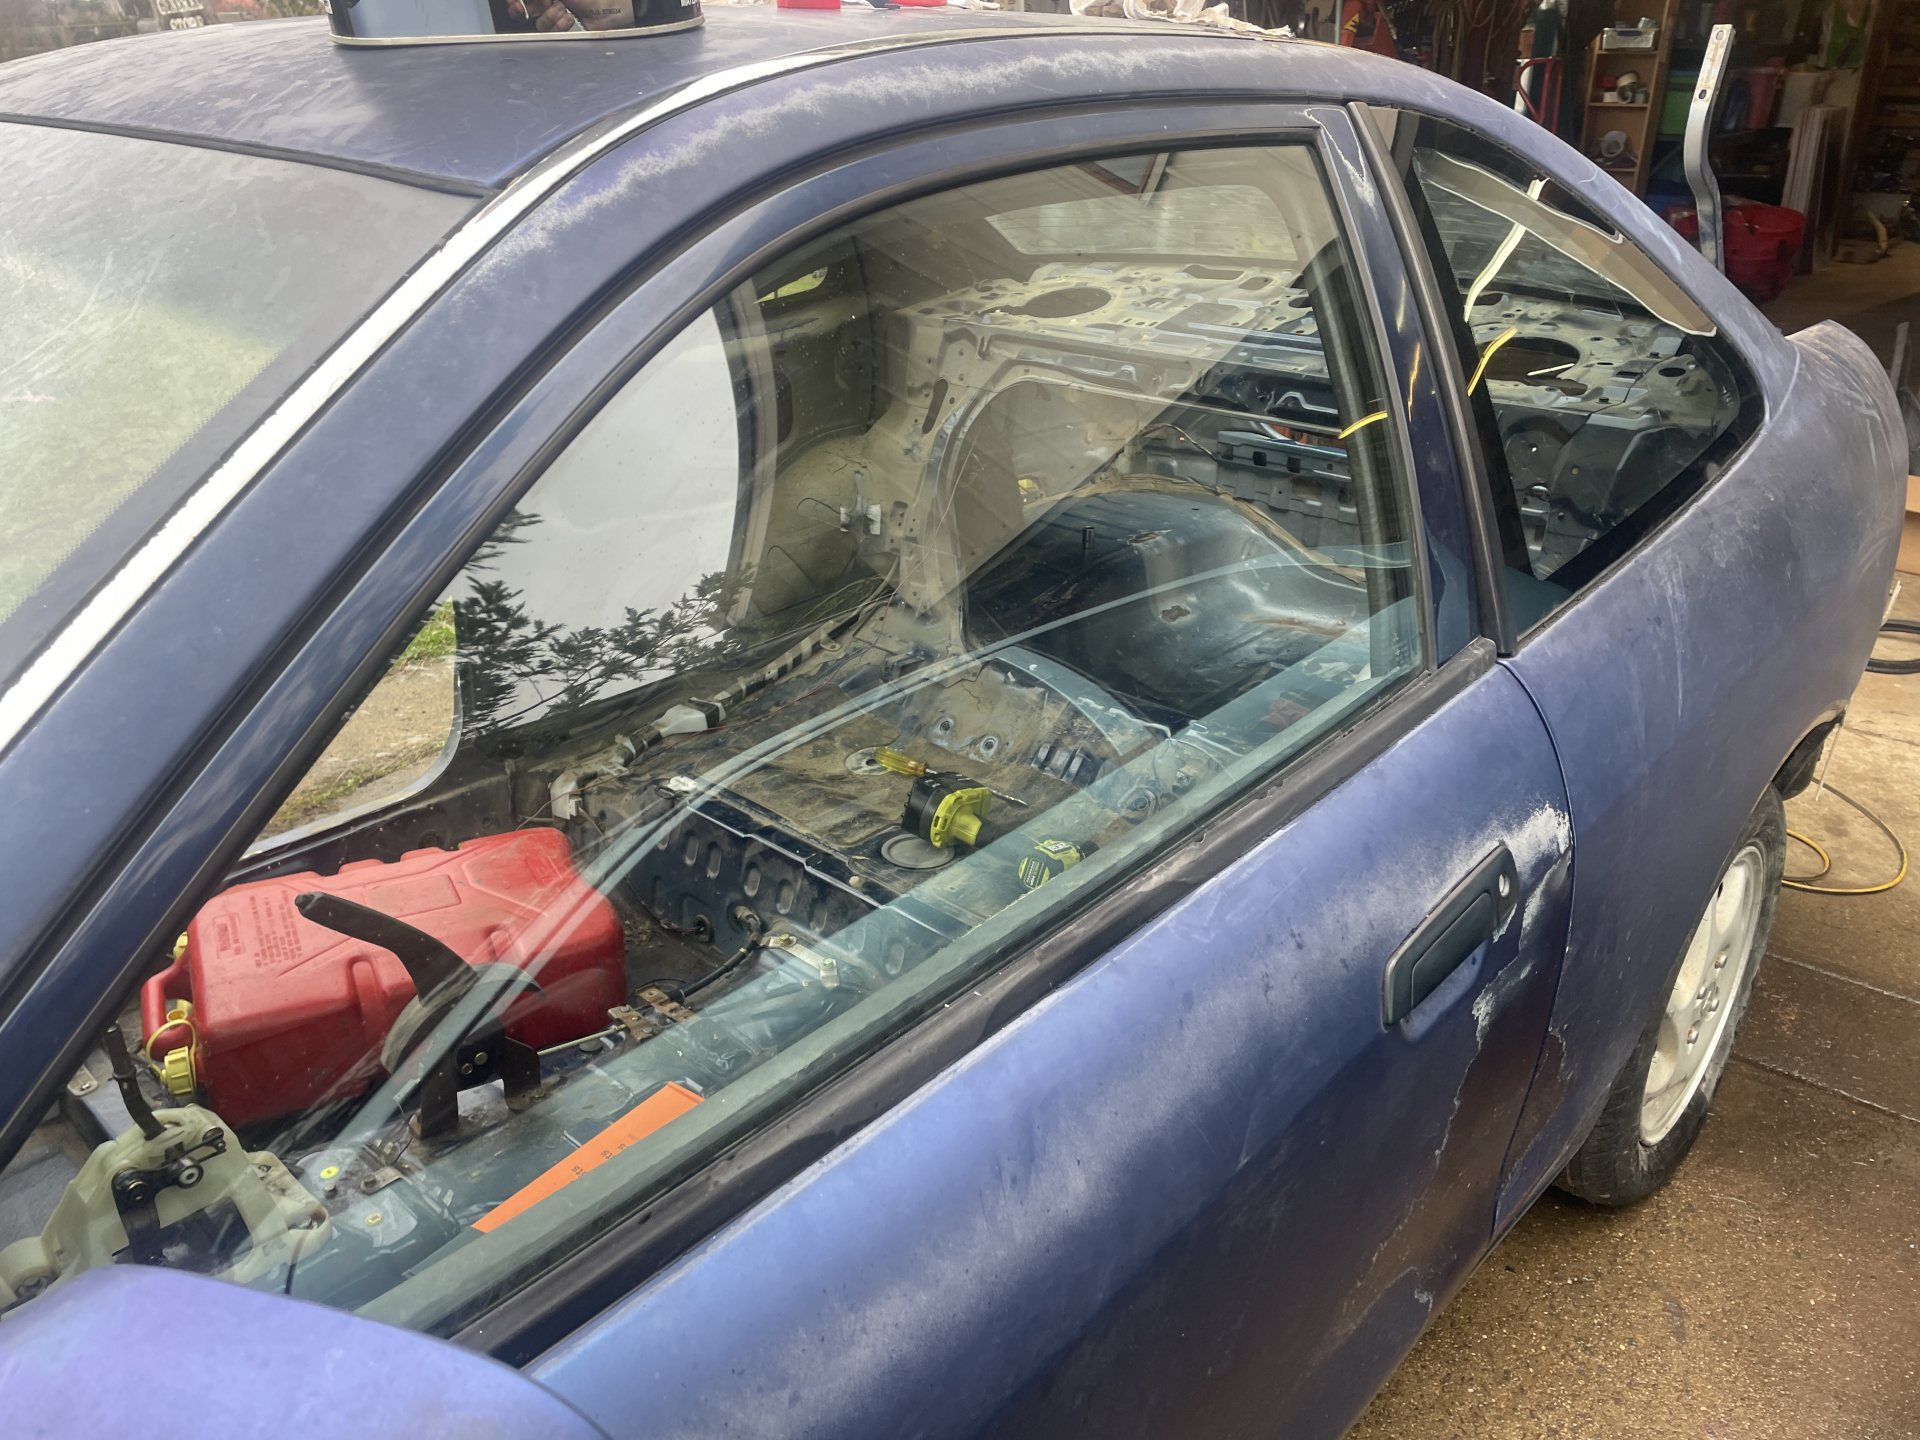
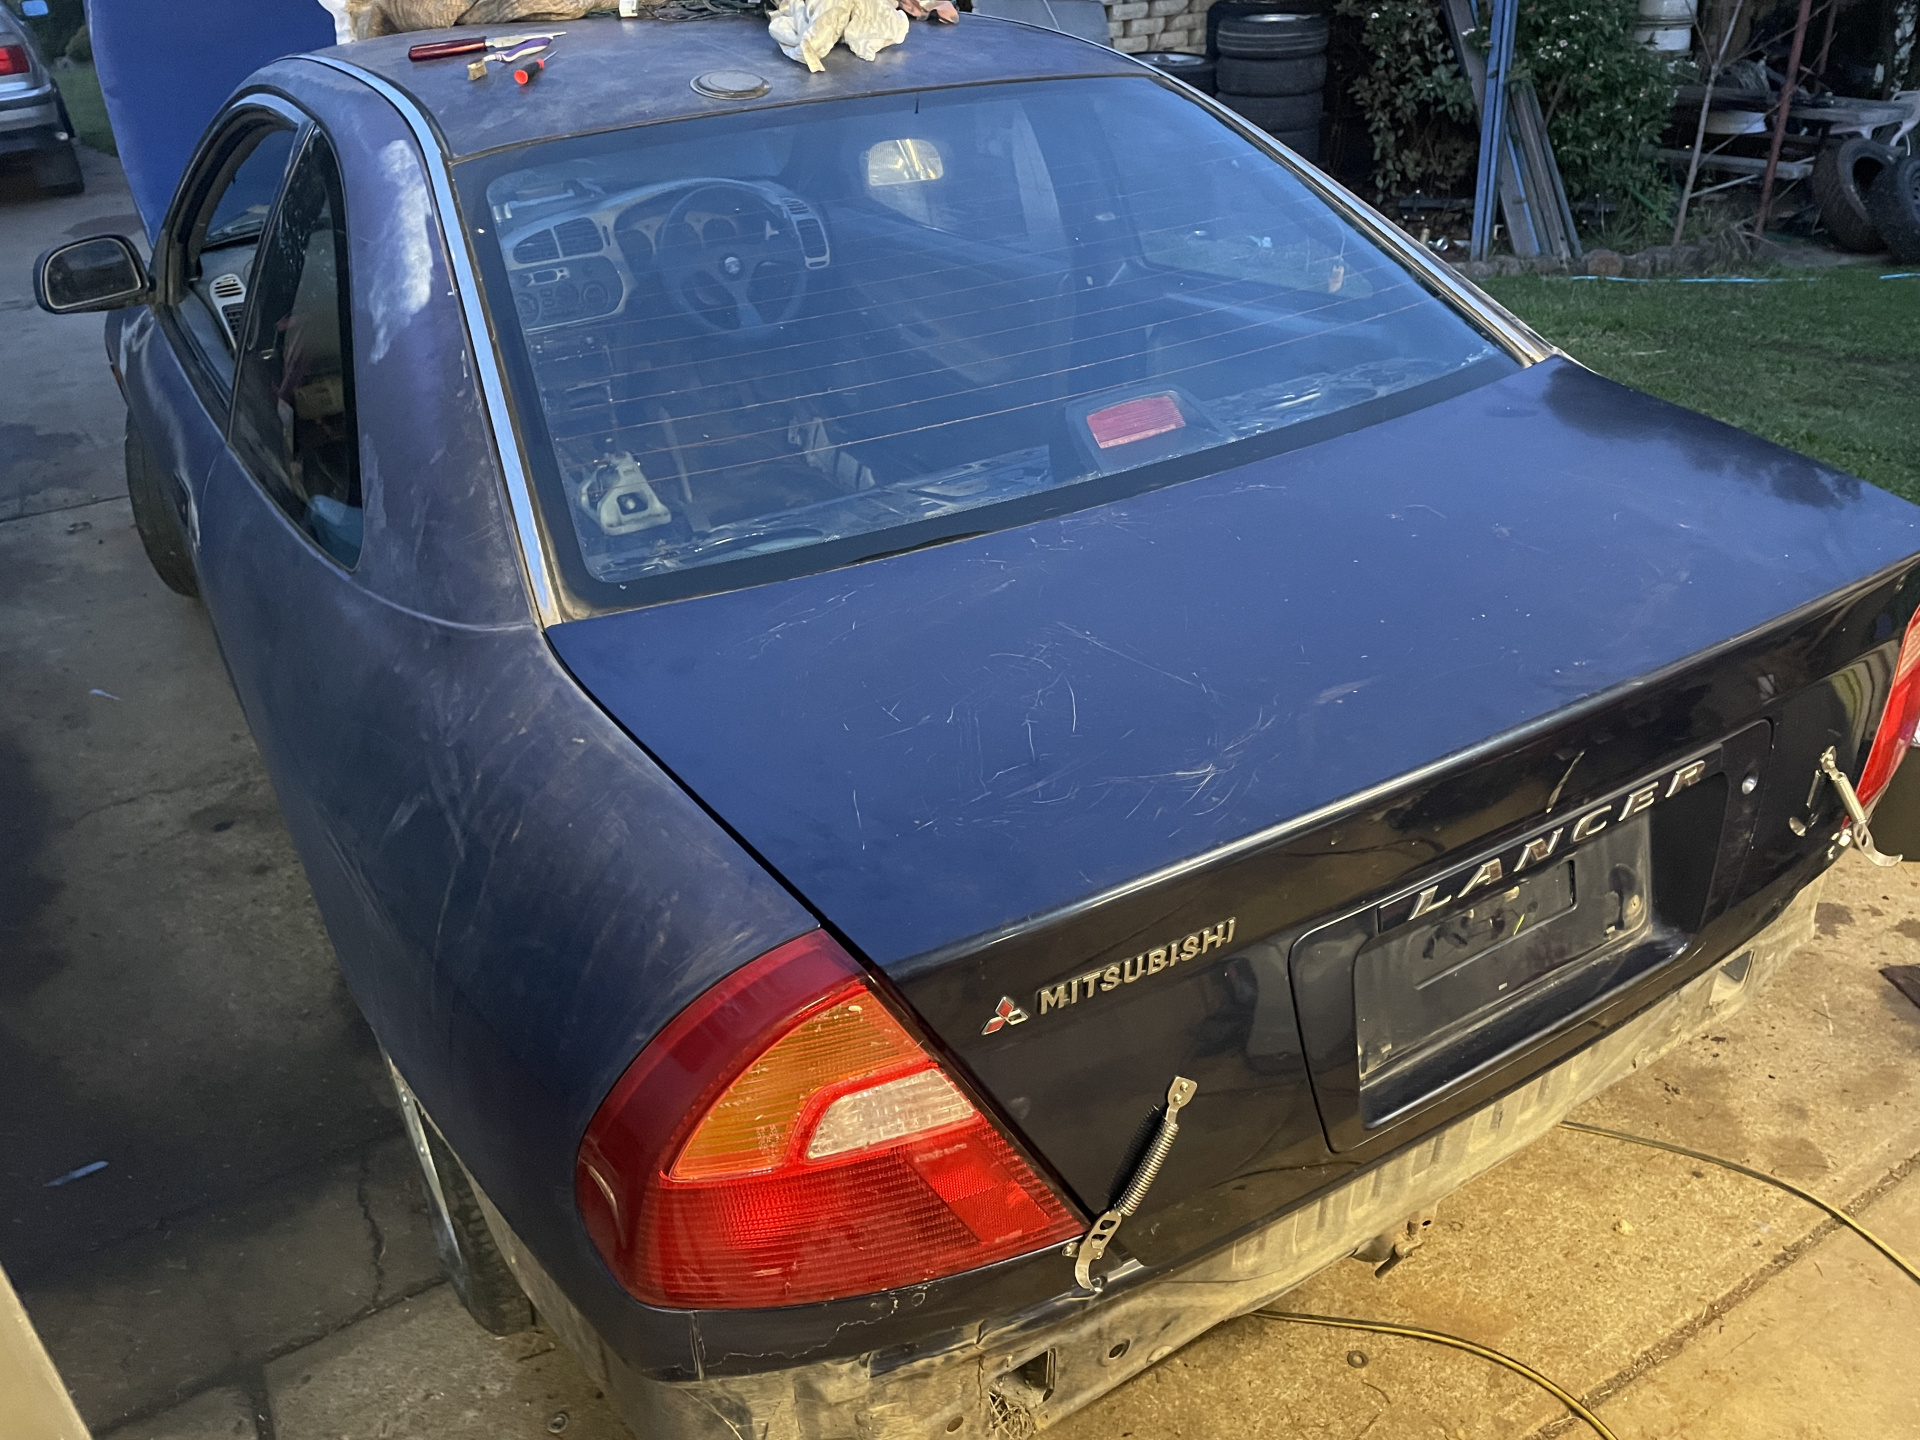
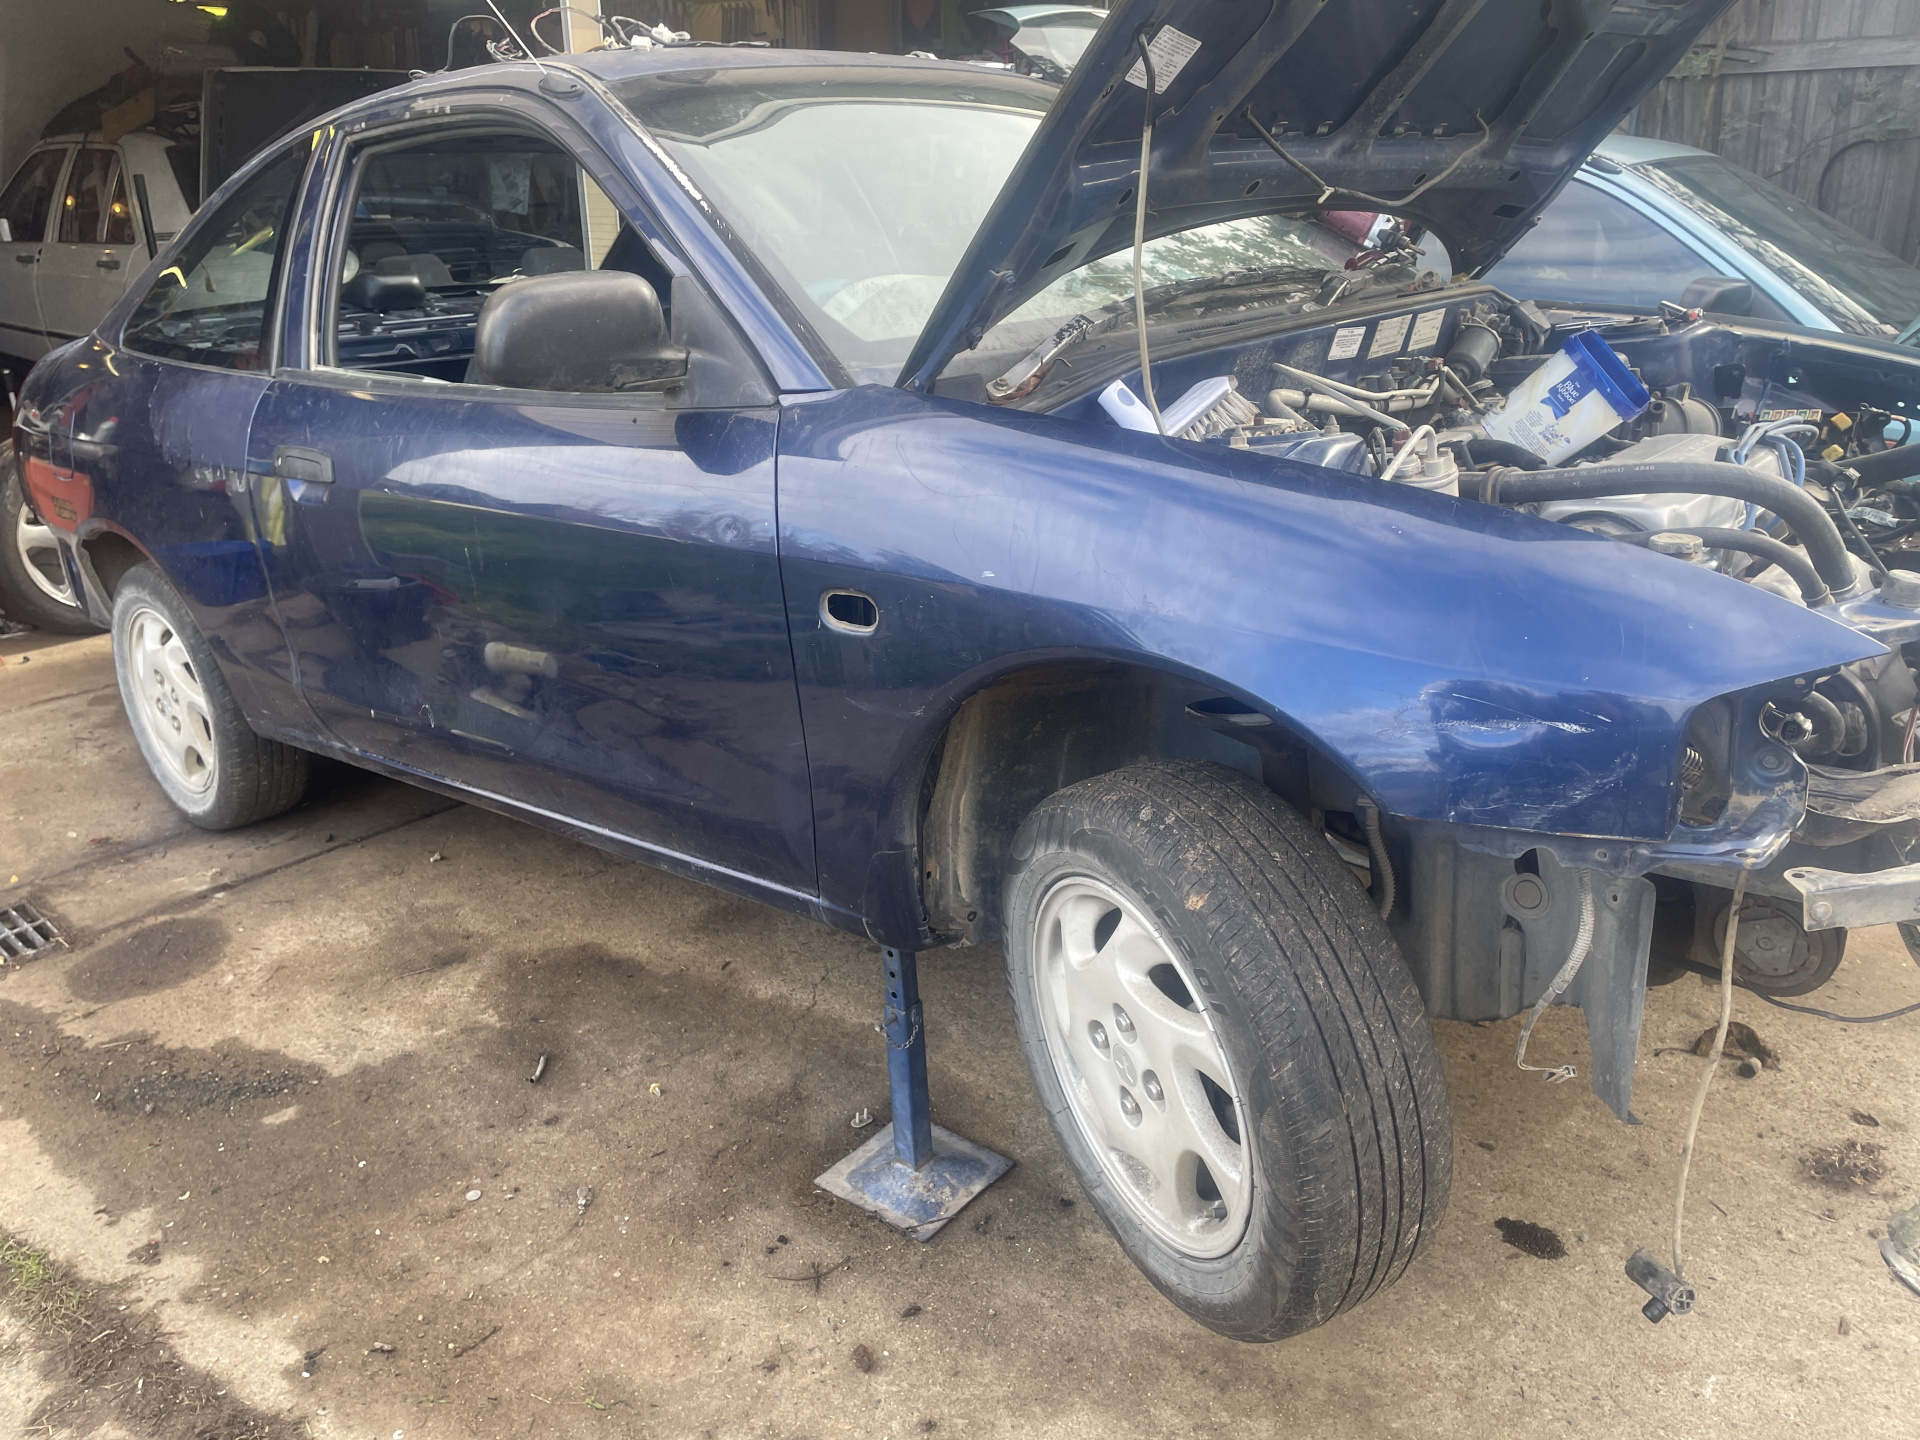
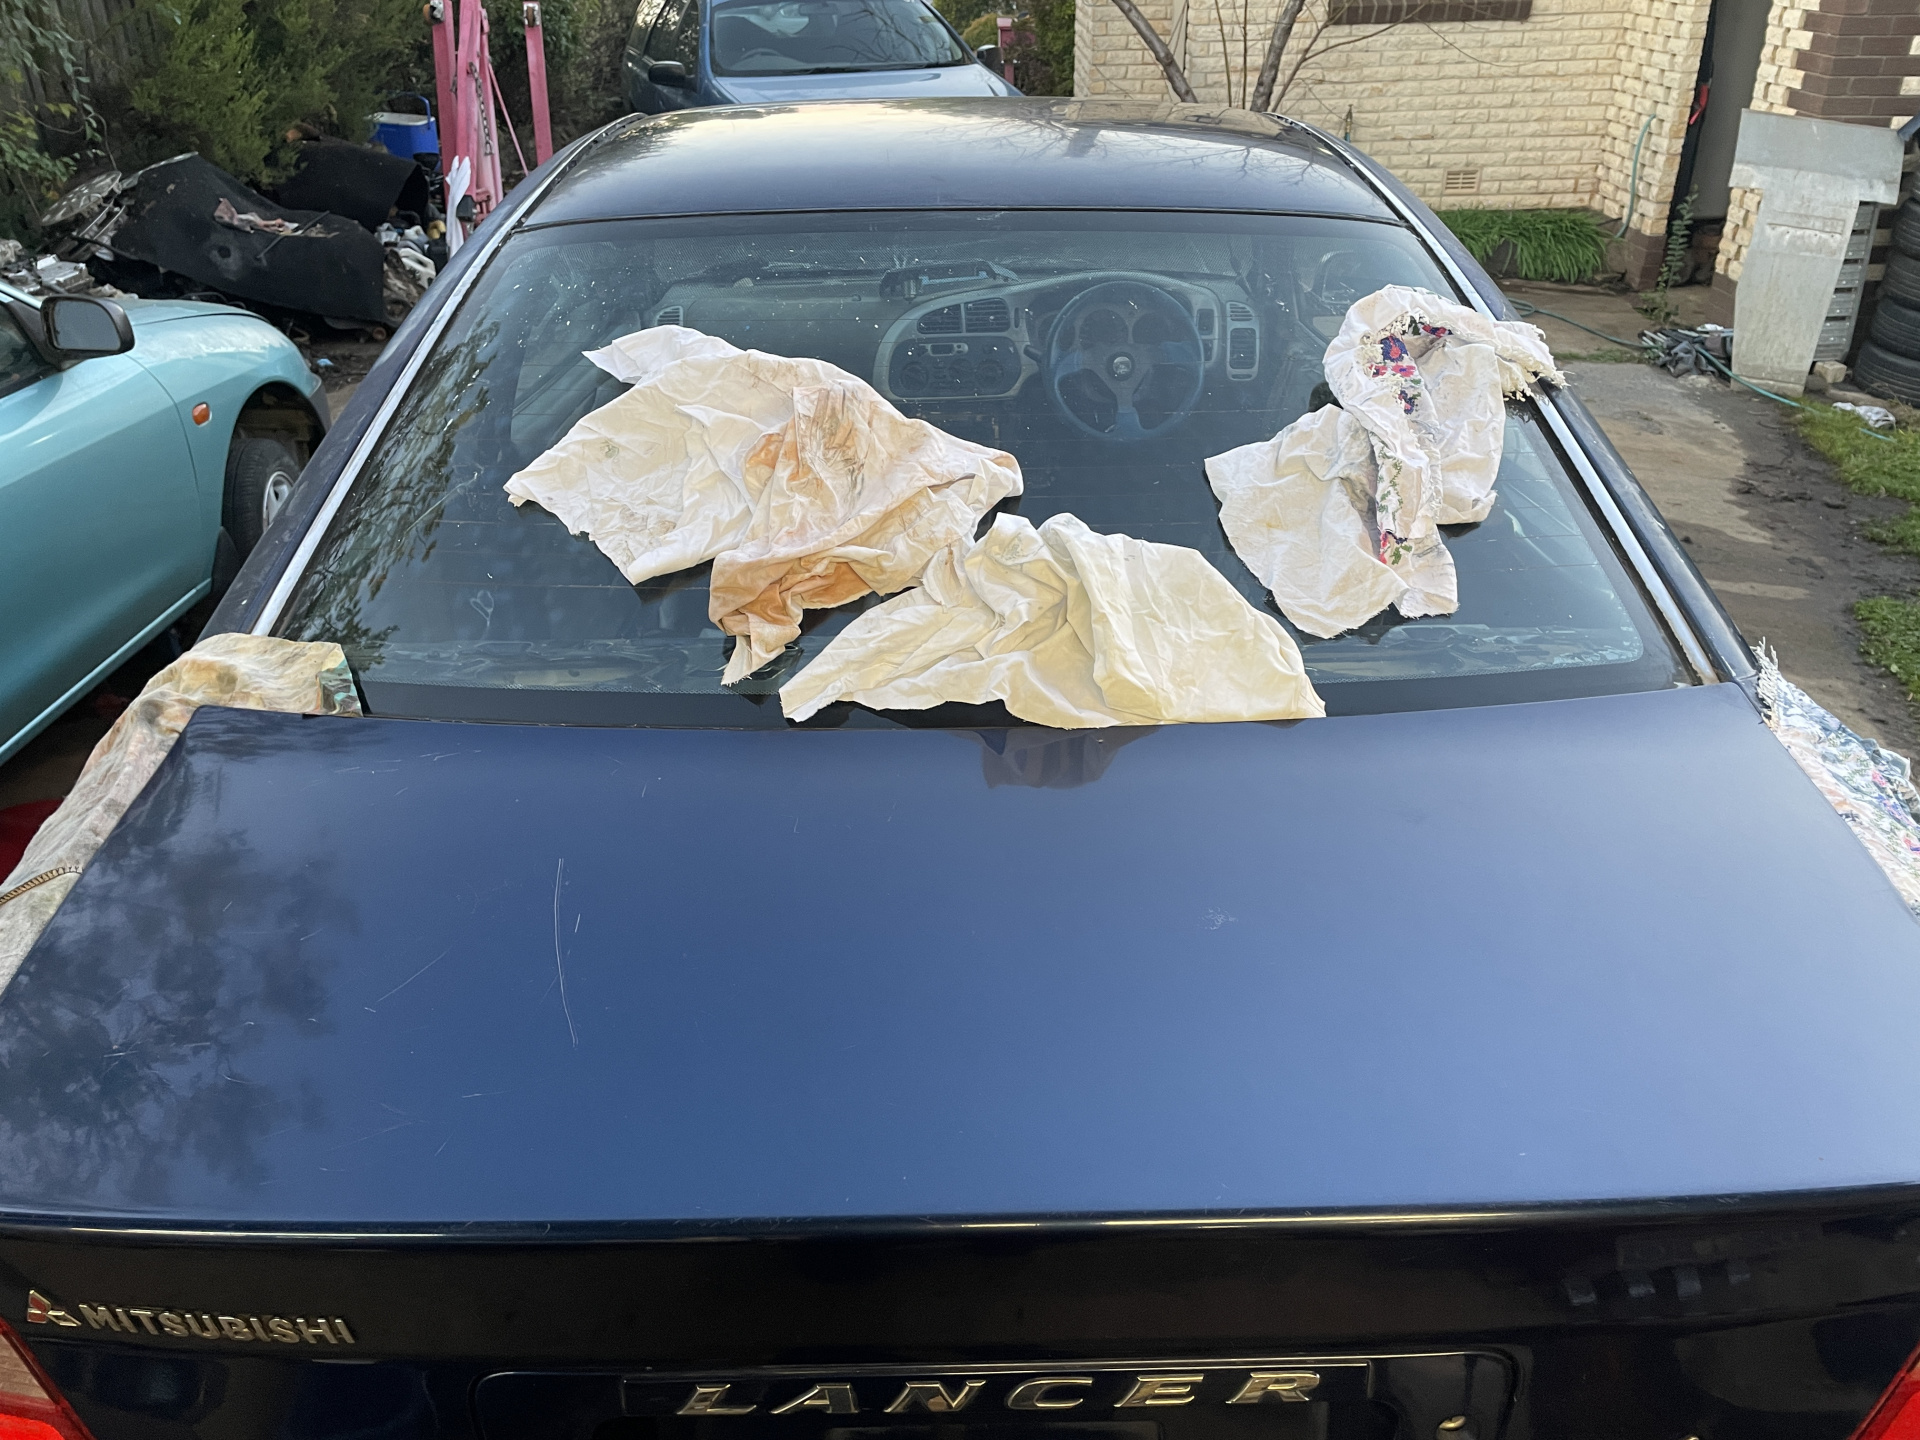
Two ugly Lancers came up half an hour away for $500. One crashed 1.8 manual and this 1.5 manual.

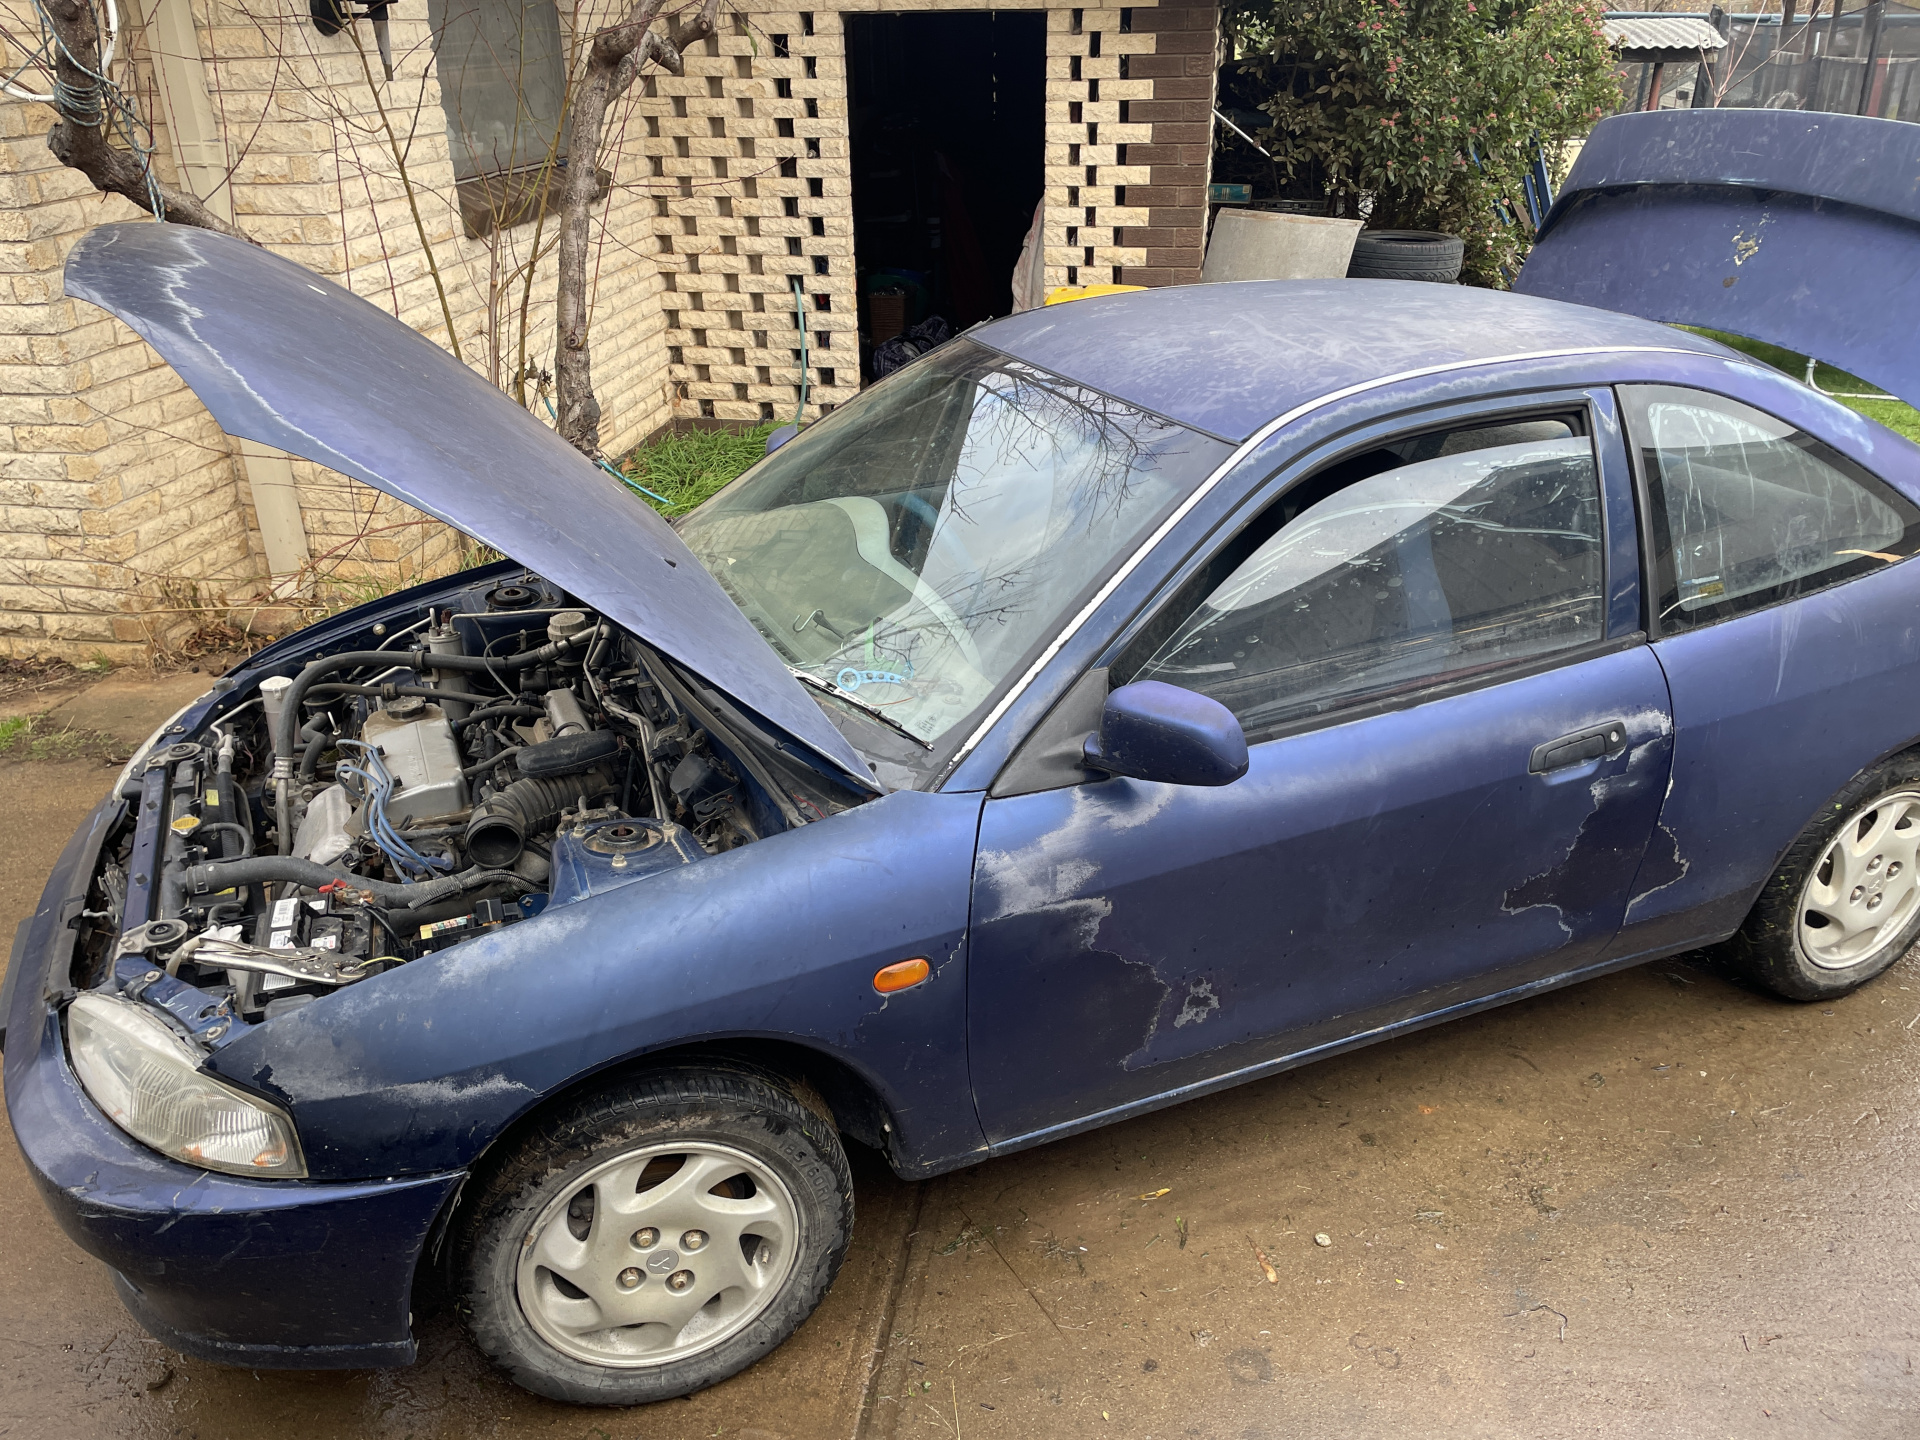
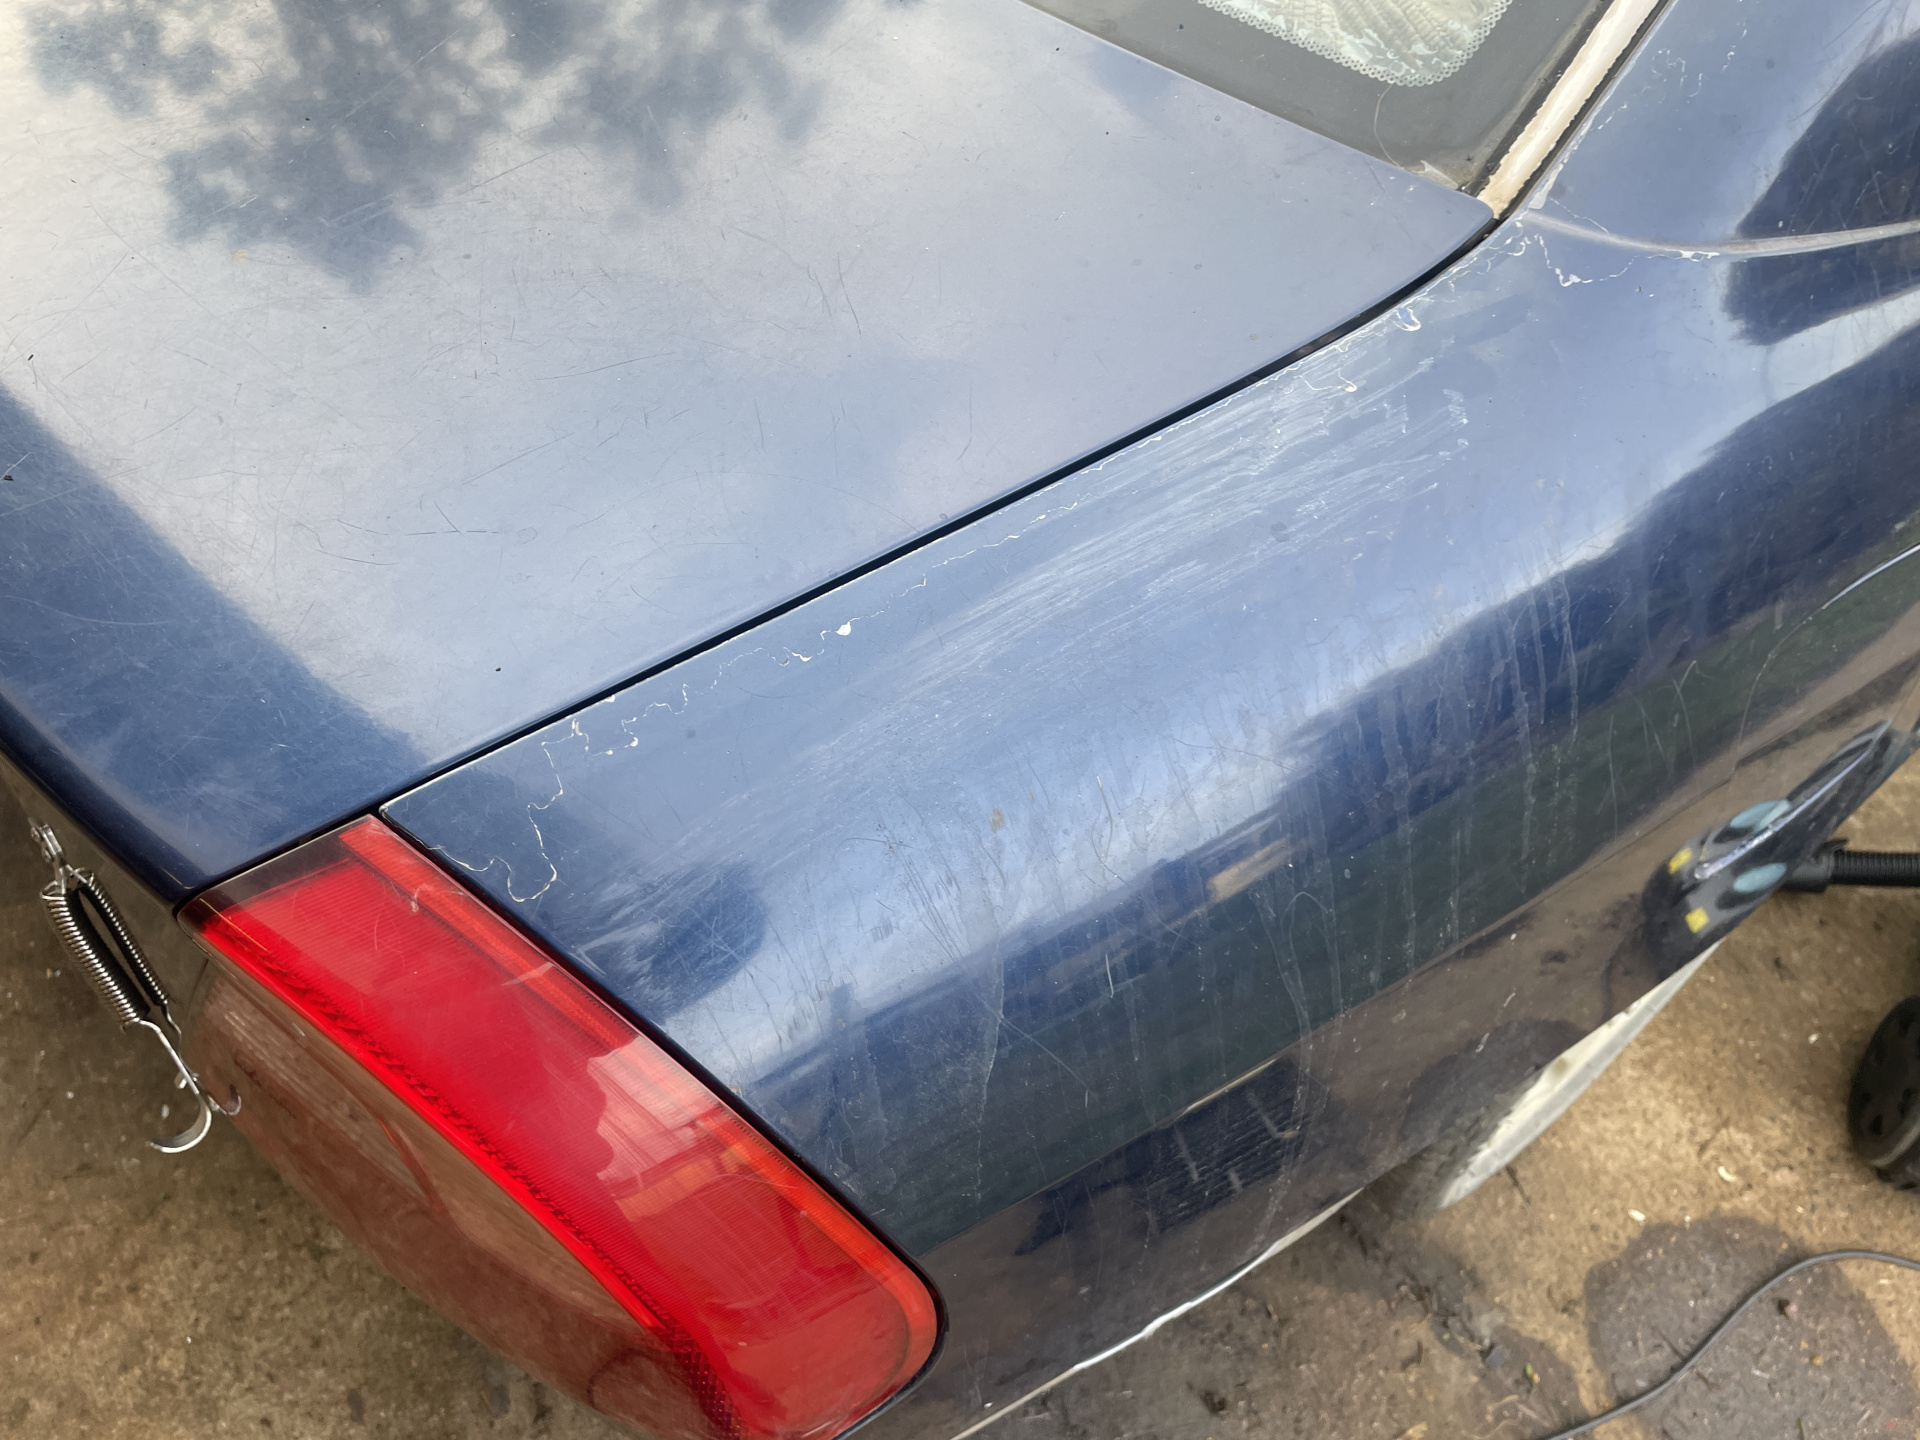
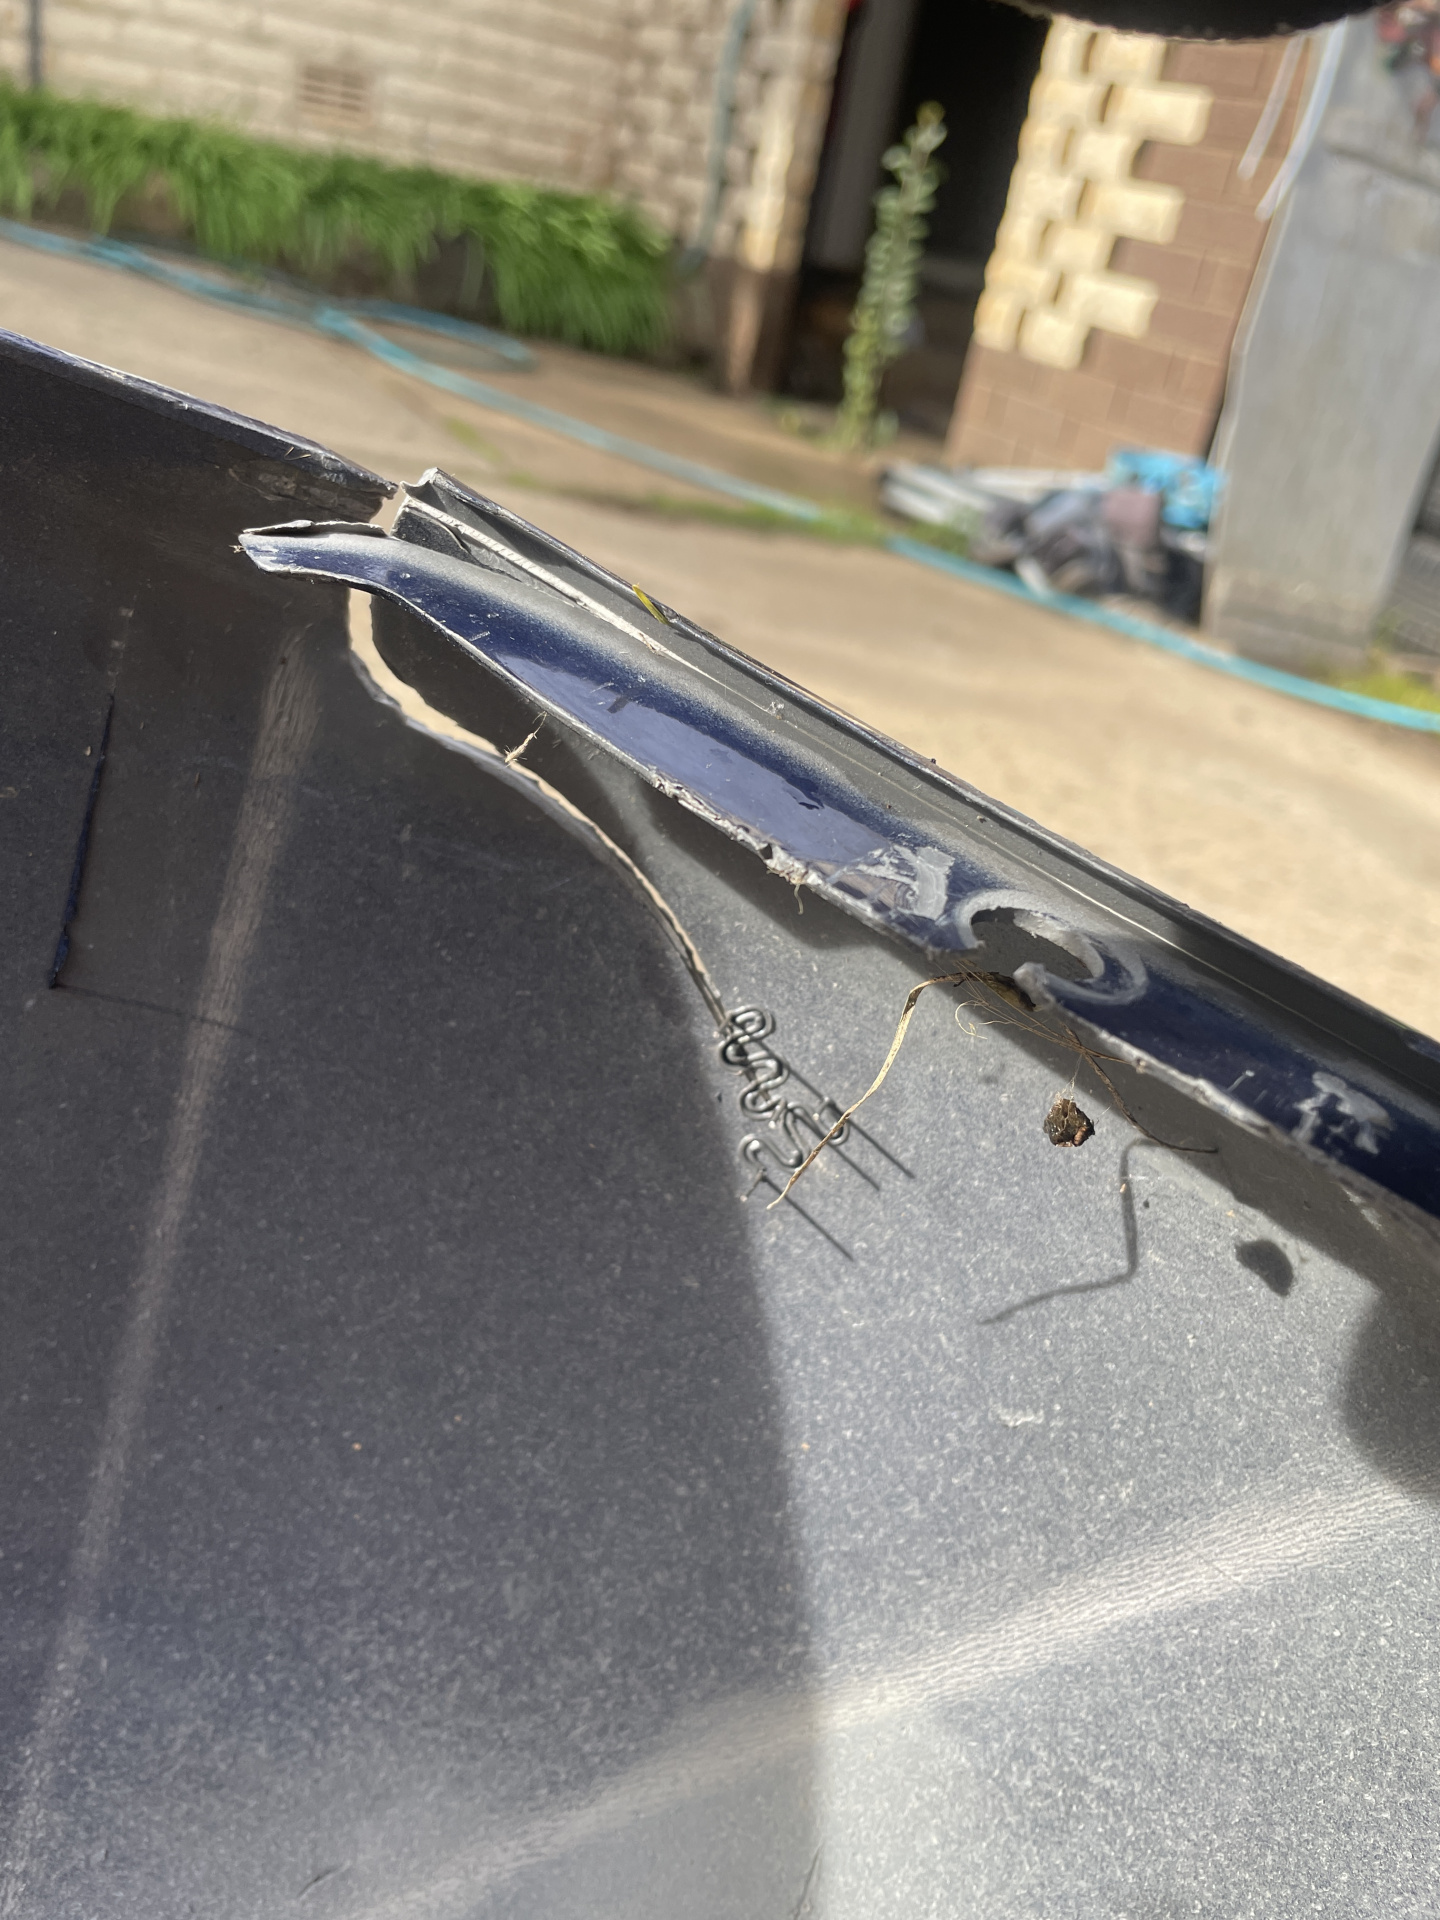
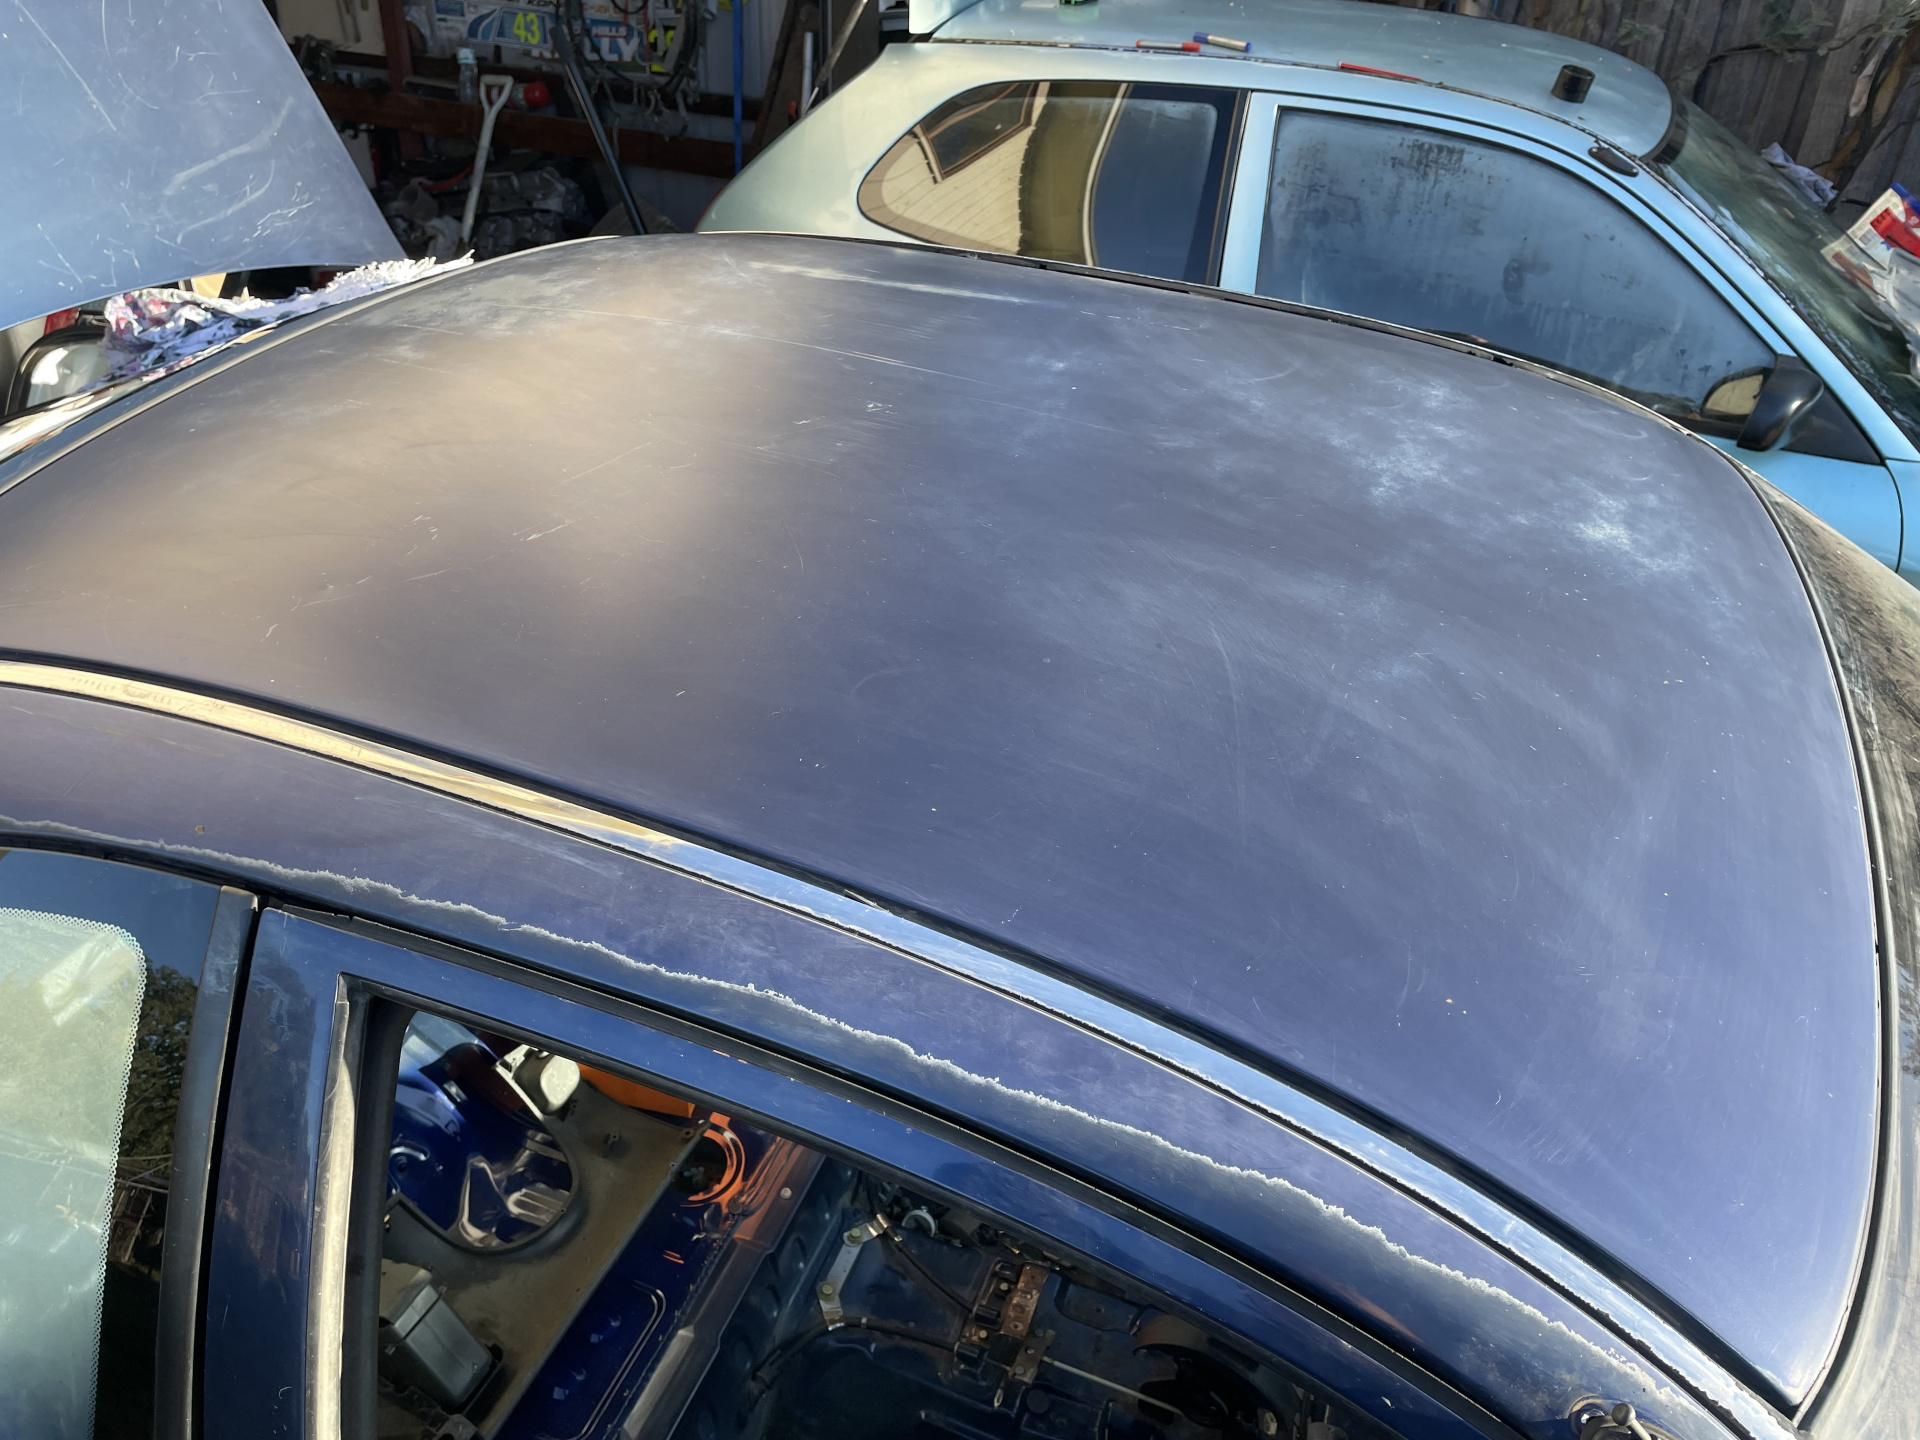
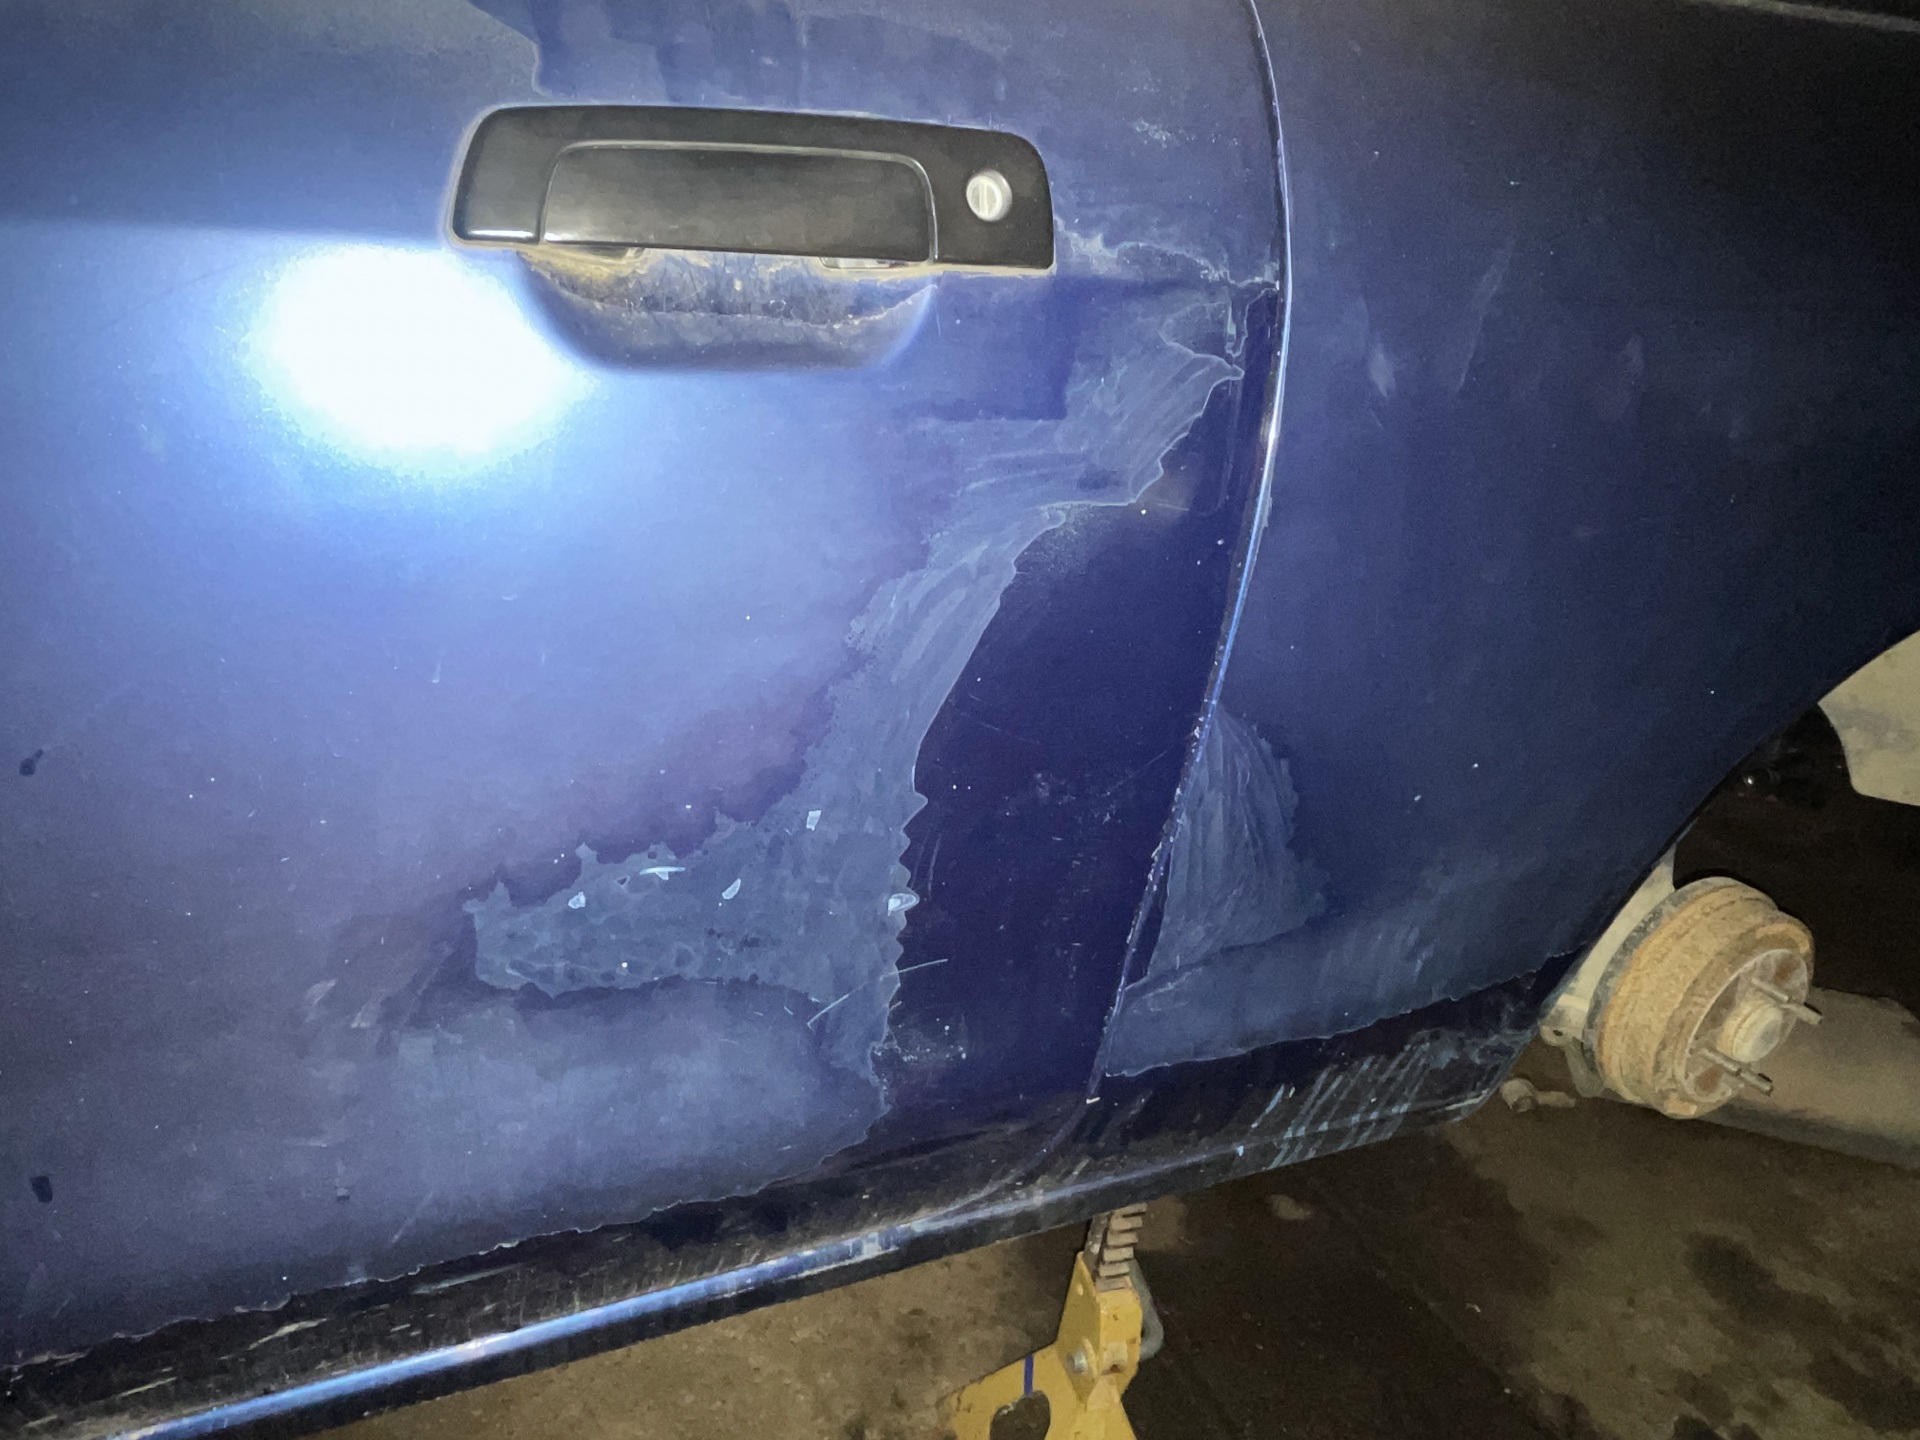
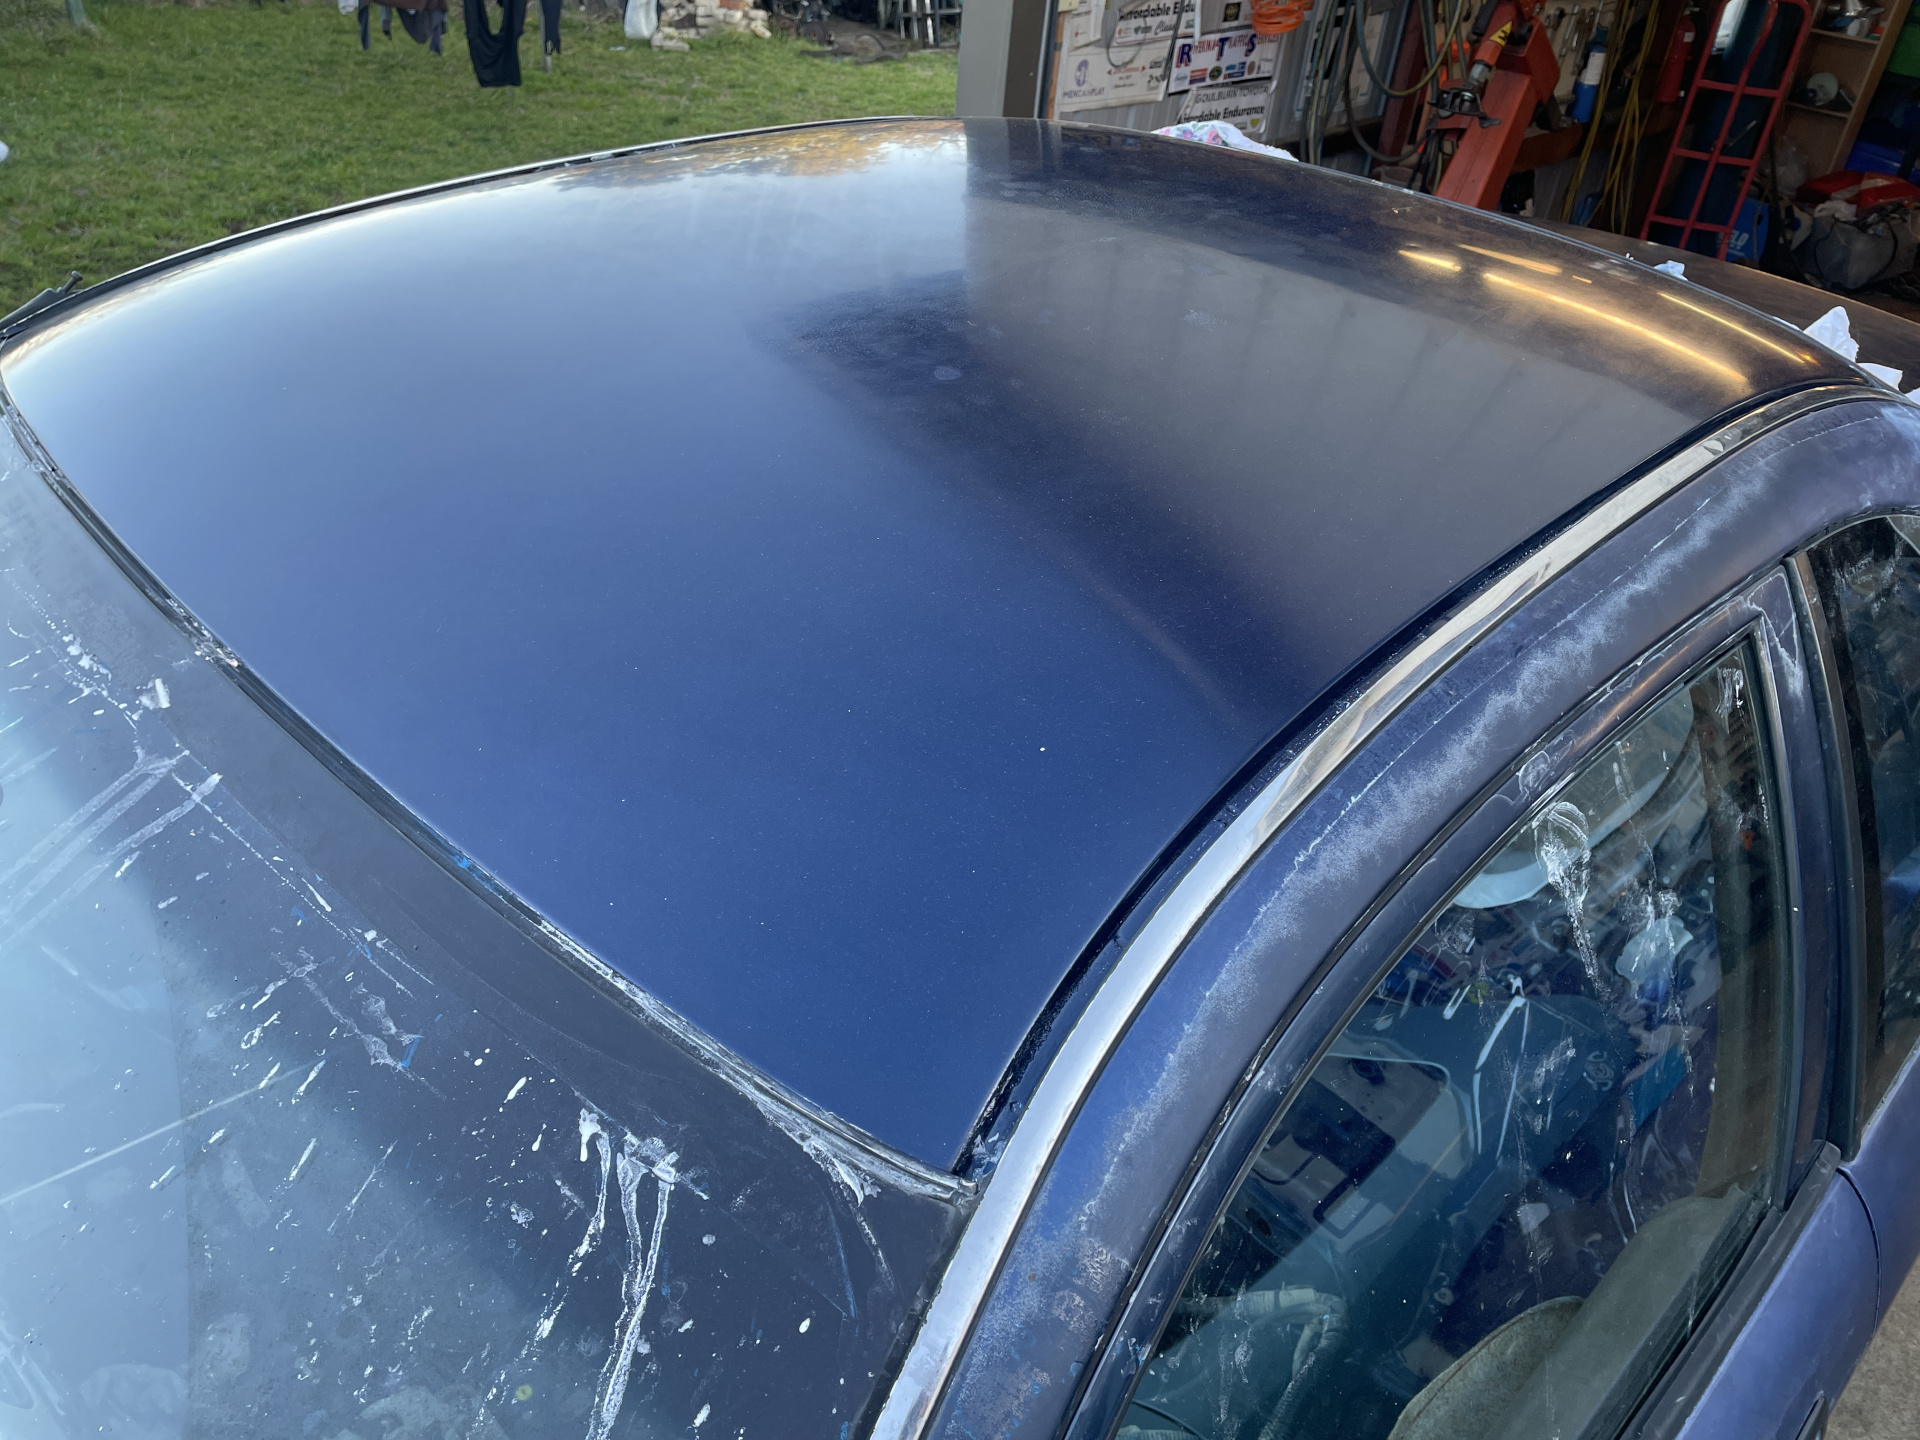
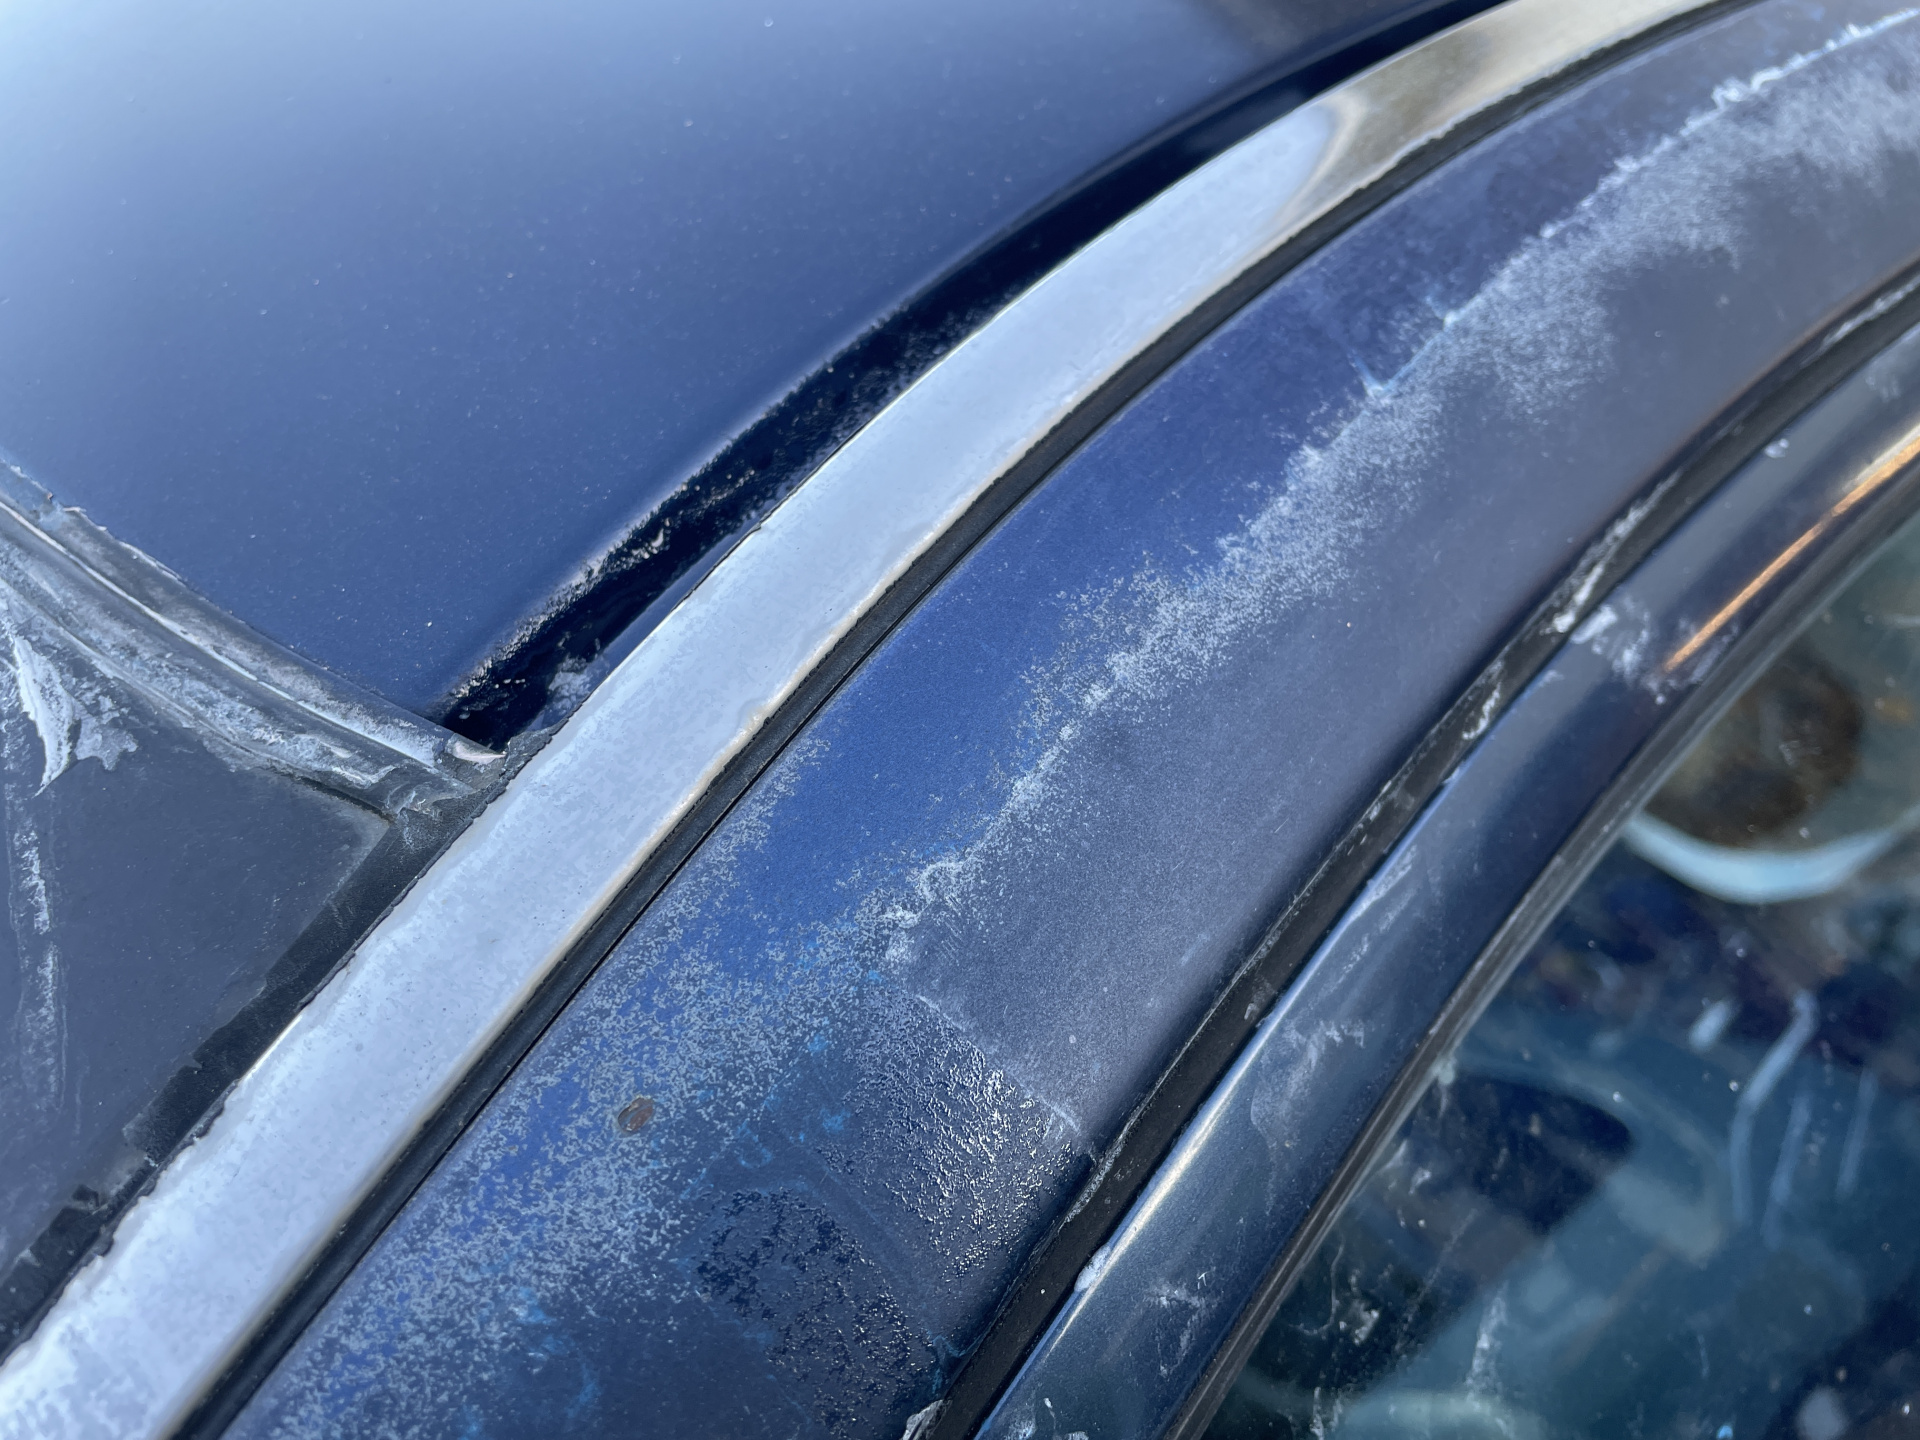
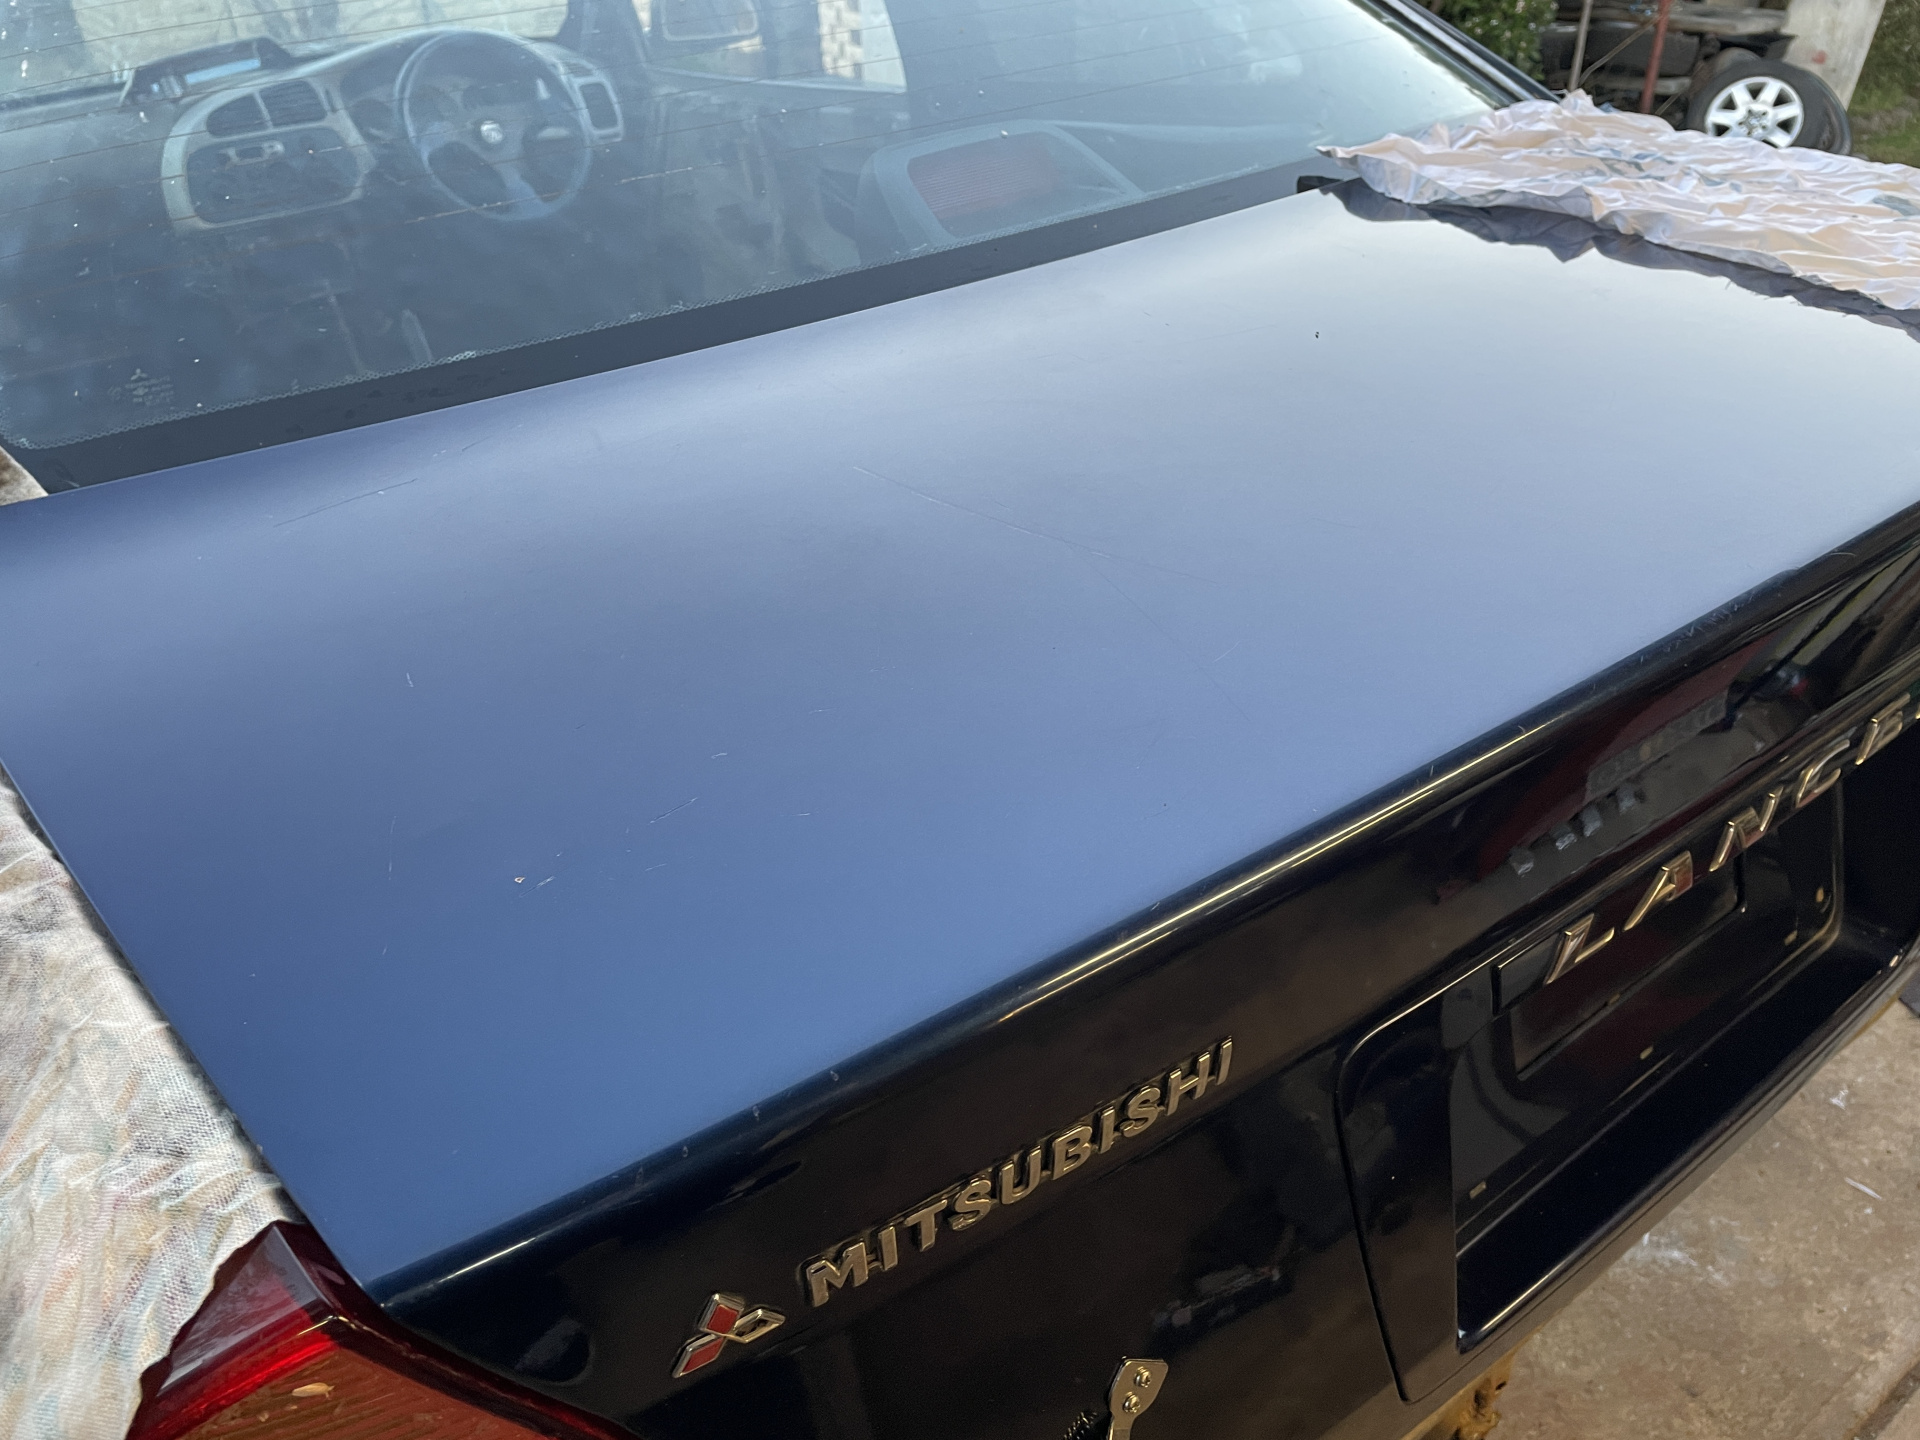
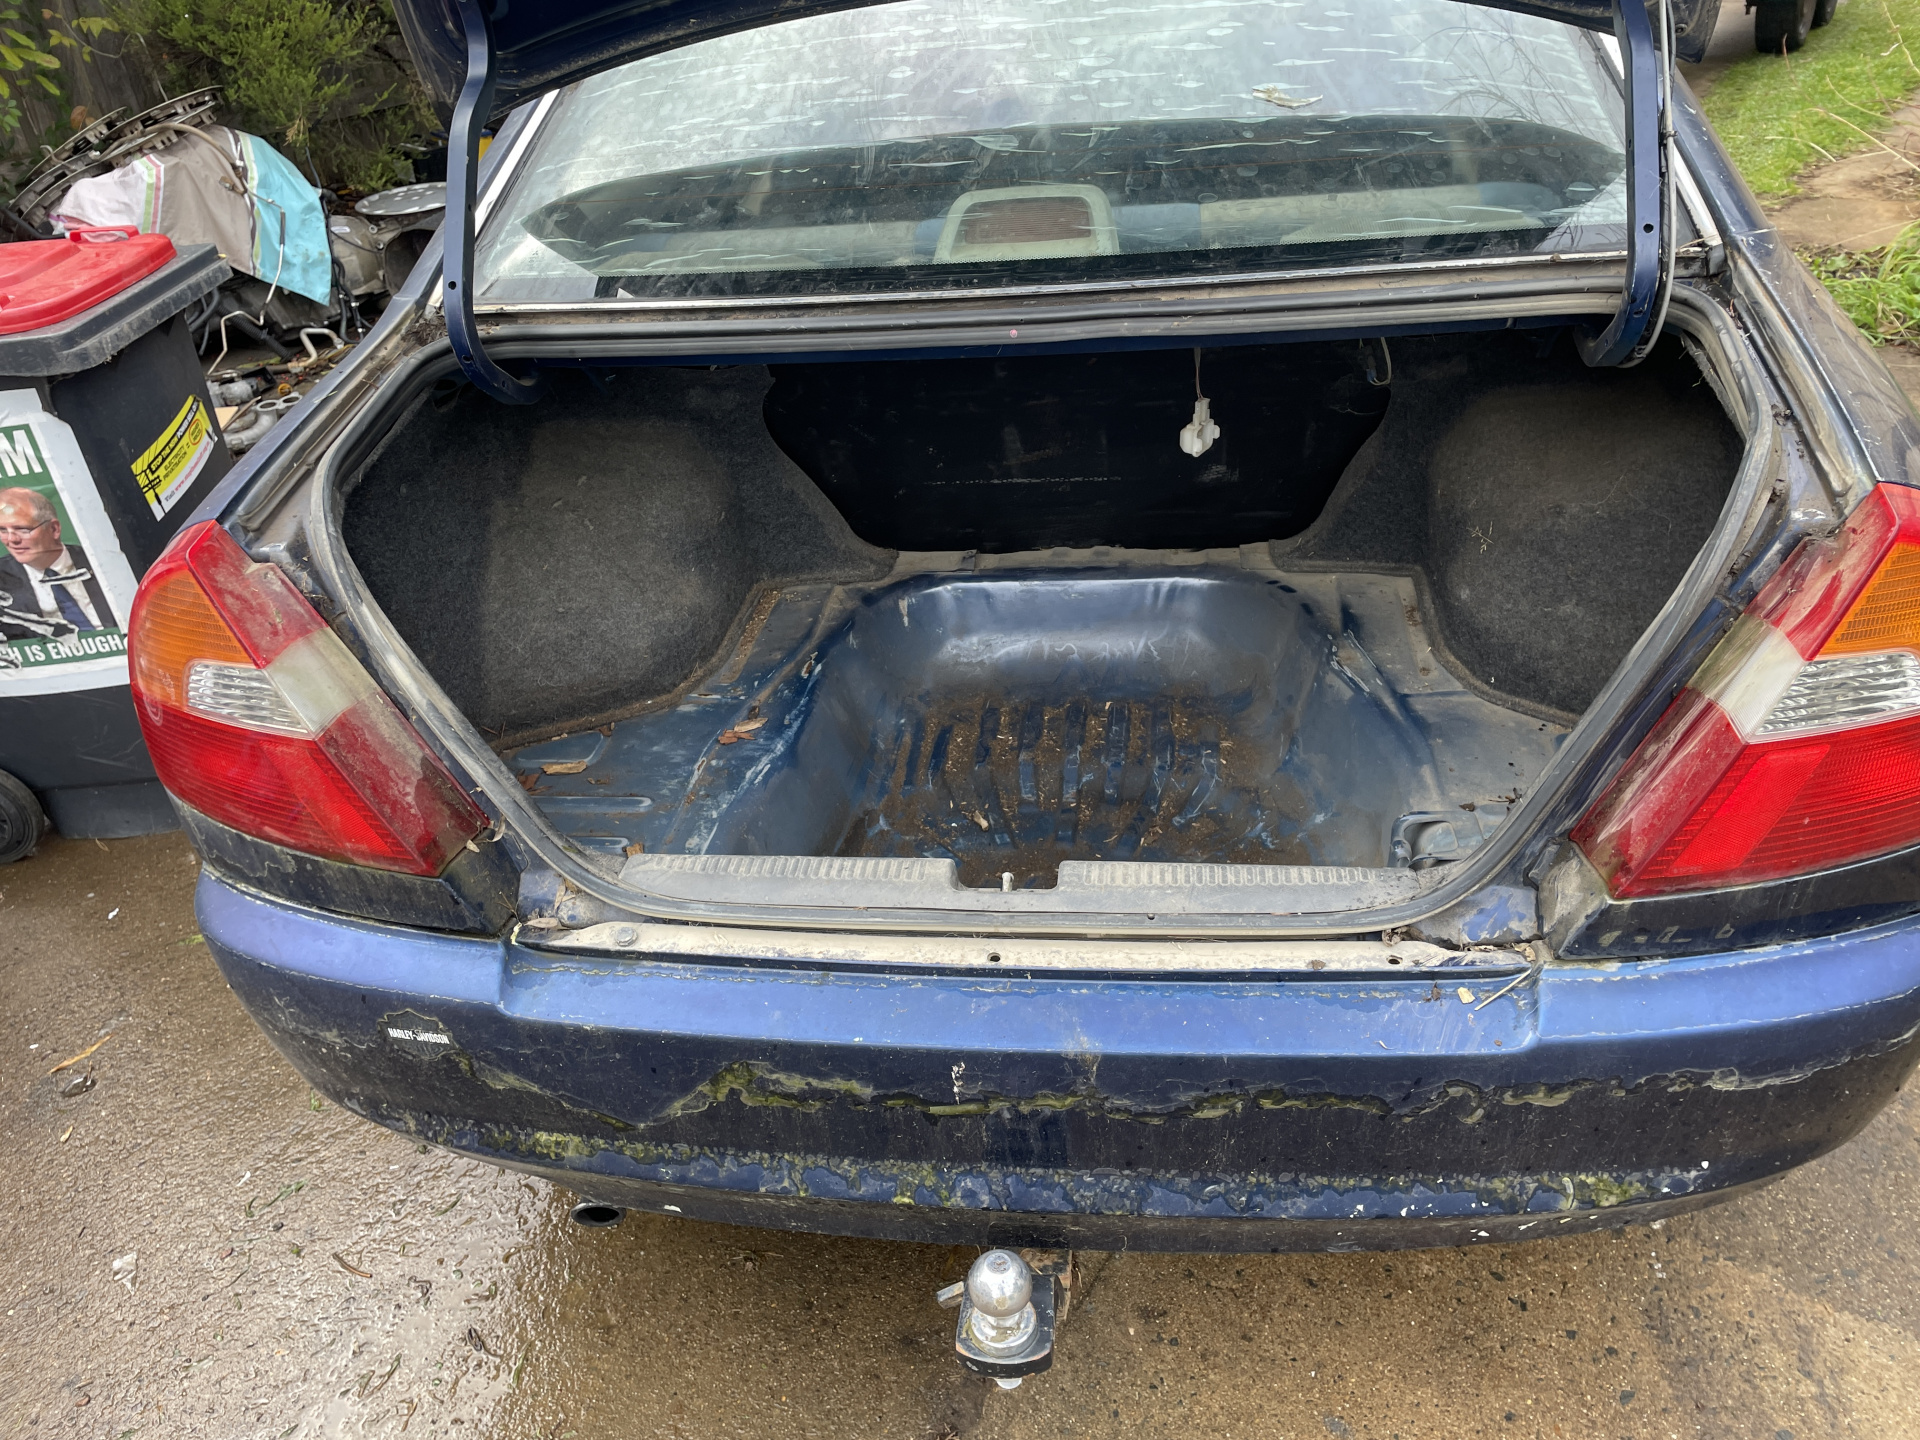
It is genuinely ugly, but quite straight overall and apparently rust free.

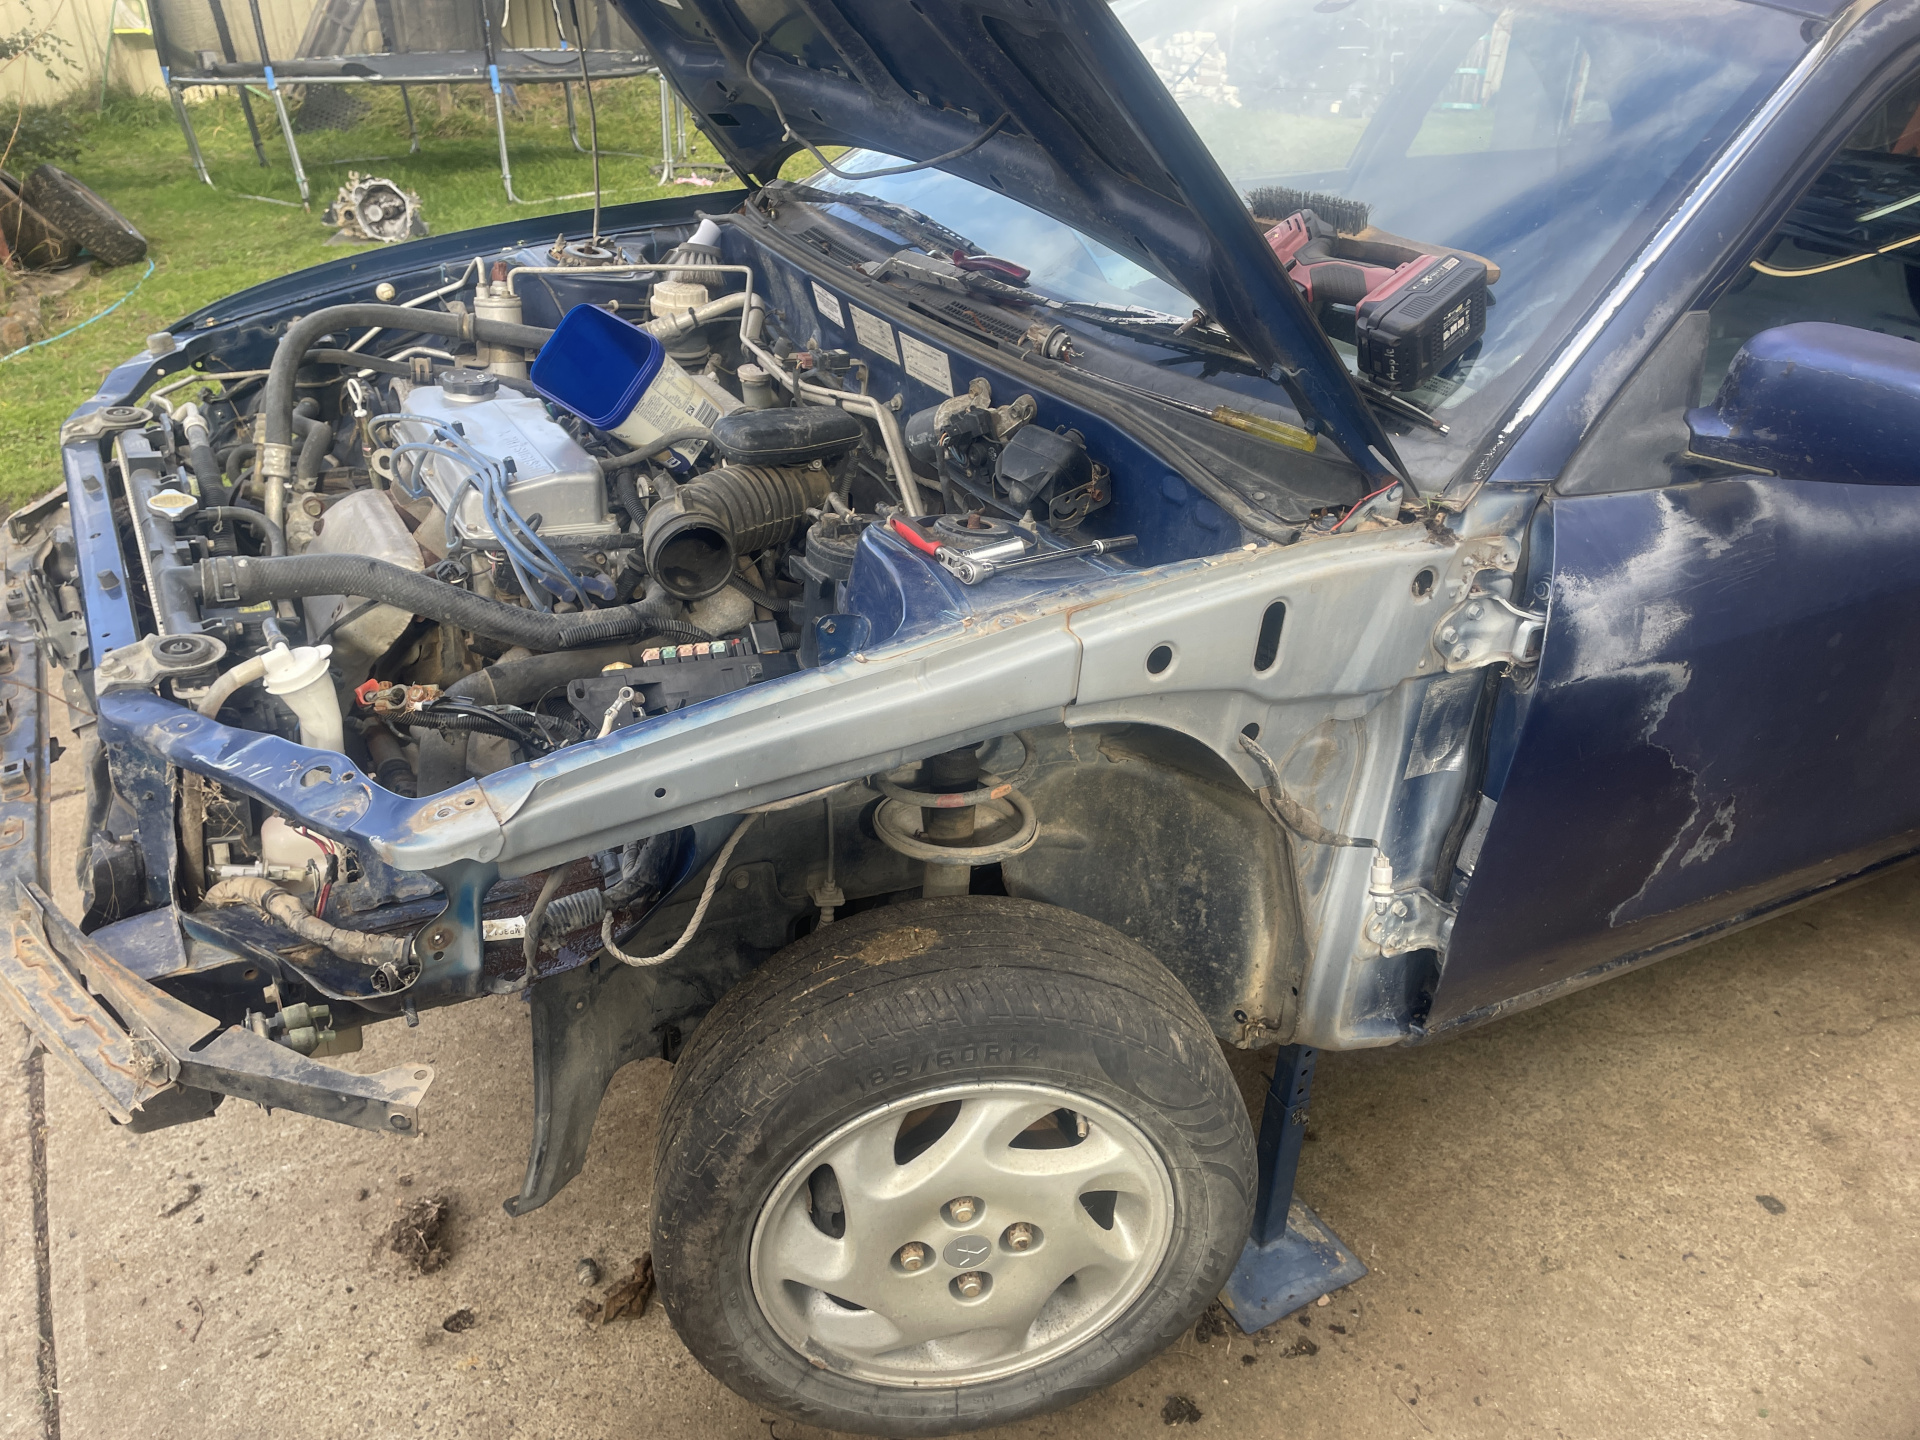
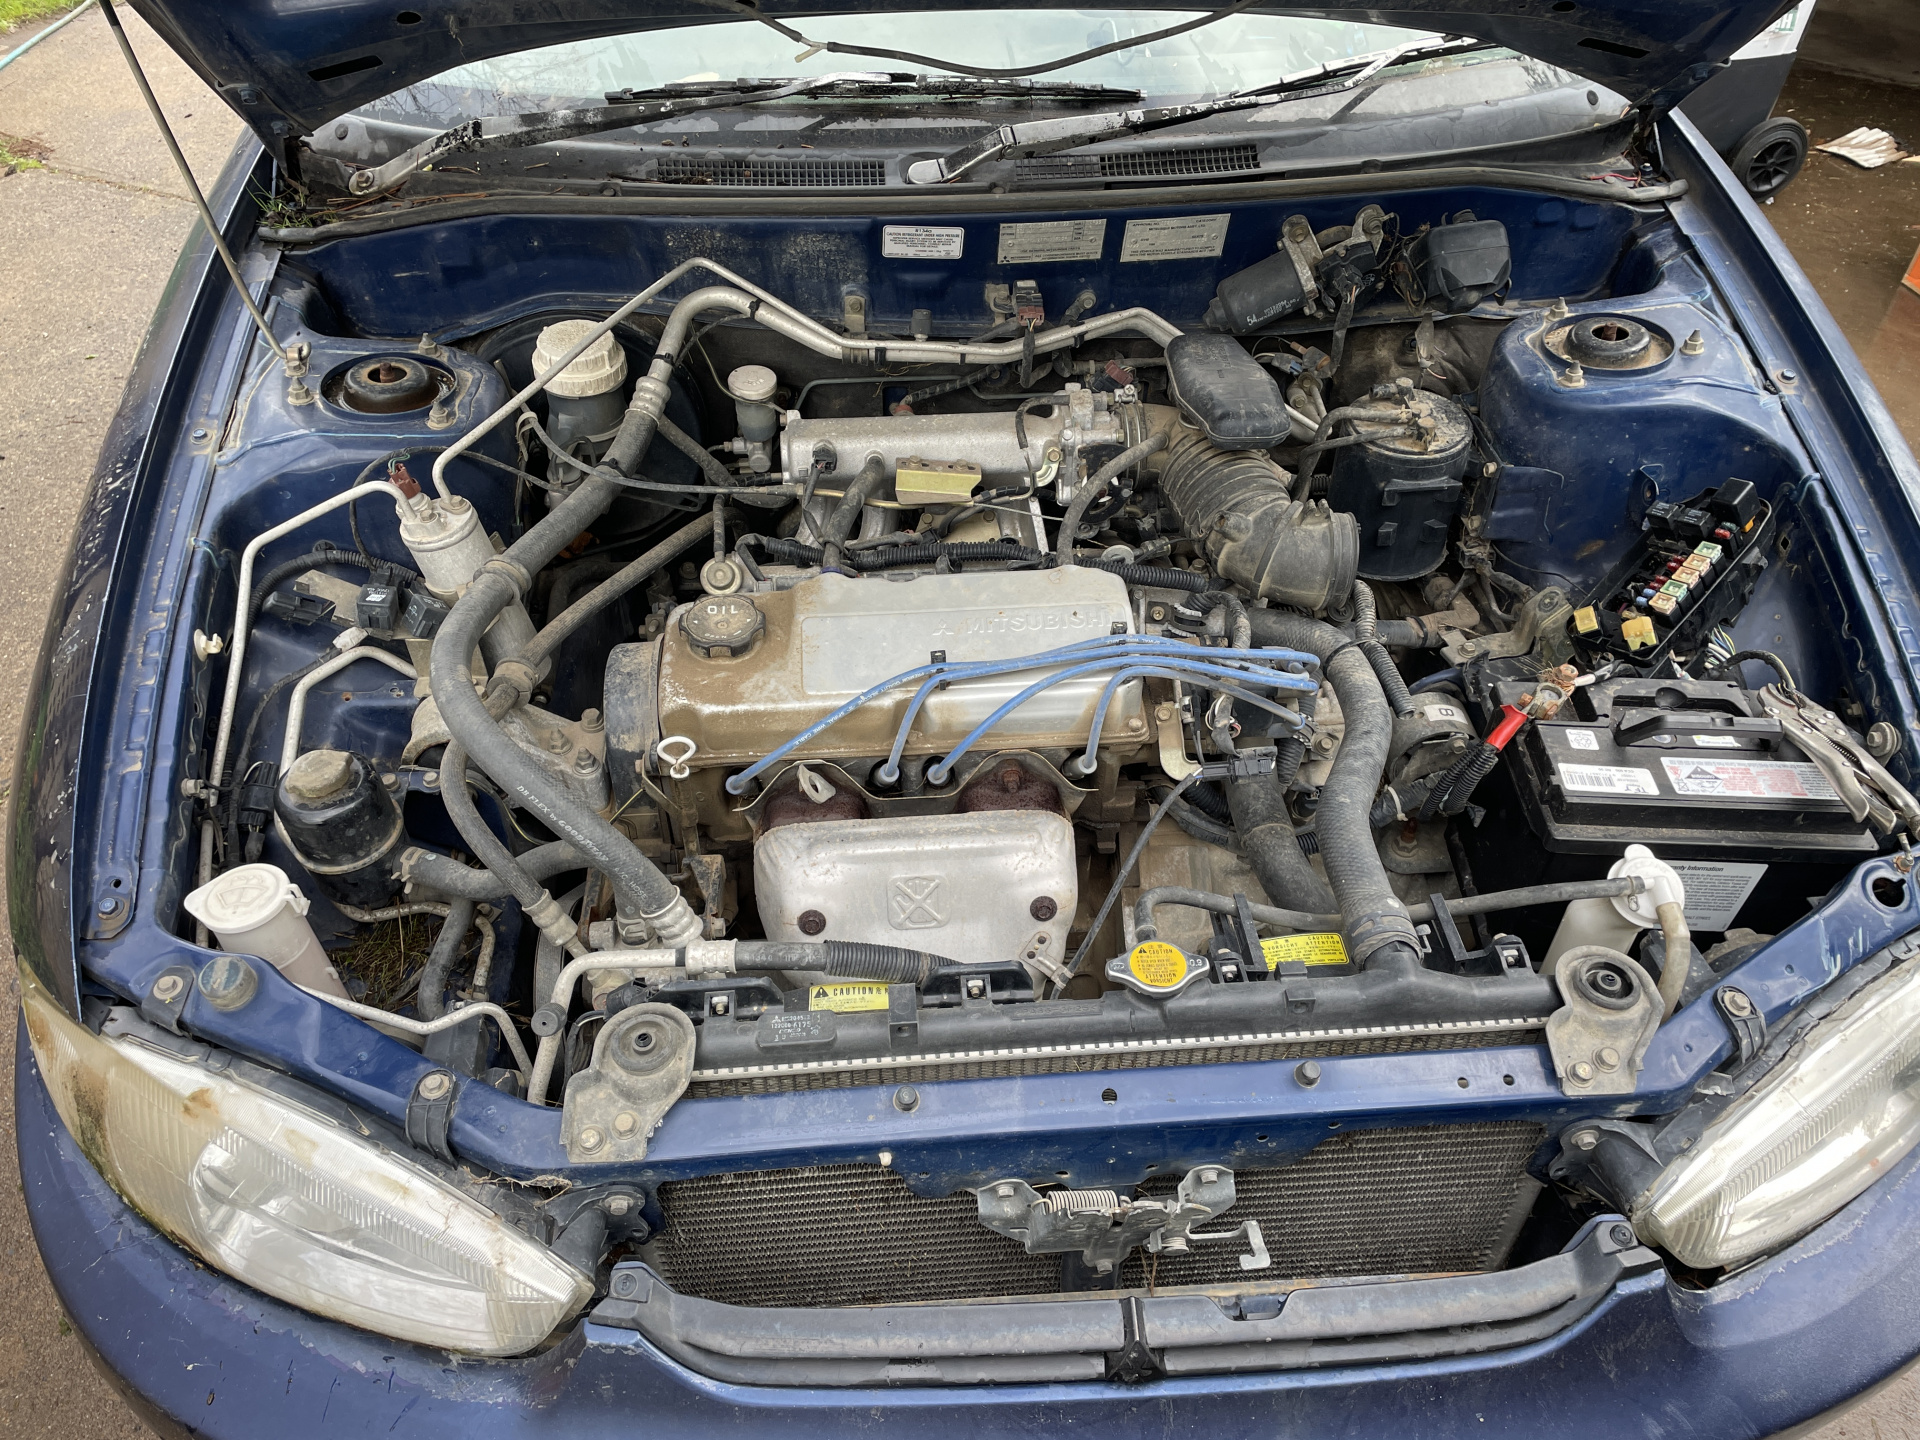
Despite sitting outside for six months with no fuel cap, I fitted a good battery and it fired straight up and ran great!

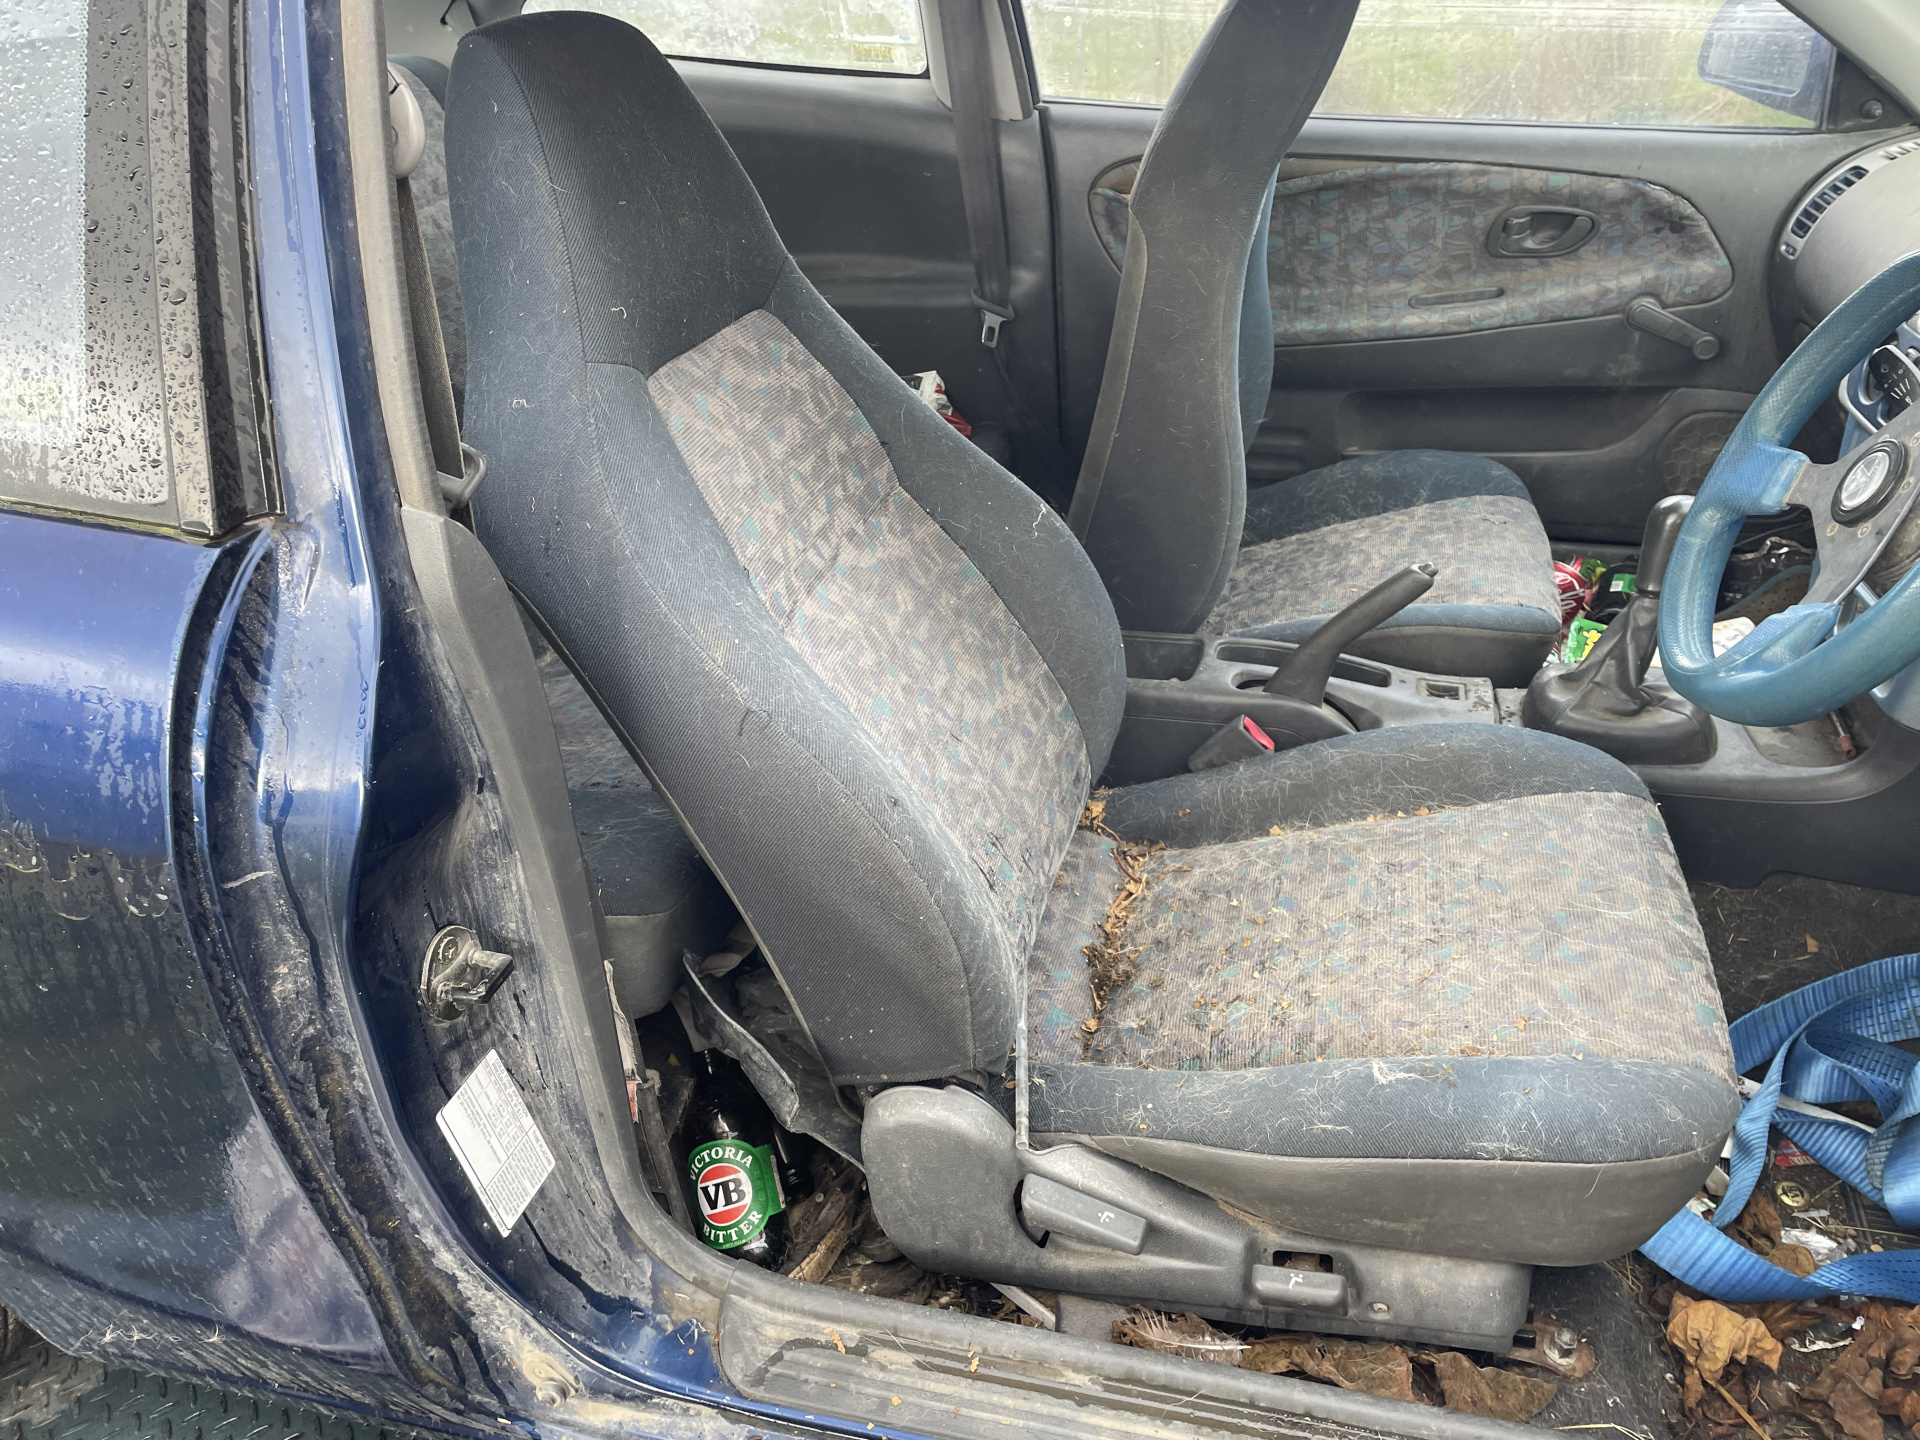
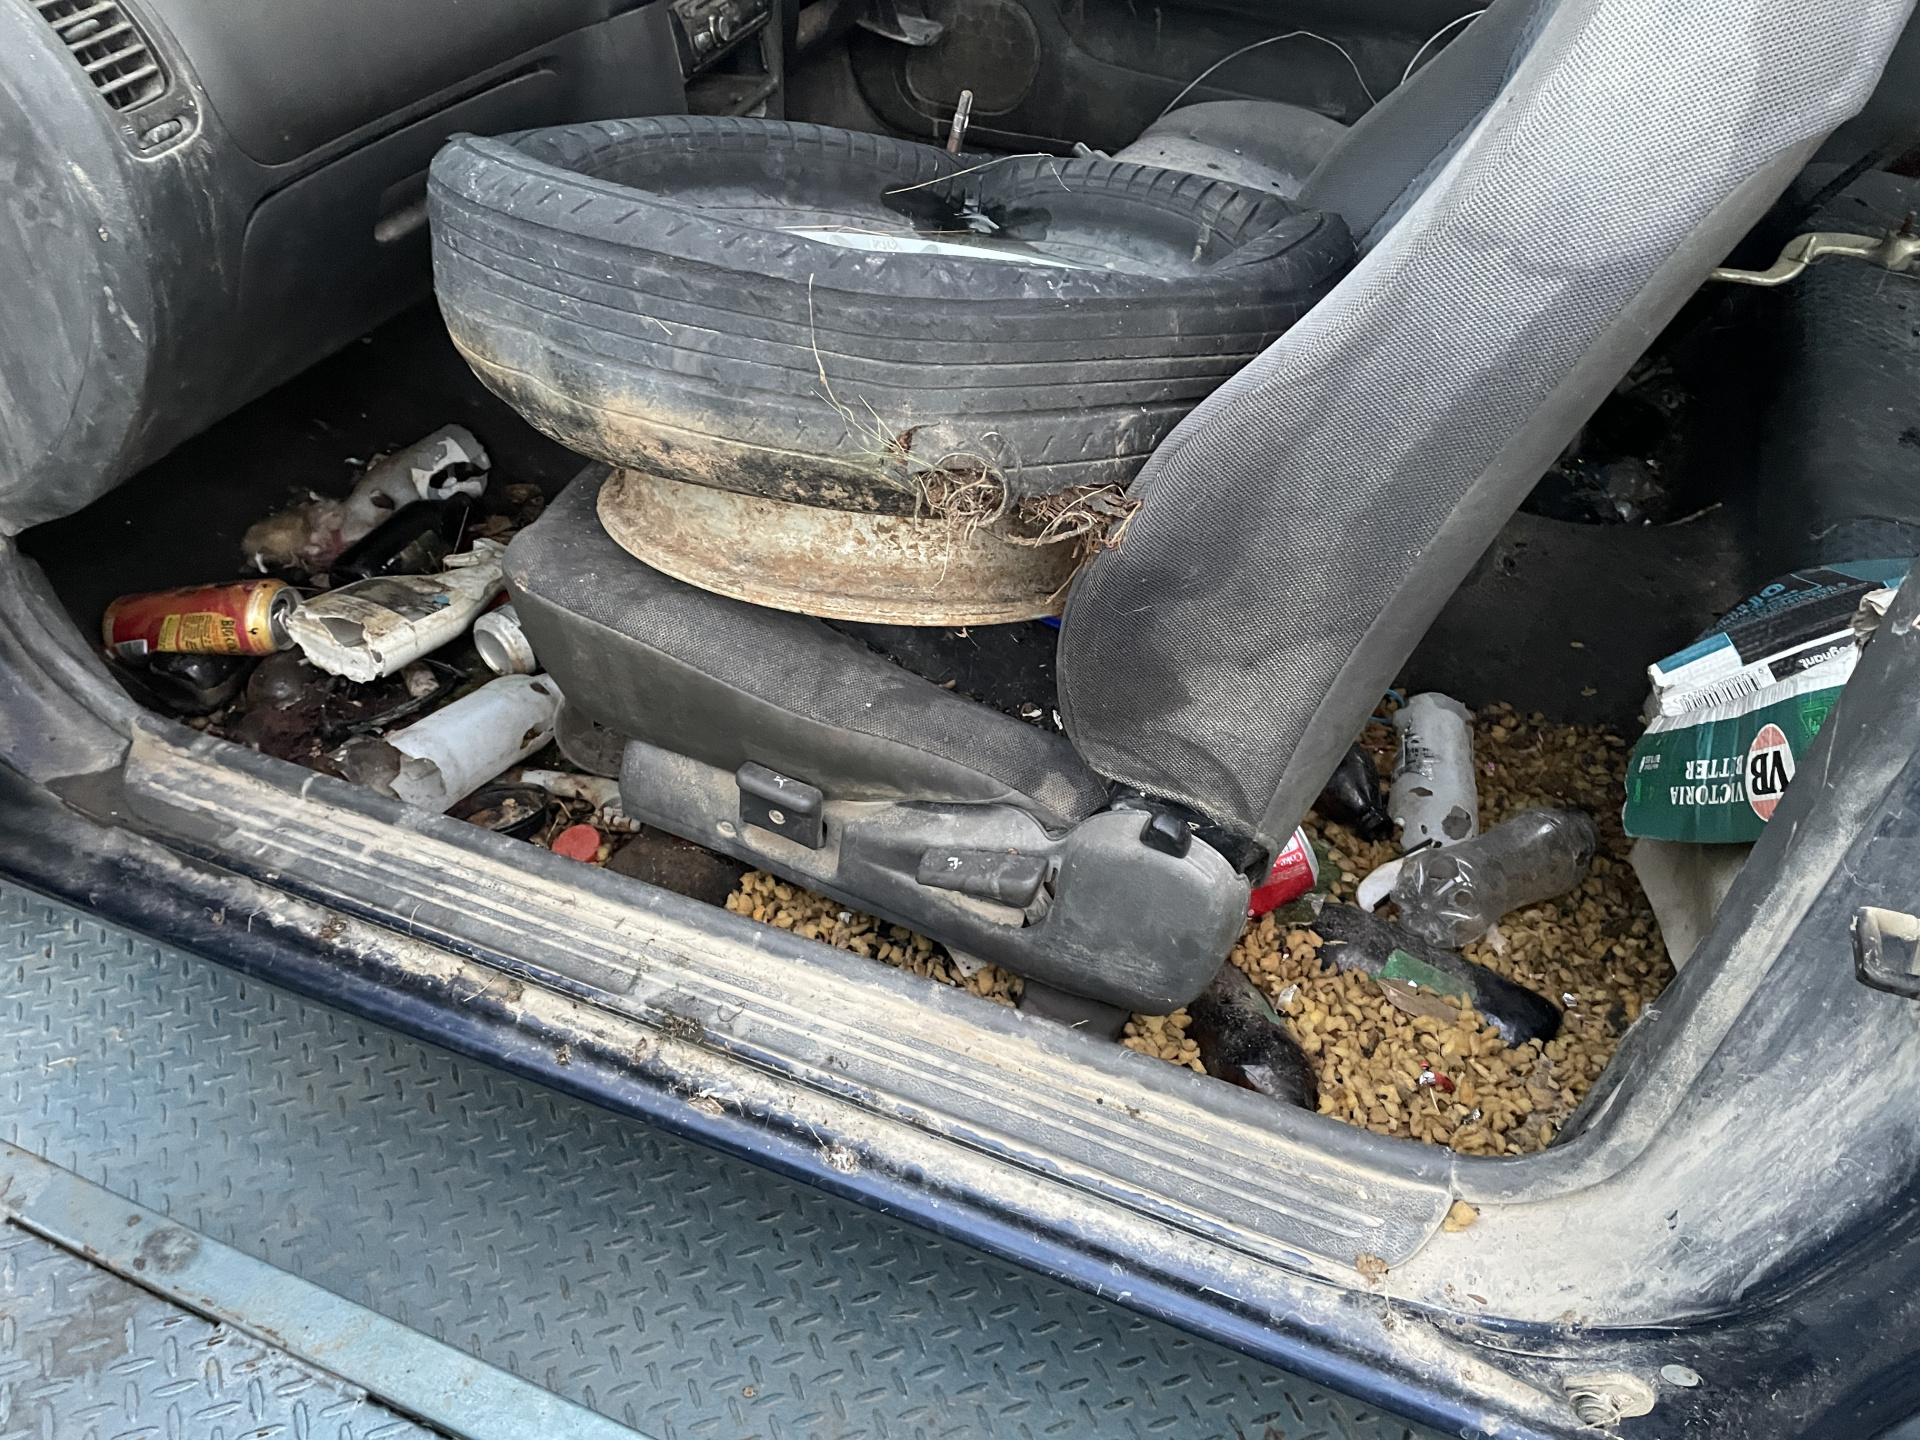
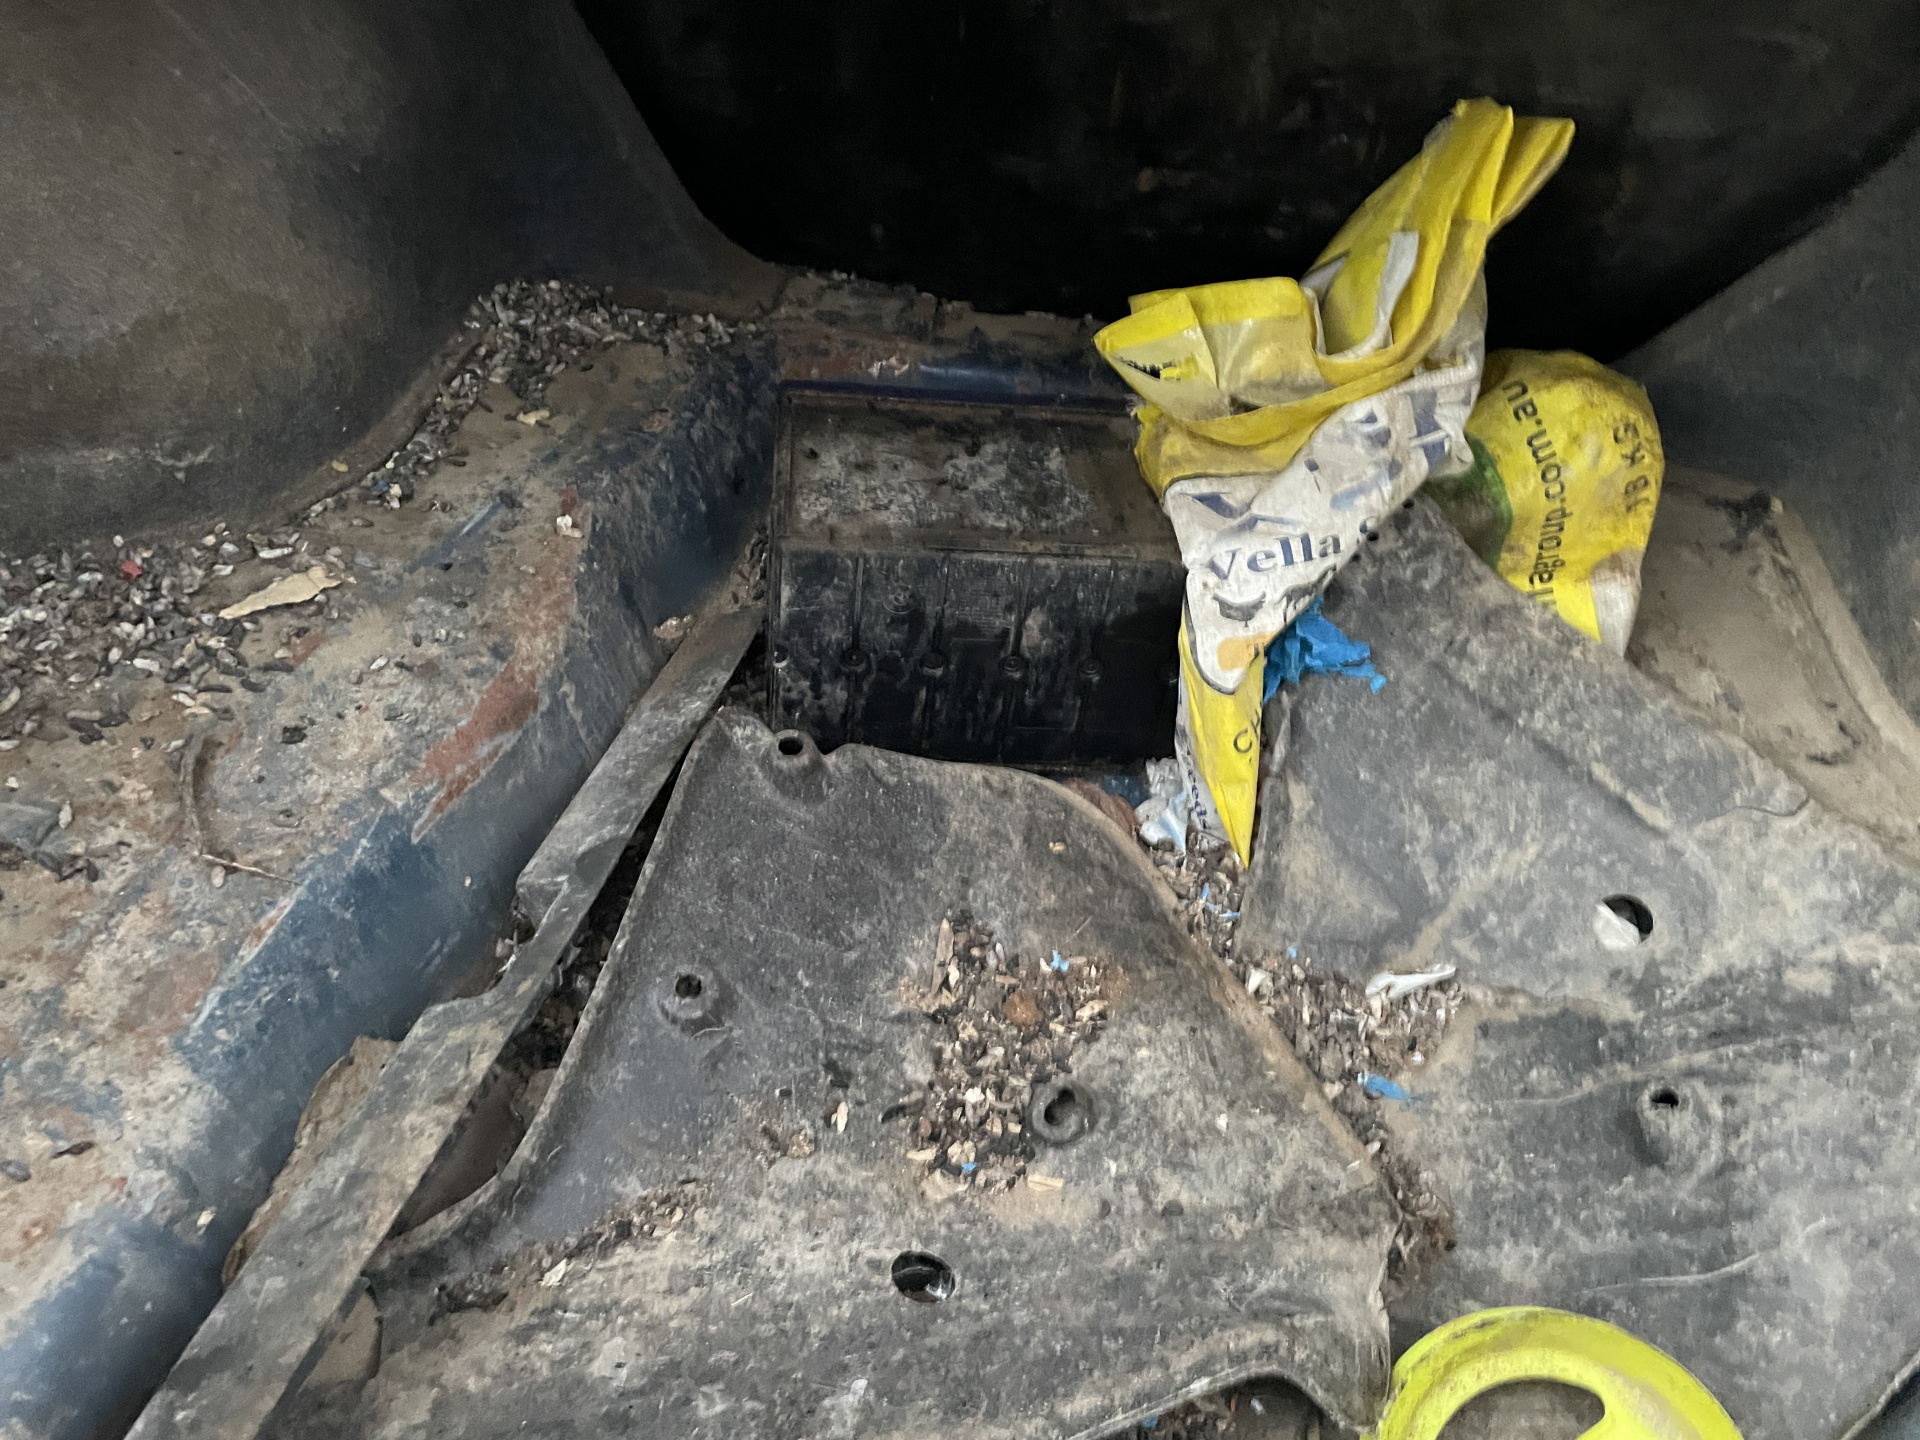
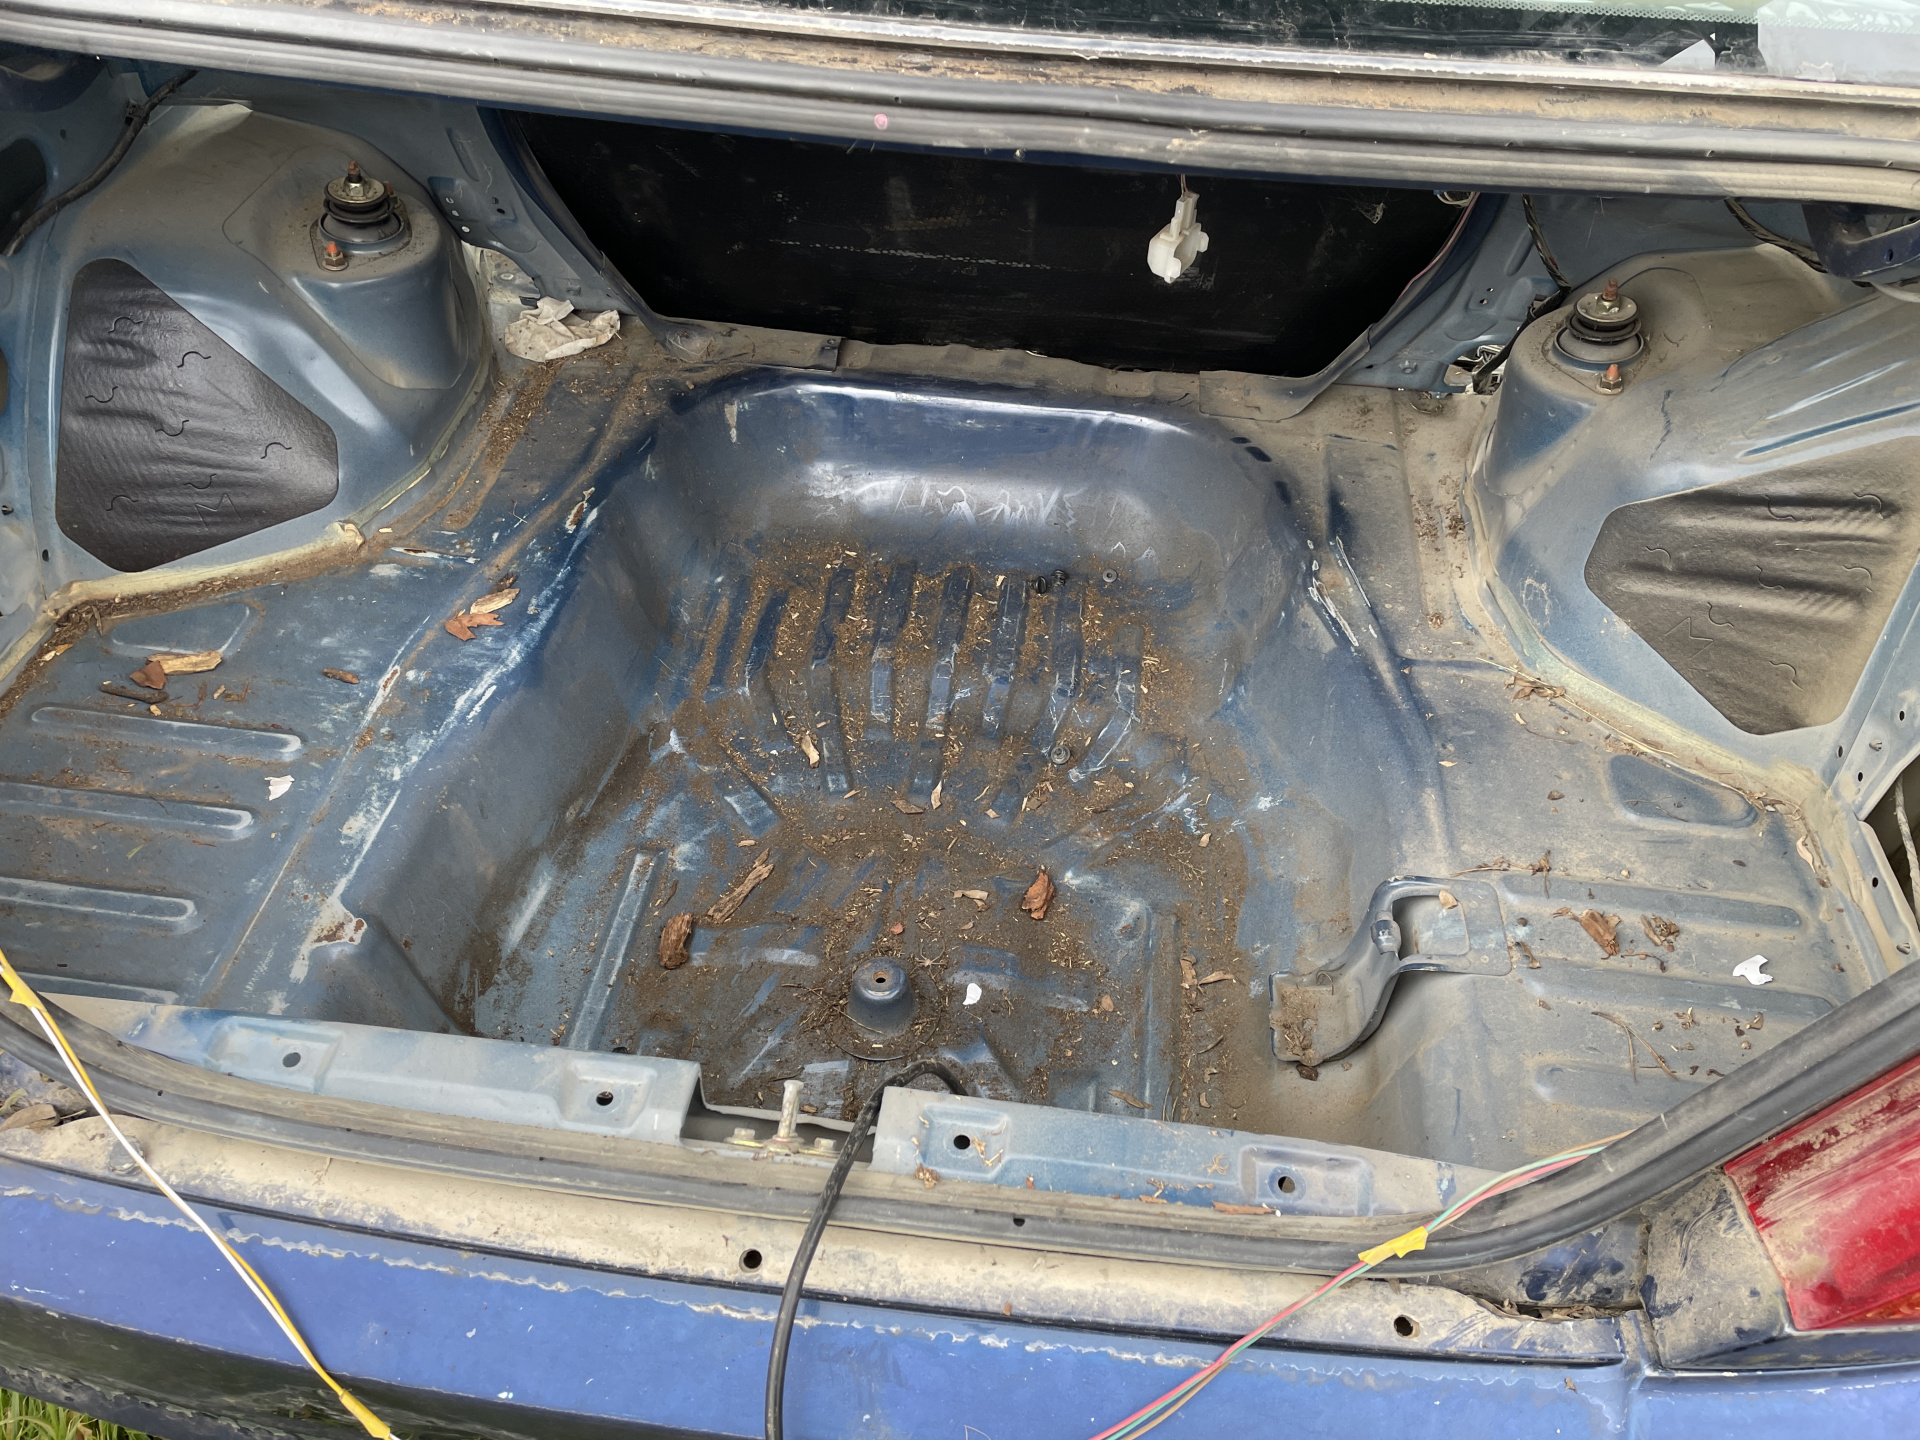
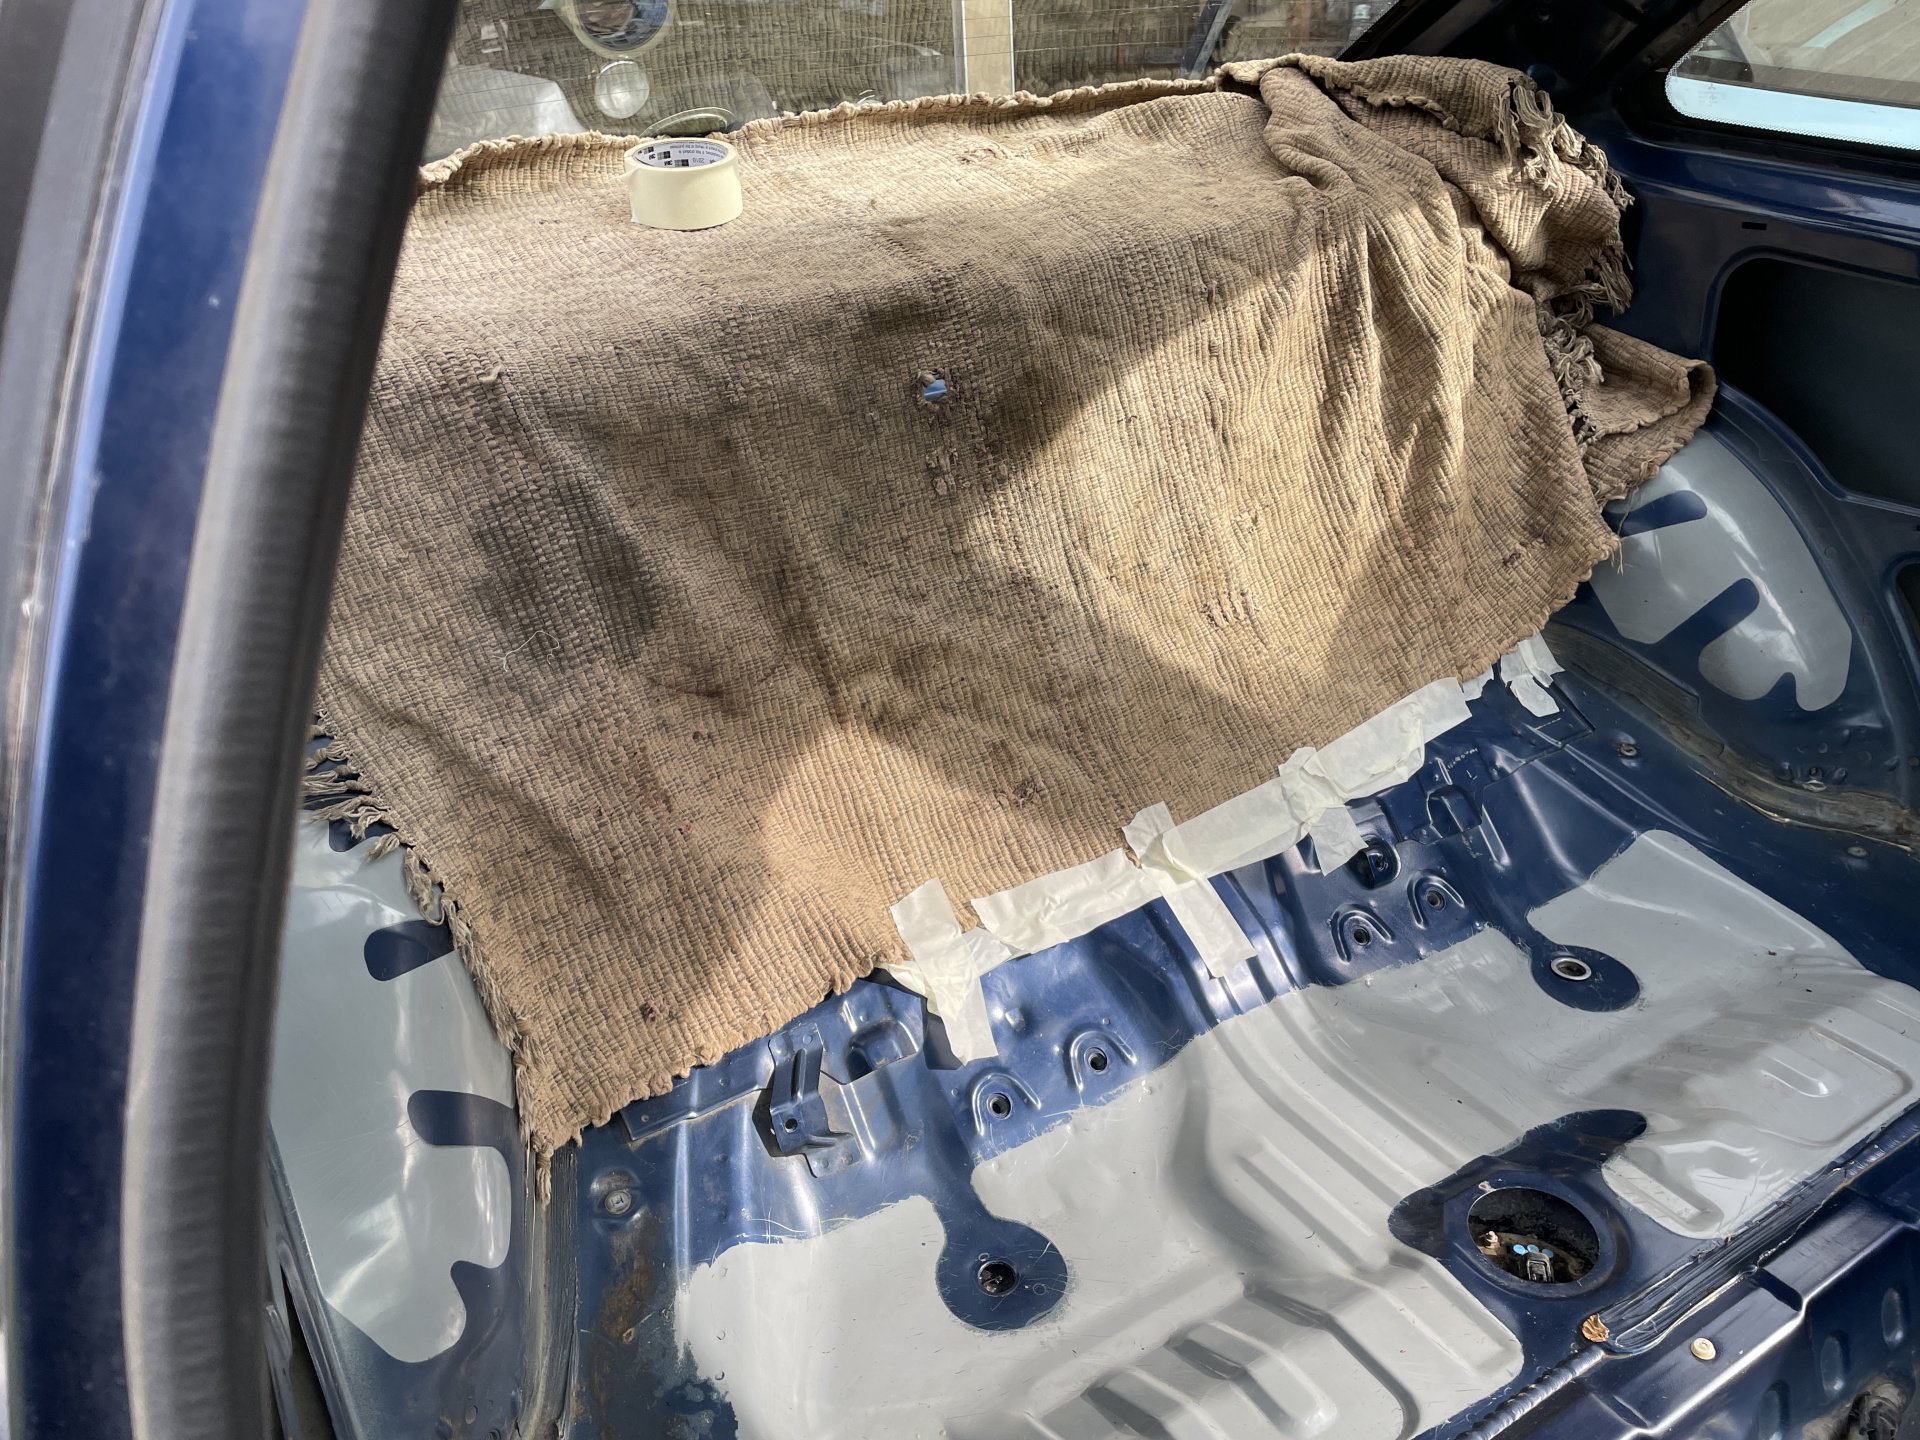
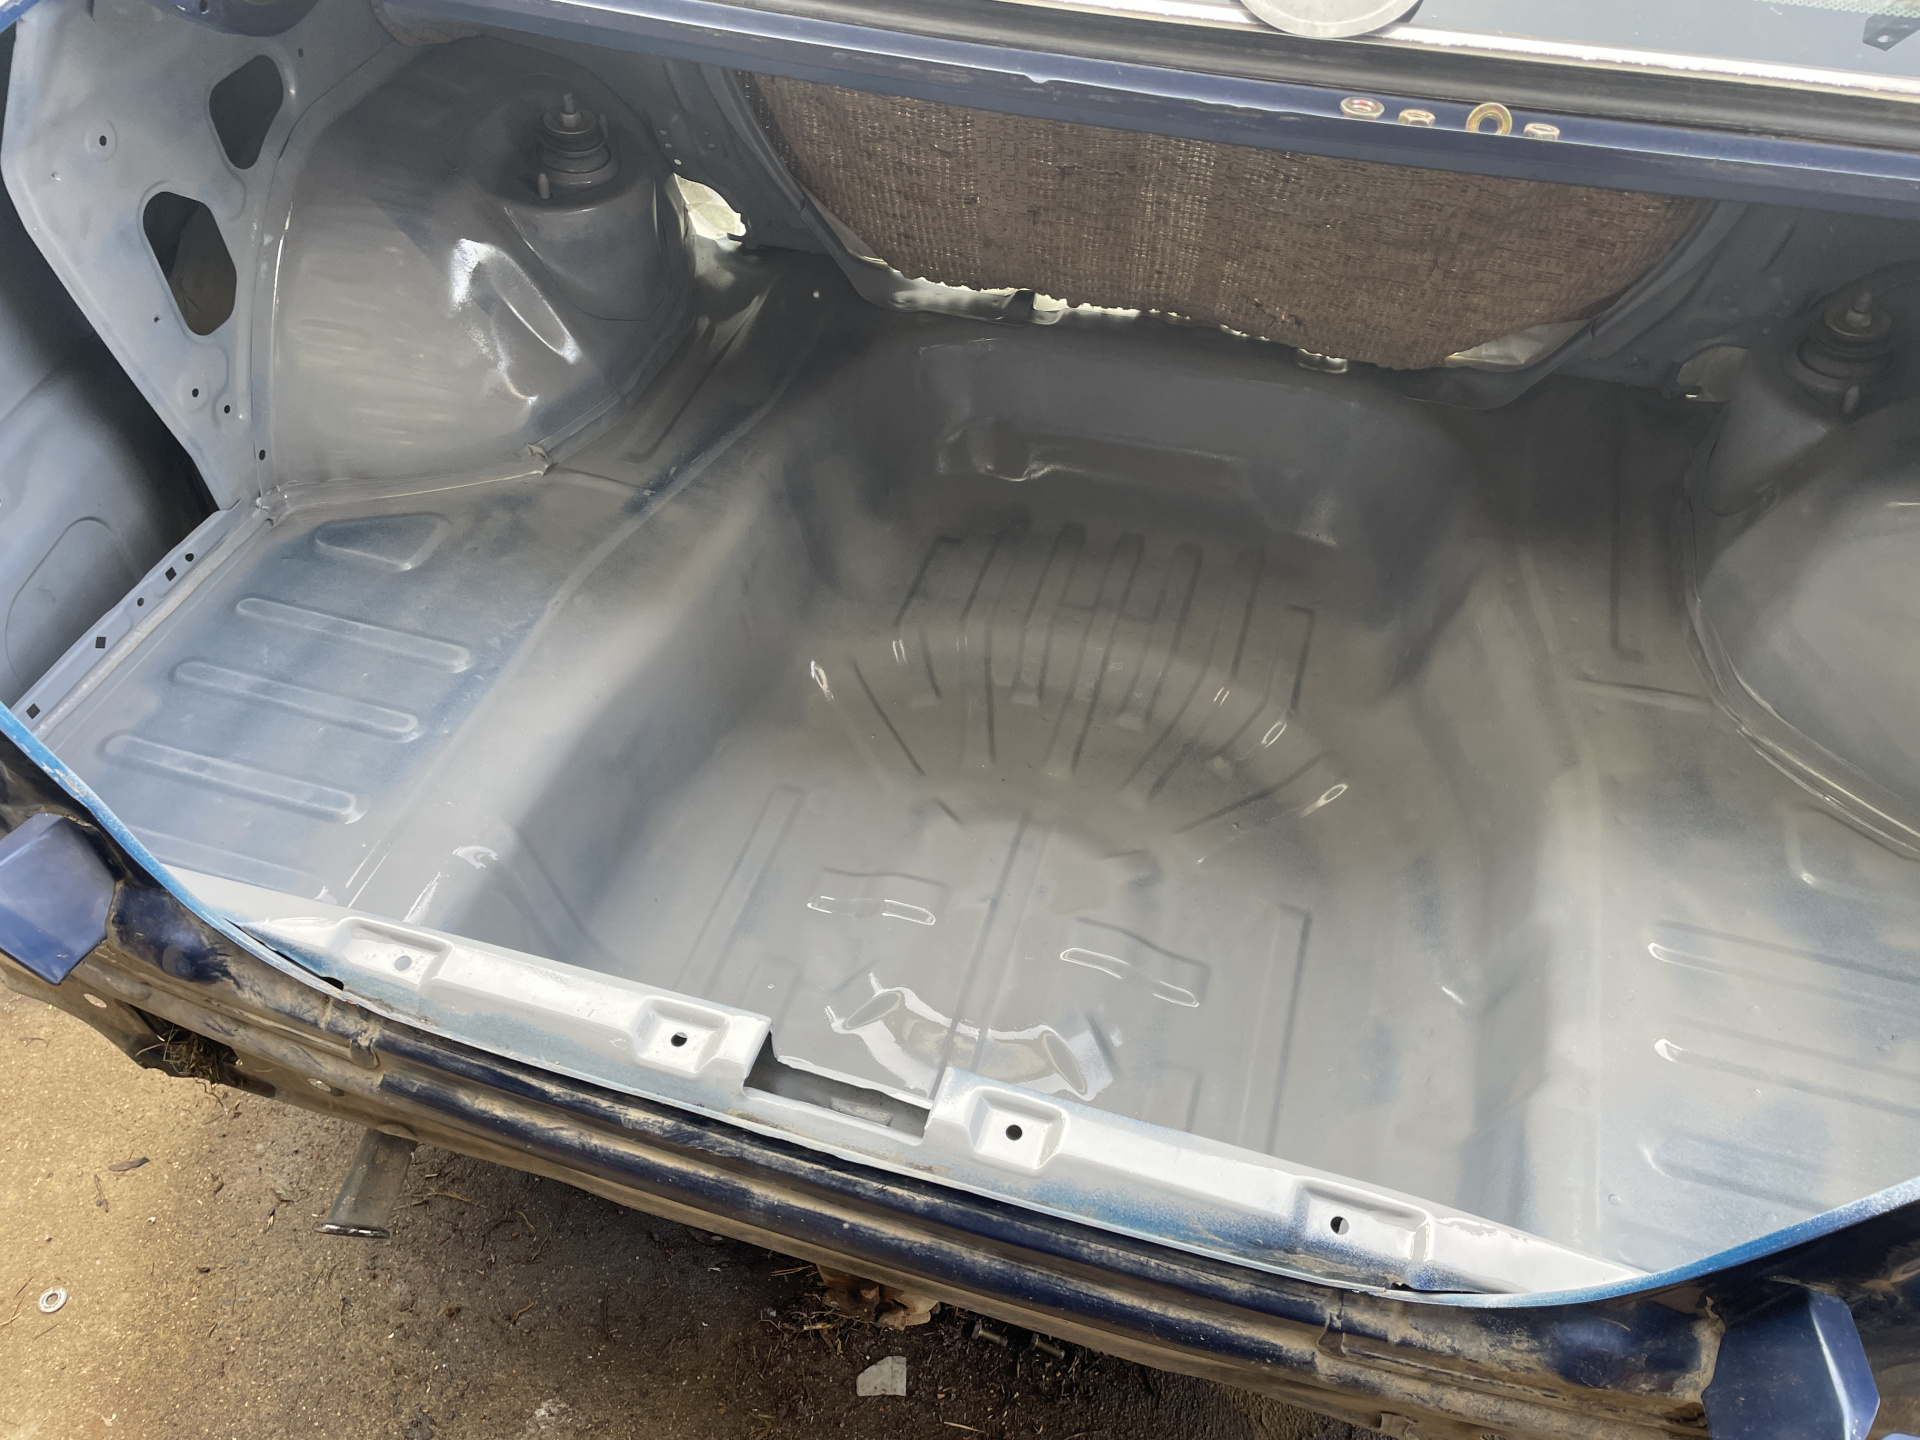
That interior photo is very flattering - it was as gross as the black S40, with an inch of dog hair over everything, dozens of empty bottles/cans (mostly VB), leaves, and lots of unidentifiable muck. I spent an hour just dragging crap out of it and dumping it into the bin, recycling and bottle recycling as appropriate.

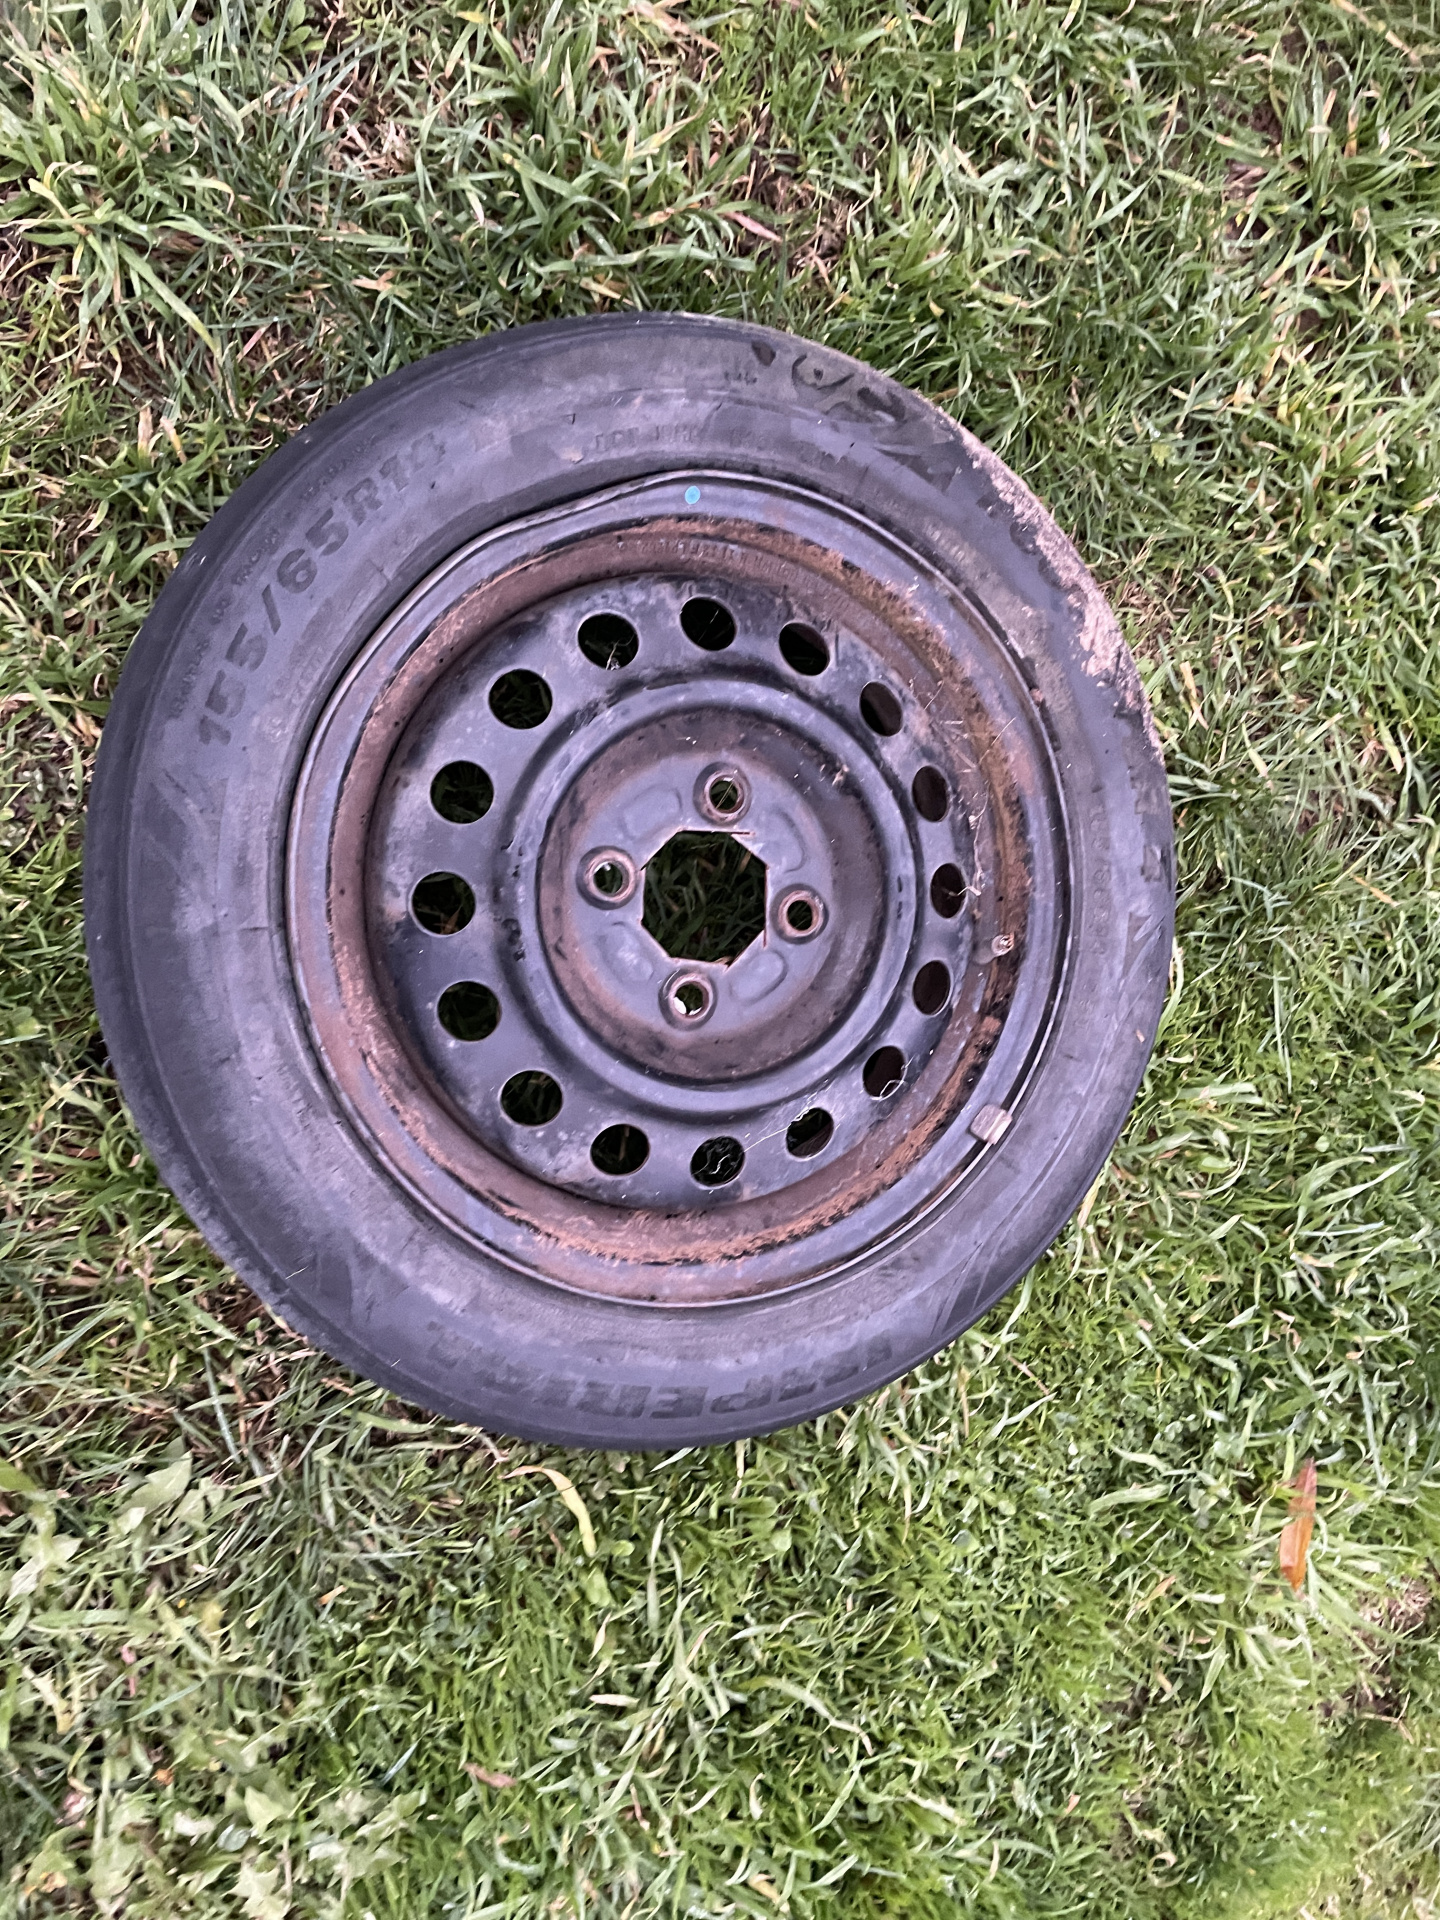
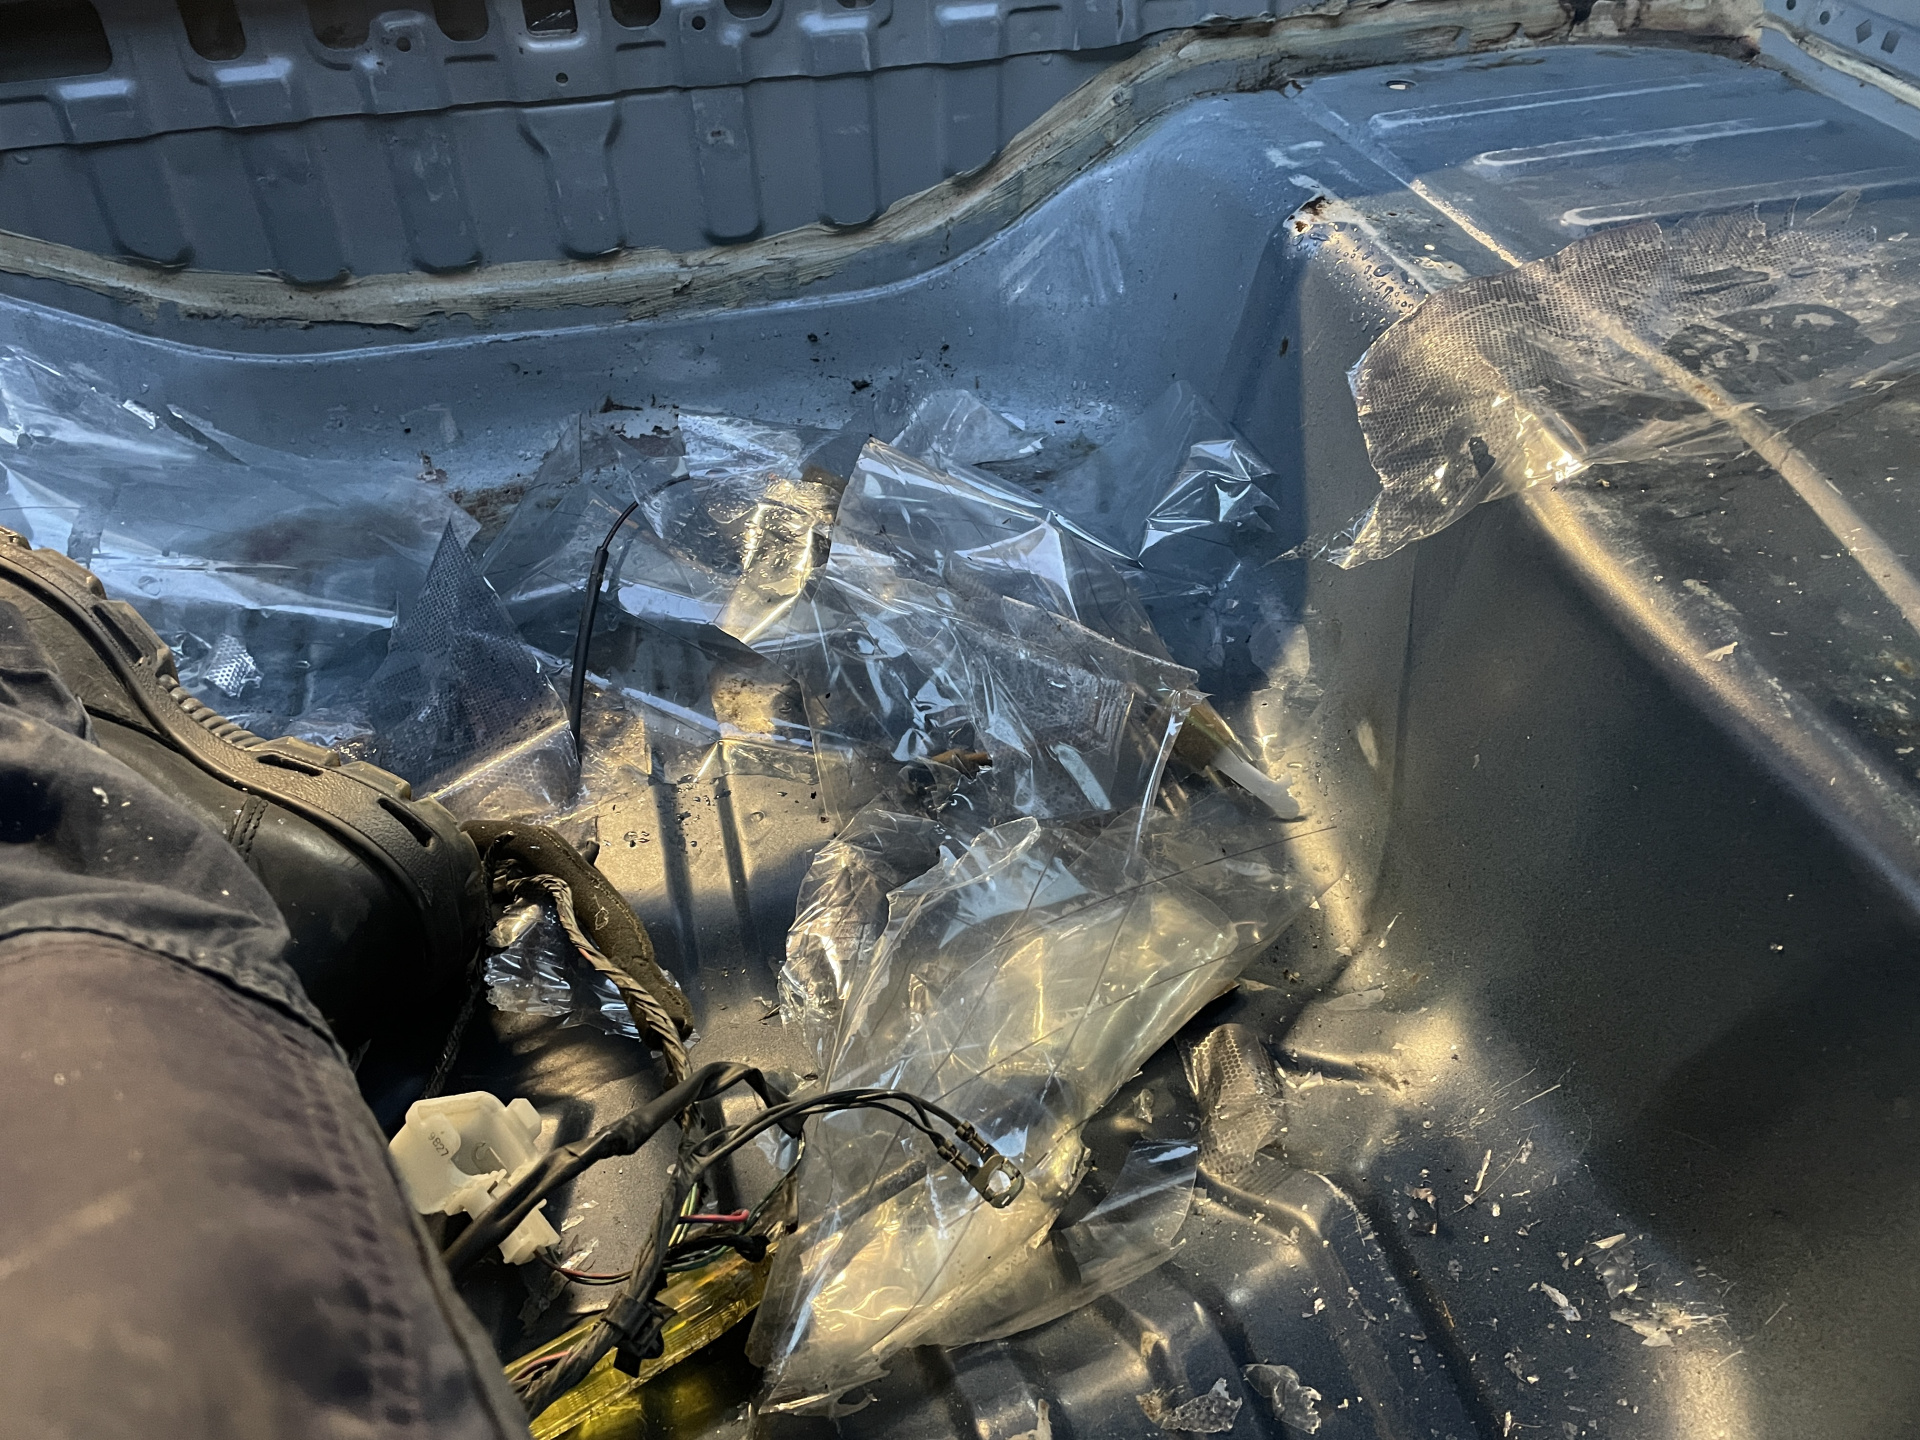
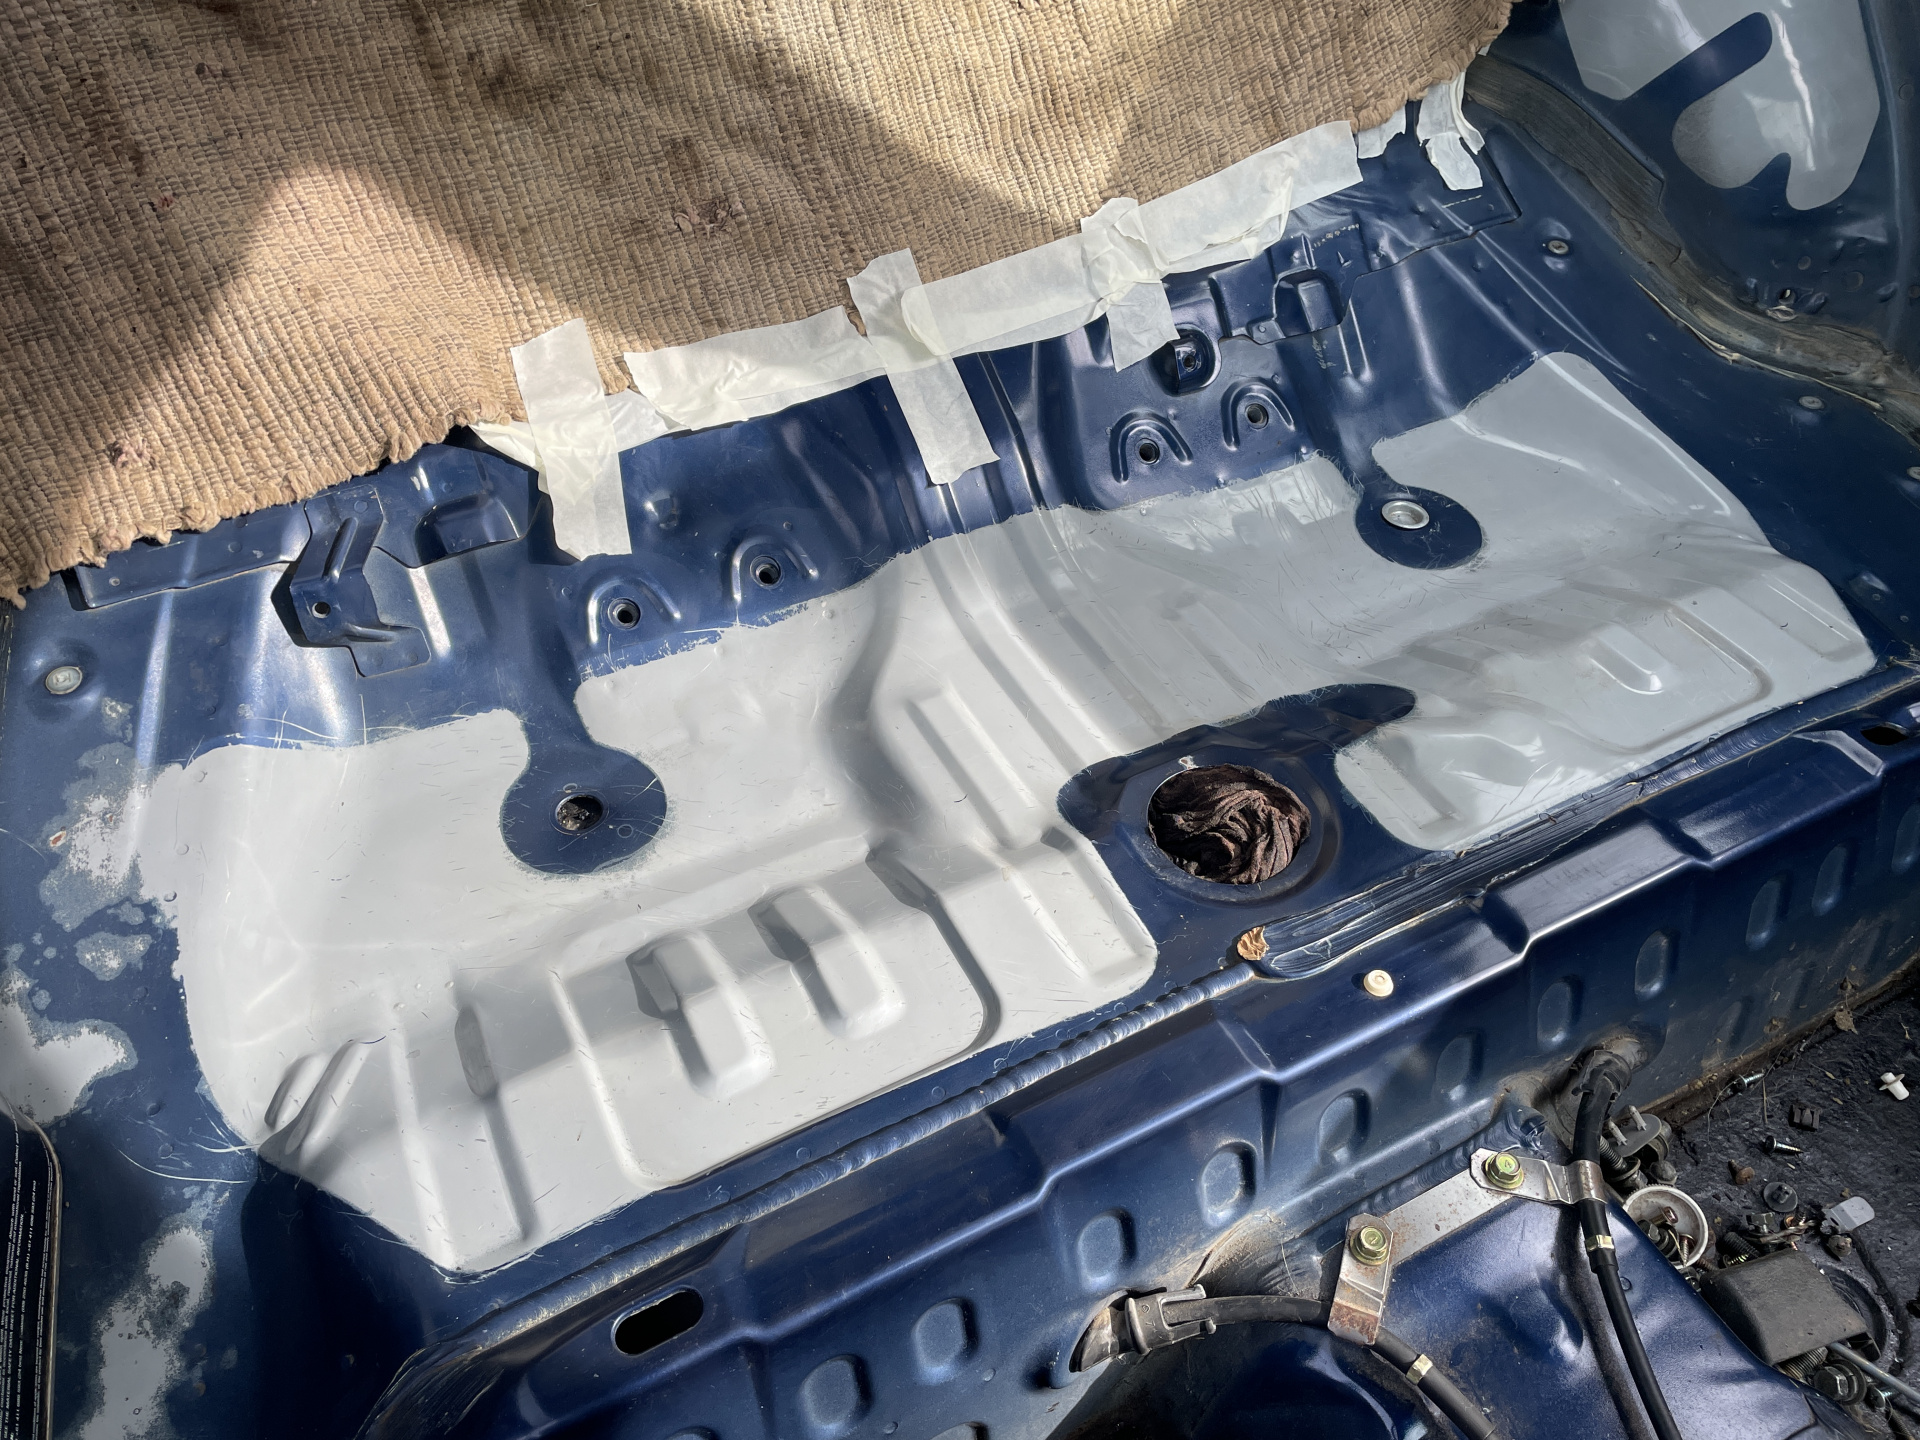
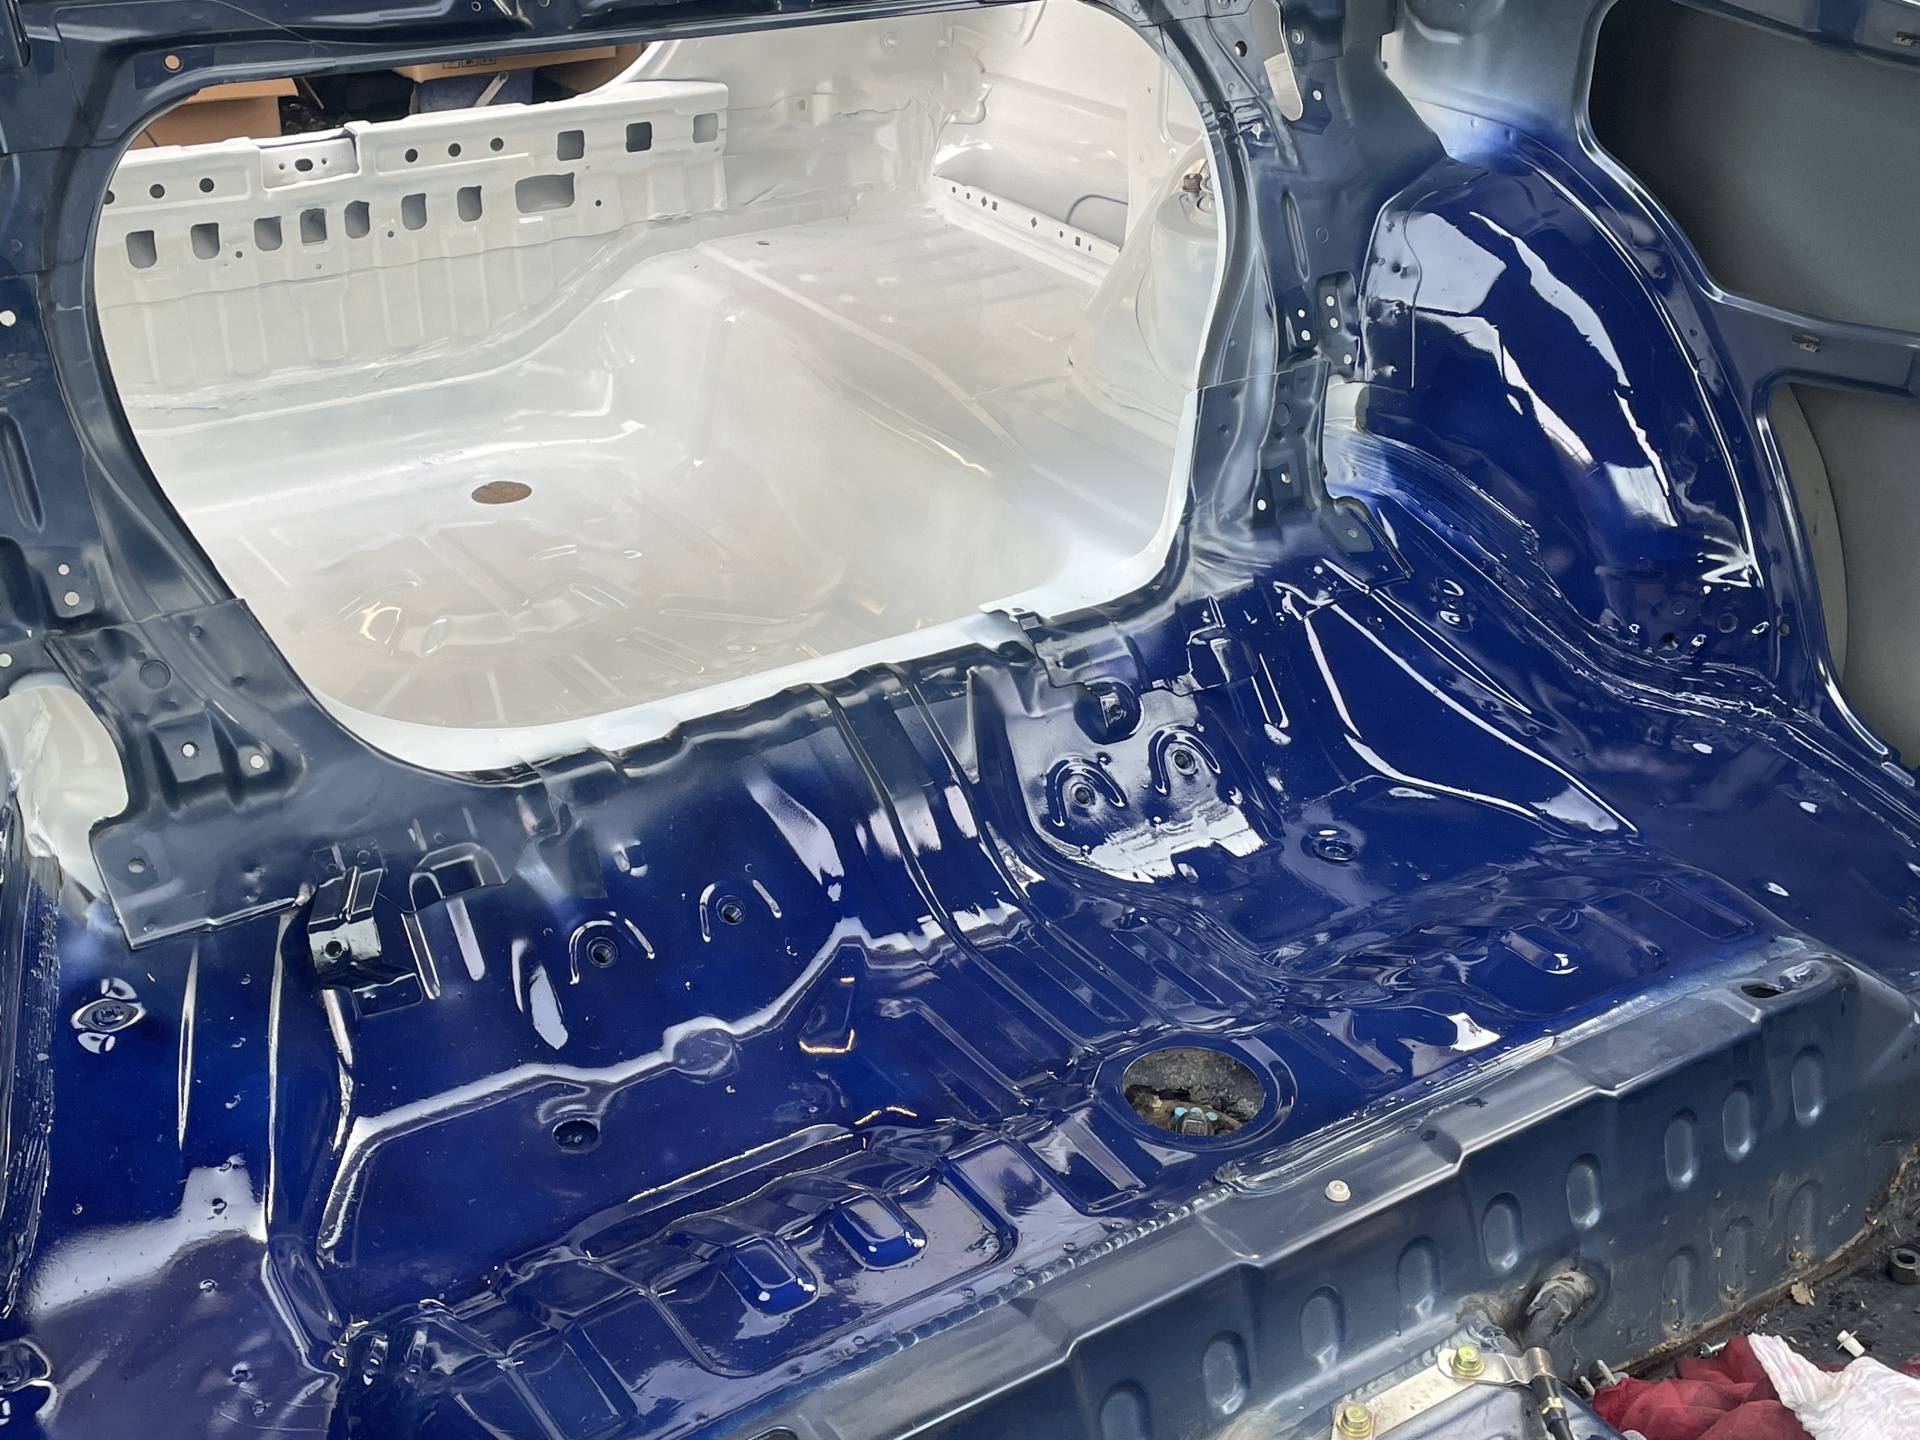
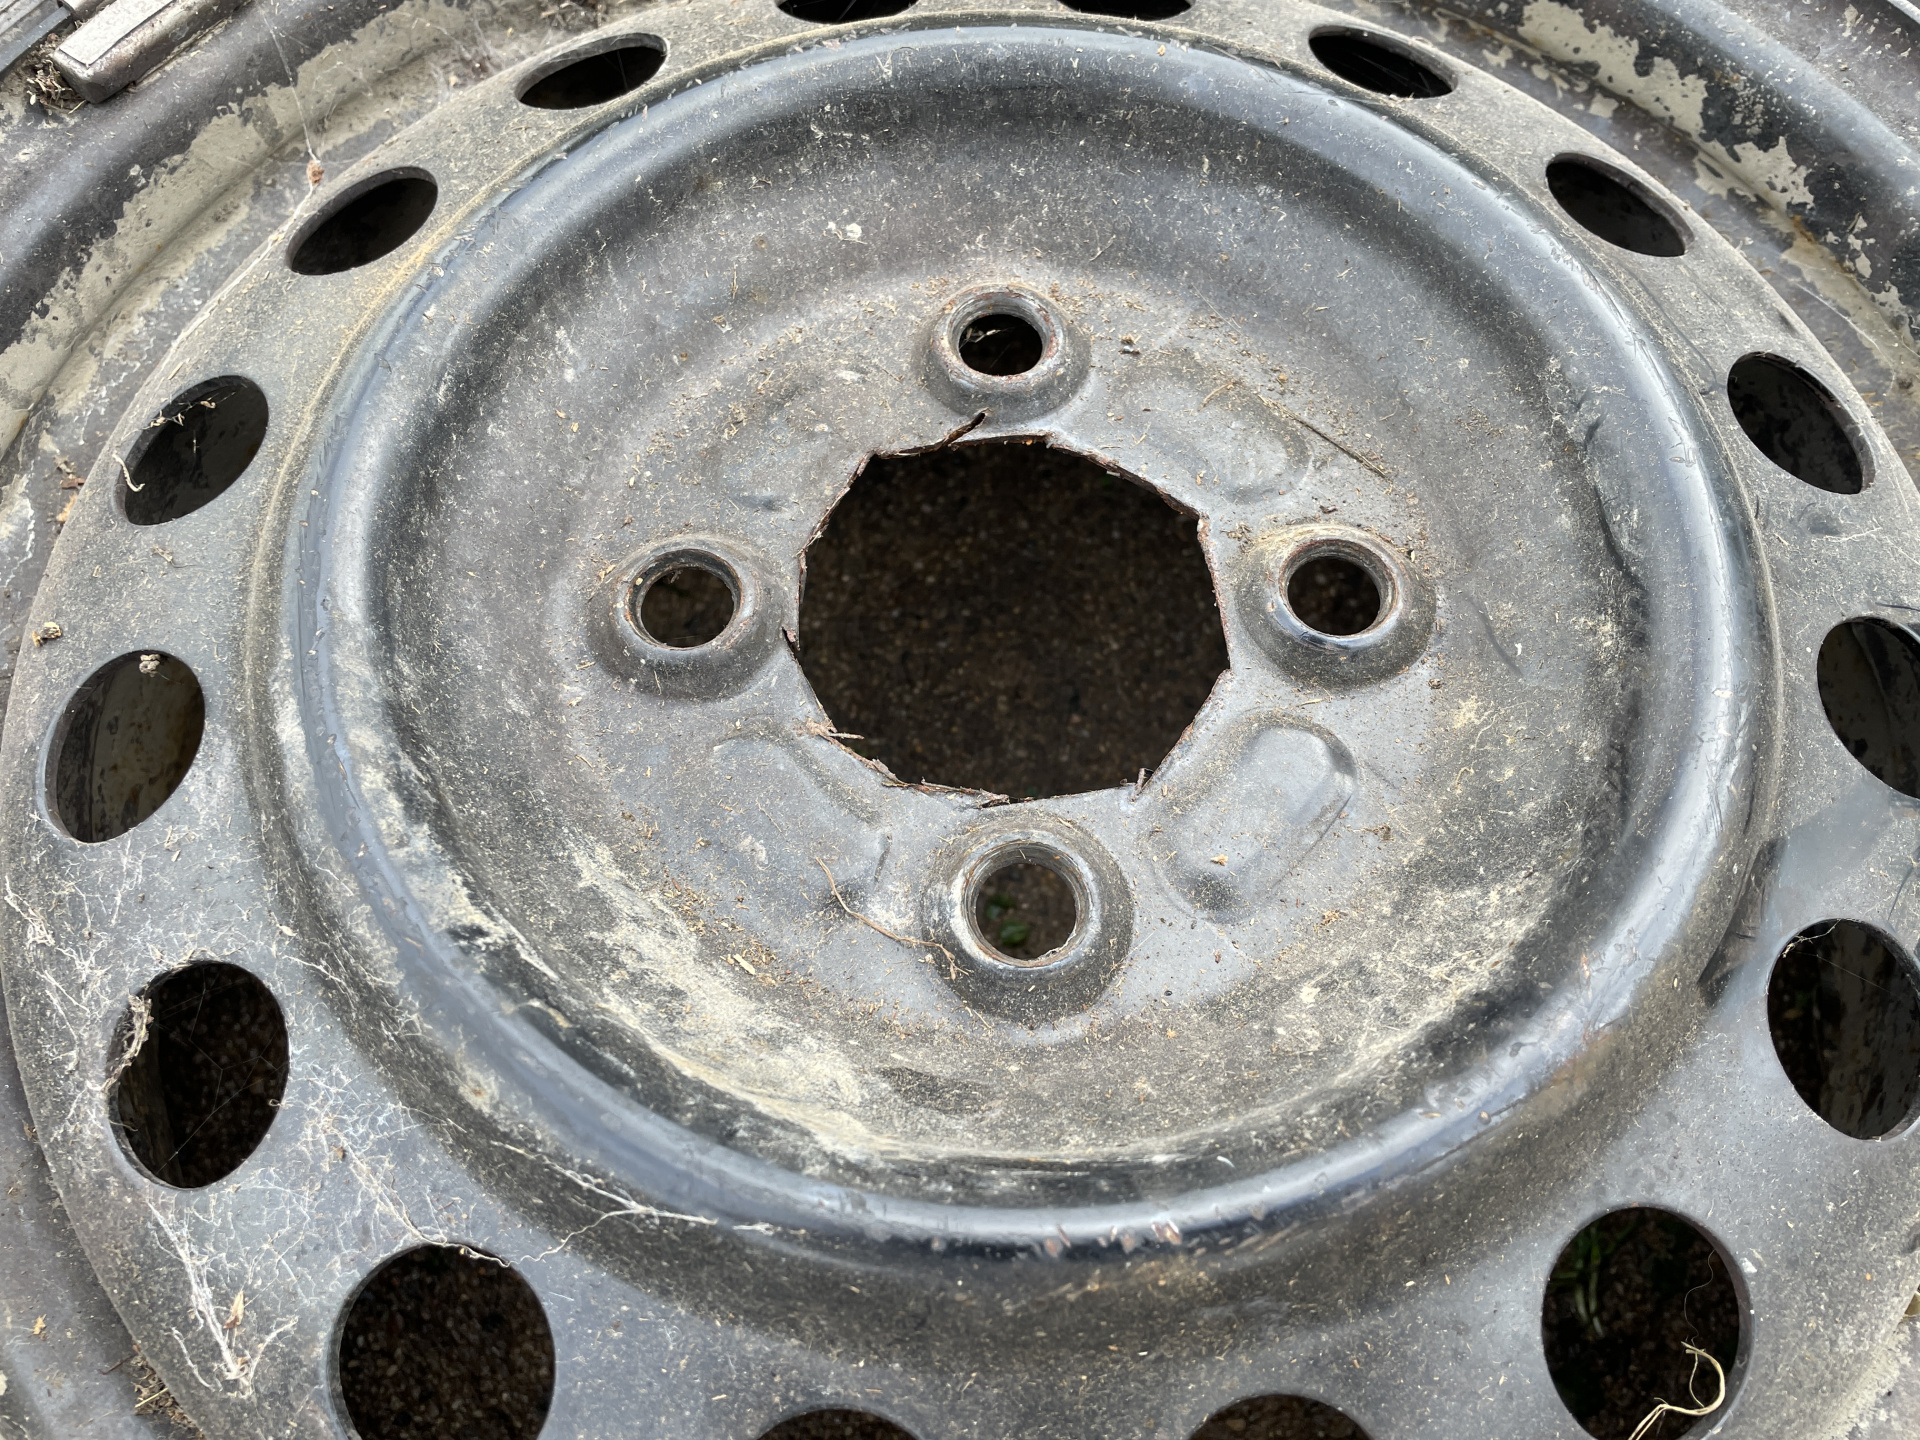
The spare wheel is … heartwarming?!

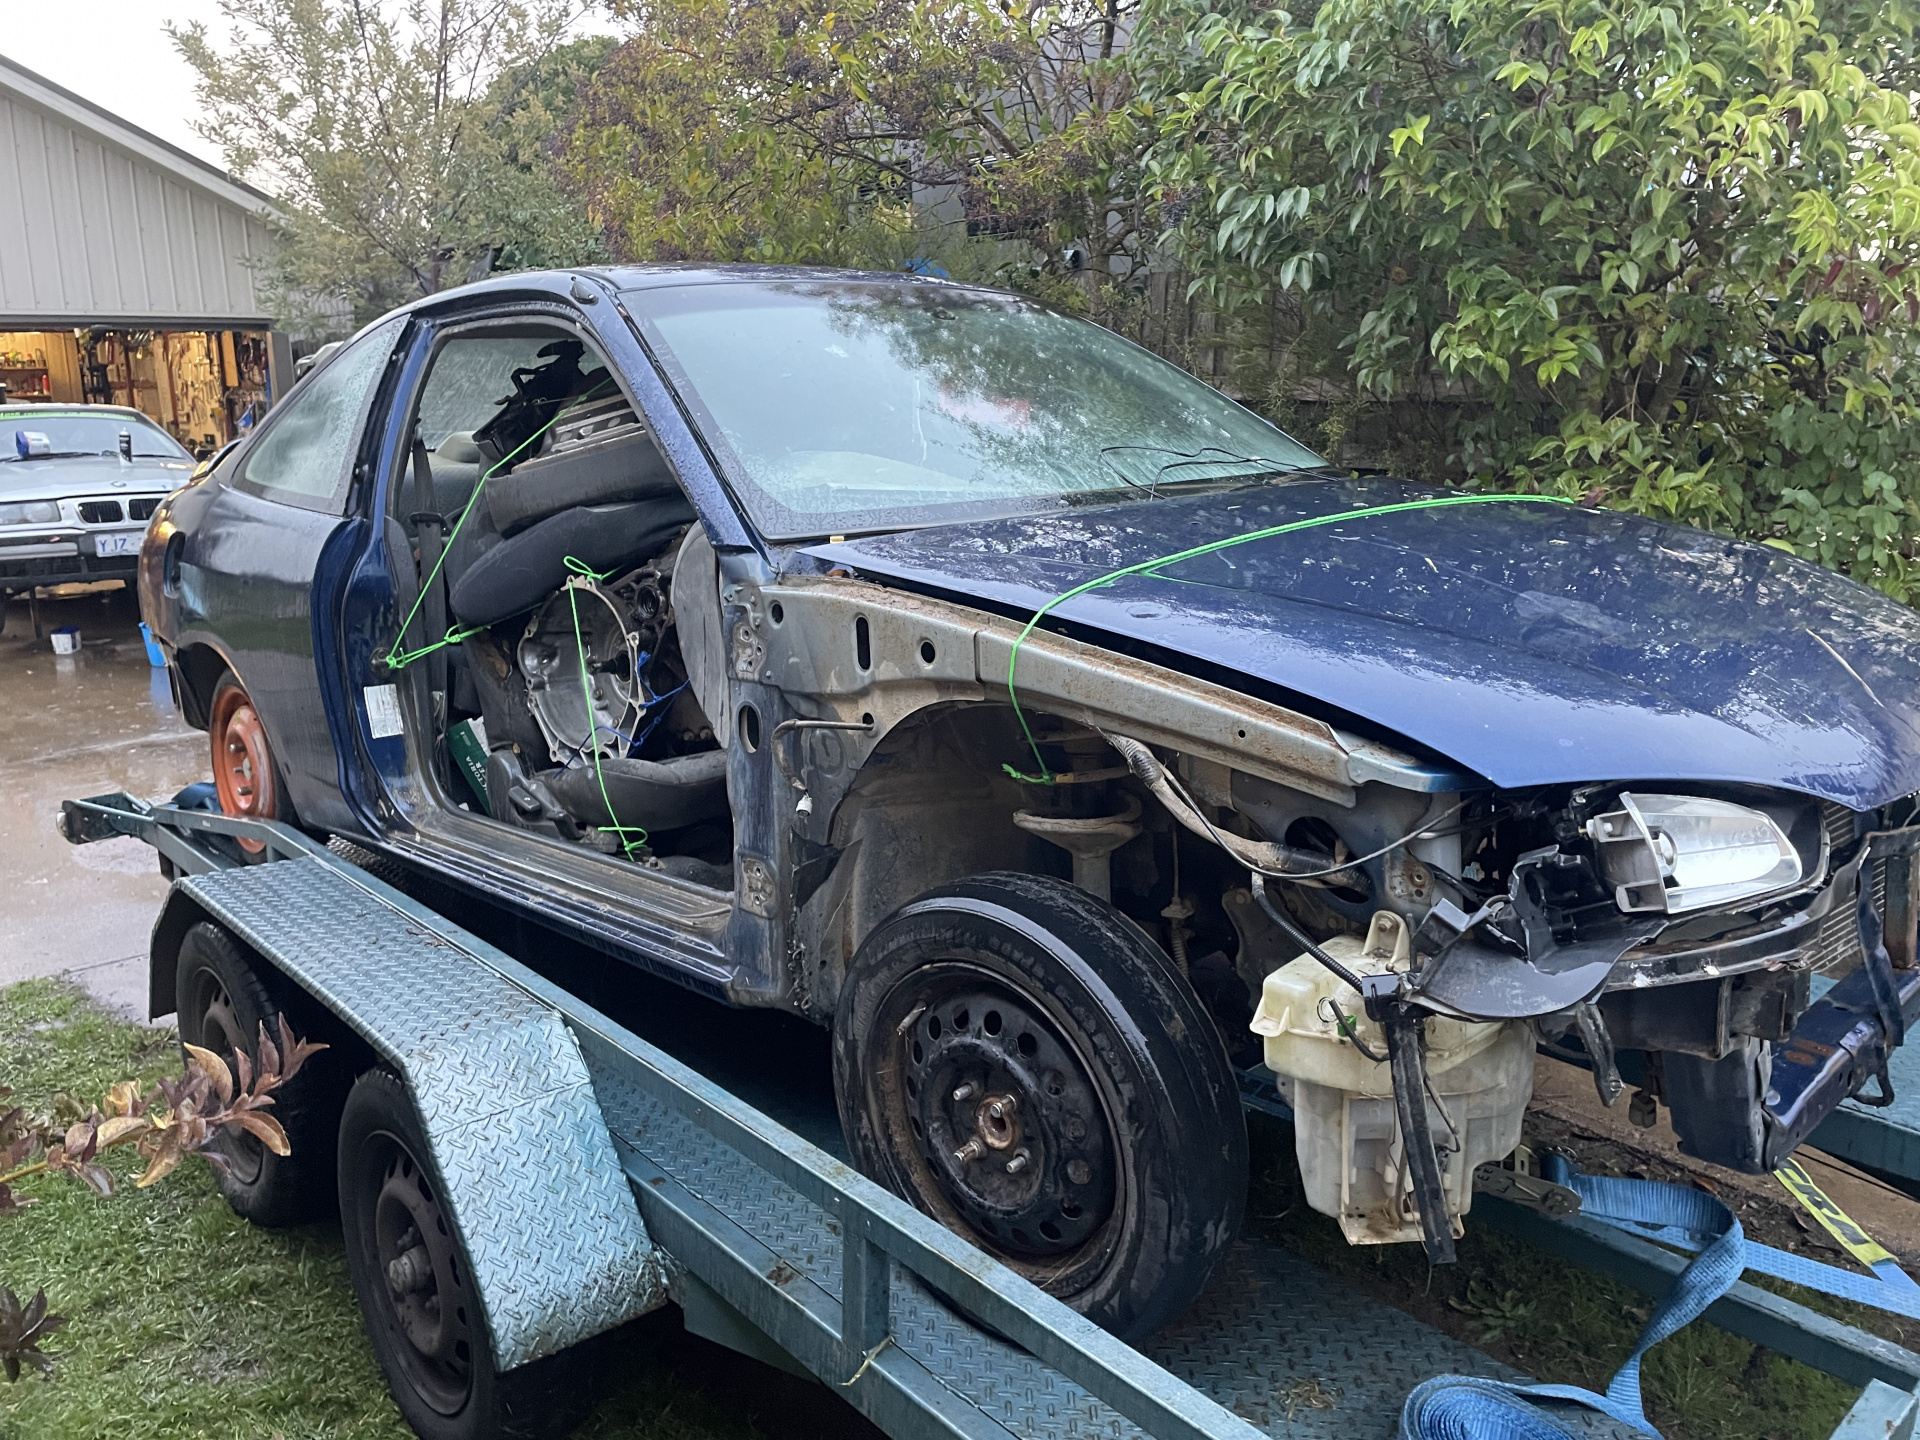
I will go and grab the other car on Sunday.

Here’s the plan (mostly typing this out to get it clear in my own head):

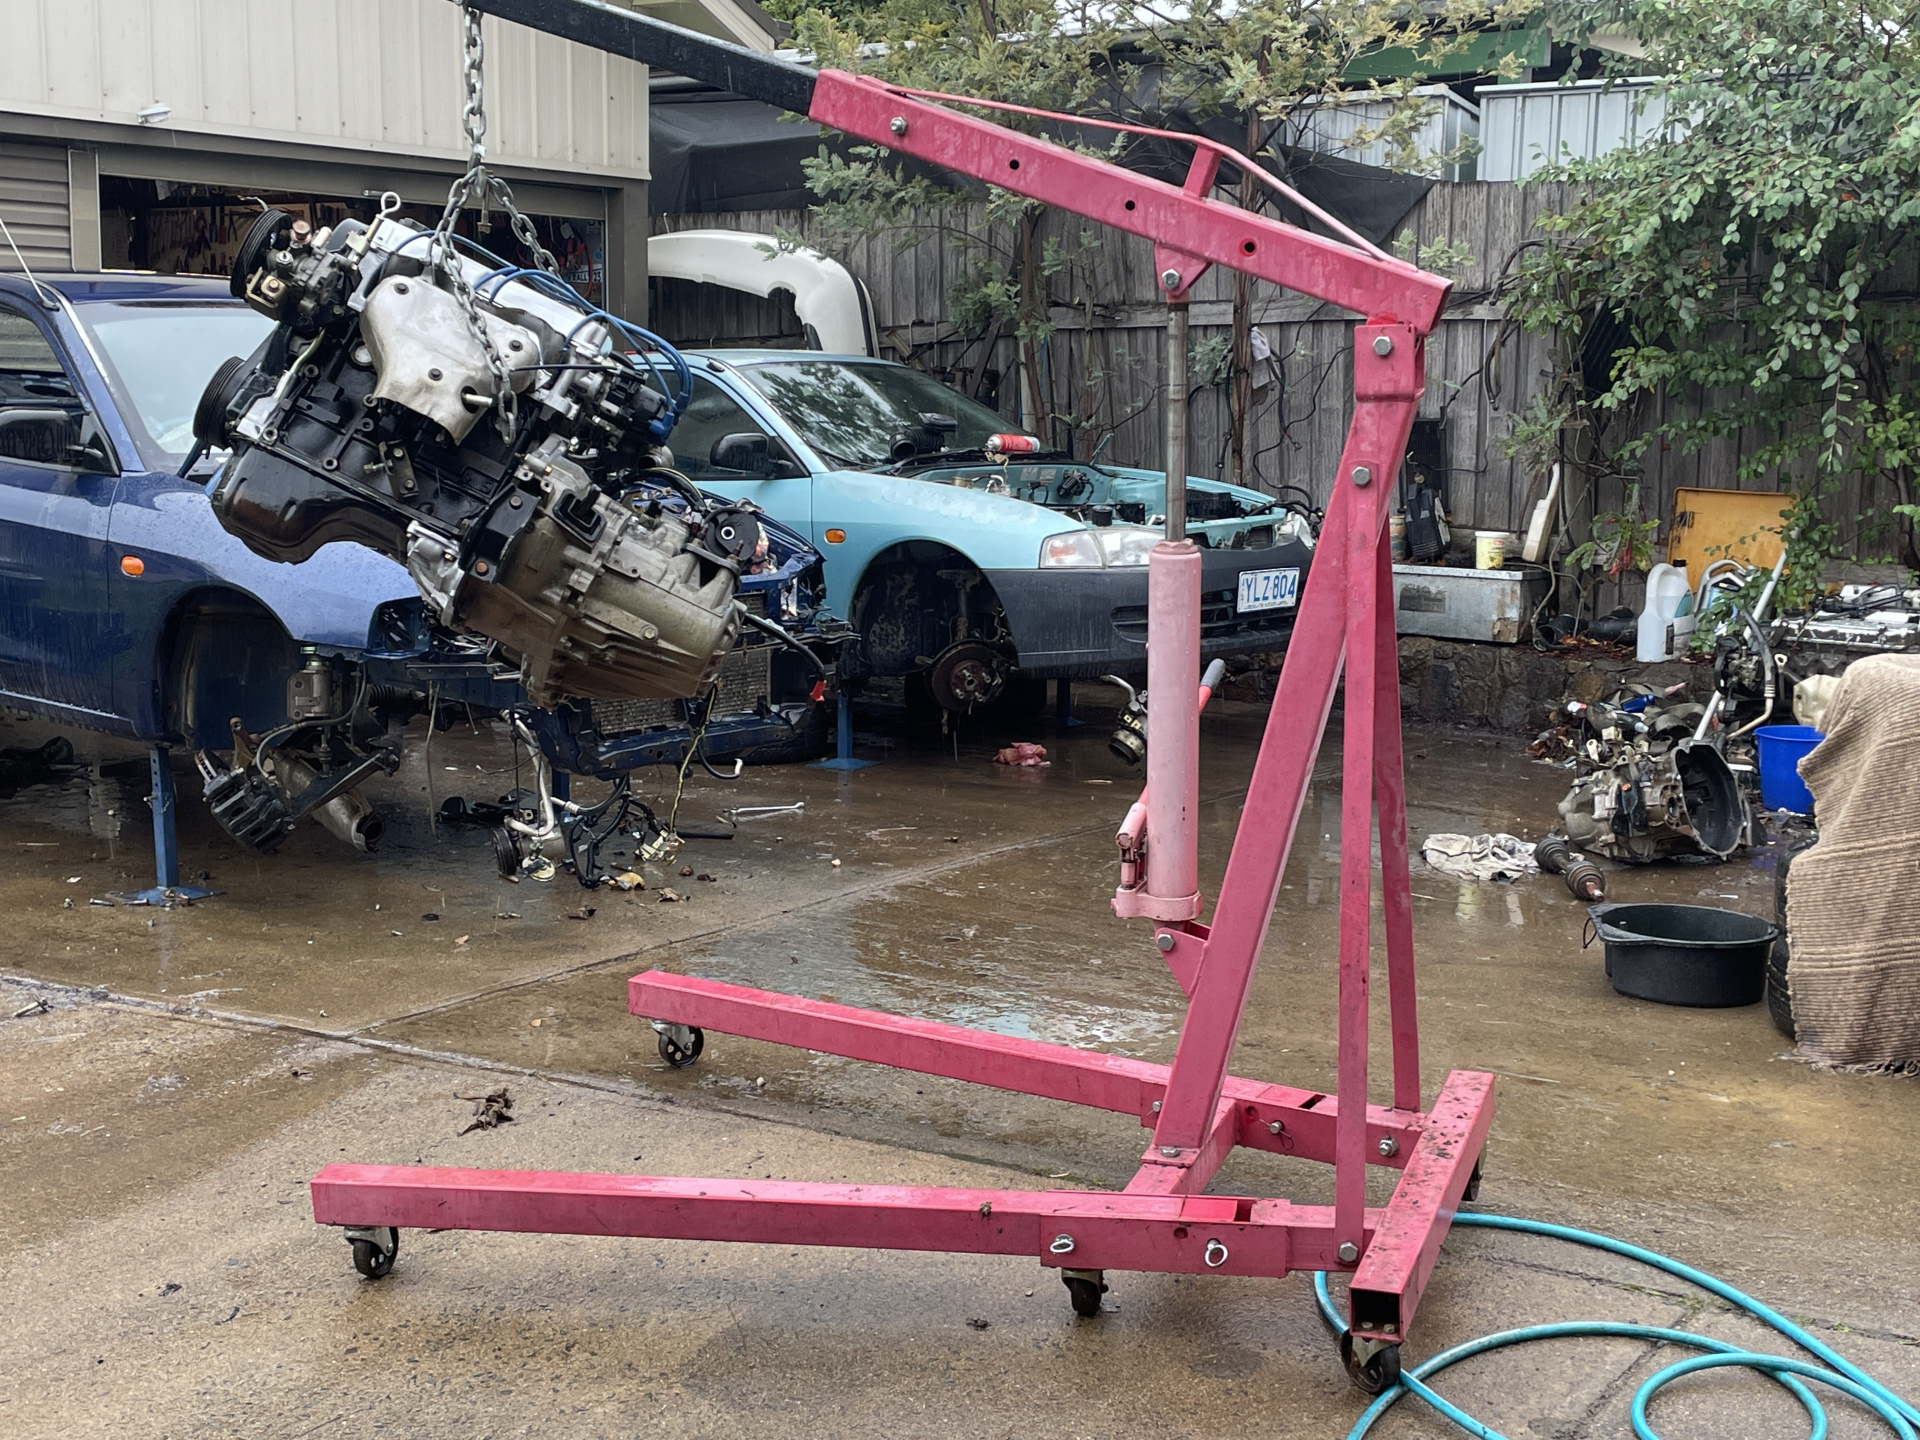
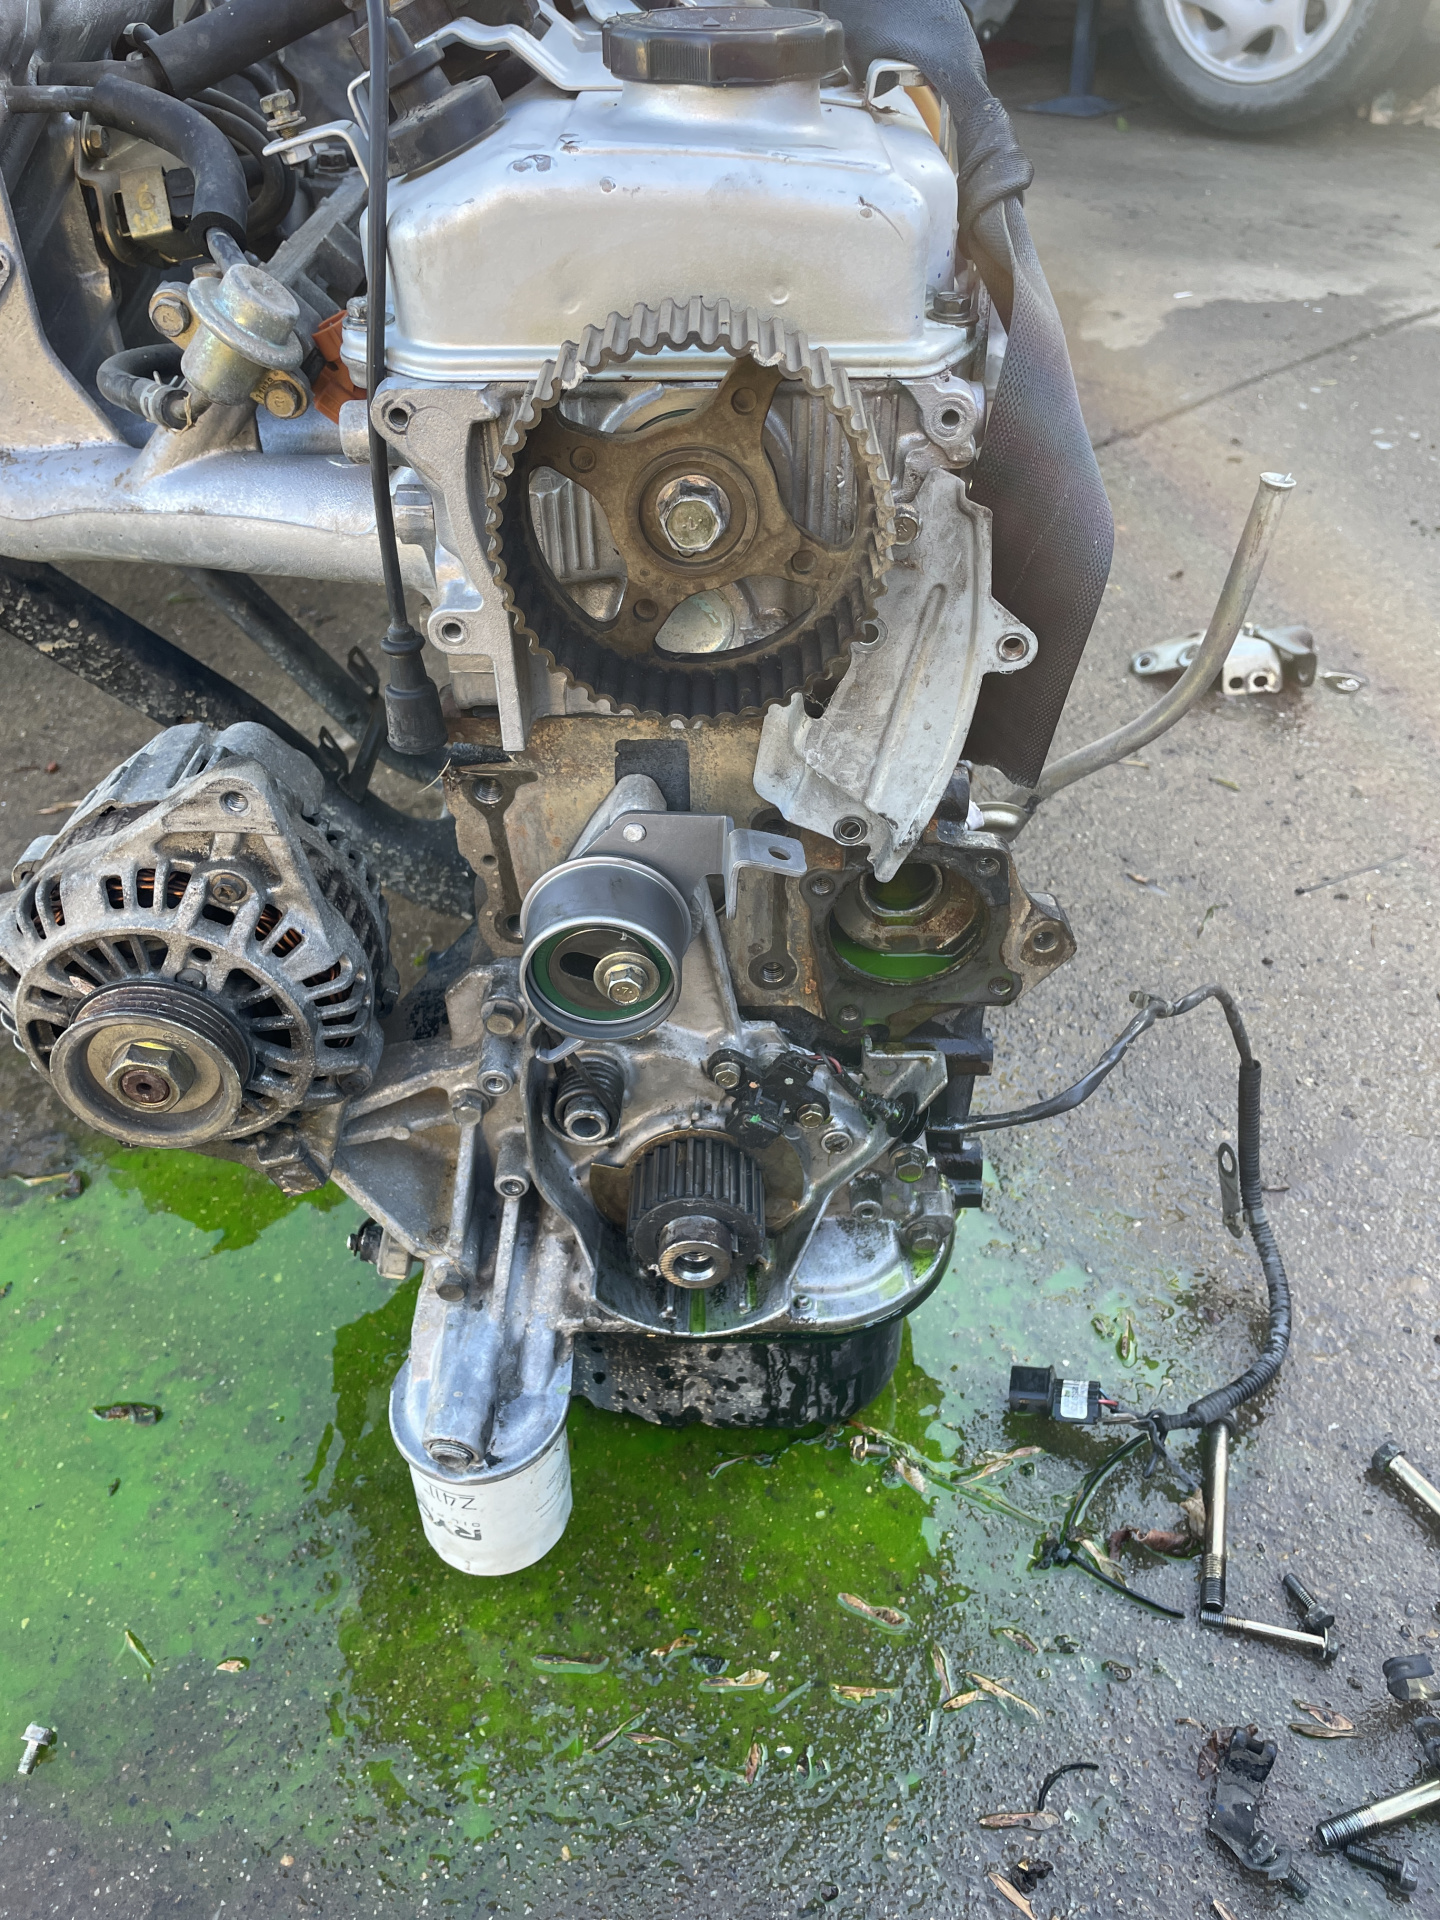
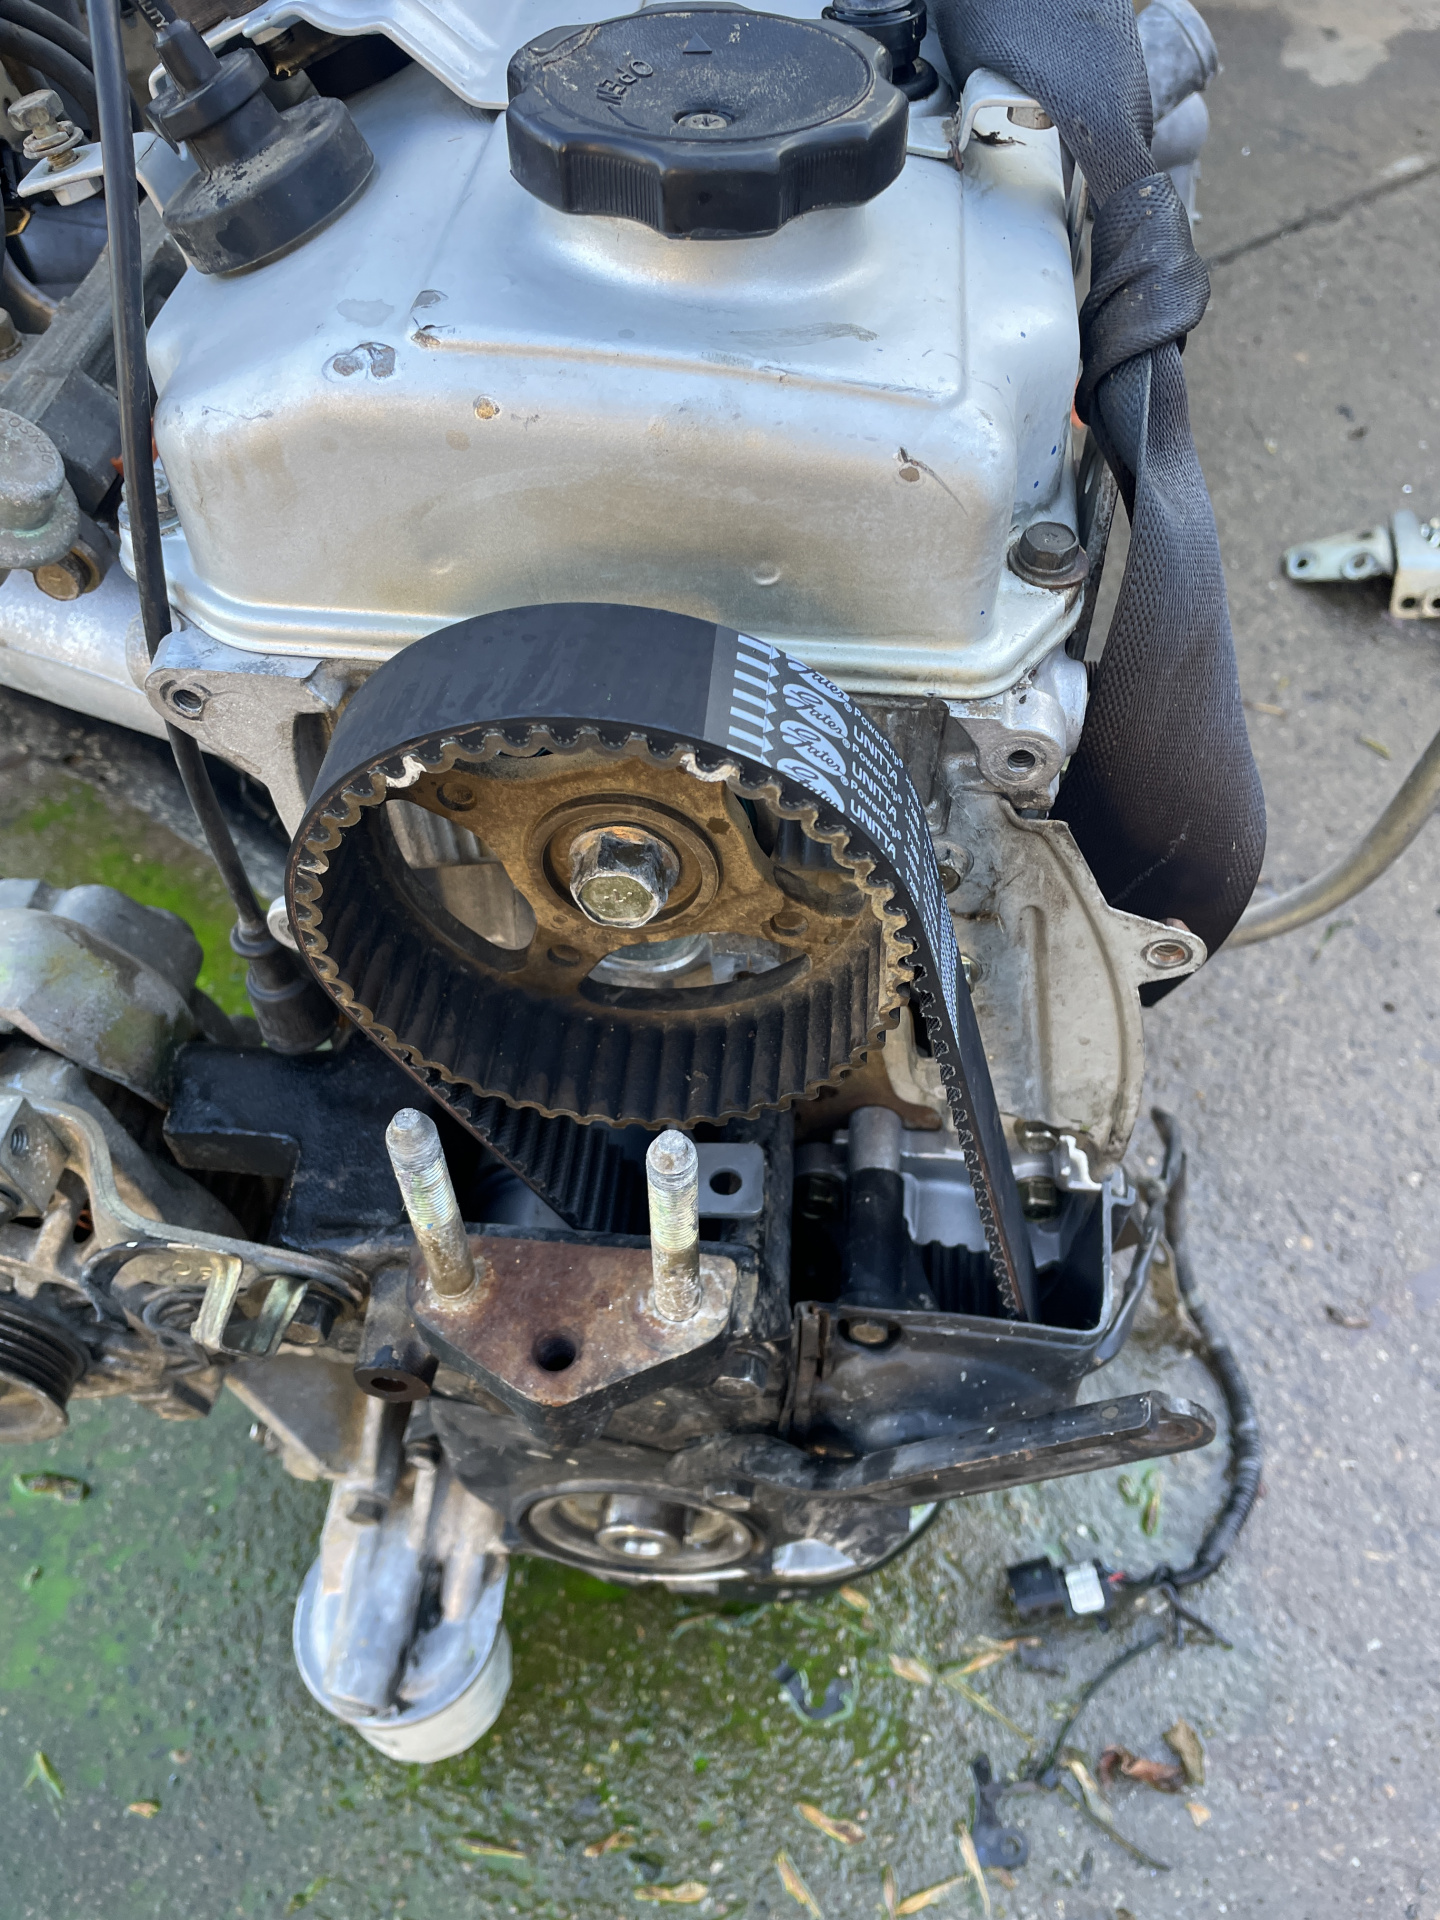
The 1.5 Lancer motor & box into the green/aqua Mirage to then sell it.

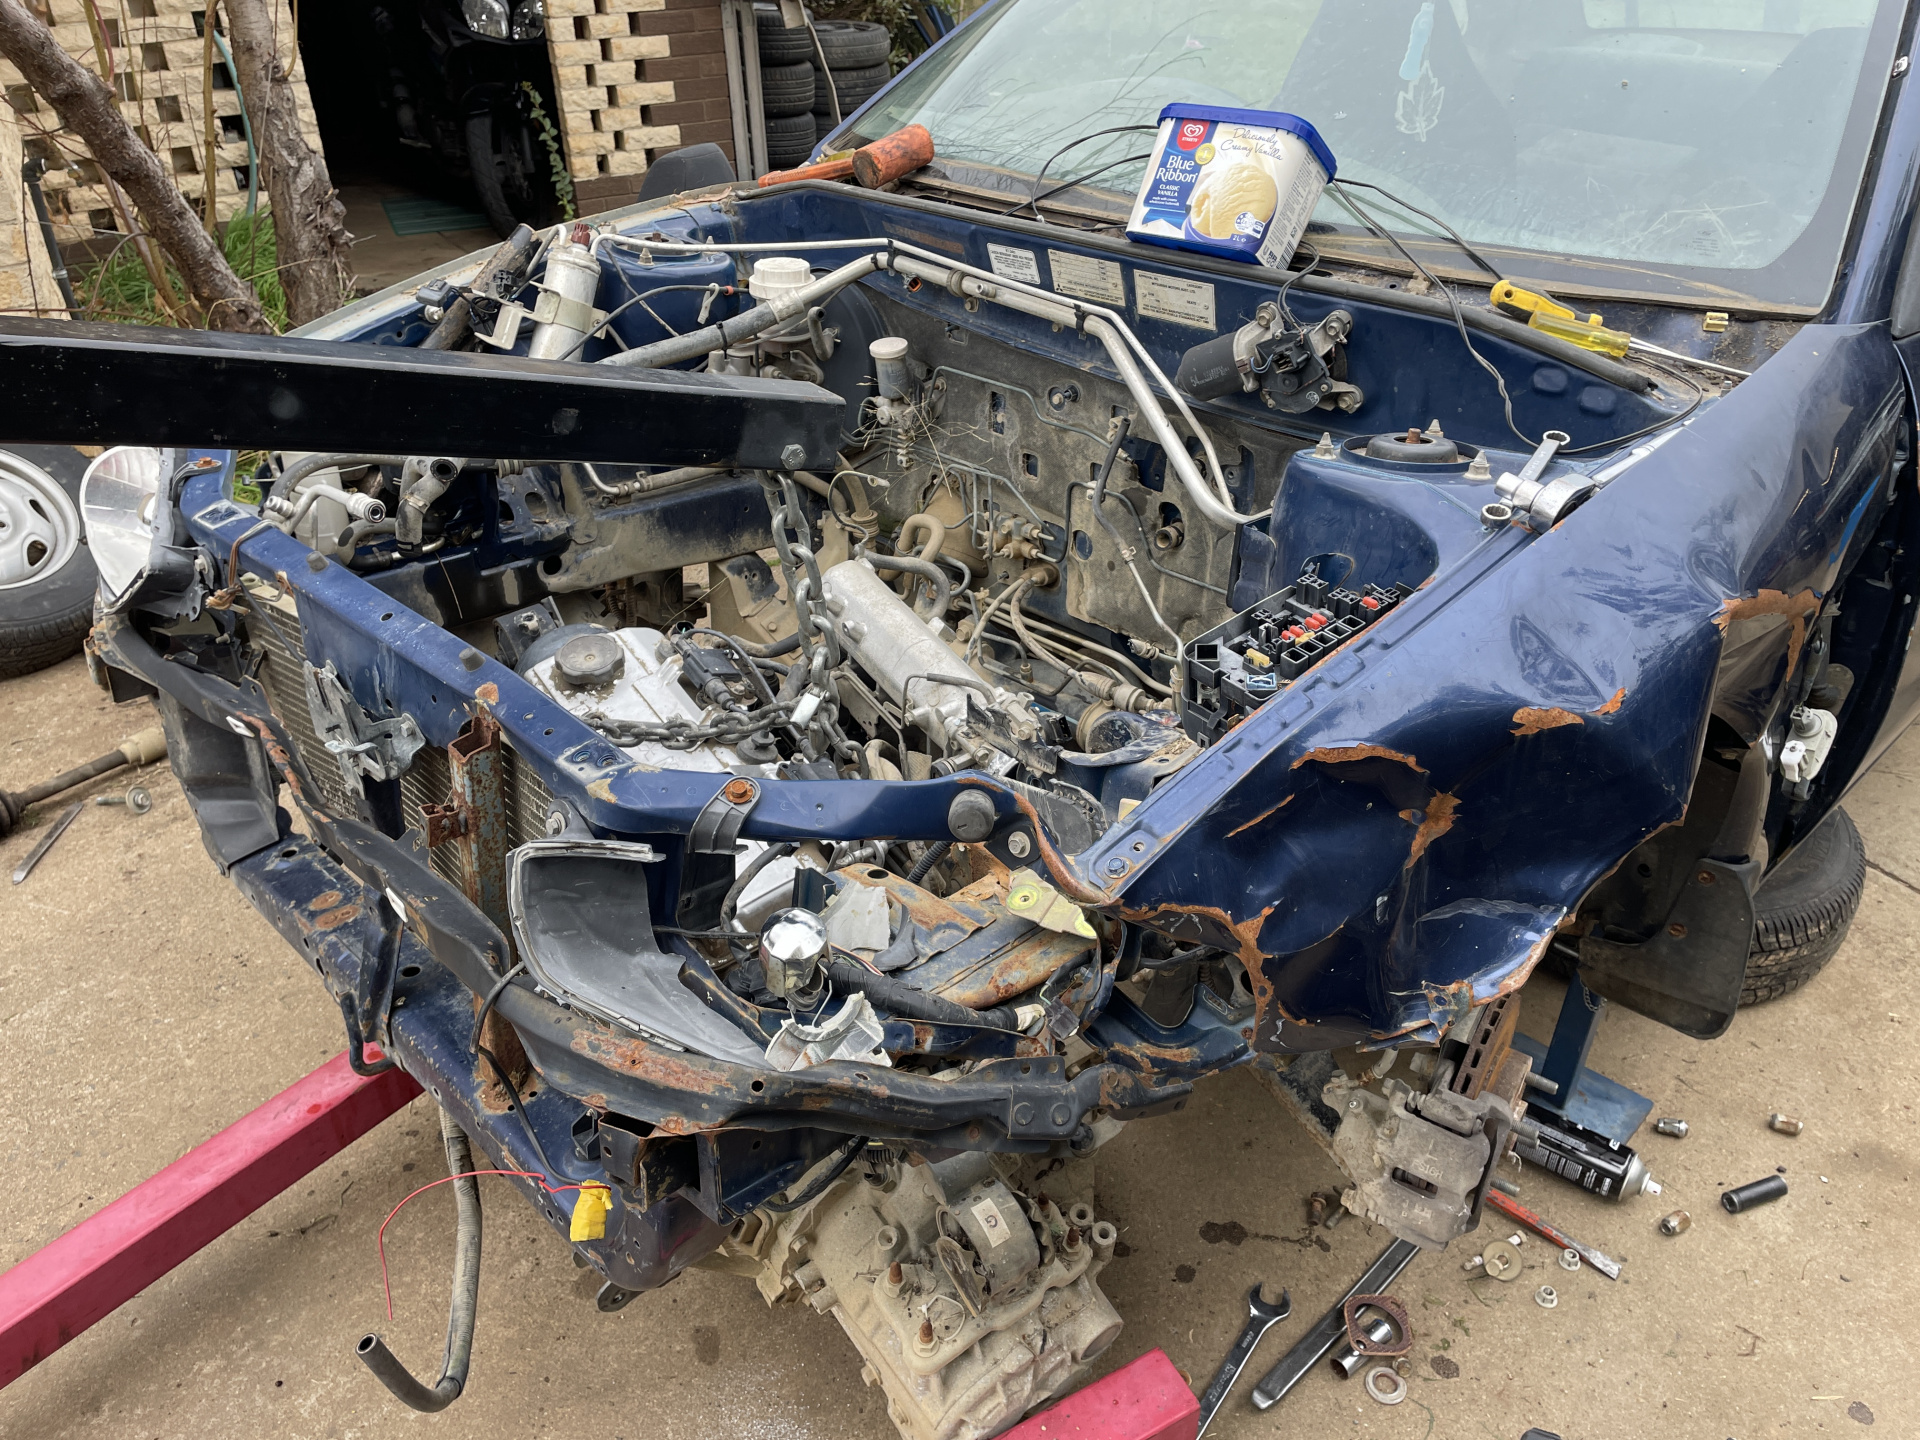
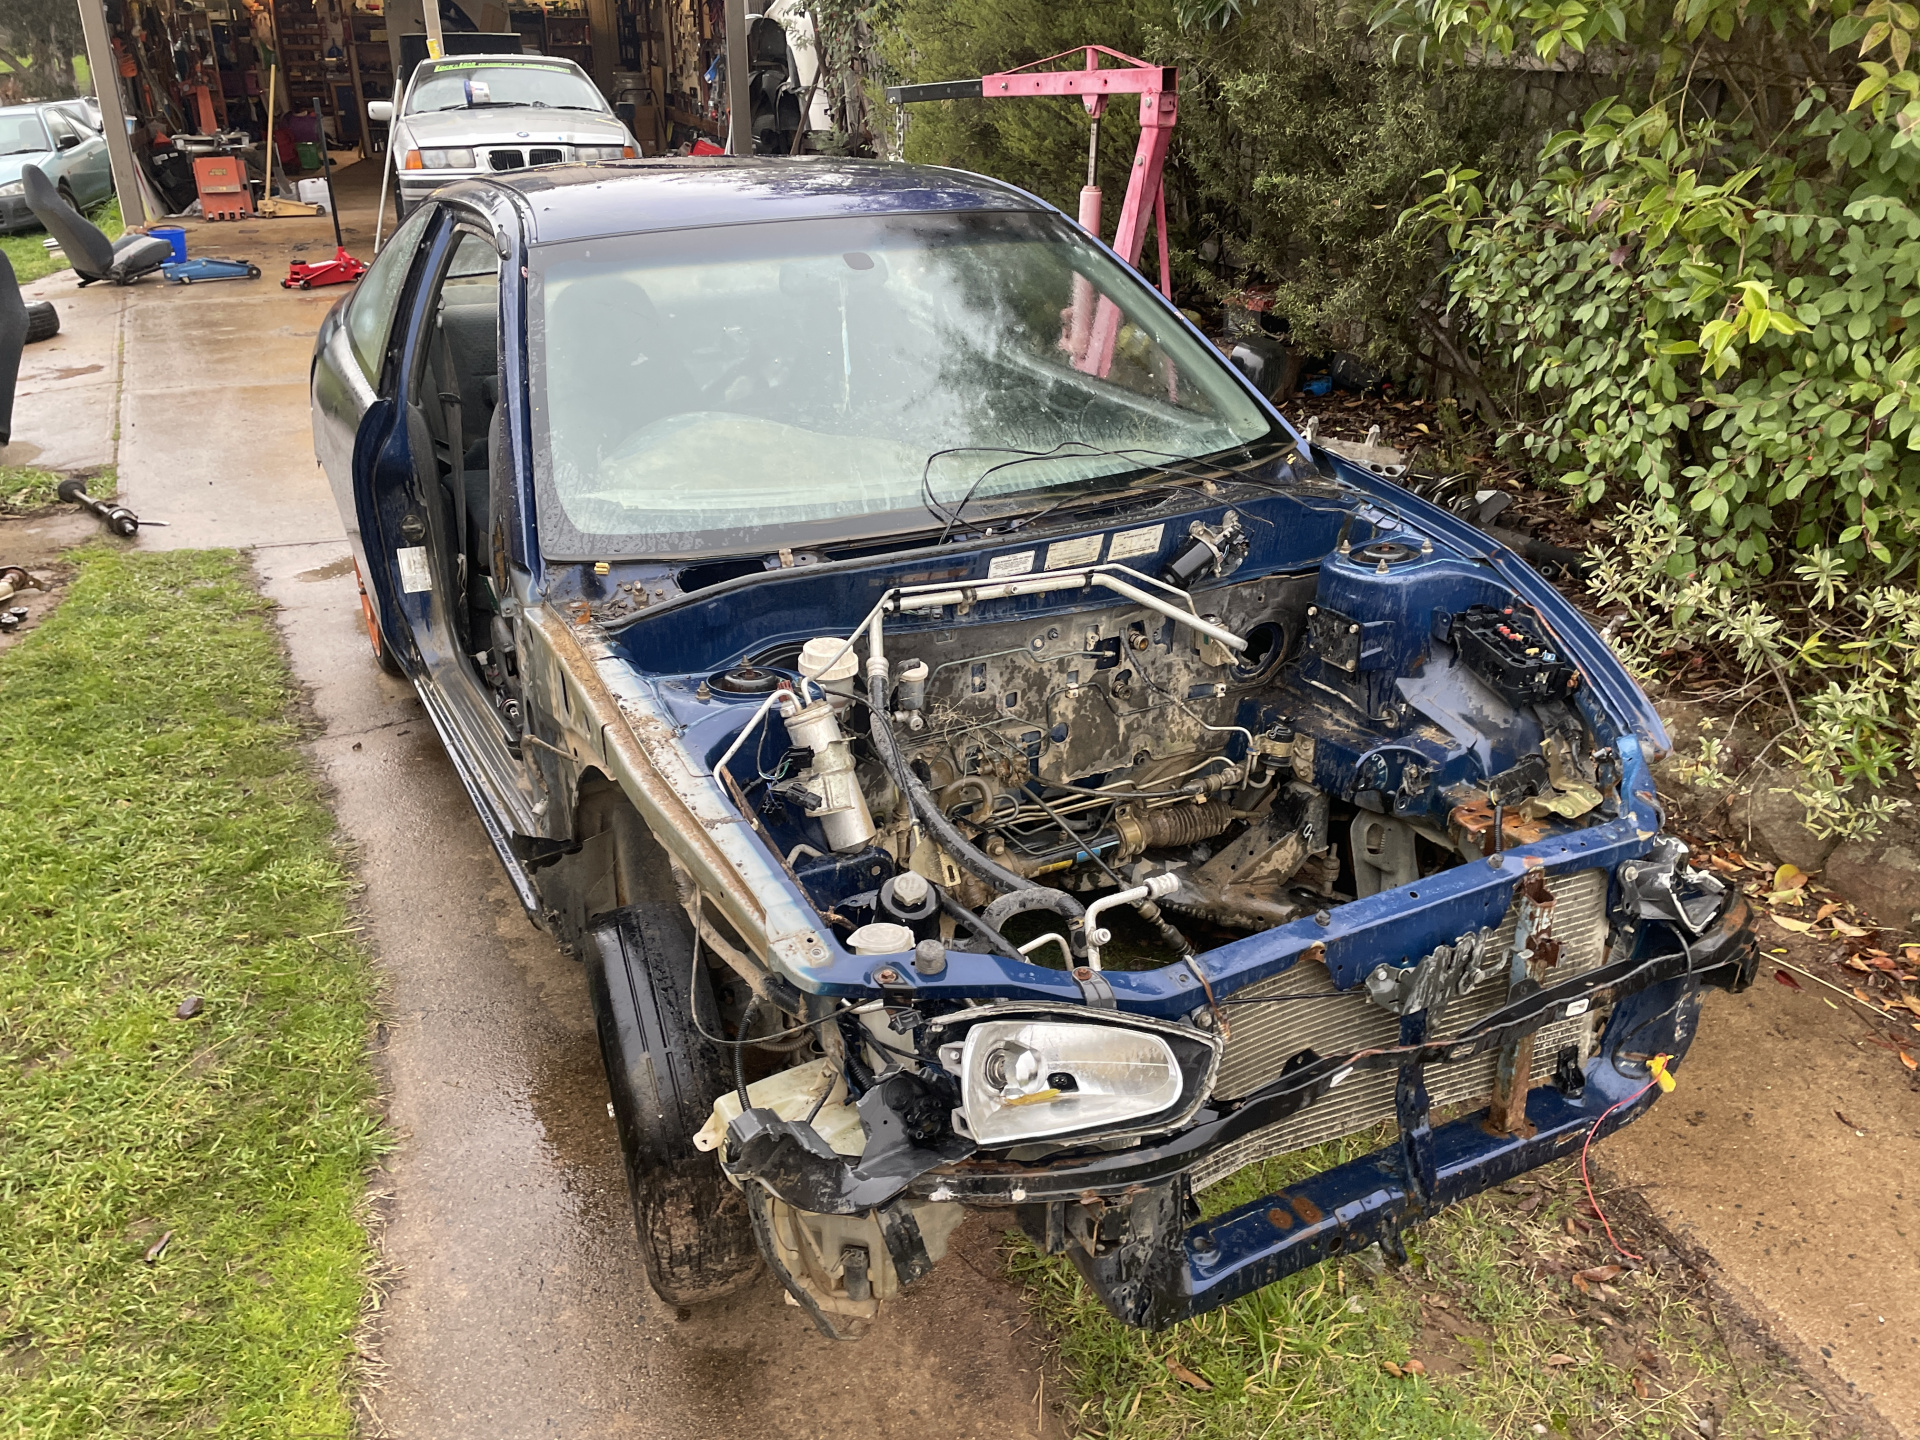
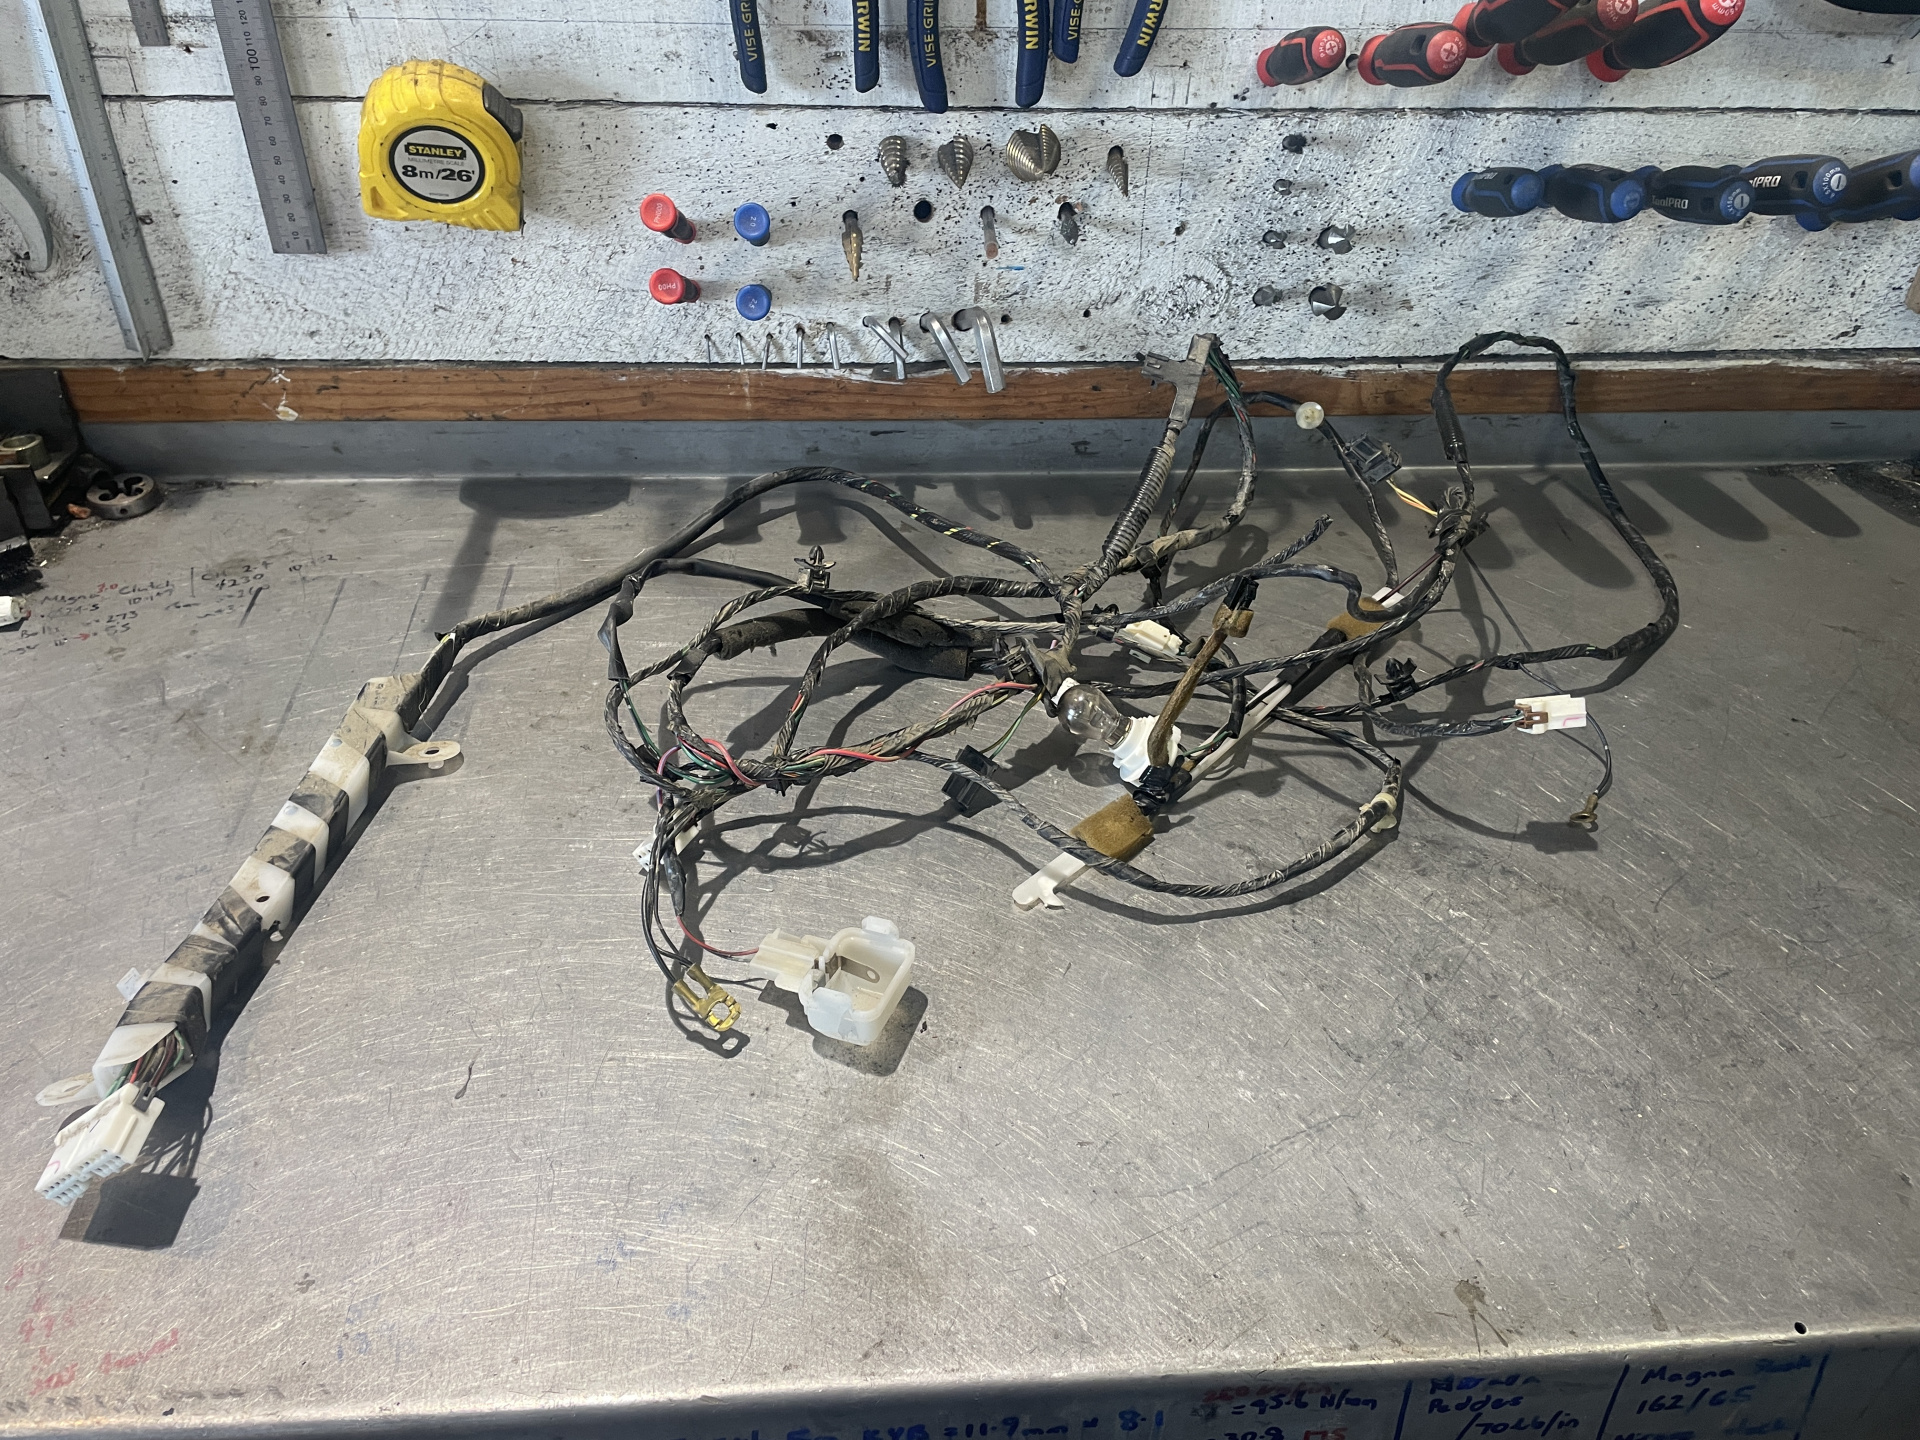
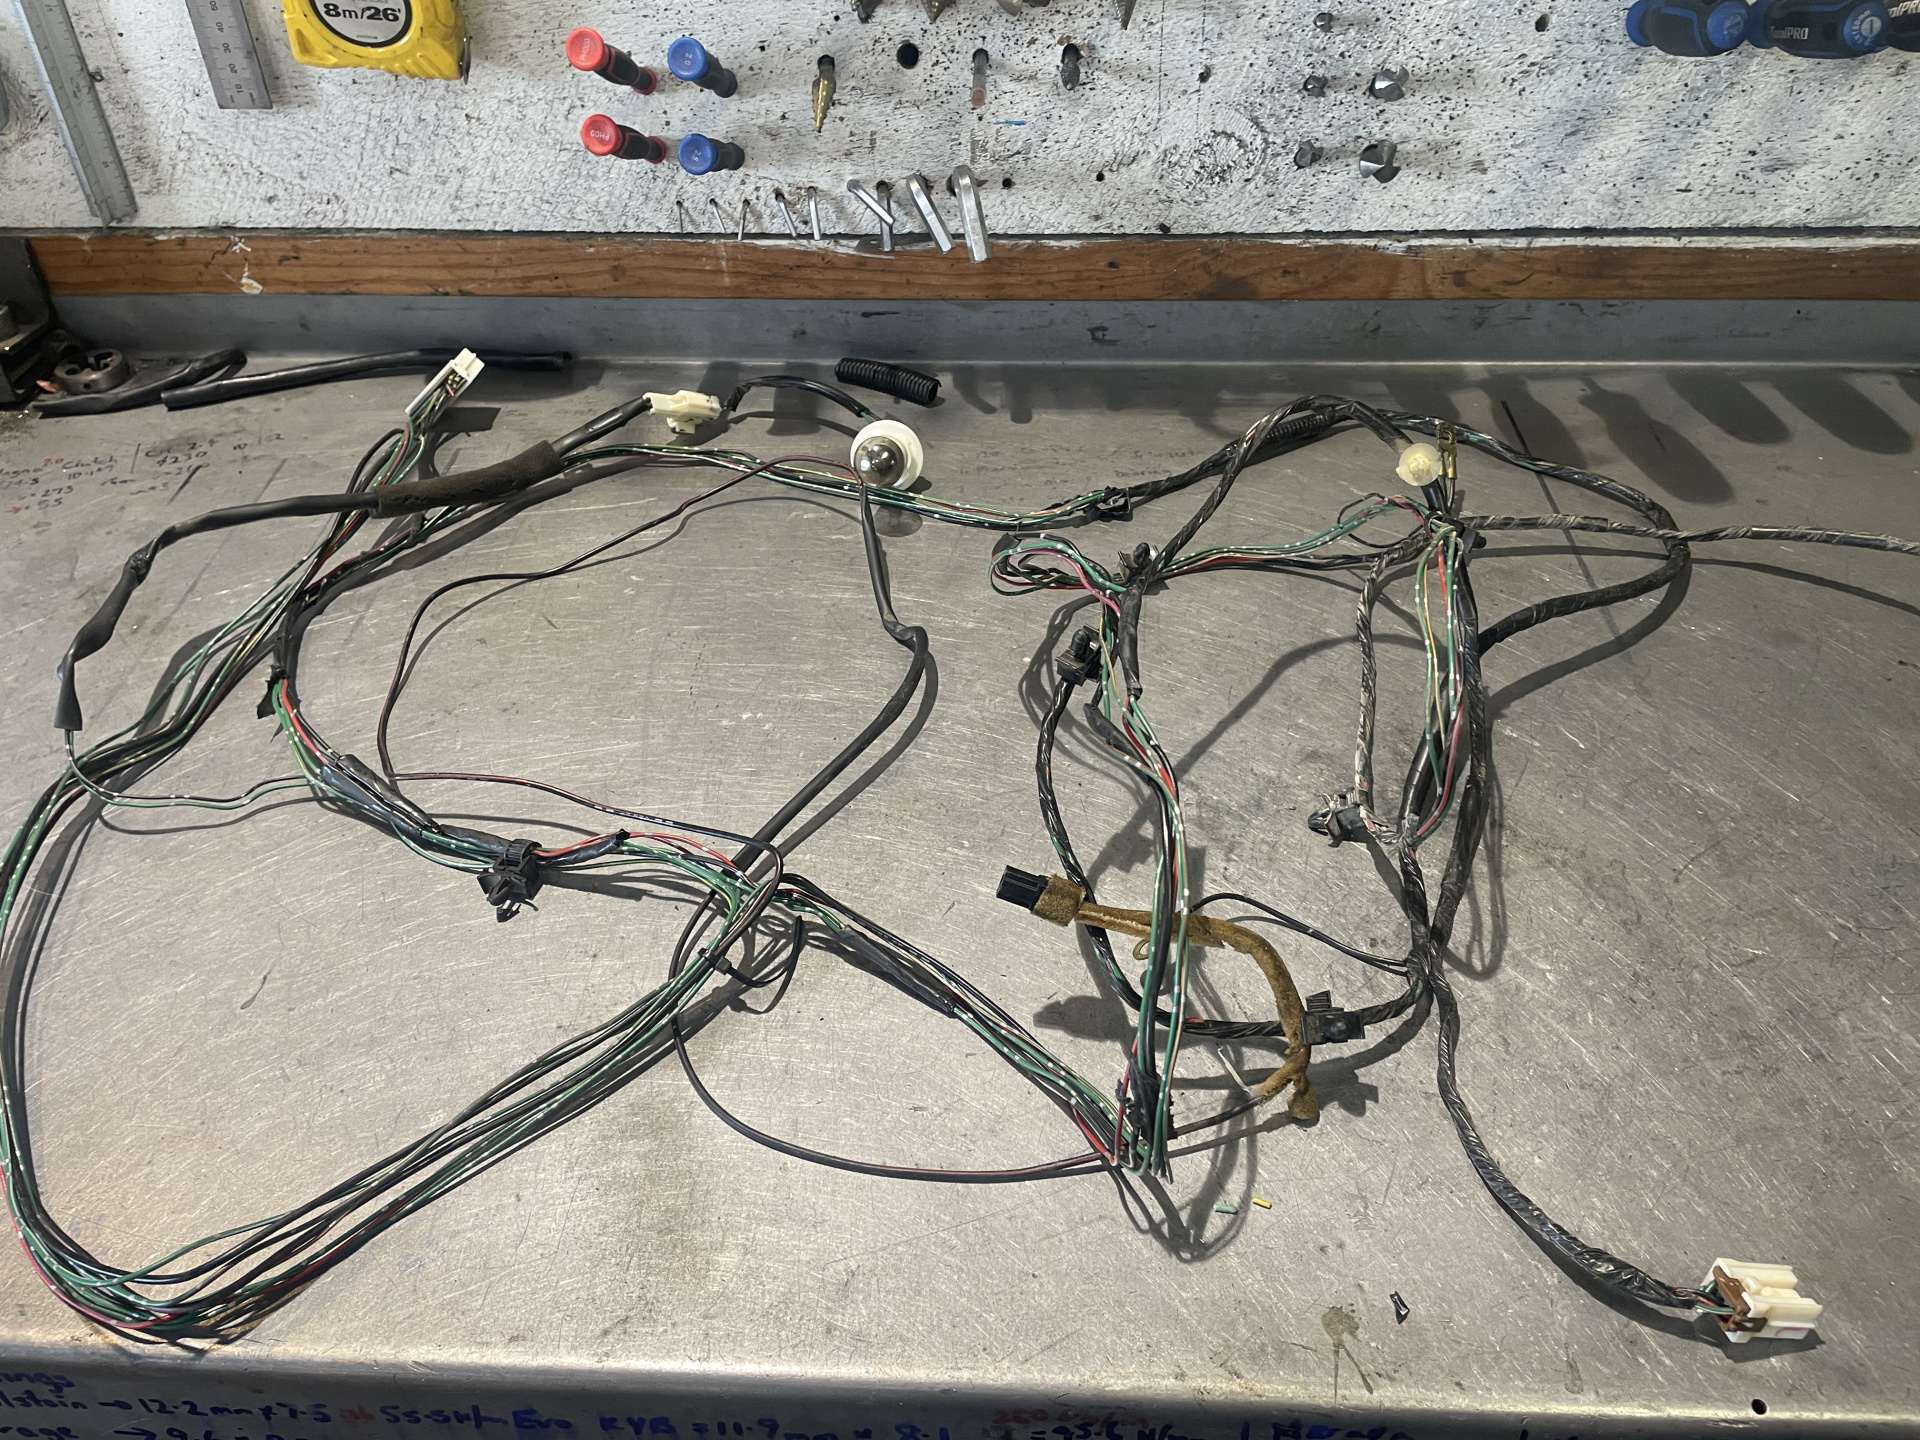
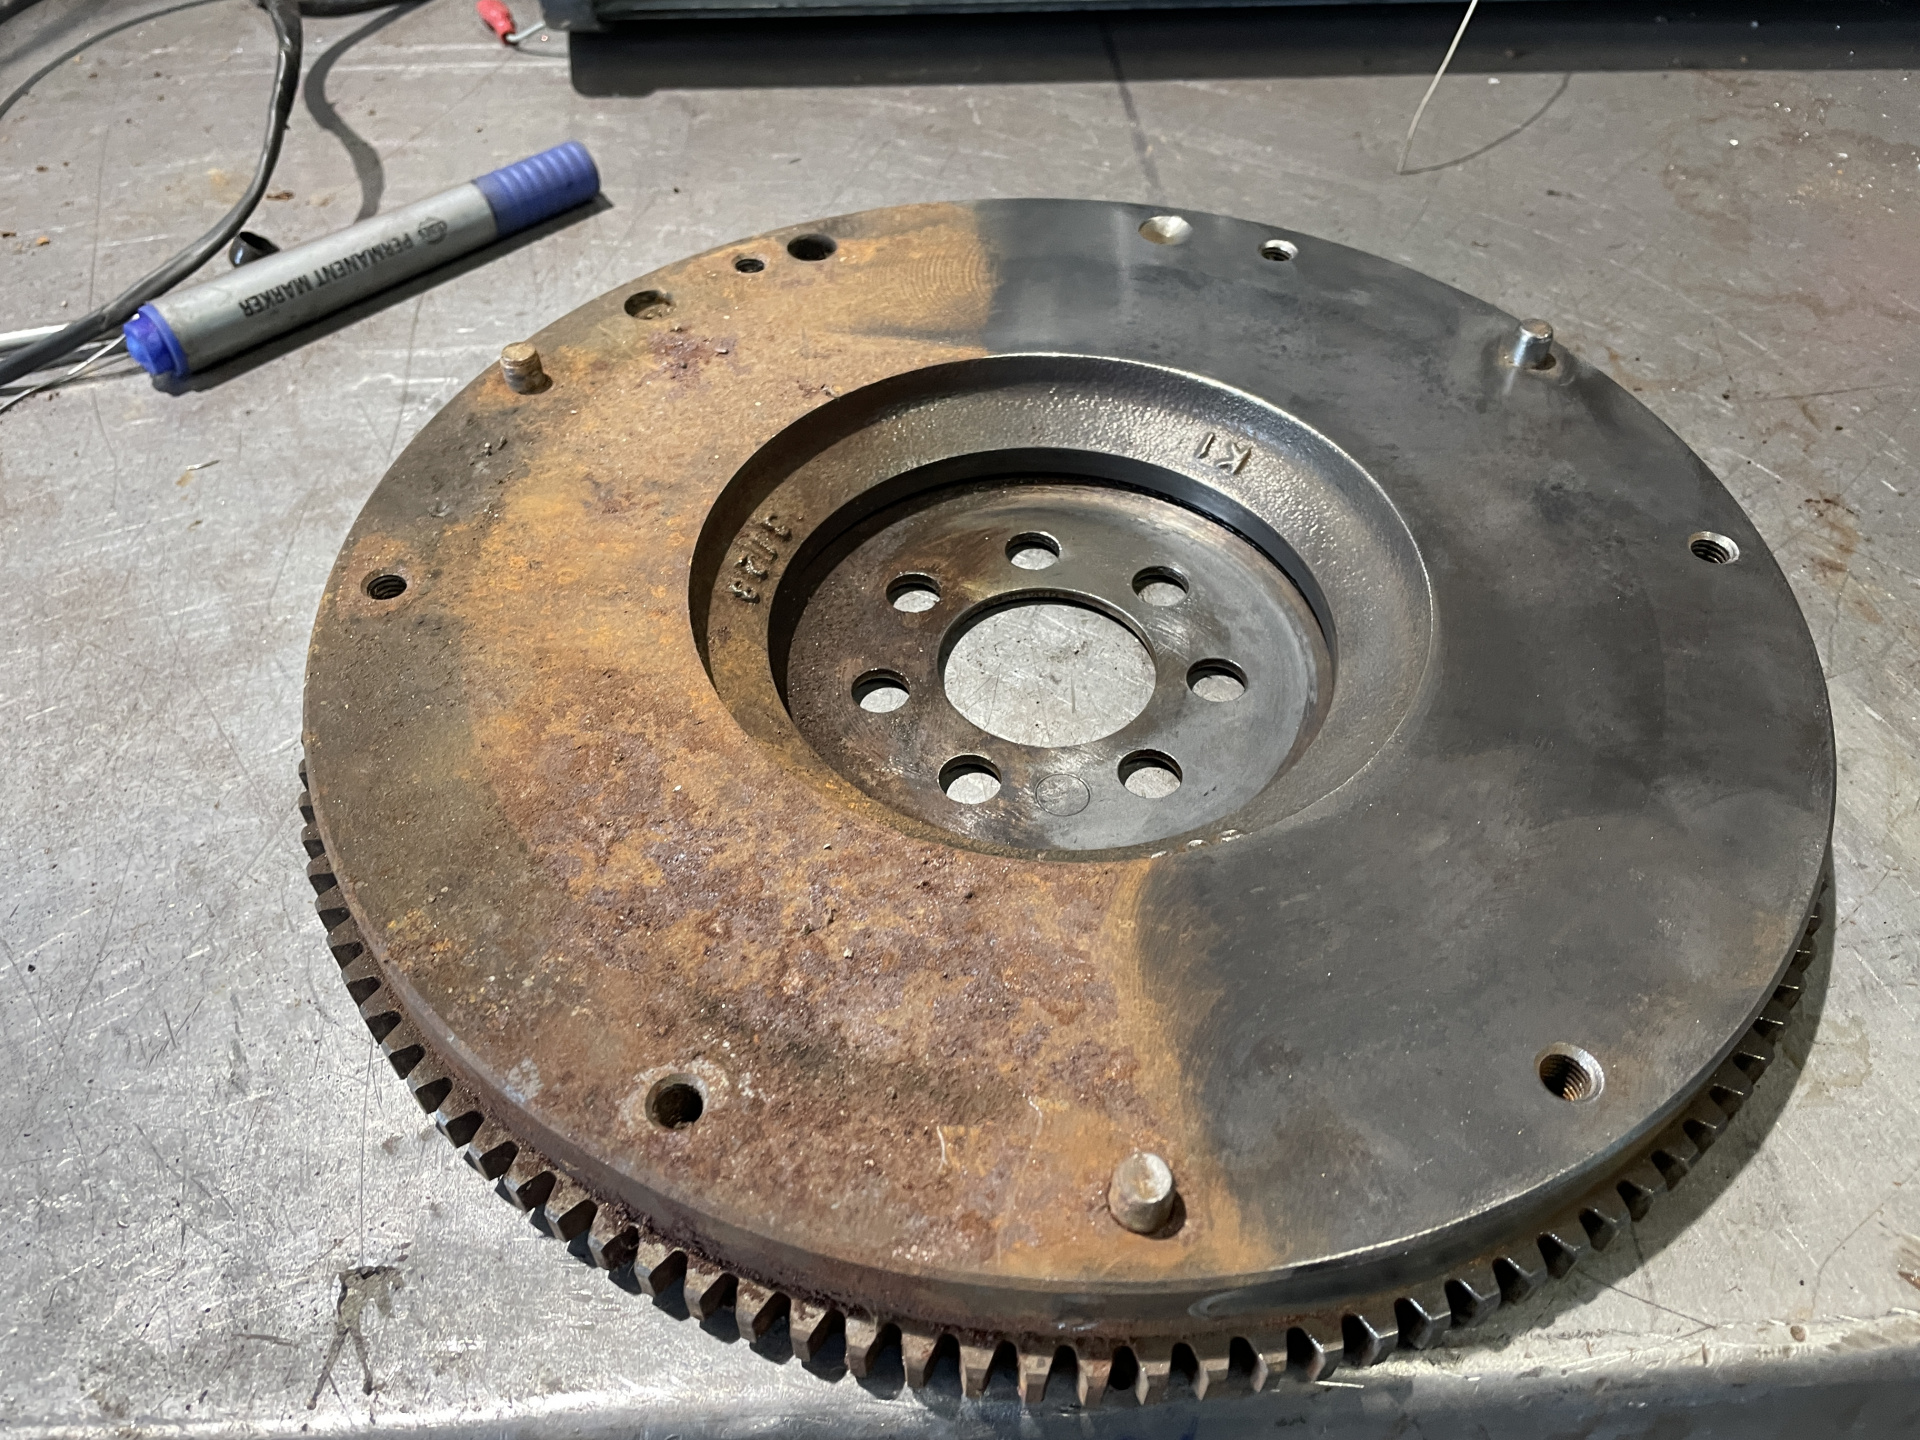
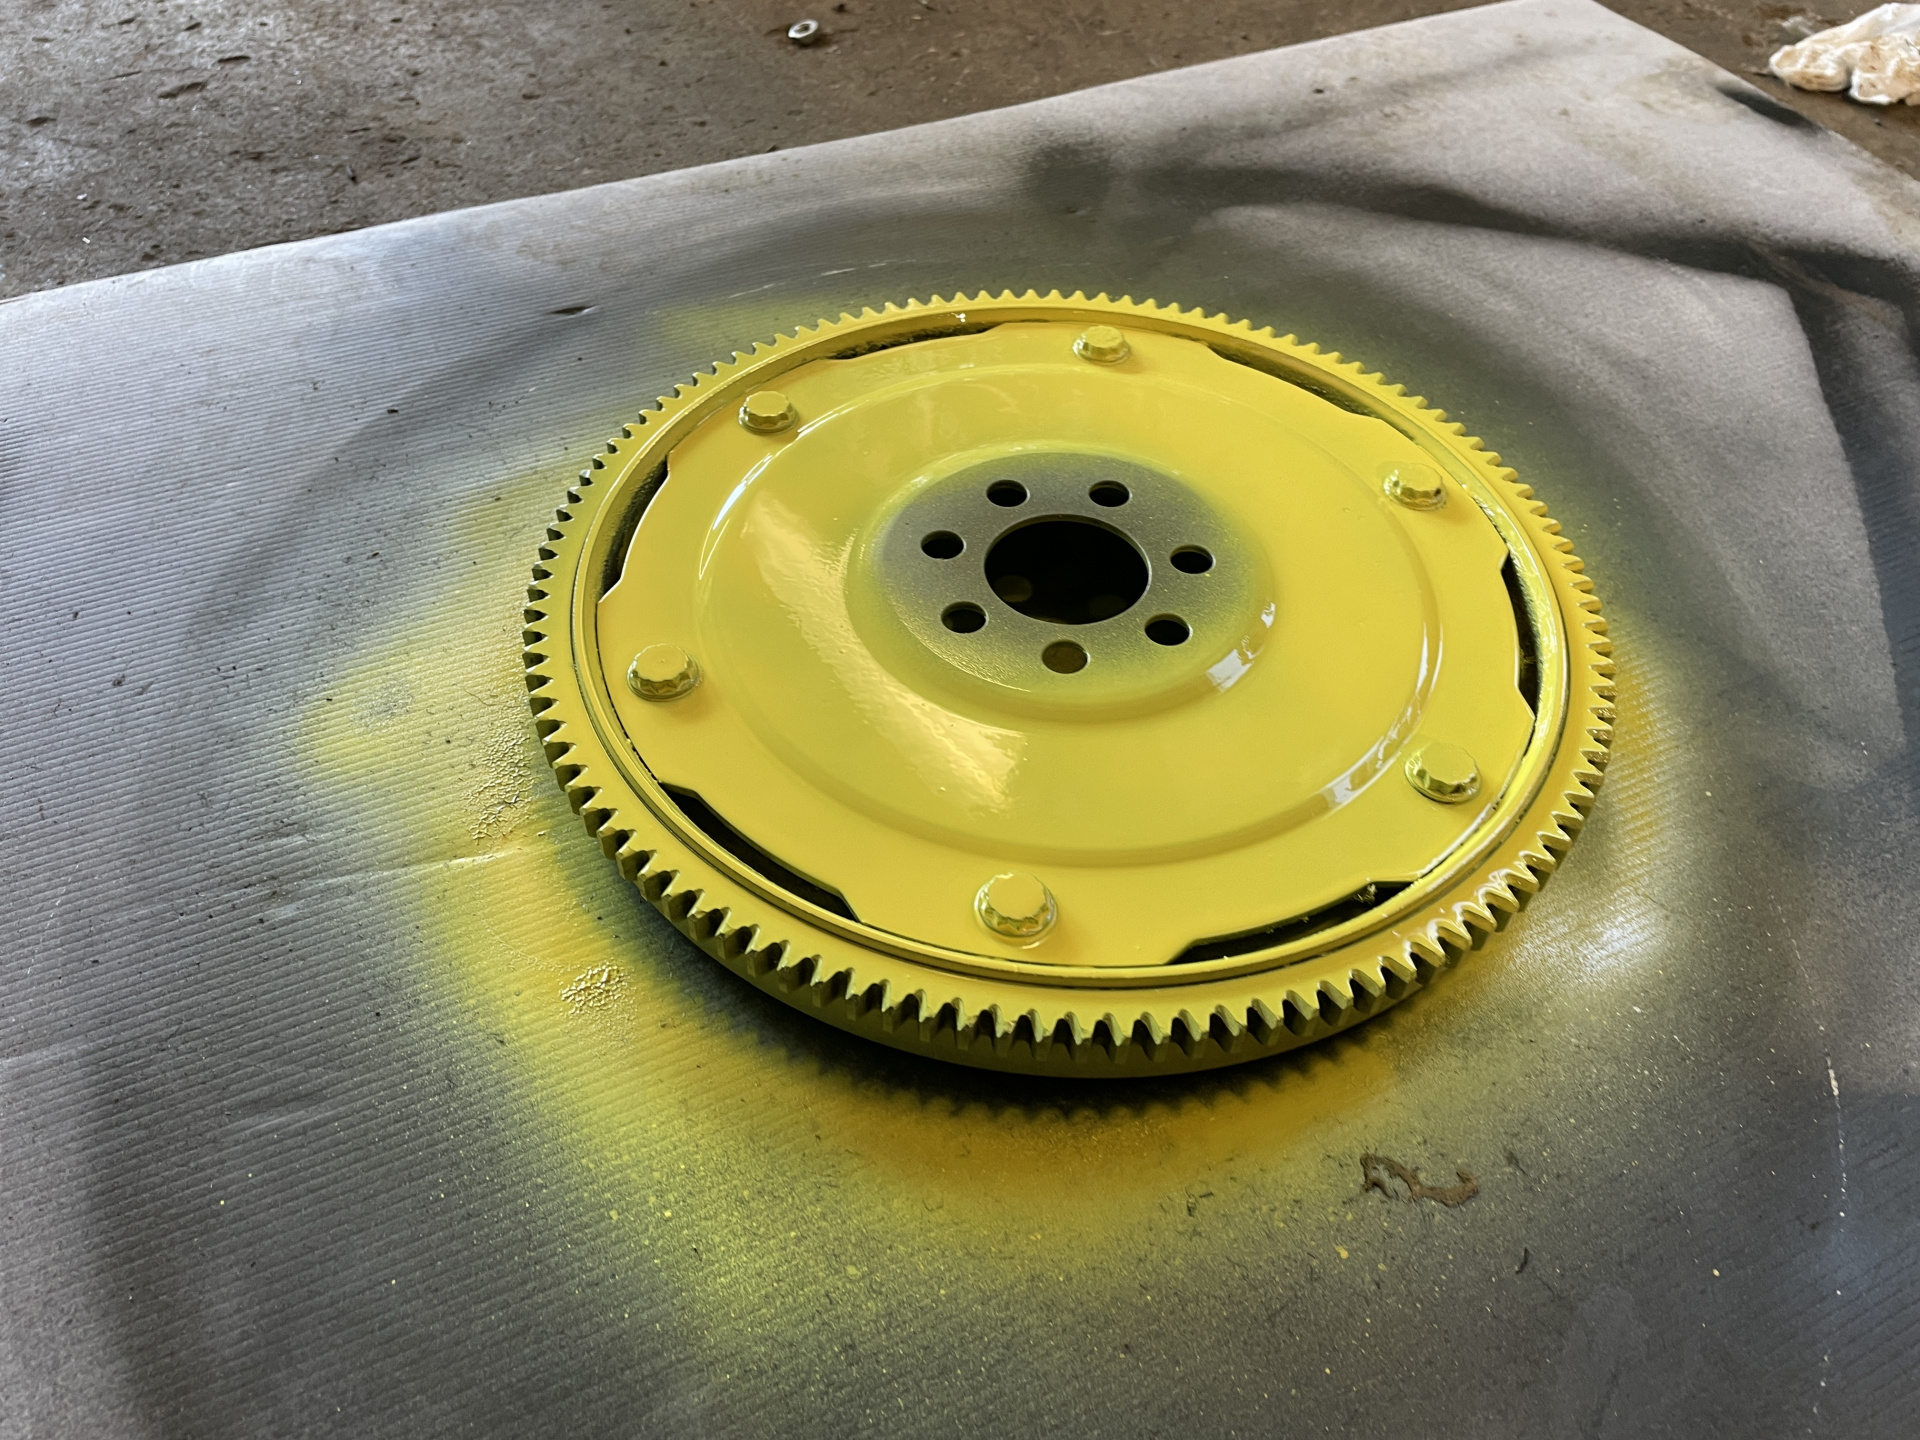
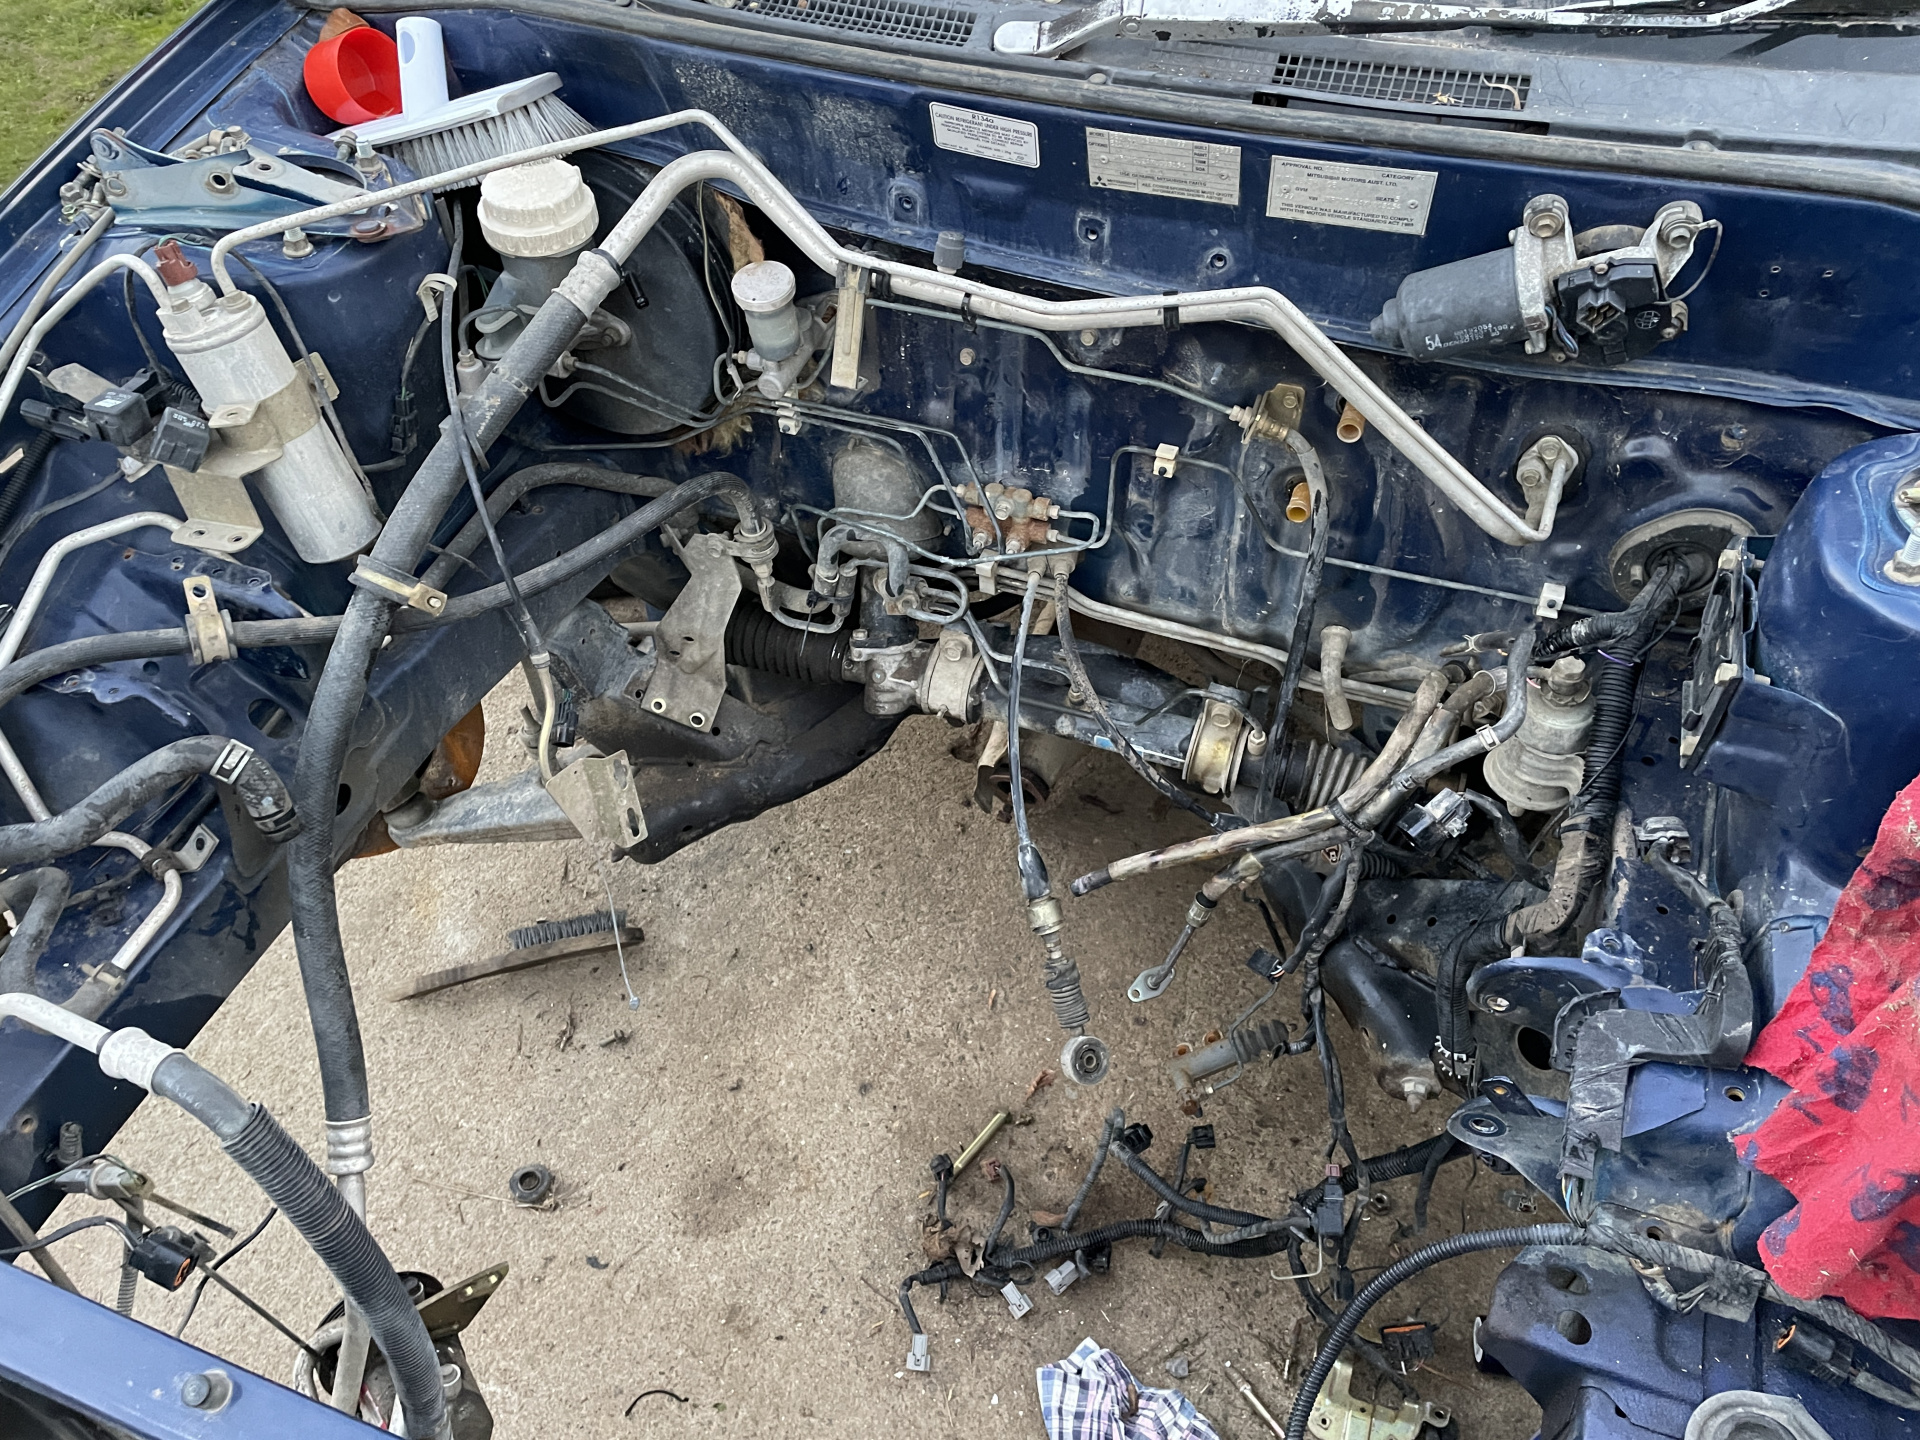
The 1.8 Lancer is stripped for engine loom and gearbox into this Lancer. Will use the spare 1.8 motor that I know is good.

Then the 1.8 car will be scrapped. Hopefully the scrap value and selling the cats will offset the cost of the two Lancers.

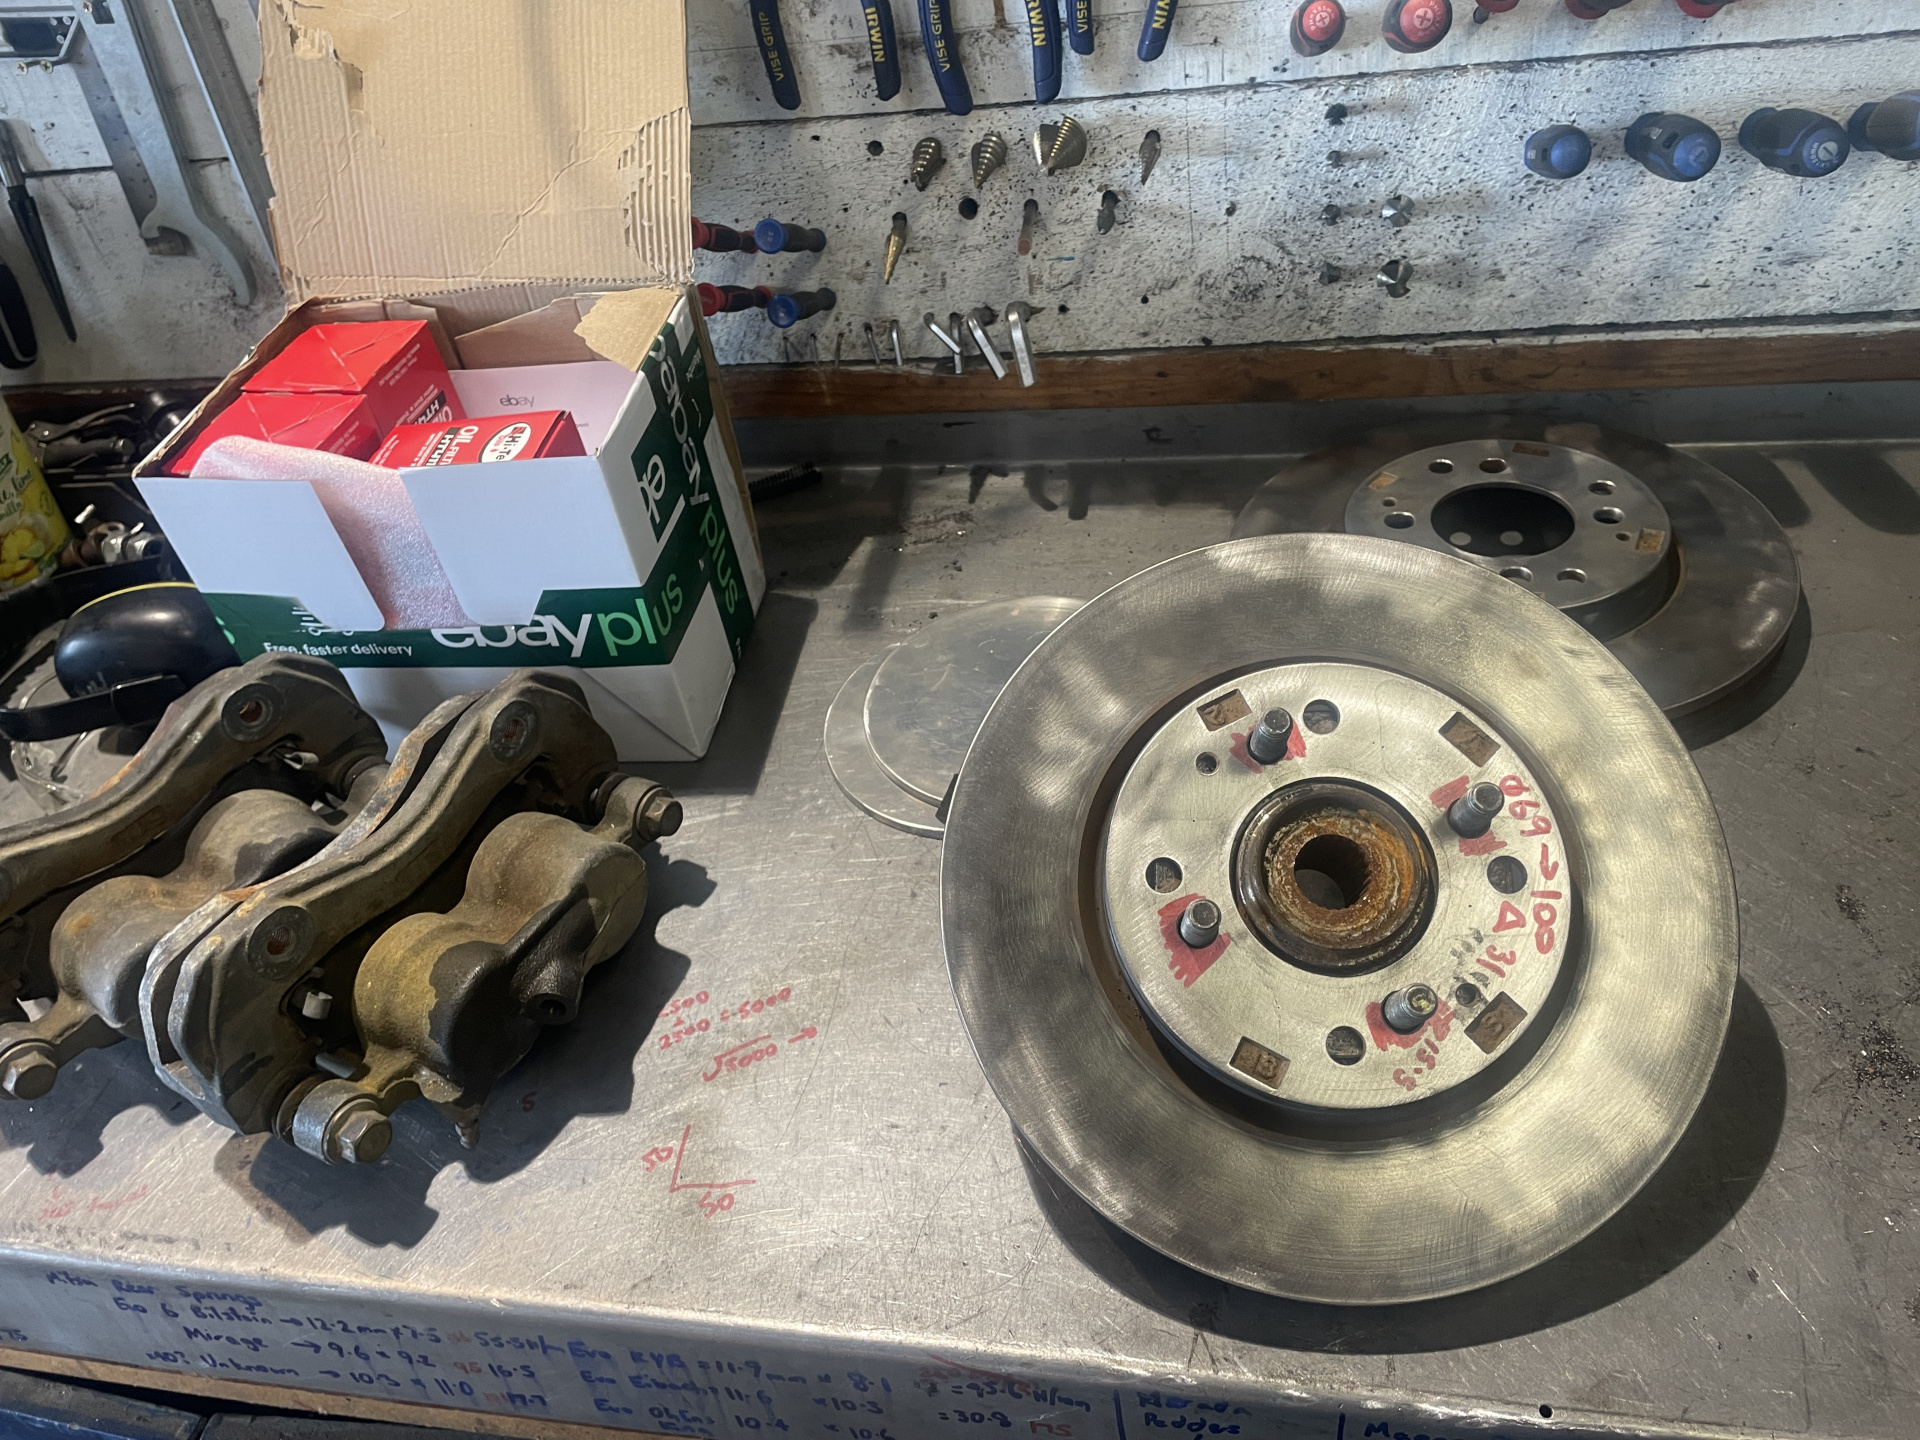
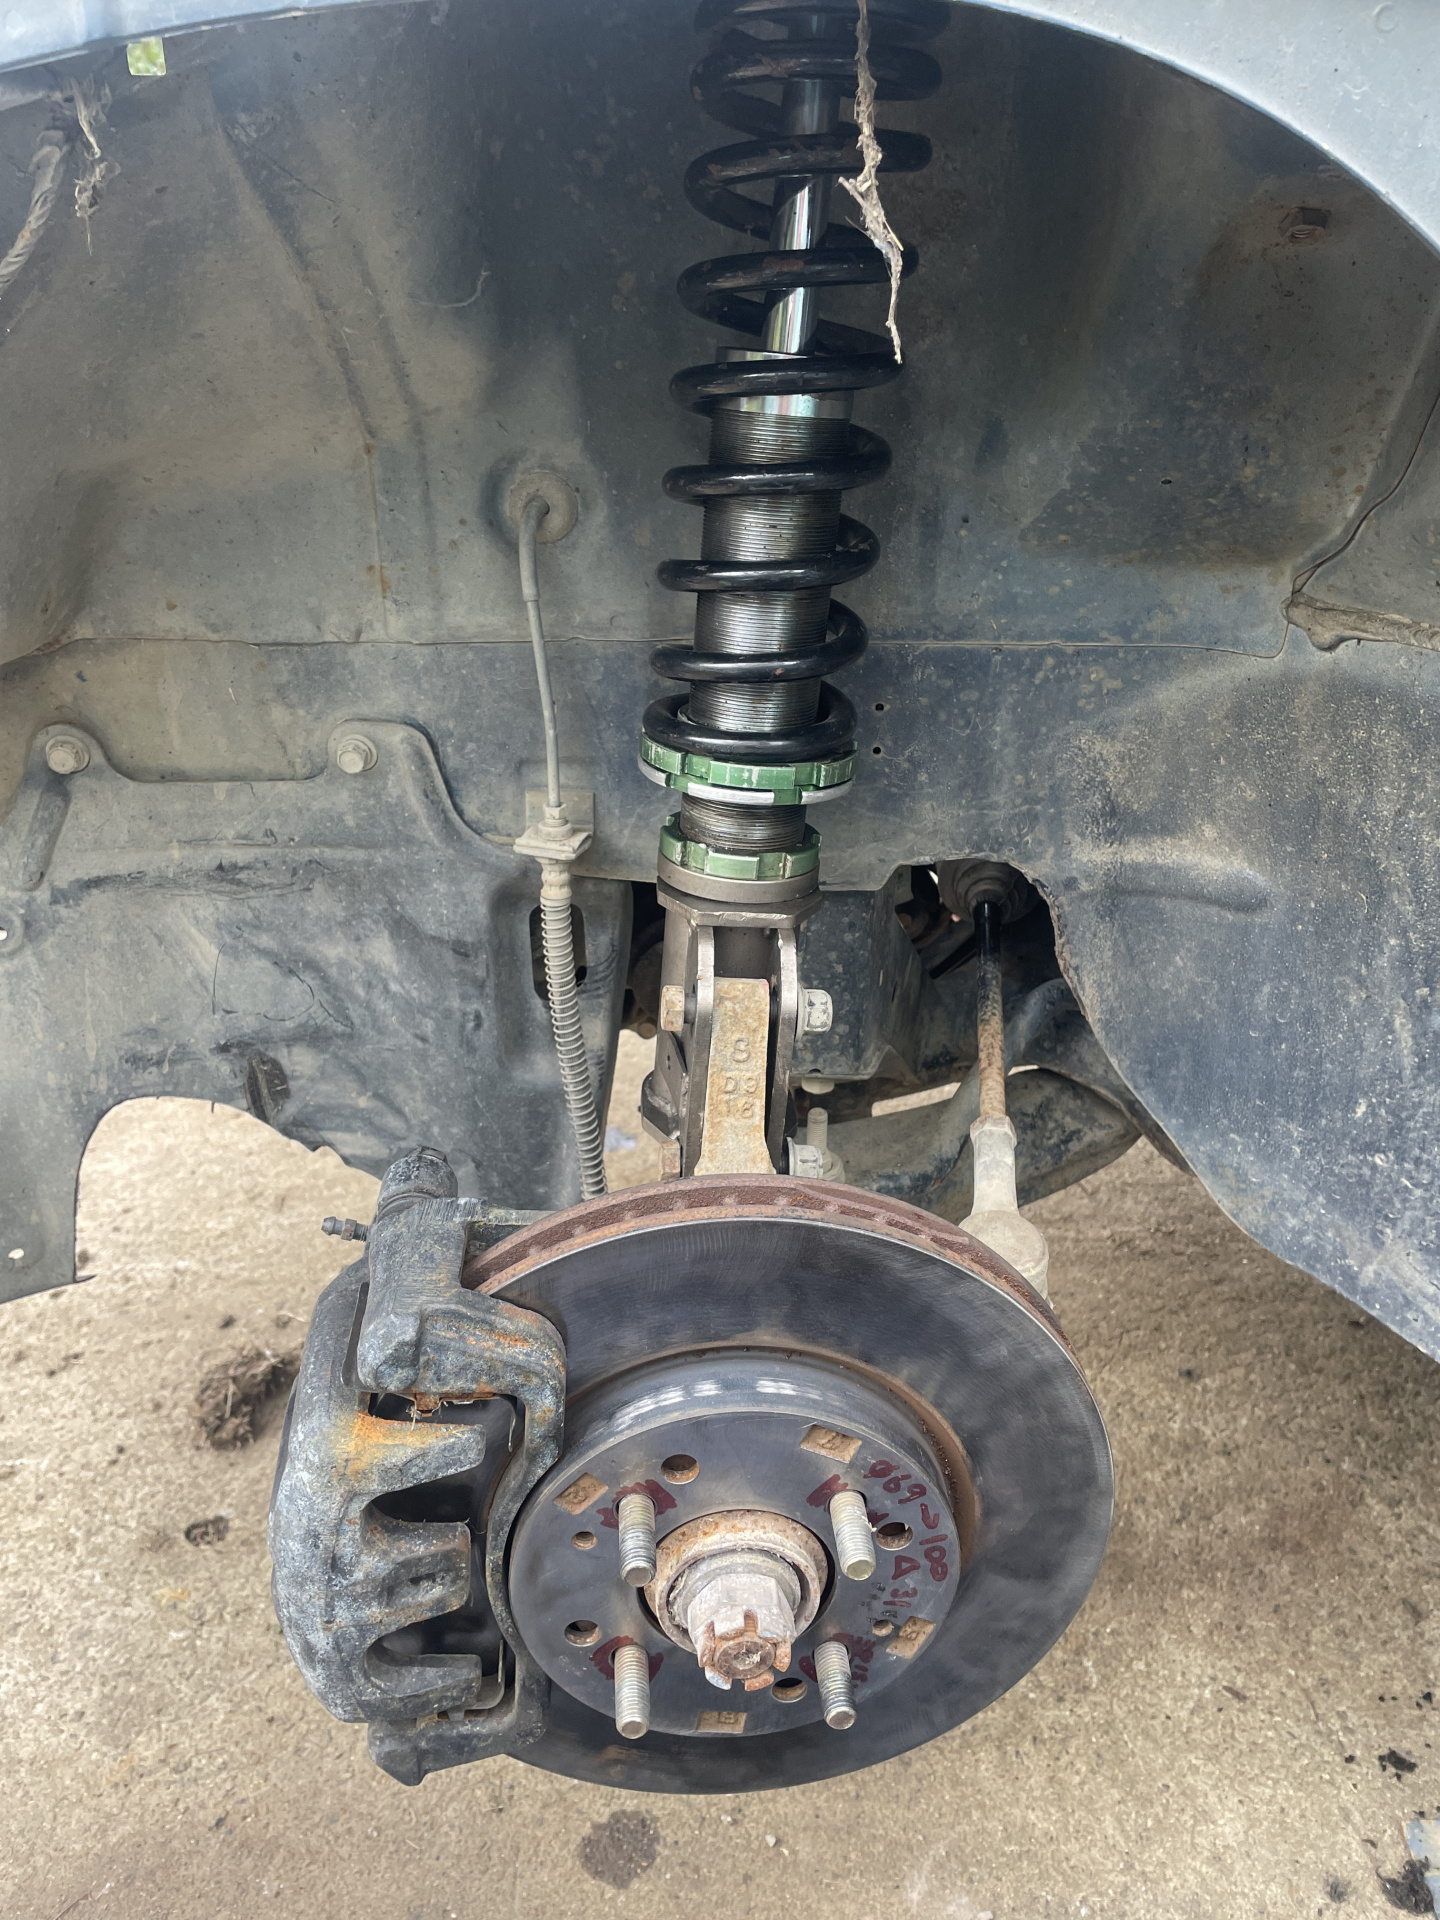
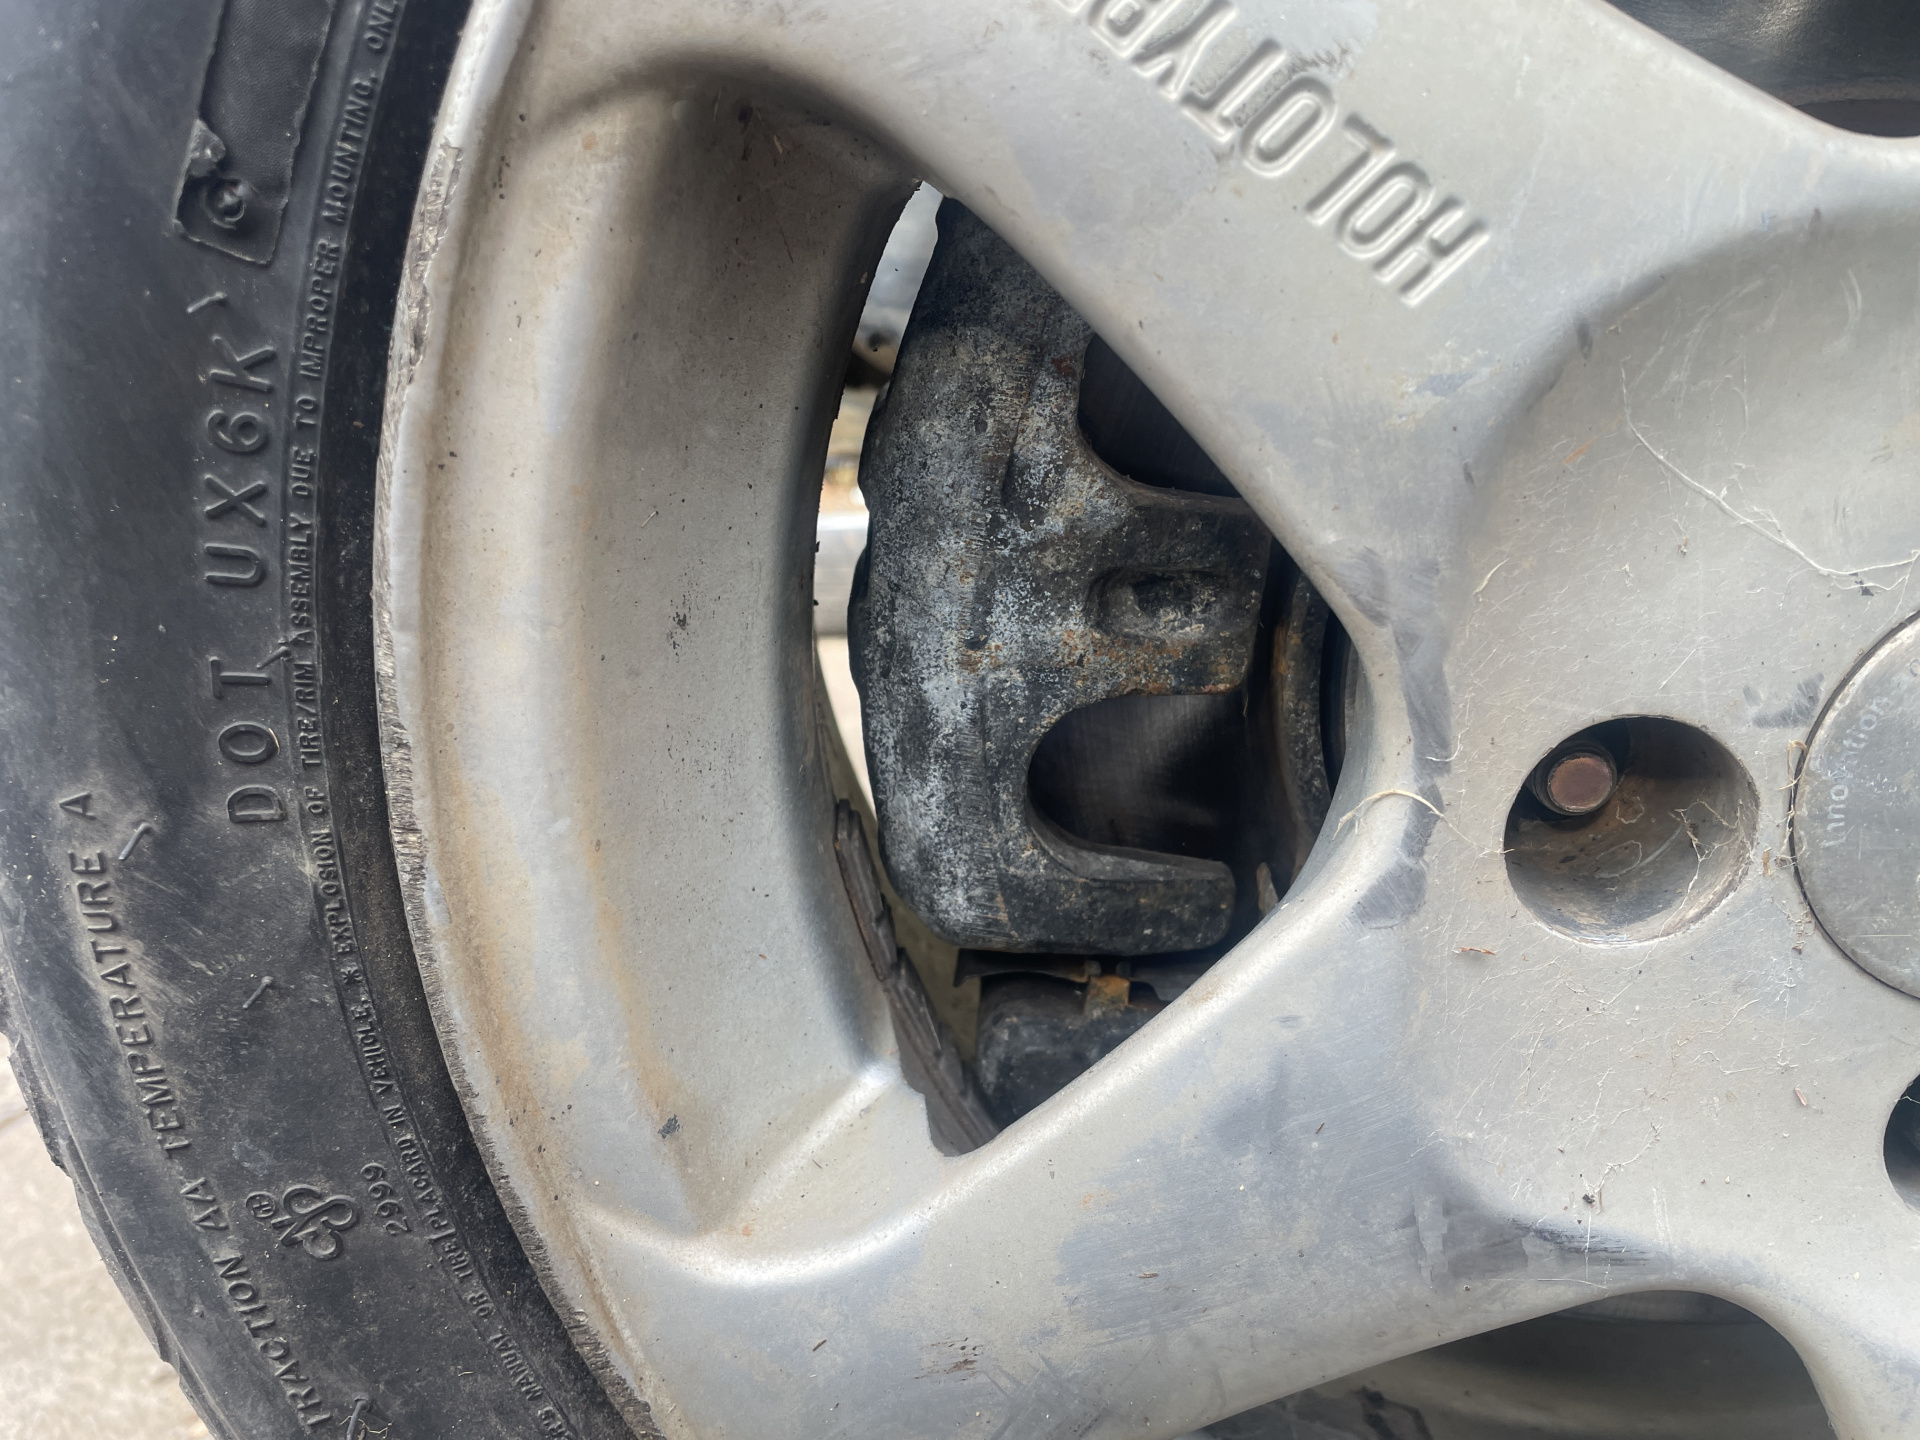
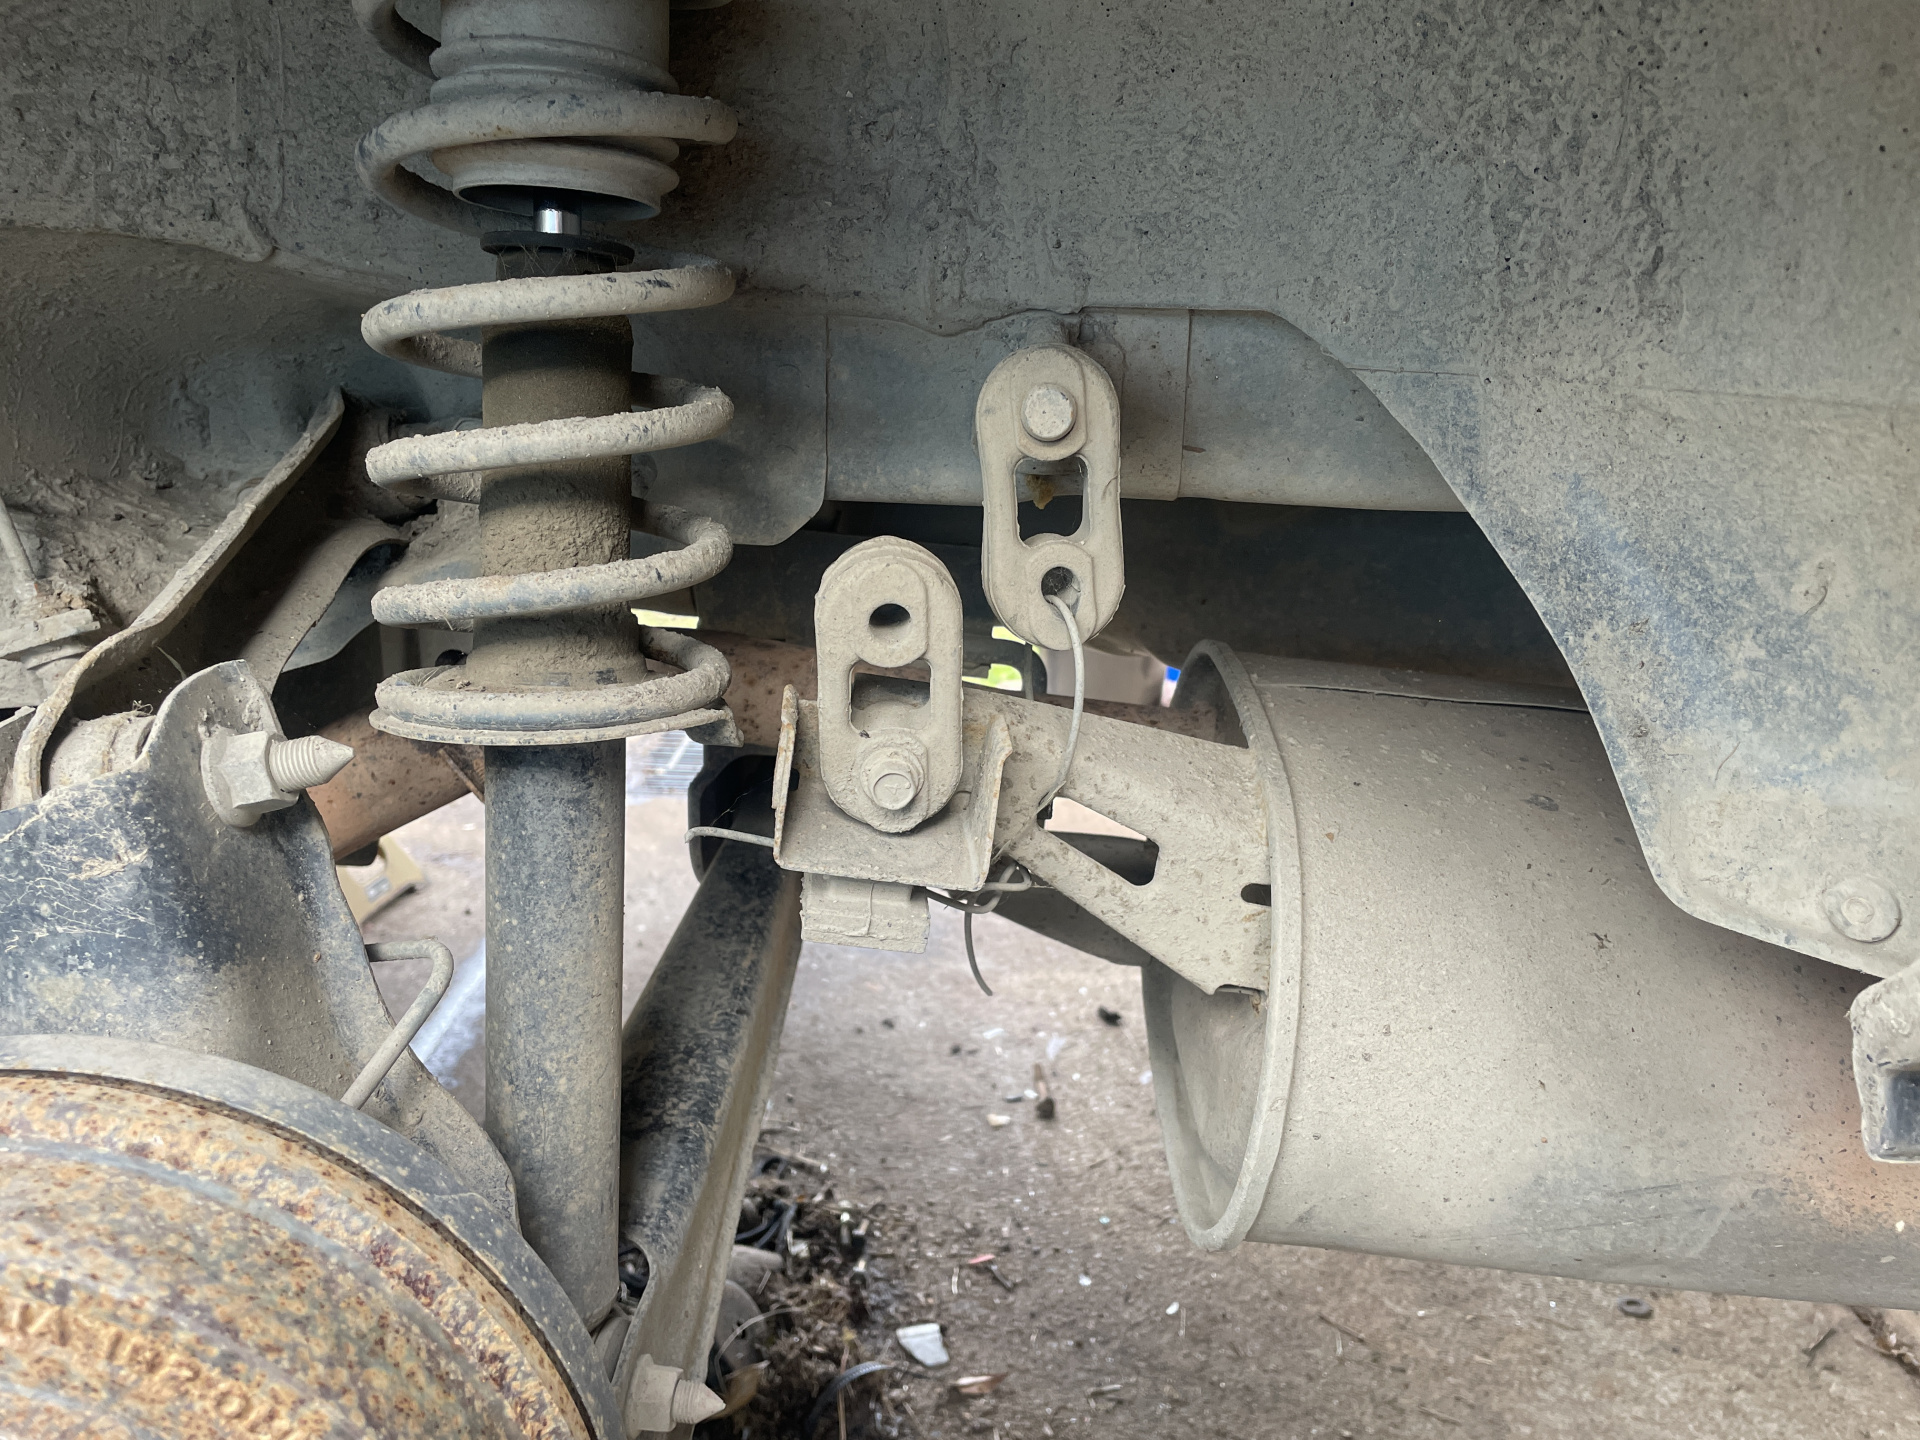
This car will then get: Racing Logic coilovers, road Mirage exhaust, the Holotype R wheels, S40 brakes, and a Bond rollcage.

I am hoping that I won’t have to buy anything but maintenance items and the rollcage.

Got the 1.8 car home yesterday.

You know how I said the 1.5 car was revolting inside? This is significantly worse.

Literally gag inducing

Oh, and it comes with a second “special” wheel.

I never wanted this car around for long, but I am really keen to get rid of it. Hopefully motivation and weather will allow me to strip it down and scrap it this Friday.

Stupid photo of the timing belt kit … box.

1.8 motor and box coming out.

Lower the motor & box, remove the box and then lift the engine out the top.

I sometimes think of the life of a car. Not so long ago, this was a brand new, shiny car… and despite being a model that is bomb proof, now it’s here.

I feel that I have too many teeth for all this, but here we are…

Took the interior out of the 1.5 car so I could dump it in the wreck before it goes to scrap. Goddam these cars had revolting interiors.

I also bought some spare panels in the same colour. The bonnet and bootlid are both much better than the ones on the “good” car, so are definitely going on.

So far, I am in for:

$500 for the cars, $112 for the timing kit, and $210 for the panels (total of $822).

This will come down when I get the scrap value of Ratty tomorrow.

Got $219 for the wreck and the scrap in it today.

To be entirely fair, about half of that value was from crap I had hanging around … but the wreck gave me the opportunity to cash it in, and also allowed me to dispose of the 1.5 car’s interior for free, so it is close enough to balancing out.

822 - 219 = $603.

Edit: also found $8.60 in coins in the two cars = $595.

Edit 2: Cashed the bottles in yesterday. About a quarter of them were from the Lancer, so call it $8 —-> $587! ?

Spent most of the weekend moving shit around and working on the BMW rally car.

Did get some stuff done, though.

Cut the vibration dampener weight off the gearbox mount. Also filled the voids in the rubber with urethane, but managed to avoid taking a photo of that…

Started cleaning out the boot. It had a bunch of dirt and tree bark in the wheel well, because ….?

I cut the jack mount and the spare wheel mount out. Easy job and just makes everything a bit tidier.

The tow bar… ugh!

It’s meant to be bolted to the rear chassis rails with two bolts on each side.

Left hand side had only one bolt and no washers/load spreader plate under the bolt heads.

Someone had decided to weld the centre of the back of the spare wheel well. I don’t hate the idea, but the execution was terrible. There’s a pair of coach bolts used as filler in the gap…

And then on the right hand side, the forward bolt had a piece of fencing wire welded to the head … it’s not that deep, so no idea why this was the solution.

The rearward bolt has no head. No idea what that is about. No load spreaders again.

So I was pretty happy to have removed that!

I have decided to paint the inside of the boot white. Will do once it is cleaned properly and the weather allows.

Removing poxy old window tint is un-fun, but fairly rewarding.

I used a heat gun and all the patience I could muster.

Does look a lot better once the glue is removed with thinners.

I was dreading the rear window, but seems to have worked out ok. I was worried about keeping the demister intact, but seem to have succeeded.

The difference in the outside light is a hint to how long it took…

Still need the final clean to get the last of the glue off, and am worried about whether it will eat the demister, but that’s a job for tomorrow.

Photo of my legs, sitting backwards in the rear seat with my feet in the boot…

Someone had attacked the high level stop light with poxy silver paint.

I attacked it with somewhat less poxy black paint.

I also removed the sound deadening tar from the rear wheel arches and under the rear seat. The stuff on the arches comes off nicely, the stuff on the floor … less so.

A lot of time spent for 2kg worth of tar, but it helps clean up the interior of the car, so I am justifying it that way.

Dang, I just realised how little I achieved from a pretty solid day… although there was some time with the parts Crown.

Professional masking job…

Boot painted. I was going to do it with the spray gun, but figured I had enough left-over rattle cans. Wrong… had to go and buy another tin.

Back seat area cleaned up.

And painted.

There’s two styles of boot lids - stepped and kinked. The spare/replacement is a kinked one with vastly better paint so it went on.

The tail lights are different to match the bootlid, but fortunately I saved the kinked tail lights from Ratty. This was entirely good luck, not good management.

And boot hold down springs.

Panel gaps aren’t wonderful - the bootlid sits too far to the right - and it is beyond my skills/enthusiasm to fix them. Its fine for a race car.

I also removed the headliner and began to pull out the dashboard.

I stripped out the extra wires from the rear loom - not heaps of stuff, just the speaker, boot light and number plate light wiring.

I also bought a pair of RVR front calipers for $192.50 inc postage. Same as Evo1~3 calipers.

I had been going to use S40 calipers but the RVR calipers are definitely legal for the D4H and good pads are much easier to find… including the brand new set of QFM A1RMs I’ve had on the shelf since before QFM went out of business…

Along with the couple of tins of paint today, the running total is $810.

WTF was the deal with the spare wheels that had been hacked in the centre?

Nice job on the clean-up so far.

Lancer...reminds me of my partner's sister-in-law who had a black Lancer when they lived in Perth. For several days, they noticed some strange smell in the car that kept getting worse. [Edit: it was summertime.] They thought maybe it was trapped roadkill or some such thing, searched everywhere, plus power-washed under the car. Then they were sitting around talking and her husband says "what are we having for dinner tonight"...she says there's a fresh chicken in the fridge, we'll roast that. He looks in fridge and no chicken to be found, and he says "it's not here". She immediately jumps up and races out to the car, to find said chicken decomposing in its bag in one of the bootleg pockets in the boot. Guess it had come out of the bag and slipped down there somewhere and was hiding. Yuck! Hilariously she's a vegetarian now. Not sure whether she was at the time of the incident and whether the chicken was just for hubby or not, but I'm sure that would put you off chicken for a while.

  • Spac replied to this.
    carnut222

    WTF was the deal with the spare wheels that had been hacked in the centre?

    Nice job on the clean-up so far.

    Lancer...reminds me of my partner's sister-in-law who had a black Lancer when they lived in Perth. For several days, they noticed some strange smell in the car that kept getting worse. [Edit: it was summertime.] They thought maybe it was trapped roadkill or some such thing, searched everywhere, plus power-washed under the car. Then they were sitting around talking and her husband says "what are we having for dinner tonight"...she says there's a fresh chicken in the fridge, we'll roast that. He looks in fridge and no chicken to be found, and he says "it's not here". She immediately jumps up and races out to the car, to find said chicken decomposing in its bag in one of the bootleg pockets in the boot. Guess it had come out of the bag and slipped down there somewhere and was hiding. Yuck! Hilariously she's a vegetarian now. Not sure whether she was at the time of the incident and whether the chicken was just for hubby or not, but I'm sure that would put you off chicken for a while.

    They’re from something else, and must have had a too-small centre bore … and this is someone’s inelegant way to make them fit a Lancer.

    Was cold this morning, so spent time in the workshop rather than outside on the car.

    First up was double-drilling the CH Lancer brake rotors to suit the 4x100 CE Lancer hubs.

    The RVR calipers turned up too.

    Barely visible behind the brake is the two aluminium discs that were holesawed out to become strut tops.

    Here’s a better photo of the strut tops to be.

    .…. and finished!

    Once it had warmed up a bit, I cut the dust shields off. This needs to happen, because the 276mm rotors rub on them.

    Dummy fit of everything. I have been trying to keep the car mobile so I can move it to get the trailer out of the backyard.

    I knew they’d clear, but it was still a relief to see daylight between the wheel and the caliper!

    Swapped the driver’s side guard and door with the prettier parts from Ratty.

    Passenger’s side guard was swapped with the one I bought with the bootlid etc.

    Took the opportunity to strip the wiring out of the doors. Foil tape to cover the holes.

    This guard has had a hard life… someone had totally misunderstood how the bumper is held onto the car and drilled a bunch of holes for cable ties…

    Some adhesive vinyl will make this problem go away.

    I always get the poops with how the bonnets don’t open far enough on these cars. I forgot to take a “before” photo, but here’s the spare pair of hinges with the stoppers cut off.

    I will make a longer bonnet stay when I find the length of 6mm aluminium rod that I have been keeping for this exact purpose (but now can’t find…).

    Random observation: the car was a ling way clear of the door until I jacked it up.

    4 days later

    Motor and box are almost ready to be removed from the blue coupe, and then fitted to the green/aqua Mirage (no photos because my phone objected to the cold and went flat).

    The $25 “plastic welder” arrived today. It actually works pretty much as advertised!

    Test run on the rear bumper from Ratty.

    I kind of messed this up, in that the two sides of the crack didn’t want to come back into place. I should have heated it to get it back into shape.

    Lesson learned, I tried on Bloop’s front bumper.

    Definitely seems like a serviceable repair, so I am happy with it.

    Discovered this genius effort on the rear muffler… I mean, life really doesn’t have to be this difficult.

    Crappy rainy morning threatened to slow me down a whole lot, but then I decided that a wet day would be the ideal time to clean the engine before it goes into the Mirage…

    It will need a cam cover gasket, and I decided to fit a timing belt & water pump.

    Which screws my plans for putting it back into the Mirage ASAP…

    Anyway, the old stock A1RM pads arrived, $62 delivered, taking my total expenditure to $872 so far.

    I actually already had a set, but they are getting scarce and were dirt cheap, so I grabbed them.

    Adventures in clear coat today, simply because the weather was good!

    I started on the roof because the clear was pretty much entirely gone. The base coat was thin, and I rubbed through it in a few spits:

    The paint was always thin in the gutters.

    A couple of coats of blue. First coat was a $5 tin of very close, being cleared from Supercheap. Second coat was the correct Mitsubishi blue that cost $19.

    Even in cool, sunny weather, it is difficult to get an even coat from an aerosol tin.

    Photo is flattering.

    After sanding back the orange peel of the blue, I managed to add some orange peel clear…

    Again, the photo is flattering.

    And then I began sanding out the orange peel of the clear but it was getting dark I didn’t want to mess it up because I couldn’t see properly.

    I am happy to persevere with the aerosol blue, but I went and bought a litre of clear to use in the proper spray gun.

    $43 of blue, $16 of aerosol clear.

    $931 (will add the cost of the other clear when I use it).

    Orange peel sanded out.

    Hopefully the weather will be good enough to polish it up tomorrow.

    Messed around scraping the daggy clear off the LH door and rear quarter until the light ran out. I think quarter won’t need more paint, just clear.

    Less sure about the door.

    Pretty sure that I will go with a variation of Evo6.5 stripes to hide some of the dodgier paint.

    We had sun today!

    …which allowed me to polish the Lancer’s roof.

    … and bootlid.

    The roof has some weird lighter coloured spots that look a bit like fingerprints (they aren’t!), so I am not sure what is going on there.

    There’s also some smaller spots that look like humidity blisters (pretty sire they’re not) but only in the centre of the roof.

    It does look a lot better than it did, so I am not going to stress over it.

    Dragged the good 1.8 litre out of the shed where it’s been sitting for 4(?) years.

    Gave it a hose down and degrease - it doesn’t appear to be leaking anywhere, which is nice.

    Fitted the new timing kit and water pump. The parts I took off were almost new… obviously this had been done very shortly before the maroon sedan was crashed.

    I still went ahead and fitted the new bits just so I didn’t have to think about it again.

    This is a stupidly easy job when the engine is out of the car. The only difficult part was getting the bolt for the front pulley out - heat from the propane torch and a fully charged battery in the rattle gun got it done.

    I have two flywheels to suit. They look identical, but one is 200g lighter than the other. I will wire-brush the rust off it tomorrow and bolt it onto the engine.

    Hopefully will get the motor and box into the car tomorrow.

    Looking good. Have you ever tried or considered doing a wrap on a car or a panel? Just wondered how hard it is and the cost vs. doing the paintwork like you're doing. The reason I asked is the bonnet (in particular) on our 93 240 wagon (EV) has a lot of blisters/crazed spots where it looks like the PO left bird shit on it for months. I was wondering whether I could just sand down the whole bonnet and do a wrap on it (maybe carbon fibre look or something?)

      carnut222

      Looking good. Have you ever tried or considered doing a wrap on a car or a panel? Just wondered how hard it is and the cost vs. doing the paintwork like you're doing. The reason I asked is the bonnet (in particular) on our 93 240 wagon (EV) has a lot of blisters/crazed spots where it looks like the PO left bird shit on it for months. I was wondering whether I could just sand down the whole bonnet and do a wrap on it (maybe carbon fibre look or something?)

      Cost of quality material for the wrap is higher than the cost of paint by a large margin

      The wrap just has a ganateed even finish and you don't need an oven or any special tools other than a heat gun and some household items like a myki card

        Philia_Bear

        https://ozvolvo.org/discussion/comment/219470#Comment_219470

        Cost of quality material for the wrap is higher than the cost of paint by a large margin

        The wrap just has a ganateed even finish and you don't need an oven or any special tools other than a heat gun and some household items like a myki card

        Ahh, I had no idea how much wrap material cost. I figured you could buy a roll on AliExpress for $20 LOL!

        I struggle enough to get a good finish with the stickers I do, so the idea of wrapping a whole car seems likely to end in tears.

        I put some wax on the bootlid and roof today. All out of order, and risked contaminating the panels that need to be painted, but I sort of needed to know if the finish was going to be acceptable.

        The answer is yes.

        Also cleaned up the flywheel. The surface was damn near perfect under the surface rust.

        Painted it yellow, because race car. And bolted it all together including the gearbox.