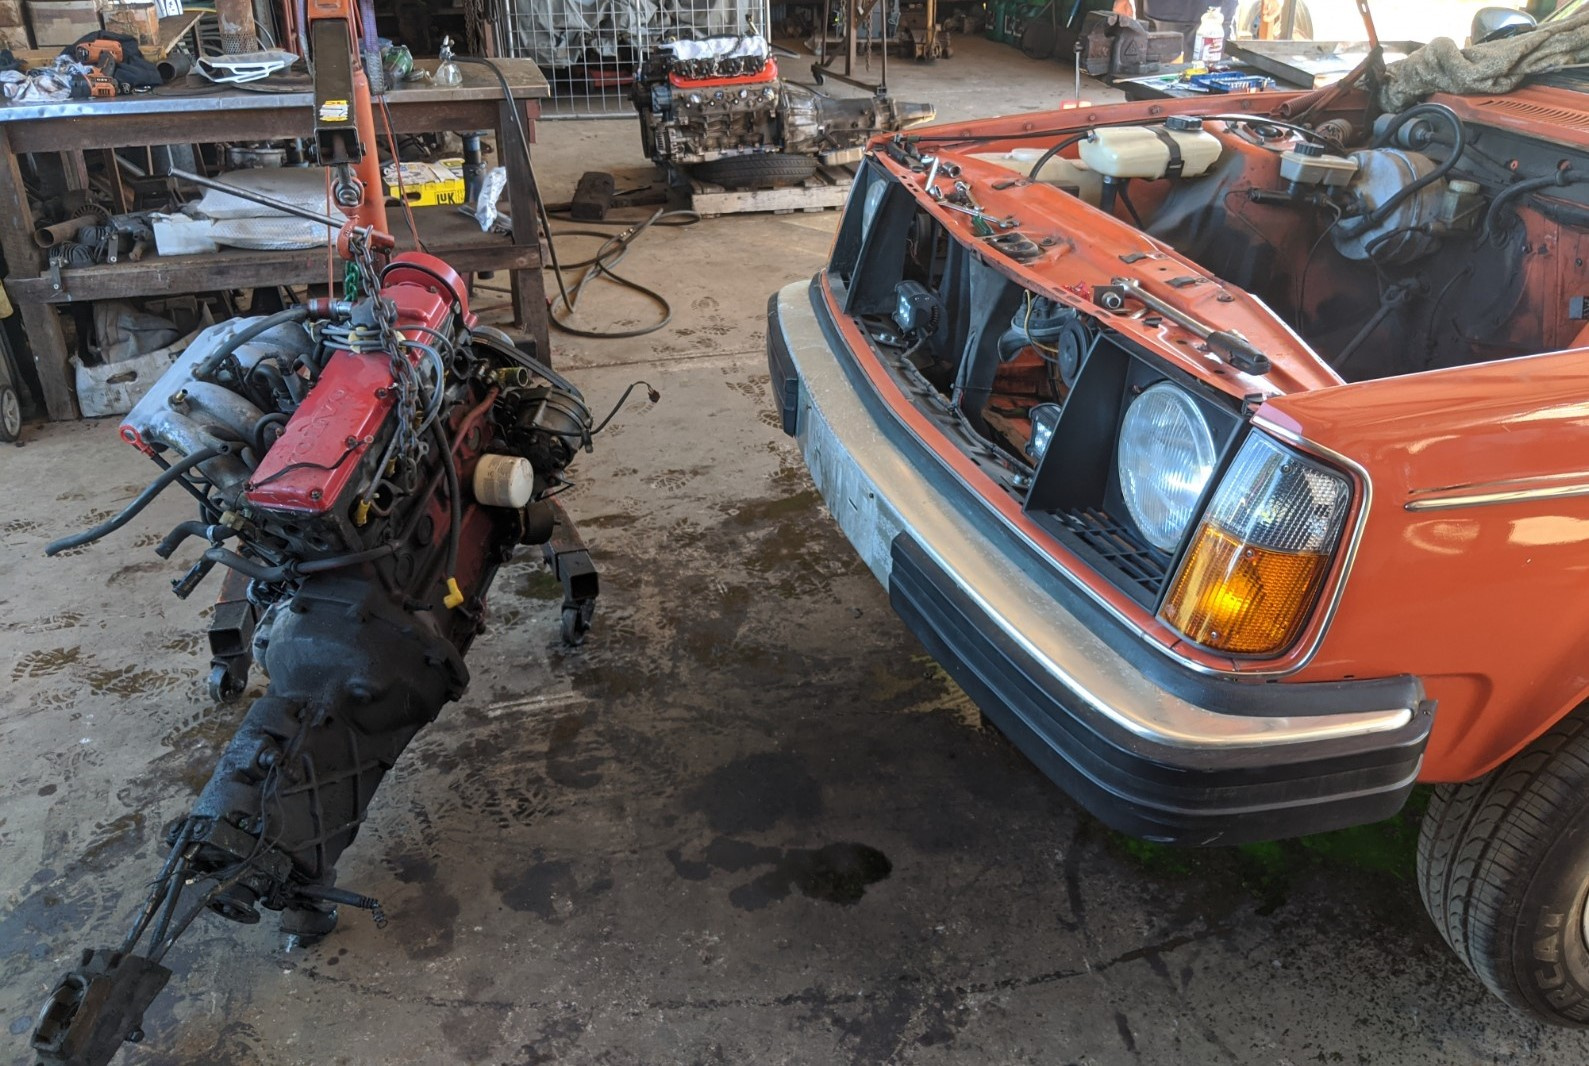
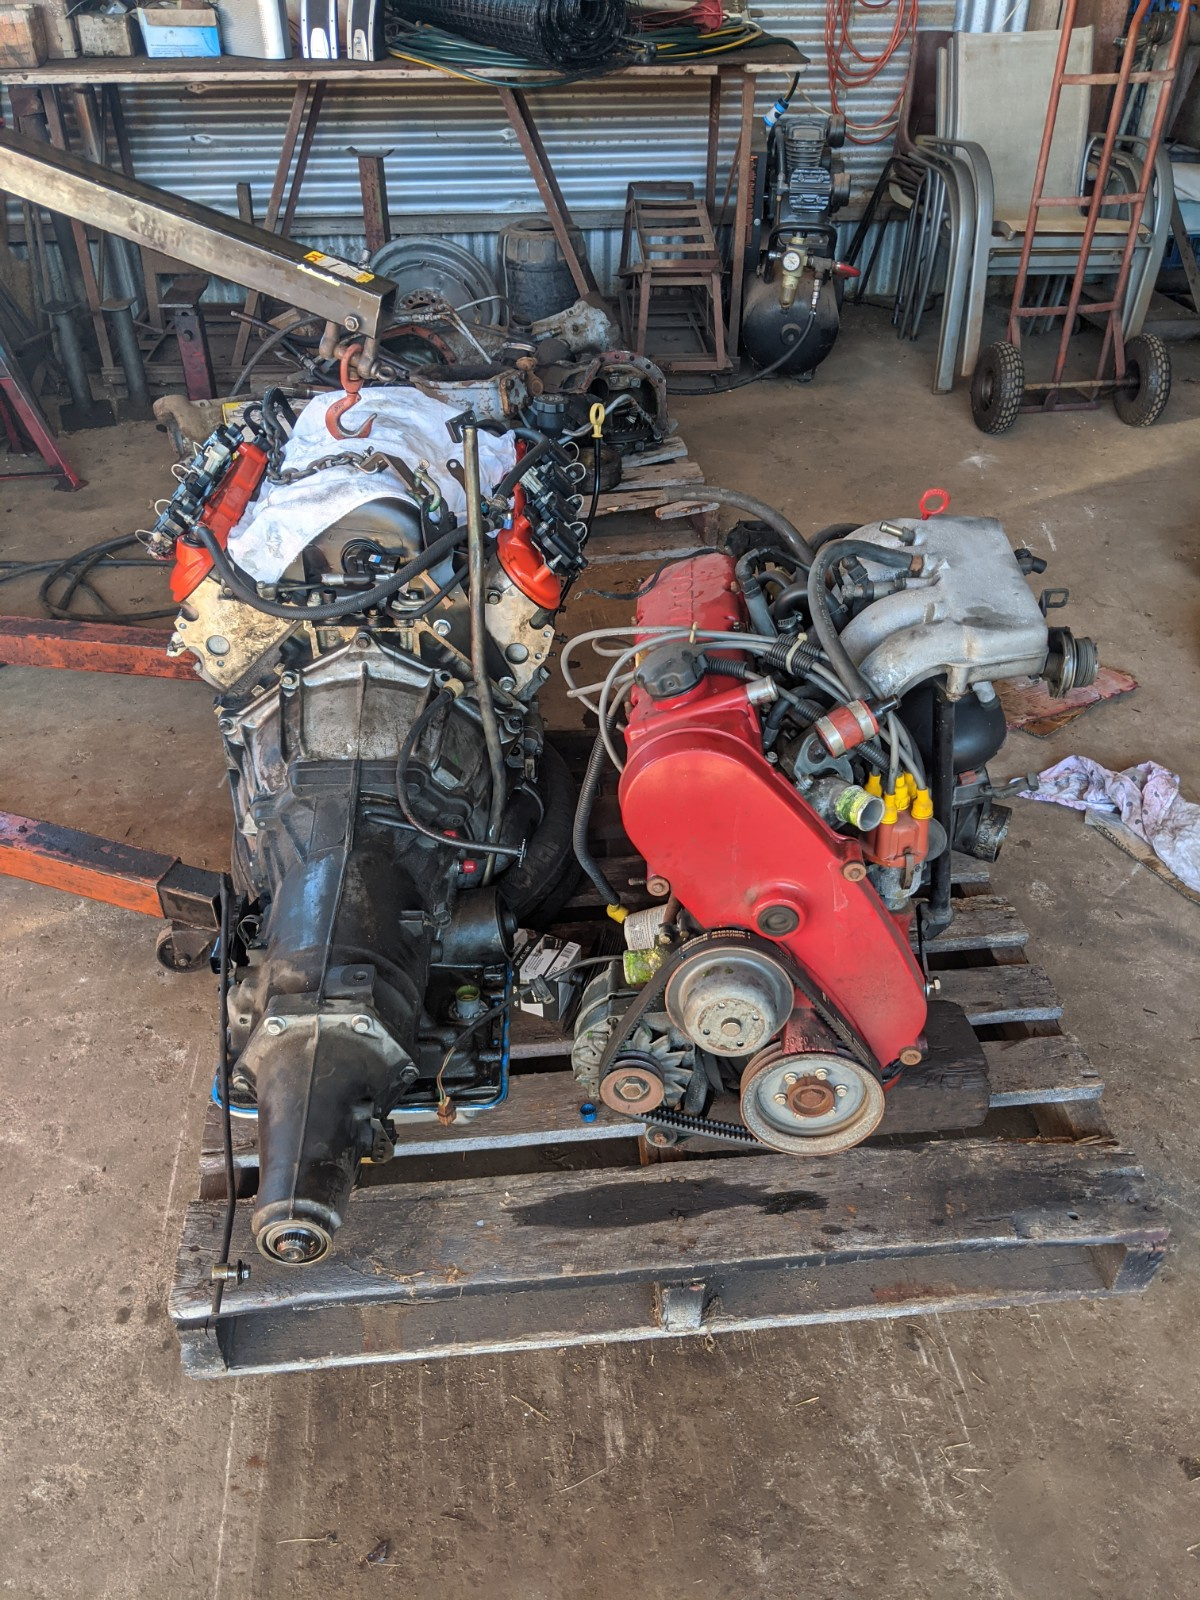
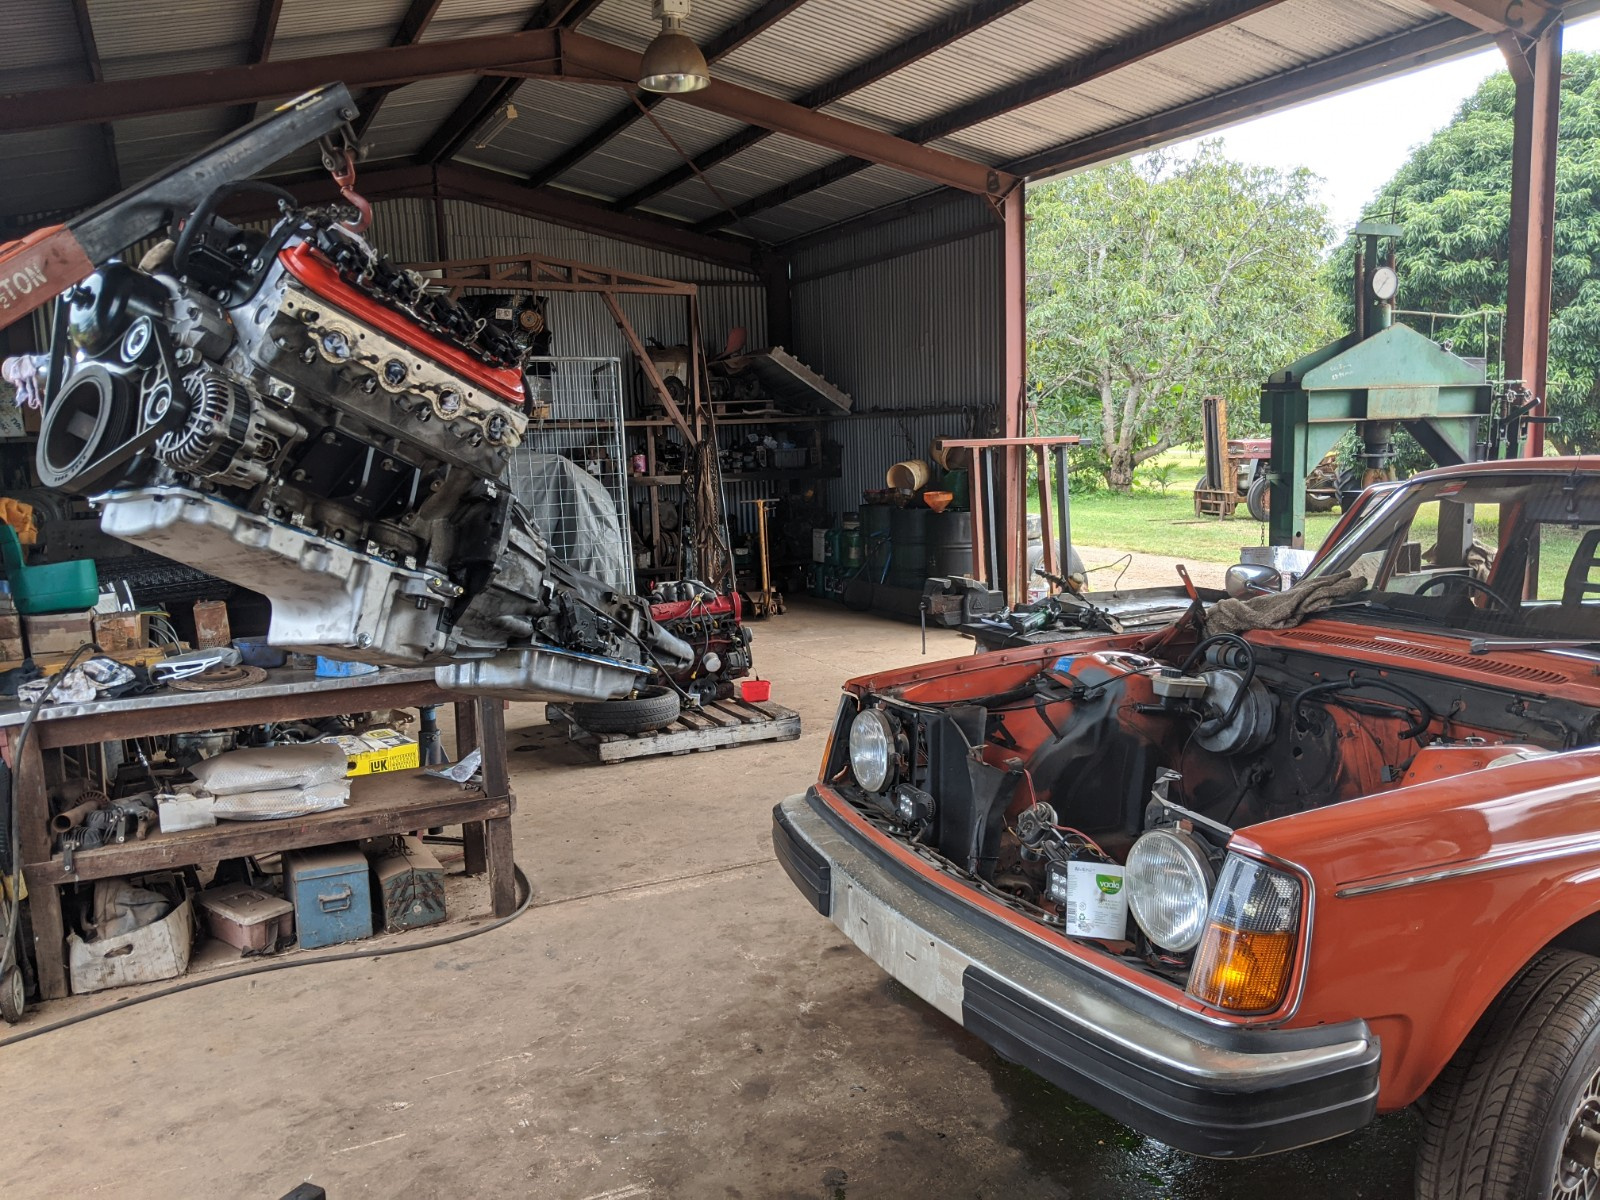
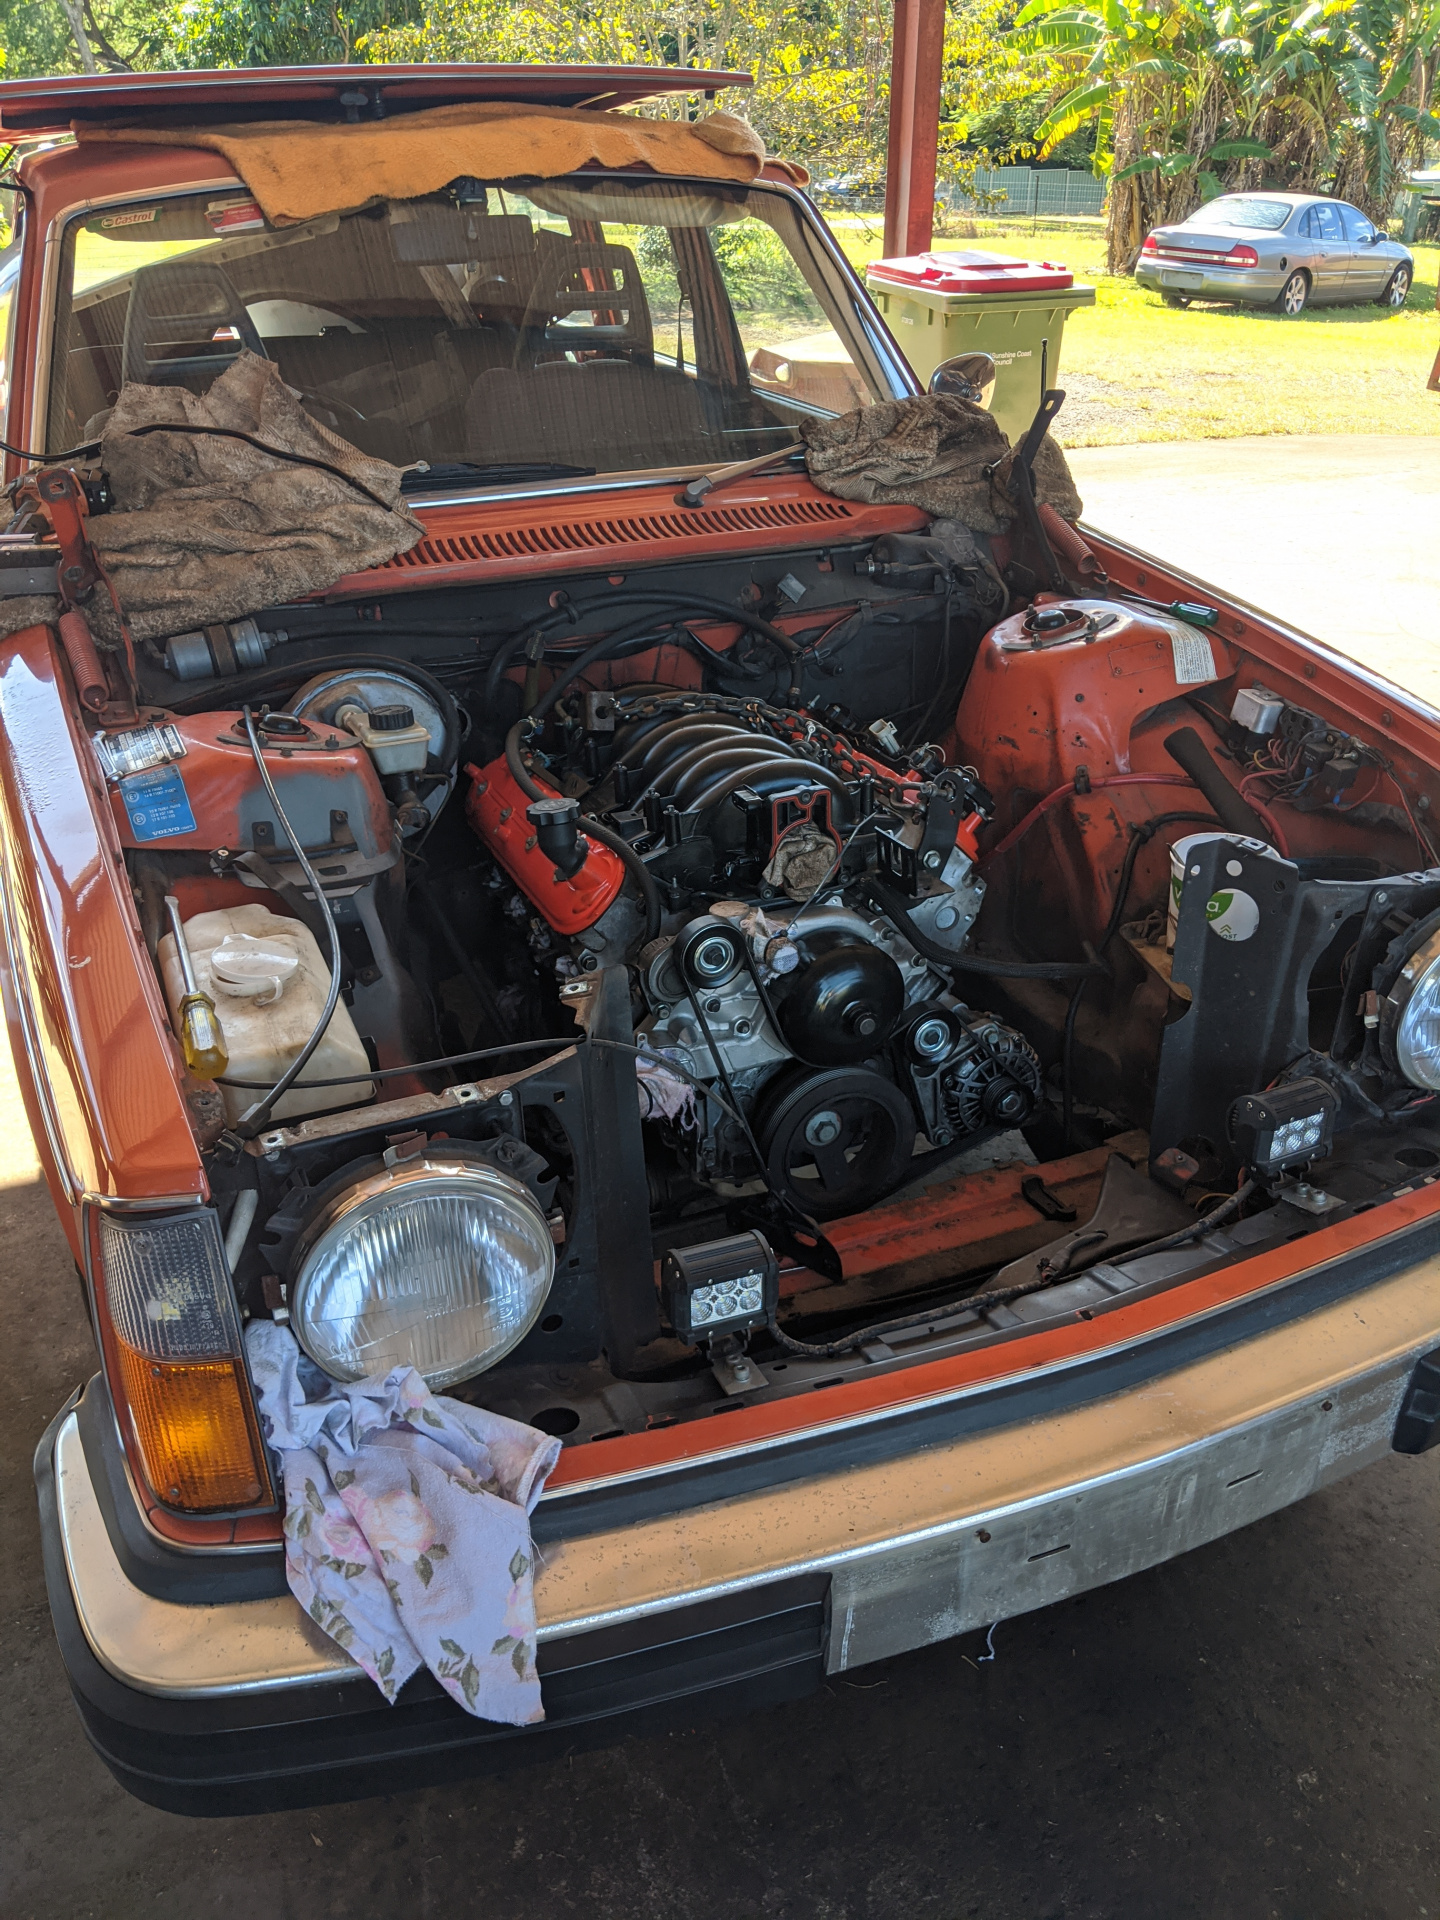
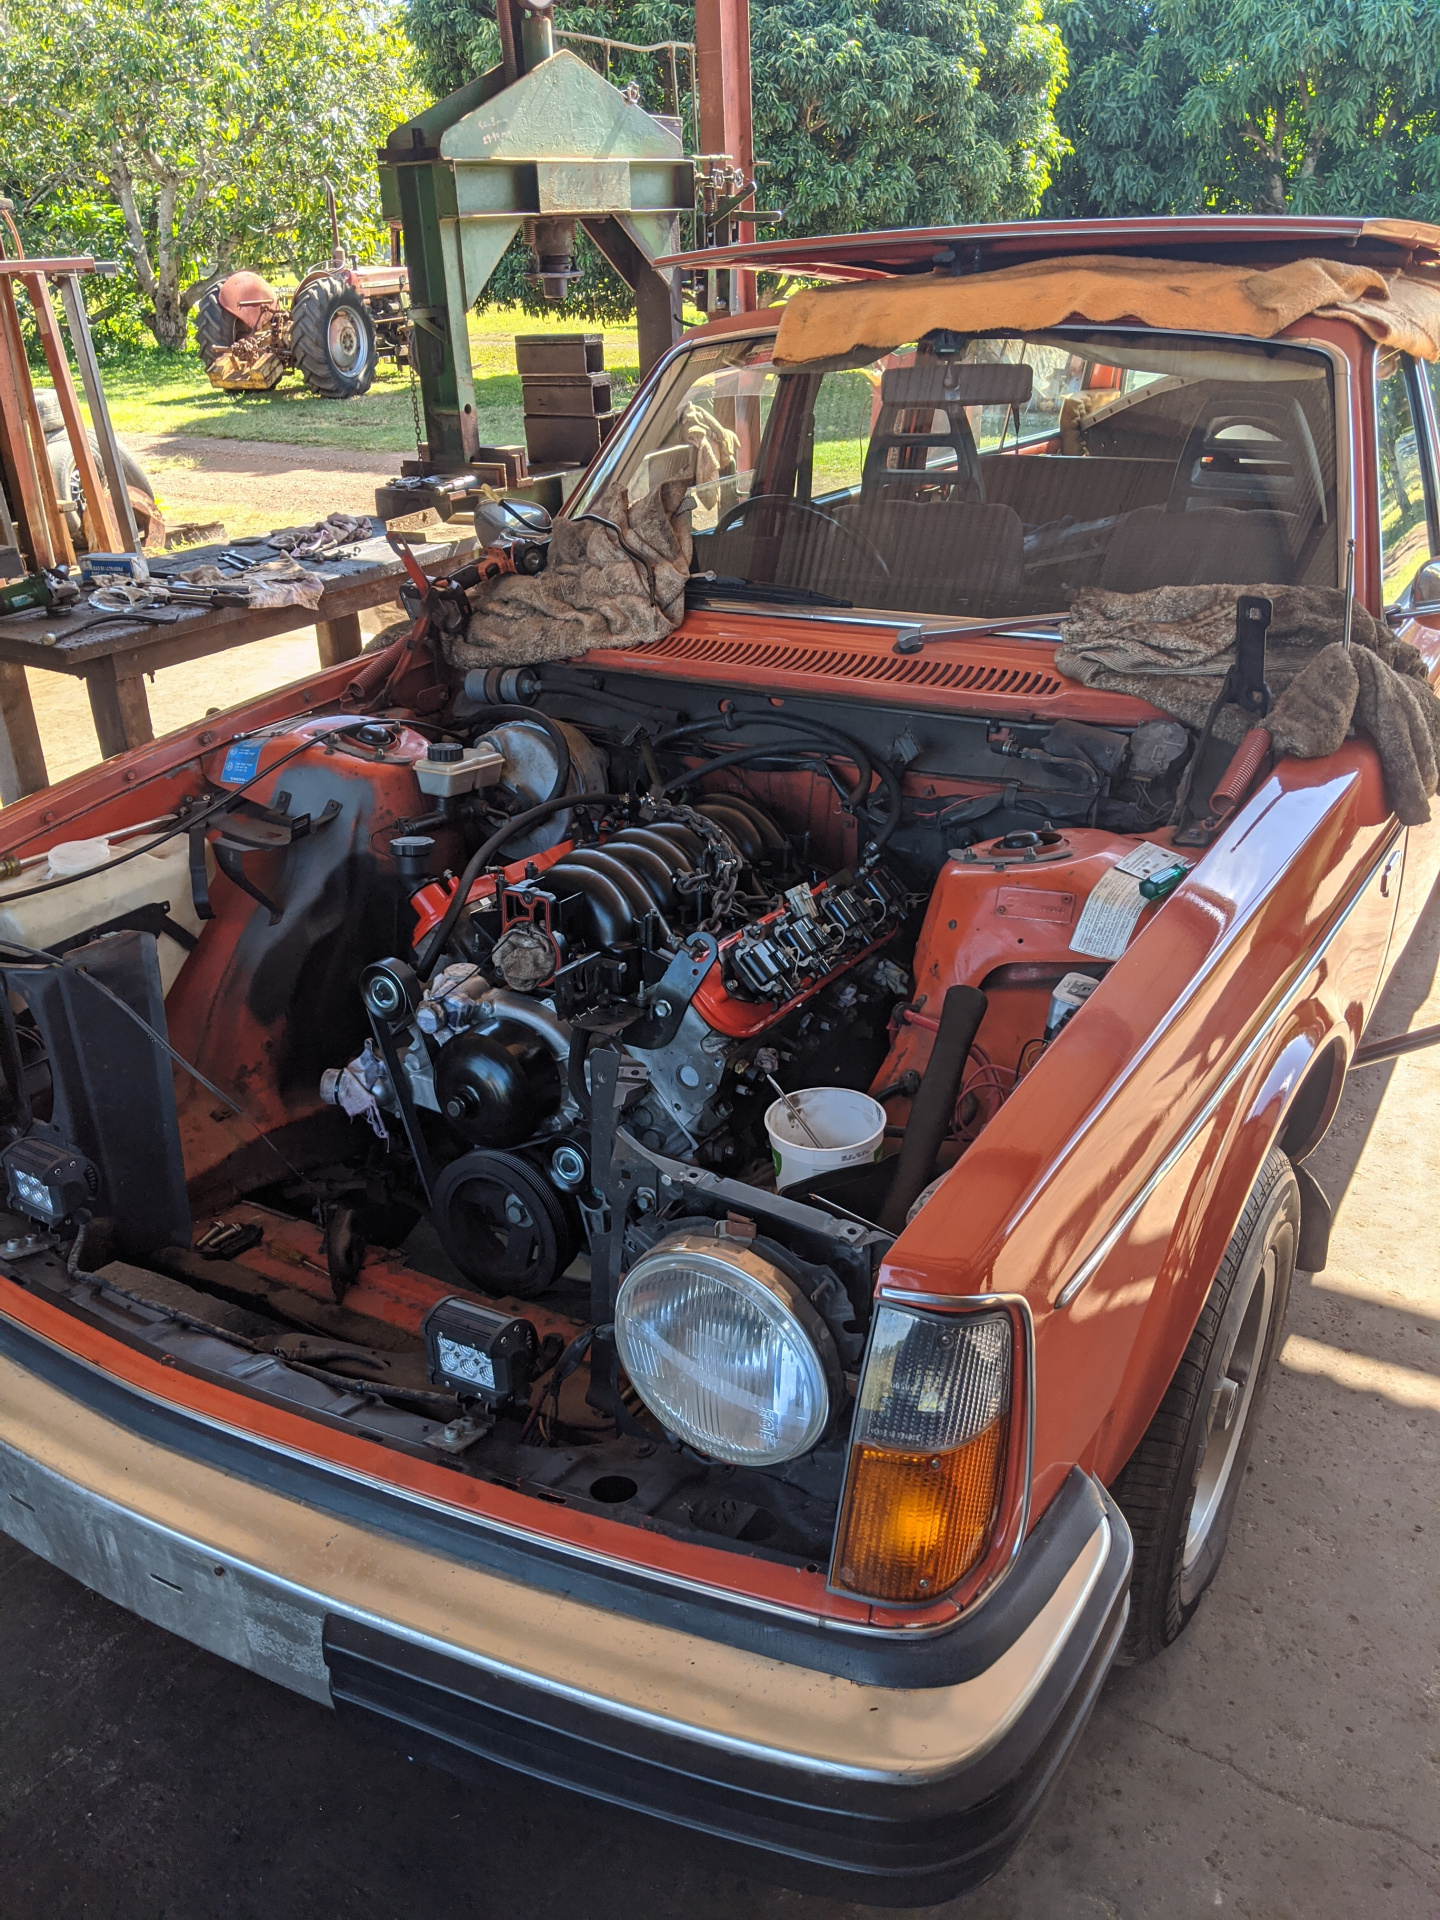
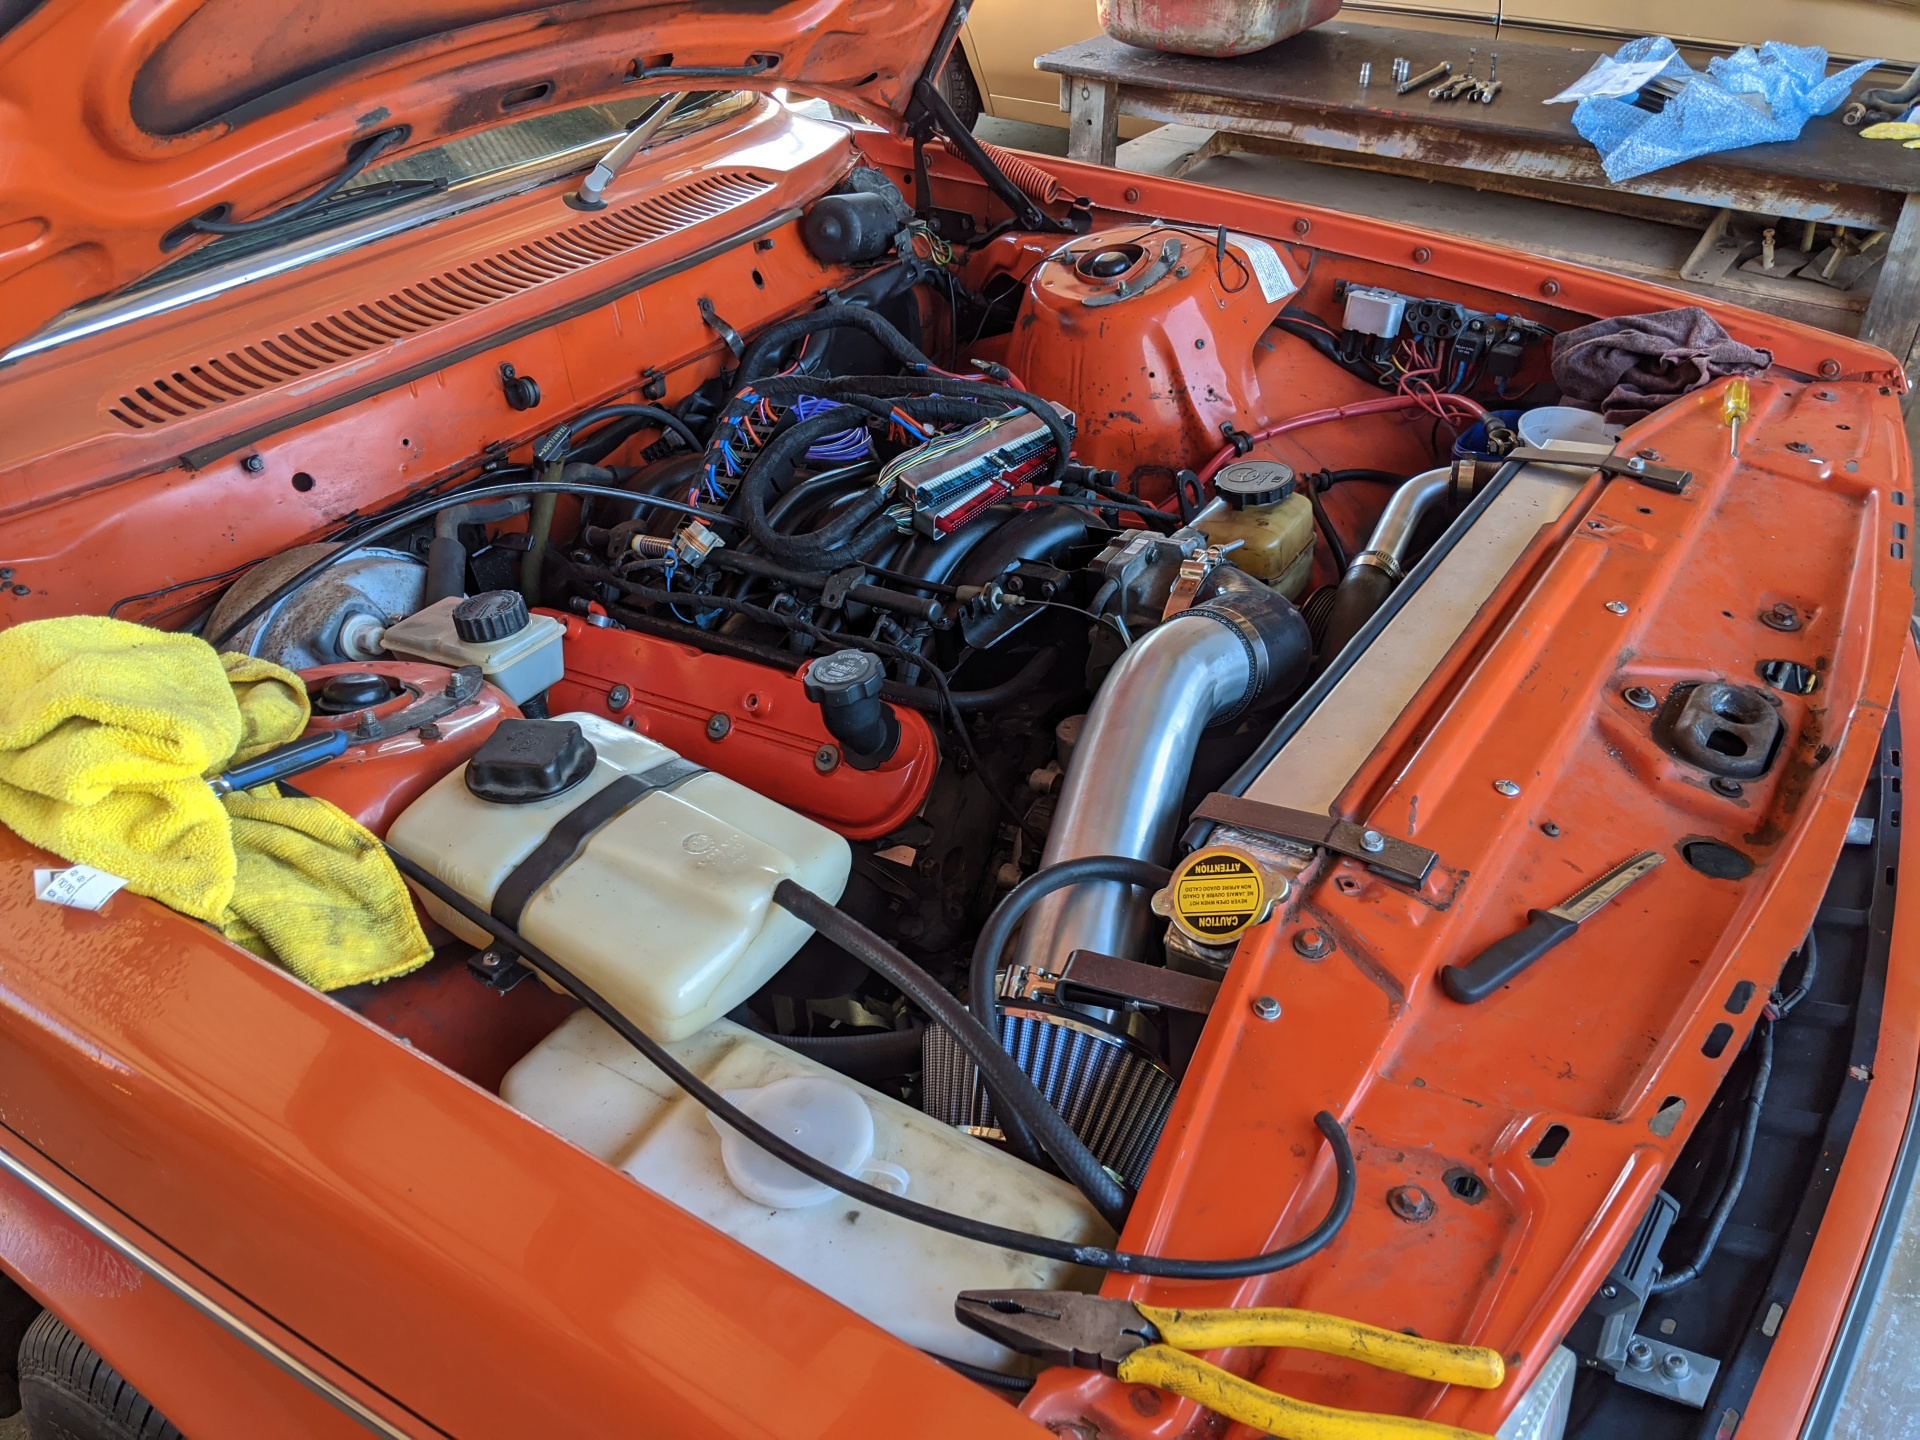
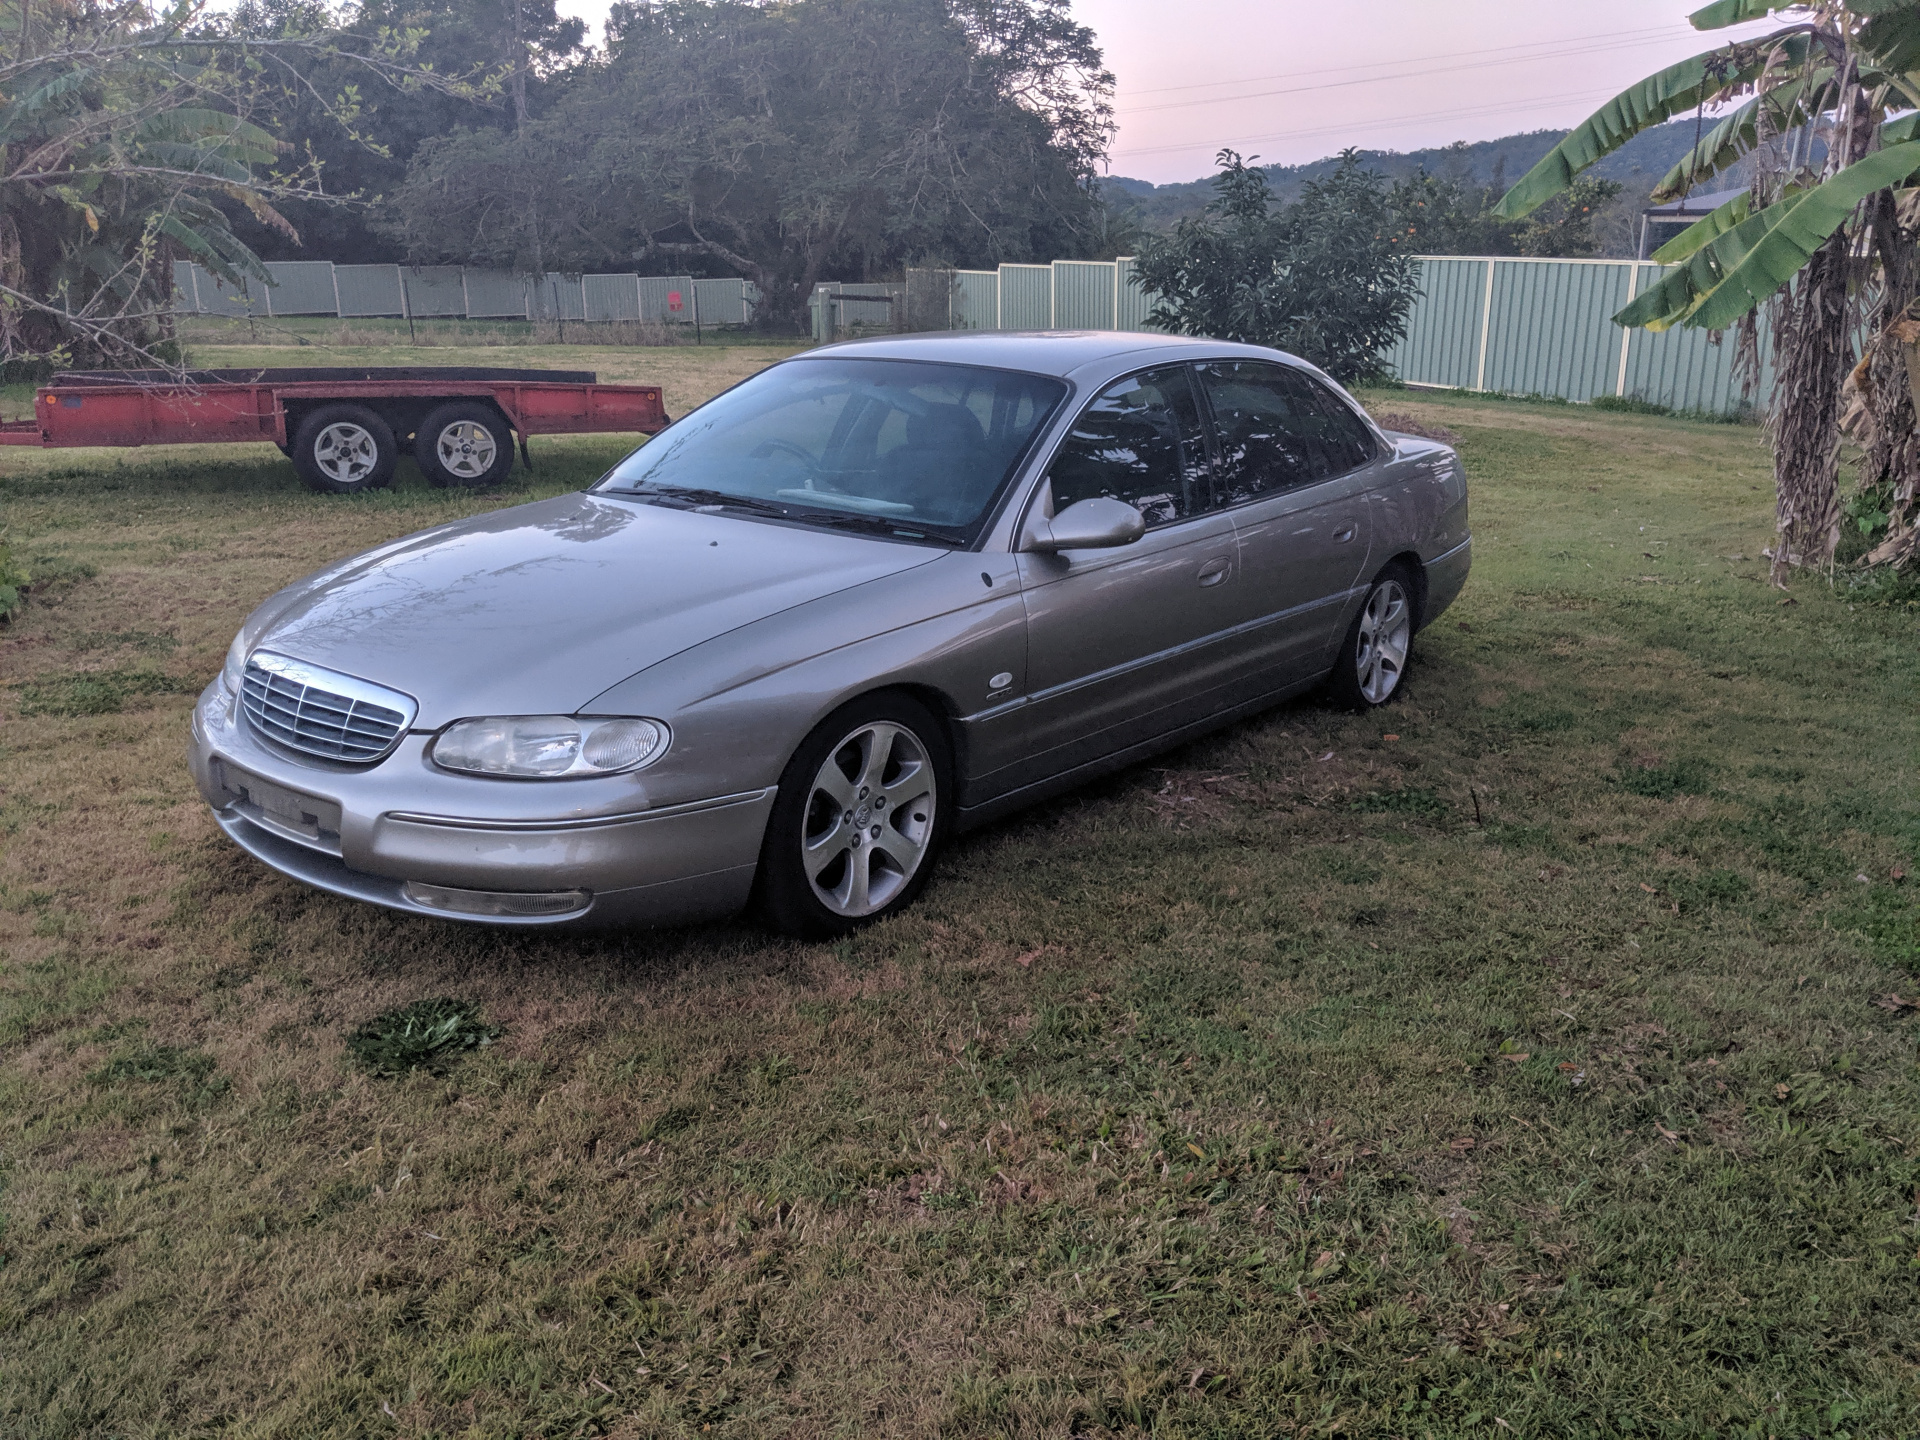
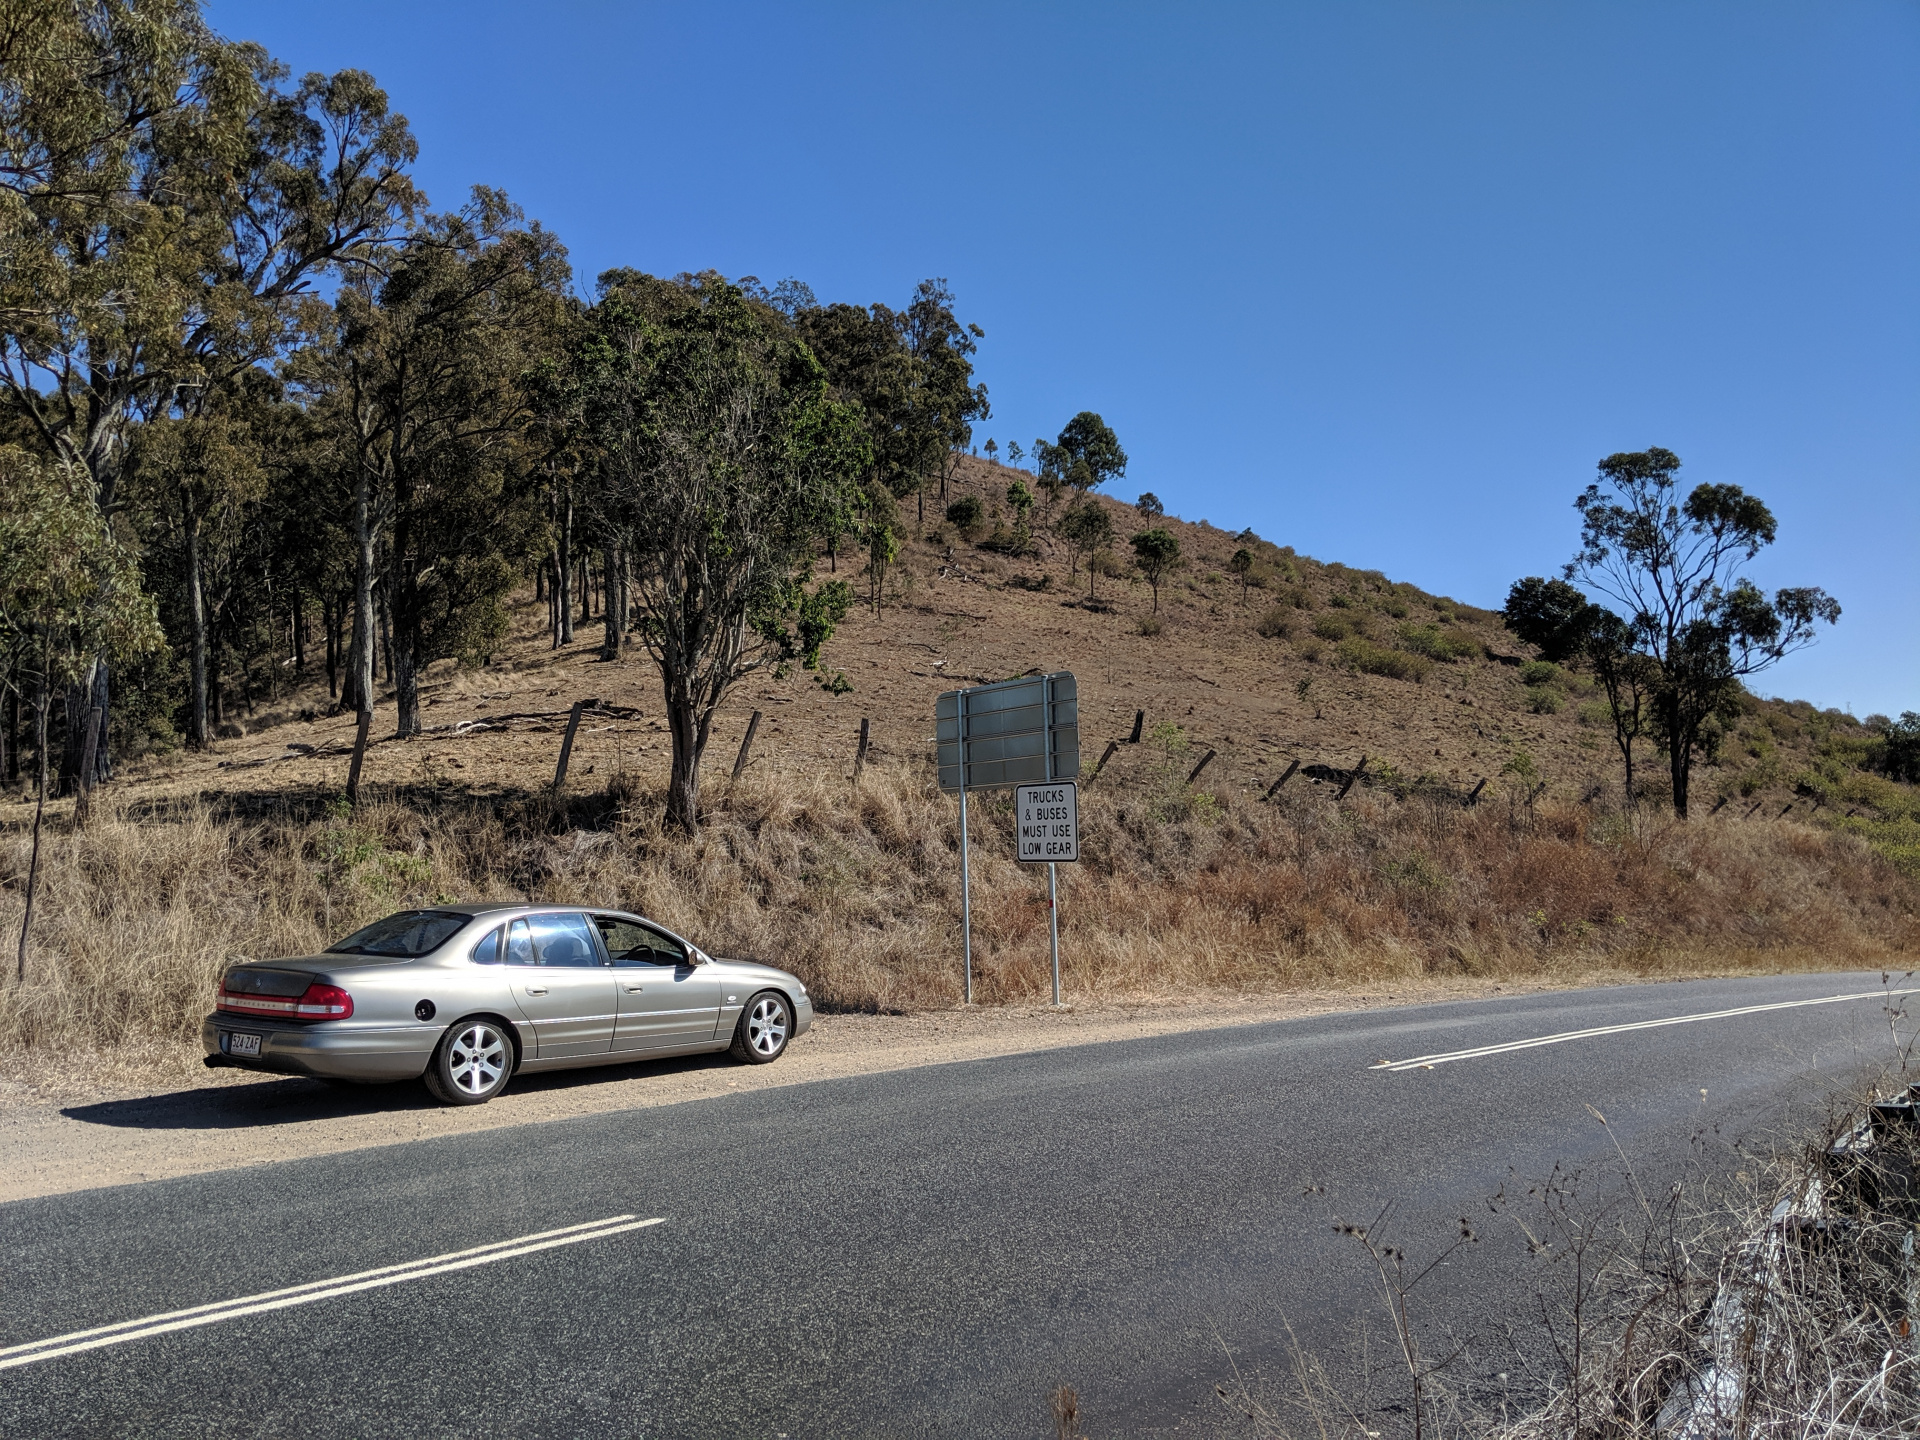
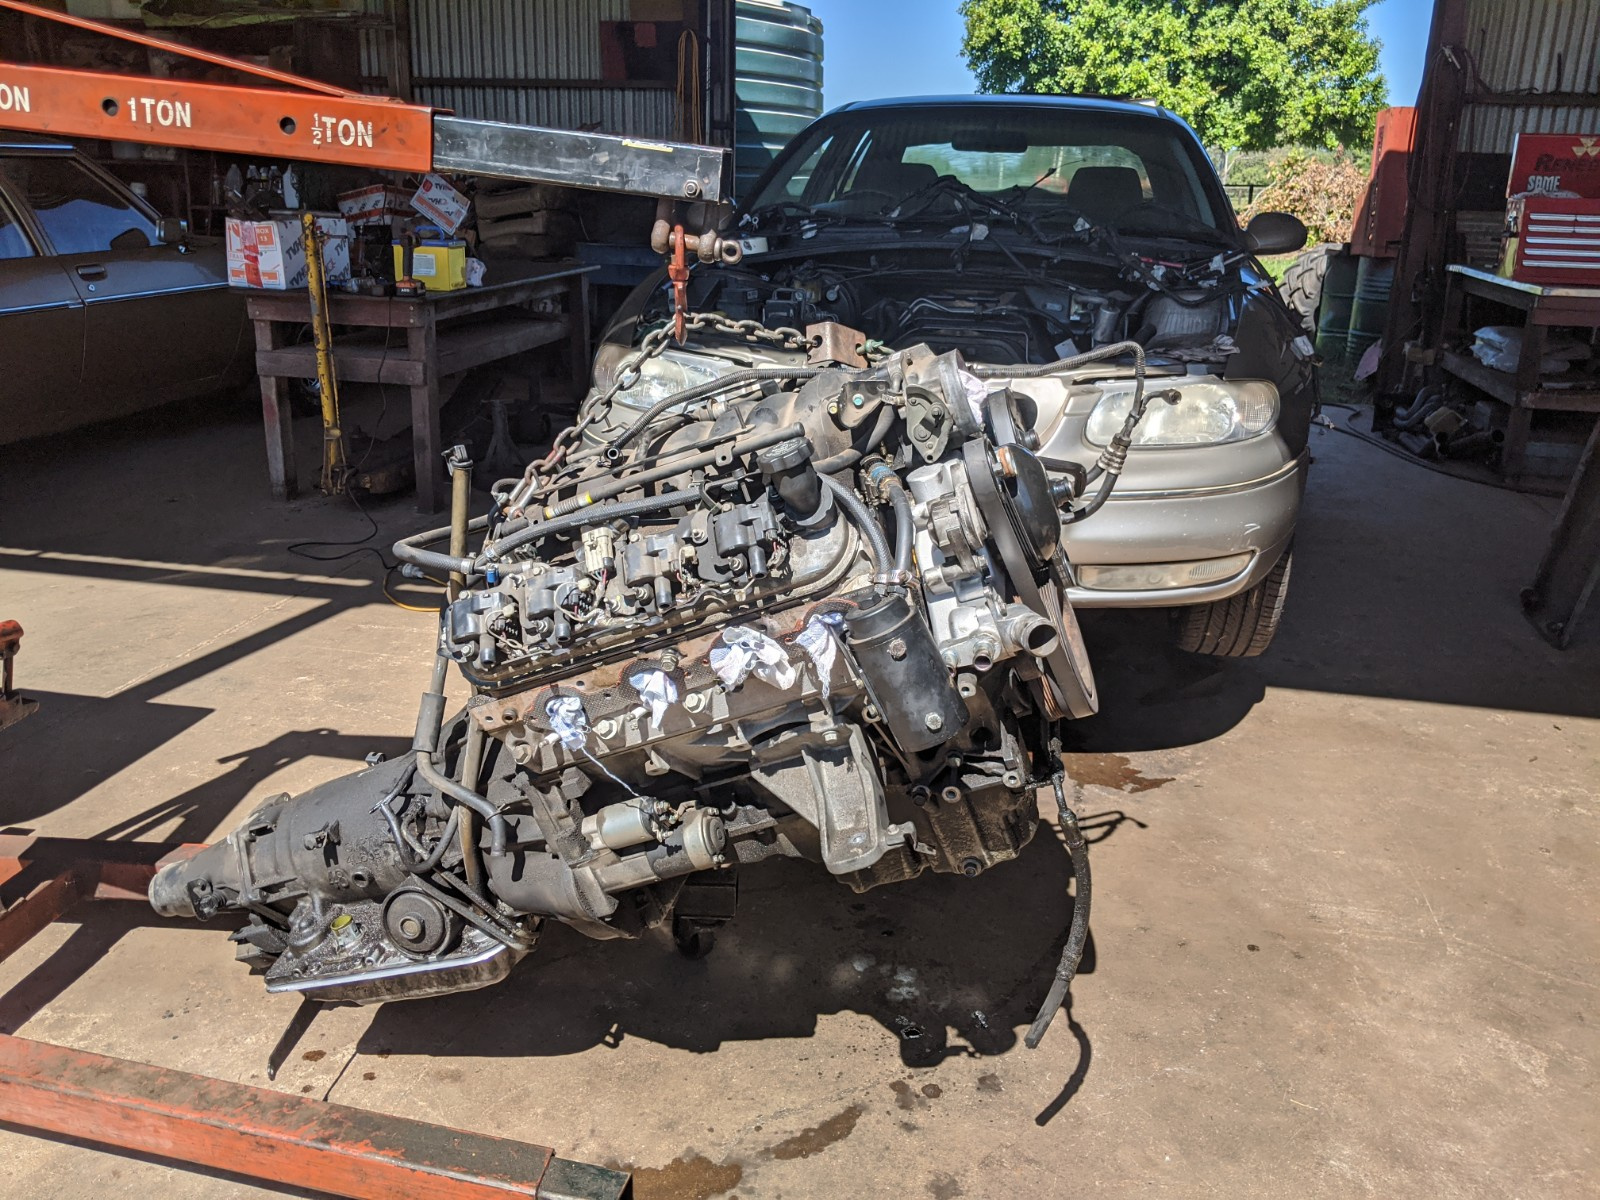
Scored a 1999 WH Statesman with 300k kms on the body and about 120k kms on the replacement motor. It ended up being too good to wreck so I did some basic maintenance on the engine then registered and drove it for about 10 months. The interior then started falling apart - the power windows, power seats, handbrake, roof lining, etc so with the free time from Coronavirus I decided it was time to get started on the next project.
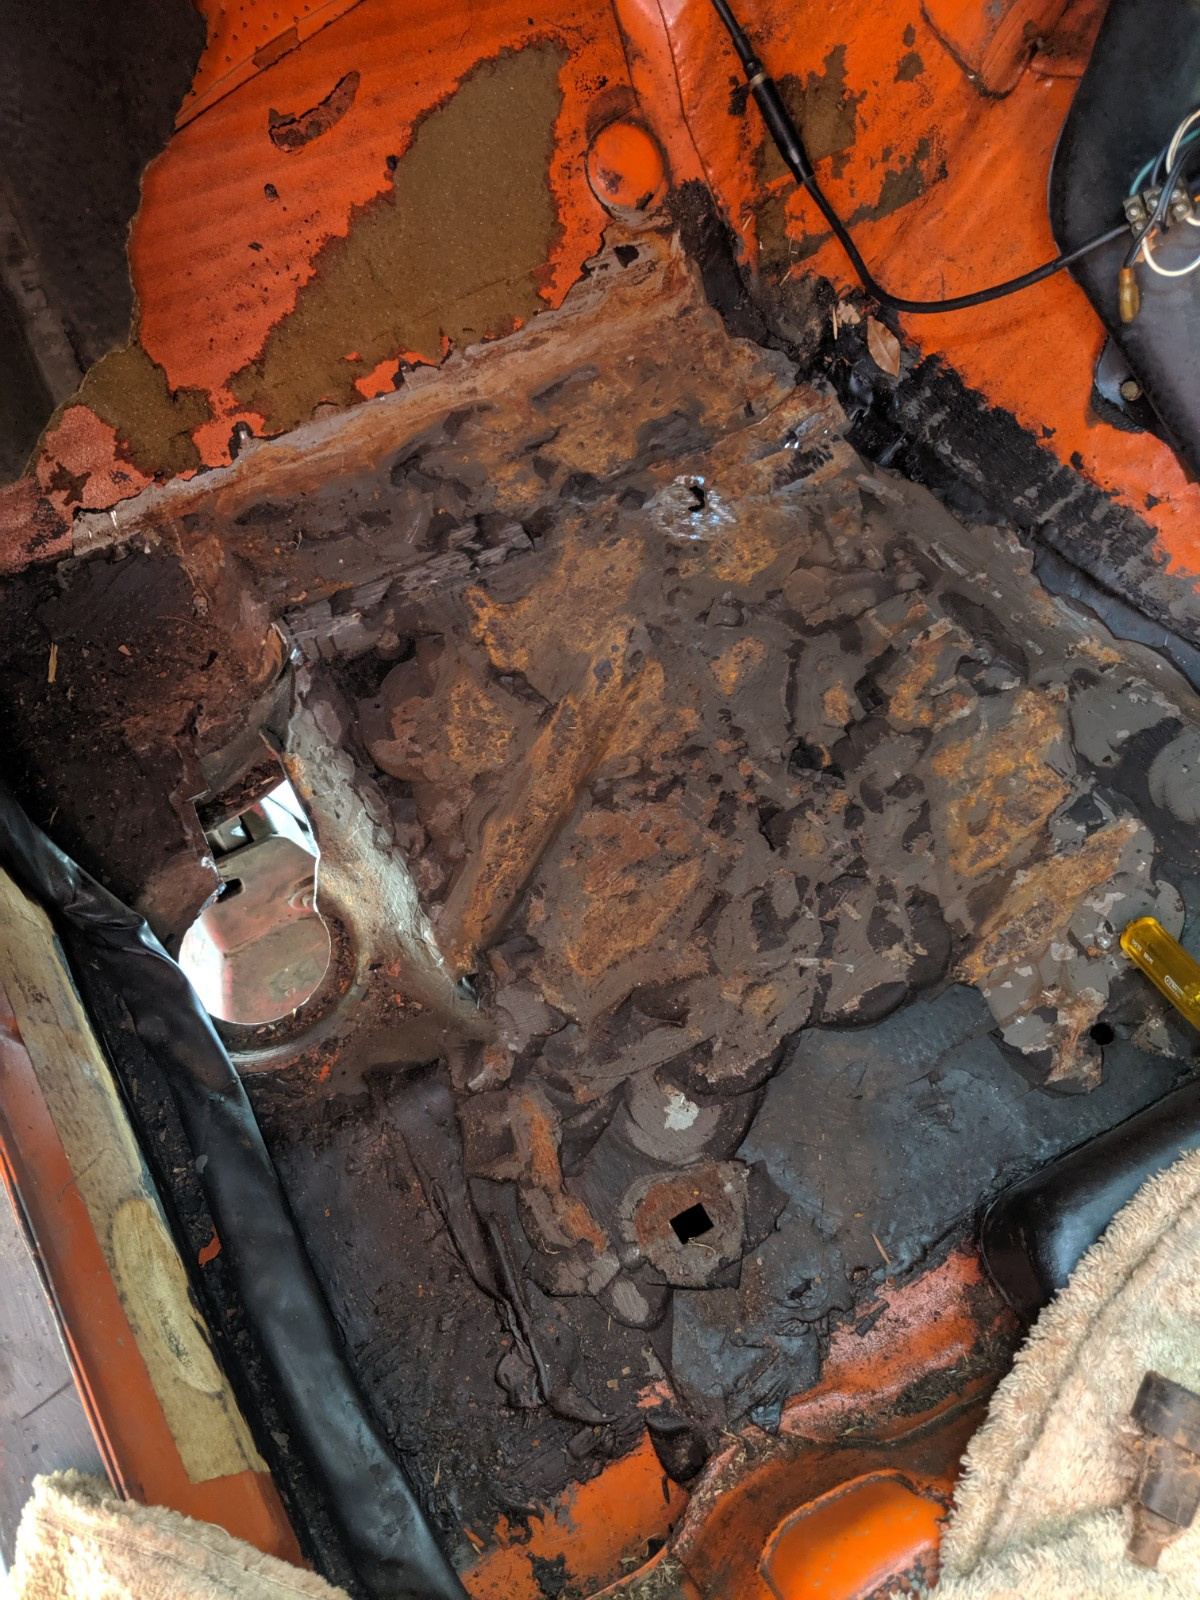
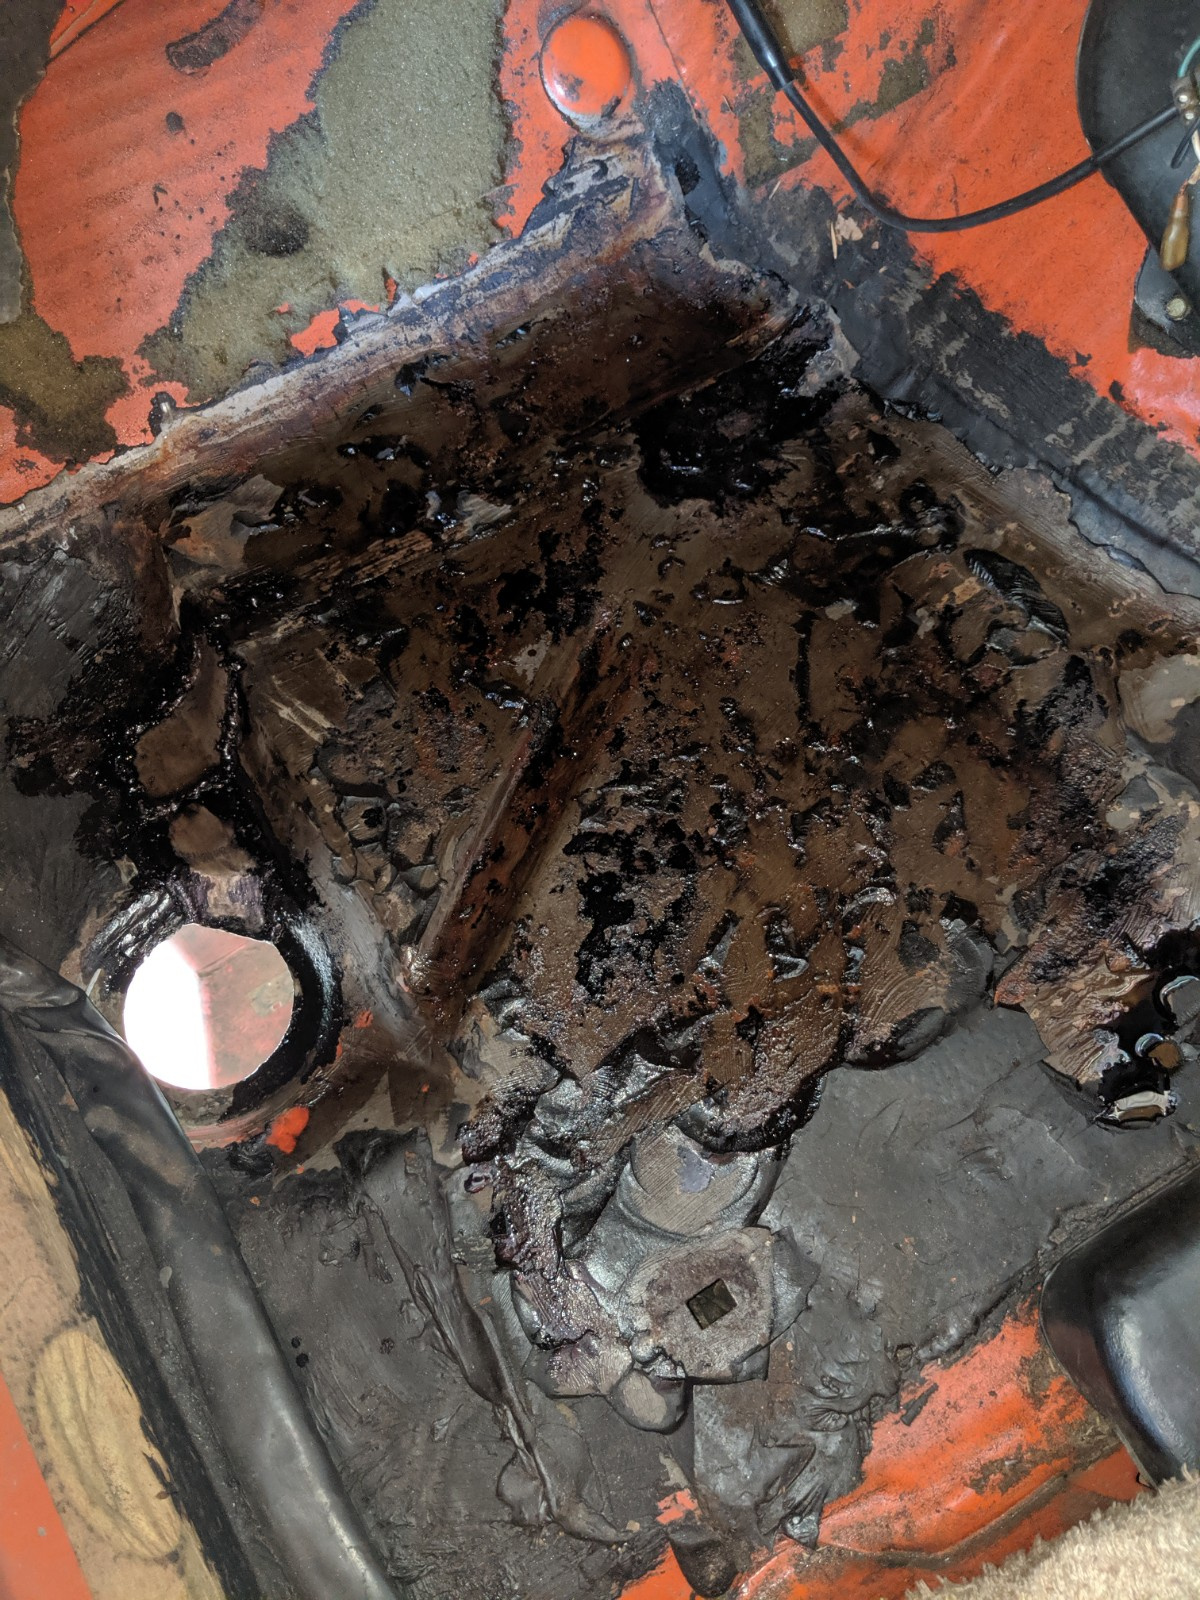
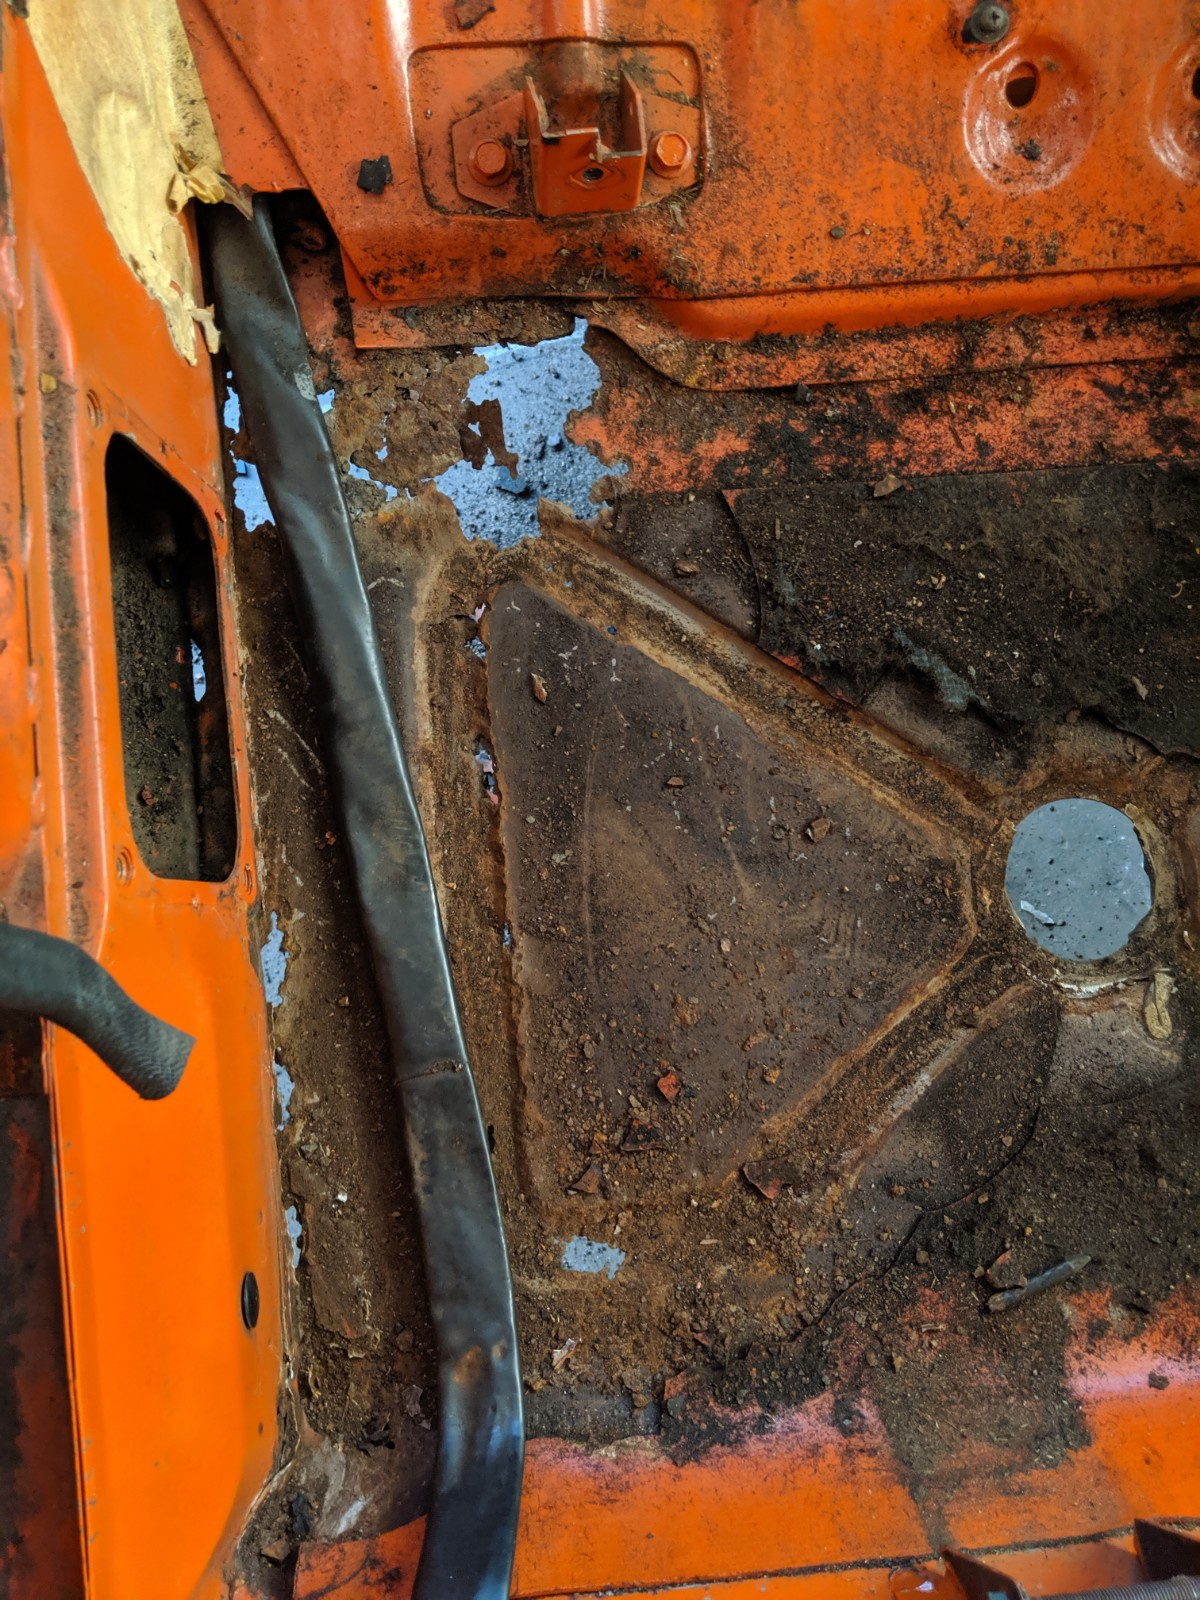
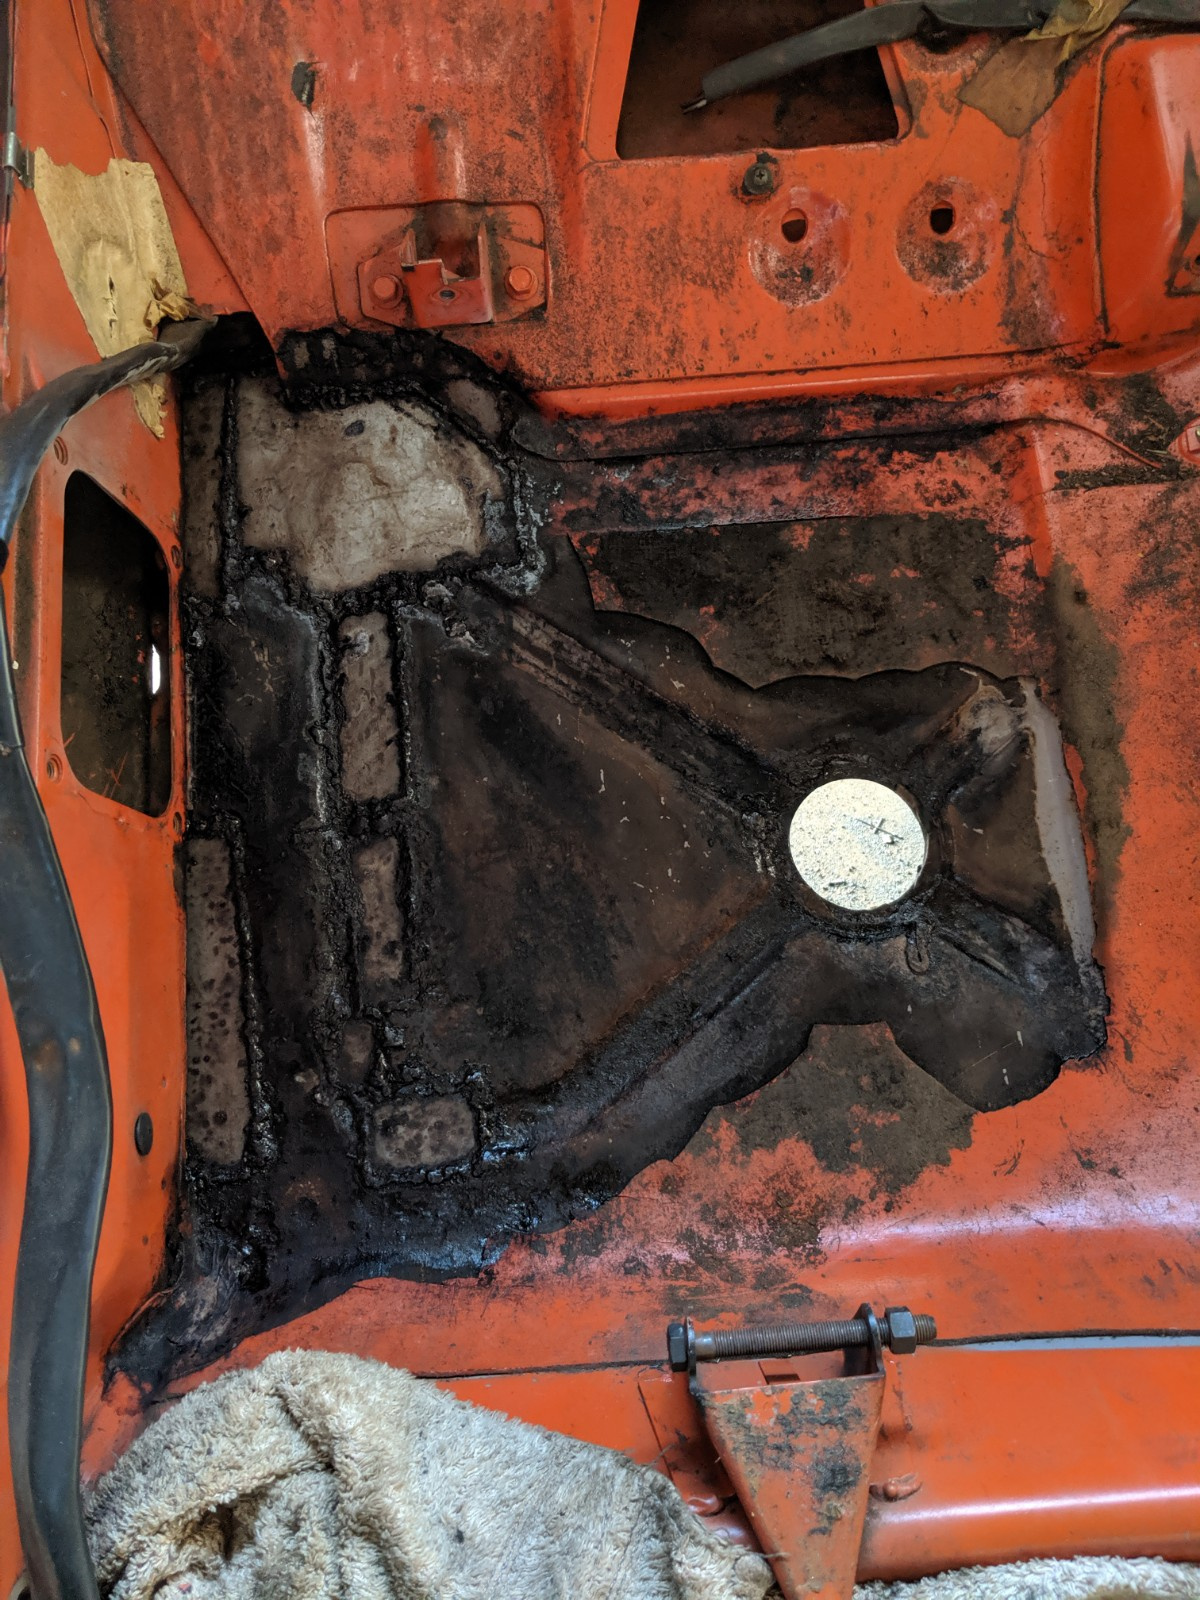
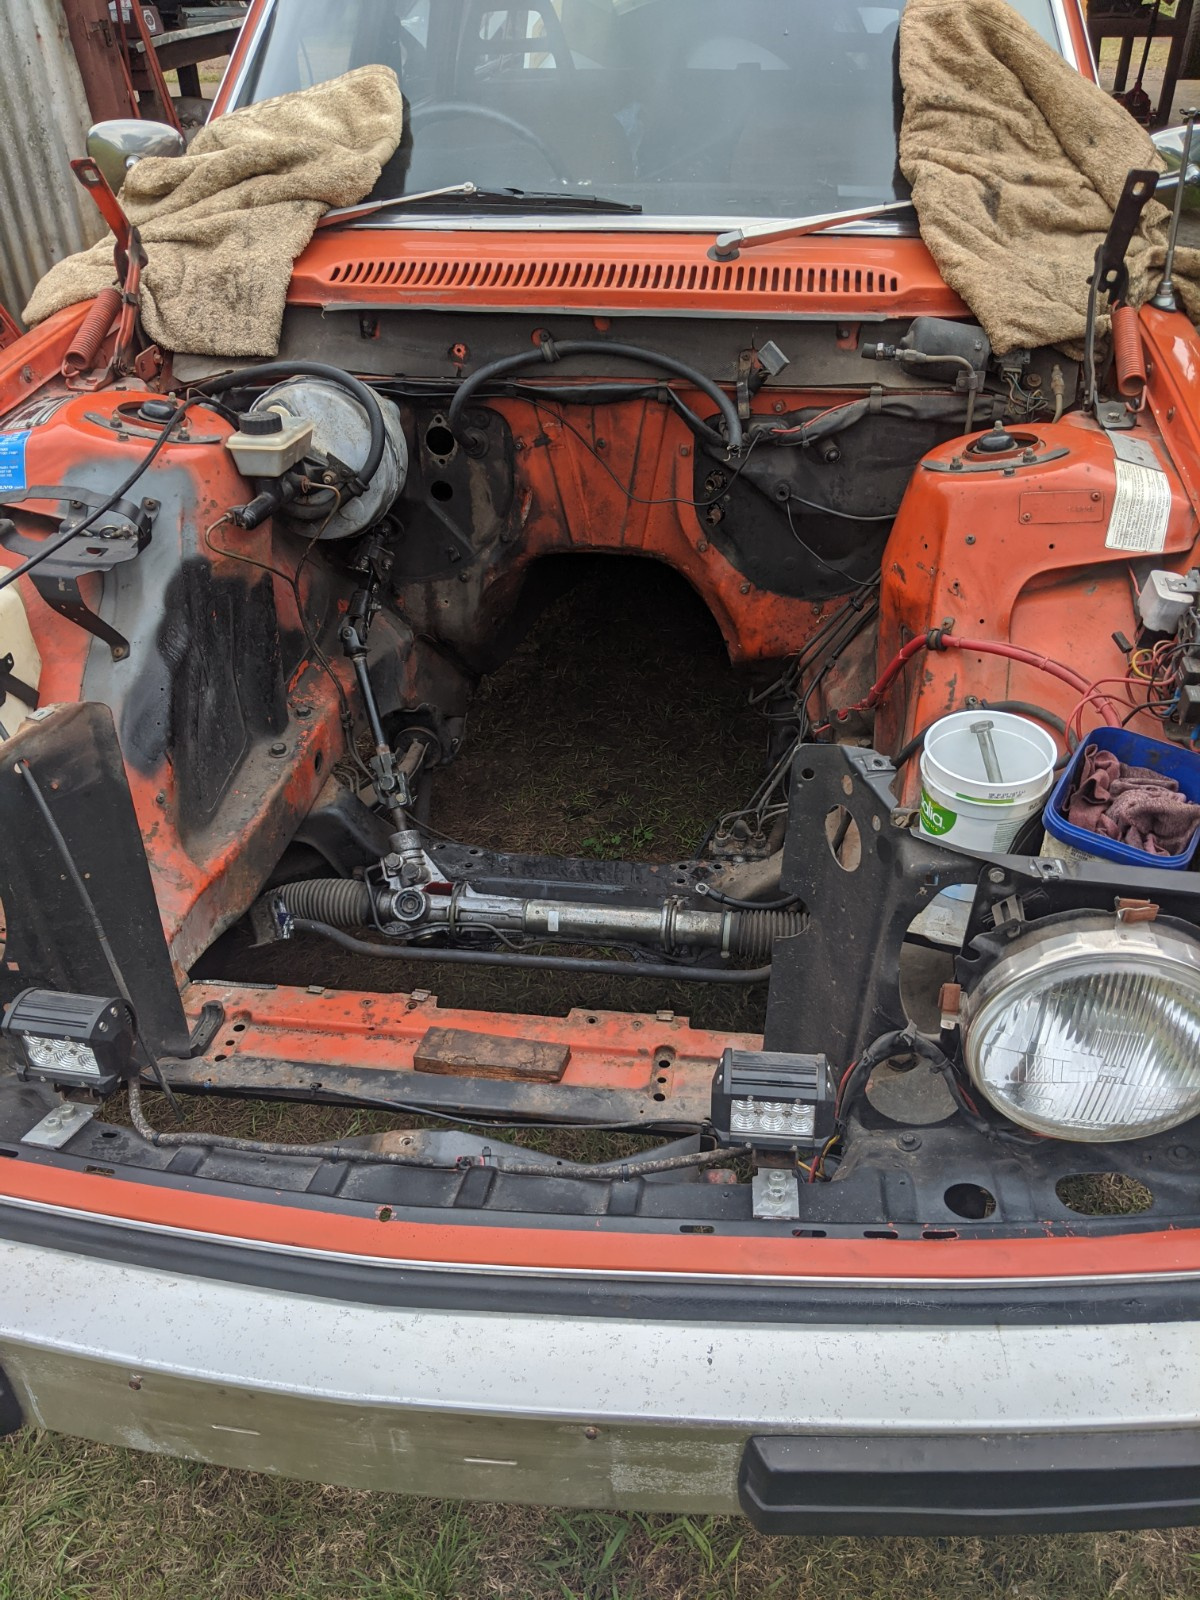
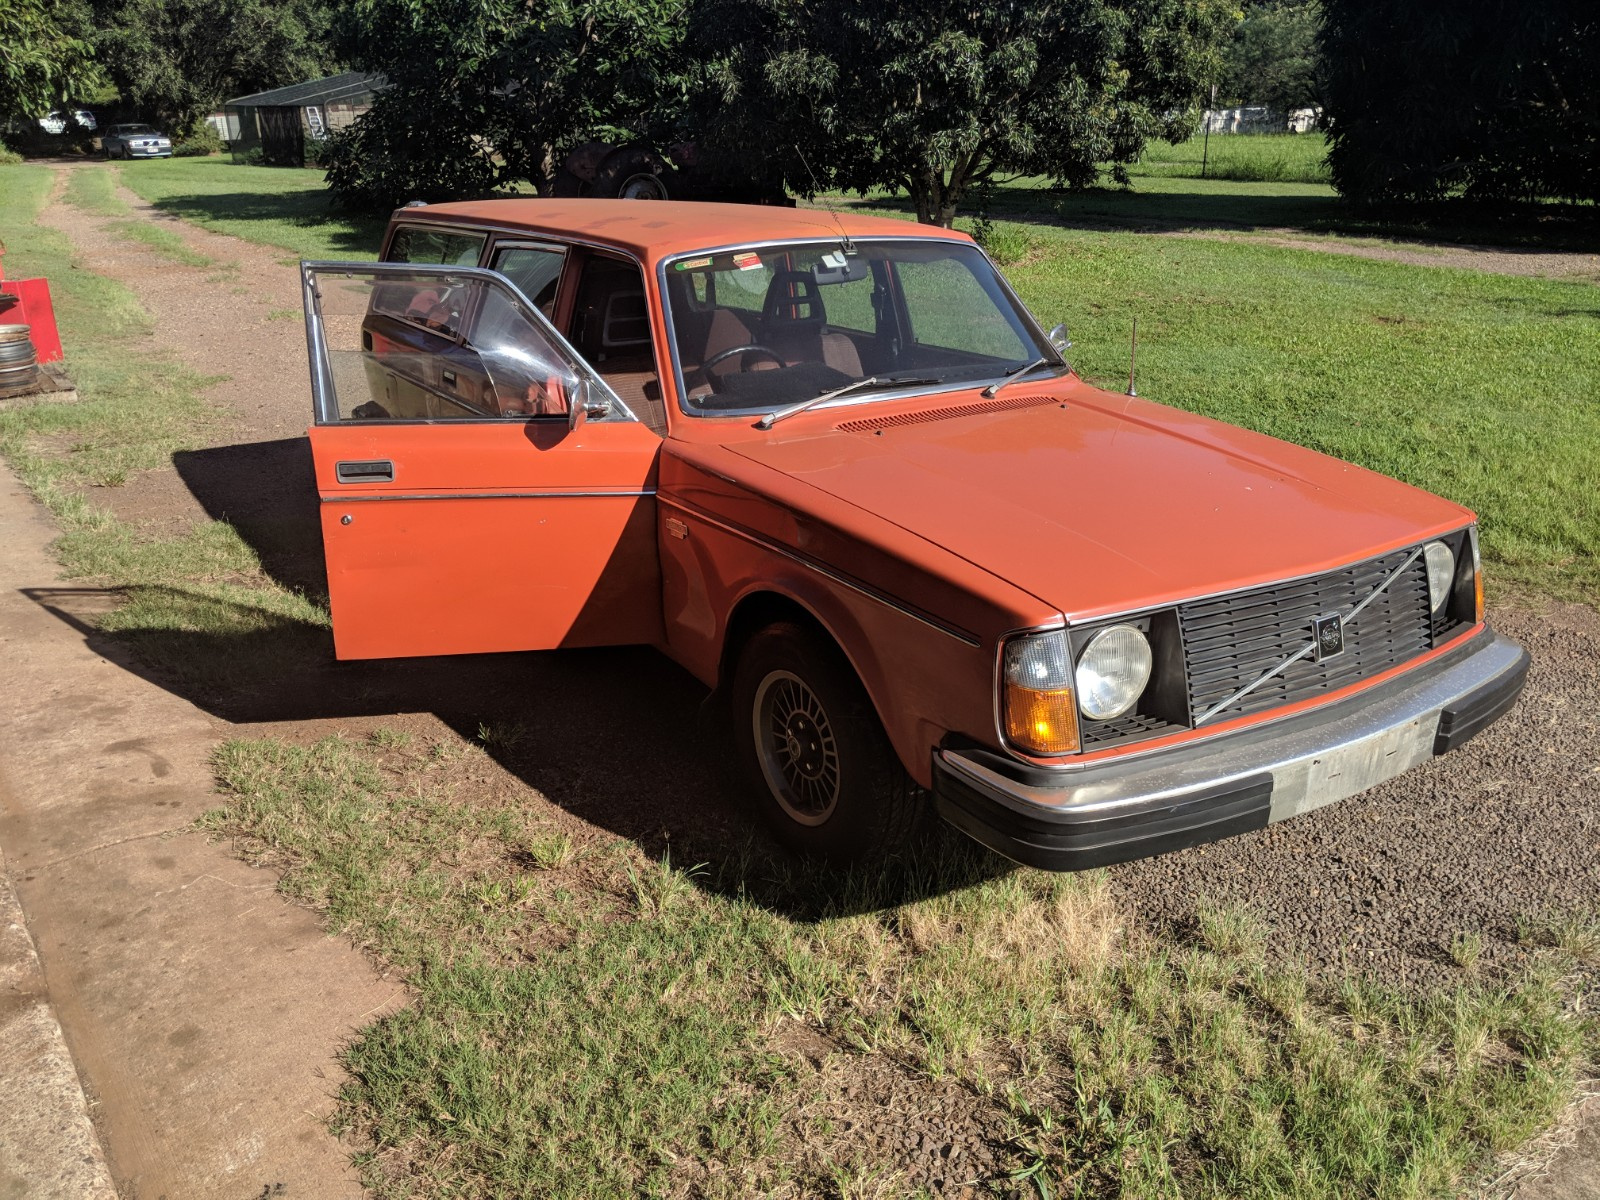
An orange 245L also came up for sale on here a while ago so I bought that at the time and stored it in the shed. Found some time to fix the floors (never claimed to be a rust repair expert) and gave the entire car a good clean. Body is a bit rough with a few dings and scrapes but overall it's okay.
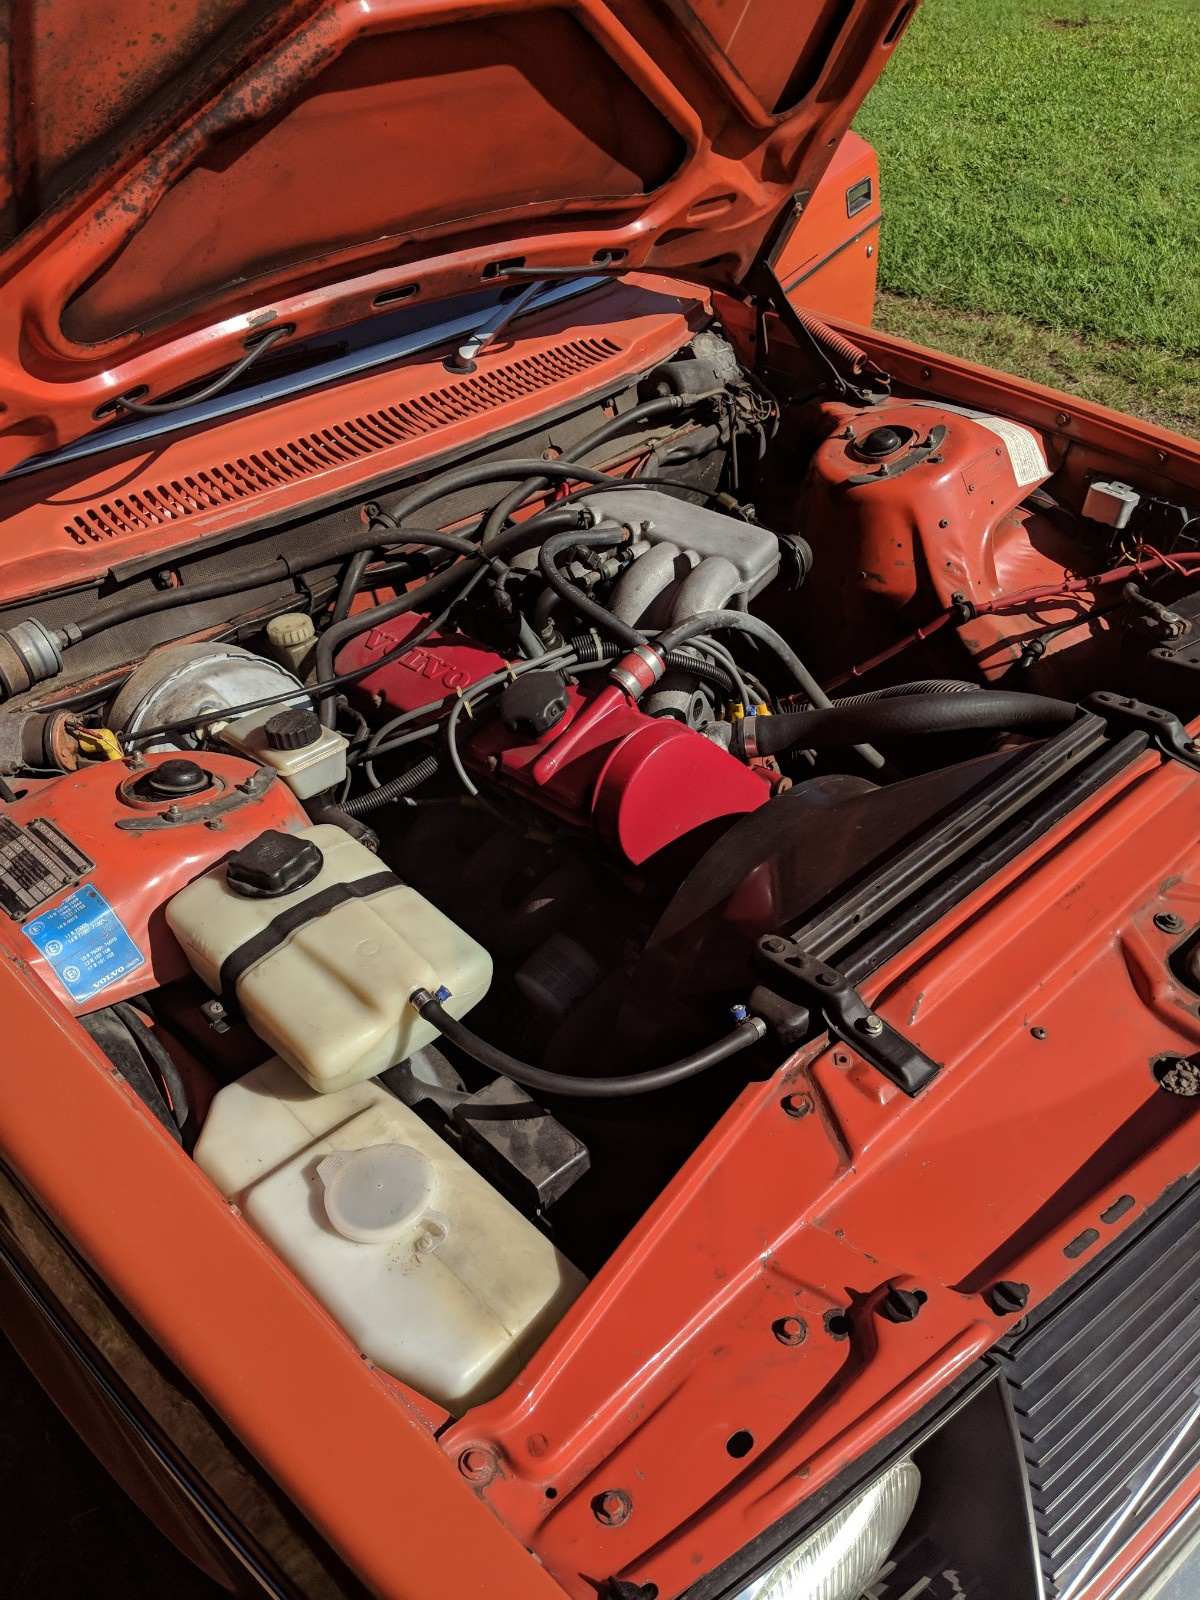
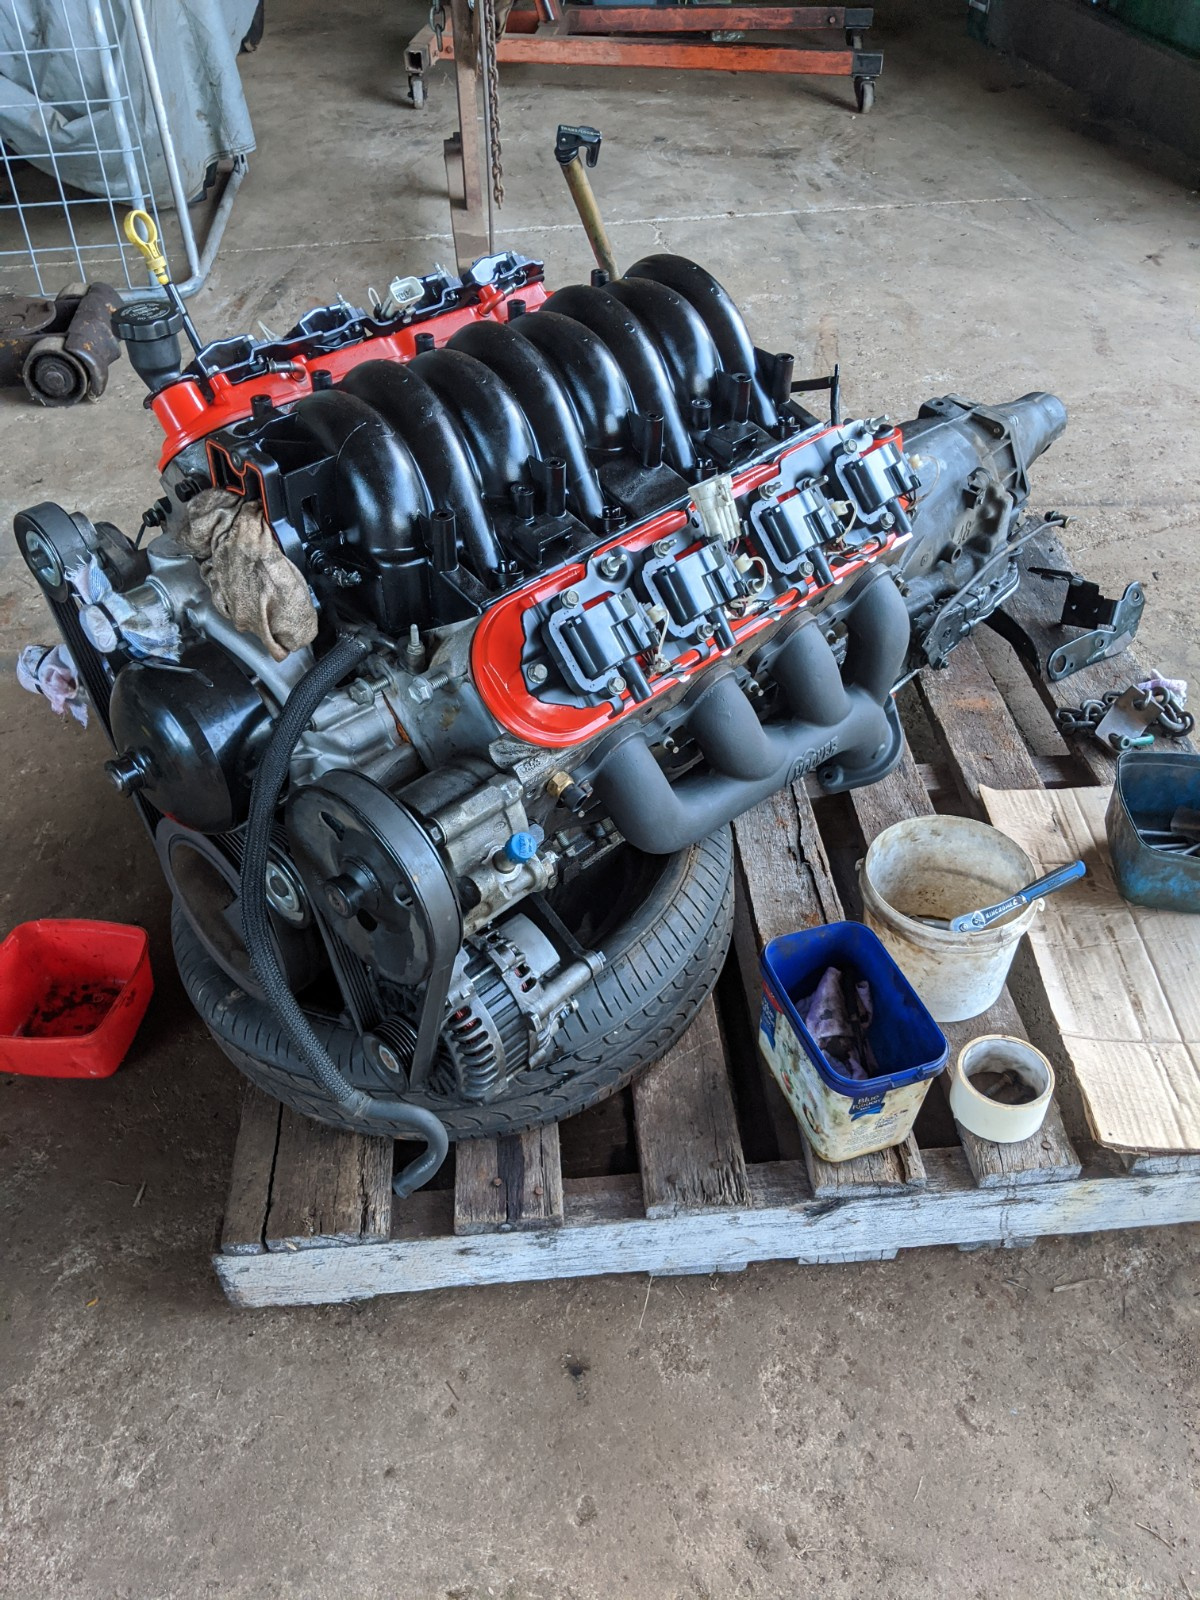
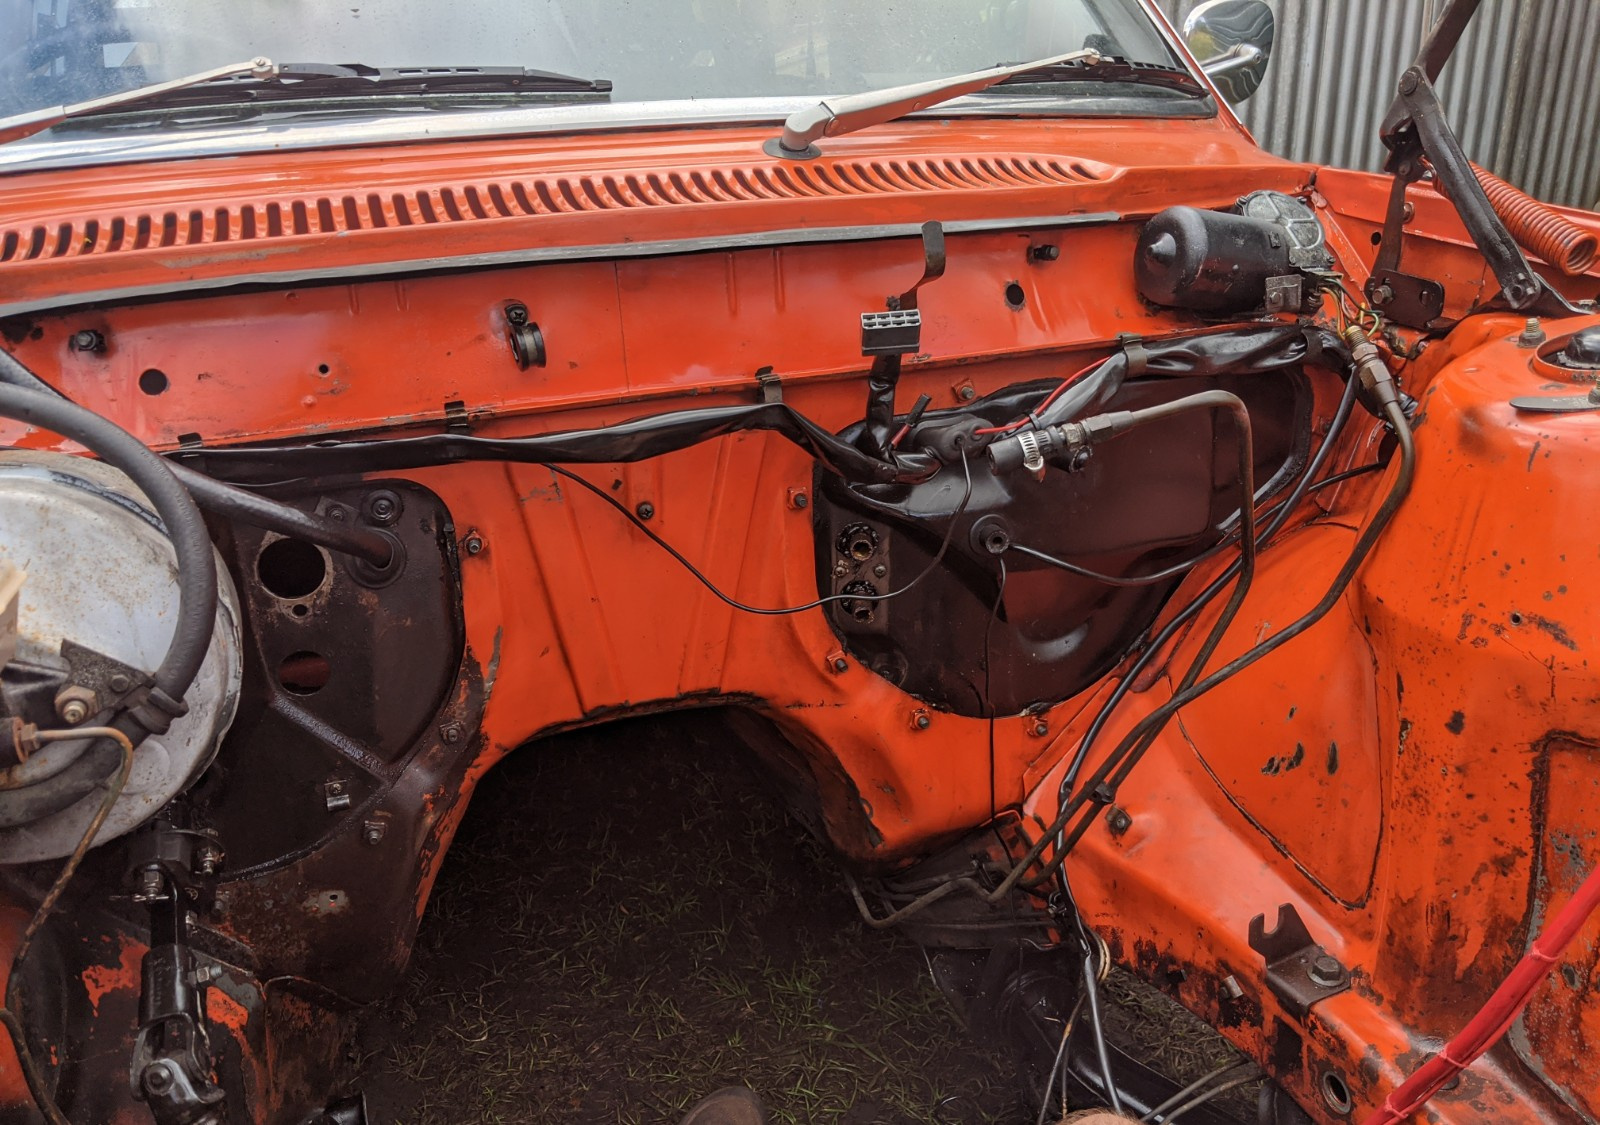
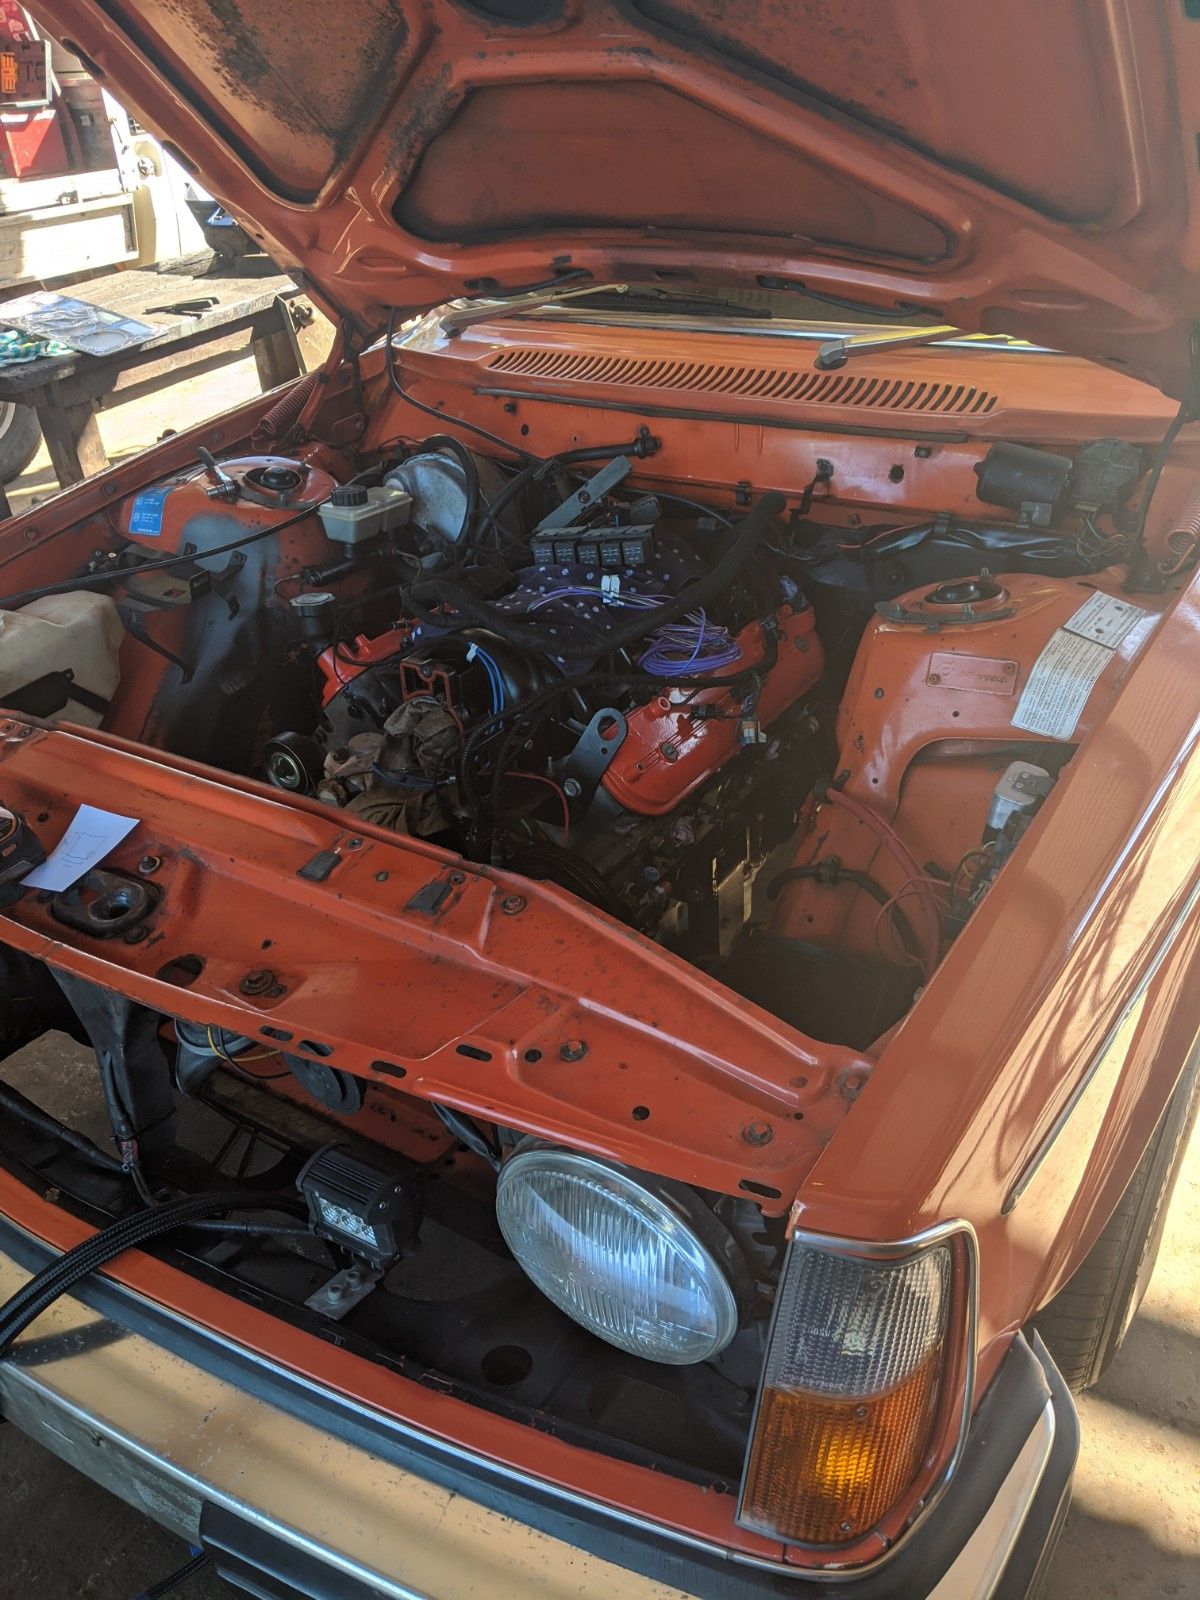
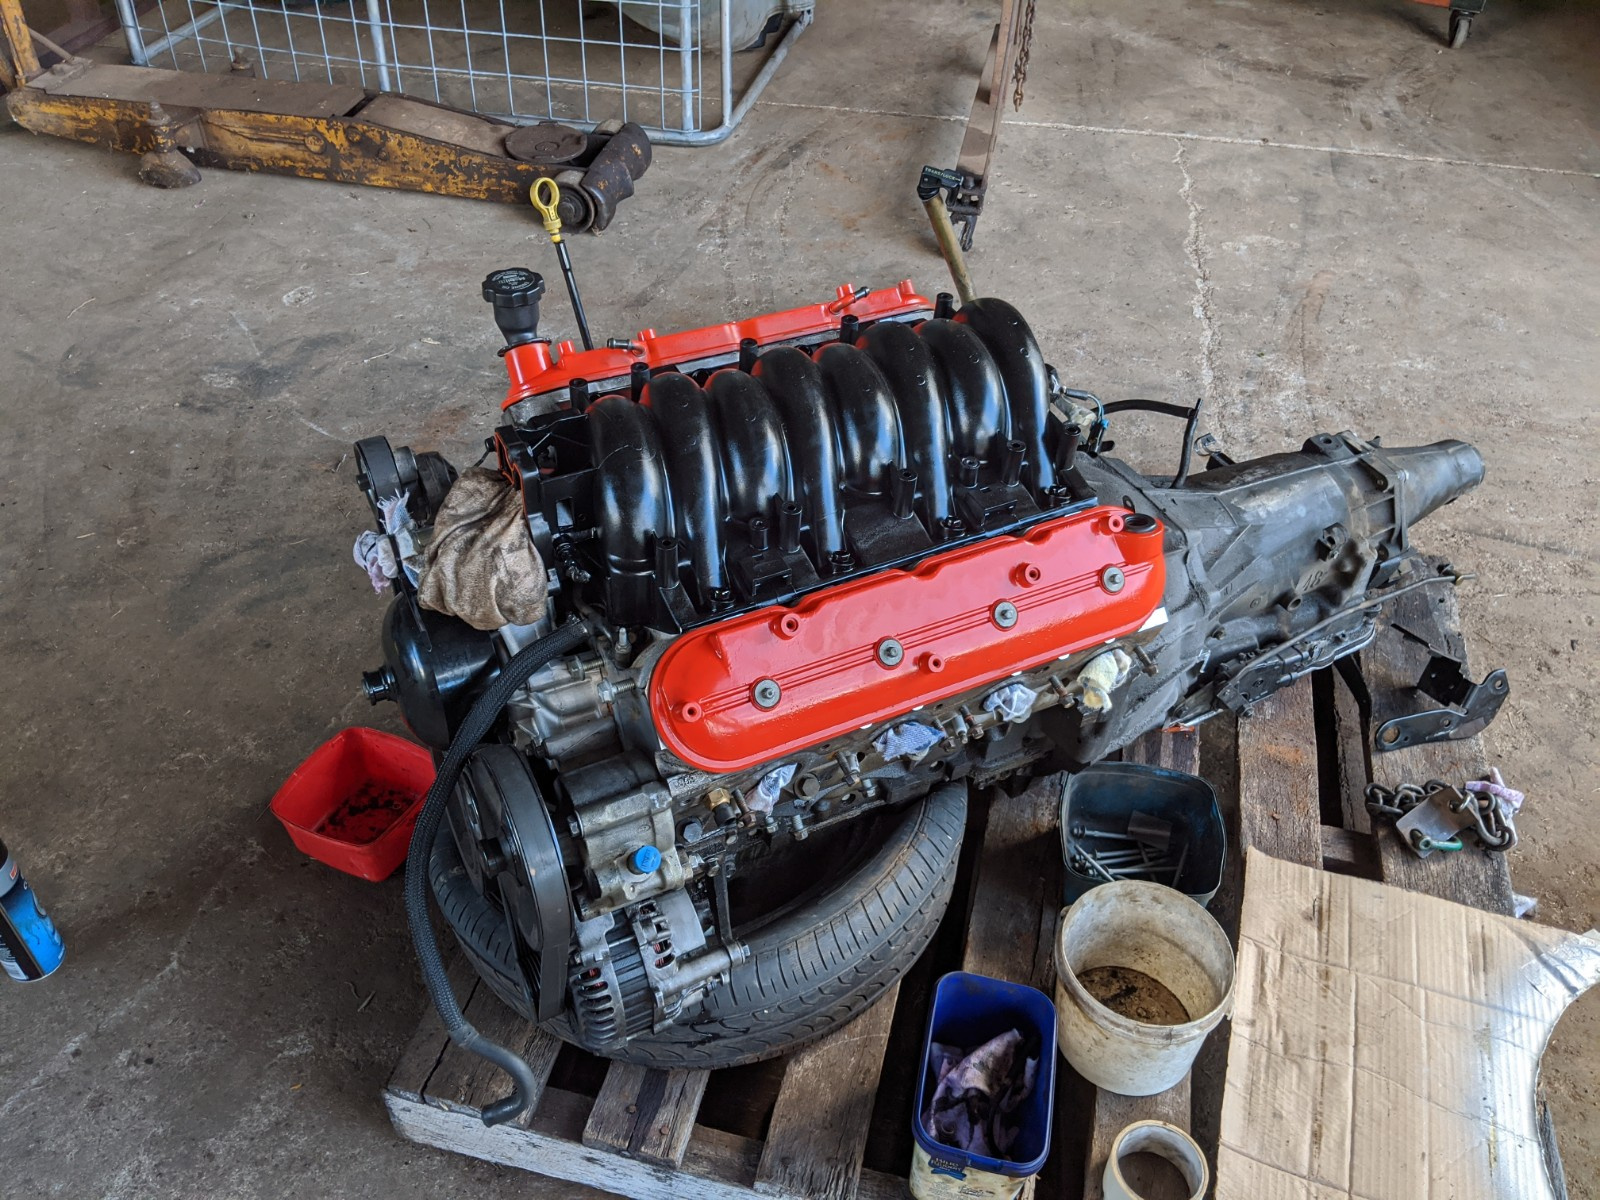
Pulled the engine and tidied it up - new gaskets and seals all round and a quick bit of paint where it counts...

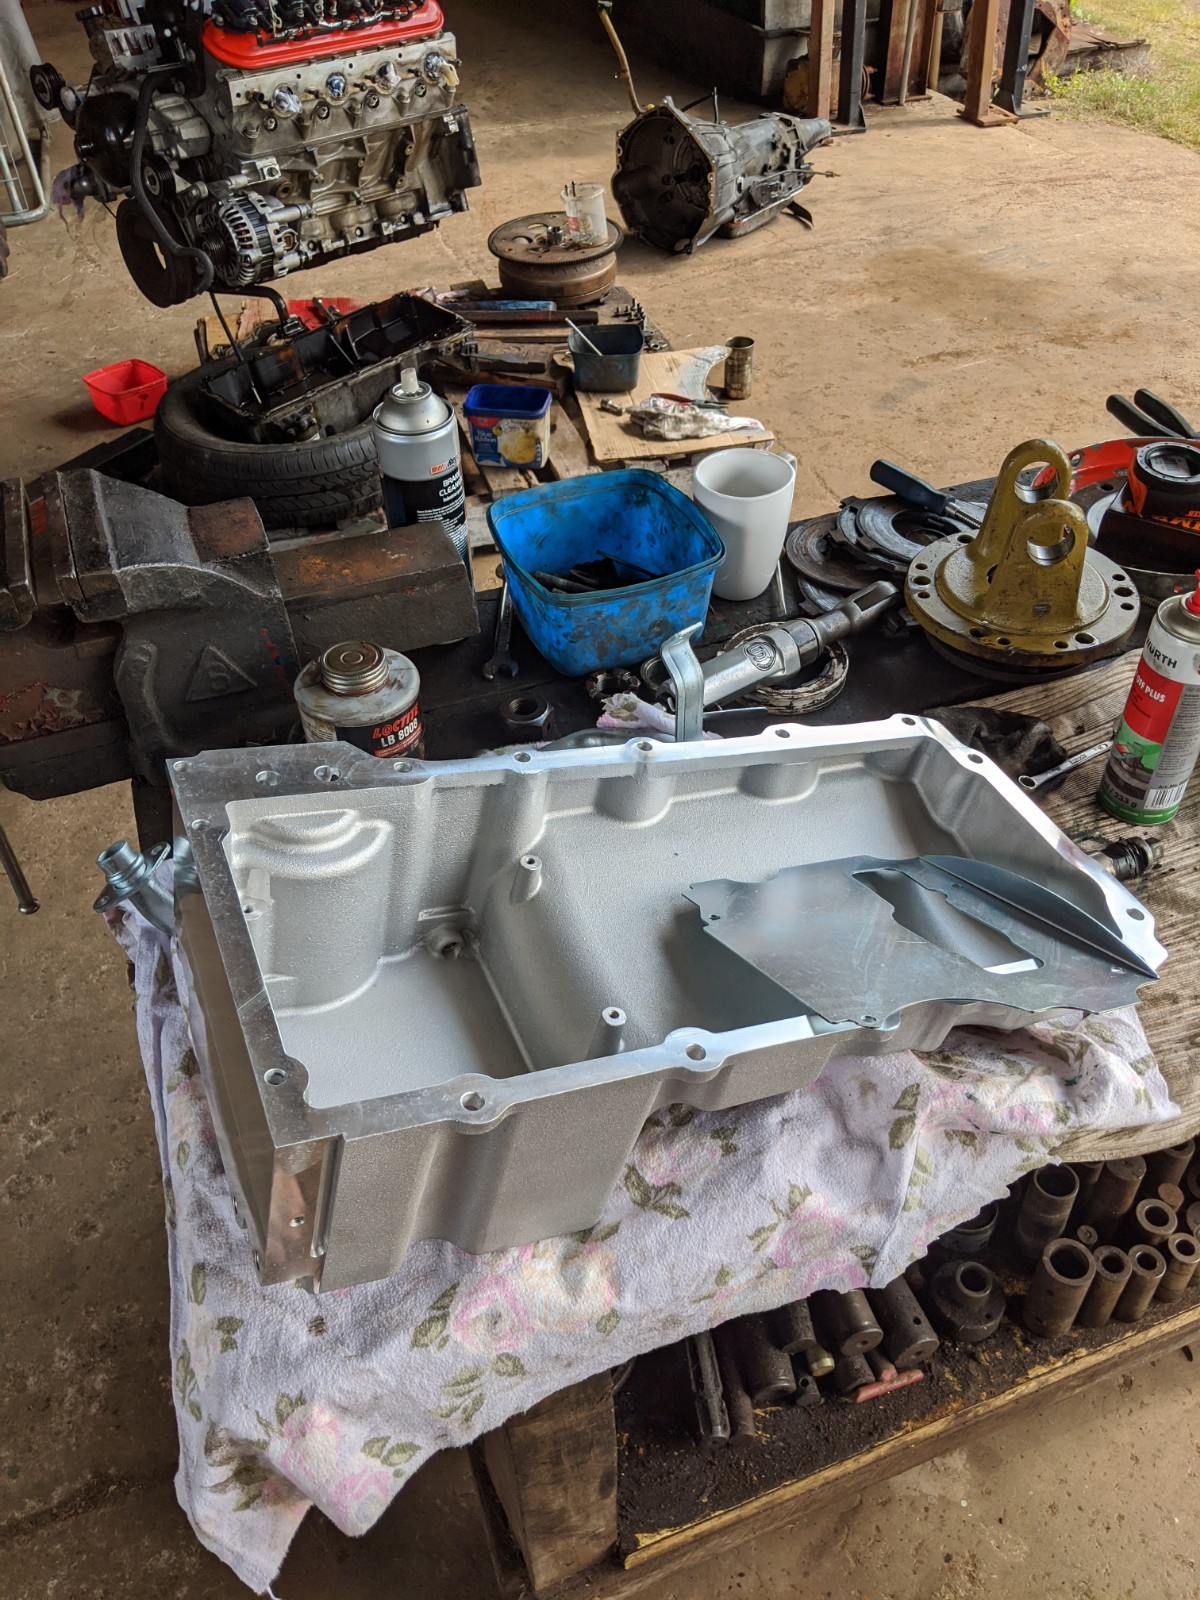
STS Machining provides the engine mounts and if you ask nicely they'll also send you a full shopping list of what you'll need to do the swap. I have seen some swaps use Holley and Moroso oil pans but they're a bit expensive for my taste so I opted for the Poor Man Motorsports pan, hooker headers, 940 radiator and I'll be keeping it auto to keep the swap simple.
That's all for now...

    Just like my 245L but with more rust

    I'm almost wishing the valve covers were orange to match the car... but still total awesome work so far

      15 days later

      Thanks @Philia_Bear.

      Hurdles encountered so far:

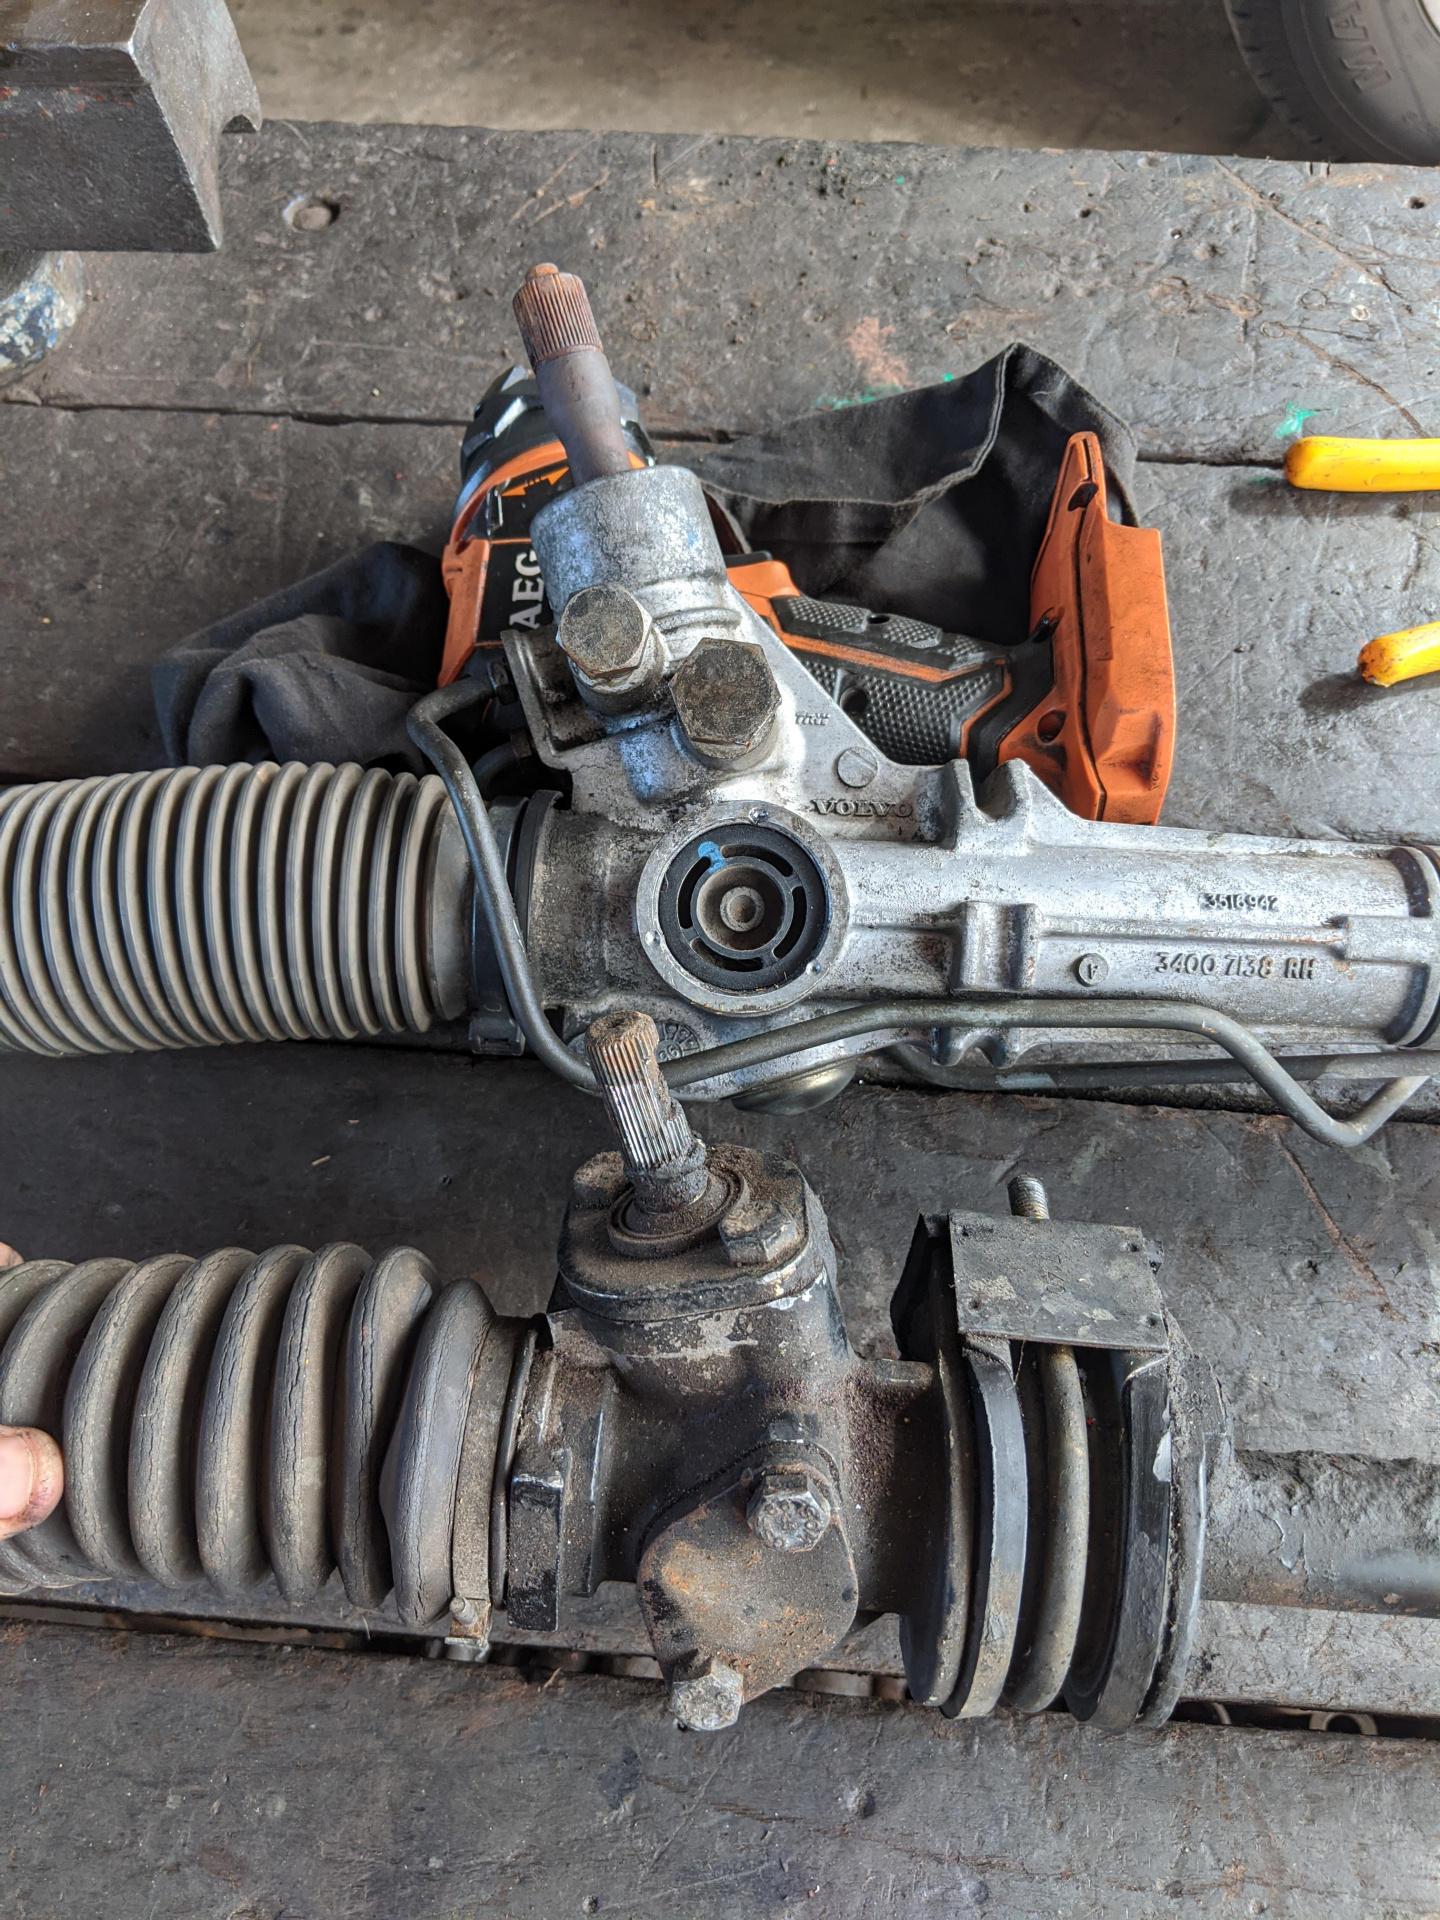
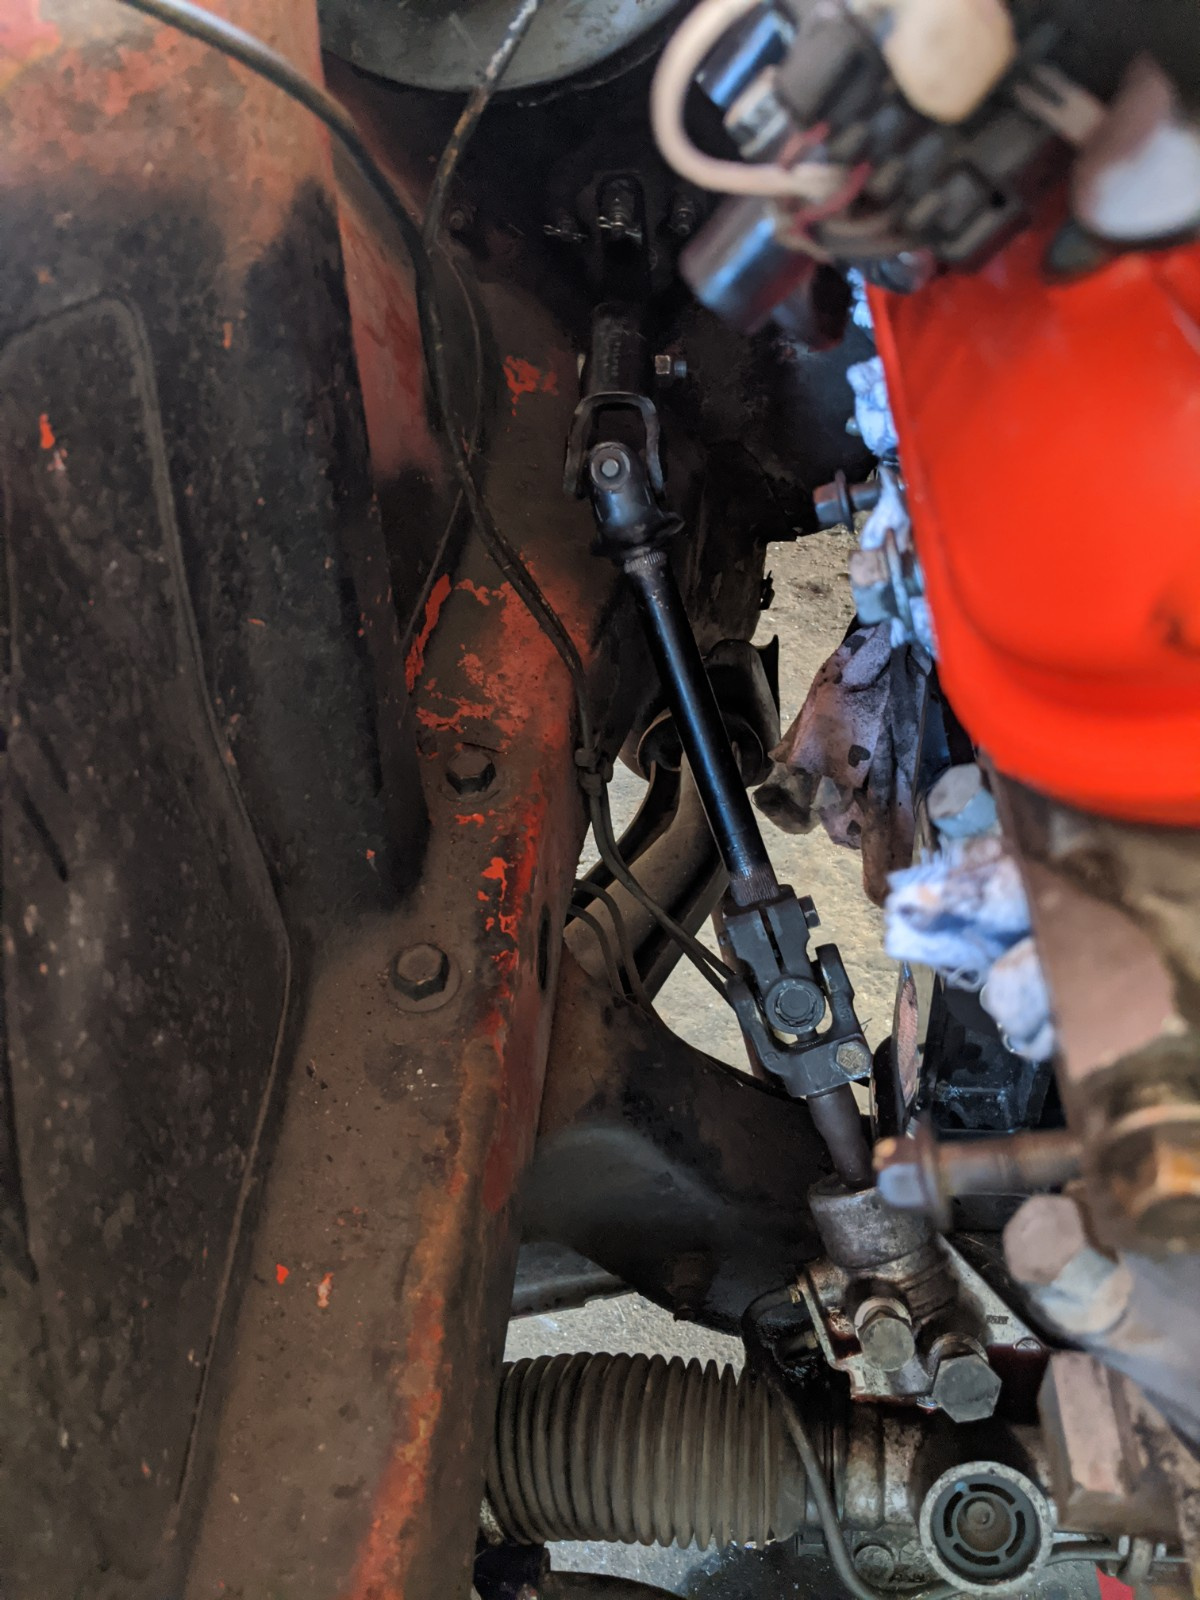
      Brake junction block needed to be spaced away from the cross member about 3cm. Just used a longer bolt and some welded nuts.Steering shaft is going to have to be modified to fit the Hooker headers. Plan is to mix and match the old, thin steering shaft that's stock for the early 70's models and the Range Rover shaft as identified by @alphax (thanks!). Still waiting to hear back from the local Rangie wreckersI swapped from the manual steering rack to a 1990 240 power steering rack. This helps to move the connecting point for the rack further to the left to make it easier to connect the steering shaft/uni's. Going to need some more tunnel massaging on the passenger side to keep the stock auto shifter and the 4L60

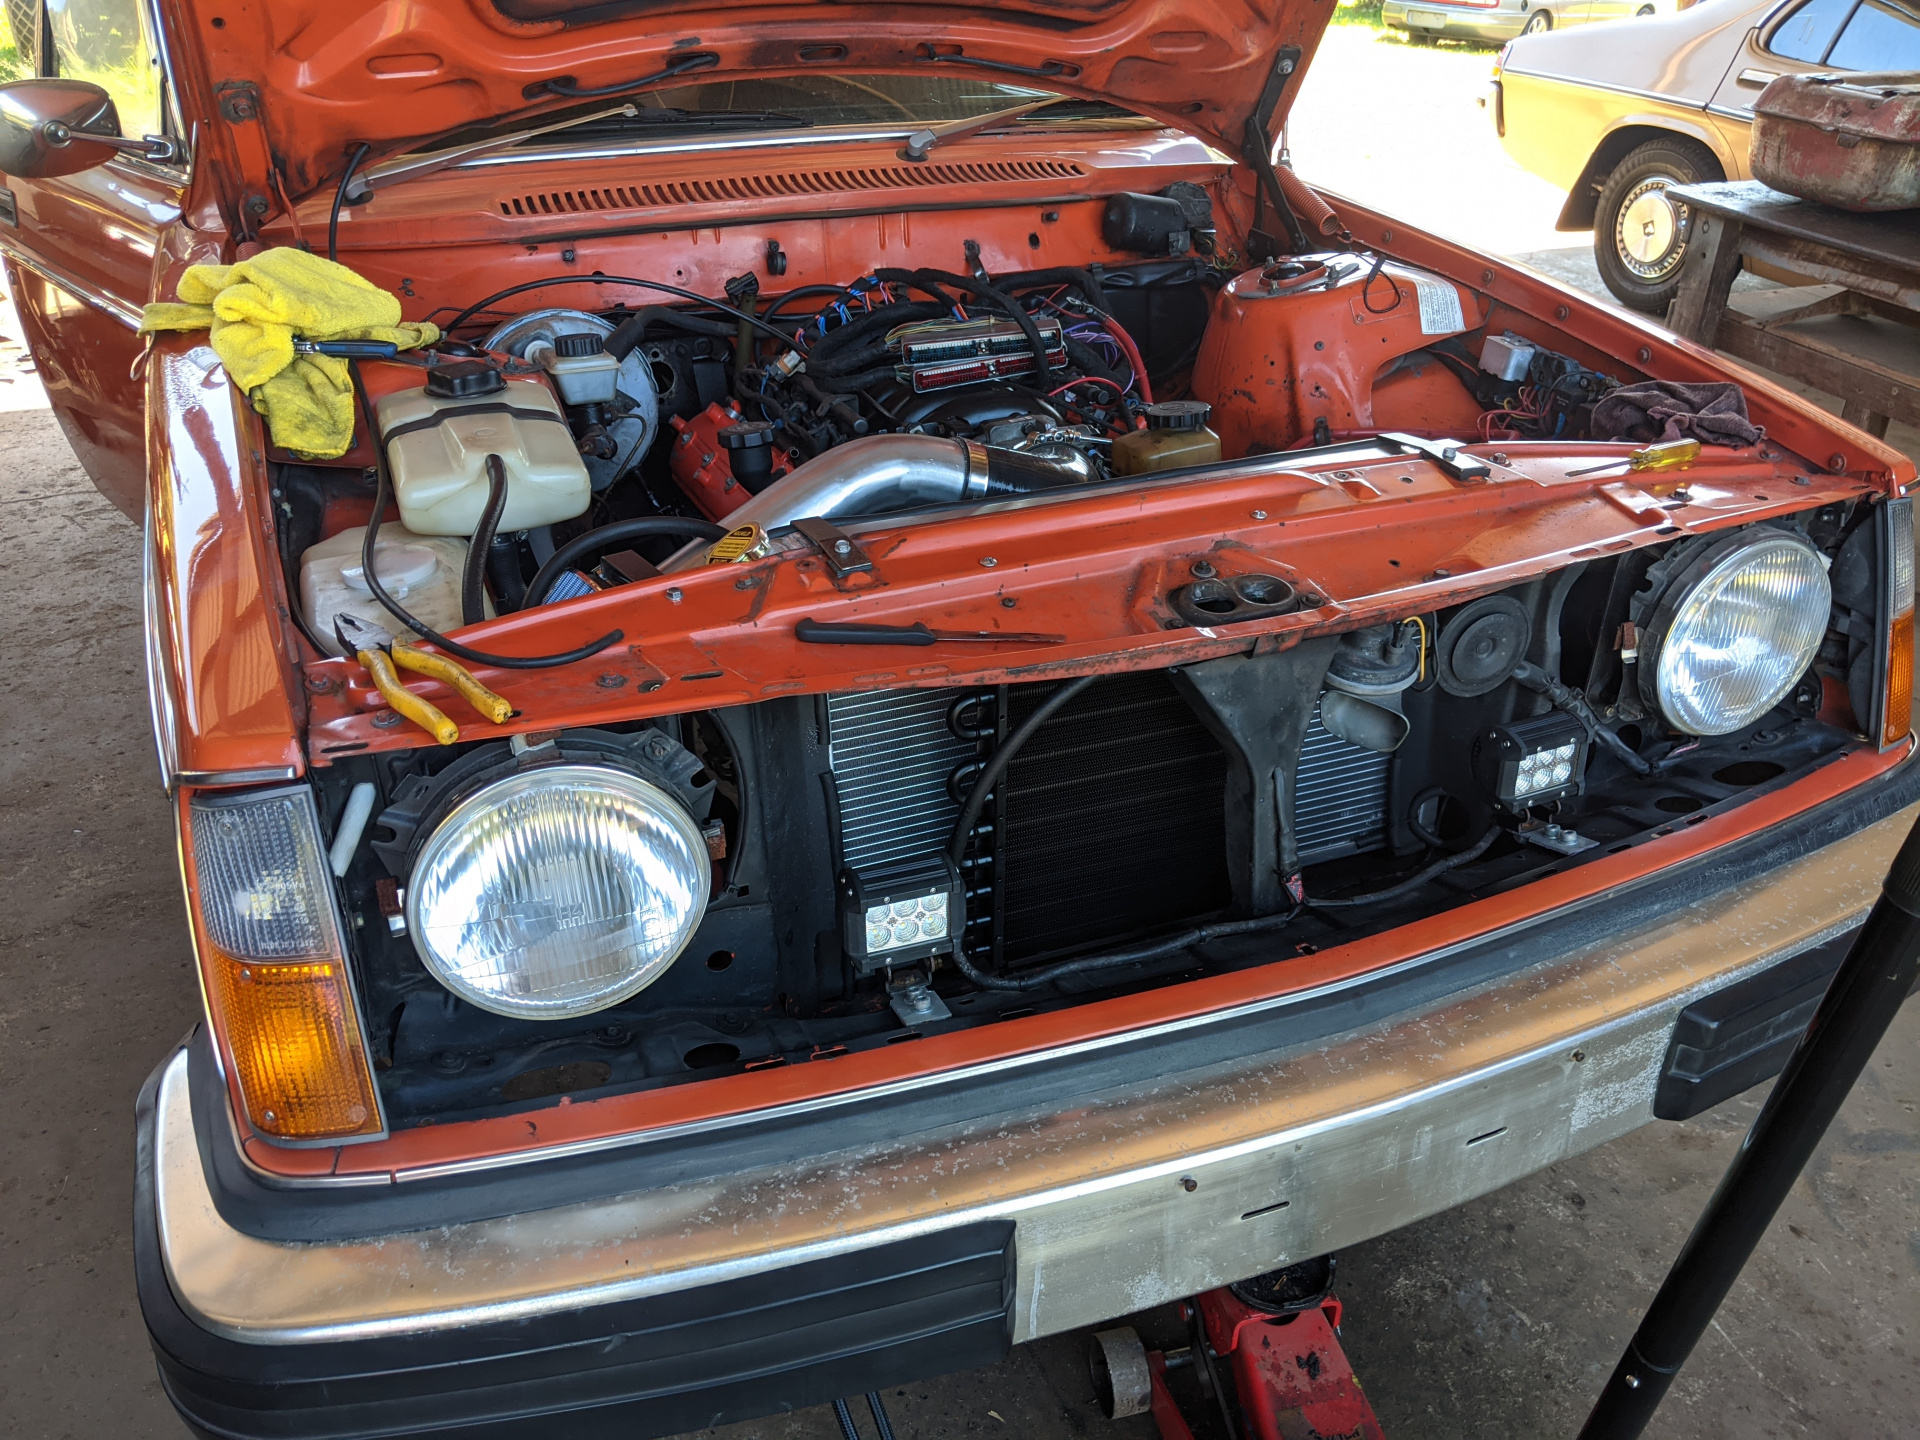
        I just noticed the LED flood lights you have at the front, very well mounted and I like where they are placed, I'm assuming your just going to cut the corners out of the grill or going to a different style grill?

          The lights are something the previous owner installed, so I can't take credit for them. I'll have to see how much light they throw from behind the grill, but I certainly won't be cutting up a mint early style grill!

            3 months later

            Have made some good progress in the past couple of weekends...

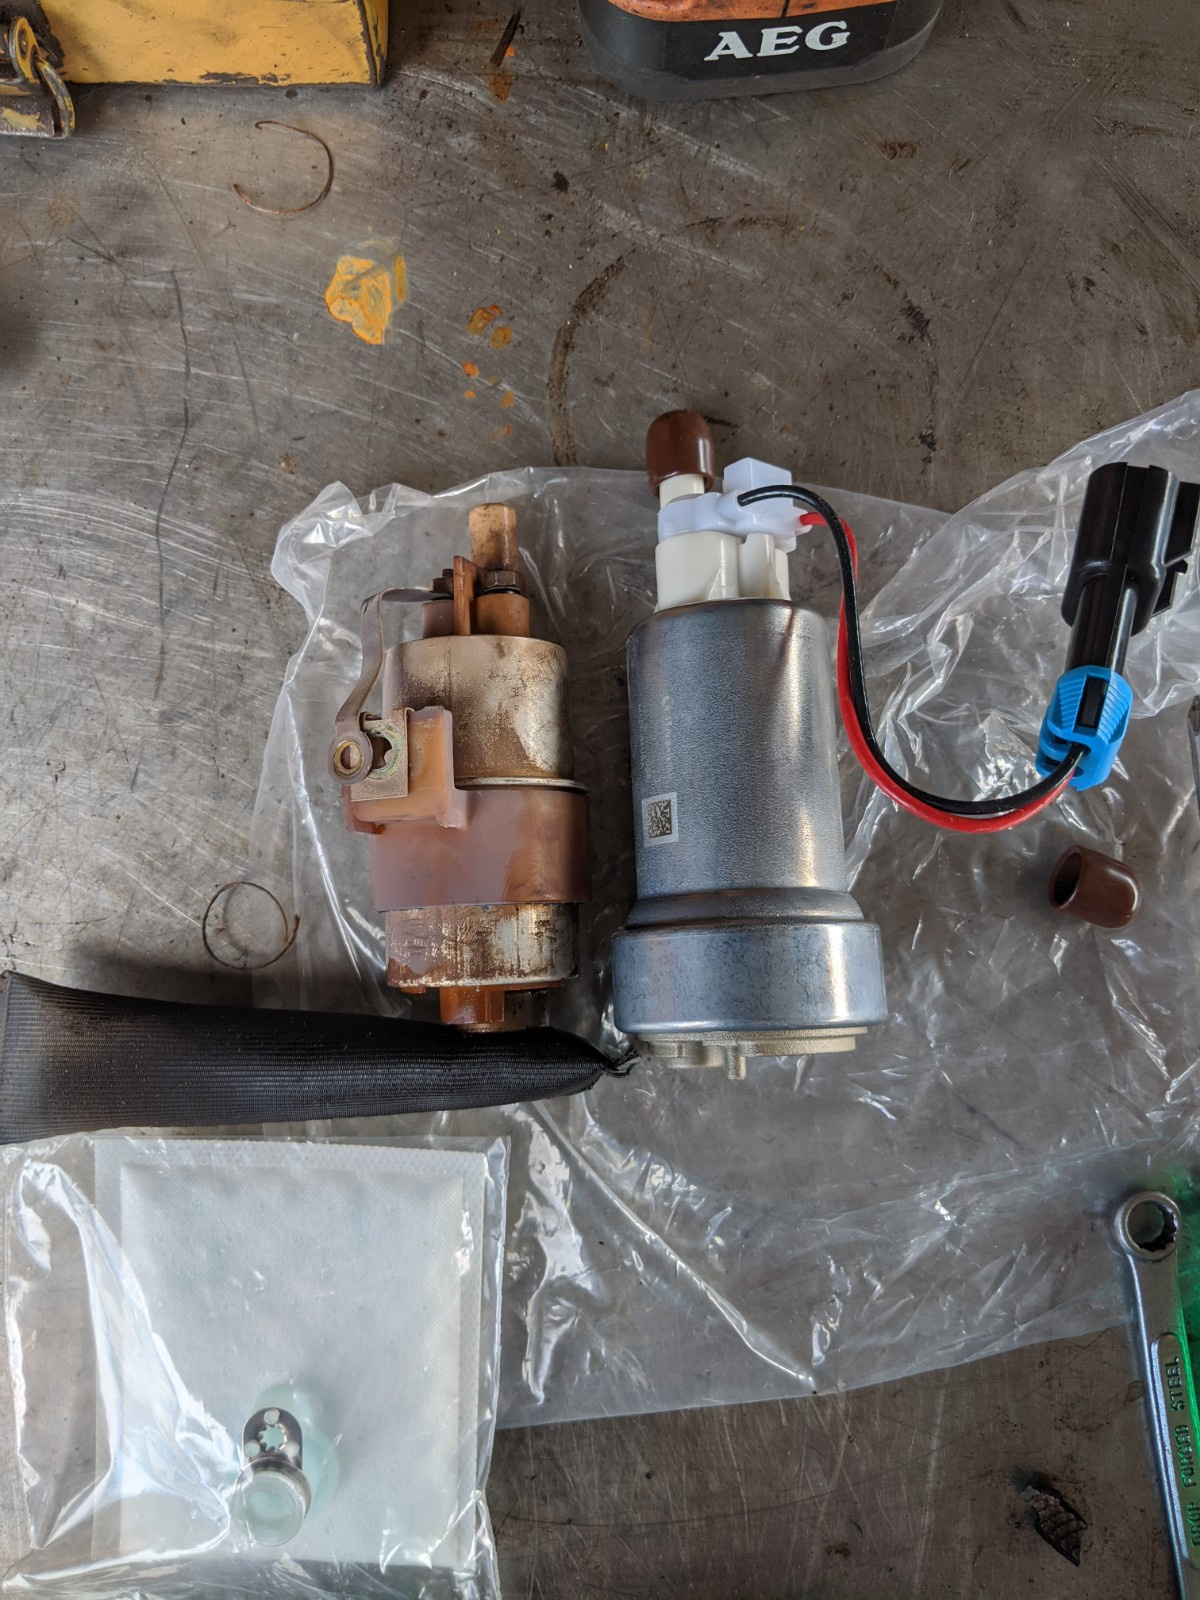
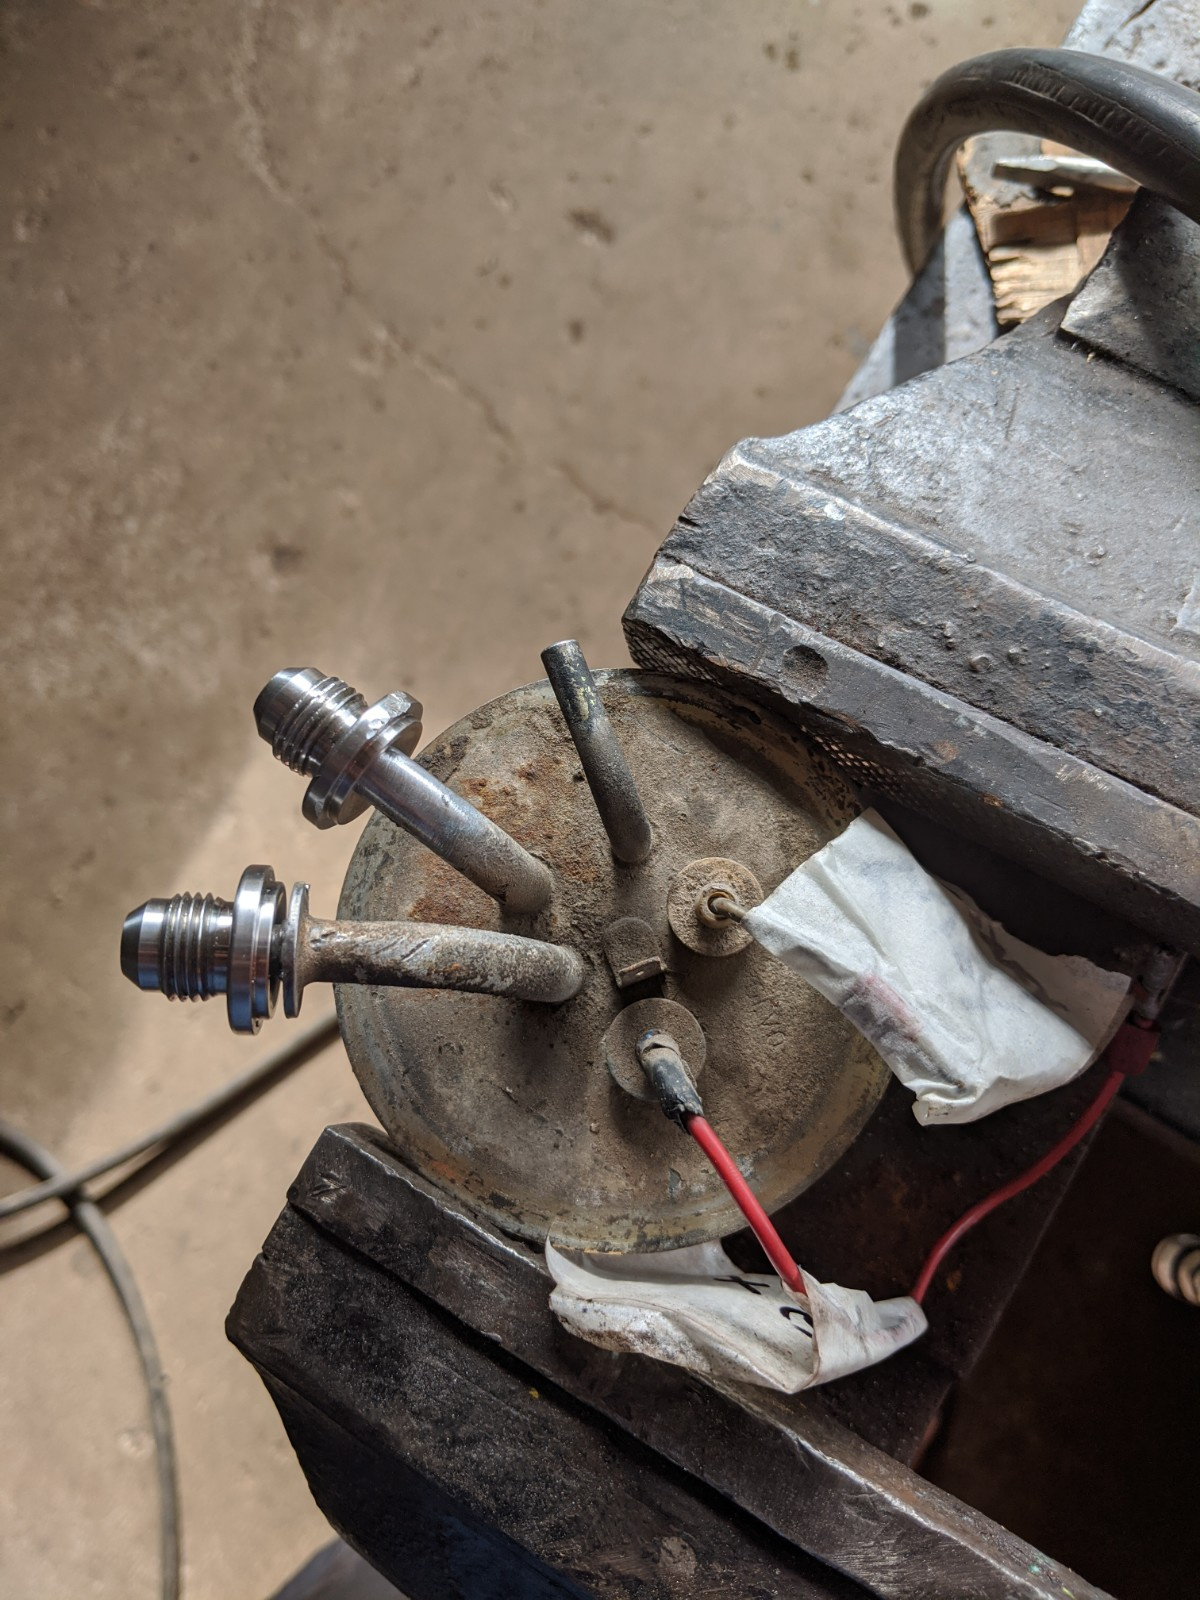
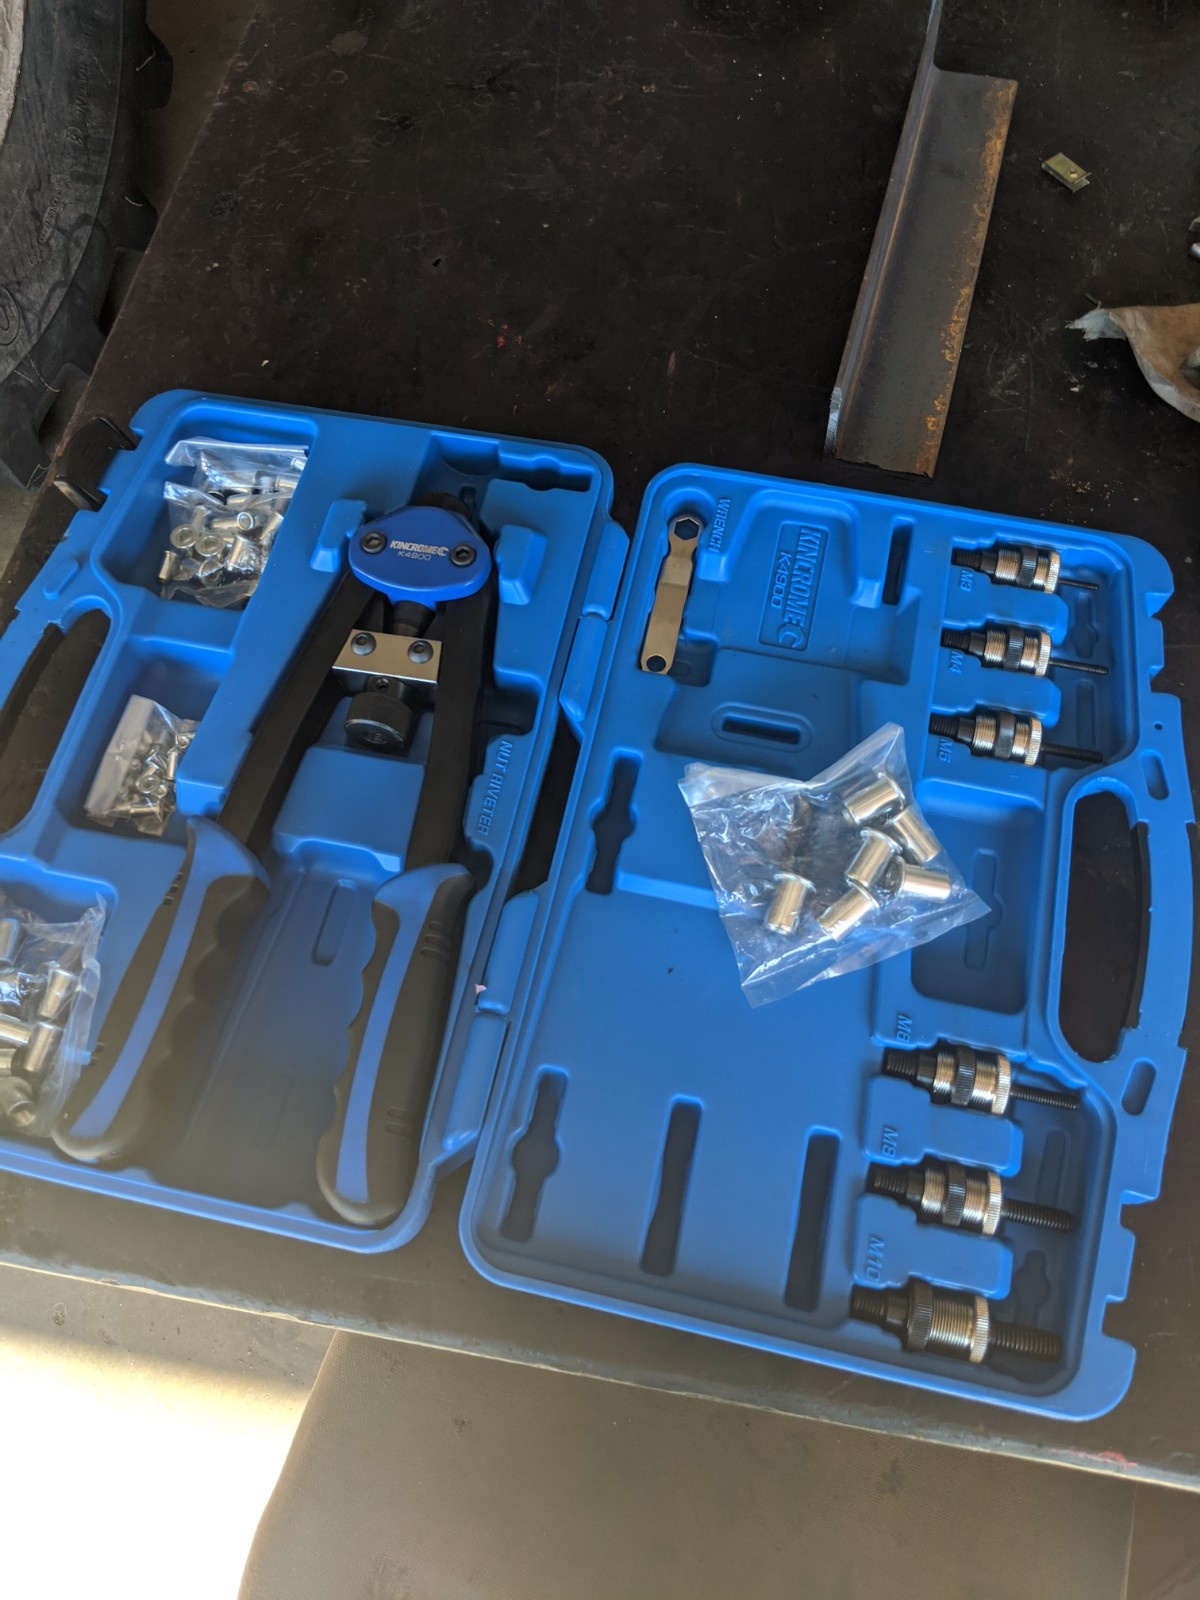
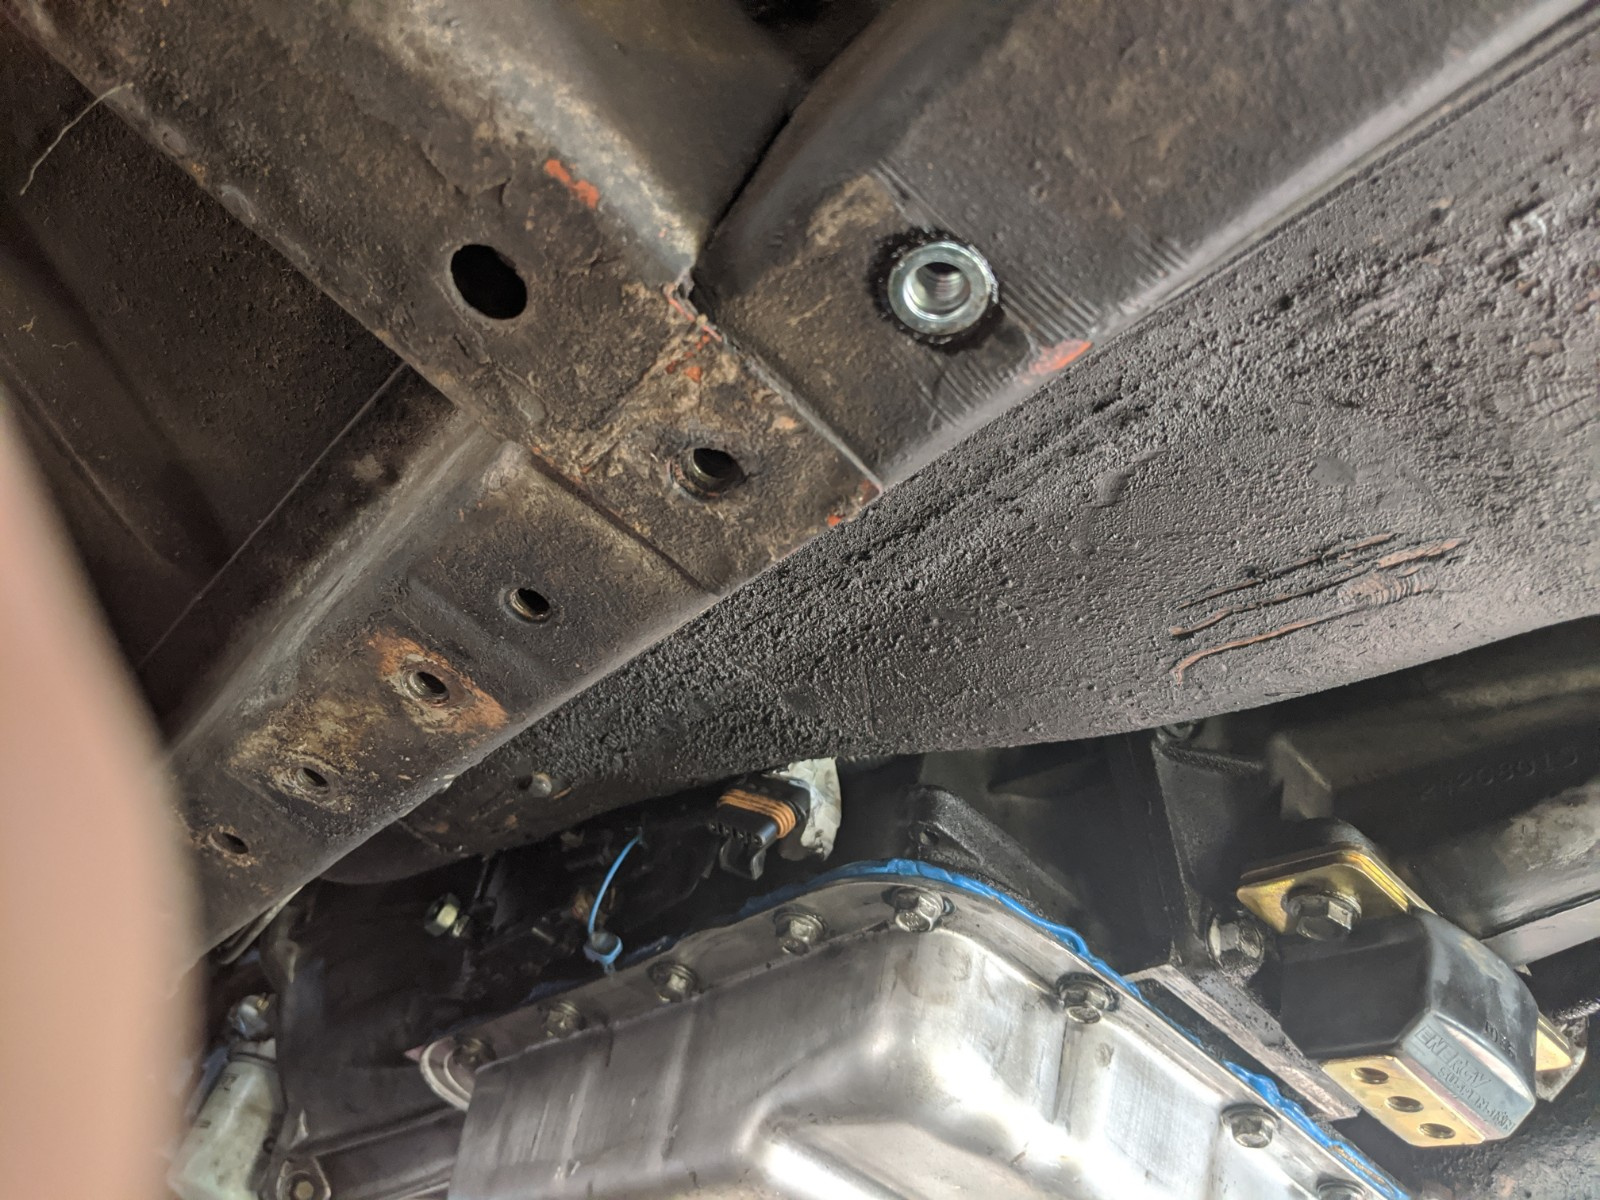
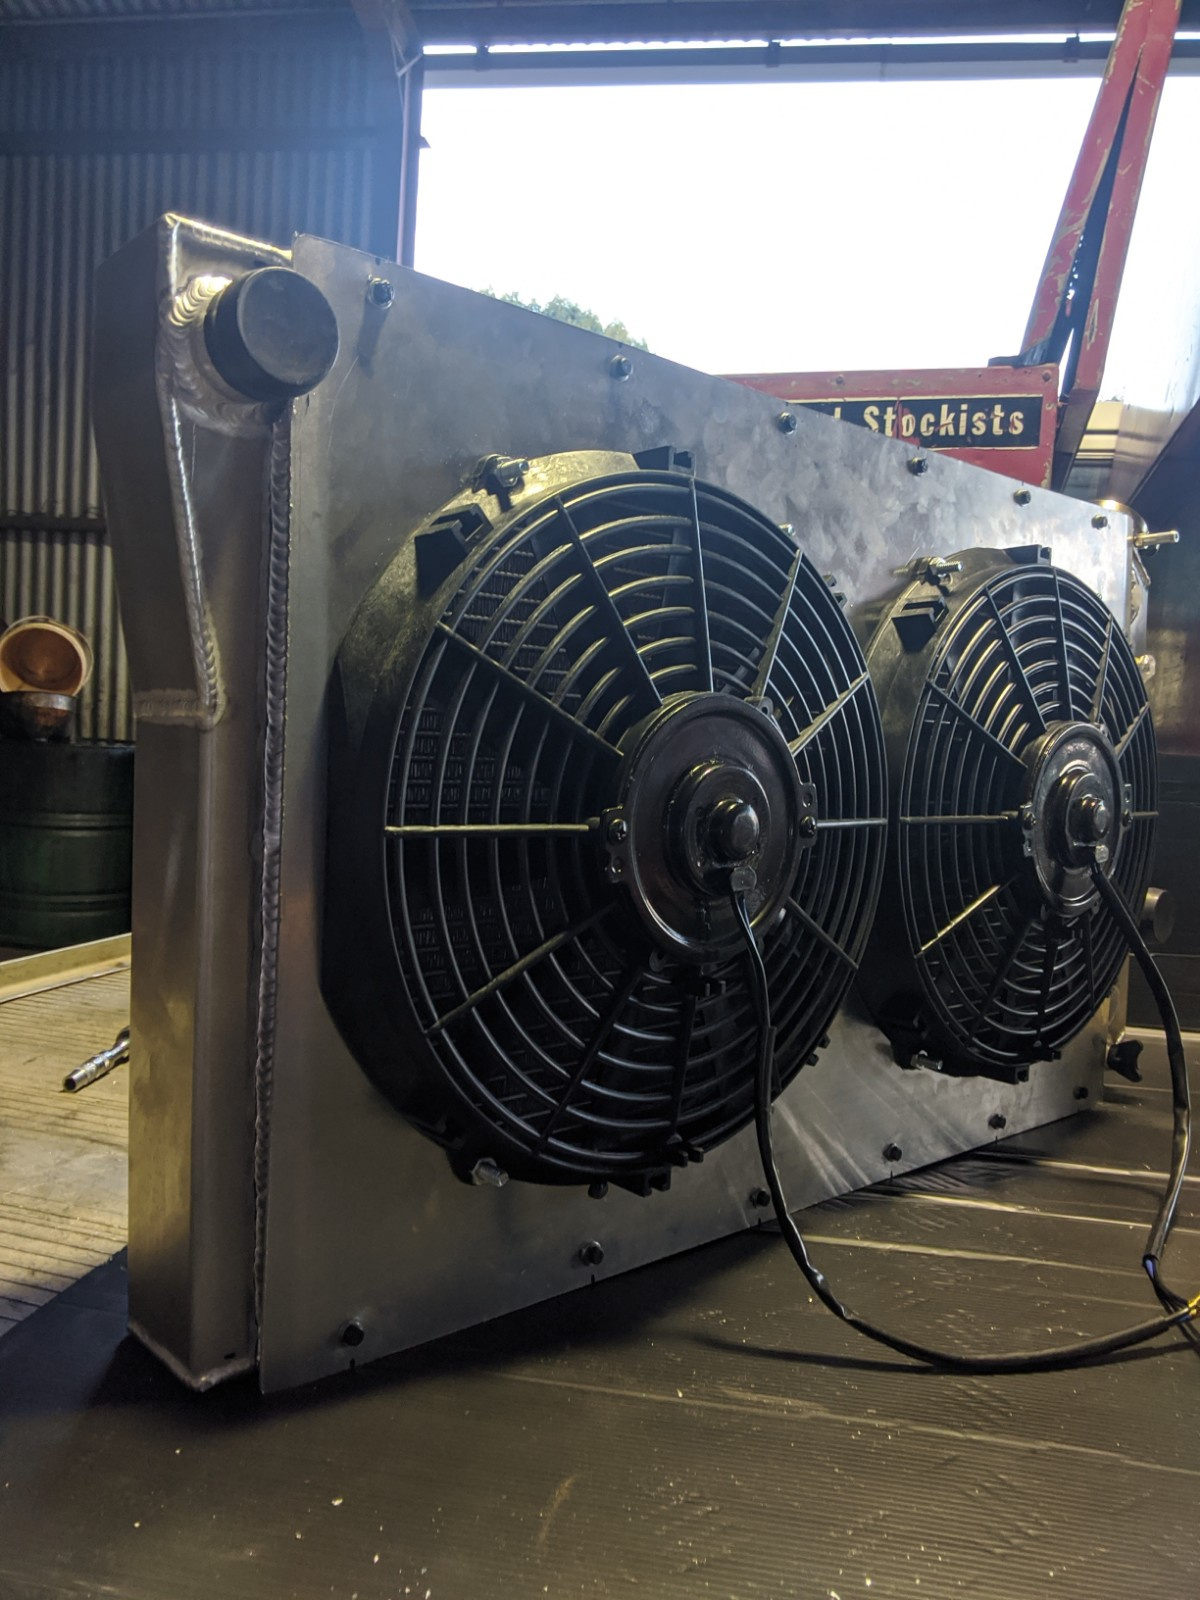
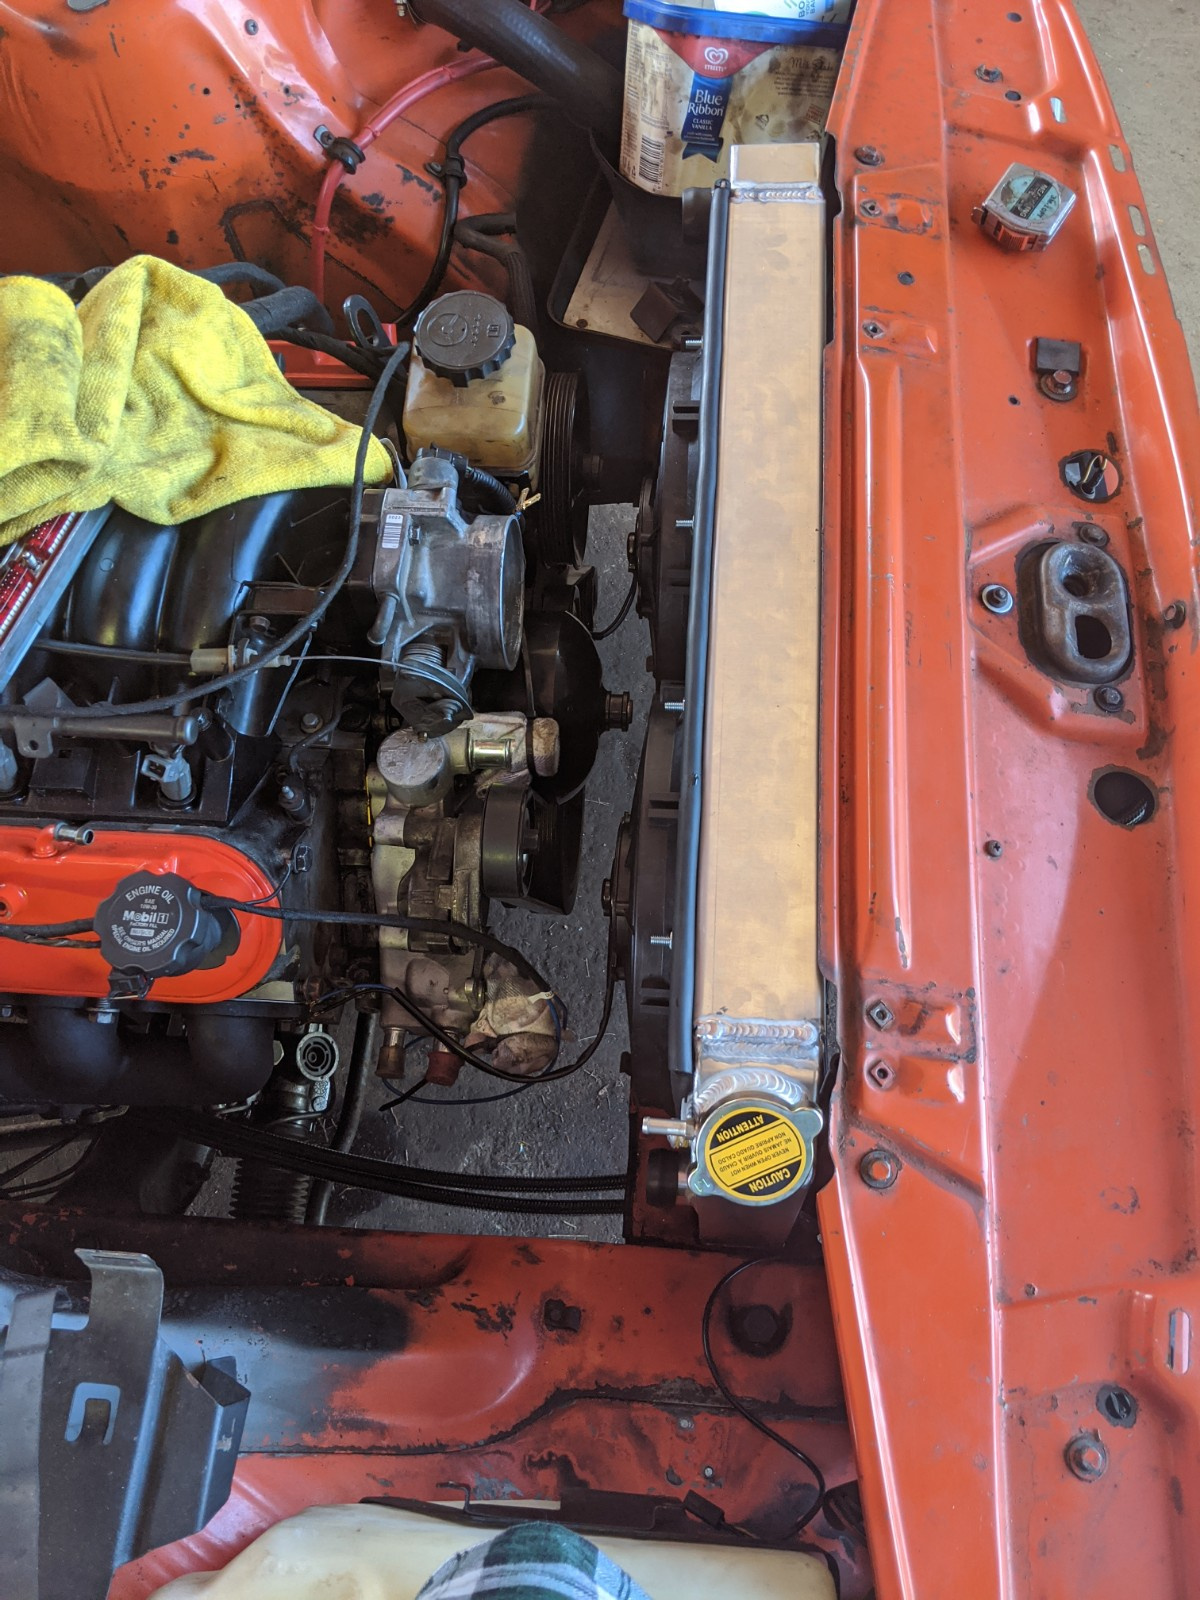
            Modified steering assembly using the Statesman Uni and some key steelCleaned the engine bay while the engine was out - just a power wash and a rub down with some wax and grease remover, not going to go over the top on a budget buildReplaced the stock fuel pump with a Walbro 460 intankRan fuel lines Replaced the fuel line fittings on the stock Volvo sender to AN6Added 2 extra mounting holes in the chassis rail using a Nutsert tool - I'm using the STSMachining transmission mount which positioned the cross member too far backwards and only picked up one hole on each chassis rail. Drilled out 2 more holes further back and used the nutserts to use the stock transmission crossmember with the new mount. Honestly looks stock all bolted up. Mounted 2 thermo fans to the Corvette radiator Radiator is now mounted in stock position

              Nice work! Nutserts are great aren't they? :)

                A bloody brilliant idea - saves a lot of time, thinking and cutting!

                  a month later

                  Minor progress this weekend:

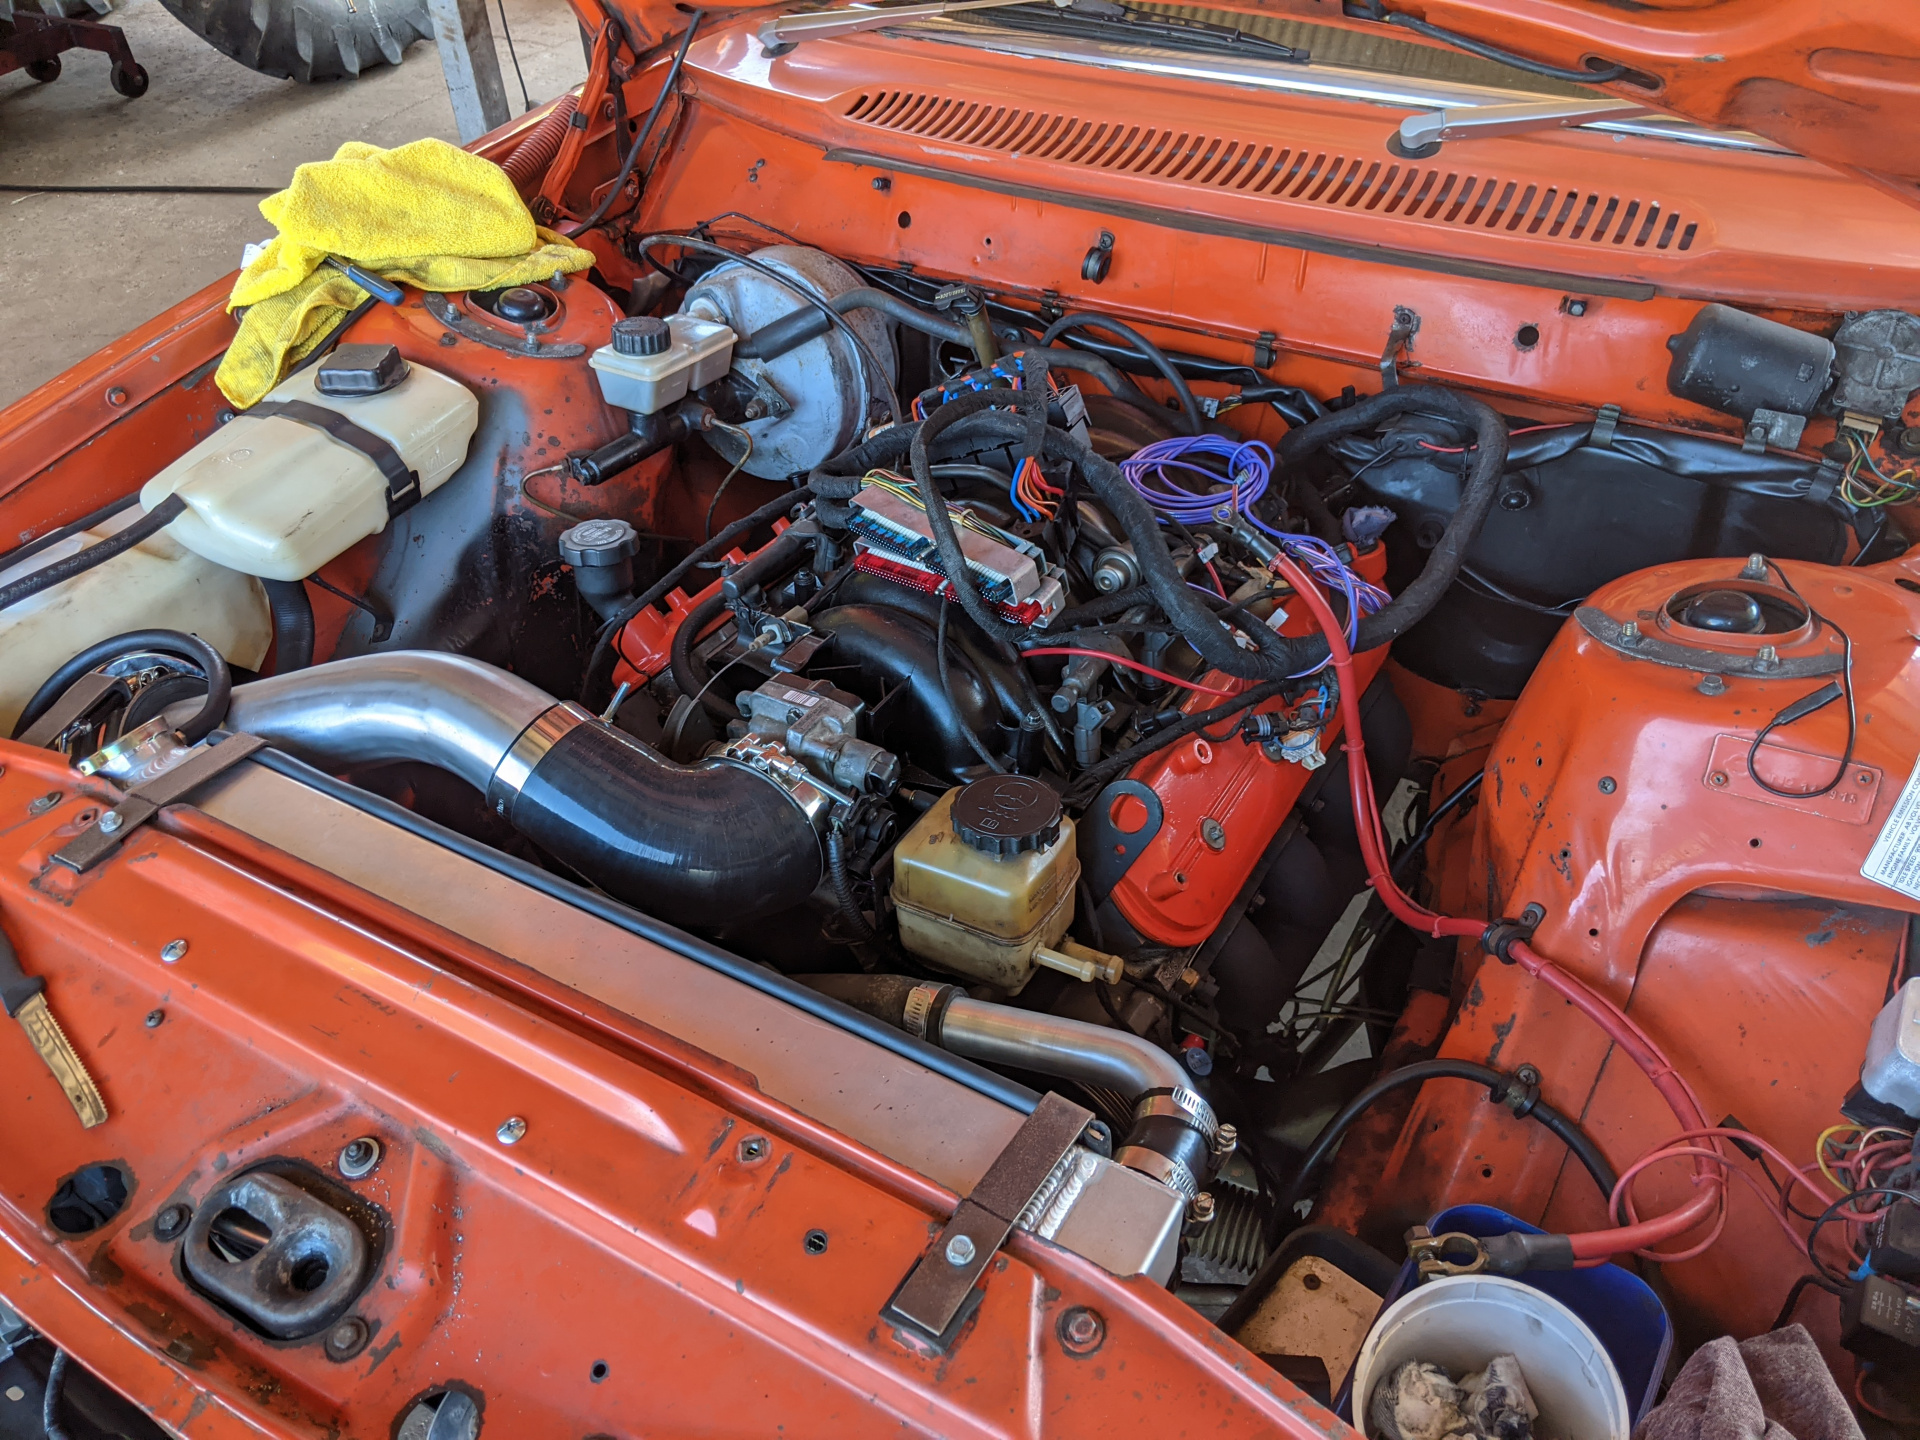
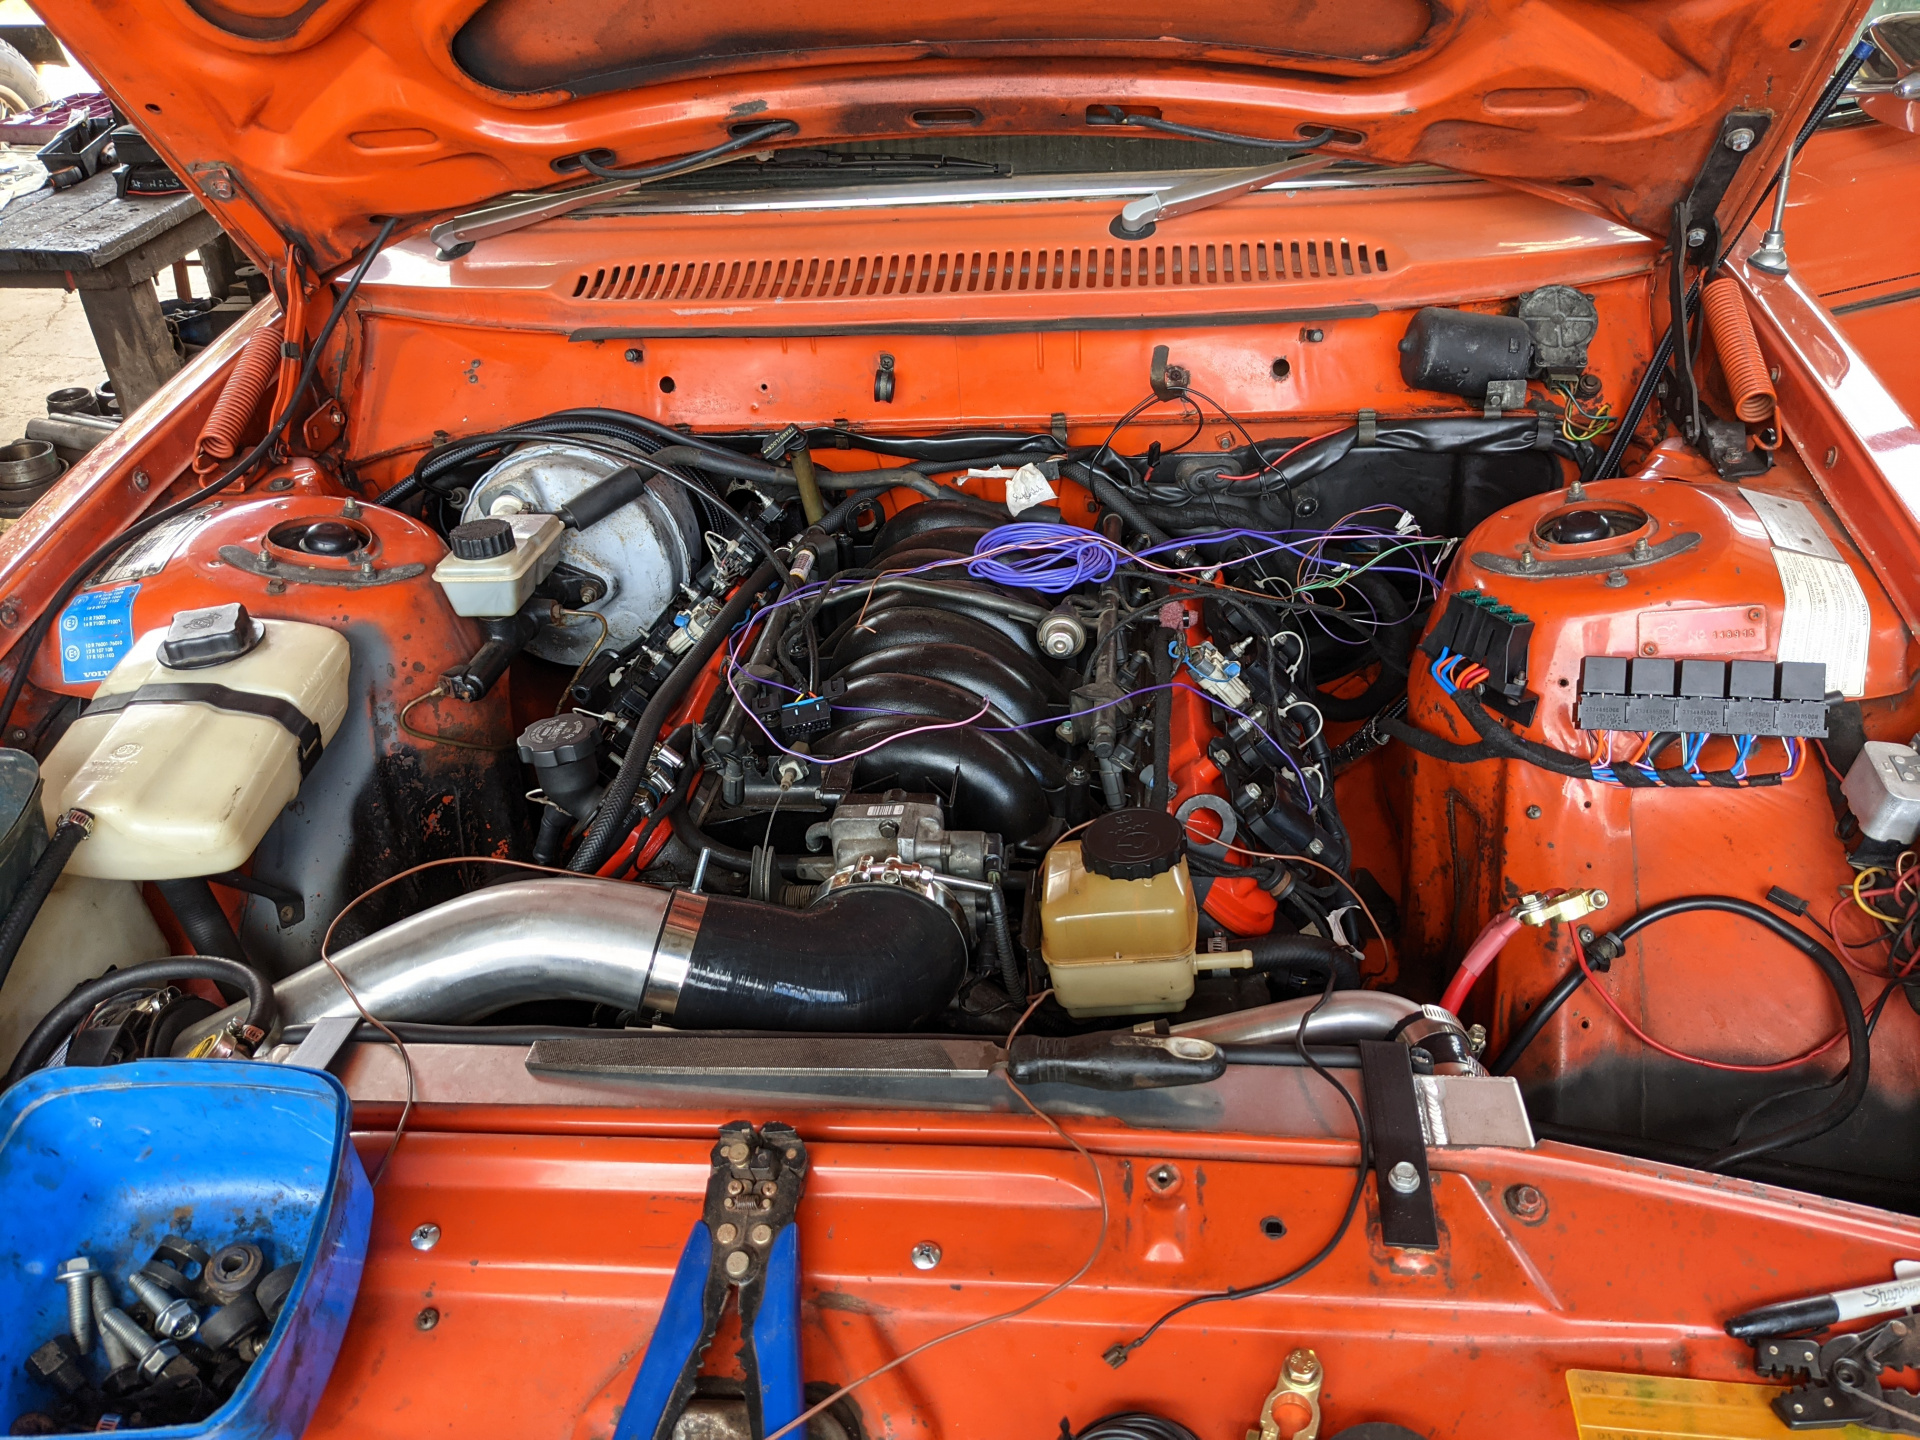
                  Radiator all plumbed up - used a combination of Volvo and Statesman rad hoses and will be running the steam ports, rad overflow and bottle into a basic brass T and hidden away behind the grillTrans oil cooler is mounted, just waiting for fittings to arrive before that's ticked off the listIntake completed with a 4 inch to 3 inch 90 degree reducer and some 3 inch pipe. Ebay shorty pod filter and a little bracket to keep it from moving around everywhereVac lines all connected - the Statesman brake booster hose fits the volvo booster without any kind of modification! The vac port on the back of the manifold requires a 90 degree turn and I didn't go looking for something to make it look pretty, its just useful. Might change this once the car is running but I'm currently gunning to get it started just to hear that engine again....Tightened all the engine mount bolts and fitted the passenger side exhaust - plenty of room which is awesome, just had to bend the brake lines a little and might make up a bit of a shield for them.

                  List of things still to go:

                  Mounting ECU and wiring it into the ignition and dashOne more fuel line from the Corvette pressure reg to the engine - been waiting for fittings for over 2 months, gonna have to reorder and write them offPaint the intake and rad bracketsPower steering linesTailshaft Rebuild kit for all the brakes is probably a good idea Attach some 940 stock steelies and get them widened for that ultra budget lookFix the passenger side rear wheel arch - cut and replace the piece that's been run intoAuto trans shifter hooked up properlyGet the rest of the exhaust madeWiring the starter and altNew tie rod ends and ball joints

                    a month later

                    Made some good progress this weekend:

                    Tailshaft is at the shop being made - measured and took both the stock Volvo and Statesman shafts in to be cut and joinedSway bar mounts completed, spacing the swaybar away from the sumpCoils and leads hooked up and a custom lead has been made just need to pick it upPainted a few bits and pieces matte blackMounted fuses and relaysStarter, alternator and power distribution block wired upCatch can and all plumbing sortedTrans cooler and all radiator related stuff completely plumbed.

                    Feeling like I should be able to turn the key next weekend... fingers crossed.

                      5 days later

                      Few bourbons deep at this point...

                      https://youtu.be/cx2tuzH08ns

                        serk

                        Few bourbons deep at this point...

                        https://youtu.be/cx2tuzH08ns

                        "it's had a little bit of work done to it"

                          Had a look last night, the engine came out of the Statesman on the 14th of April this year so it's been almost 7 months of weekends (missed a few here and there) in the making!

                          Shifter linkage is going to be the next item on the list...

                            2 months later

                            Wagon drives now! Took about 4 weekends to get the stock auto shifter to play nice with the 4L60 but now it selects all of the gears and they line up with the positions on the shifter in the cabin really well. Reverse lights are running of the adjustable switch inside the auto shifter housing too, instead of the PCM. Using the stock shifter was a personal requirement, just not a big fan of the Hurst type shifters in a stock interior.

                            All door cards have been removed and fish oil injected into all the doors. Silicon spray into the window channels and all of the mechanisms greased - Really makes a difference when you don't have to fight the windows up and down!

                            Car is booked in for a new windscreen this Wednesday, and an exhaust on Thursday. Will be going with a 92 240 windscreen without the chrome and a 2.5inch quiet exhaust.

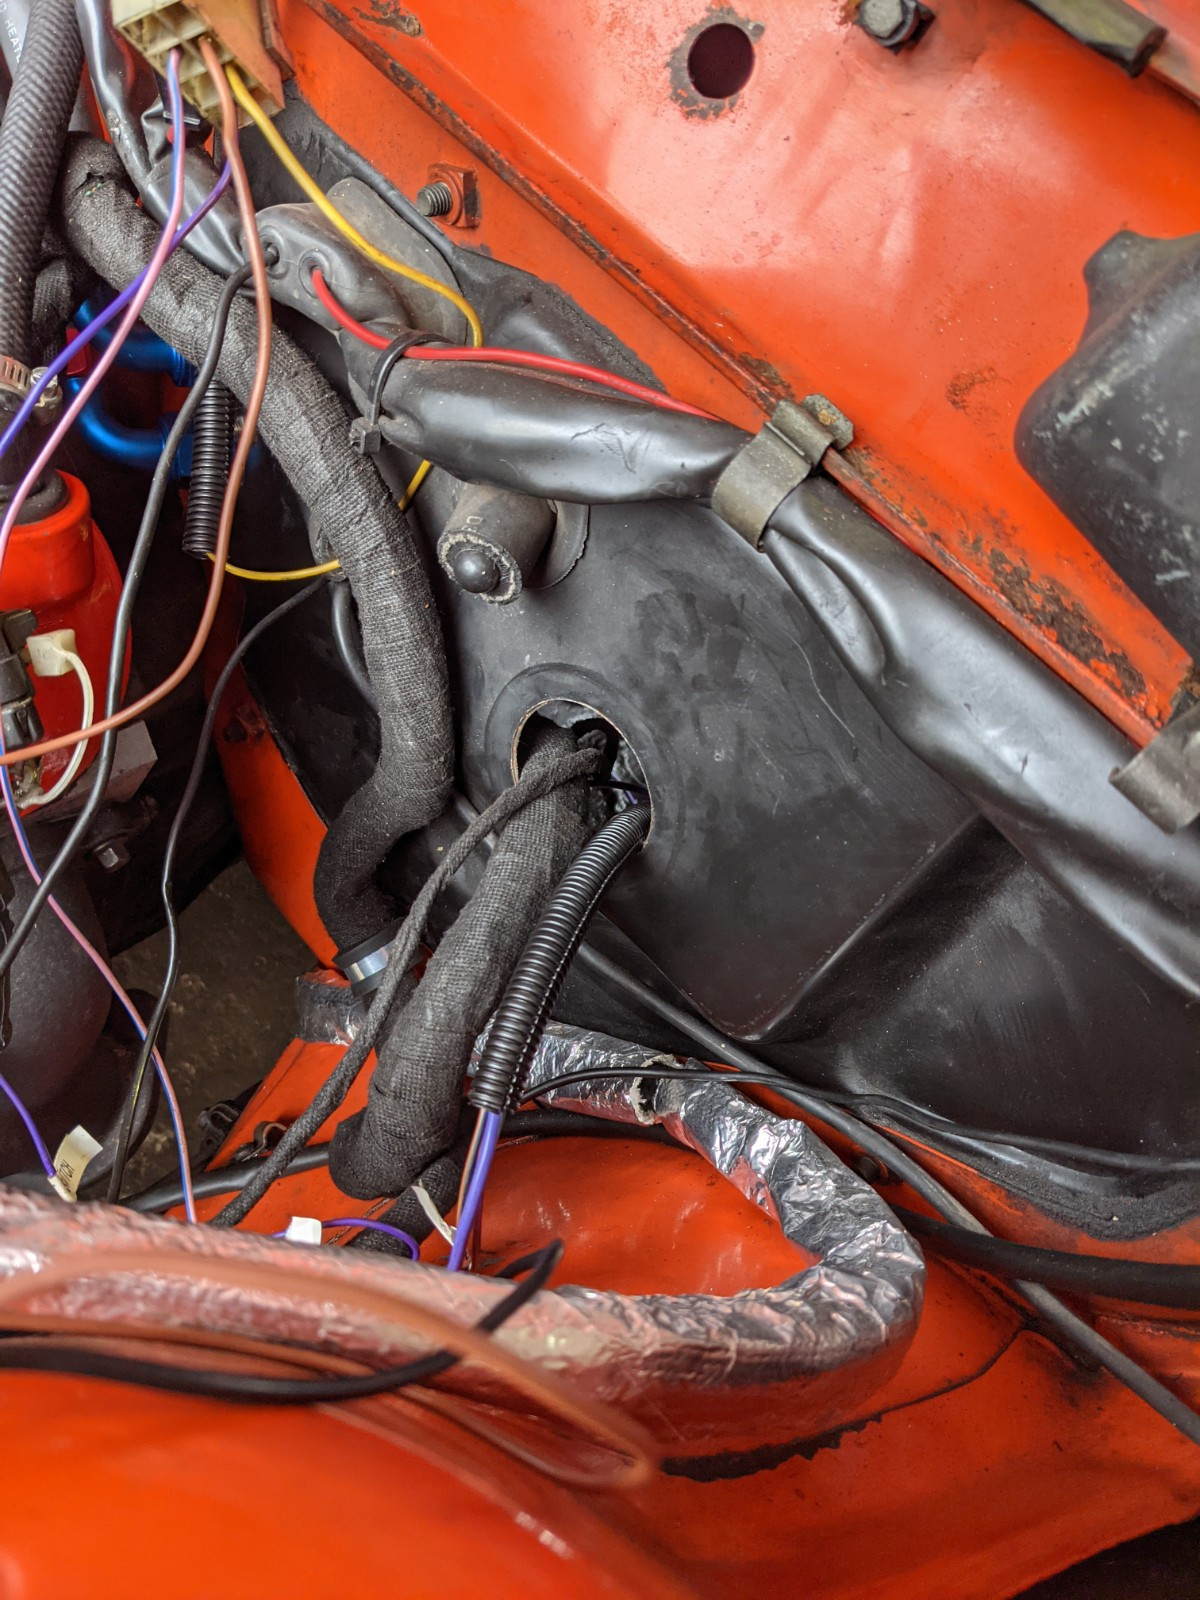
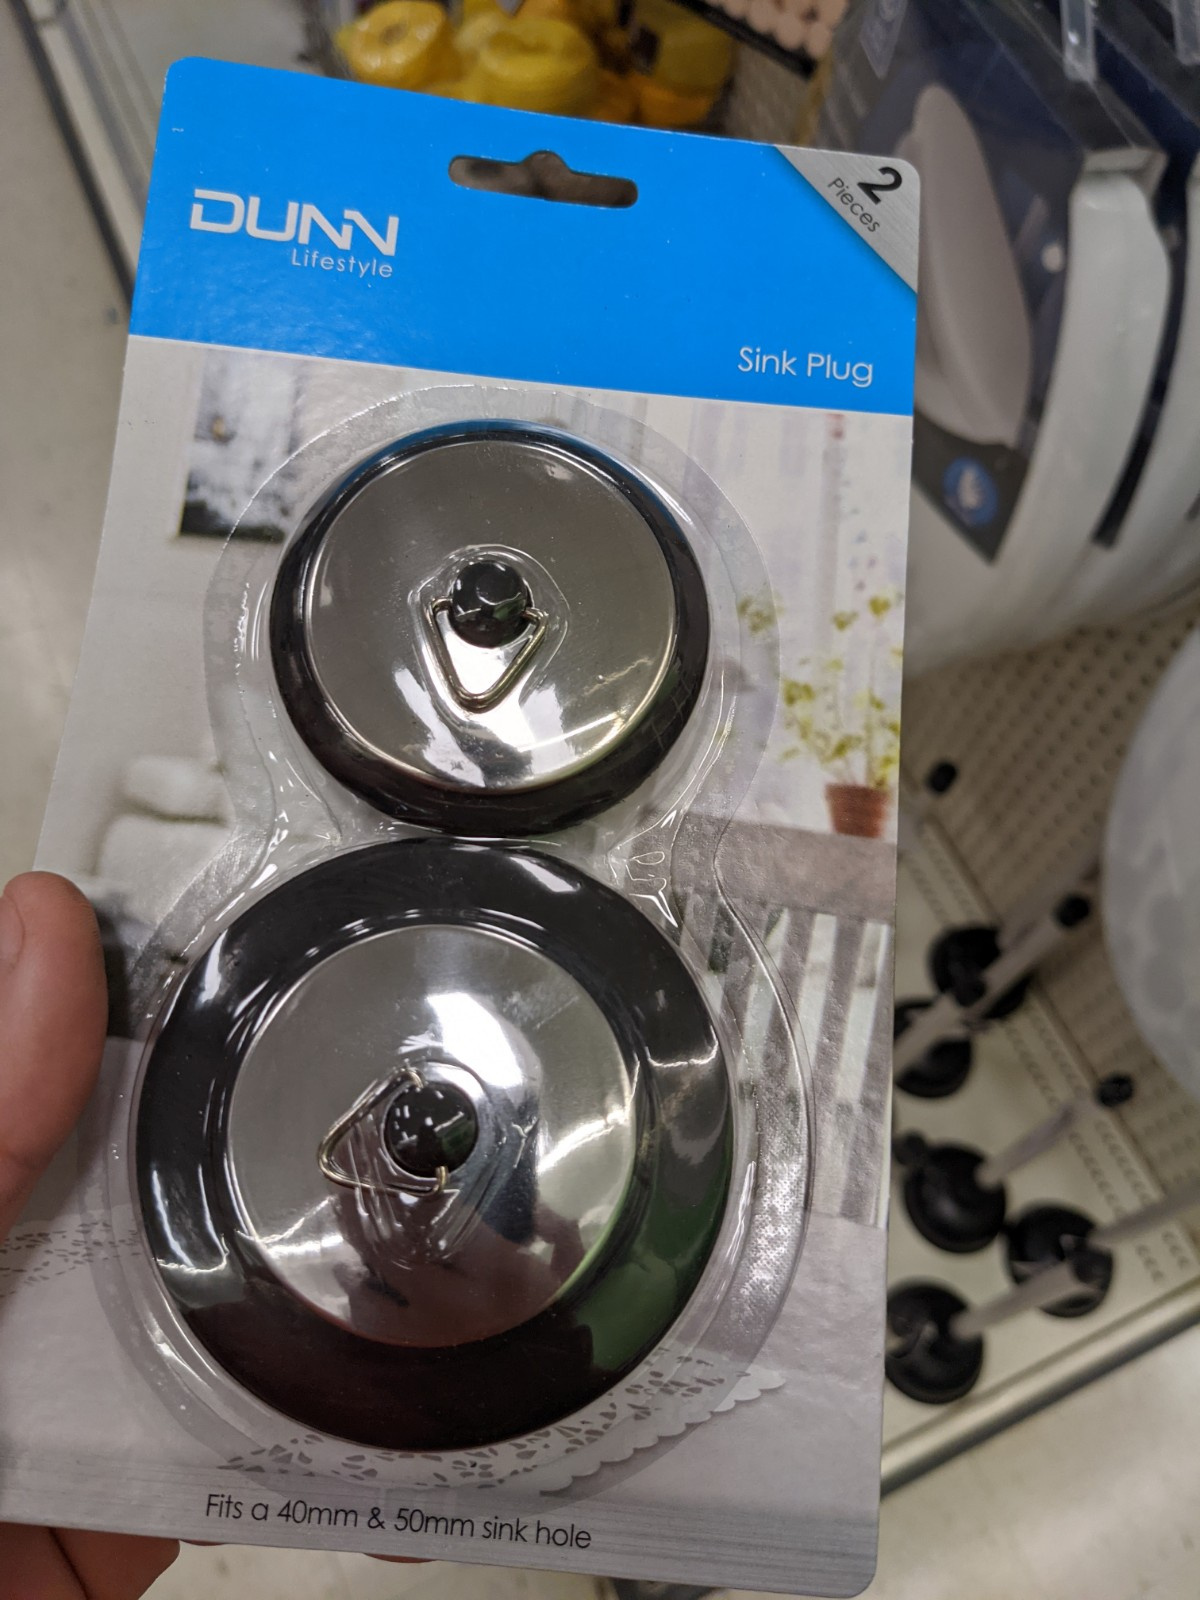
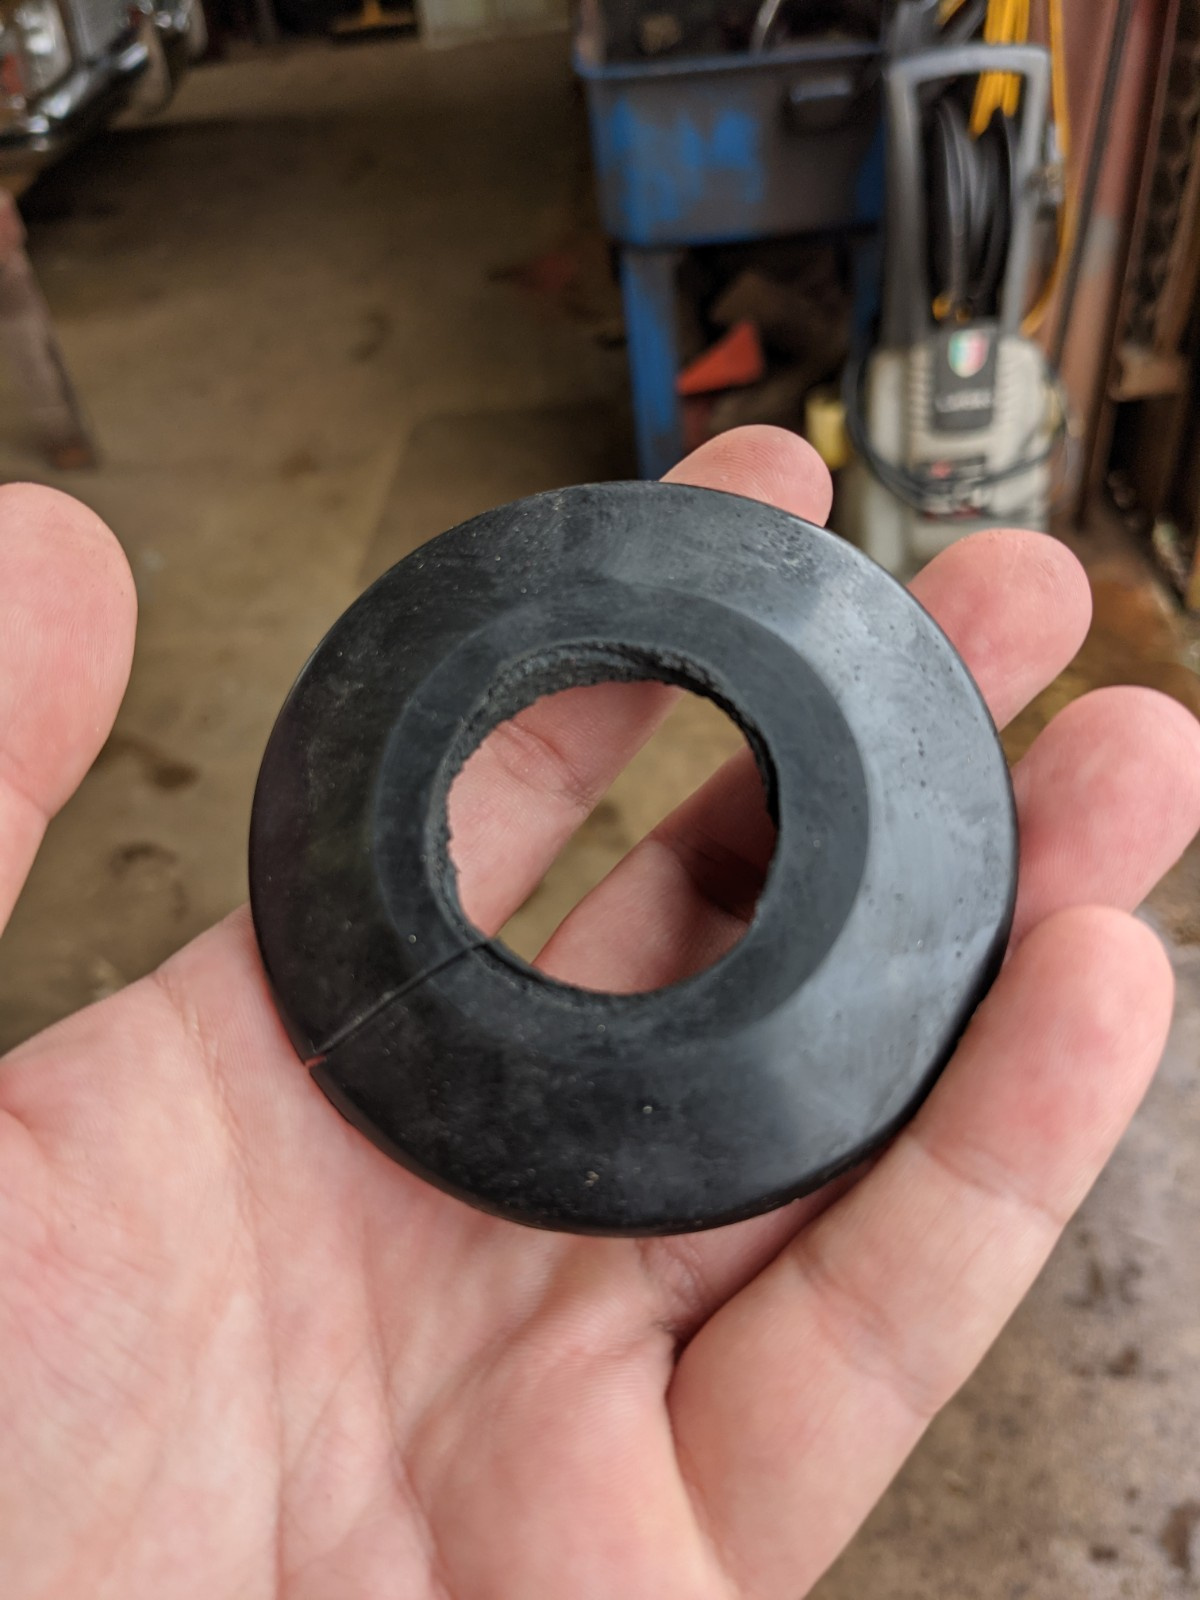
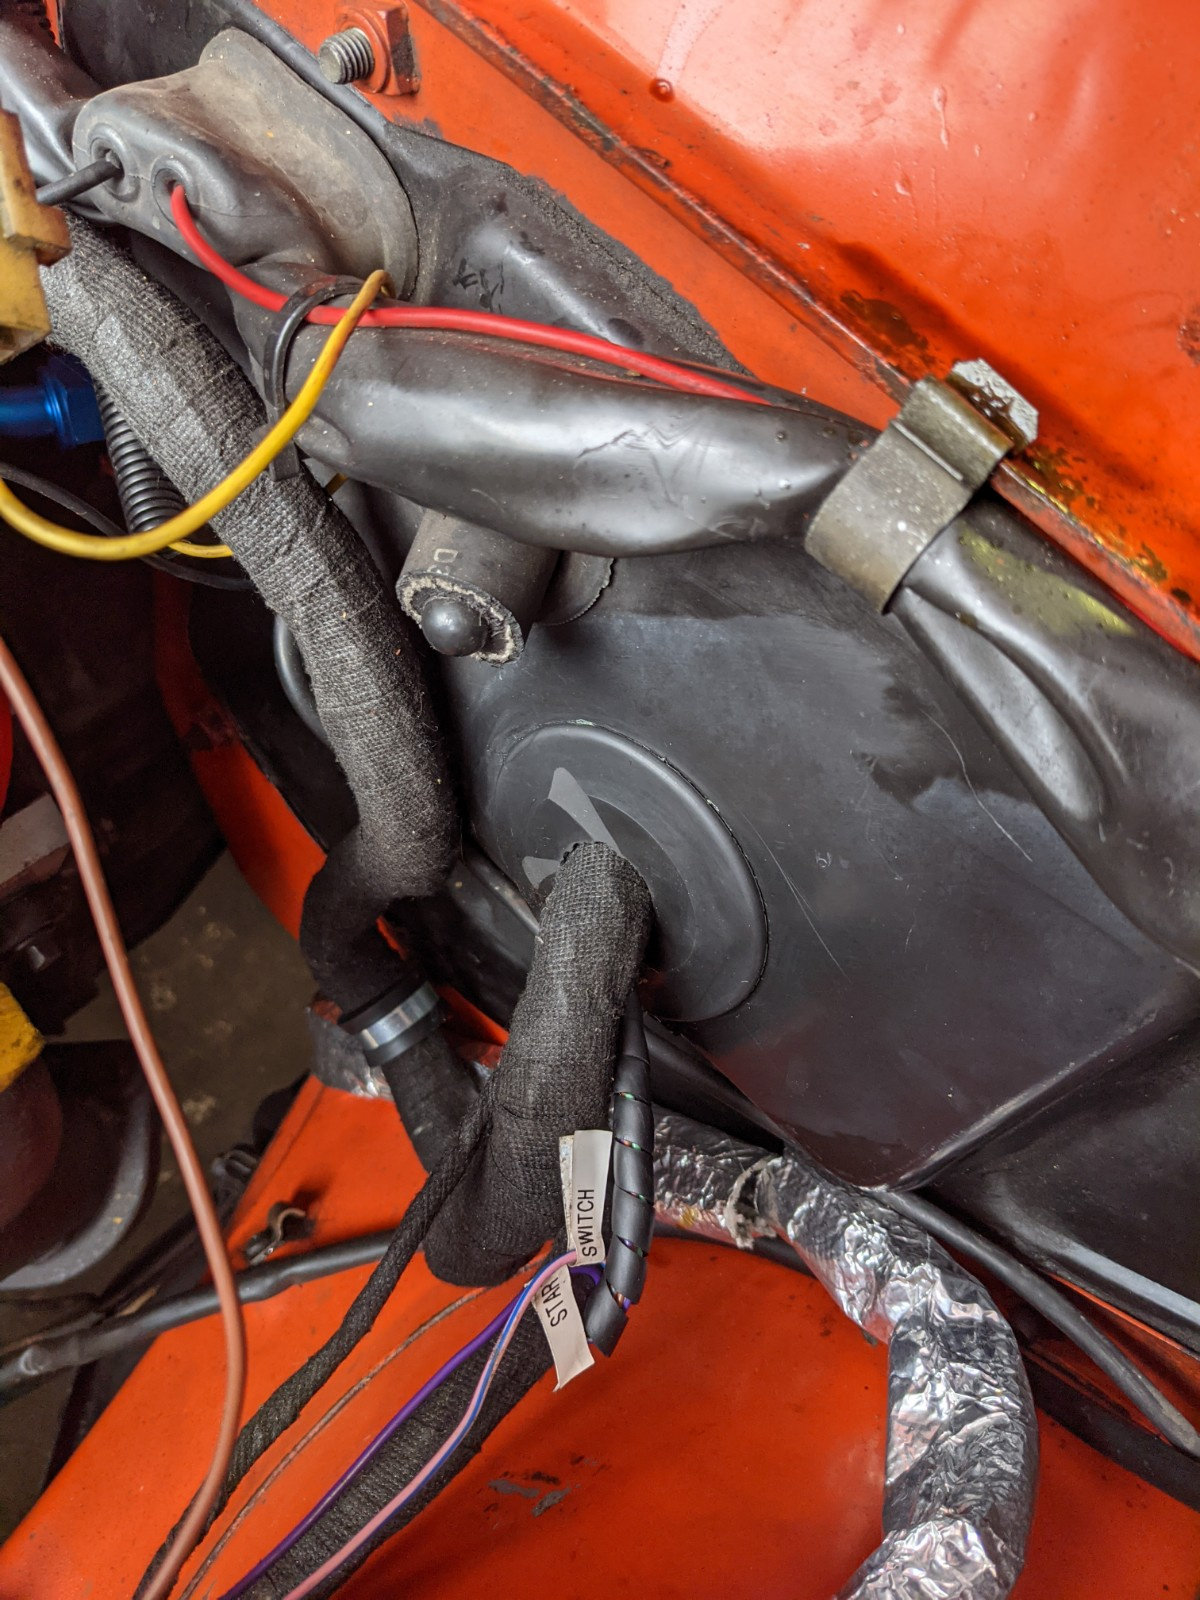
                            I found it difficult to locate a grommet on eBay for the PCM but found that a regular sink plug from Big W worked a treat! Just drilled out the center, added a slit in the bottom to slid it over the harness and it looks great IMO. The hole I drilled was 52mm so I could get the connectors run through and the sink plug is 50mm... close enough!

                              I never would have thought to use a drain plug! 10/10