James's 1977 244 DL "Momo"


Can you take a shot of the can when it arrives (as I'll have to tackle my own corrosion scope creep some time in the near future)…

rado it has a tiny bit of give in it when dry
@Porkchop I use U-Pol Grey Stripe brushable seam sealer. I first used it on my yellow 244 to seal up the gutter seams after repairing them, that was 12 years ago and it hasn't deteriorated at all!
It's not quite the same as the chewing gum like sealer the factory used, but it brushes on with a similar texture, and it's designed to be painted over so it looks pretty factory when all is said and done.
Thanks James, found this site: https://rico.com.au/products/u-pol-grey-stripe-brushable-seam-sealer but they won't ship to Tas, I'm guessing air freight is the issue. Not sure where else to buy if that's the case, this brand is showing as shippable but not sure if it's like for like? https://www.ebay.com.au/itm/295515539772? Yet another option https://crashsupplies.com/product/soudal-seam-sealer-brushable-1kg-102352/ …..

Porkchop they won't ship to Tas,
You're LST area, yeah? Rare Spares in Invermay is the hot ticket for U-Pol products.
Much obliged, I'm actually in the south but have a brother in Lonnie I visit from time to time, I'll have a look when I'm up there next, thanks!
@Porkchop I bought it from VG Auto Paints who posted it (pure time management from me as they're only 20 minutes away). If you run into a dead end let me know, I'm happy to post stuff down.
You're a champ!
- Edited
Scope creep
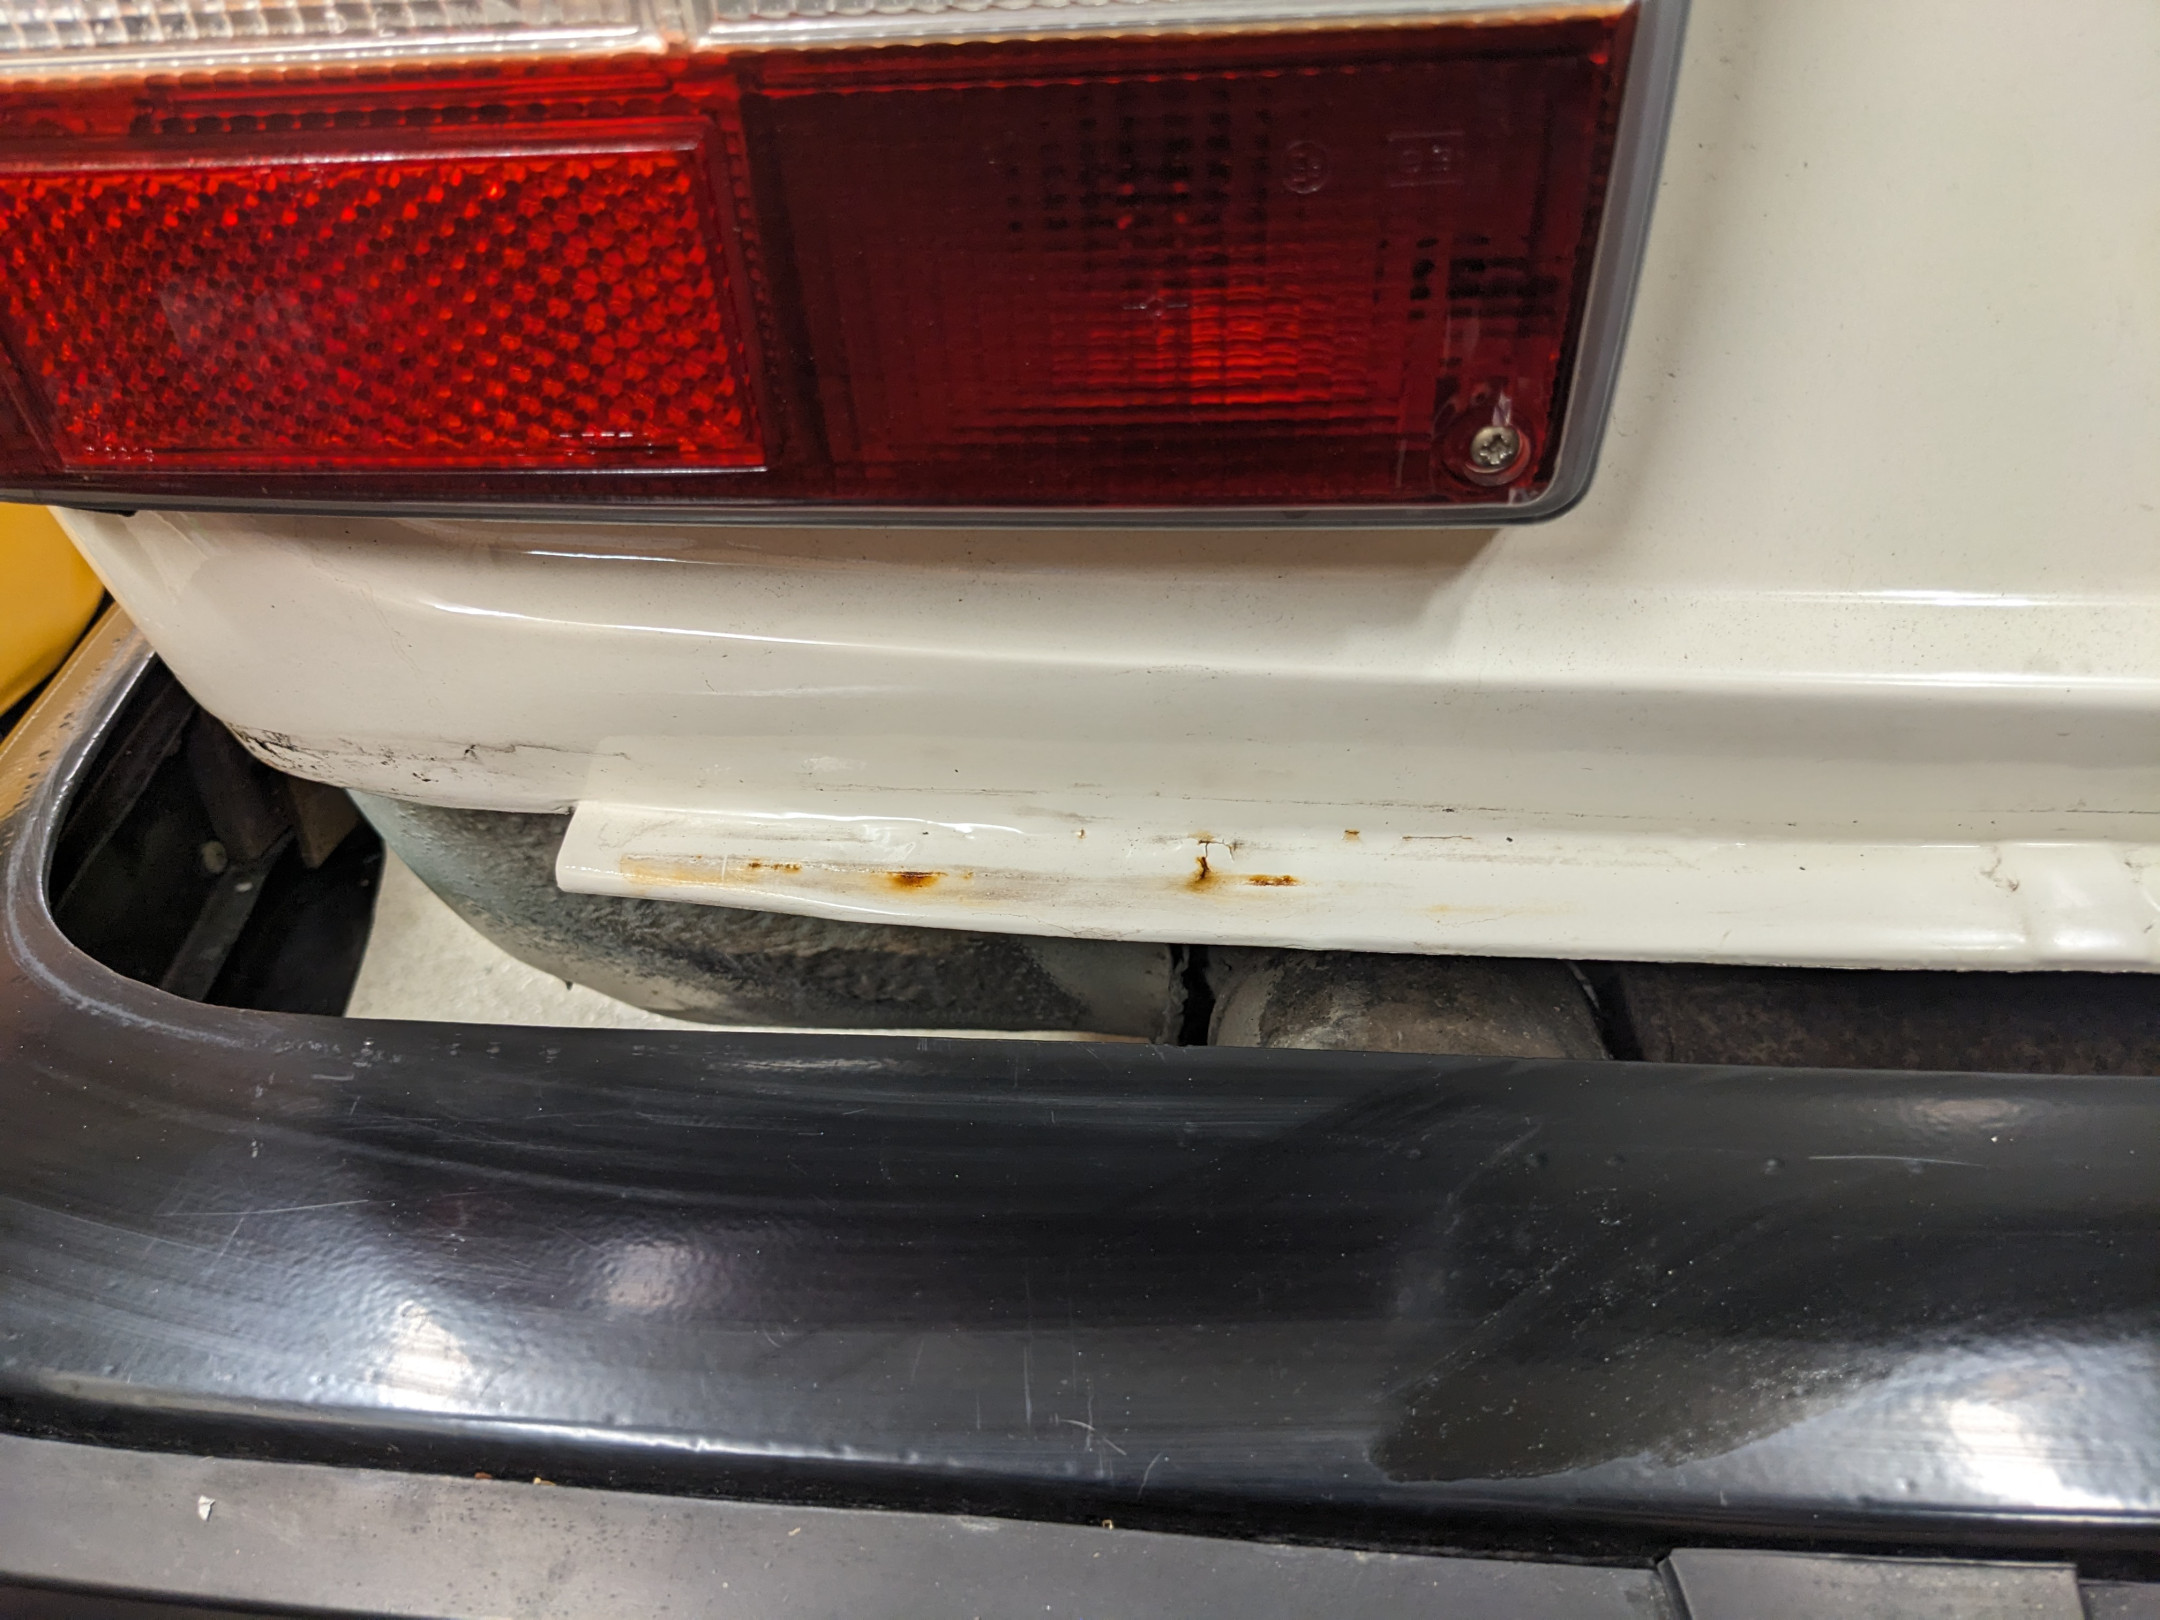


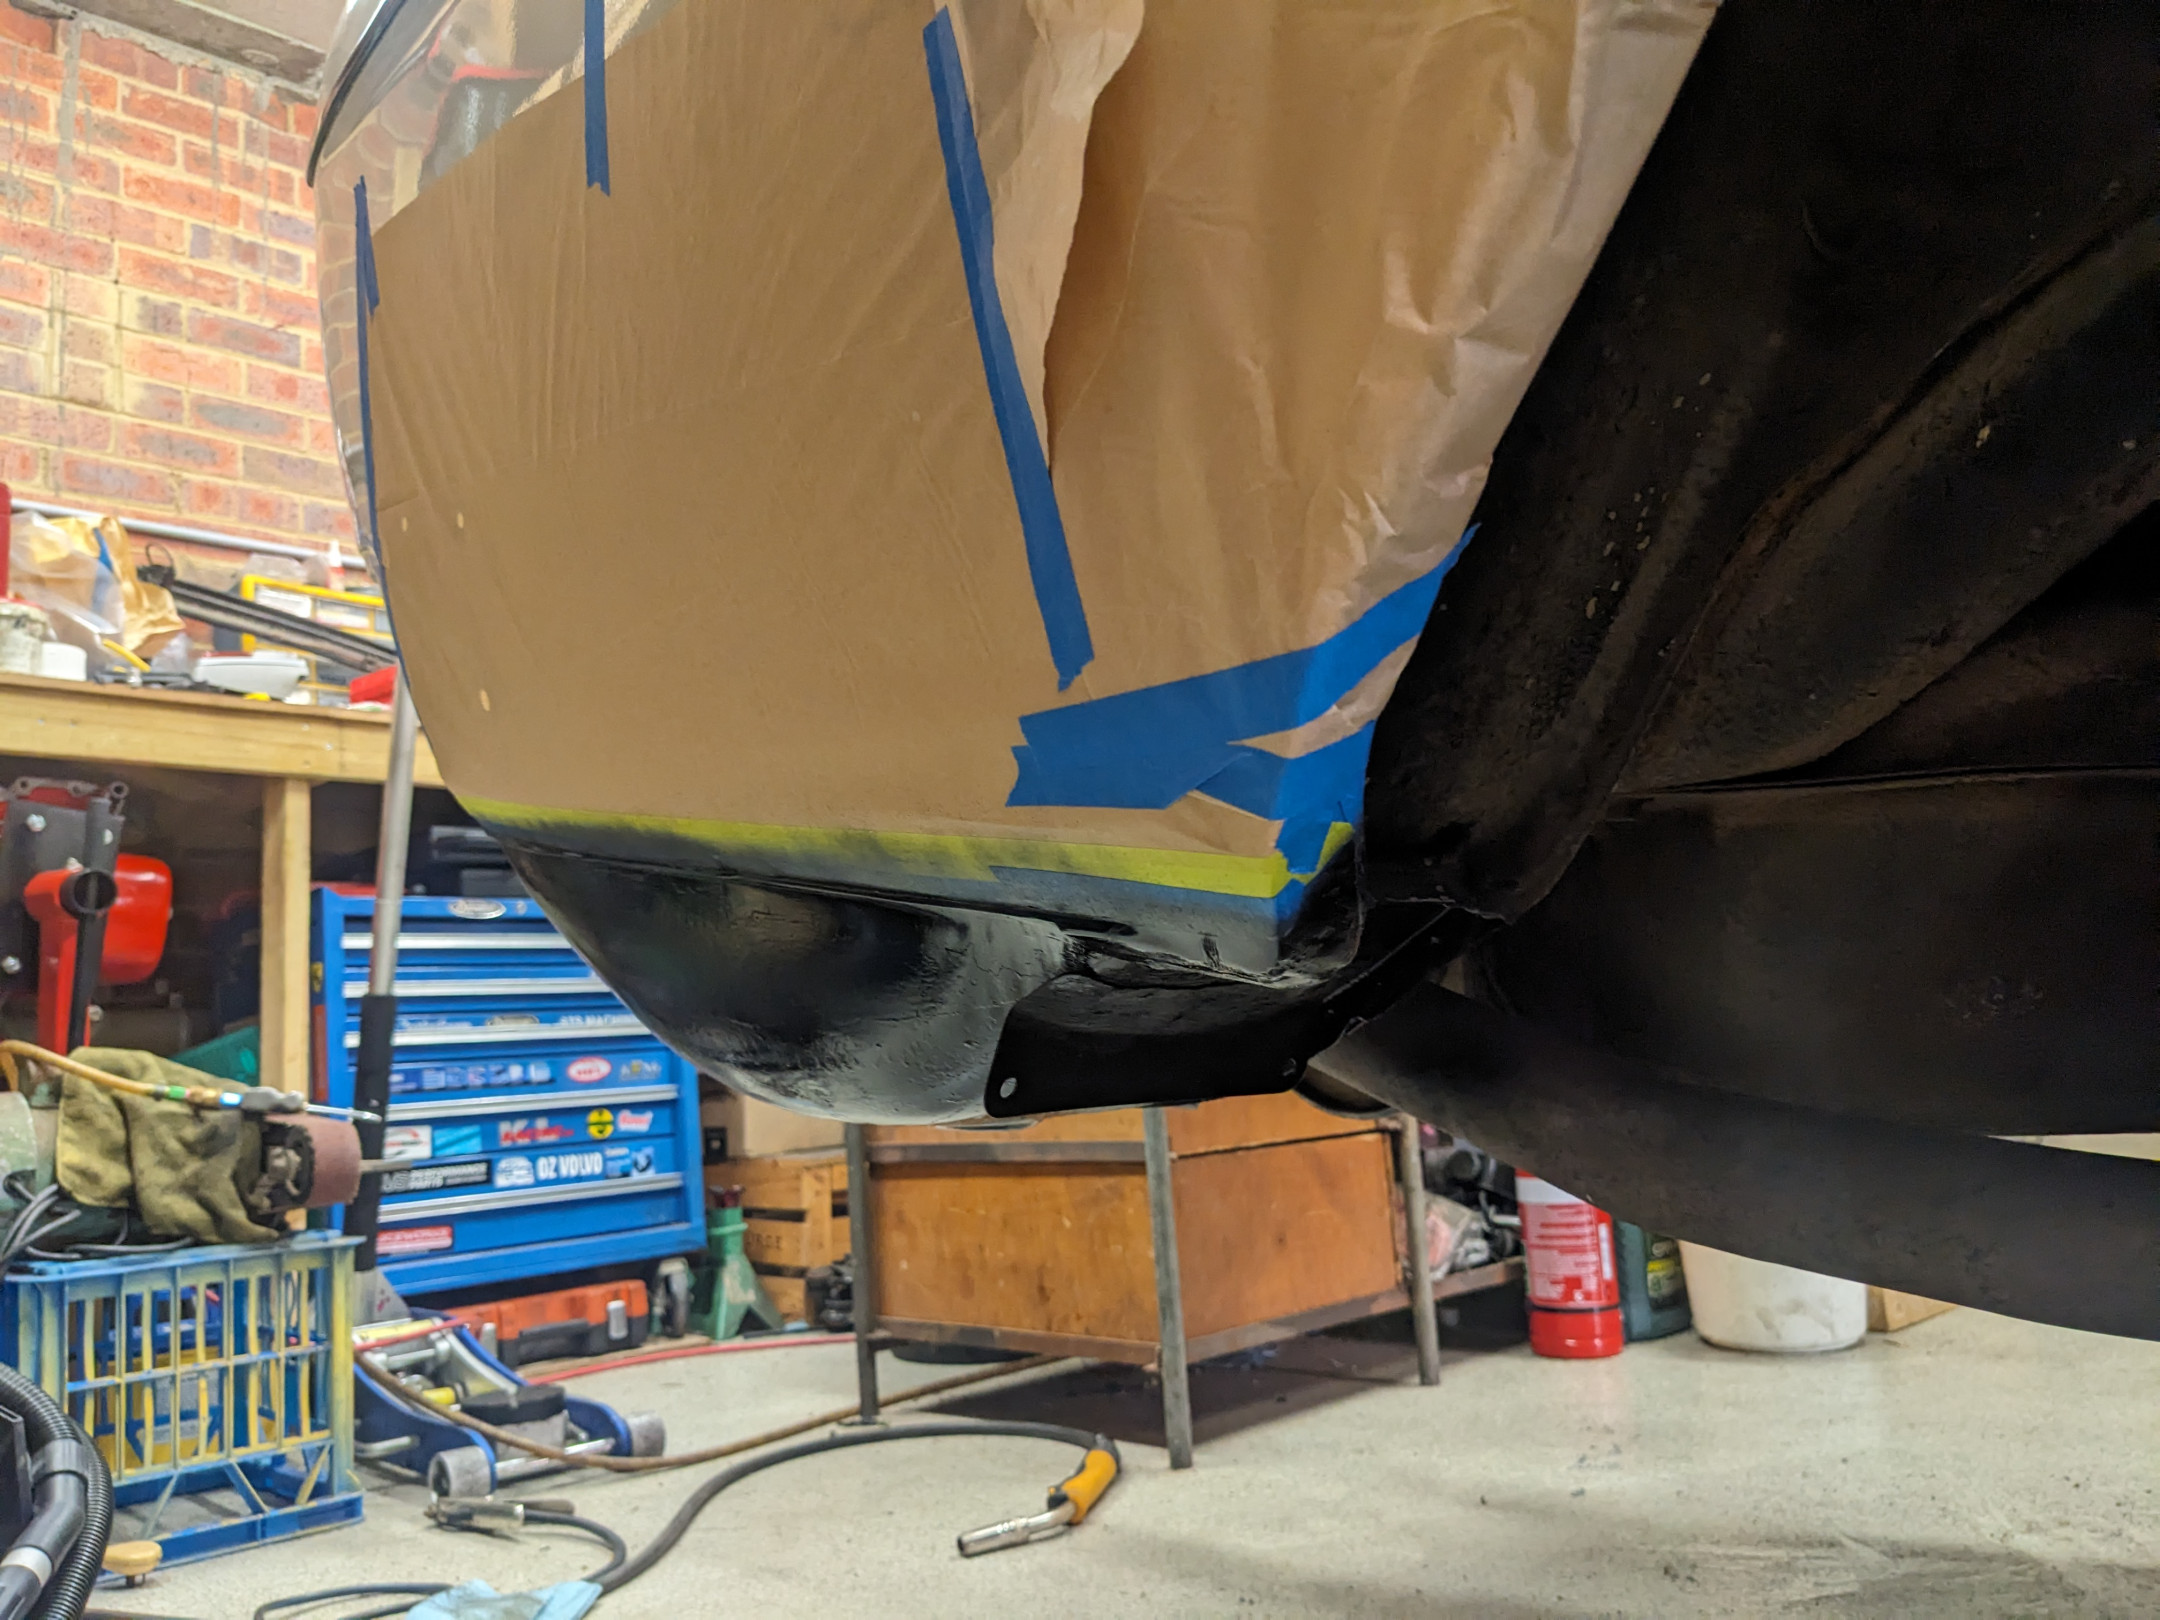
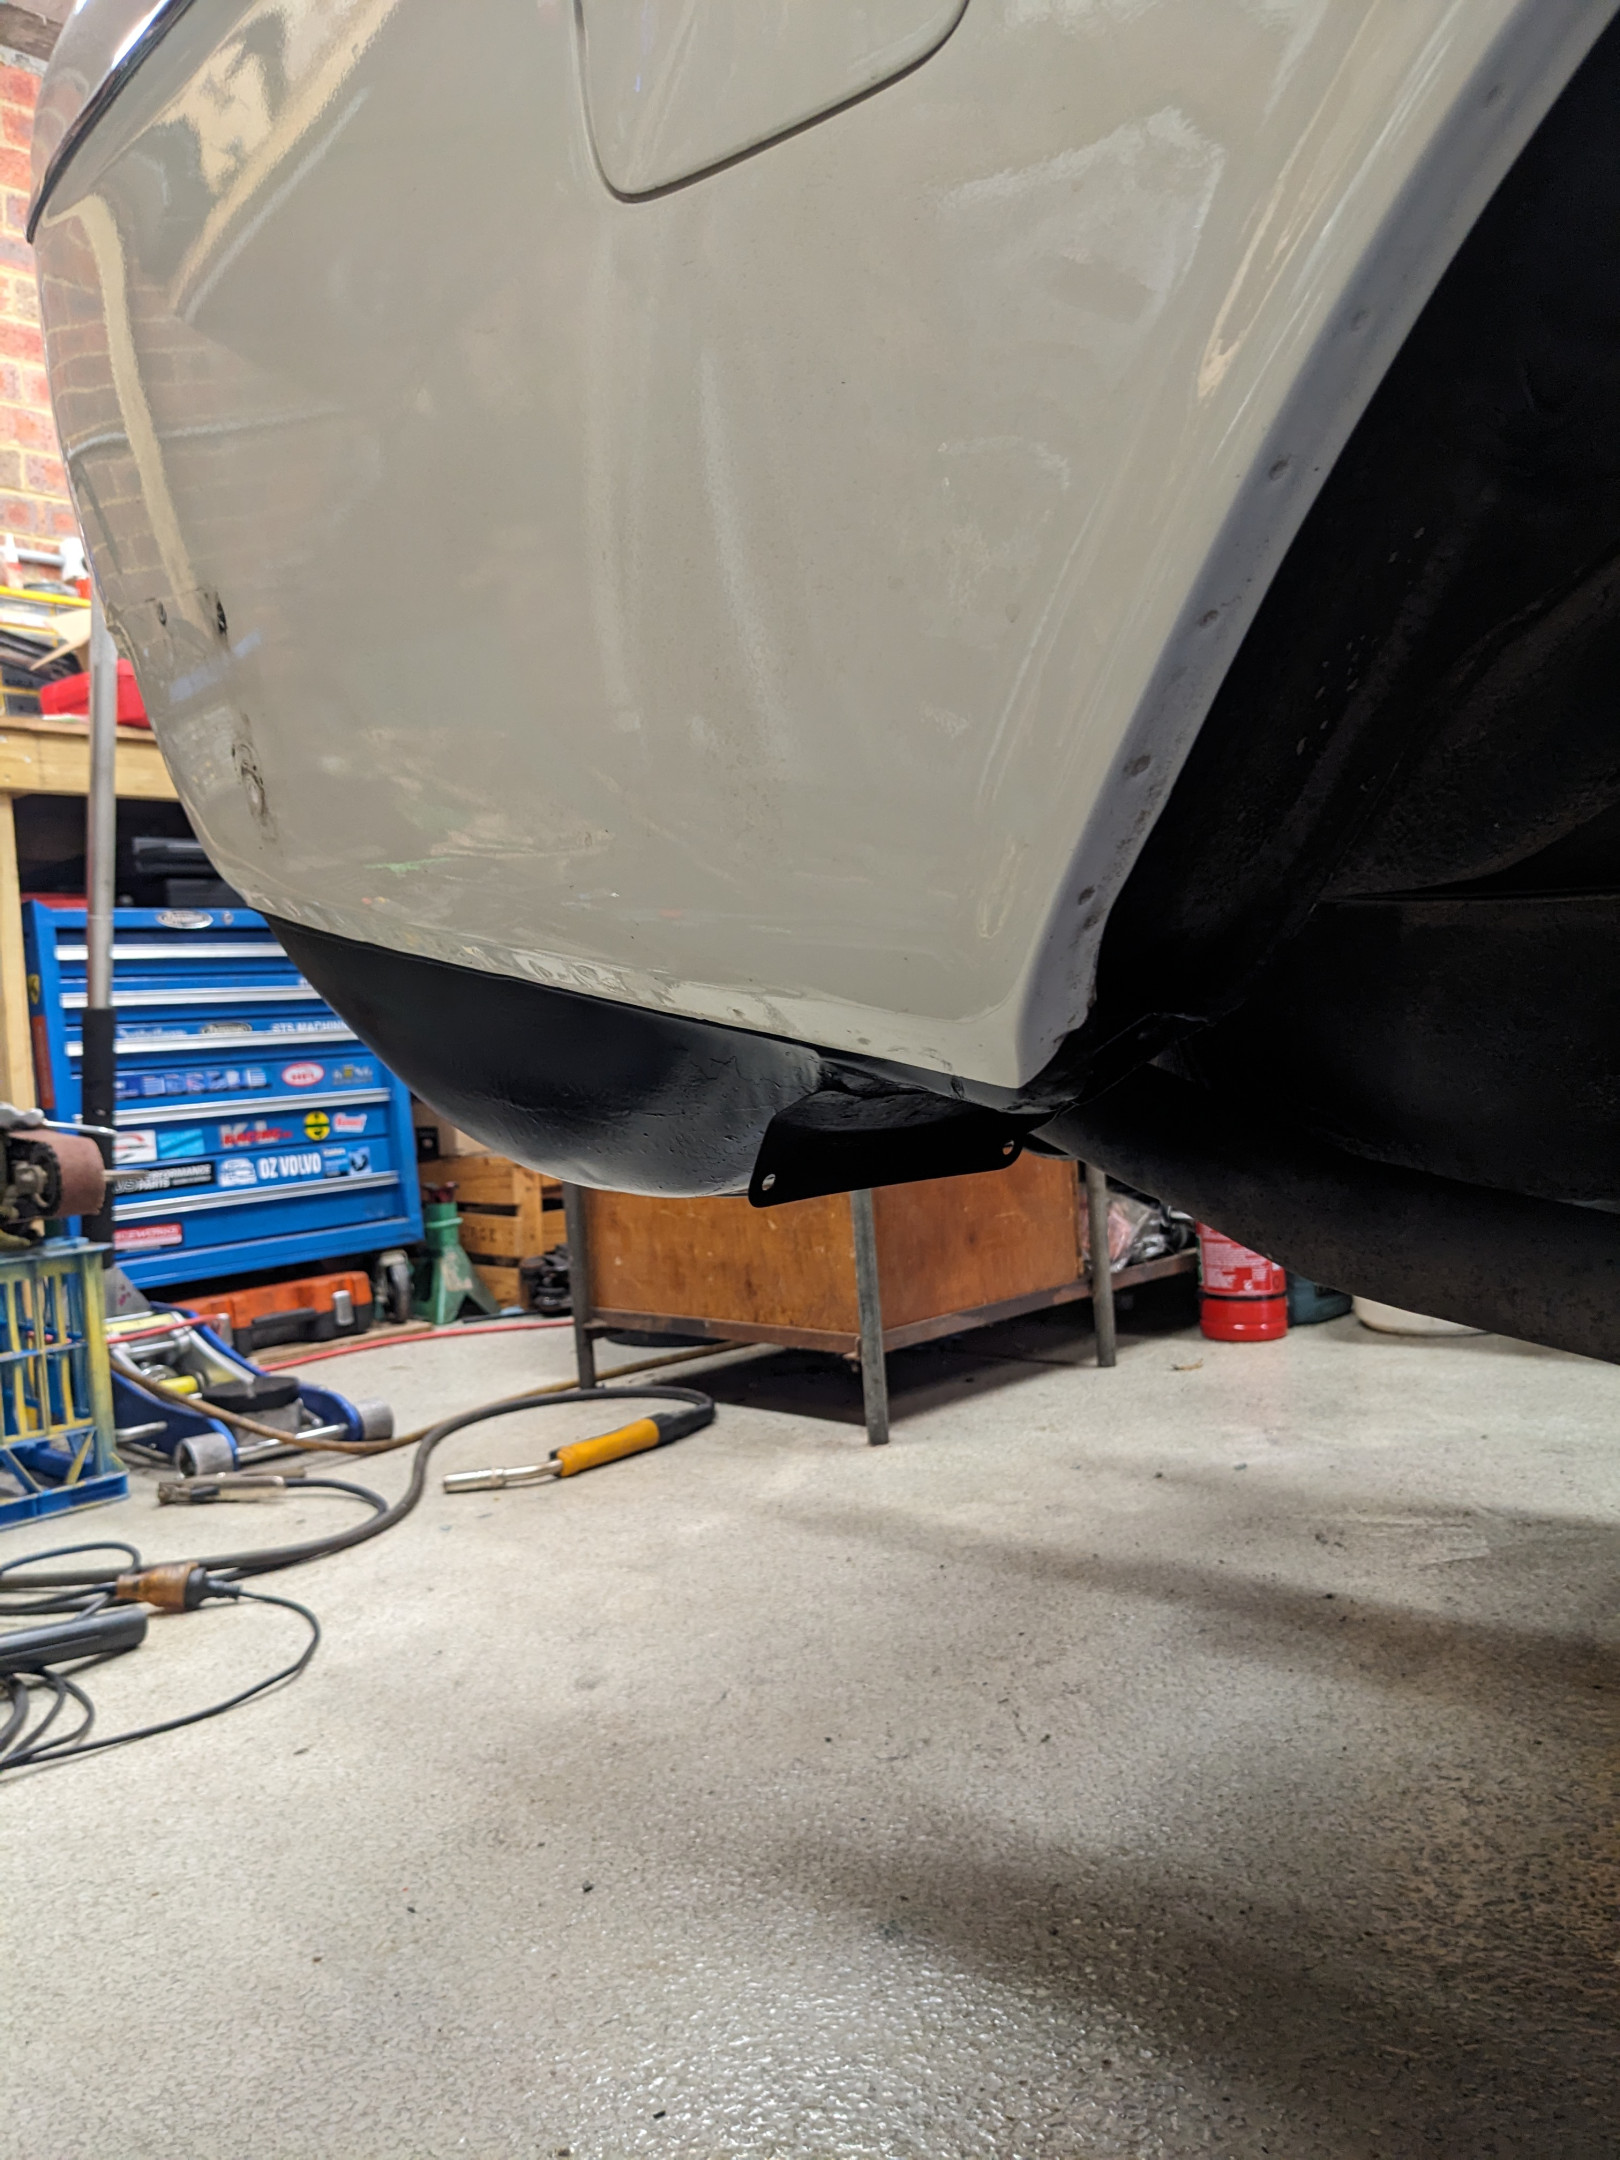
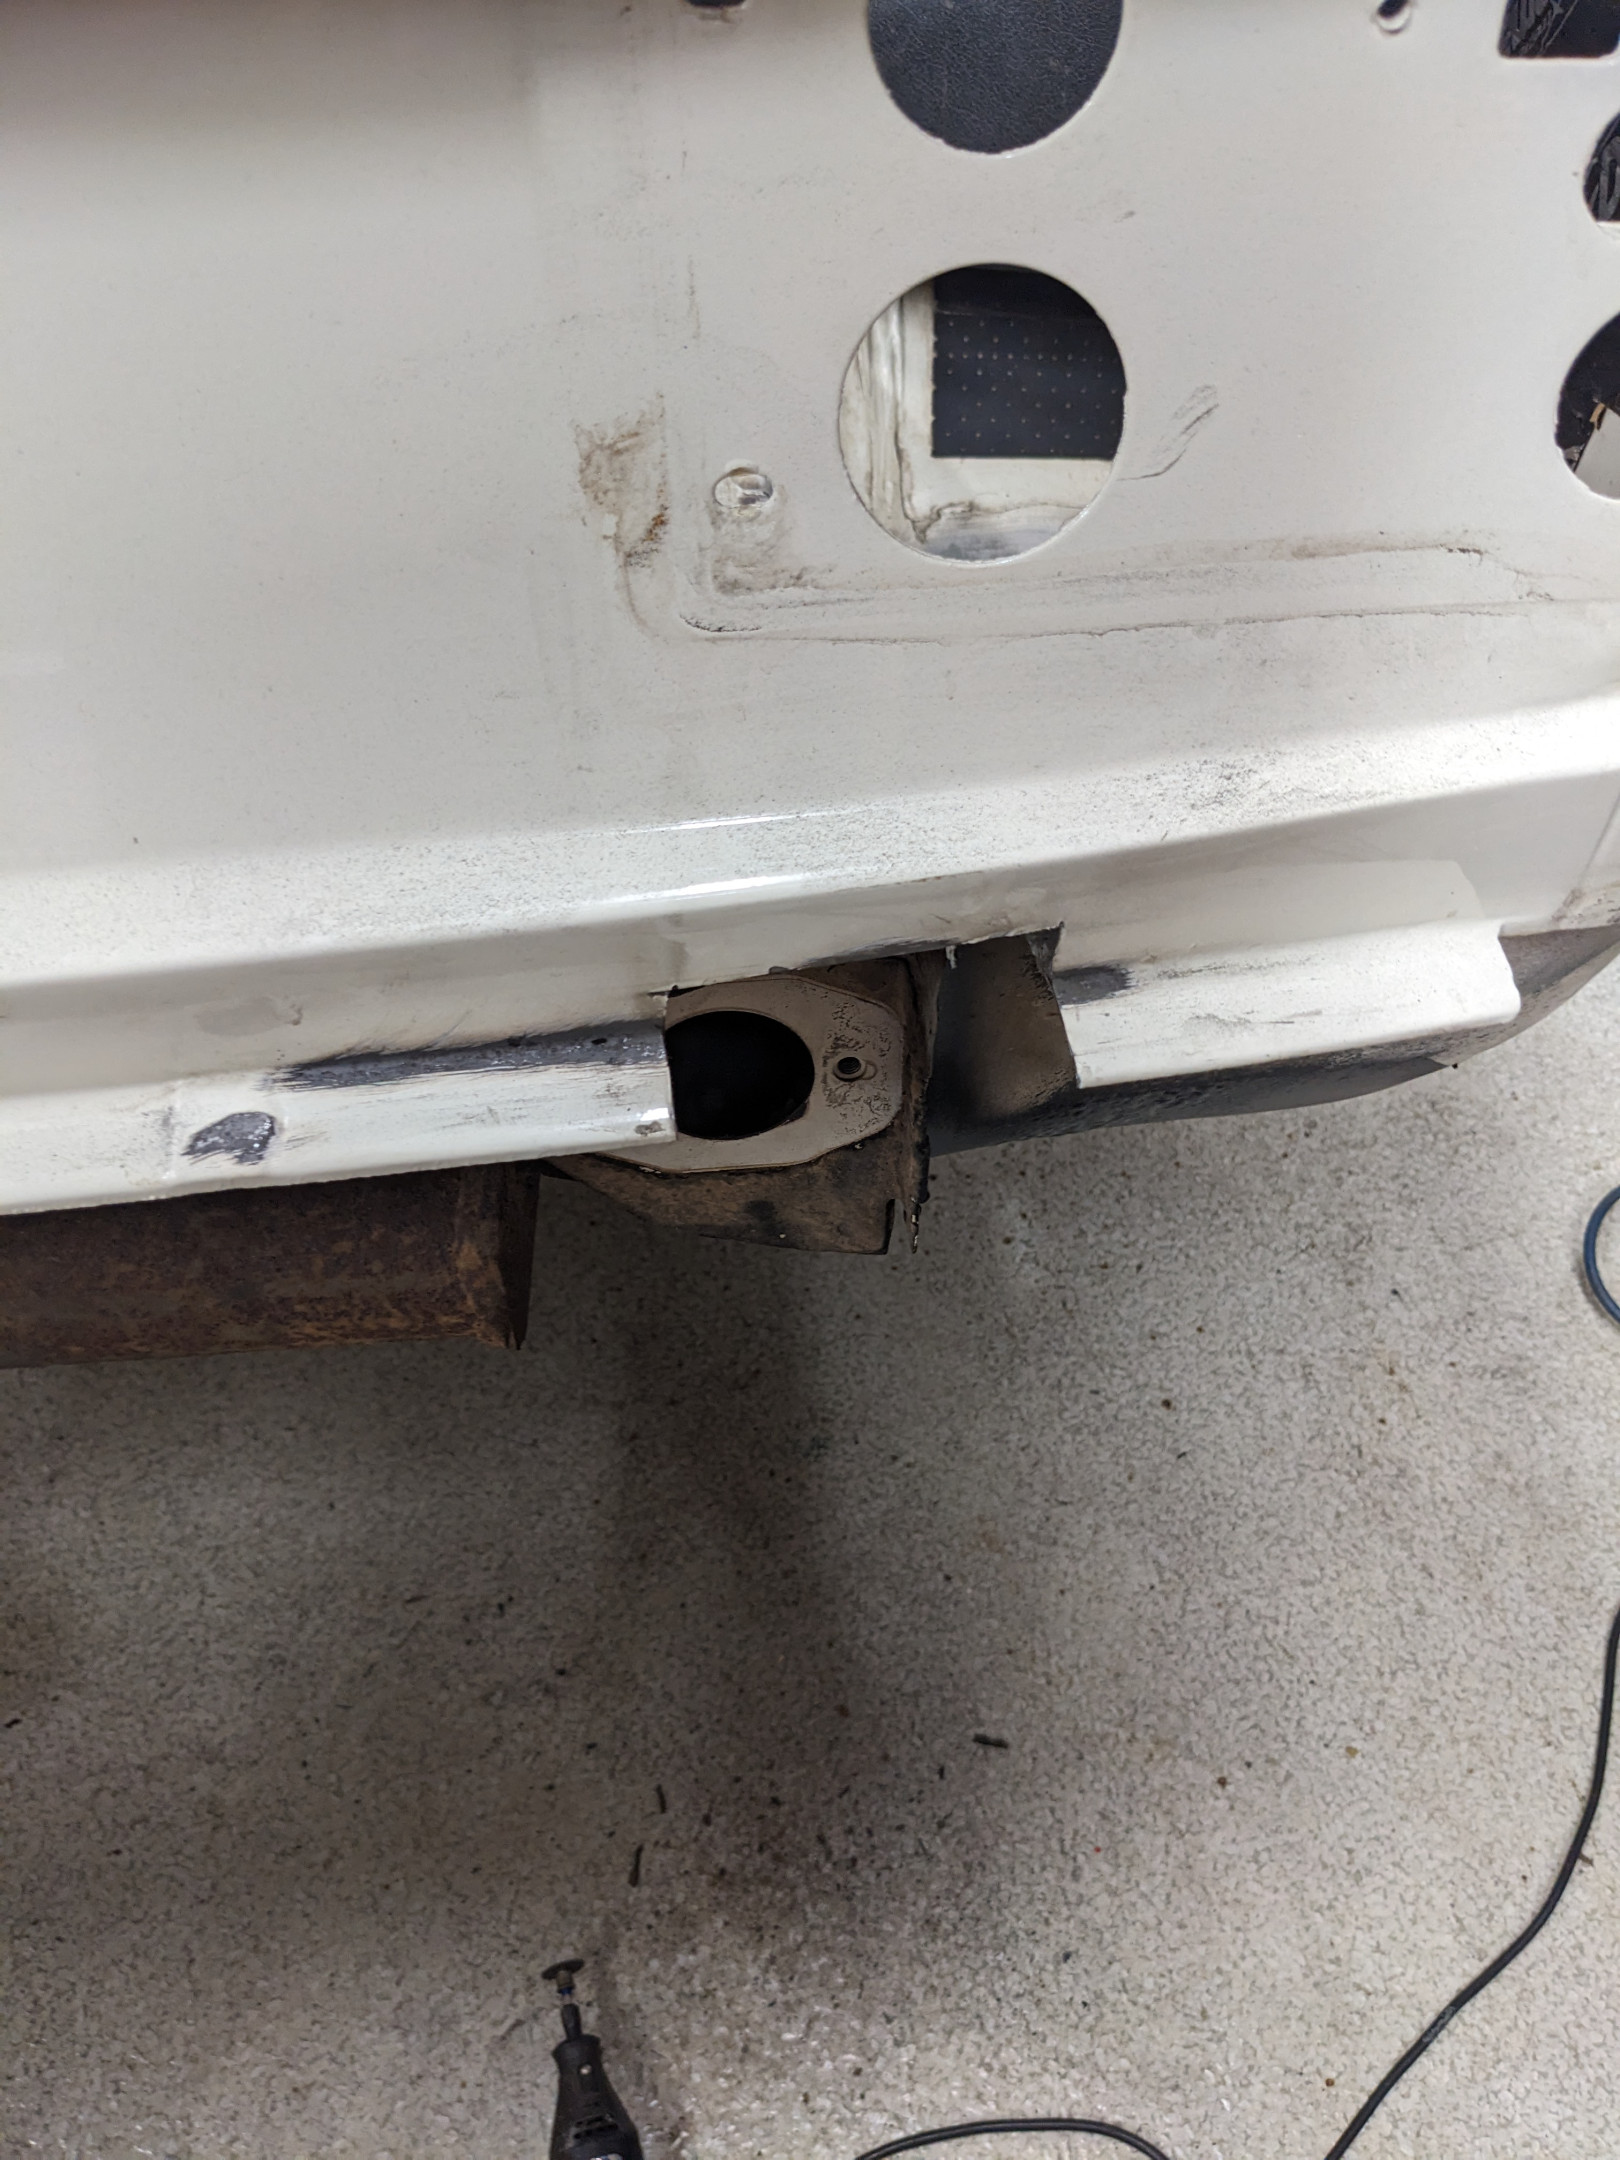
I painted the butt cheeks over the weekend with some satin black enamel. I still need to repair the rear lip, just waiting on some steel sheet to arrive.
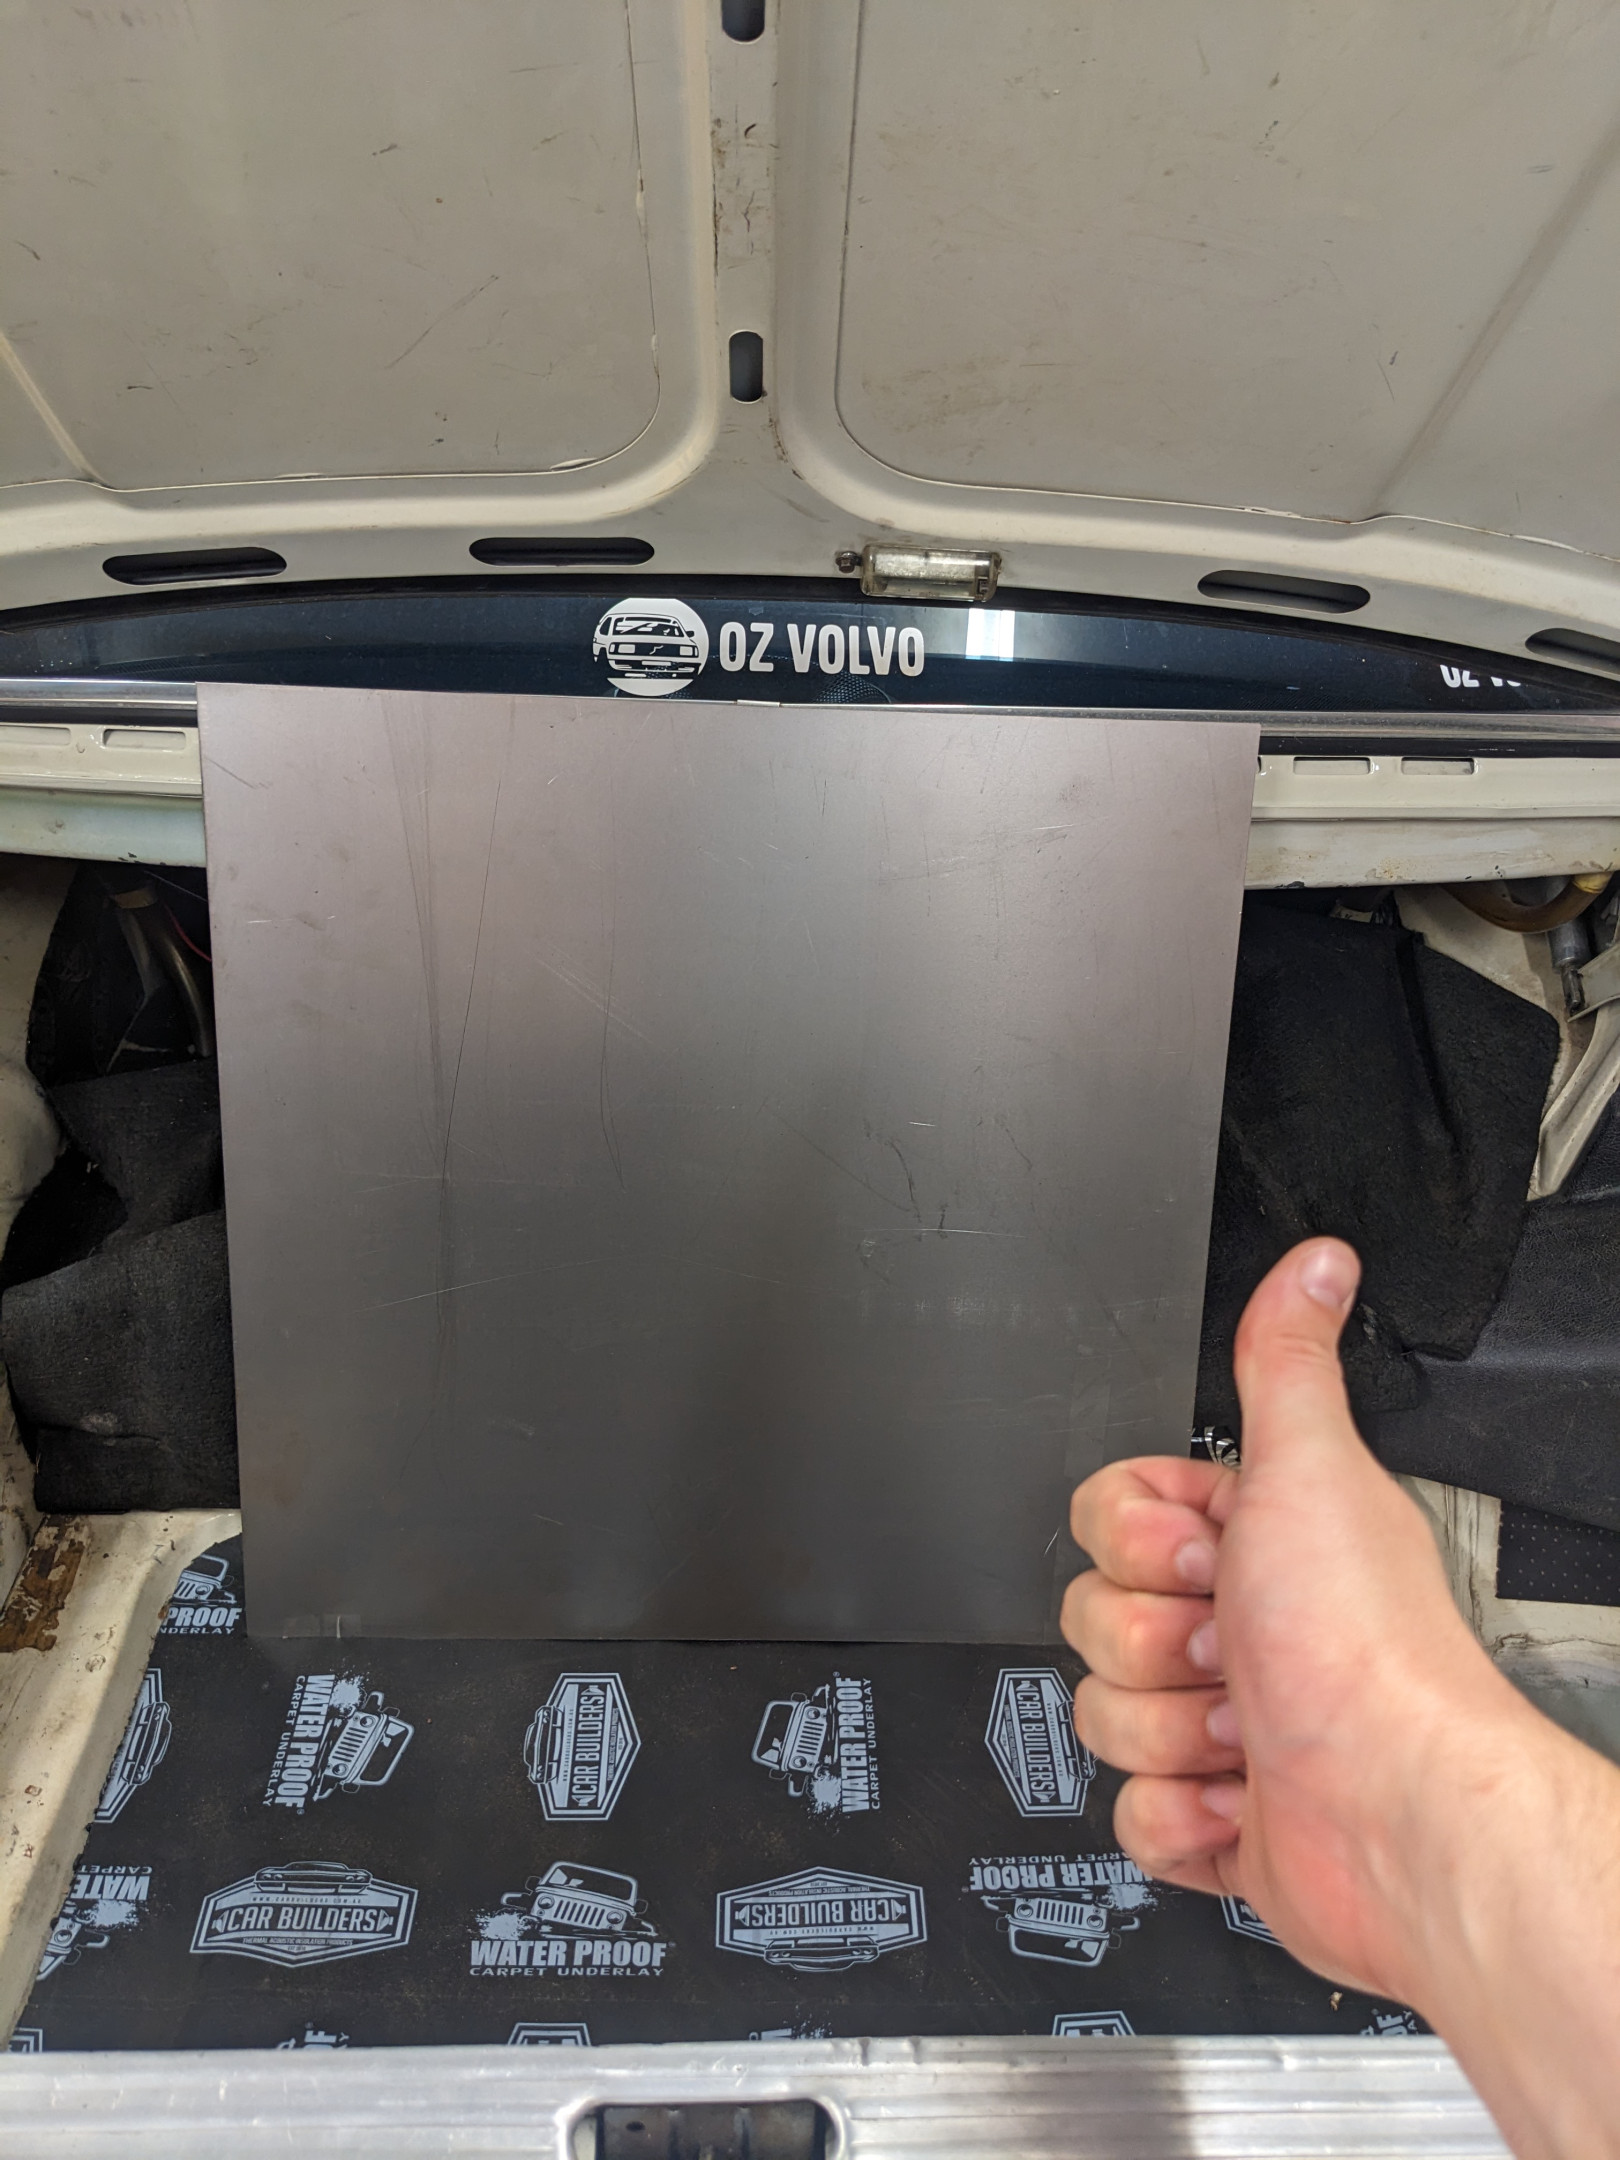
At last, 1.2mm cold rolled Zincanneal sheet ready to become future Volvo.
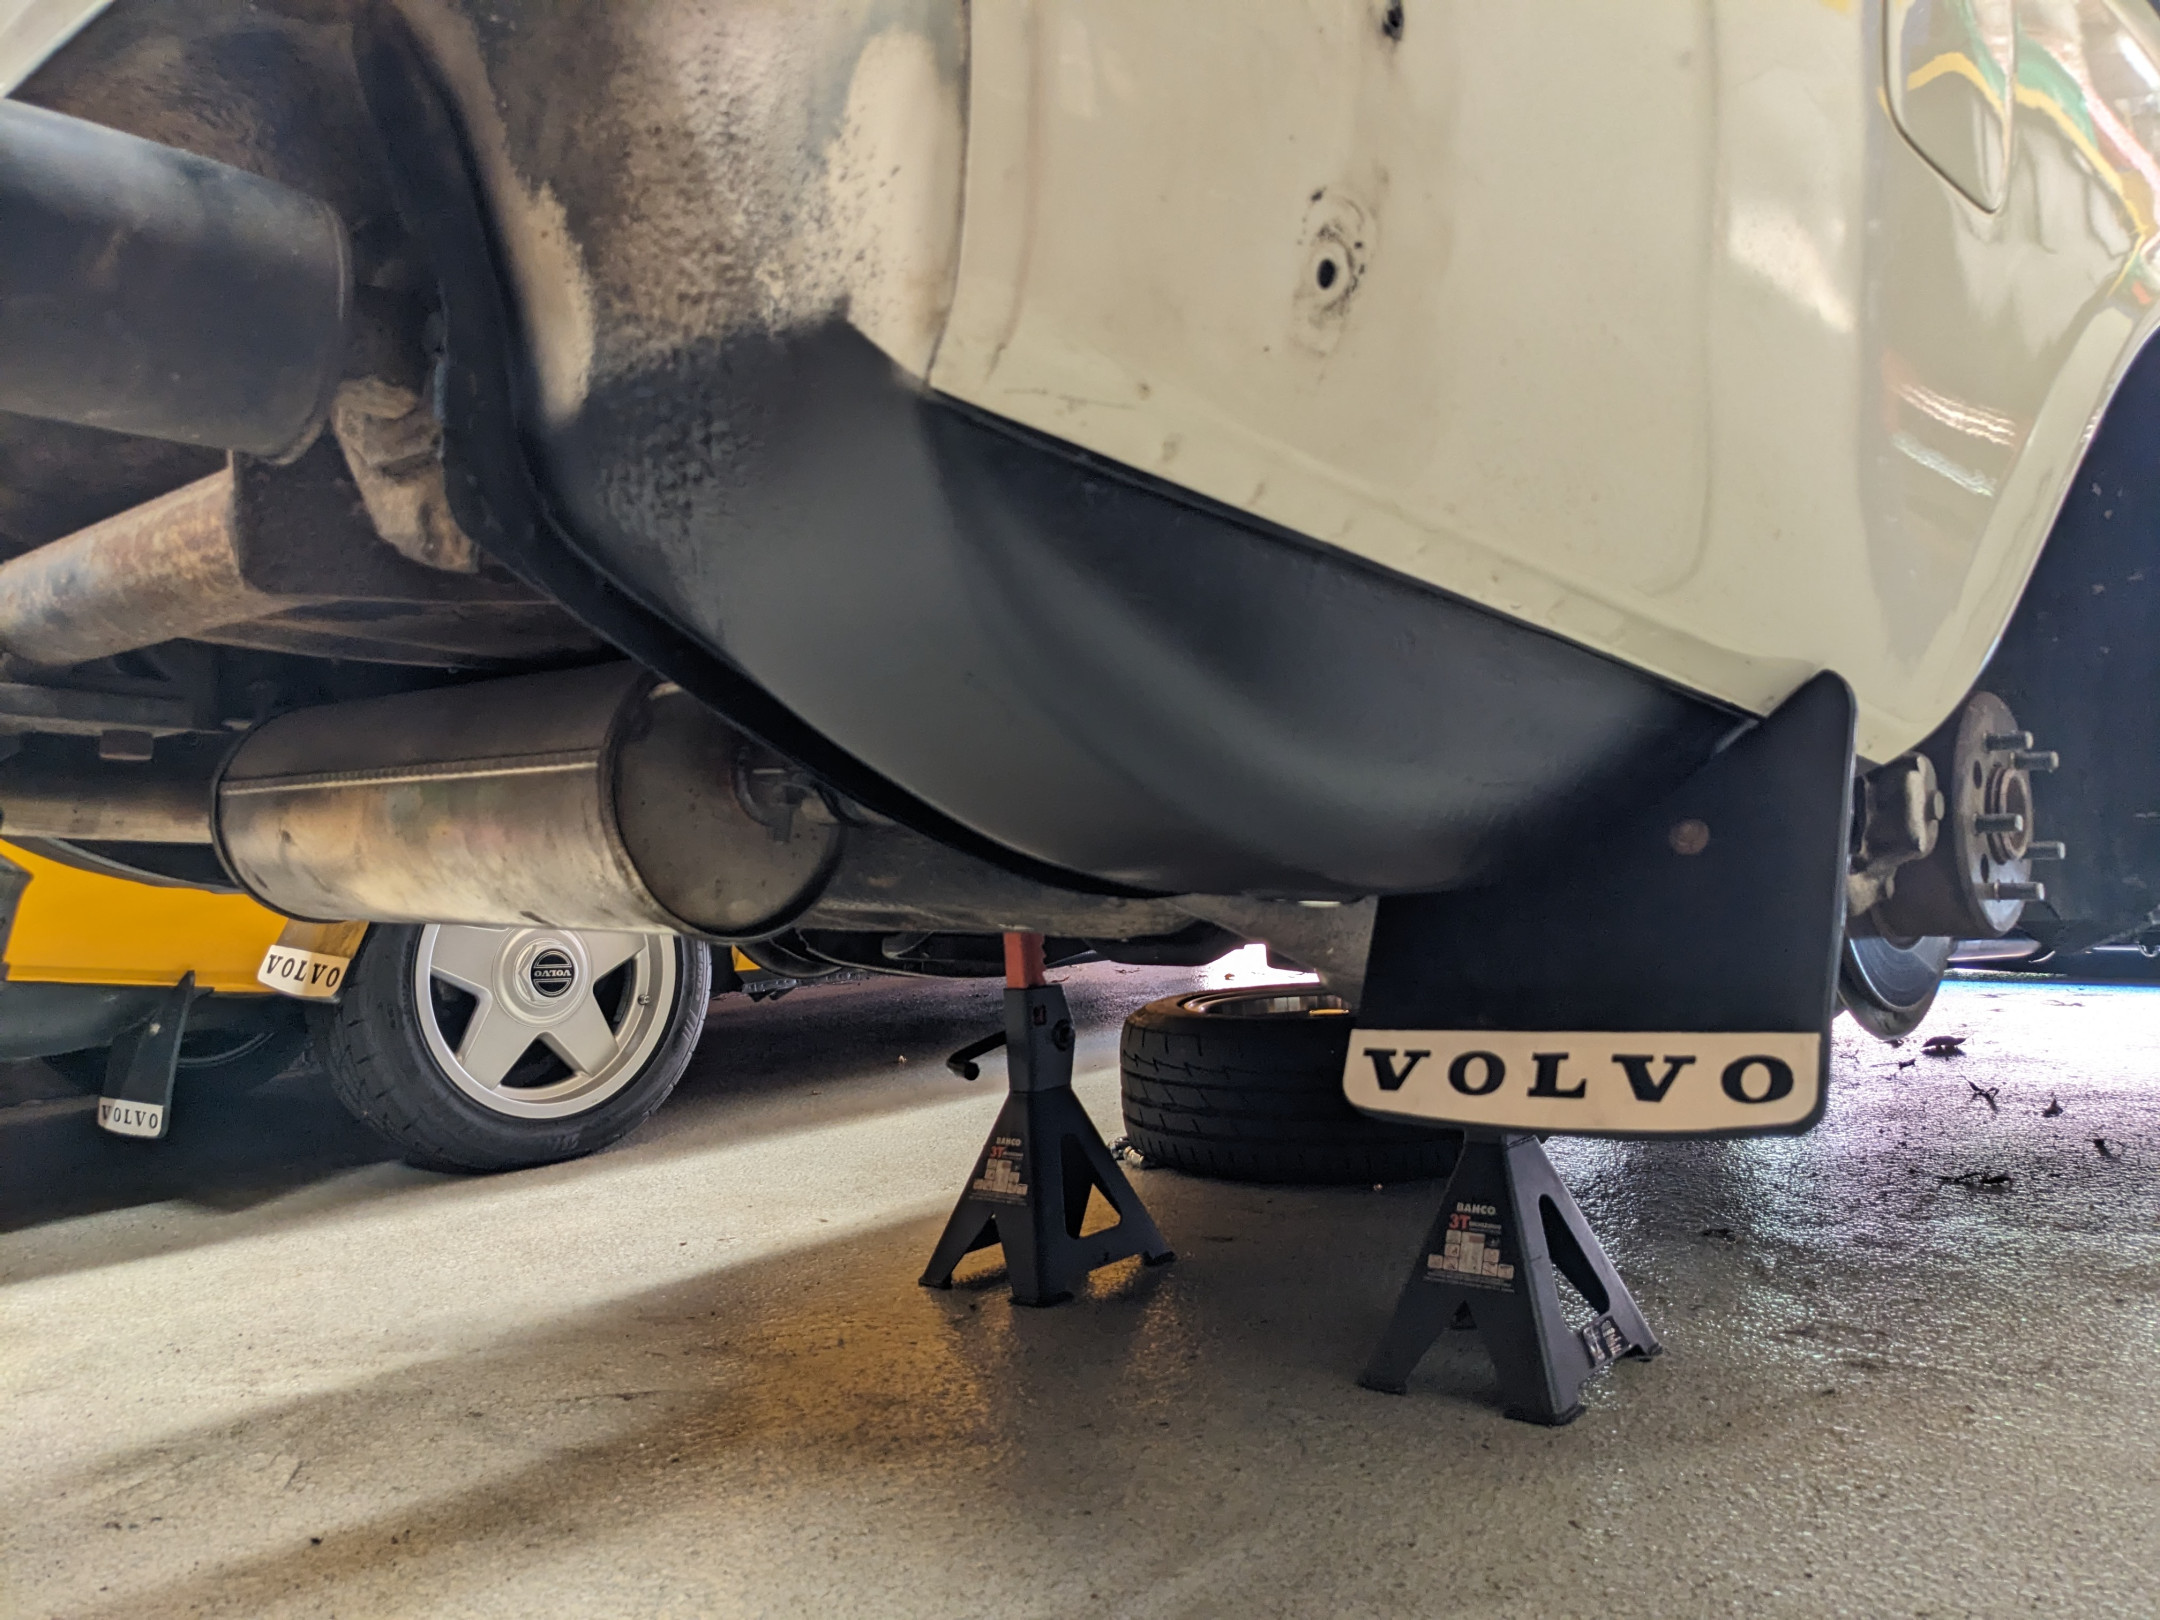
Well, at least the mud flap repairs are finished!
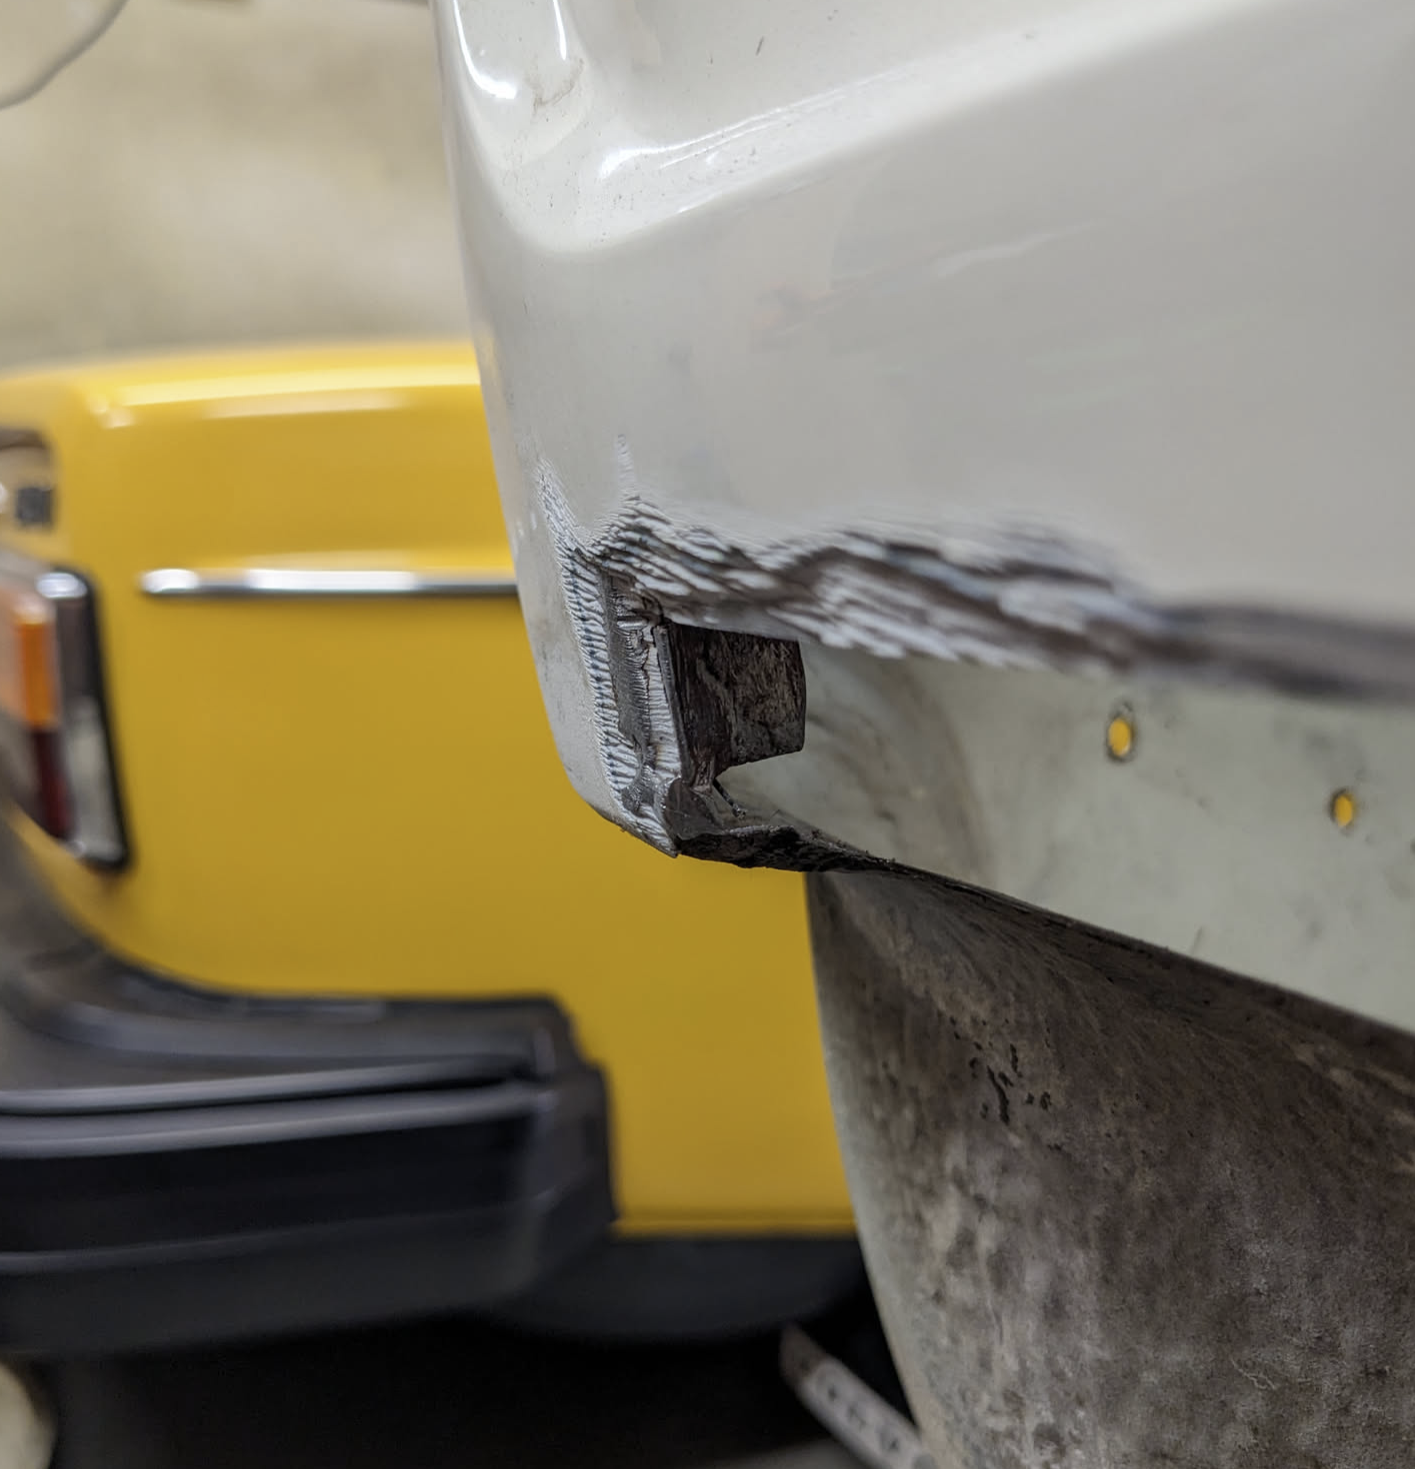
The back of the car, not so much...
- Edited

I got the last pair of 242GT mudflaps in the country (according to the really helpful enthusiastic parts interpreter at the Volvo dealer in Hurstville 25-ish years ago) (they're the same amount shorter than the 244/245 ones as the GT is lower), but I still get mudflap scrapes all the time (like when there's a mid-corner undulation in the road and I've been surprised by a highway patrol BMW coming the other way & I'm doing 20 over the limit so I'm more worried about the police than my driving) ... the metal mounts don't need repairs, but I can understand how they'd need it!
Total noob question, where does one get a chunk of 1.2mm cold rolled Zincanneal sheet like that?
Forg Edcon Steel, they have a few locations around Sydney and their online shop is really good too edconsteel.com.au
- Edited
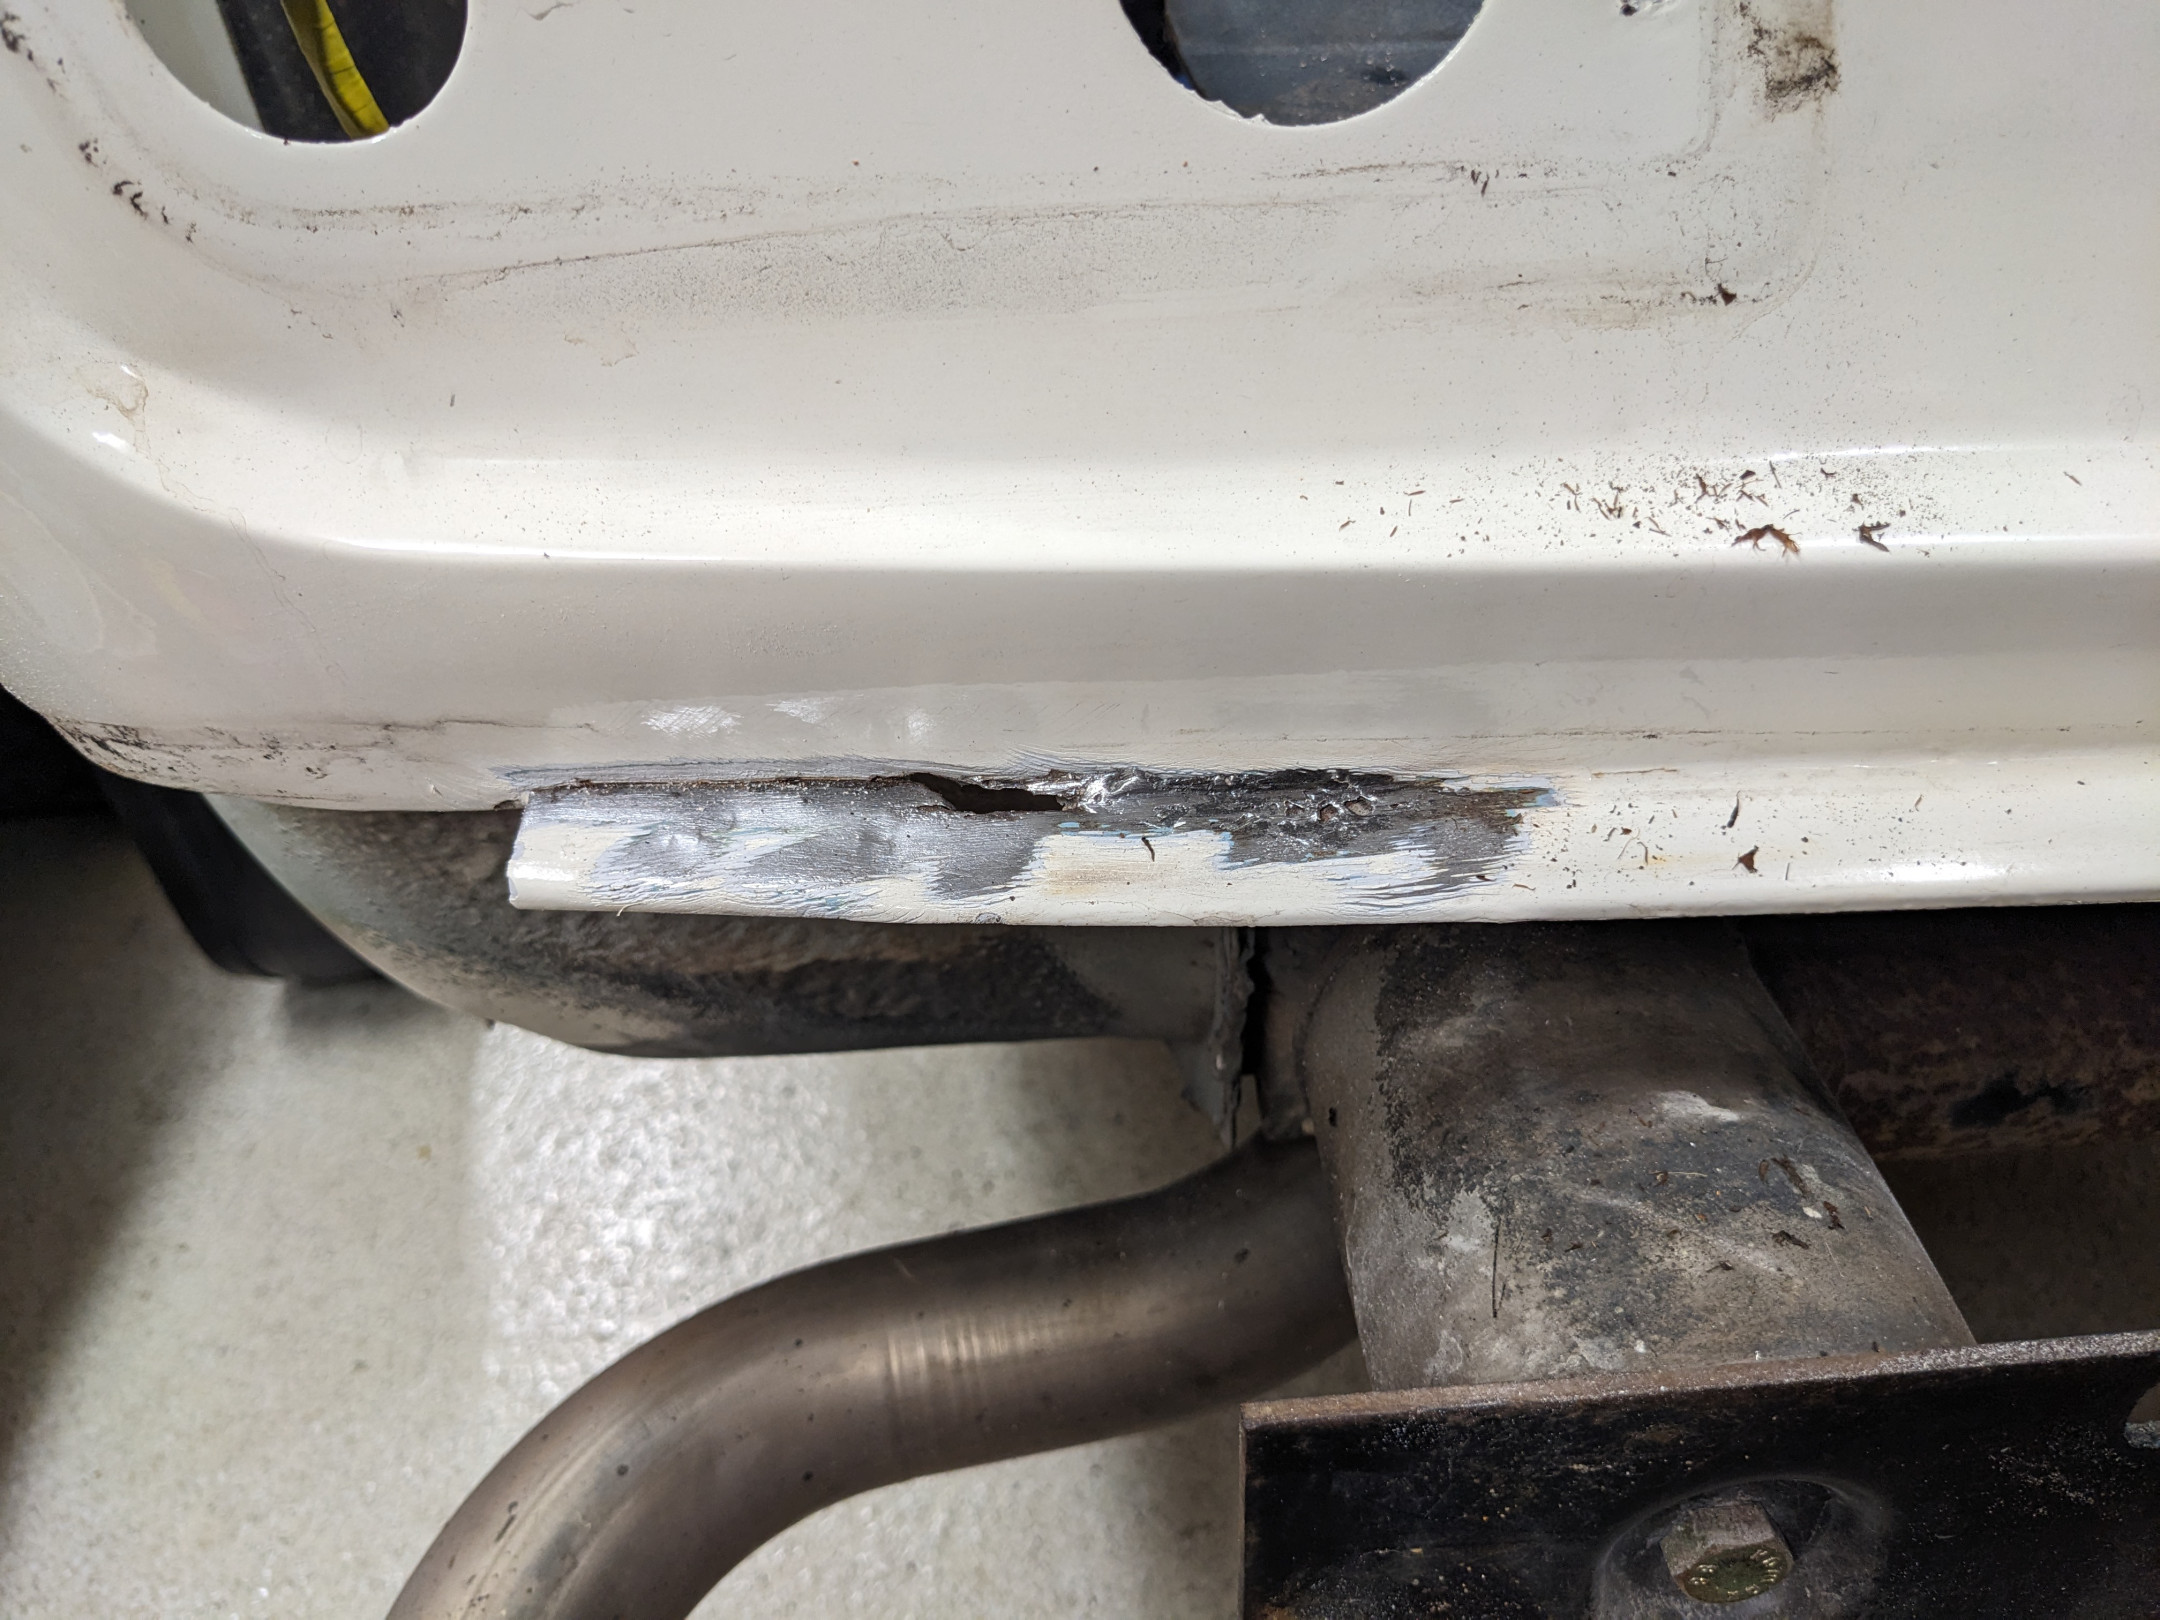
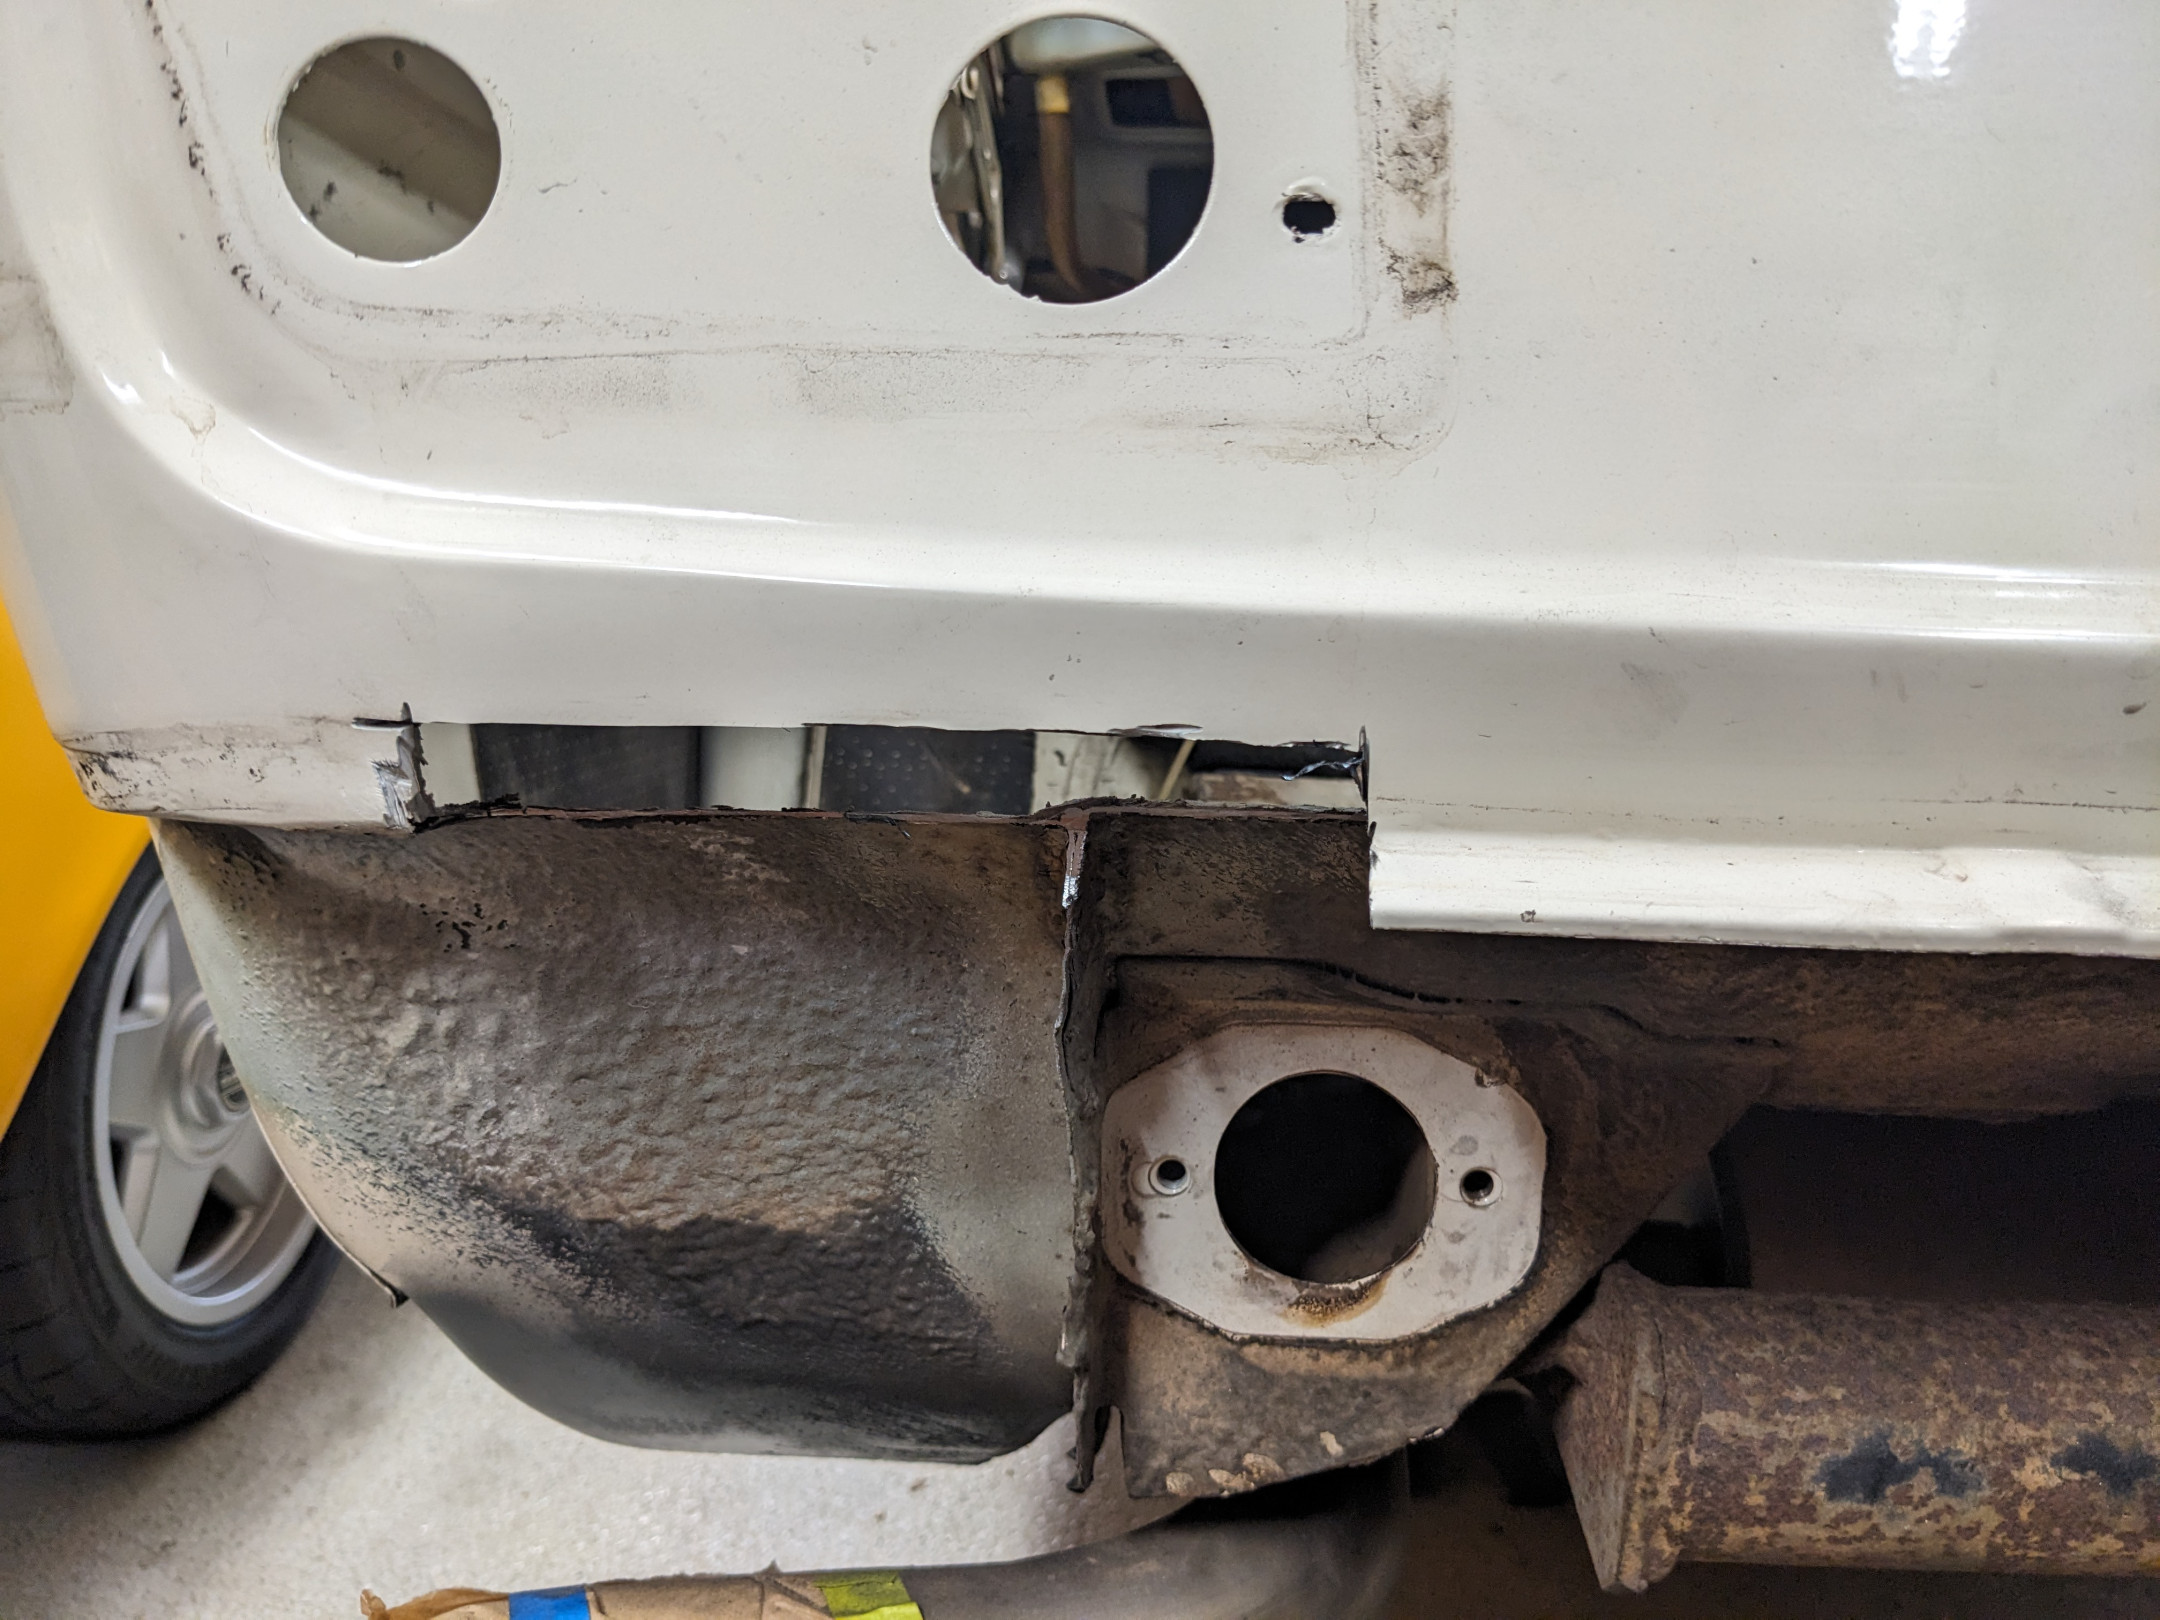
The passenger corner looks like it has been in a crash at some point, there's quite a lot of filler! I'm not planning to scope creep any further so I'll work around this as much as possible.
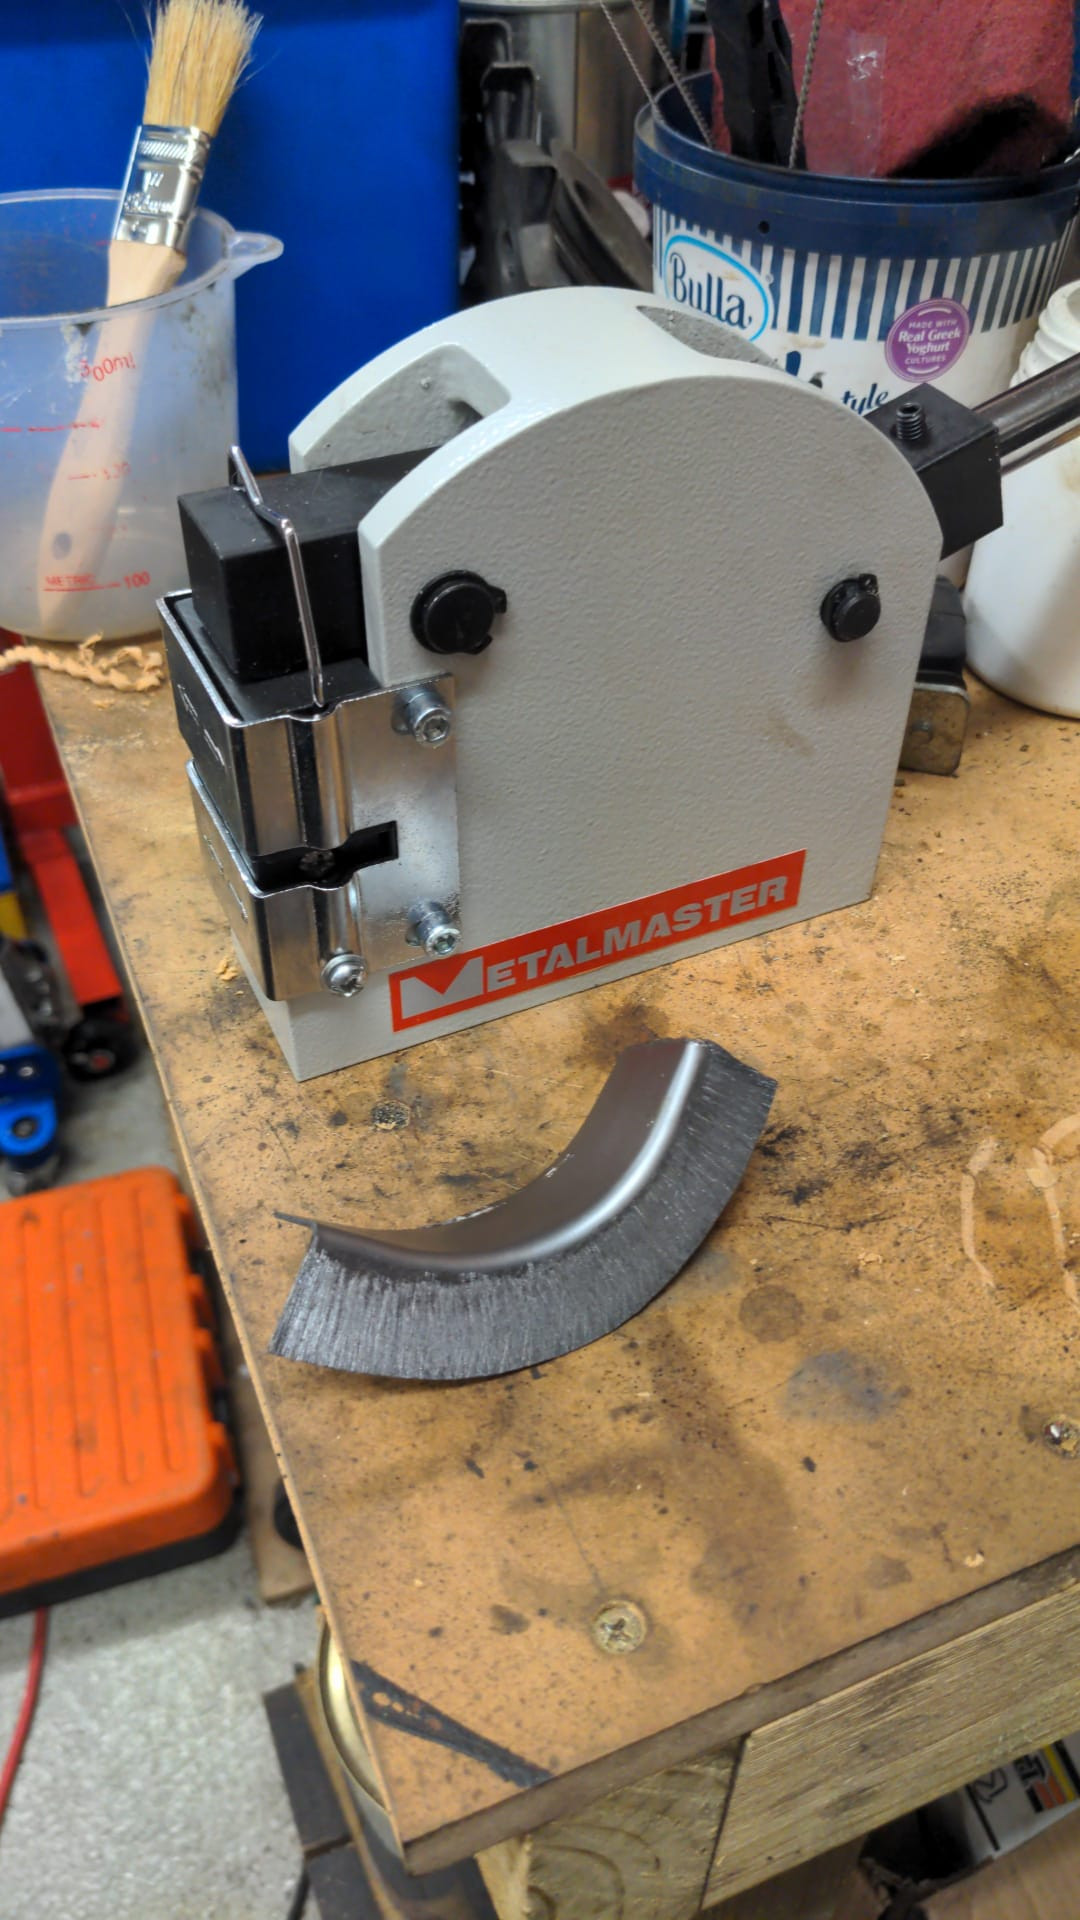
Okay so sheet metal shrinker/stretcher. I bought one of these recently, it cost $190 I think, and the only thing that I'm annoyed about is that I didn't buy one years ago, they are really nice, and easy to use, my first test piece came out great with maybe 5 minutes or so worth of going back and forth with the stretcher:
Still pretty slow progress, I'm in the last week of my current project at work so things are busy, next week I think thing will go quiet and I'll get this finished.
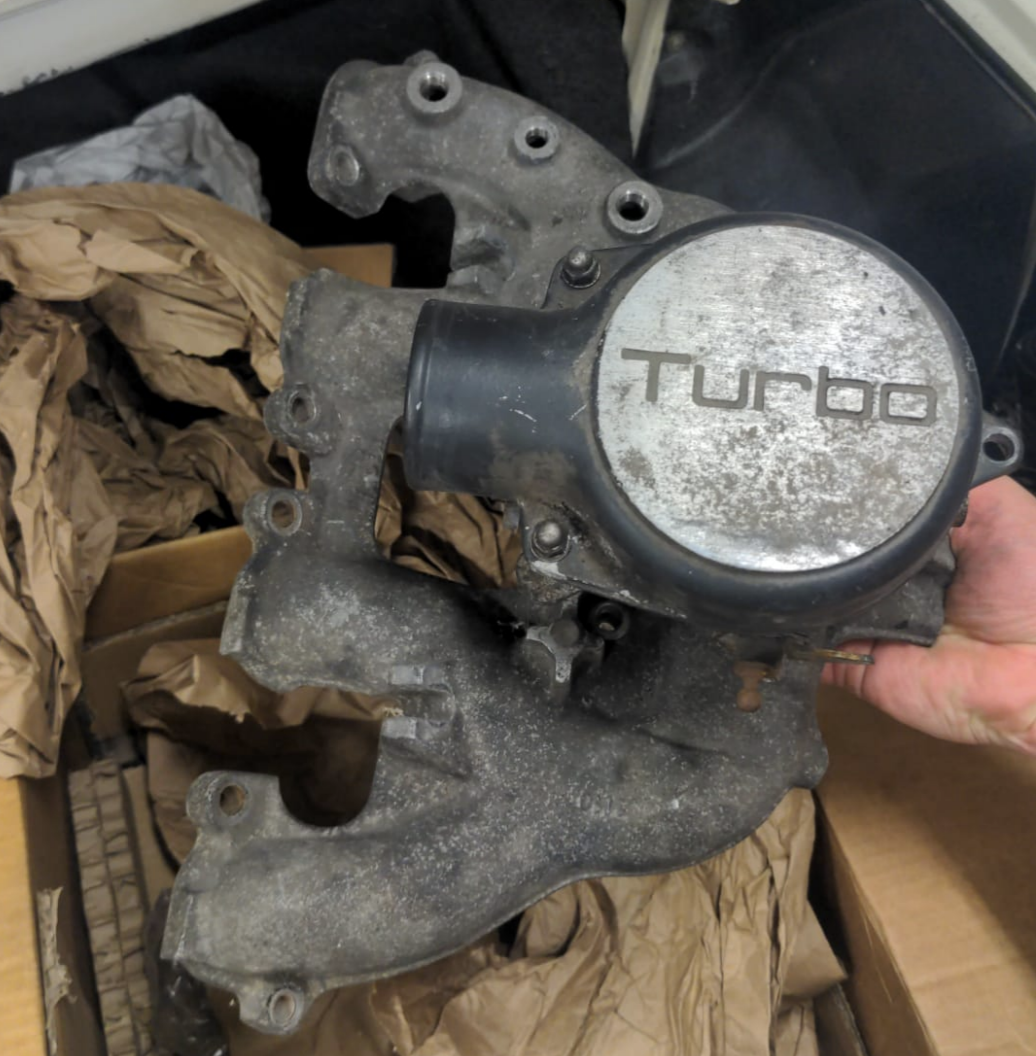
In semi-related news, the parts hoarding for a B21ET build continues. At this point I have pretty much everything except for a turbo manifold and turbo itself.
jamesinc Okay so sheet metal shrinker/stretcher. I bought one of these recently, it cost $190 I think, and the only thing that I'm annoyed about is that I didn't buy one years ago, they are really nice, and easy to use, my first test piece came out great with maybe 5 minutes or so worth of going back and forth with the stretcher:
Has always confounded me how these things work. I mean, my brain understands the concept but always seems totally confused at the end result. That thing looks brilliant!
- Edited
A guy who ran the metal workshop in my last workplace constructed an "English Wheel" https://www.kangindustrial.com.au/products/173221?variant=26464113736&gad_source=1&gclid=CjwKCAiAiaC-BhBEEiwAjY99qKNdBCipuED6ajM9s1yuuxhQkUZ12fl1Wp-TSb7nqkWVSG6hYacaYBoCdokQAvD_BwE from scratch, I was bummed that I left the organisation before giving it a whirl…
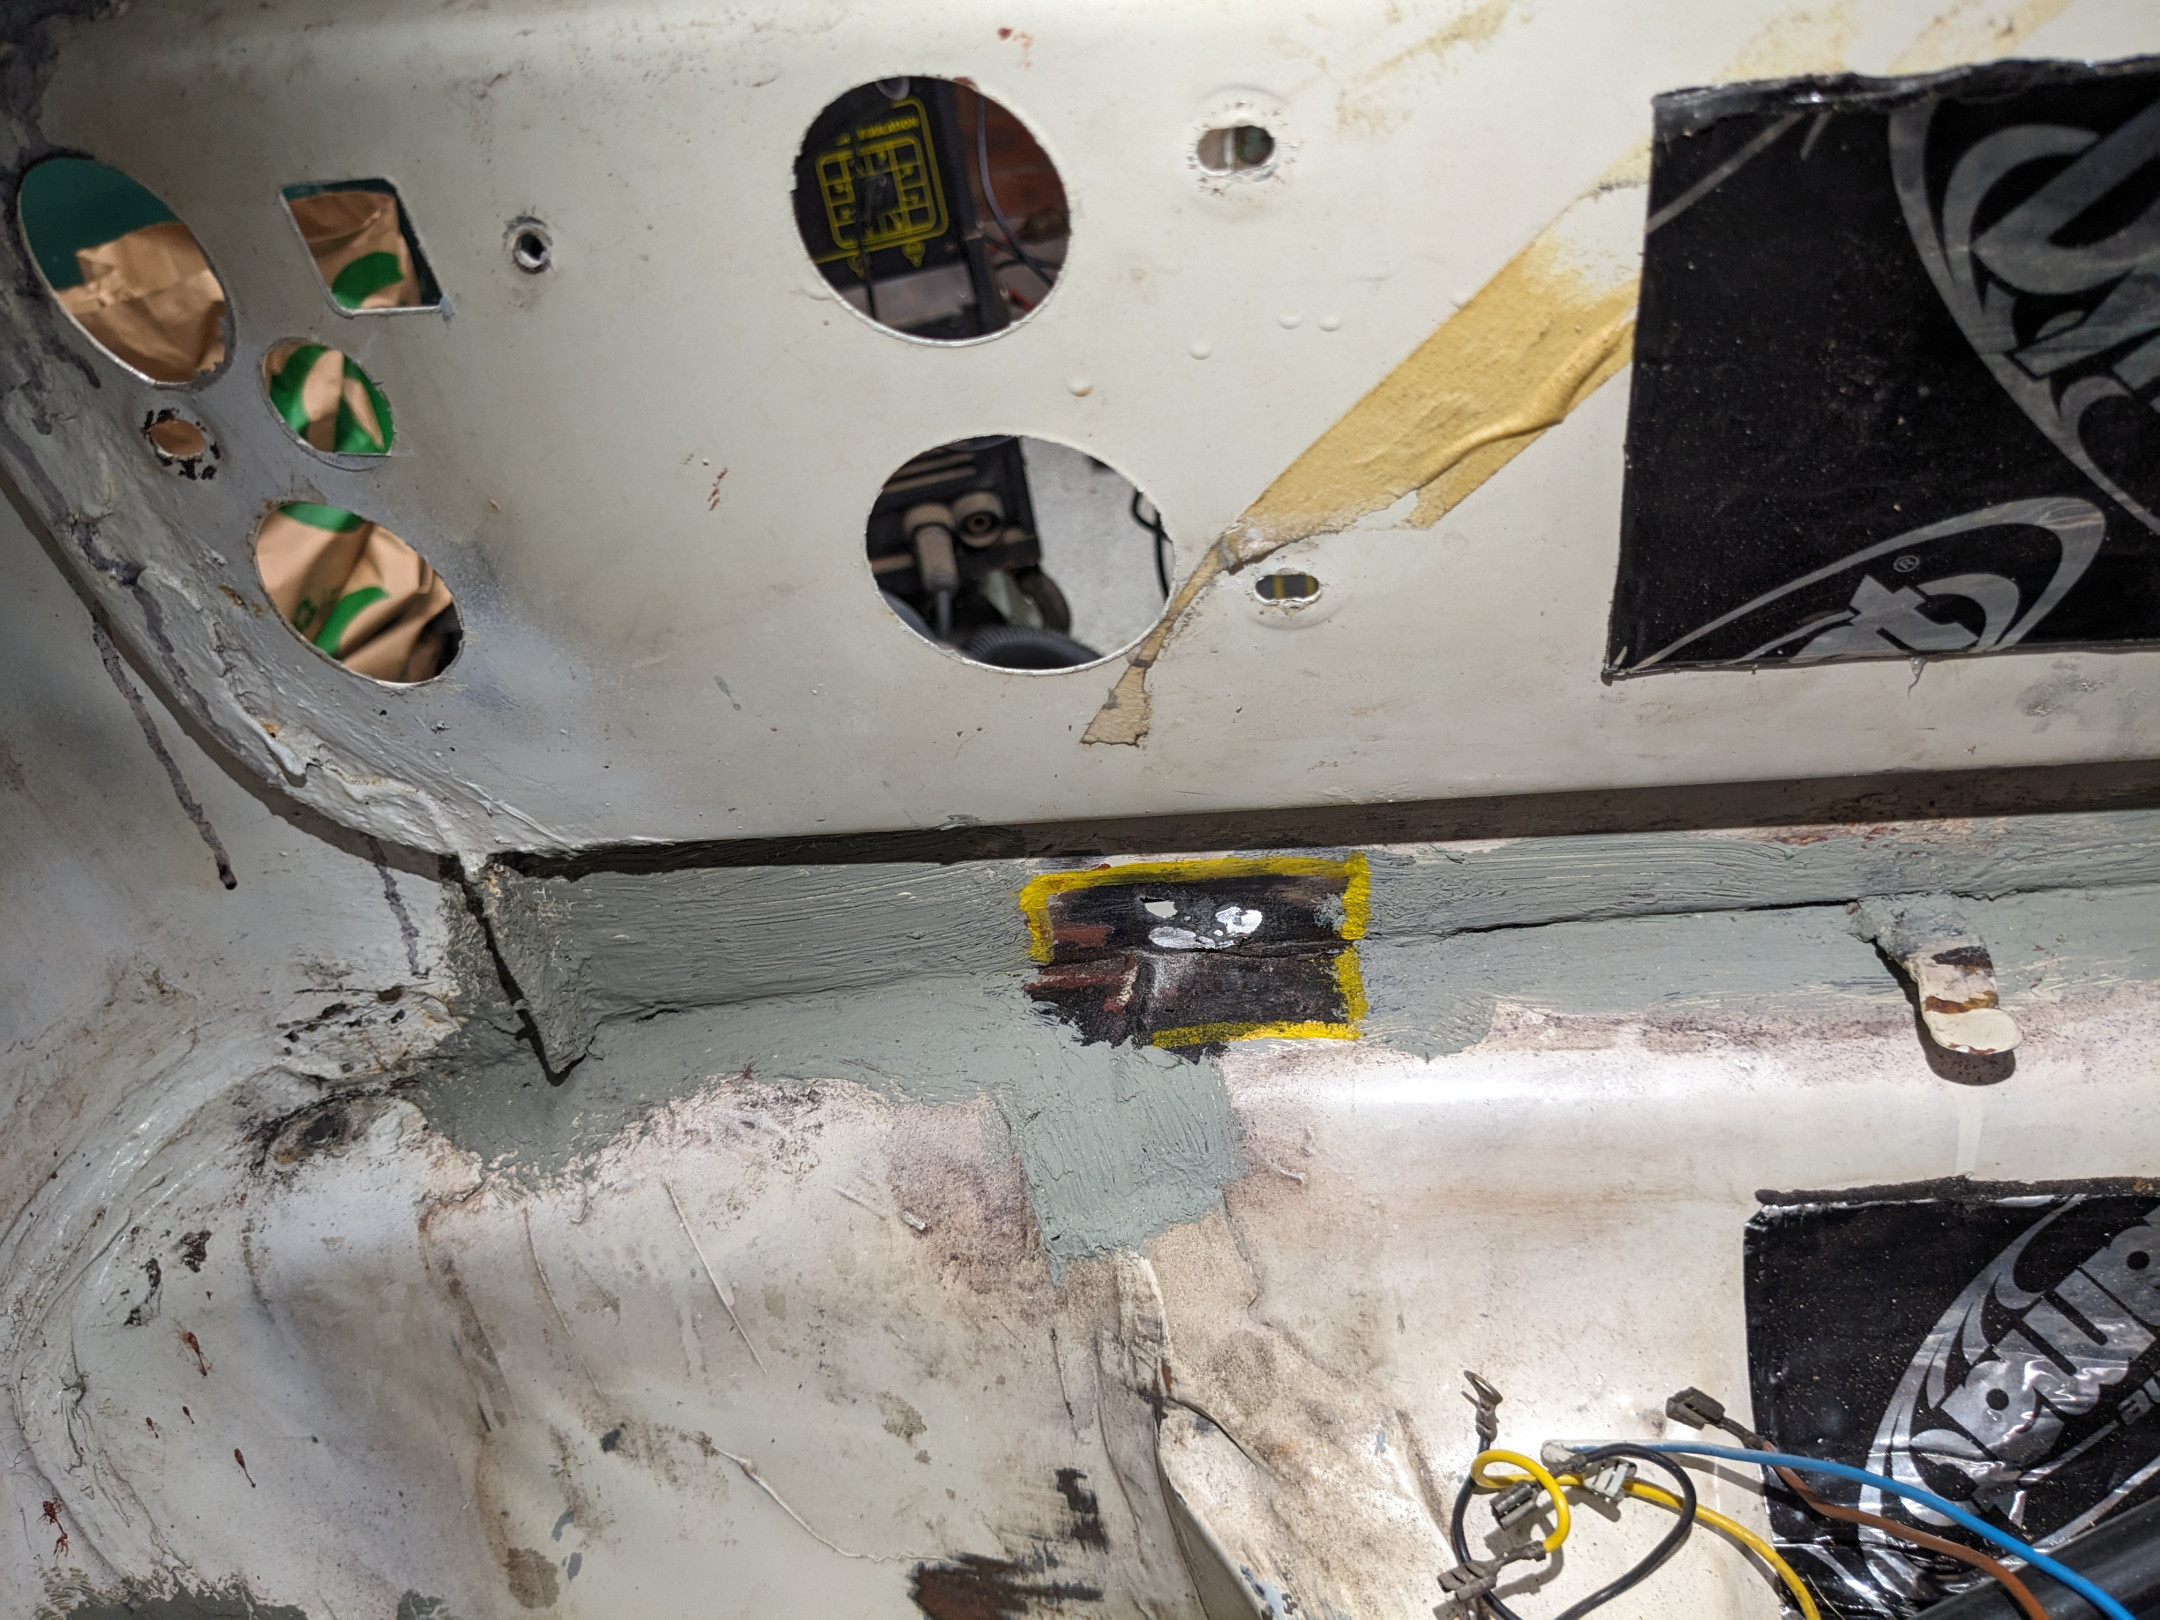
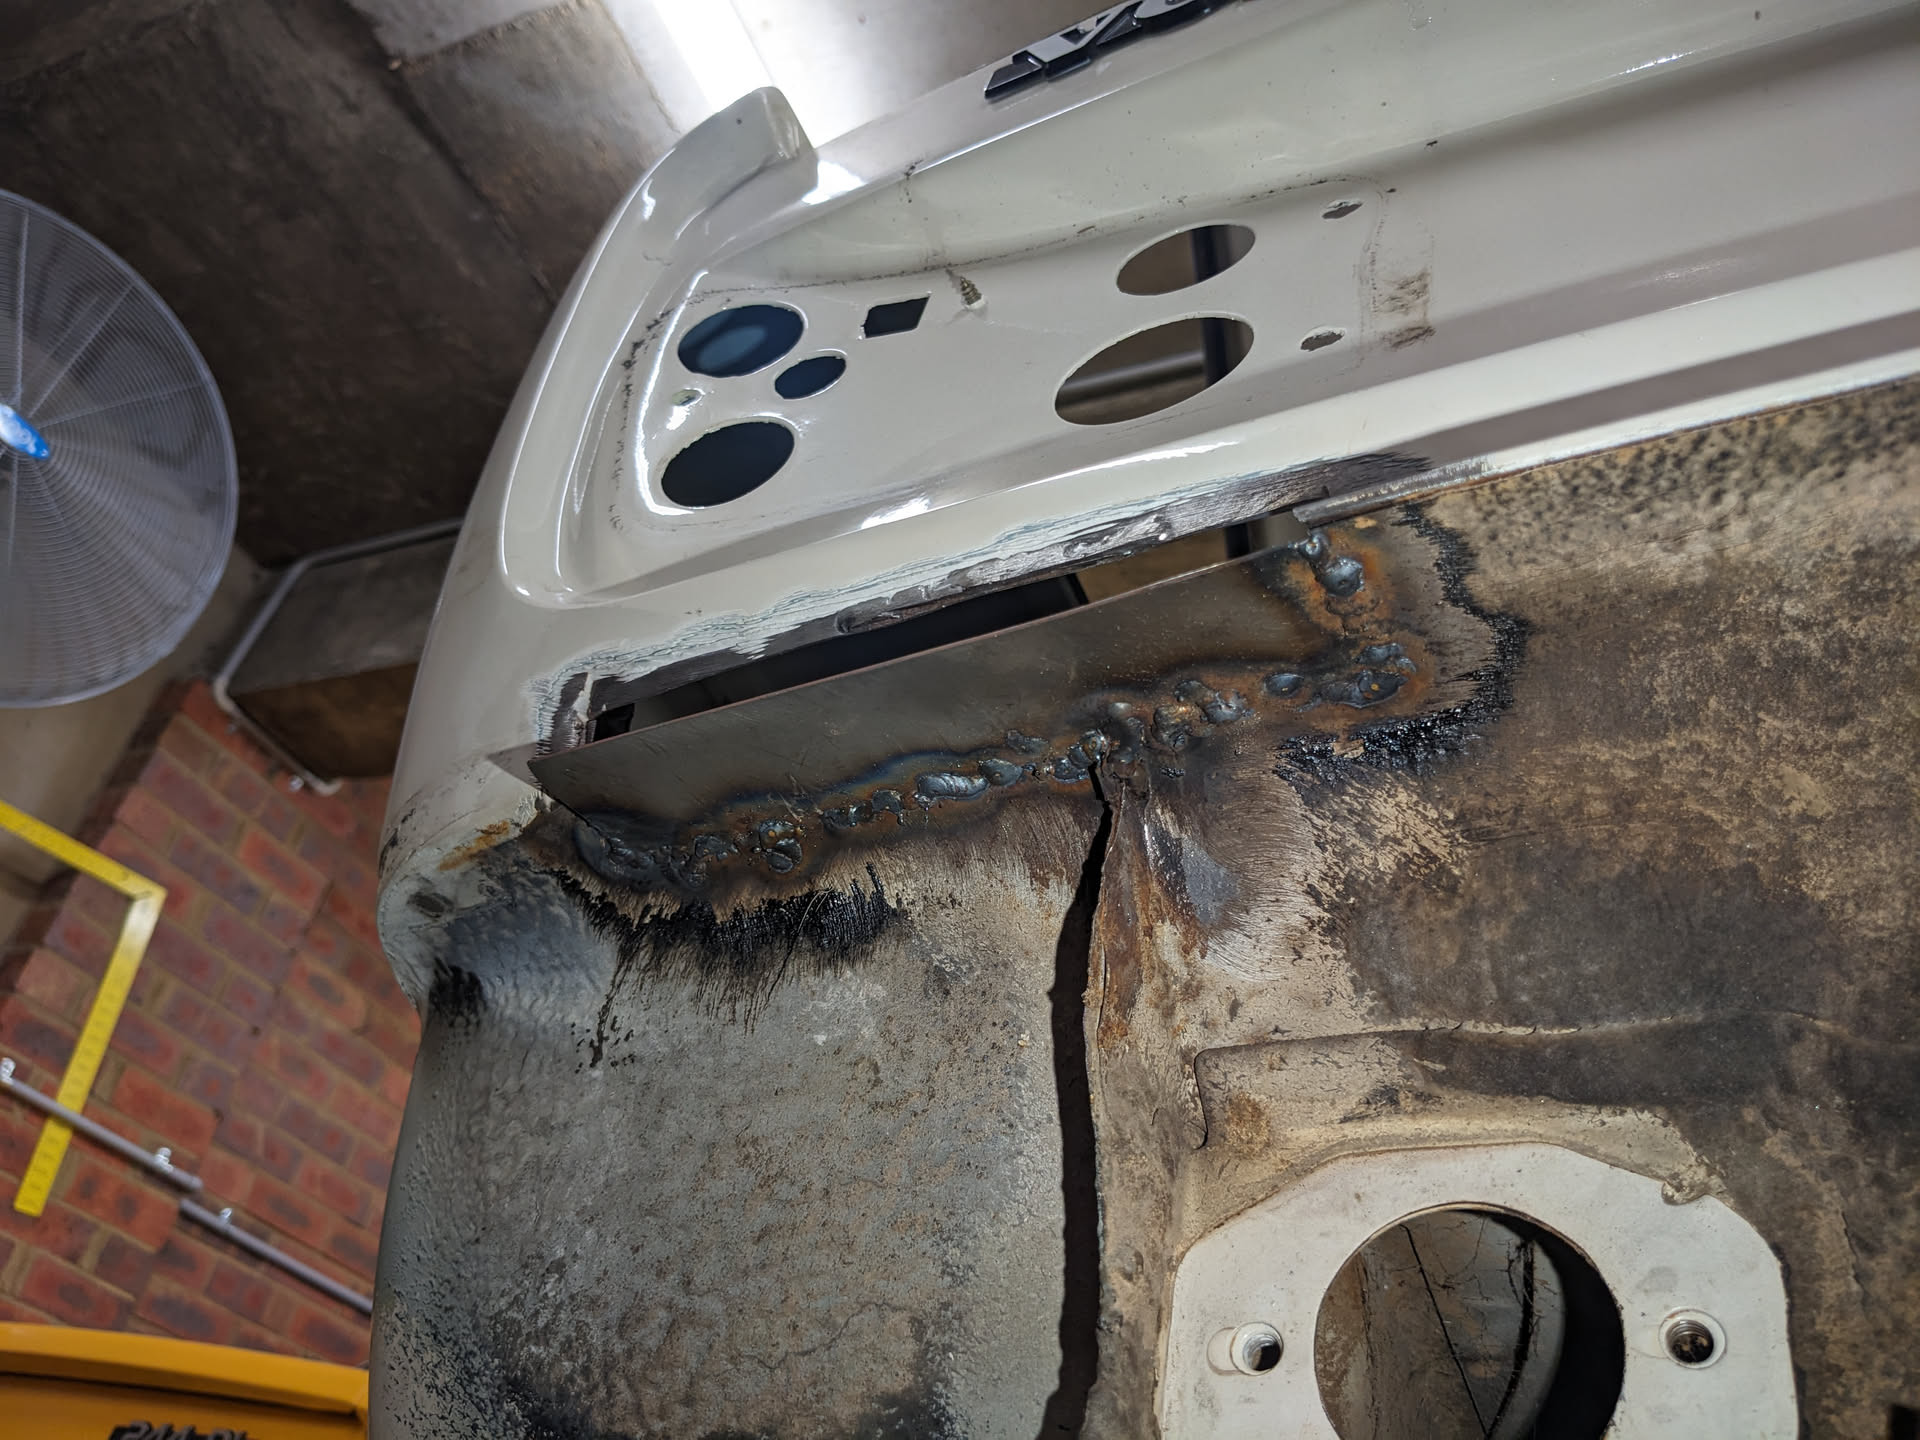
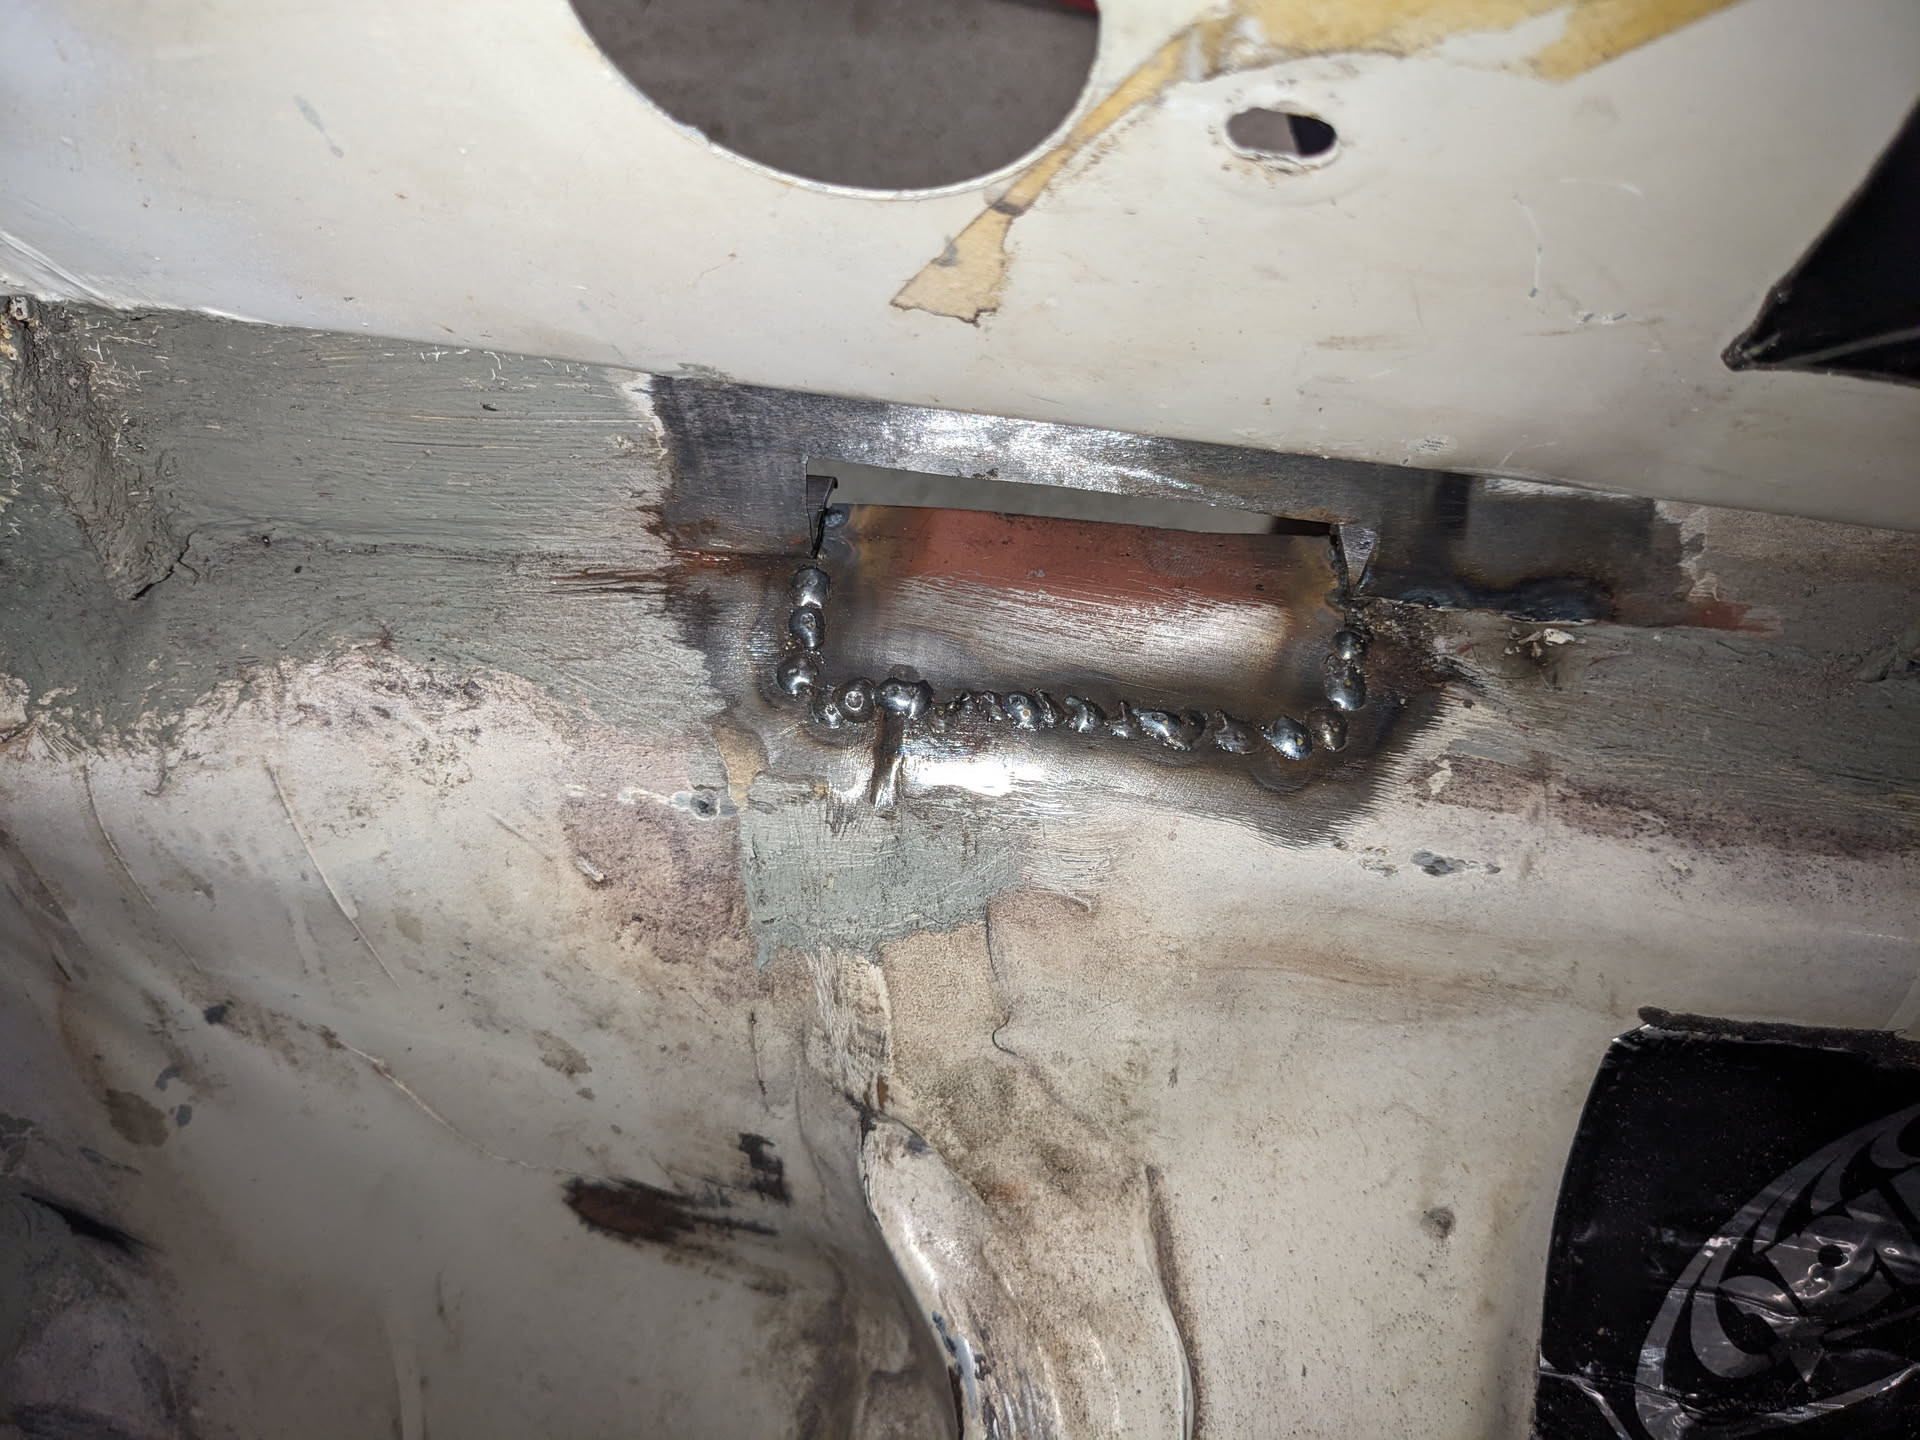
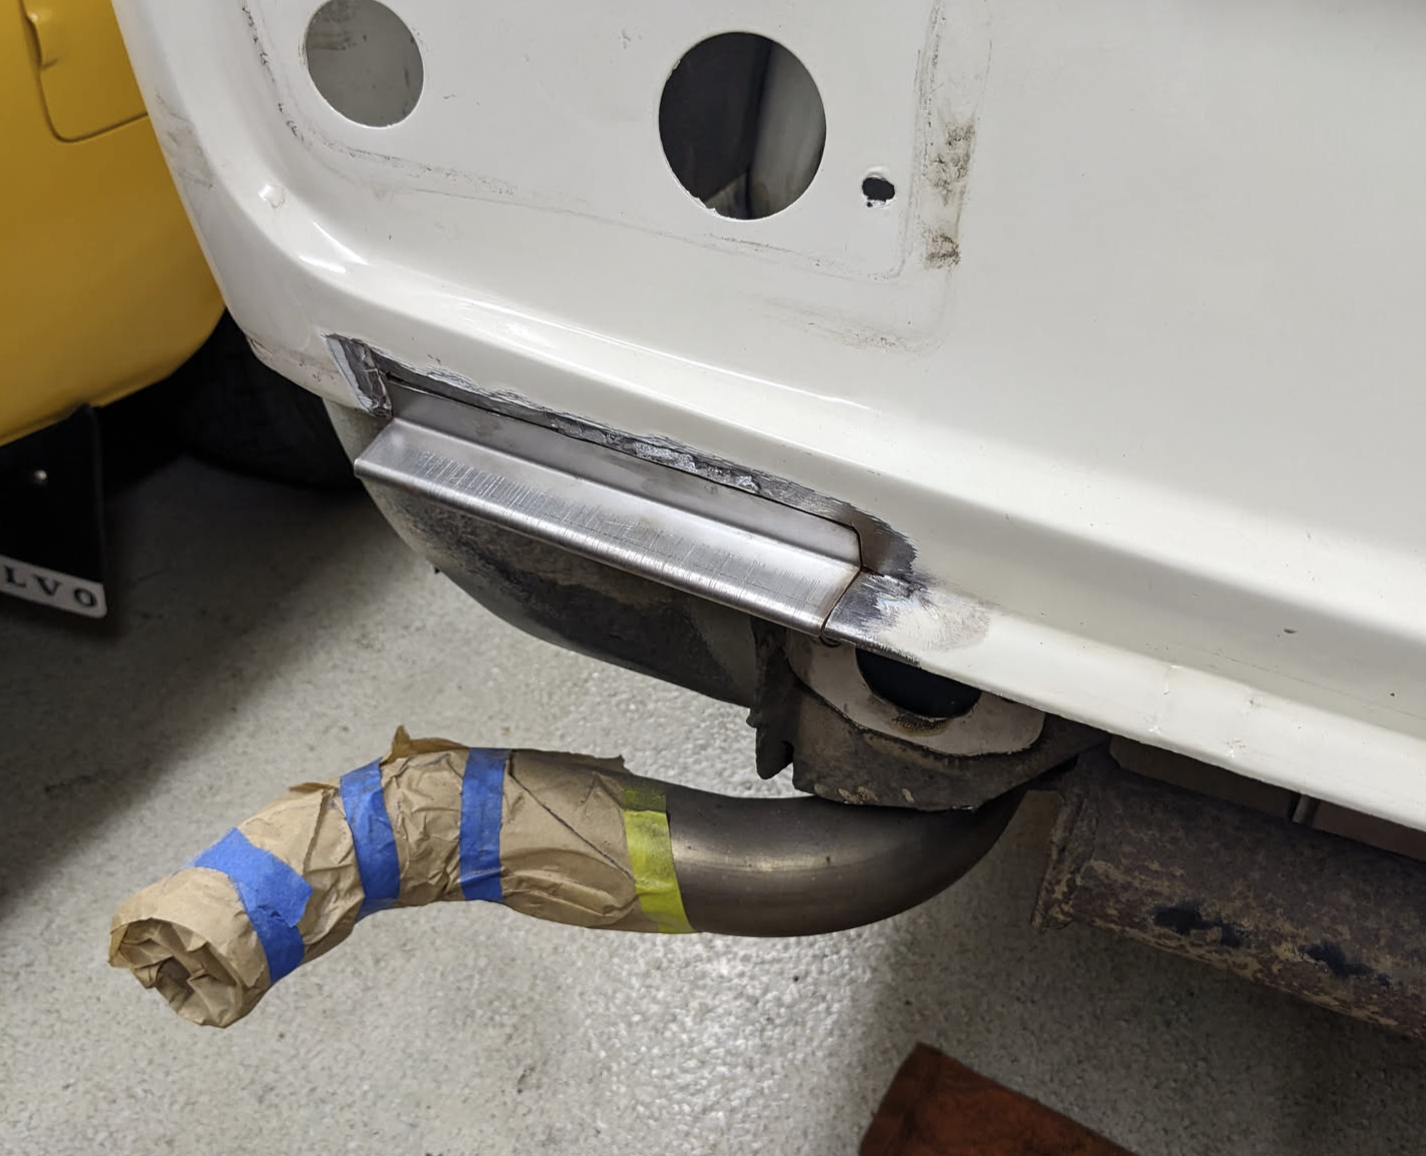
Have made some more progress, have the bottom patches welded in, working on the top ones. I decided to ignore the welded seam on the boot floor and just do the one panel, I ummed and ahhed about it but realised when all's said and done it's going to be buried under seam sealer so there's not much point making it look more aesthetically original.
You can see in the below photo there are some extra welds from what I assume is a historical collision repair. The inside of the back panel definitely looks like it's been beaten back into shape. Otherwise, behold: my mediocre welds!
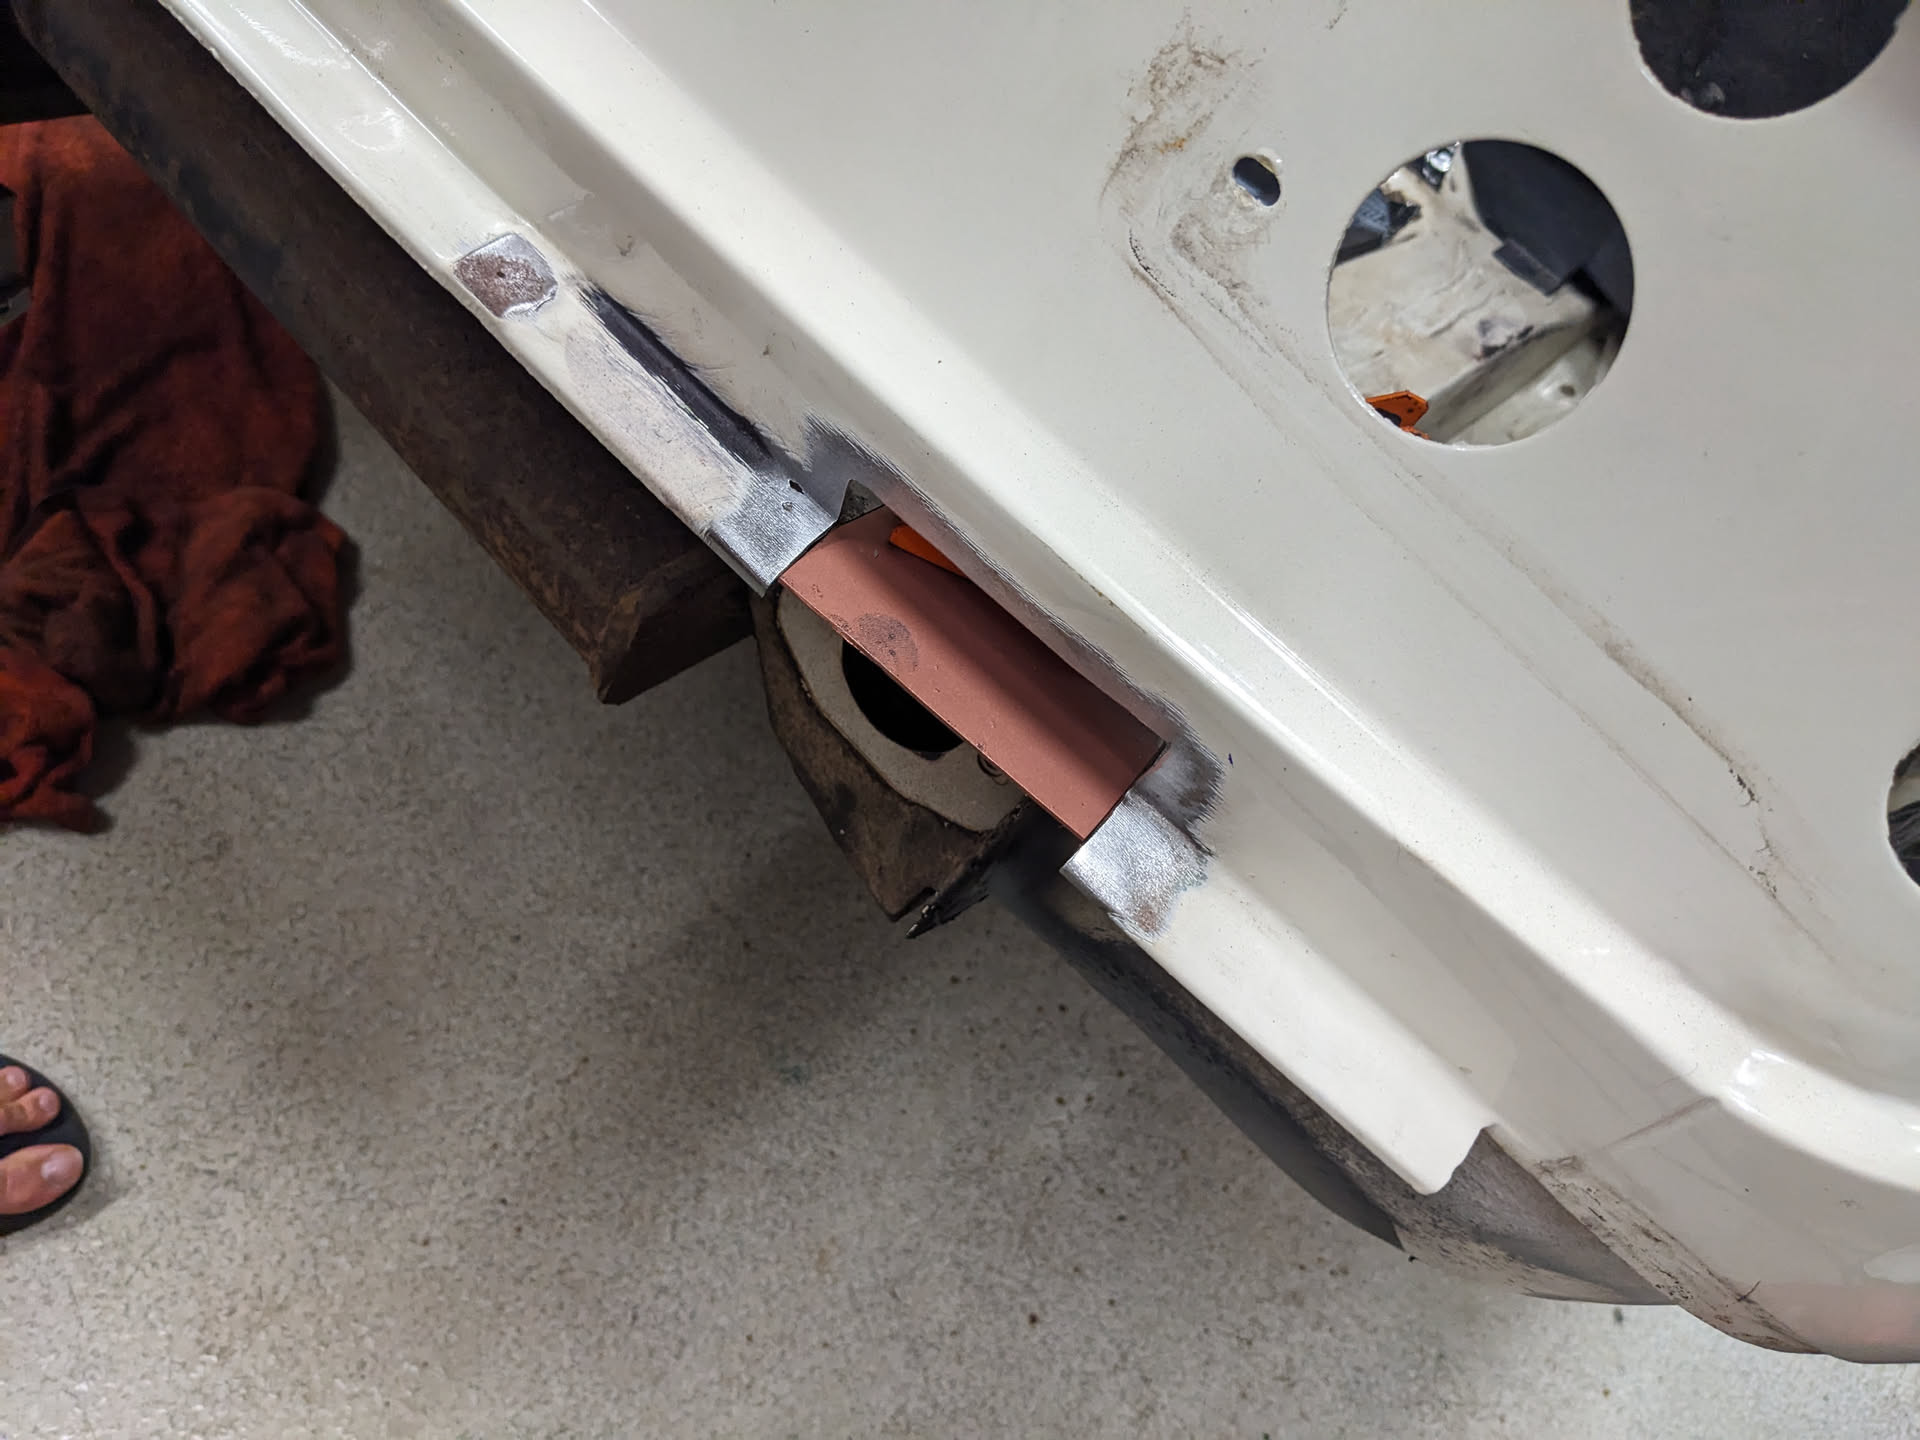
Test fitting upper patches:
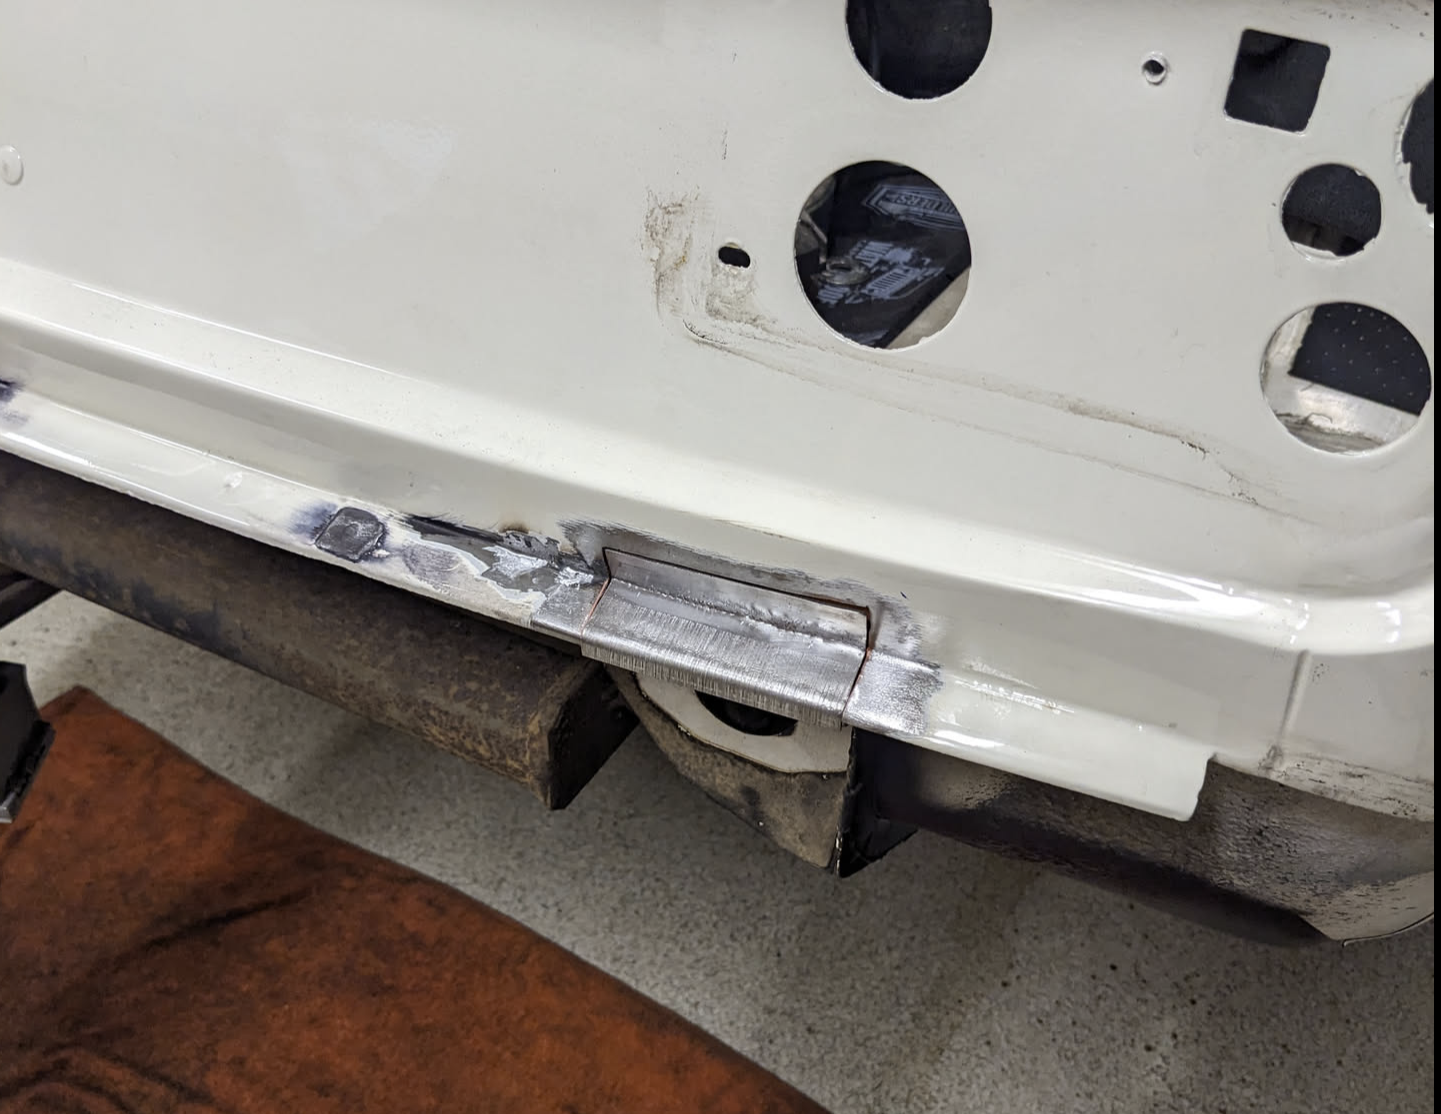
Those upper patch panels are Da Bomb. Really nice work.