Received the stuck caliper back from the brake place after they disassembled it and hydraulically pushed the pistons out. It was definitely beyond the tooling that I have available. It turns out that it was mainly gummed up with something resembling petrified brake fluid and a small amount of corrosion after the seal. With a bit of polishing with fine wet and dry paper, removal of some rusty looking stuff from the housing after the seal and reassembly with a smear of Bendix ceramic caliper grease it's as smooth as they come.

Yesterday it was raining cats and dogs horizontally so the shed beckoned. I tried mounting the caliper, however the thread in the diff was corrupted in one mounting point, requiring the disassembly of the rear hub to access and tap out. Luckily I found a 7/16" UNF tap in my collection and cleaned out both threads.

While I was in there I checked the bearing (pristine!) and seal (probably will need replacing) as well as the handbrake system. As you'd expect, the handbrake mechanism was a little sticky, however a clean up with brake cleaner followed by a little ceramic grease, sparingly applied, the handbrake works well.

So everything is now assembled and the brakes bled on that circuit. The brake pedal is nice and firm like it should be. One step closer to being legal to drive to the paint shop to have the front resprayed and a few touch-up items completed.

Some items to clarify: both rear springs will be cleaned and painted this summer and that jack was not used to support the car (a solid jack plus another solid jack stand was used to support the vehicle).

a month later

Short update: now that the weather is fining up, she's booked in to go for a bit of a touch-up early next month. Basically a nose respray and a repair of a small rust bubble under the LHS of the windscreen and some paint under the master cylinder.

16 days later

Time has come to get things moving again. The weather is turning to spring, the plums are flowering and the bees are busy. The last couple of weeks had me removing the booster, master cylinder and front brake lines. I cleaned out the back of the remaining few items, then realised that I had more work to do (including one of the runners to sand and varnish).

Today was the big day, so bright and early this morning it was loaded onto the back of the tilt tray and off to the paint shop minus those two floor panels in the rear. You see, those floor panels had years of engine oil damage that has seeped into the cracks, crevices and between the plies. While that is good for preservation, it is no good for paint.

So here I am today, running backwards and forwards to Bunnings to get the closest fitting formply to remanufacture the floor boards. It turns out that the original formply was 9 layers and 15mm thick. The closest available is 9 layers and 17mm thick. I think it will be ok. The side panel for the wheel well was too small in a number of dimensions, so it is a good opportunity to make it right. And now it fits like a glove.

Looking good. I didn’t know you lived at the Avalon Motel! ;)

19 days later

It has been a few weeks since the last update and the old girl is being worked upon in the shop. I managed to get the panel for the fuel tank cover completed (the corners are routed out too). We'll see whether the 2mm thickness variance makes any difference.

Some of the exploratory work has been completed on the front, guard and bonnet. Not too bad for all things considering. The replacement guard had a little bit of damage and a previous repair. The panel shop will sort this out and match the panel to the curvature of the indicator lens bracket.

The replacement front section looks pretty good for sitting out in a paddock for years and being used as a paddock basher. The rusty part of this is limited to the mating surfaces with the engine bay.

The bonnet has suffered a little were it was chipped on the corners, but it is repairable. This will be blended back and the other poor adhesion areas will be repaired as well.

The worst part is in the engine bay where the brake fluid leaked out of the brake failure block. I have another brake failure block to go in and I'll make sure this doesn't happen again. The battery tray will get a bit of attention too.

I'm in the process of trying to source the remainder of the parts required to get it registered. One of the hardest things to find is a replacement rubber boot for the handbrake lever. If anyone has a spare, please let me know.

Hi Ian - I have some of those handbrake lever rubber boots from the 164s - although they probably all have a bit of wear or tearing on the flaps of the slot. May be better than what you have (or not). Lemme know if you’re interested and I can dig them out and have a look.

10 days later

Hot off the press: I collected the old girl today. The paint shop did a good job of matching and blending the colour. There is a bit of orange peel that I'll get them to cut out (hopefully gratis) once I've got it registered, plus the inevitable touch up here and there. Now the months of elbow grease, repairing the remaining damaged items (i.e. hood lining), plating (+ waiting) and more waiting for new parts to arrive starts. I'll be removing the dash, heater and wipers again to realign the windscreen wiper spindles in their holes and address the lifting trim issue on the dash. Every step now is a step closer to finishing this long-term project. 50+ hour weeks at work will slow it down a bit. So many things to do to list them here.

You’ll probably have it done before we exit lockdown here in VIC!

Has your lockdown continued for 25 years so far? I know it might seem a bit like it.

    Roinik

    Has your lockdown continued for 25 years so far? I know it might seem a bit like it.

    Seems like it, although we’re lucky to be in regional VIC, so lockdowns haven’t been as lengthy or as painful.

    5 days later

    Found a few hours yesterday and today to do a bit. Painted the underside of the floorboards as the top looks pretty good. I might have to get a router and take a 3mm off the edge piece to sit it down a little. The old floor was 15mm and 12mm, however noone makes 15mm ply and I can't be arsed planing it down 2mm. It fits well enough.

    Today's job was fitting the original flooring strips and metal components to the boards so that it all fits together nicely. I think it turned out pretty well.

    Used a bit of elbow grease to clean up the Aluminium pieces for the striker plate area. There is a slight difference between the 140 and 240 versions (1 hole).

    After tidying up some wiring, installing a light switch (FYI the tailgate and glovebox light switch are the same) and fixing the strap for the spare wheel, I think it looks ok.

    Now to try to find a triangular lock (or make something to fit) and to purchase a new rubber ring for the round hole. Apparently the striker bars may be NLA (one website has a listing for a 145 version!). Sifting through parts catalogues and transposing numbers is tedious work.

    Sad news is that I found a crack in the tailgate near the LH hinge. I'll take the tailgate to a local bloke that works with carbon fibre and see what he can do.

    a month later

    As we come into something that sort of resembles Spring (slightly warmer, slightly more daylight and slightly less rain - but not on weekends!) it is good to be able to potter along.

    In the background I've been doing a few rust repairs here and there under the guards and around the front area. Working stupid hours has taken its toll, leaving little 'self' time. Still, progress is progress.

    I faffed around with the Weber, cleaning it out and setting it up to the book. It looks like the PO of the carby changed jetting and the jetting is too small for my engine. It now has a single 175CD Stromberg until I can get to a carby shop.

    I saw a website where a bloke redid his 240 visors with 3D printed inserts, so I'm improvising on a dead visor. $15 worth of supplies and a bit of elbow grease I reckon I'll be looking good.

      Roinik

      As we come into something that sort of resembles Spring (slightly warmer, slightly more daylight and slightly less rain - but not on weekends!) it is good to be able to potter along.

      In the background I've been doing a few rust repairs here and there under the guards and around the front area. Working stupid hours has taken its toll, leaving little 'self' time. Still, progress is progress.

      https://cdn.ozvolvo.org/uploads/JXC4WP3P949Q/1636622029973-53697271.jpg

      I faffed around with the Weber, cleaning it out and setting it up to the book. It looks like the PO of the carby changed jetting and the jetting is too small for my engine. It now has a single 175CD Stromberg until I can get to a carby shop.

      I saw a website where a bloke redid his 240 visors with 3D printed inserts, so I'm improvising on a dead visor. $15 worth of supplies and a bit of elbow grease I reckon I'll be looking good.

      https://cdn.ozvolvo.org/uploads/SCI9TTD0QJZS/16366223458711983040601.jpg

      Nice! I prob have a good pair of 240 wagon visors if you need them.

      Thanks, but the 140 ones are curved and I have 2 sets, both siezed solid.

      This weekend's projects include:

      Cleaning, treating and rust-proofing the battery tray.

      Painting and refurbishing the master cylinder and brake booster paint prep.

      Slow and steady!

      2 months later

      Update coming soon (I promise!). In the meantime:

      It's been a while since my last update and things have progressed, slowly.

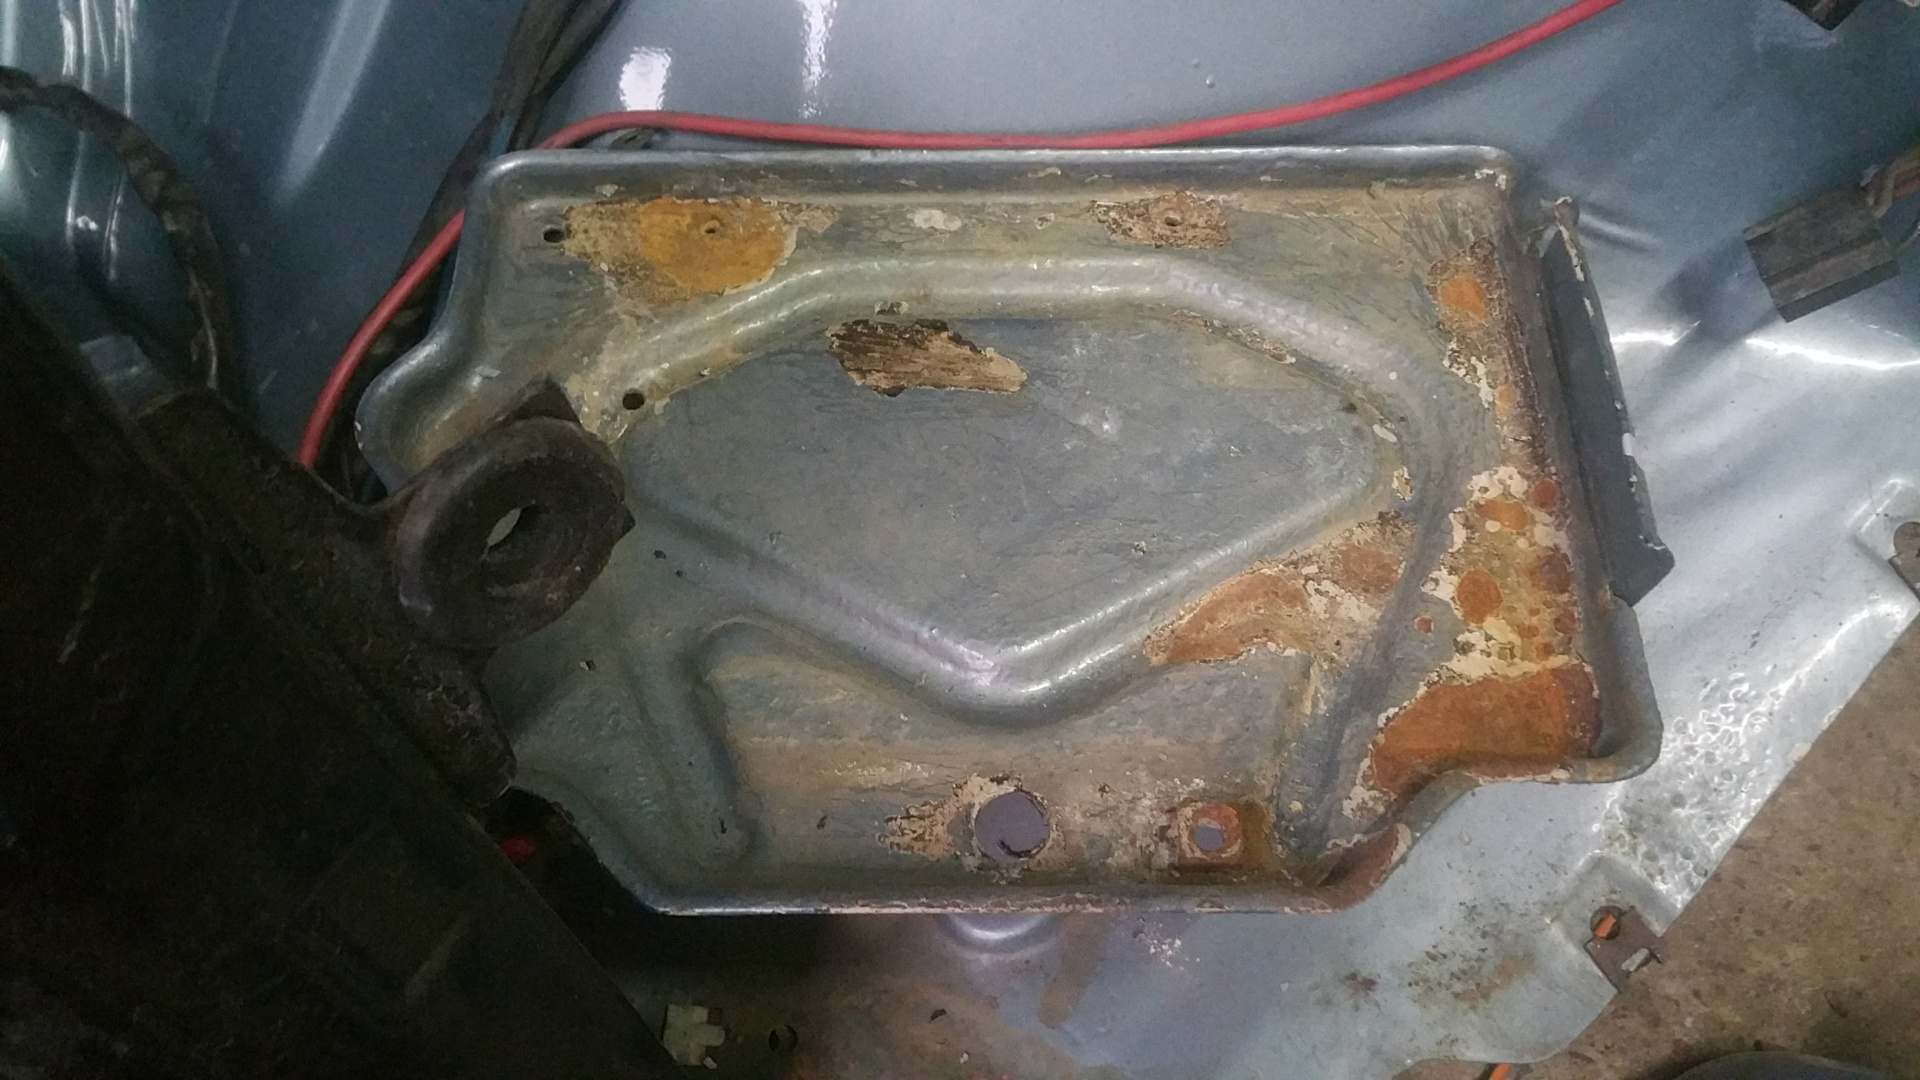
      The battery tray repair is completed.

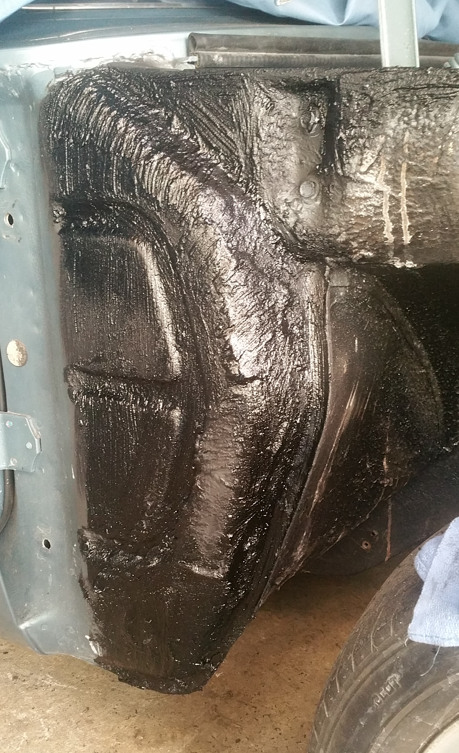
      I drilled the correct mounting holes for the front section, only to find red 'dust' between the double wall section. So I treated and painted this too.

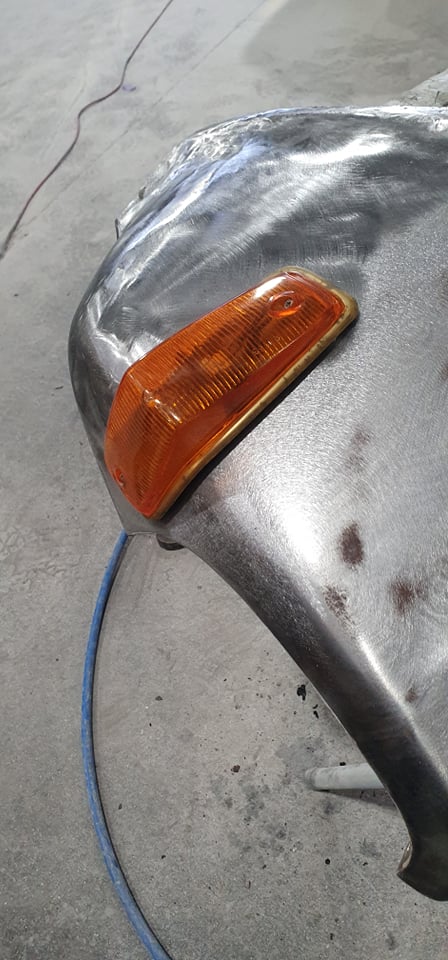
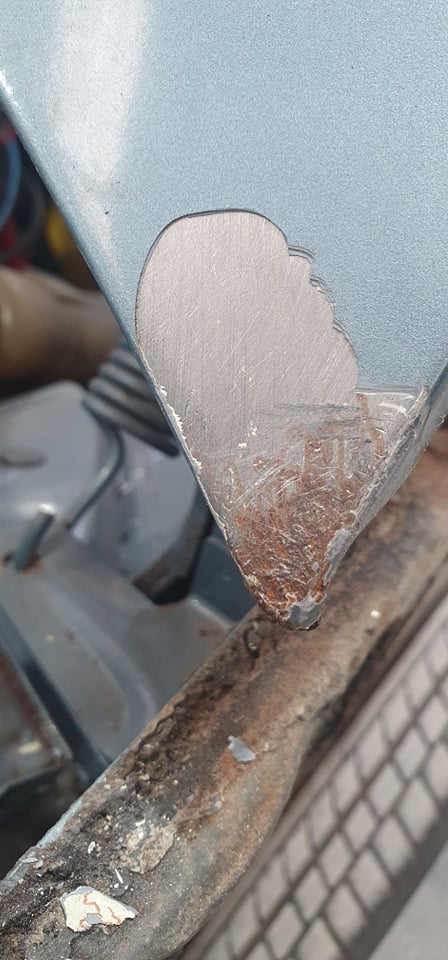
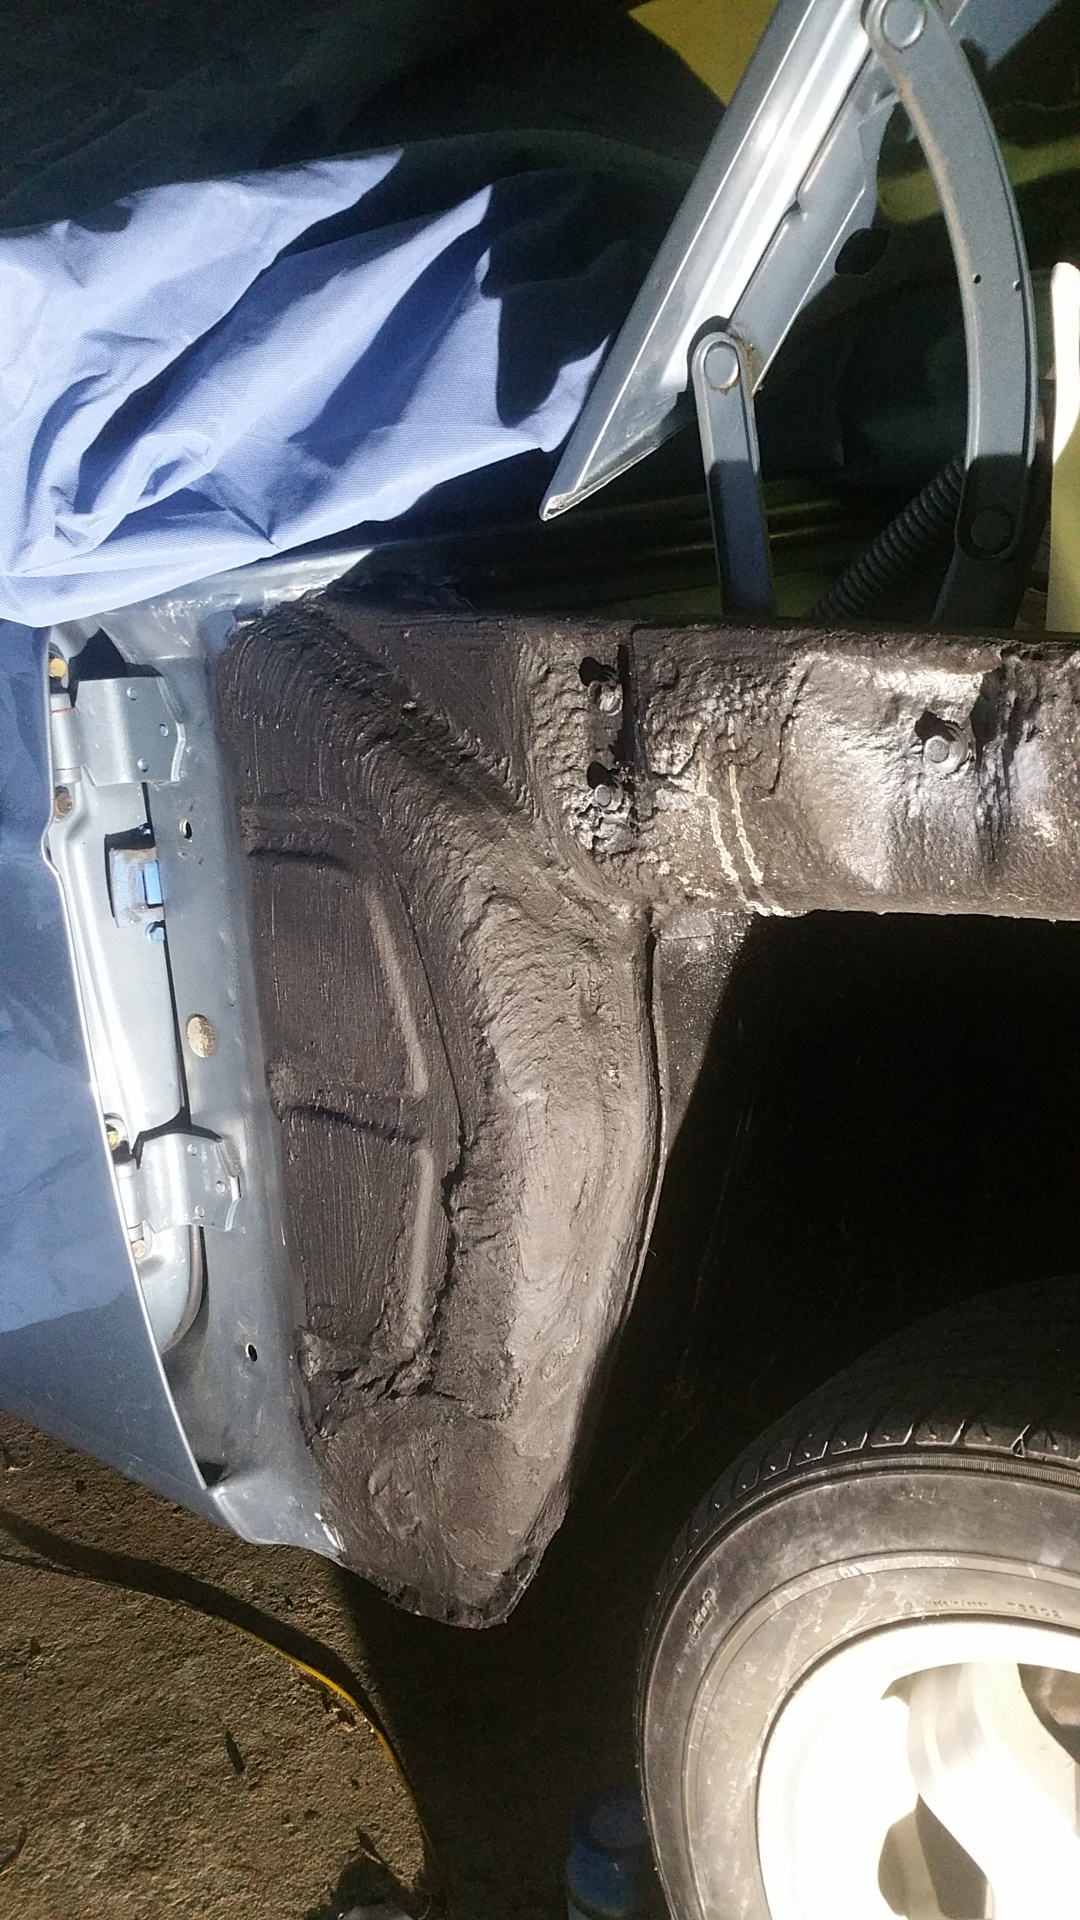
      I pulled back some of the asphalt coating from the RH guard to find some cancer near the heel of the guard. More scraping treating, painting and sealing. That shouldn't be a problem for another 20 years or more.

      While the guards were off I stripped back the normal problem areas on the inner arches, treated, painted and sealed these sections, along with the guard mounting stays. The normal problem areas are up near the bonnet hinges where you get dirt sitting and holding water. You can also get leaves sitting under the hinges and rotting things out from that side. All good now.

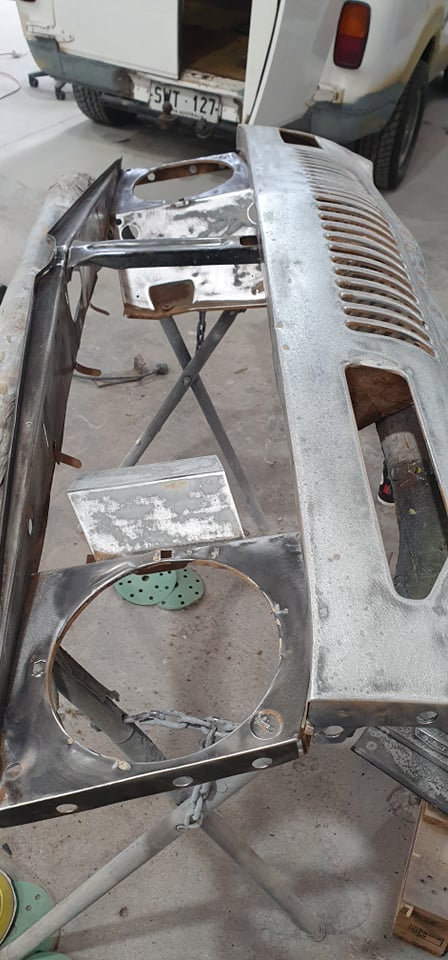
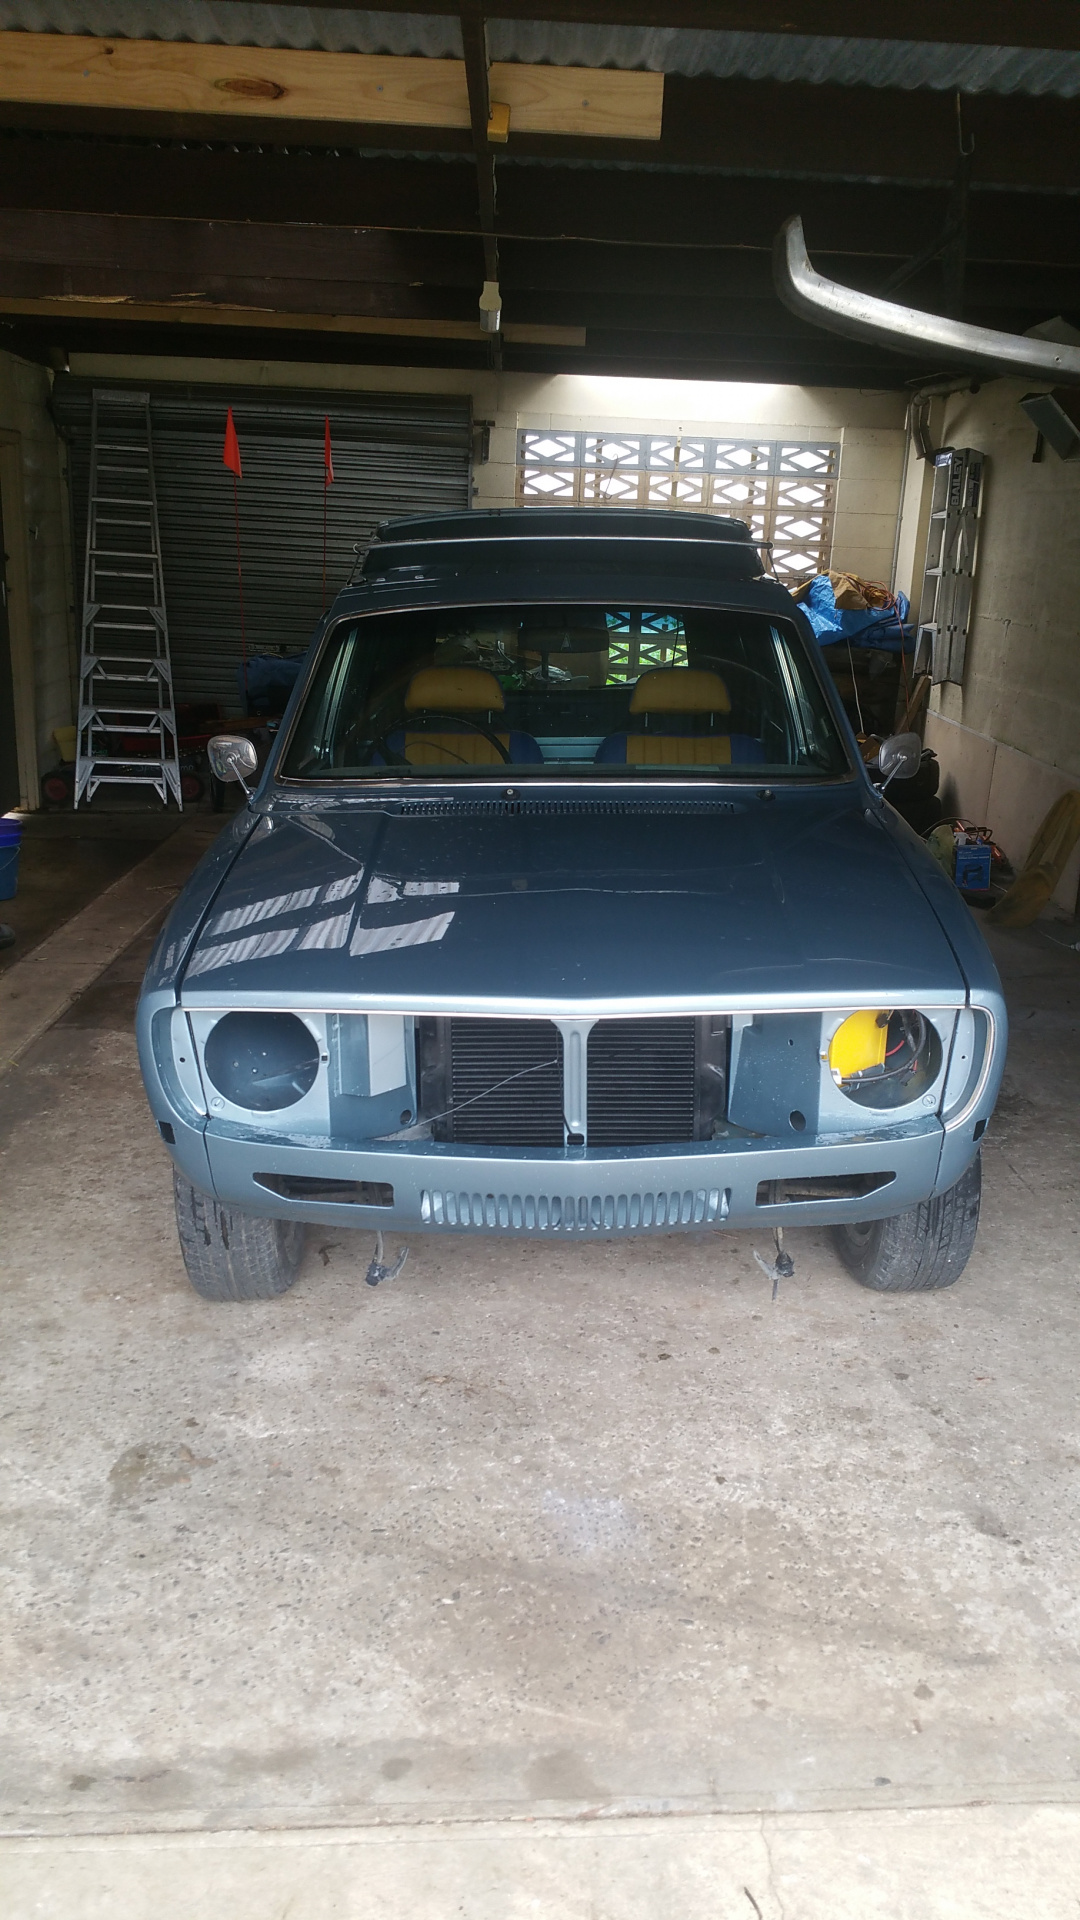
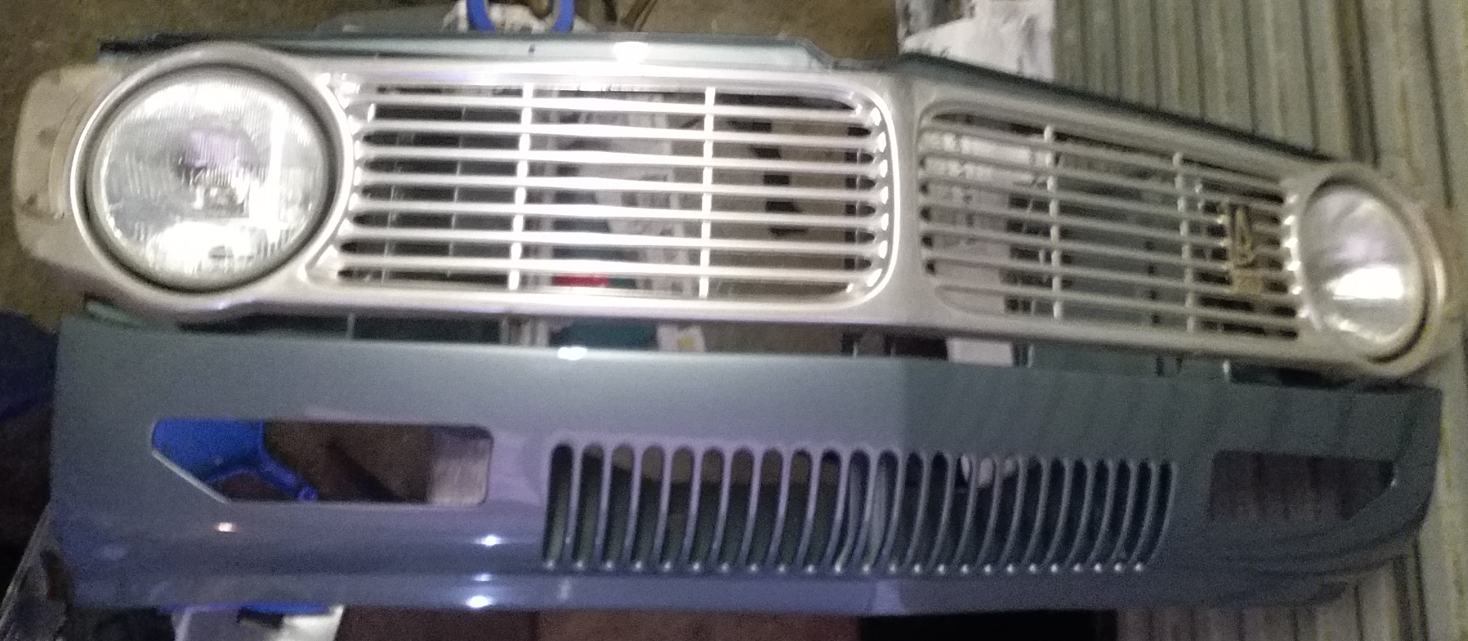
      With the front off and waiting for paint to dry I decided that I'd mock up the grill to see where I had fitting issues. This is a 1-piece grill in a 3-pice front, so there are some subtle differences between the models. I've yet to work out how I'm going to run the wires for the parking lamps, but we'll get to that one in due course. Apologies for the focus on the photo, I was at full reach with the screen away from me. I think that it will only take minor modifications to have things fit. I can't complete the fitout until I receive my package of parts that contains the plastic mounting clips.

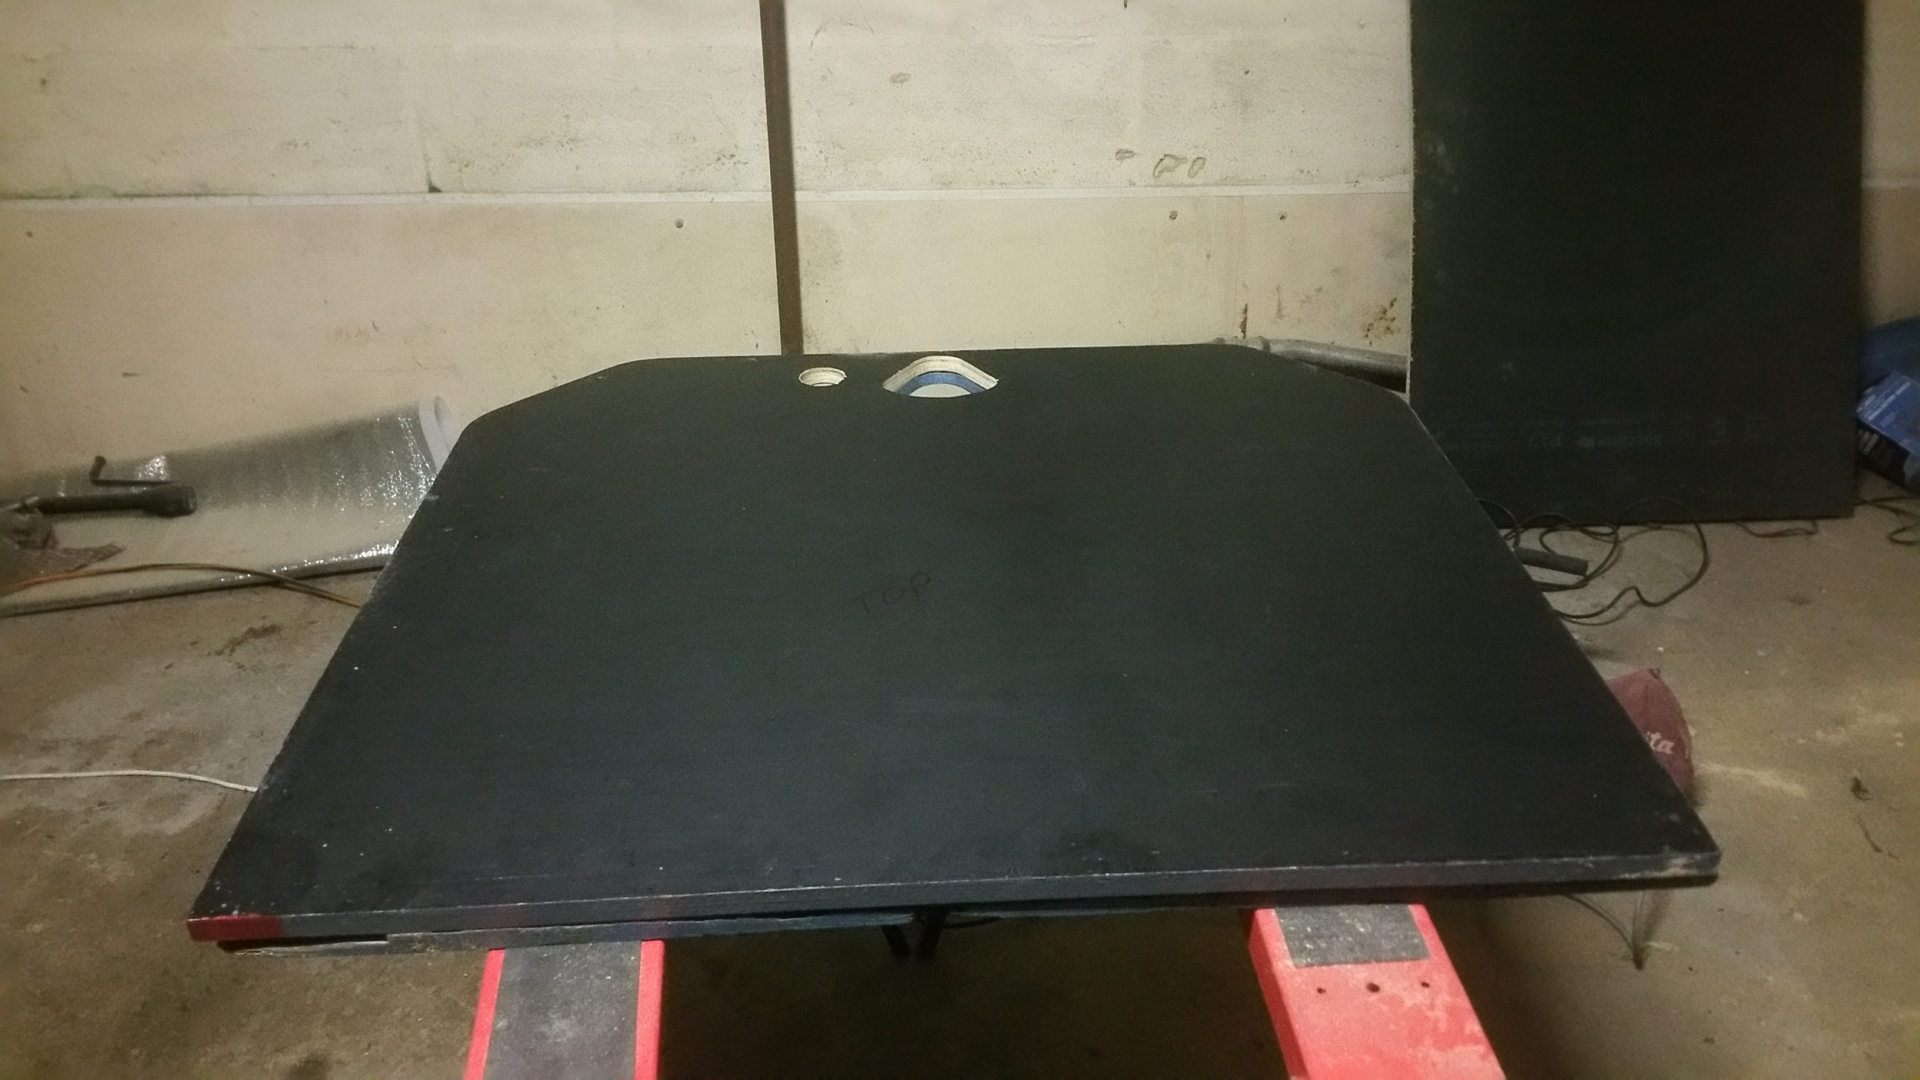
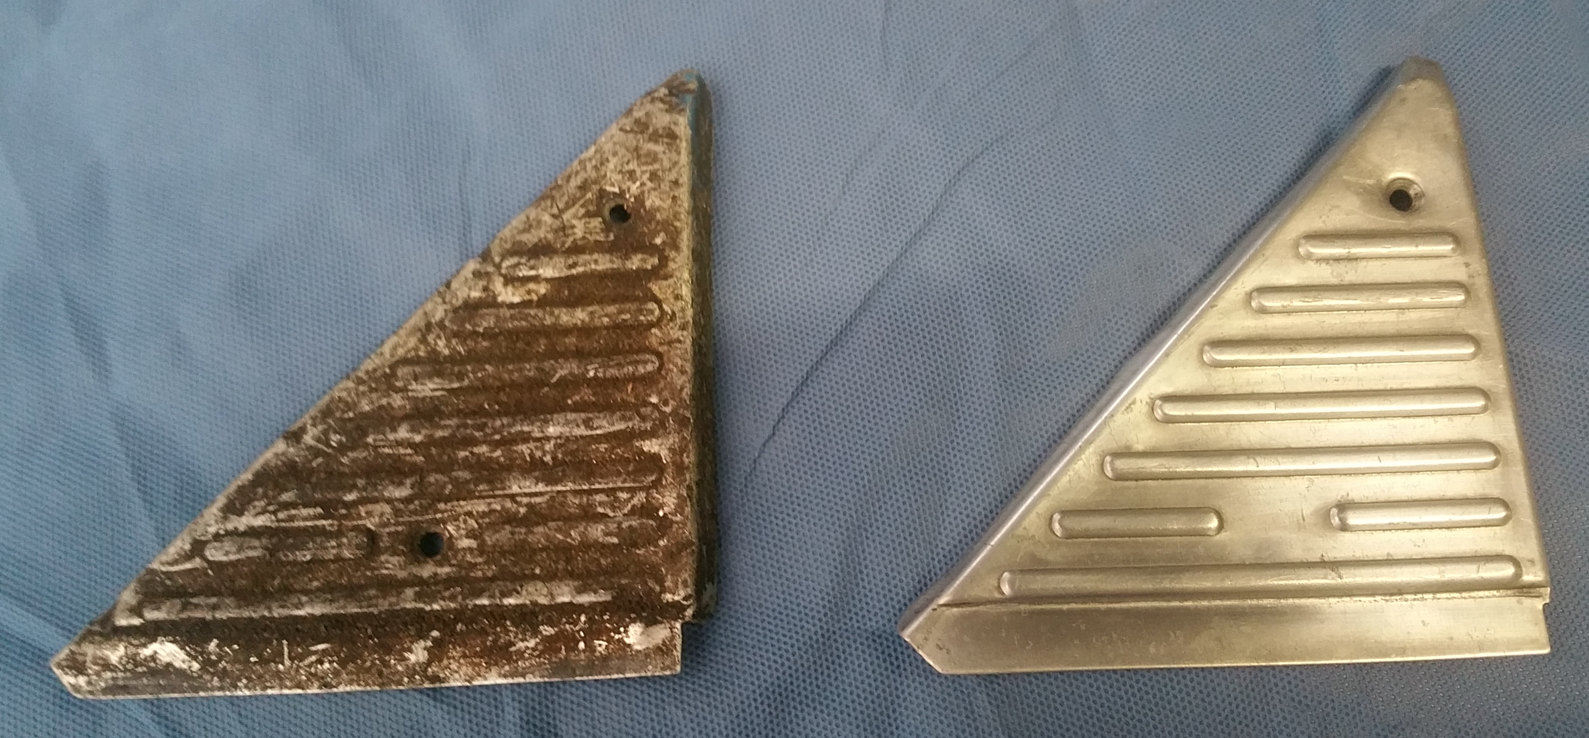
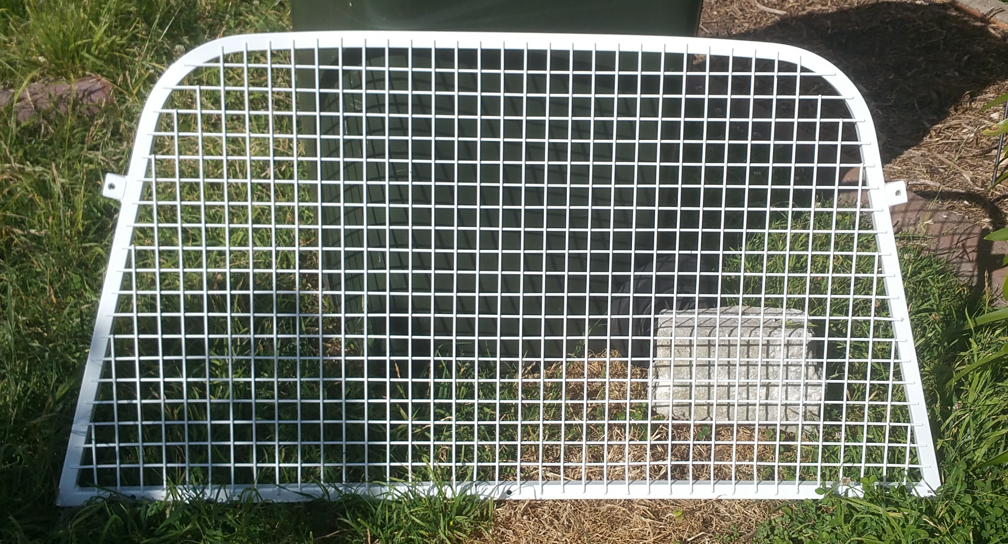
      Part of the build required the repair of the cargo barrier, so this went off to get powdercoated and was an early Christmas present to myself. No more rust and flaky paint on this baby. I still have to drill the mounting holes on the bottom half of the barrier, but that is for another day.

      In my mind it seems like I haven't done a lot, but it has been a continual progression of small bits that seem to have accumulated into some progress. Things like ordering a big lot of new parts takes time to get right.

      Right now I'm in the process of realigning the passenger door so that the left hand guard will fit properly. This always takes longer than you anticipate due to the ability to manoeuvre the door in the x, y and z planes. Eventually you grow frustrated with the fussing and jiggling required and take a breather to do something else.

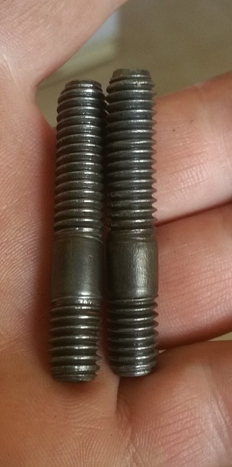
      A tip for fitting the door yourself: grab a couple of manifold studs, thread them into the door hinge and poke them through the mounting holes. This aligns the mounting bolt holes and allows you to manipulate the floppy hinge with ease.

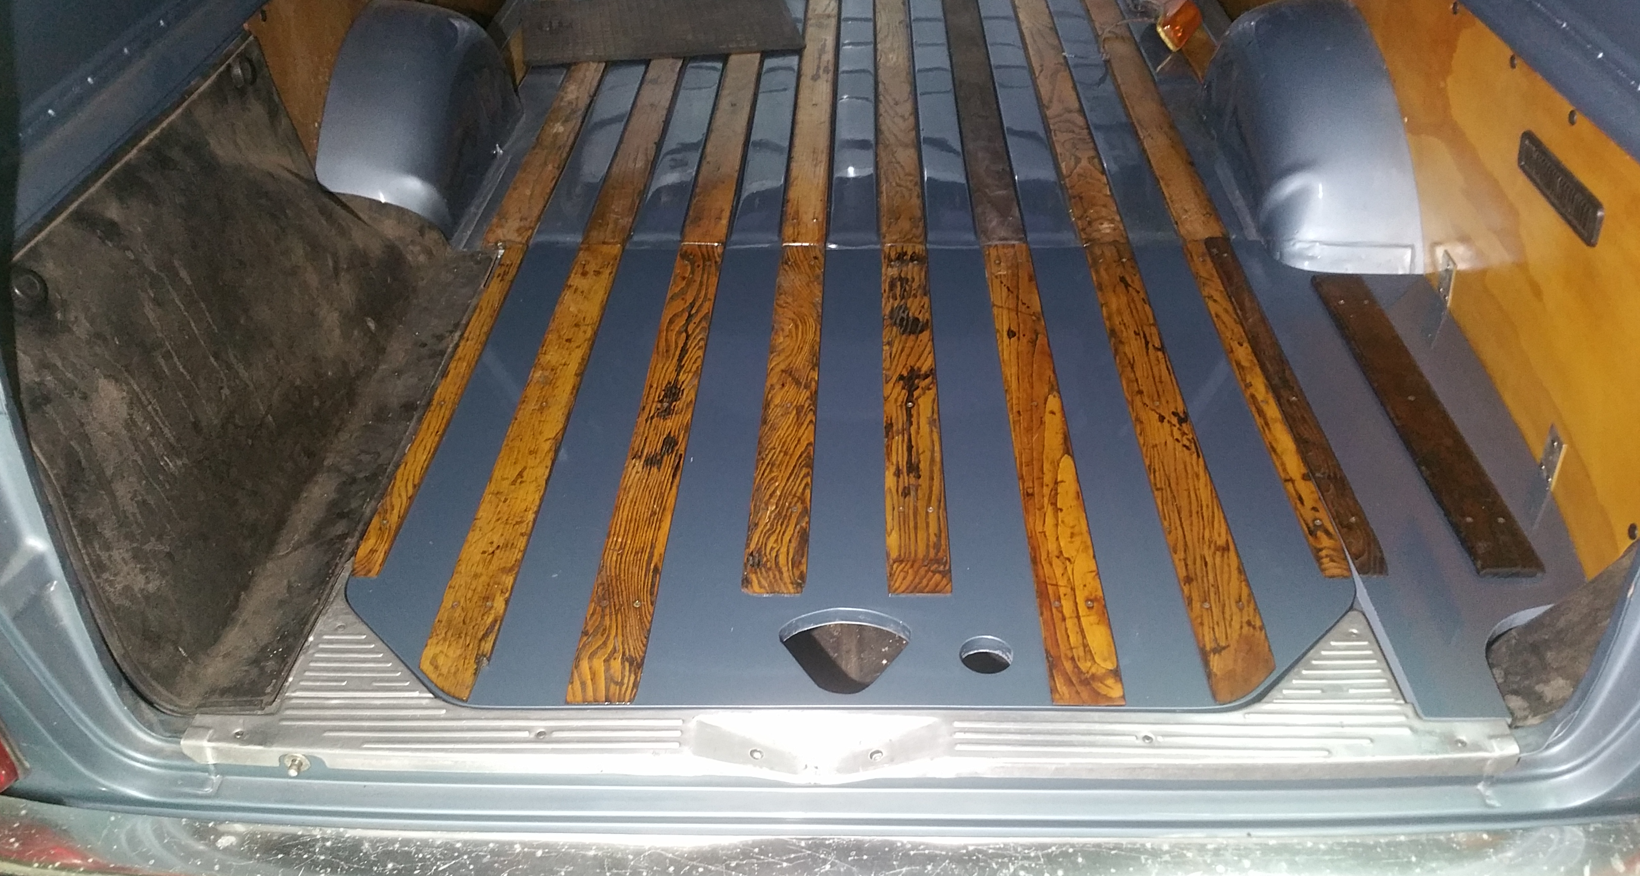
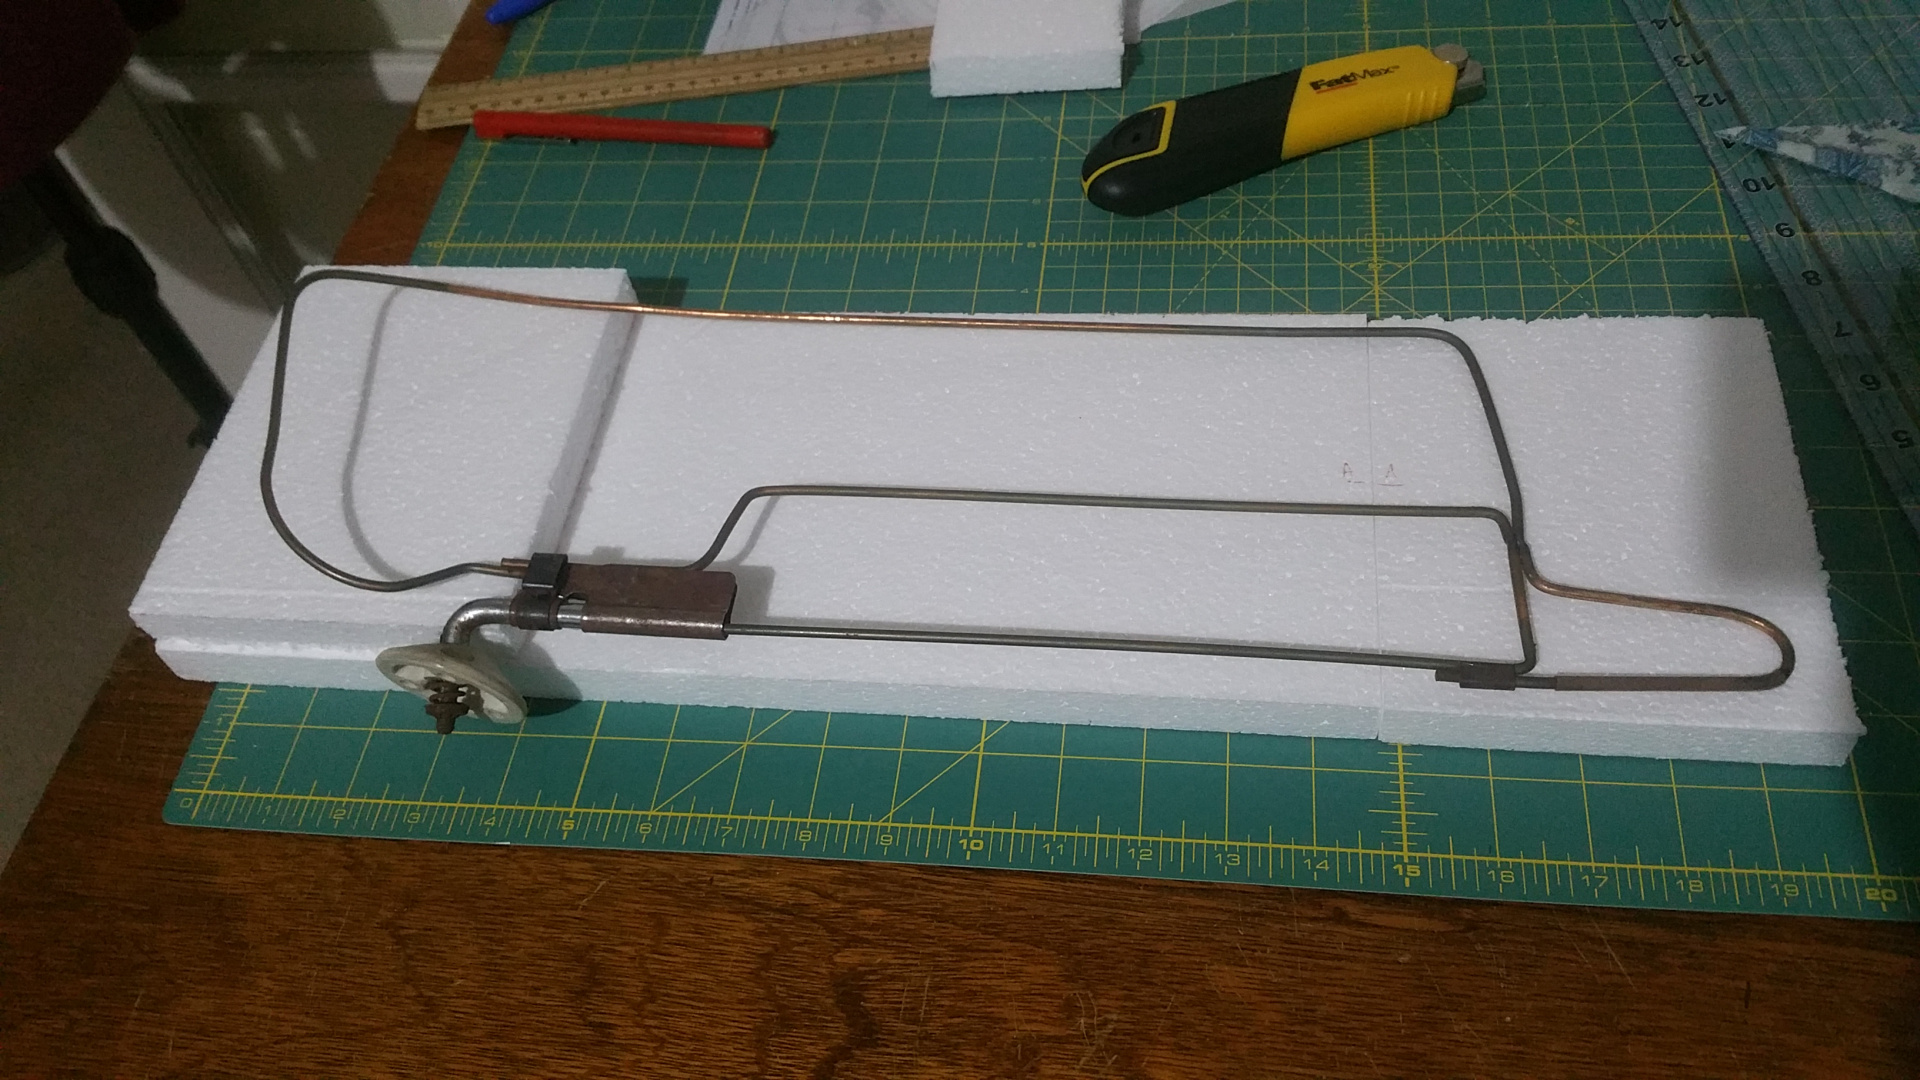
      So what job do you complete before going back to the door alignment? I decided to clean out the garnet from the sandblasting 20 years ago. Many of us recognise this paraphenalia to get into the sills and the hours required to clean things up properly:

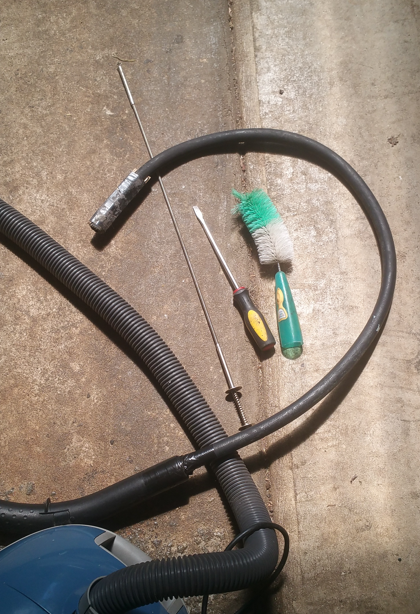
      Approximately 3.5kg of garnet, a grommet from a guard, two packing peanuts, a walnut shell, numerous cuts, copious amounts of swearing and half a dozen gum leaves later, my sills are looking pretty good inside. Cleaning out the sills on an Express is an experience I don't want to repeat in a hurry. There is practically zero access behind the B pillar without taking out the seatbelt mount. At least I can tick that job off. I'll add another job to the list though, because I found that my wiper arm is hitting the bulkhead part way through the stroke. It never ends! Back to the door alignment before the parts arrive!

      Looking good Ian! The vacuum cleaner with small hose trick is good, but one leaf at a time, sweet Jeebus!!