Today's progress has been a little slower. A 'simple' door alignment for the LHR. The new seals on the back doors are making them difficult to close. I initially thought that it was misalignment, however that has been rectified and they're still difficult to close. Ah well, onto the LHF alignment. During the week I'll send the tailshaft in to get the front tube and uni joint replaced, plus balancing.

Very interesting project and history about the car, great work!

2 months later

Like many of us here, progress is limited by a number of competing priorities that sap our time, energy, finances and sanity.

When I moved the car from WA I had to put a few things on in a hurry, like guards and doors. These have irked me for some time and I've finally put the effort into rectifying these issues. A closer check of some other things like the rustproofing identified some other issues that require attention before it hits the inspection, sometime in the future.

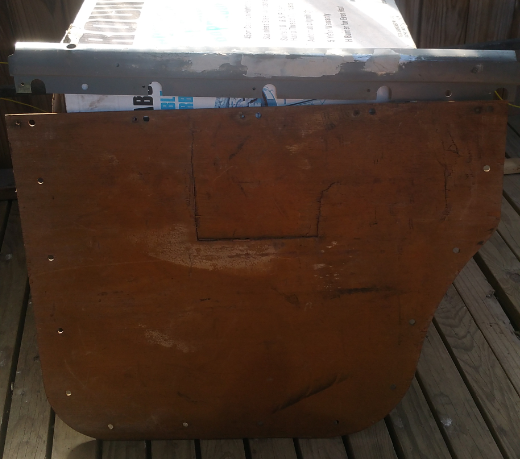
The front guard was put on with some 'really good' adhesive sealant which I now realise was not 'really good' for removal and relocation of the guard. The original sealant was a mastic that never really hardened. For those of us who've pulled the guards off these cars, the mastic is usually still very compliant. Not Tempro Seam Sealer. Luckily I only used this junk on one guard because it is a PITA to get things apart, even taking some of the paint with it.

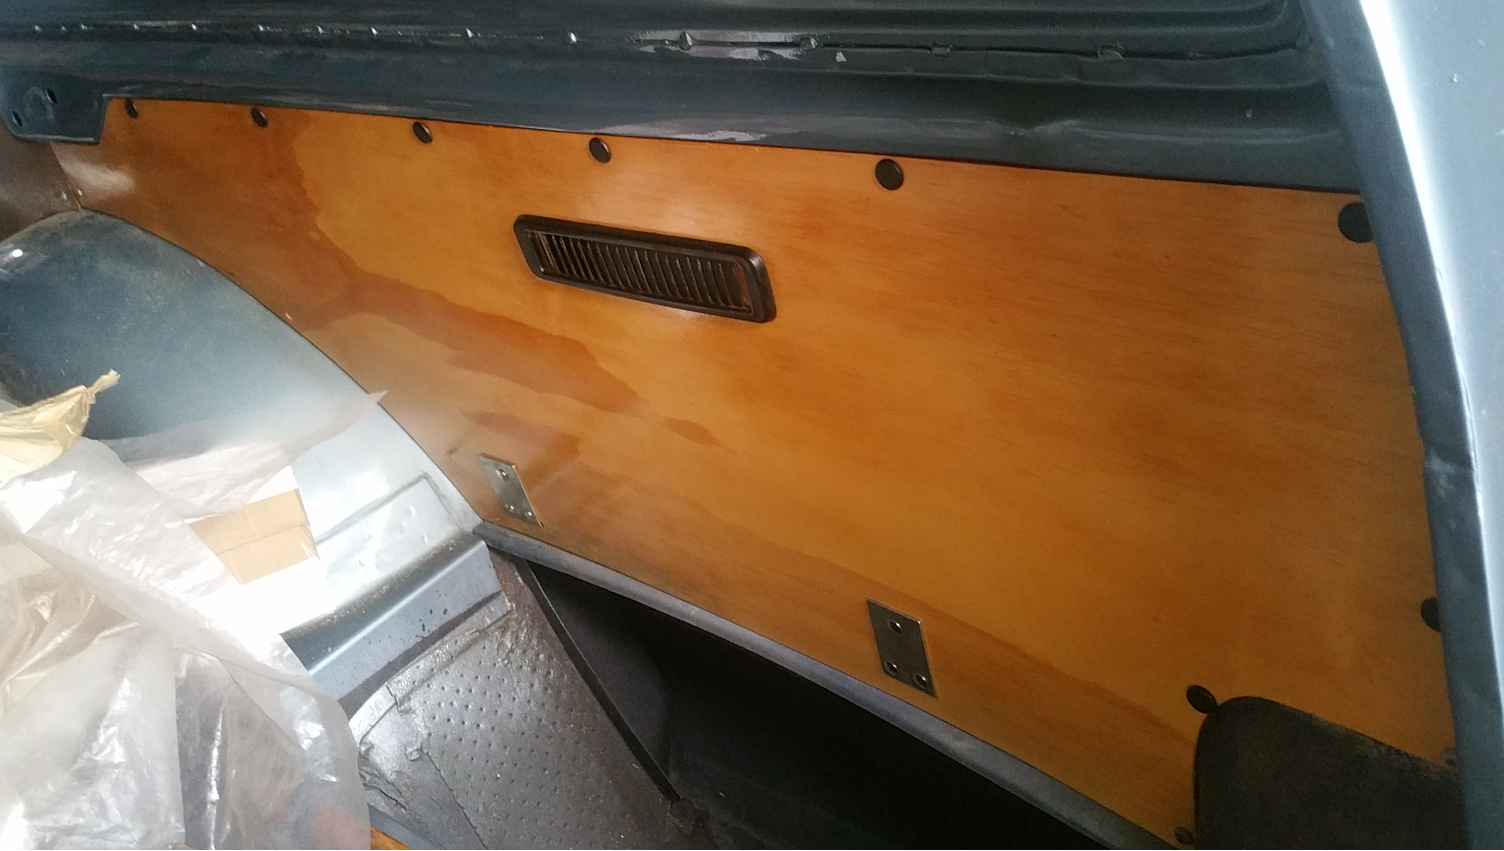
The guard was finally removed, as was the front door. This allowed me to tidy up some areas of remnant adhesive.

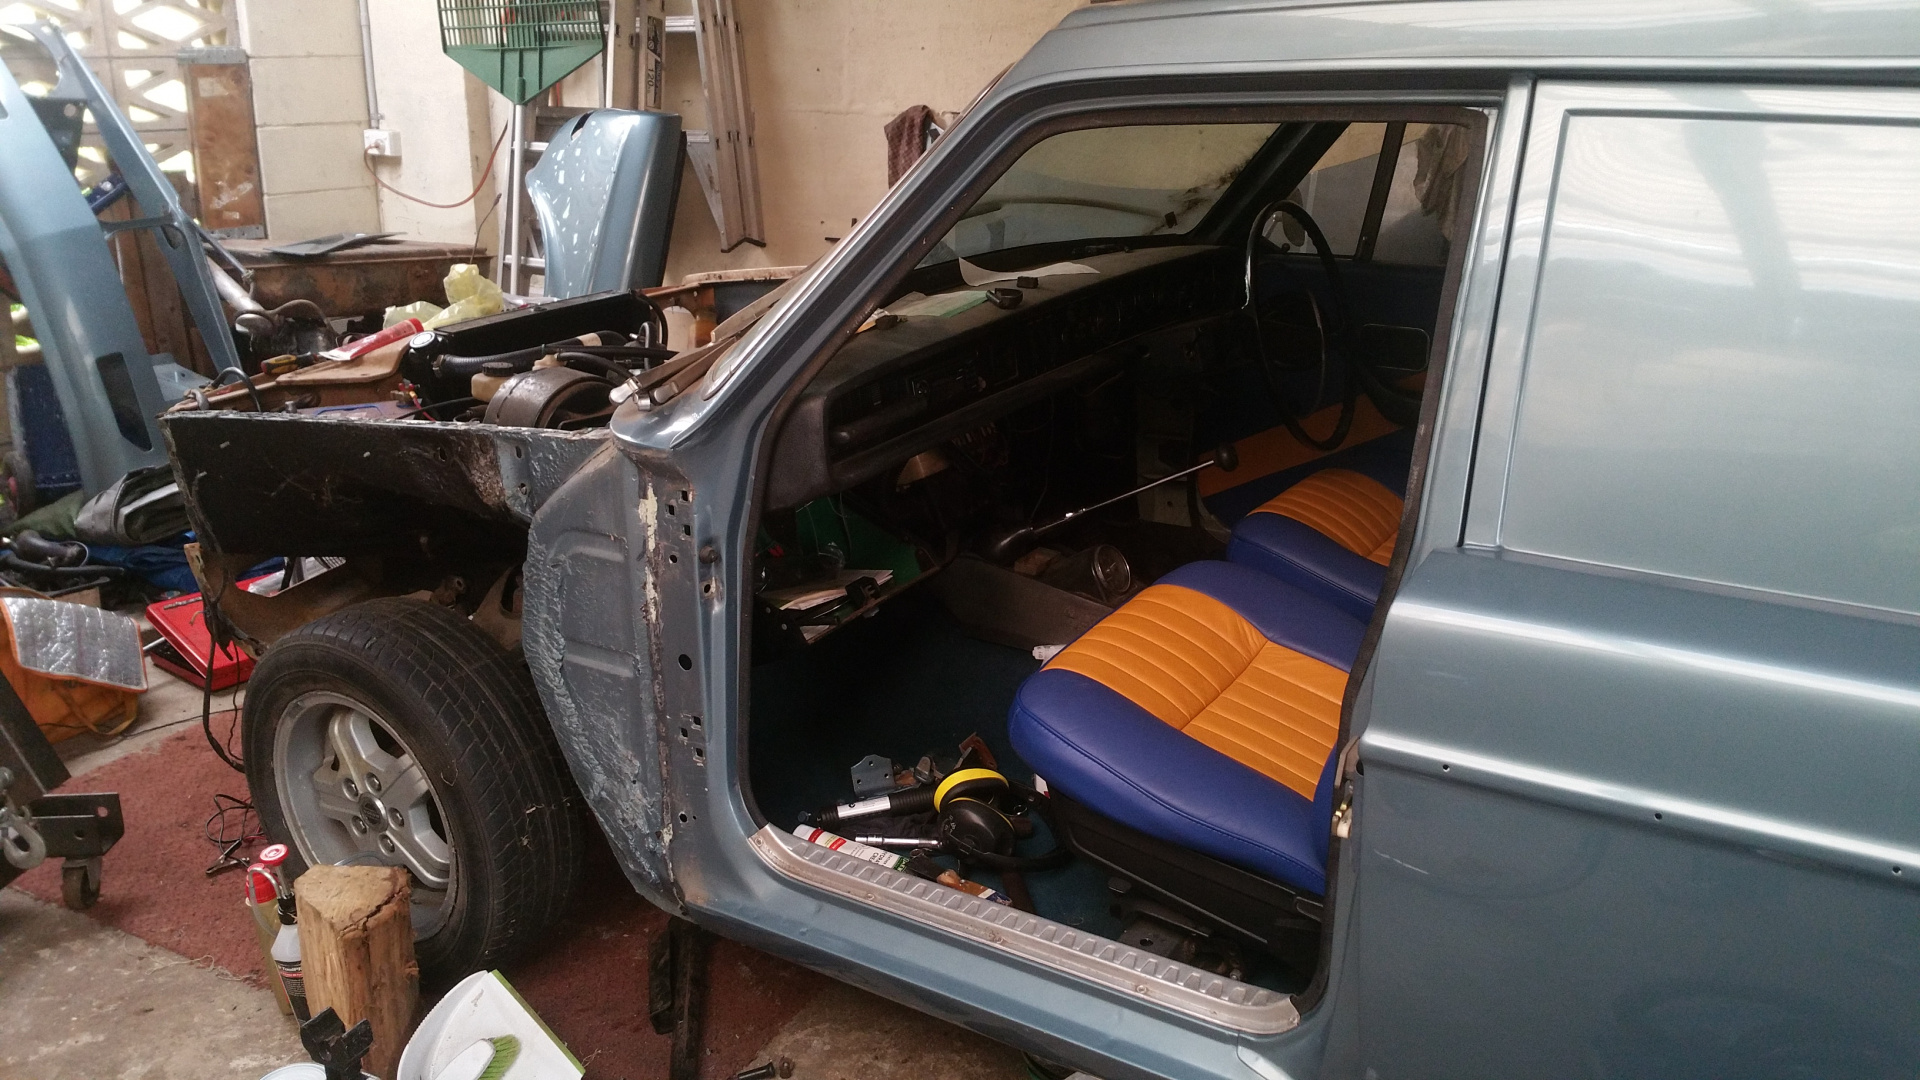
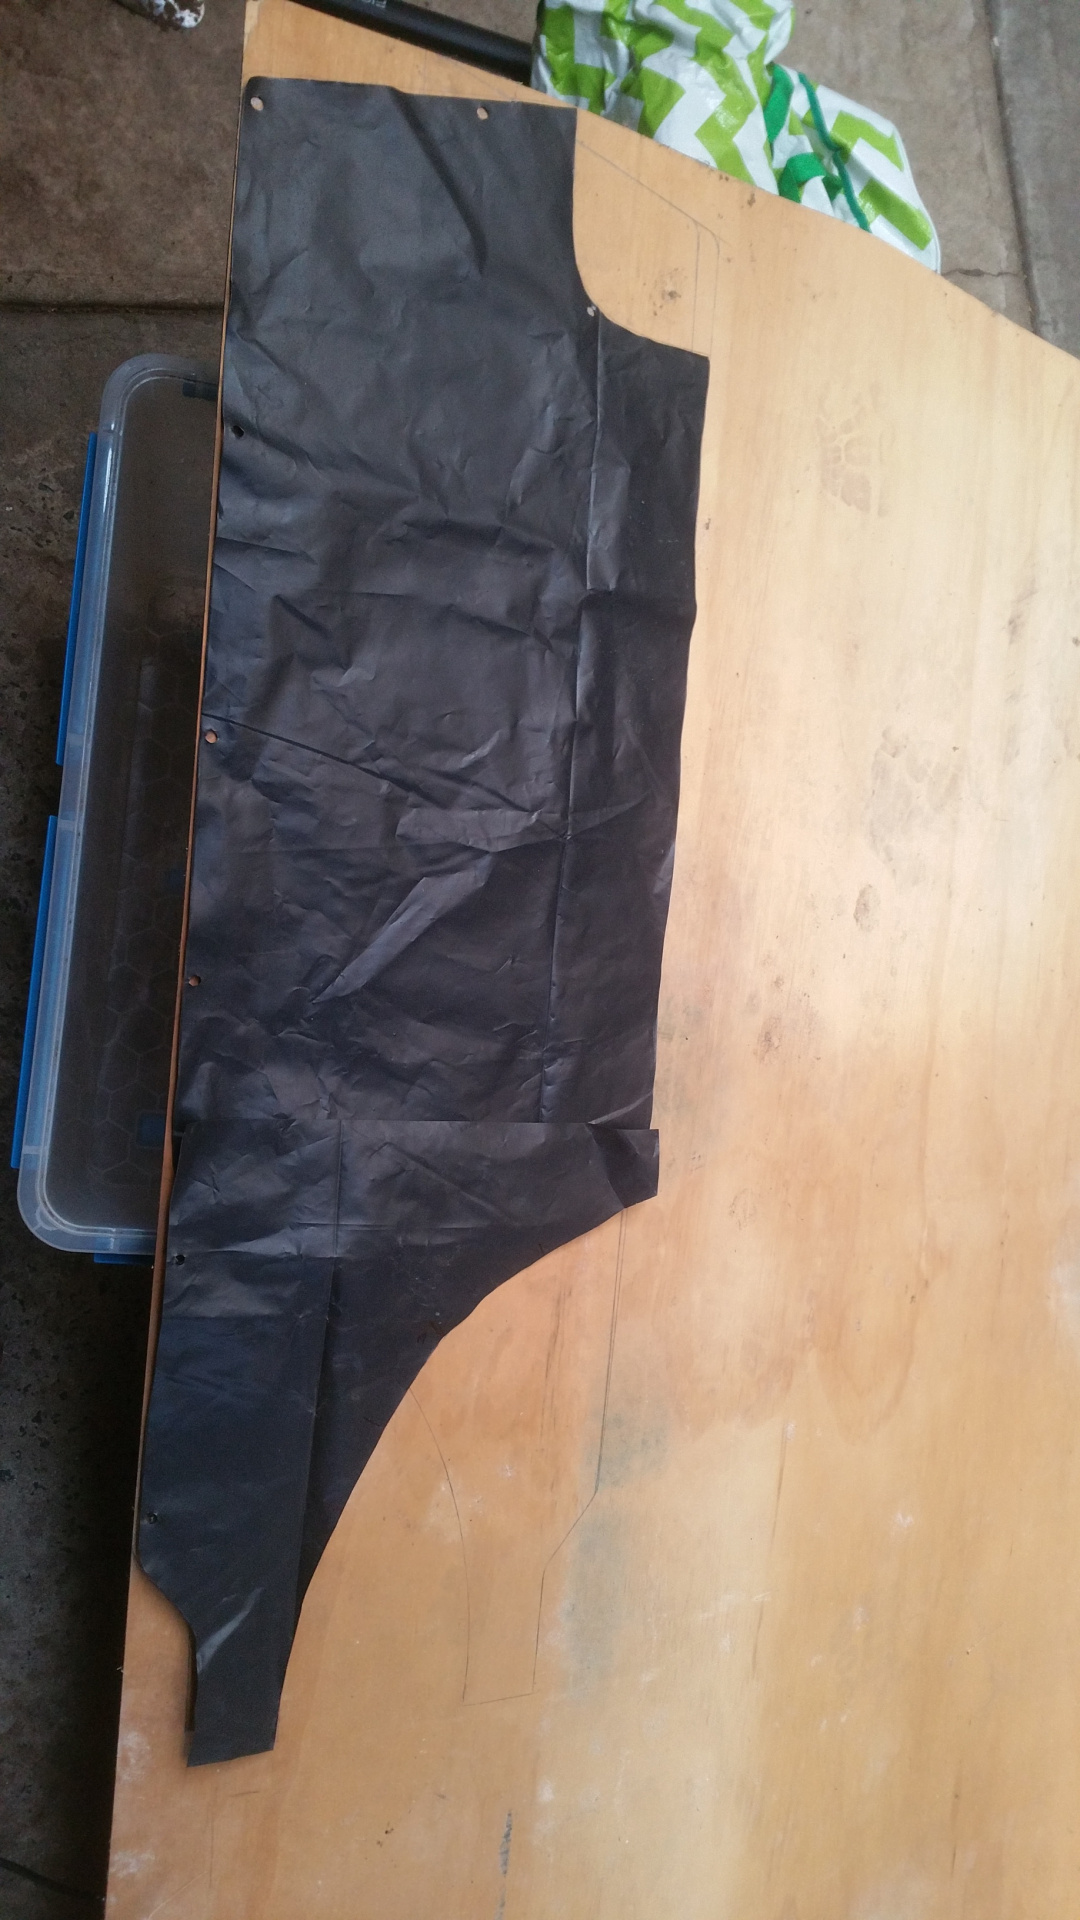
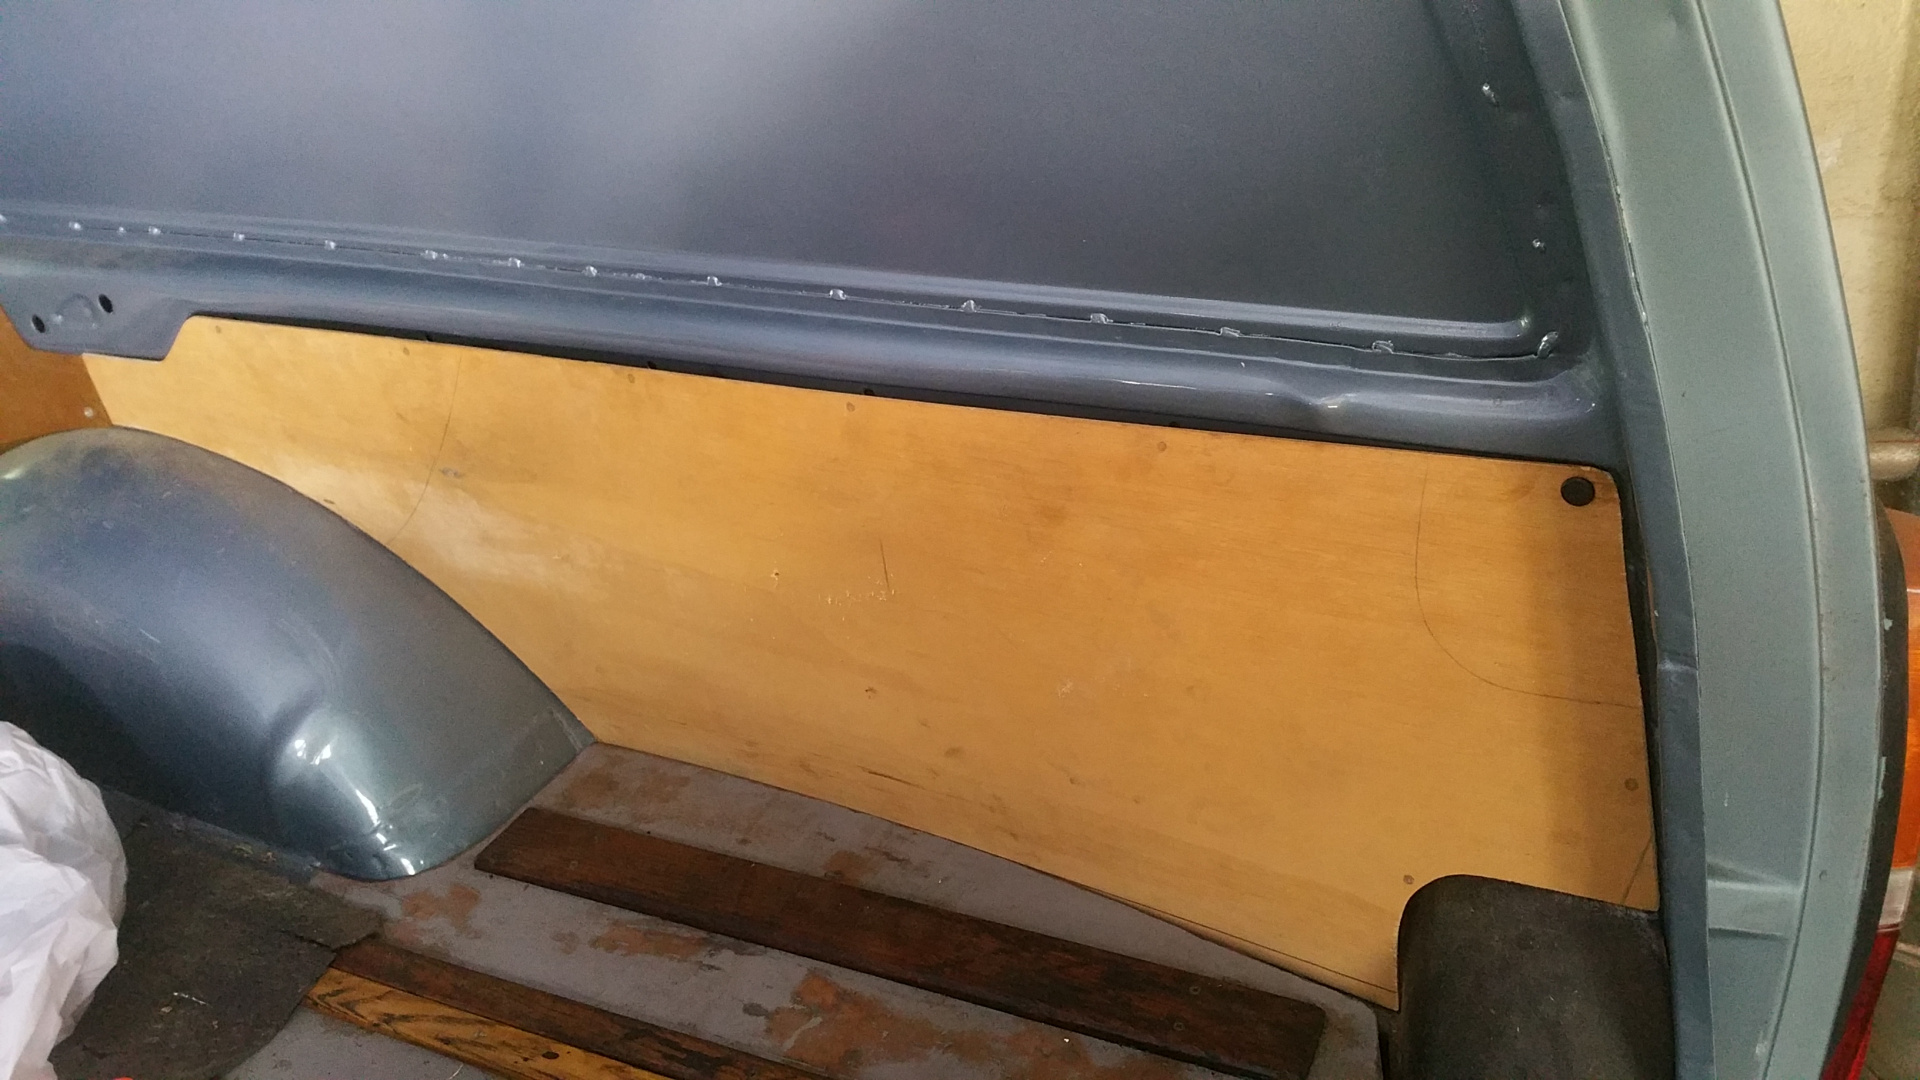
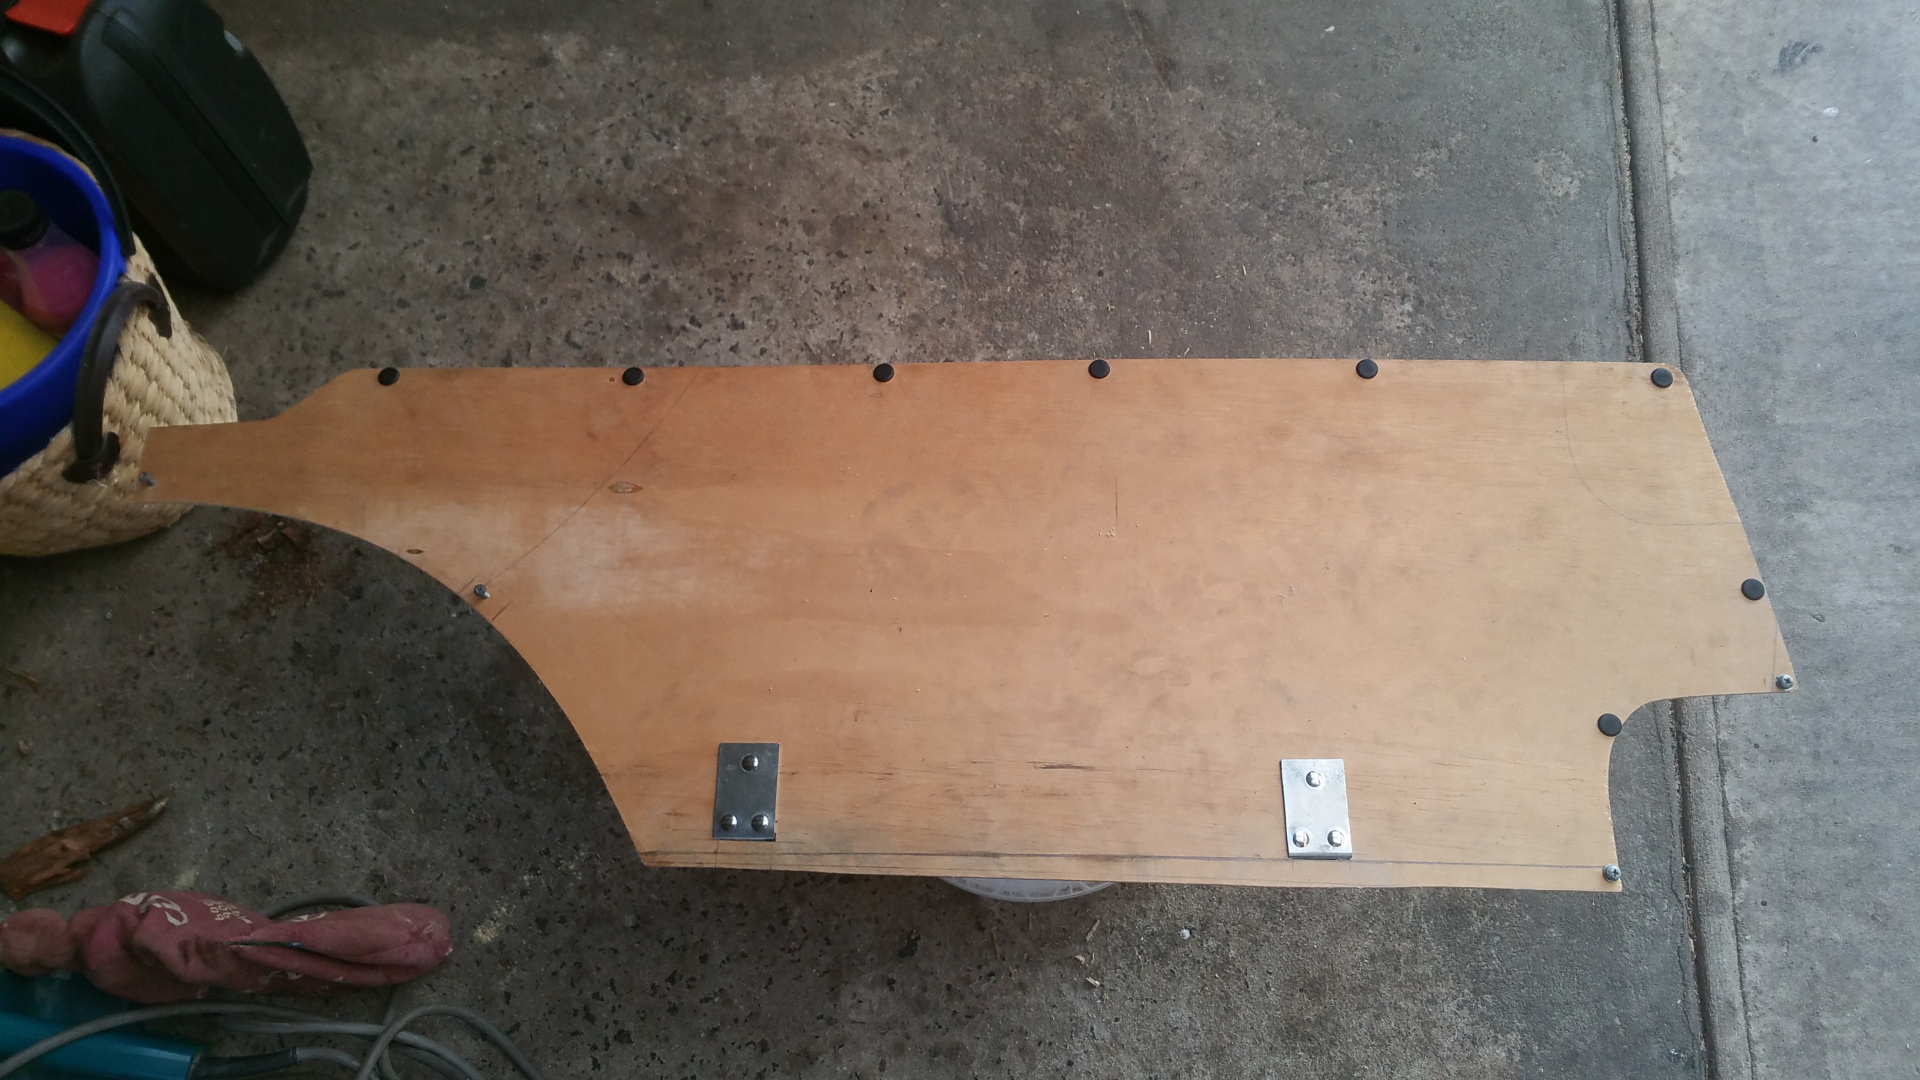
Removing the guard allows access to the seam areas around the inner guard that always accumulate dirt and rust. I scraped these areas back, painted and then brushed on a nice thick layer of sound deadener. Looking at the floor I found areas just behind the front wheel (rock strike zone), along the sill seam and some spots where the floor plates meet. These will progressively get attention as I move from the front of the car to the back.

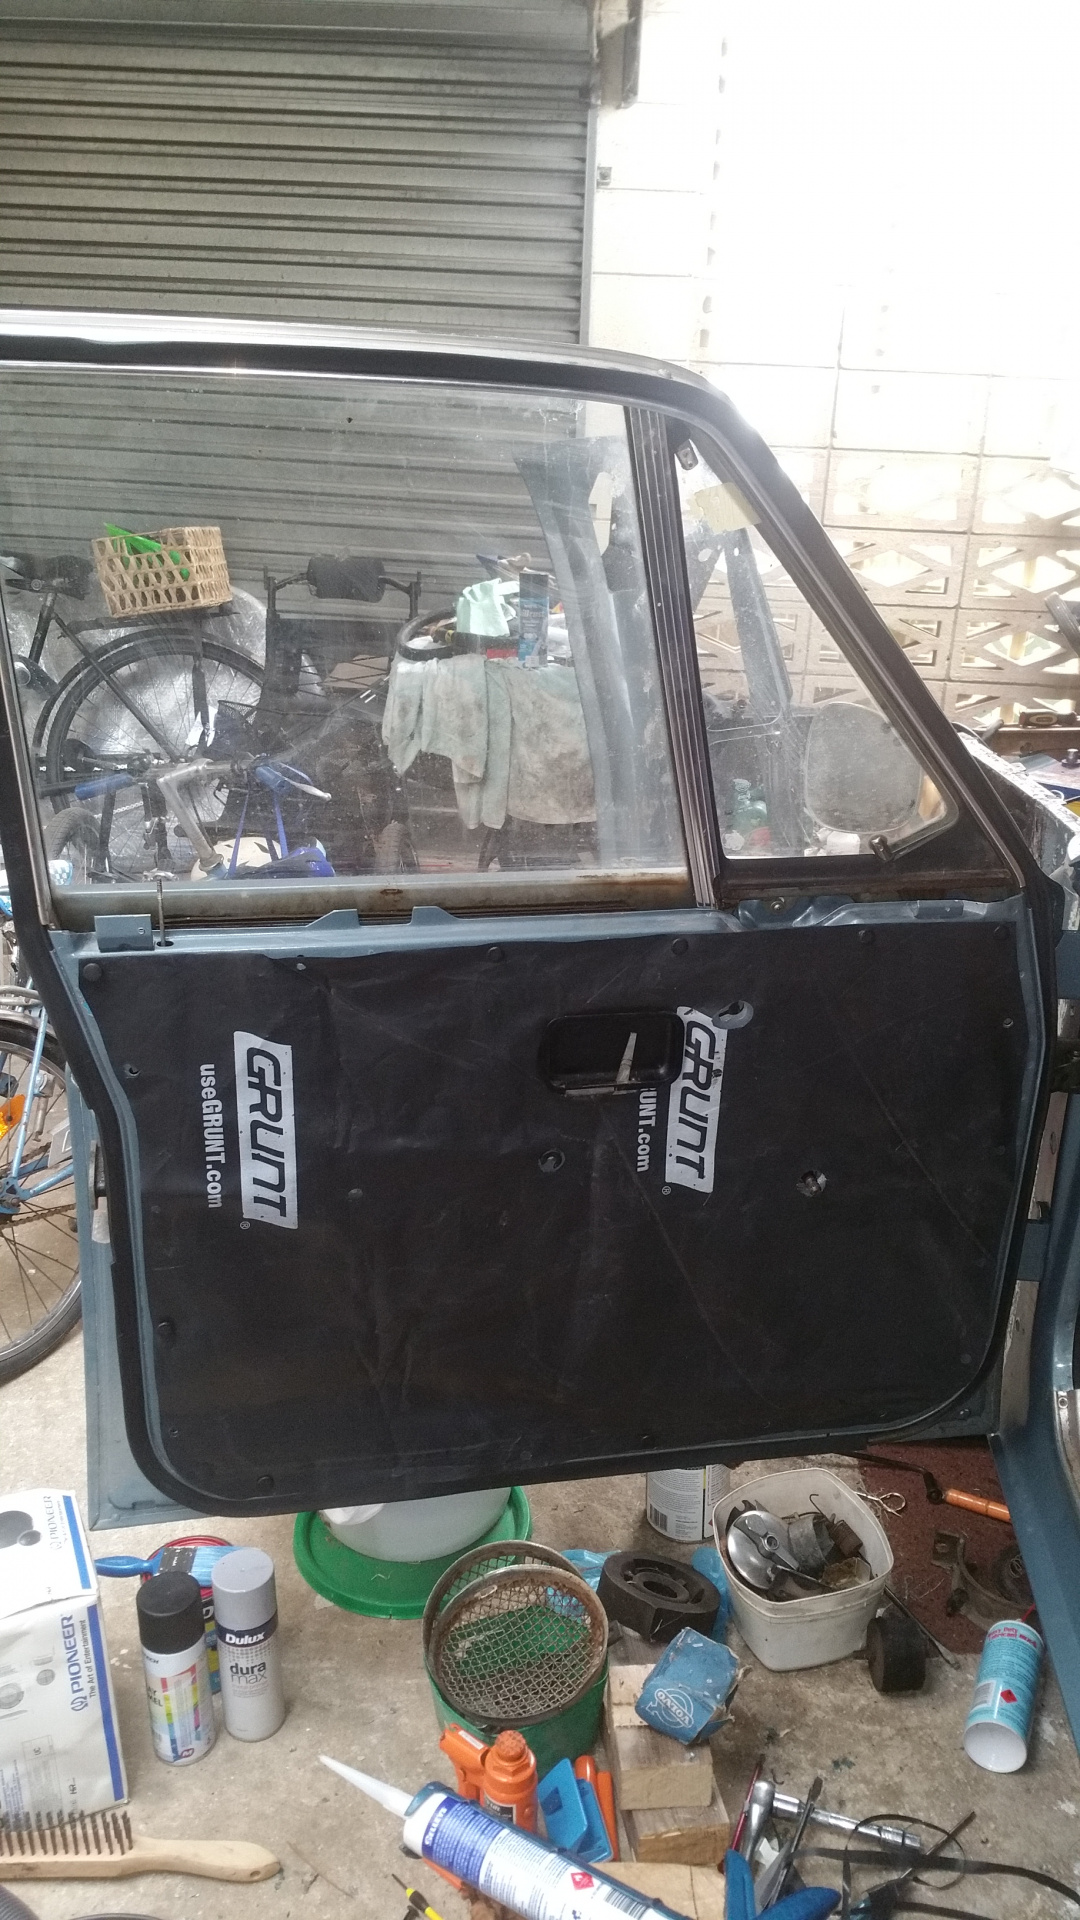
Fitting and aligning the front door with one person takes ages, but eventually you get there. The results are rewarding when you can finally get things lined up and feel that wholesome thud on closure. The front door on and aligned, I had a quick look at the front seatbelt only to find:

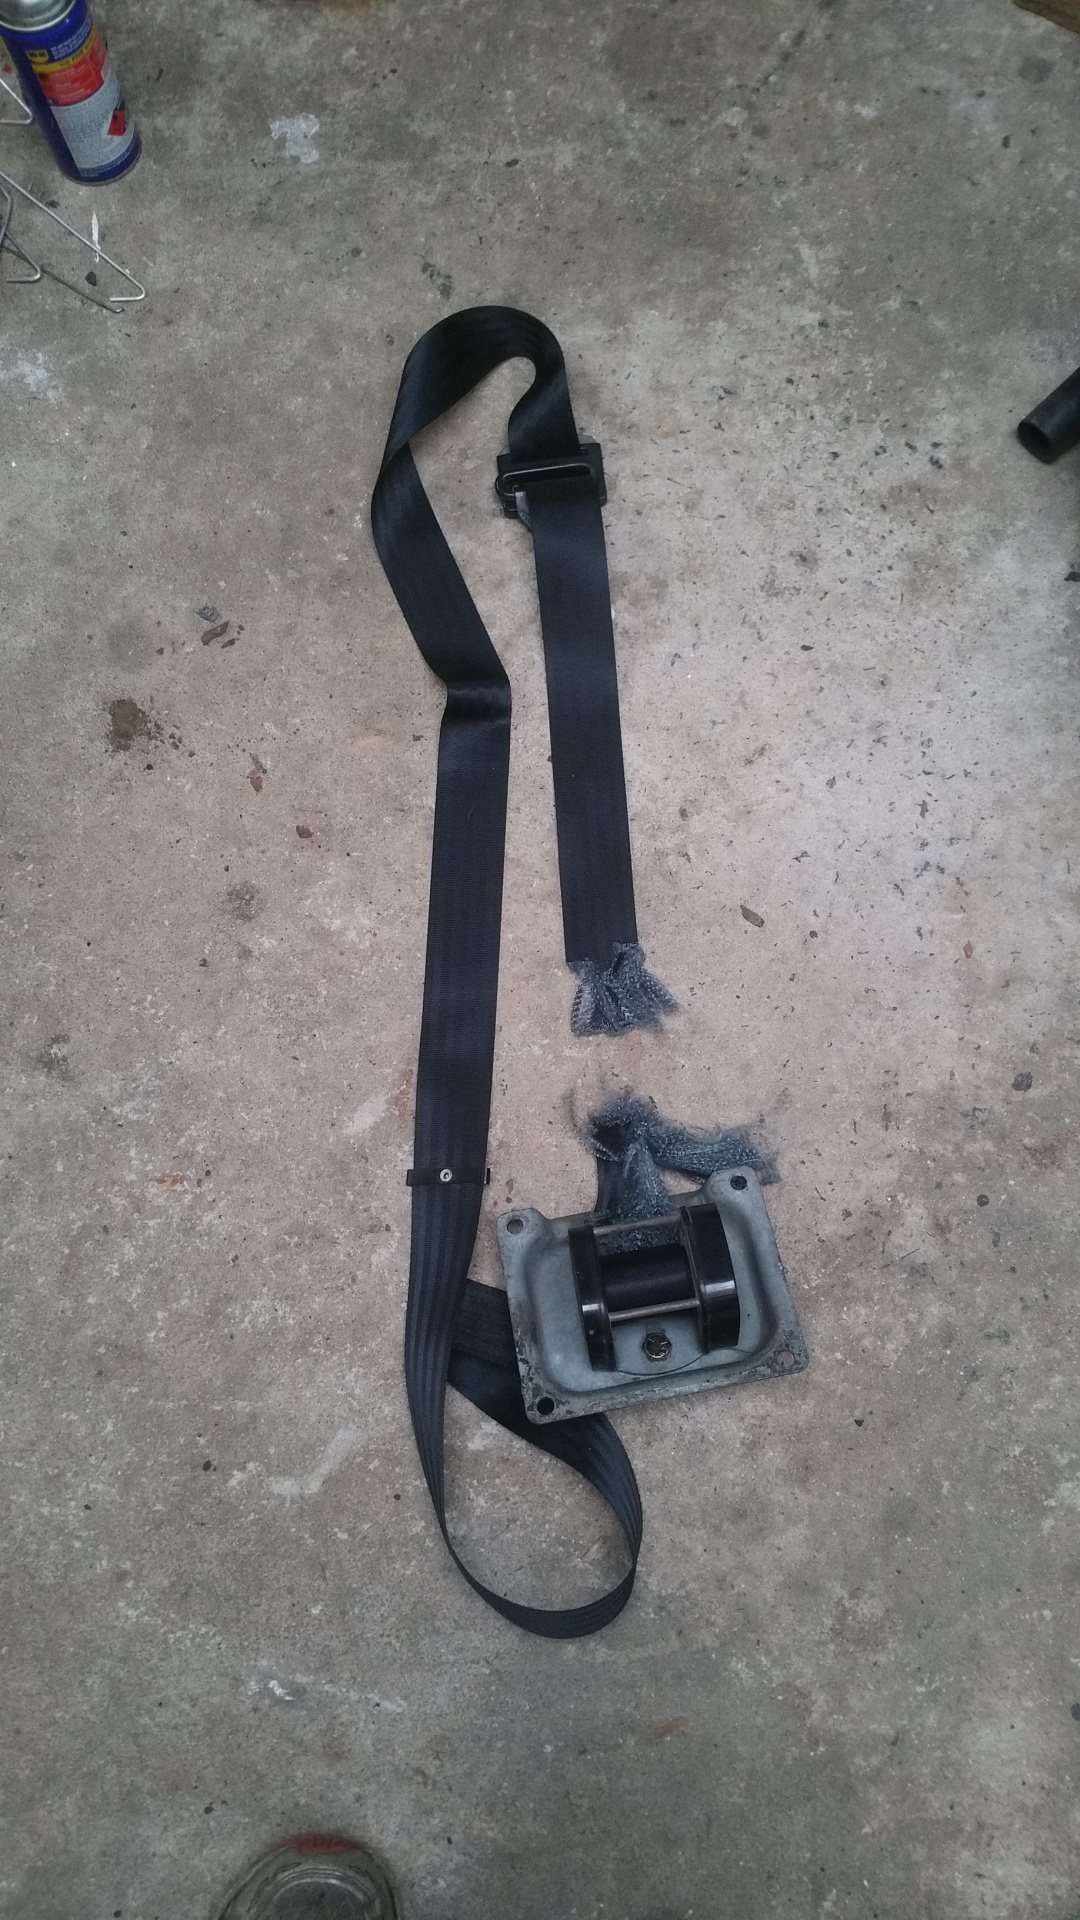
RATS! I somehow managed to get a rat nesting in the car a couple of years ago. Damn thing thought that the 'never used' seatbelt looked like a tasty treat. Now I have to find an aircraft upholsterer to get new webbing installed and certified.

Disappointment aside, I moved onto the alignment of the back door. This van has never had back doors that closed to Volvo standards. After a lot of realignment again and again and again I've settled on an alignment that is as close as I can get it right now. I may have another go at once I've managed to get few more things completed. I'll take another photo soon (pending).

The door check straps have been sounding very dry when I've been using the doors so I decided to pull them out. Removed and reinstated I treated the very small amount of surface rust inside the door (beat that after 50 years Holden drivers!). A spray with phosphoric acid, a light sand when reacted, cold galv and then top coat and she's good to go.

I think it was one of Greg's posts that spurred me on to make my own door liners. Let's face it, the old wax paper door liners that came out in the 120/140/160/1800 were very poor performers. The old paper tape used to lose the adhesive, the paper would fall off and then become a soggy mess in the bottom of the door. No, a section of black UV stable plastic film, some scissors and a whole lot of patience we have a new door liner!

Just to be sure, I copied the old 140 liner and installed that for belts an braces too. The small version is one that I had previously made out of x-ray film.

I've since cut out the hole for the door speaker. I need to purchase and install the weather seal scraper and the internal felt window brush before I reinstate the door card.

Moving onto the back door I created a similar door liner, however it is probably an effort in futility because it will only be protecting a painted/sealed plywood door trim that will only be exposed via the door drain ports. Picture pending.

As you can guess, I'm moving around the van and completing outstanding items that are cheap and easy to complete. My tailshaft is away at the shop getting the front half-shaft replaced, a new uni-joint and balanced. The old shaft was too dented to recover and would be likely to deform under load. Without the tailshaft I can't take the van outside to give it a wash and polish, and I can't get to the driver's side.

The next cab off the rank is the most complex interior panel. I've had to make this panel from scratch, without a template. When I bought the van it didn't have a wheel cover or the rear right panel and the filler tube cover was pretty messed up. I managed to source another wheel cover and filler tube cover, but never a 145 wooden panel trim, of which I think they were only specific to the commercial vehicles. So, one foot in the wheel well and the other somewhere more comfortable I made a template.

I traced this onto a sheet of 3-ply and trimmed to suit. After about a dozen check fittings and further trimming I reckon it fit pretty well. What makes it more difficult is the complex curves and the overall concave curvature. I think that I might need to re-make the wheel well cover to fit properly, but I reckon the panel fit reasonably well.

A bit later I had all of the holes drilled, made some brackets for the bottom and had it all test fit. The next part is to cut out the vent hole and drill the final mounting holes. Once complete I will sand and varnish with mono-cel clear like the other sections.

Maybe next time my helper can be more 'help'.

Nice work and good to meet you on the weekend!

16 days later

Minor update. Received my tailshaft from the local driveshaft place. New uni joints and remanufactured front half shaft. I Installed a new centre bearing mount and installed it in the van straight away. In preparation I've been servicing the calipers, cleaning out any corrosion and freeing them up so I can the van out to wash it after 15 years. Who knows what I'll find.

4 months later

Nico142:

My project is a 71/72 volvo142 and yours looks a larger job than what mine is.

my job is to get the CI fuel injection to work with a new Bosch pump ordered from FPC Euro (us) as and when it comes how to make certain not to cook this one.

But 71/72 had D-Jetronic sequential, not CIS, that was 74-84.

Thanks for the reply Ian,

Yes my project is a result of changing the twin carbs to this CIS (sounds very US) taken from a 1974- 145 like yours, as the wire loom was a stand alone unit, the job seemed OK to do. But now it may be required to have an internal pump in the tank?

Having bought it in 1991 things are and replacing the dash and steering shaft and wheel out of the145 it is bitsa.

Again how to set to work the new pump is the info kindly required. ??

The 74 had a single external pump near the LHR wheel. Early 240 is the same up to the later 1970s.

That is how my 142 is set up, now that the pump is to go in place do I need to prime the system or just make certain fuel is in the tank? The injectors open at about 28 psi (air pressure) so that looks good.

Theoretically you just need fuel in the tank, but it always pays to check flow on old stuff.

I don't know what the spec for the old k-jet was, but the later 240 k-jet is 40 psi to open.

Thanks again will get back to you as soon as I can get a go on fitting the unit in place

Cheers Monty.

10 months later

Now that Eric is driving more like a neglected 240 (actually, more like it's drivable) I decided to do a couple of things on the Express. Since the last post I've trimmed up the wooden door panels, sanded and lacquered them and made plastic door card protectors. One of the panels that I've completed is the LHR that fits between the wheel arch and the rear door (see a few posts ago). Standard panels used a tubular rivet to hold the clips on, however I reckon the stress of the installation would have resulted in these pulling through after a while. Bunnings sells bifurcated rivets as another option, but they don't sell the too to set them. Nevermind, making a bifurcated rivet setting tool out of a grade 8 Swedish bolt isn't so difficult. A bit of Dremel time and it's done.

Getting to it I managed to assemble the panel and clips before installing the final product.

It doesn't look too bad when installed.

Next is to neaten up the rear door tops to take out some of the dents. I'm now waiting on some tubular rivets to arrive so that I can affix the wood to the door tops and complete the final installation.

Nice work! What are the 2 small square metal plates at the bottom of the rear side panel trim? Not something I've seen in a 240 and I don't recall seeing them in my 68 145, so I assume something unique to the Express?

Bunnings have a Kingchrome set with rivnuts and tool.

You have to ask , I had to get on the elevated platform to get a set down from top storage shelf.

It's in the online order pages too.

For work,I ordered stainless rivnuts from Blackwood's and fixed the kitchen fridge drawer front panels back on , the chef's slam them in and poor build quality is evident so I made the change to proper fixture.

@carnut222 the plates are home made tabs to hook into two slots at the bottom rail. OEM probably has a bracket on the back side. The 145 masonite panel I had just used the panel clips, so I had nothing to go off.