timbo;c-162040 wroteDo not waste your time with aftermarket axles heaps of people have had vibration issues.
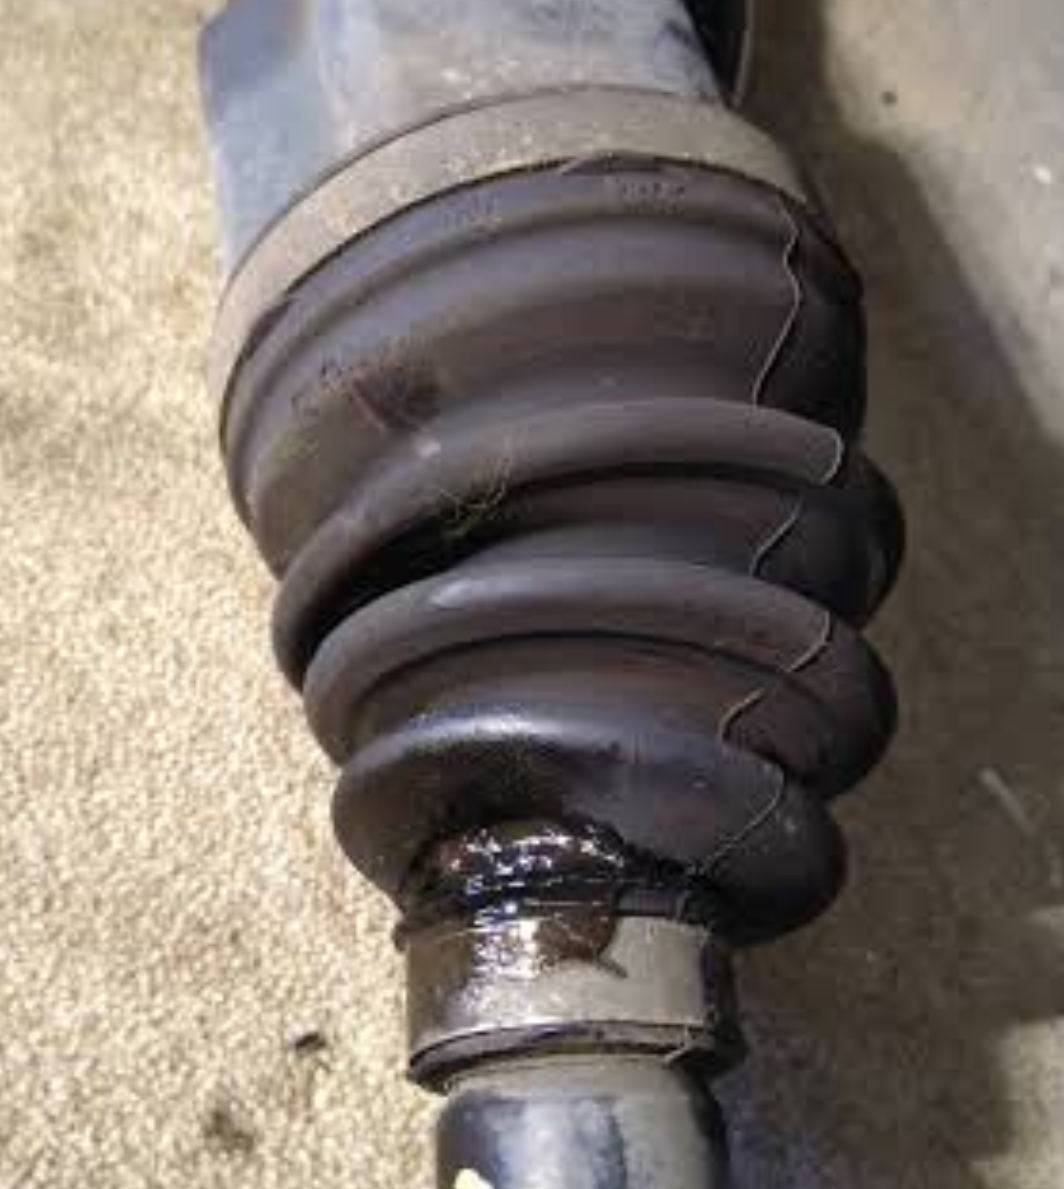
Sandwood keep the c.v boot kits in stock cheaper than USA . I guarantee you just replace the boots and you wont have any issues.
Thanks for the feedback
@timbo
With respect to the boot kits at Sandwood Trading - are they decent quality? Also, I see the Volvo kit comes with the snap ring, spring ring and axle end bolt.
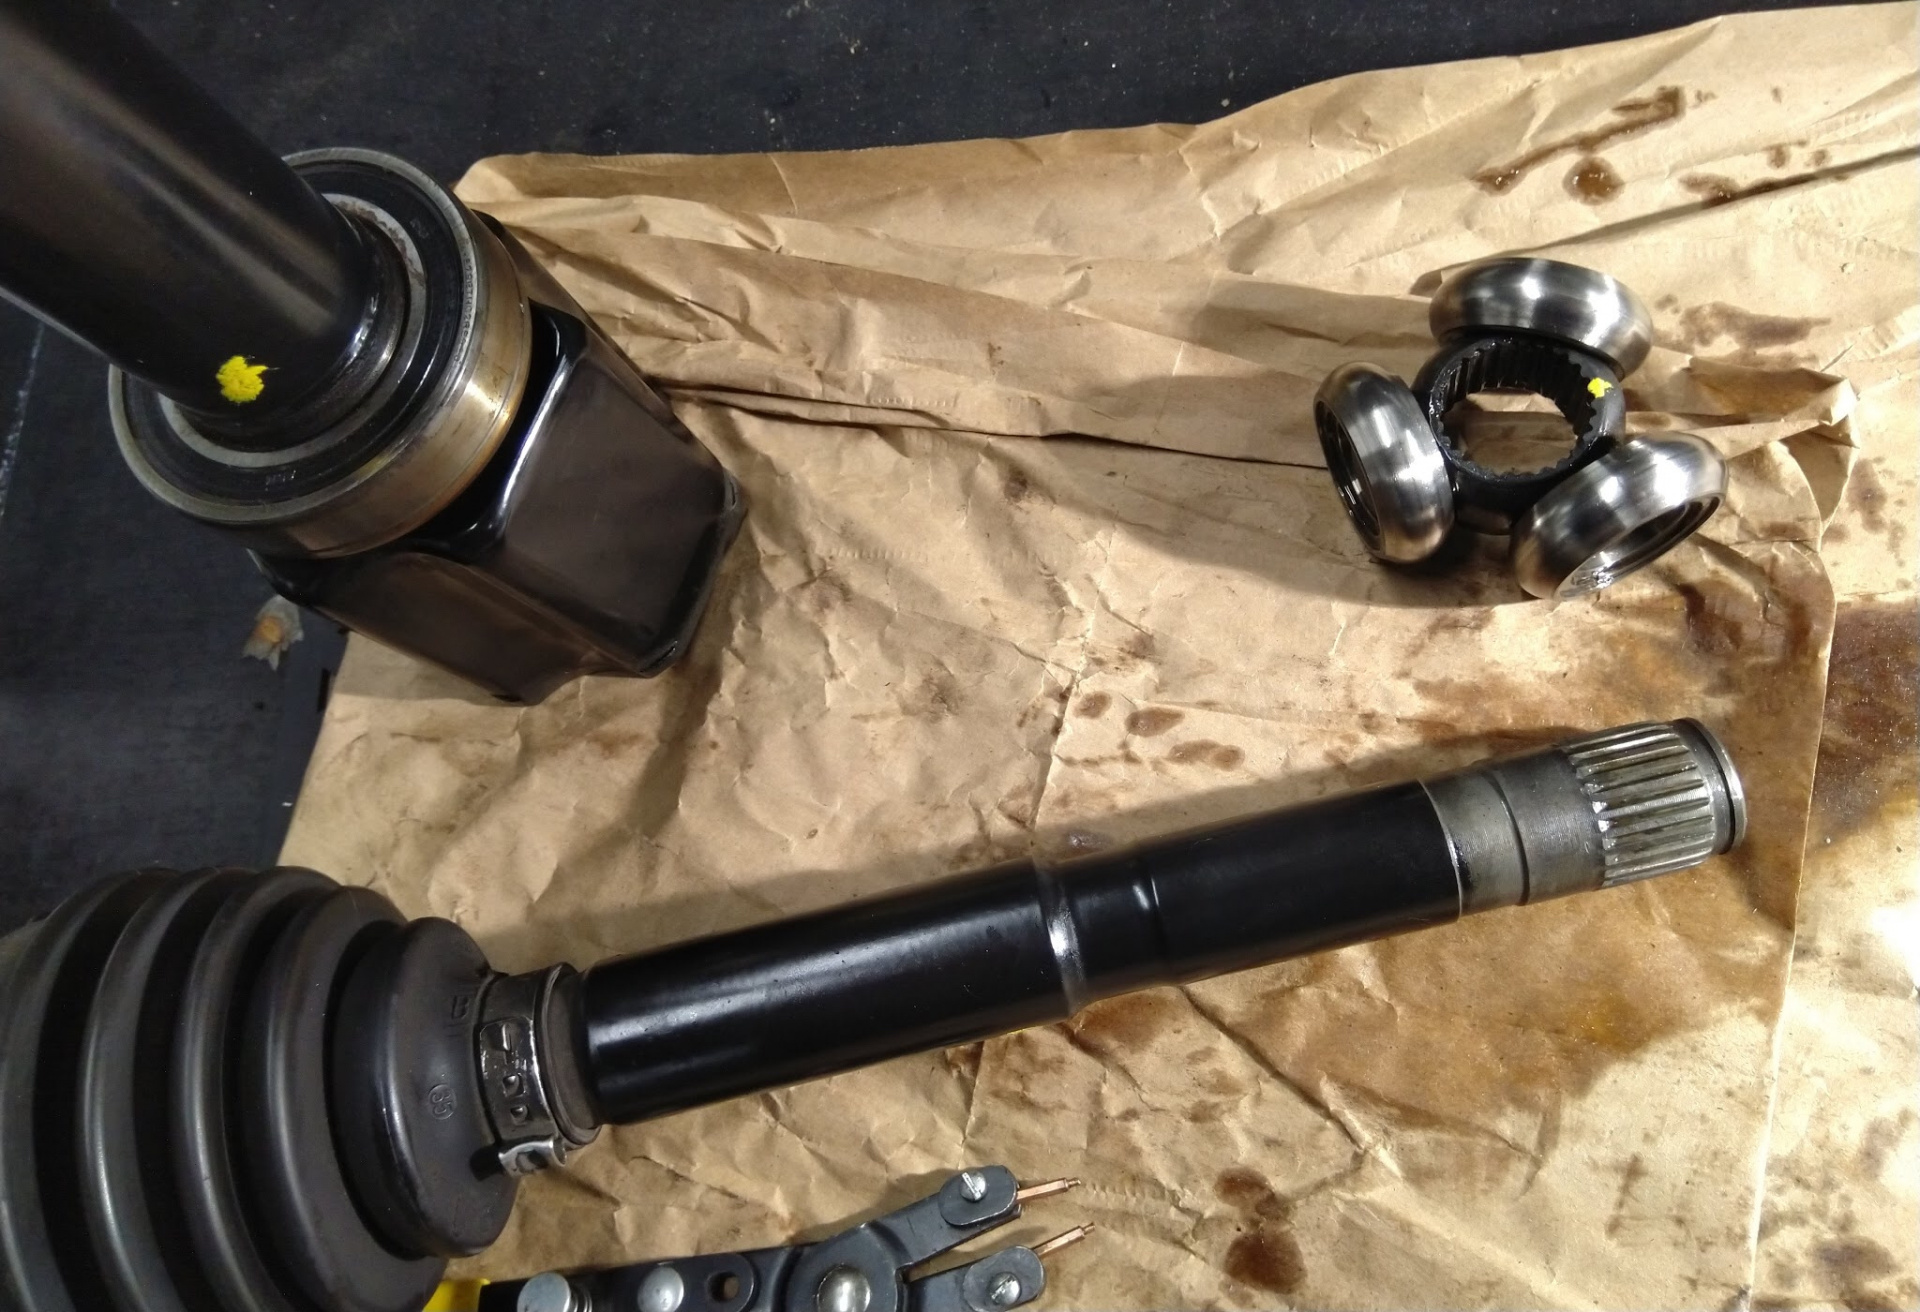
When you were talking about the inner race being burred over, were you referring to the splined end of the shaft where the trilobular bearing spider is pushed onto the end of the shaft? I saw a video somewhere of a guy using a puller to get that bit off the shaft so I’m guessing that’s what you’re referring to?
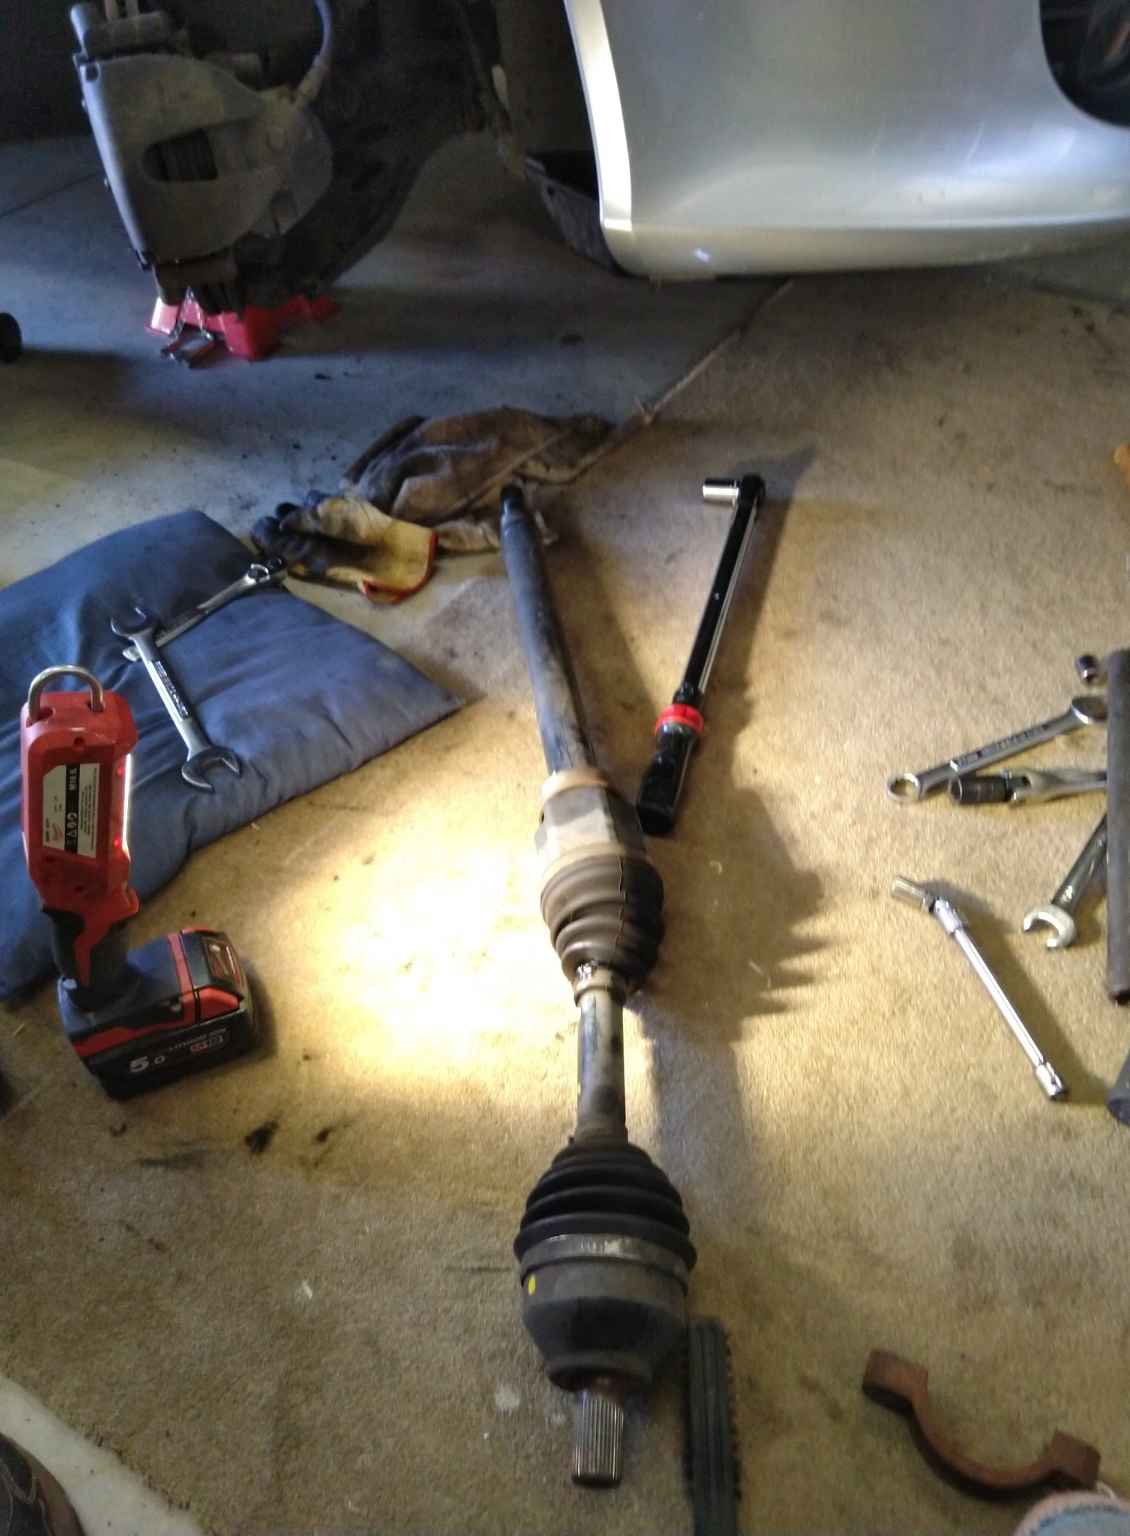
Now while I’m at it I probably ought to put in new lower control arm bushes, strut inserts, etc., etc. ;)