This project is already well under way. Originally this was to be a small block chev swap however that engine was moved to another project and I have opted to fit the Commodore (Buick) supercharged V6 (L67) with a T5 gearbox.

If anyone else has attempted this then I would like to hear from you. There have had a number of hurdles to jump whilst attempting this and it has proved a little more difficult than expected.

Where I am currently at

I have stripped the engine bay out, removed the wiring harness, removed the front and rear suspension which is to be replaced with a complete D2 pro street coils and adjustable shock absorbers. The rear axle is out and the control arm hardware has been braced to stiffen it up a bit. All the parts have been sand blasted and repainted including all the brake components.

I have fully rebuilt the engine, forged pistons, ported the heads new valves and springs to match the cam, mild Mace cam, con rods resized and all reassembled with ARP hardware, MLS head gaskets and everything else that is required for reliable running. I have installed a water to air intercooler and overhauled the M90. The T5 has been stripped and fully rebuilt and I have a cushioned button clutch setup.

Currently the engine is suspended in the engine bay and I have positioned the engine and T5 gearbox to have the shifter in the correct position. The rear crossmember (gearbox) has been modified and bolted in, this has set the engine position. I have made templates and had the necessary plates laser cut to fabricate the engine mounts. The engine mounts have proved to be the most difficult task so far. I have set the engine to have the same crankshaft center line position as the original B234F and after looking at a dozen different engine mounts I have used Corvette C3 SBC engine mounts. The biggest problem with the mounts has been making the brackets so that they clear the air conditioning compressor. The right side was easy, the left side not.

The next issue is the fitting of the sump/oil pan. The alloy commodore unit is useless as the pan bowl is forward so I have purchased a steel Camaro sump (early 1990's Camaros had this same V6) and pickup from the US that will still require cutting and welding to get it to fit. I have removed the front cross member and modified it to give me some more clearance as well as fabricating 10mm spacers to fit between the crossmember and chassis rail

The fuel tanks have been removed for a clean out and fitment of a walbro in tank pump.

I have been a bit time poor the last few months so hopefully I can stuck back into it soon. If I can figure out how to upload photos a few pic's I will do that a little later.

Nice , i really want this for a 240 but 740 would be 10x better.

DRAG the picture into the box.

Hi

I initially went looking for a 240 but I could not find one that had reasonable paint. This 740 came up and its in pristine condition with the exception of a few plastic trim parts that are sun affected …. that is they have gone brittle and have broken.

Here are a few pics of what it was and where it is headed.

Image description

Image description

Image description

Image description

Image description

Image description

Image description

Image description

Image description

Image description

Image description

Image description

Image description

Image description

Image description

Nice work! I look forward to following progress on this. I've always liked the 3800SC engine. Pretty much bulletproof and gobs of torque.

Ohh man!

Epic.

I’ll buy the old 16V motor!

What gearbox?

I was thinking auto as manual options are all junk never mind my knees are not liking it.

Auto can be many options when the TCM is built by one of the experts like DTM in Geelong vic

a month later

Update

The mounts plates are now finished, the gearbox crossmember has been plated and everything is now painted and ready to start re-assembly.

The underneath needed a clean up as it was rust proofed from new and having spent some years driving up and down a red dirt driveway it looked pretty unsightly. So I went to town on the under body, stripped it out completely of every conceivable part, removed all the rustproofing, completely cleaned the wheel wells, primed the whole thing, re-applied the stone guard and then 2 coats of black to finish it off

Since then I have cleaned all the brake lines, fuel likes bolts and brackets and refitted those

Image description

Image description

Image description

Image description

Image description

Image description

Image description

Image description

Image description

Image description

Image description

Image description

Image description

Image description

Image description

Image description

Impressive handiwork!

Cheers arebee.

Front Cross member and gearbox cross member bolted back in and everything sitting where it should be.

Image description

Image description

Image description

Image description

Image description

9 days later

Congratulations, really well done (so far).

What I need to do now is get the car back on its wheels so that I can remove the motor to complete its assembly, fit the clutch and make the required parts for the hydraulic slave cylinder and modify the oil pan to give the required clearance. Then reinstall the whole package and begin the plumbing of the cooling system the air con and power steering.

Getting back to work on the suspension, fuel system and steering has proven to provide a number of road blocks and it seems every time that I attempt to reassemble things there are unforeseen problems.

I stripped the steering rack (which I knew had leak issues) only to find that the spool housing is out of round and that has essentially made the rack scrap metal. I have another rebuilt steering rack coming from Berry Motors.

The fuel filler neck and pump, sender assembly had leaking wiring fittings so I have fitted small bulk head fittings in place of OEM units and fitted a Walbro 255 intank fuel pump. Which possibly would have needed to be done in any case to carry the pump current draw.

A few pic

Image description

Image description

Image description

Image description

Image description

Image description

Image description

Image description

Image description

With the fuel tank reassembled I refitted it and when I did the clamp up on the connector to the auxiliary tank in the boot …. it split. I guess car parts have a life span as well. Another order from Berry Motors on the way.

The fuel tank in the boot should have been a plastic unit as well. It seems to have functions well as a vapor separator for the main tank. Although it was not rusted out the condensation had caused some rust so I needed to address this as well with a Caswell epoxy tank seal.

a month later

Three (3) word post/replies do not explain anything. I started this as a build discussion to see if there was any interest or perhaps find someone else who has attempted this engine swap. Maybe I have this in the wrong place. And I get random messages/posts that have nothing to do with my build ……….. Go figure.

    What I meant was, johan is a scammer and is trying to suck money from people gullible enough to fall for it

    He’s been banned from this site

    PeteWA

    No man, you’re good, he hijacked your post to get acceptance perhaps.

    Stay here, your work is beautiful

    OK got it. Thanks for clarifying what was happening. I see enough scammers when I'm selling parts to be wise to them. Cheers

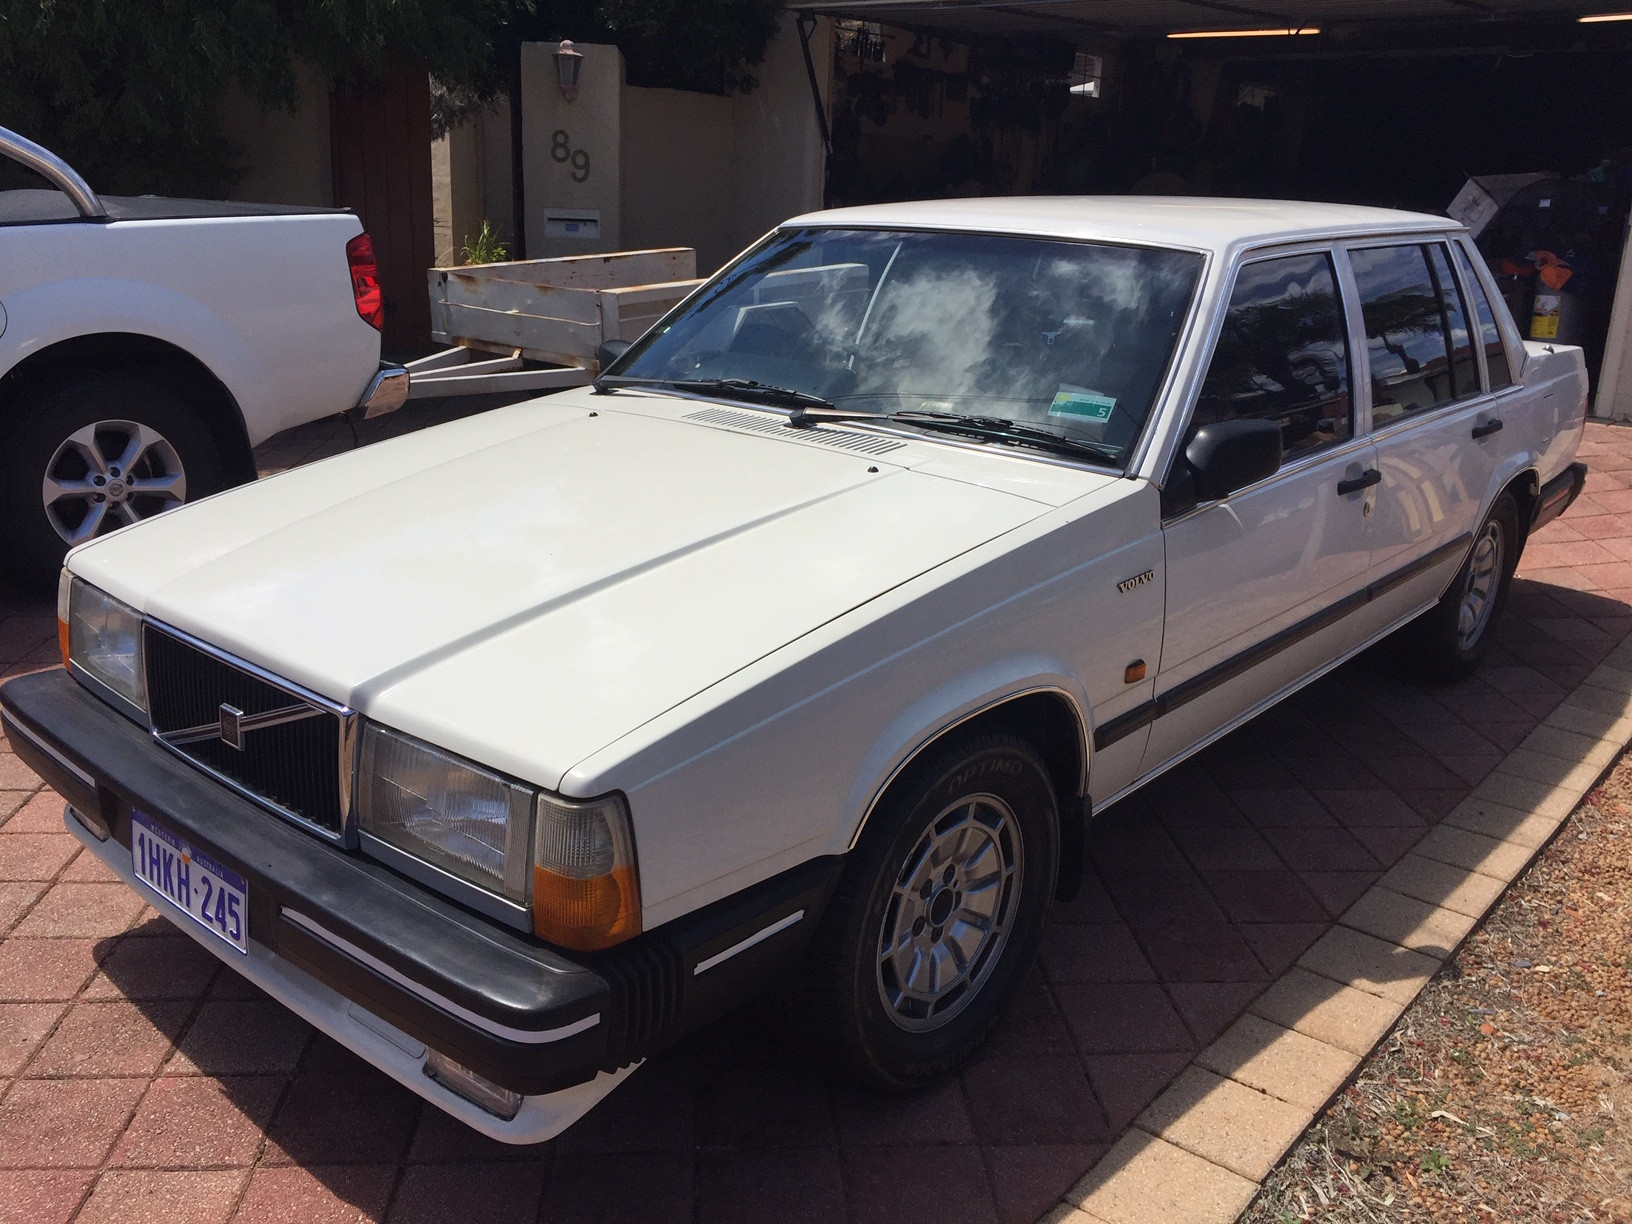
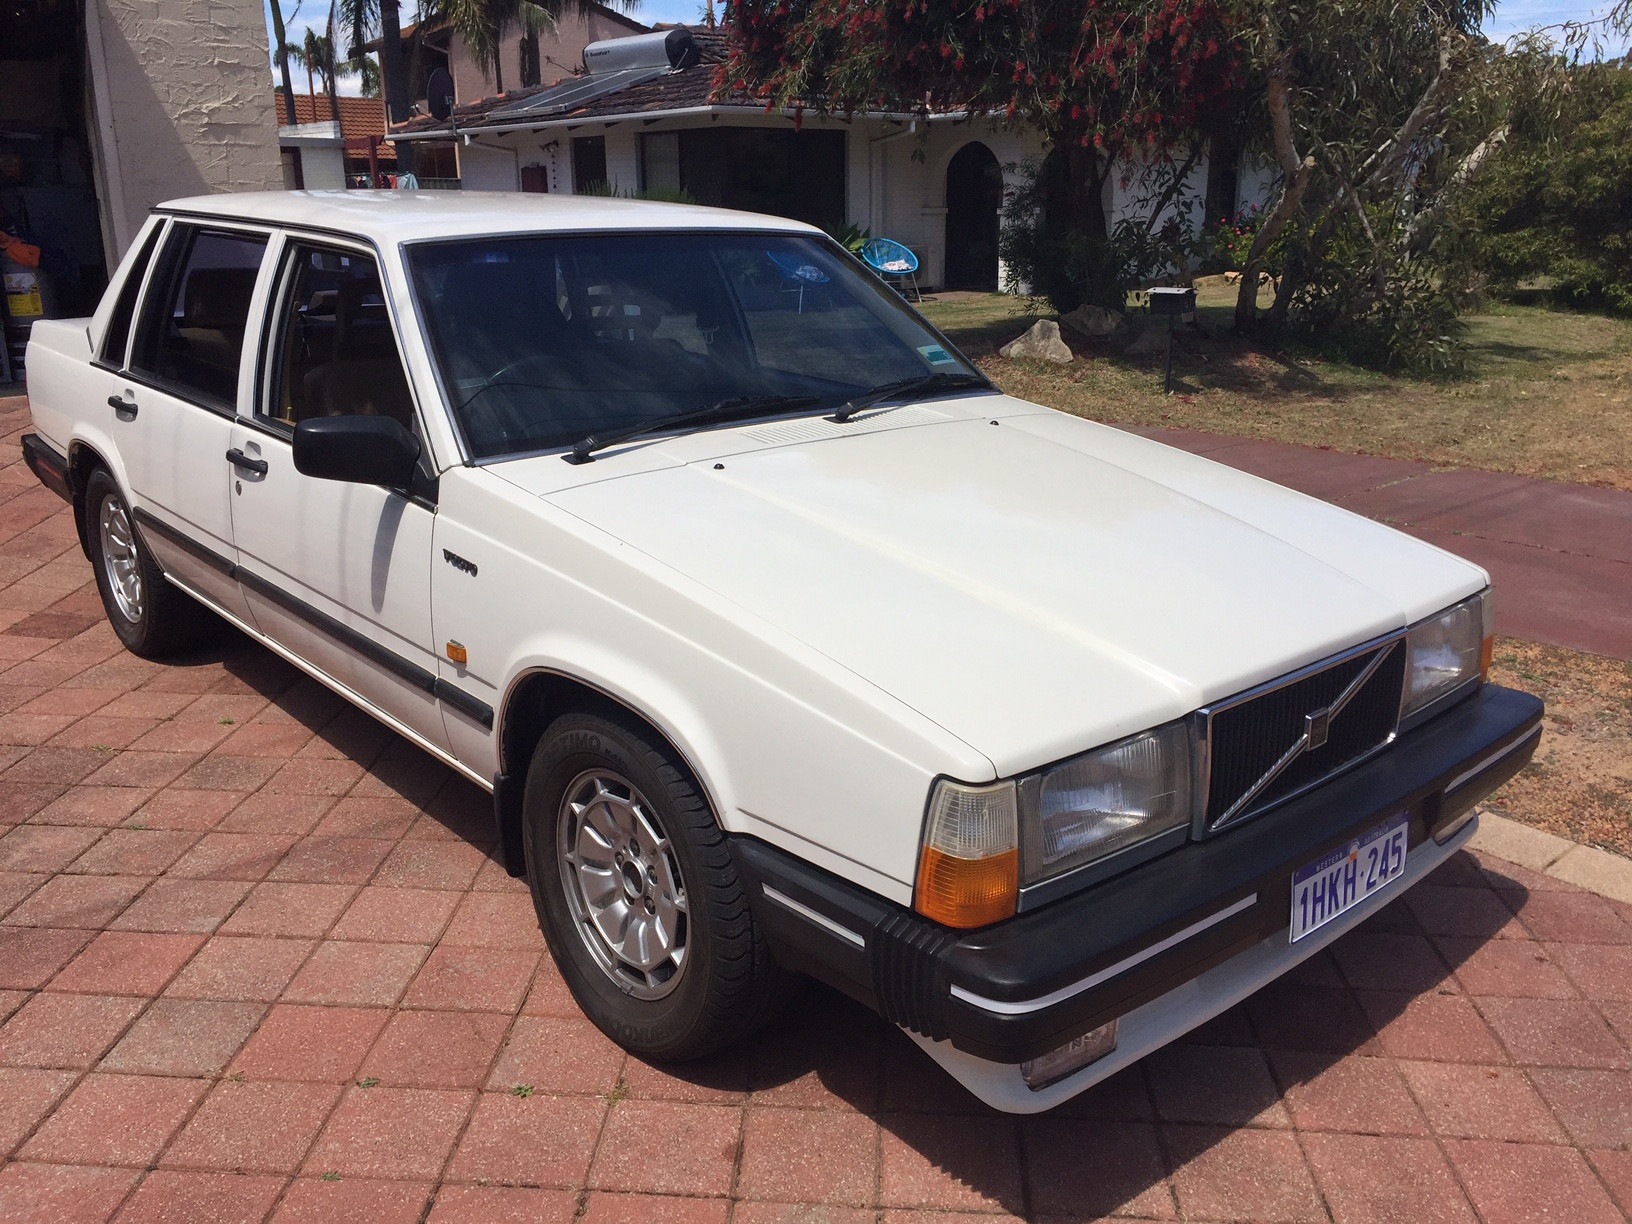
    A bit of an update on my build progress. D2 suspension.

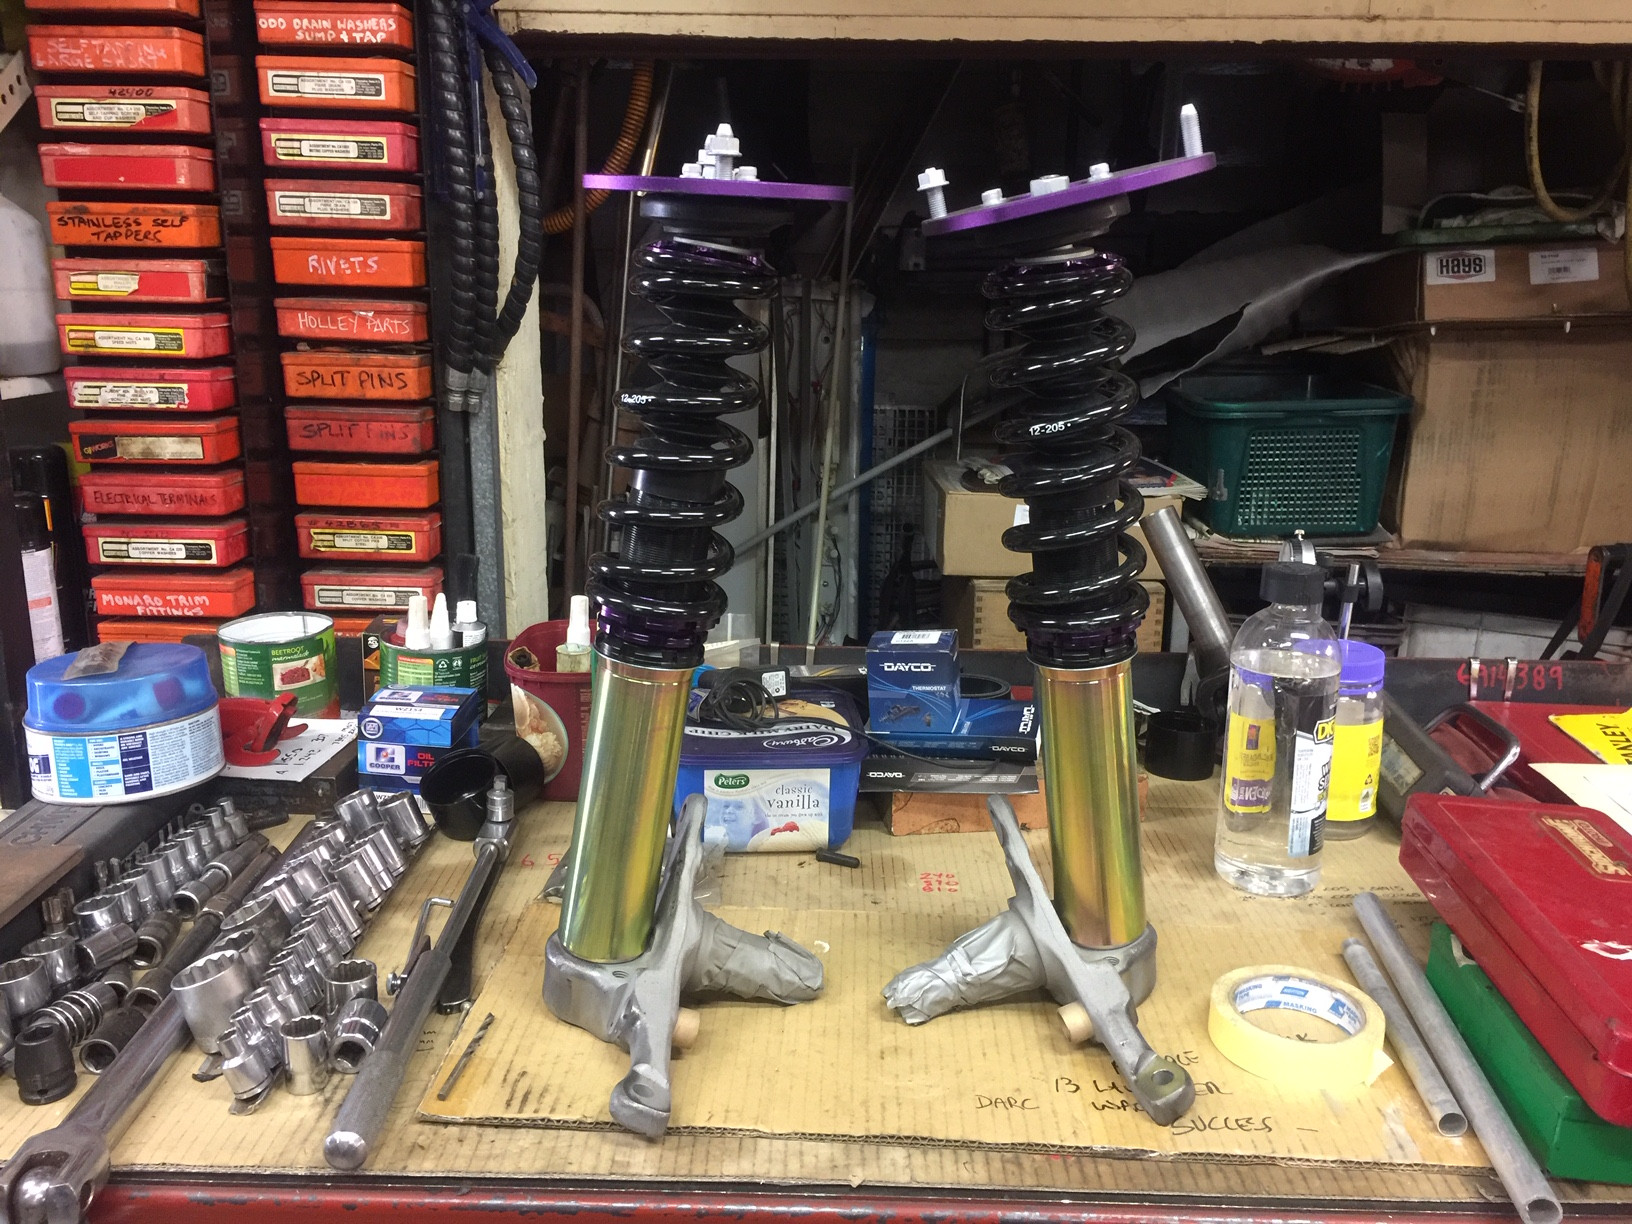
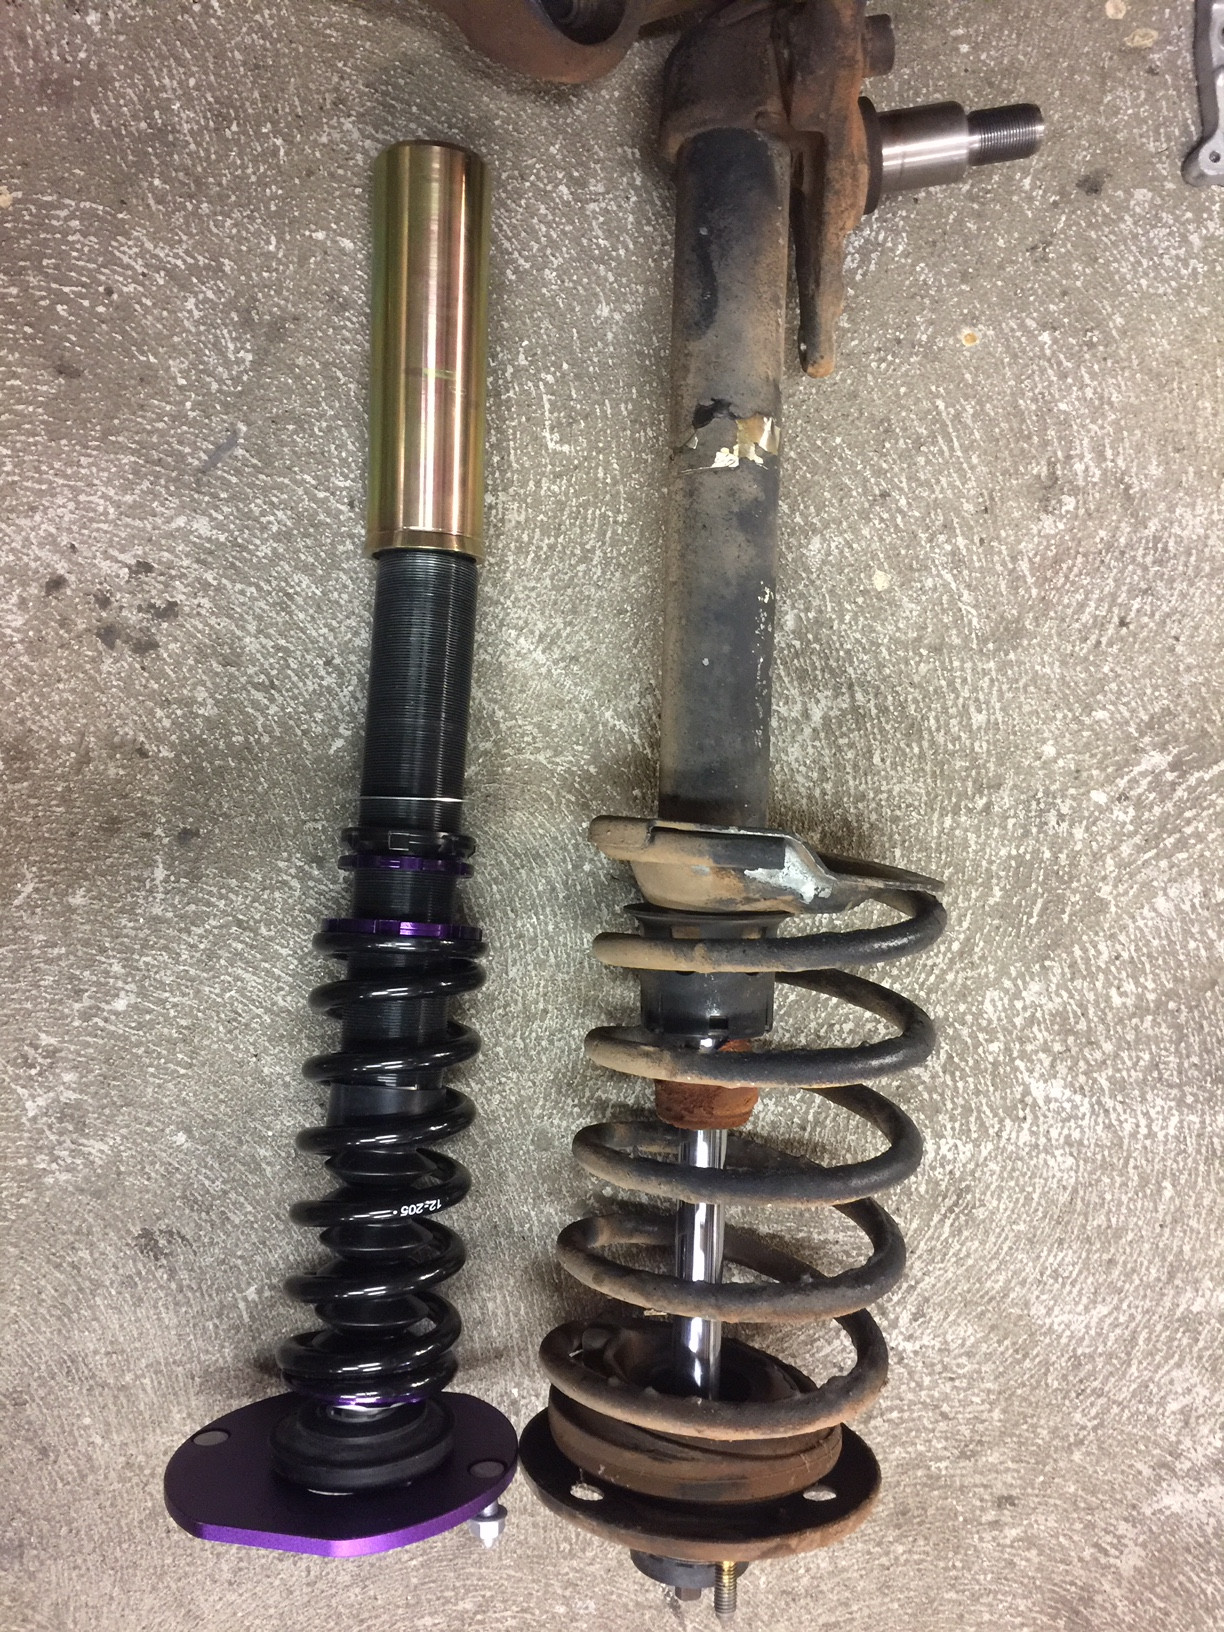
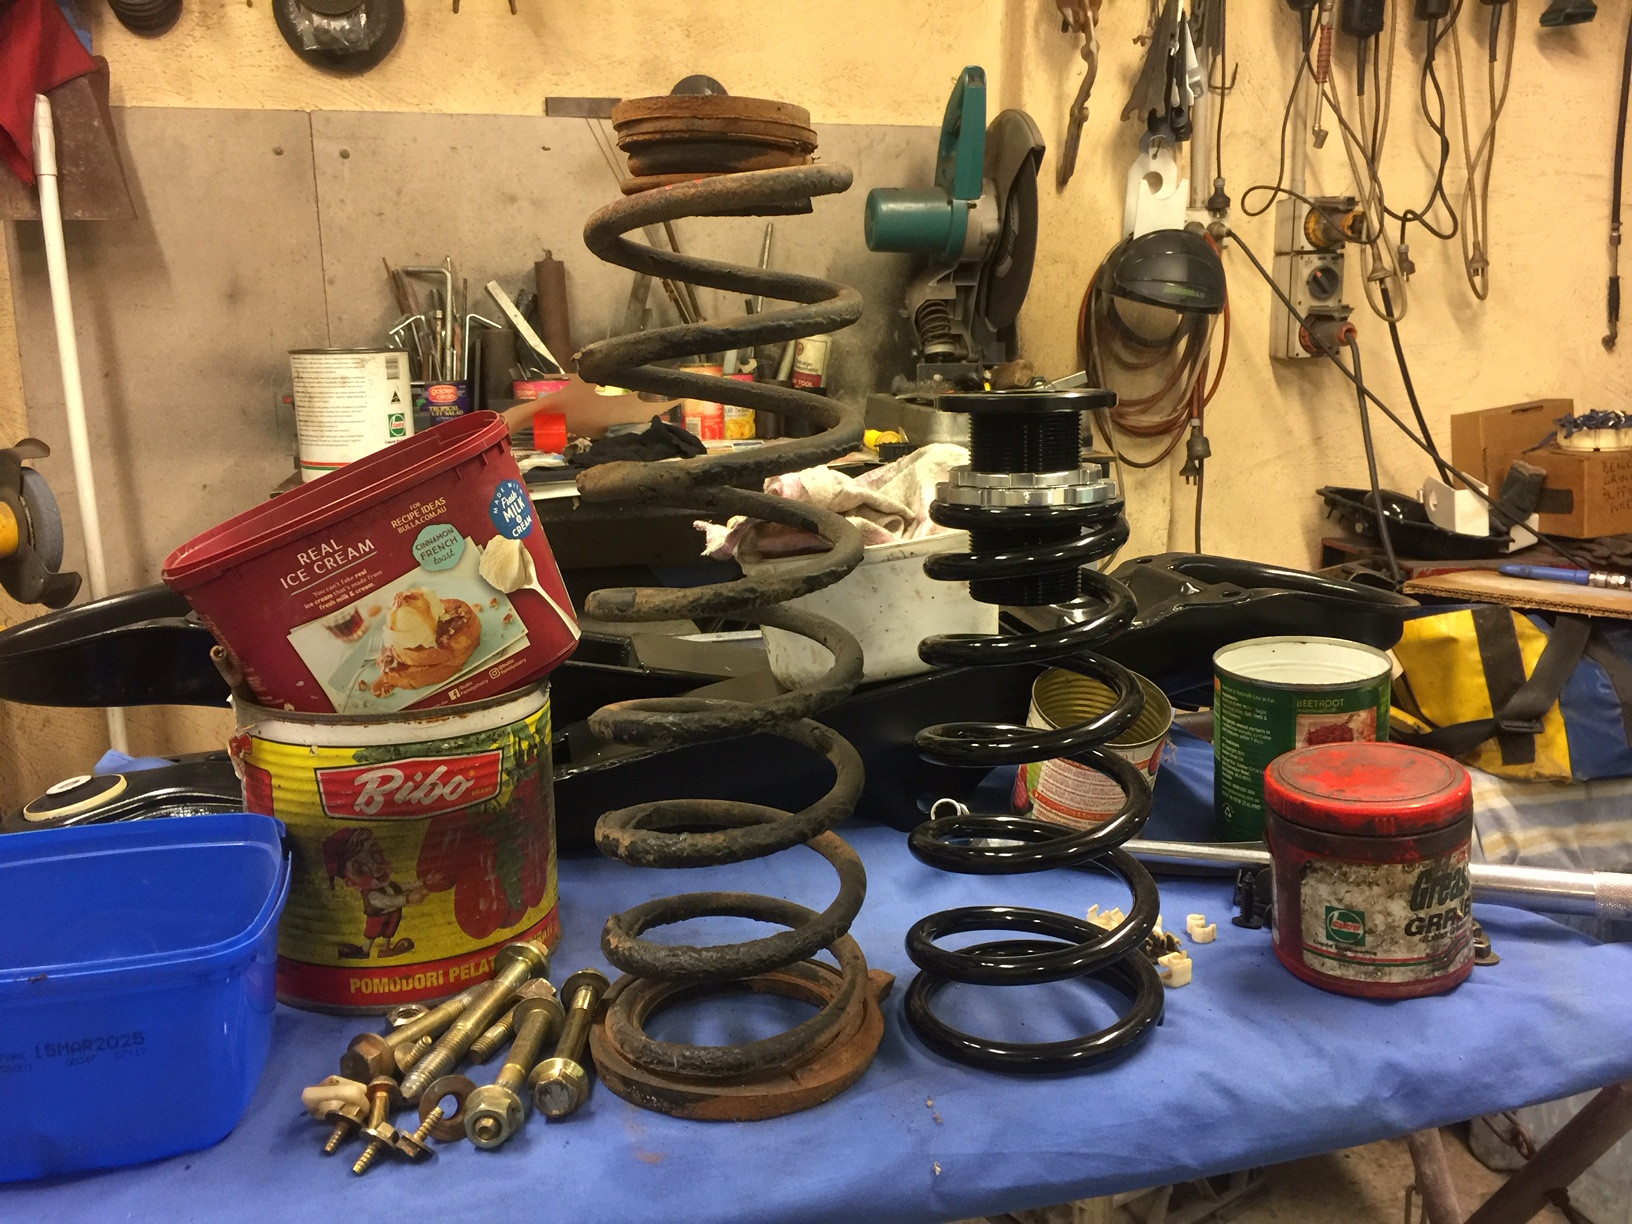
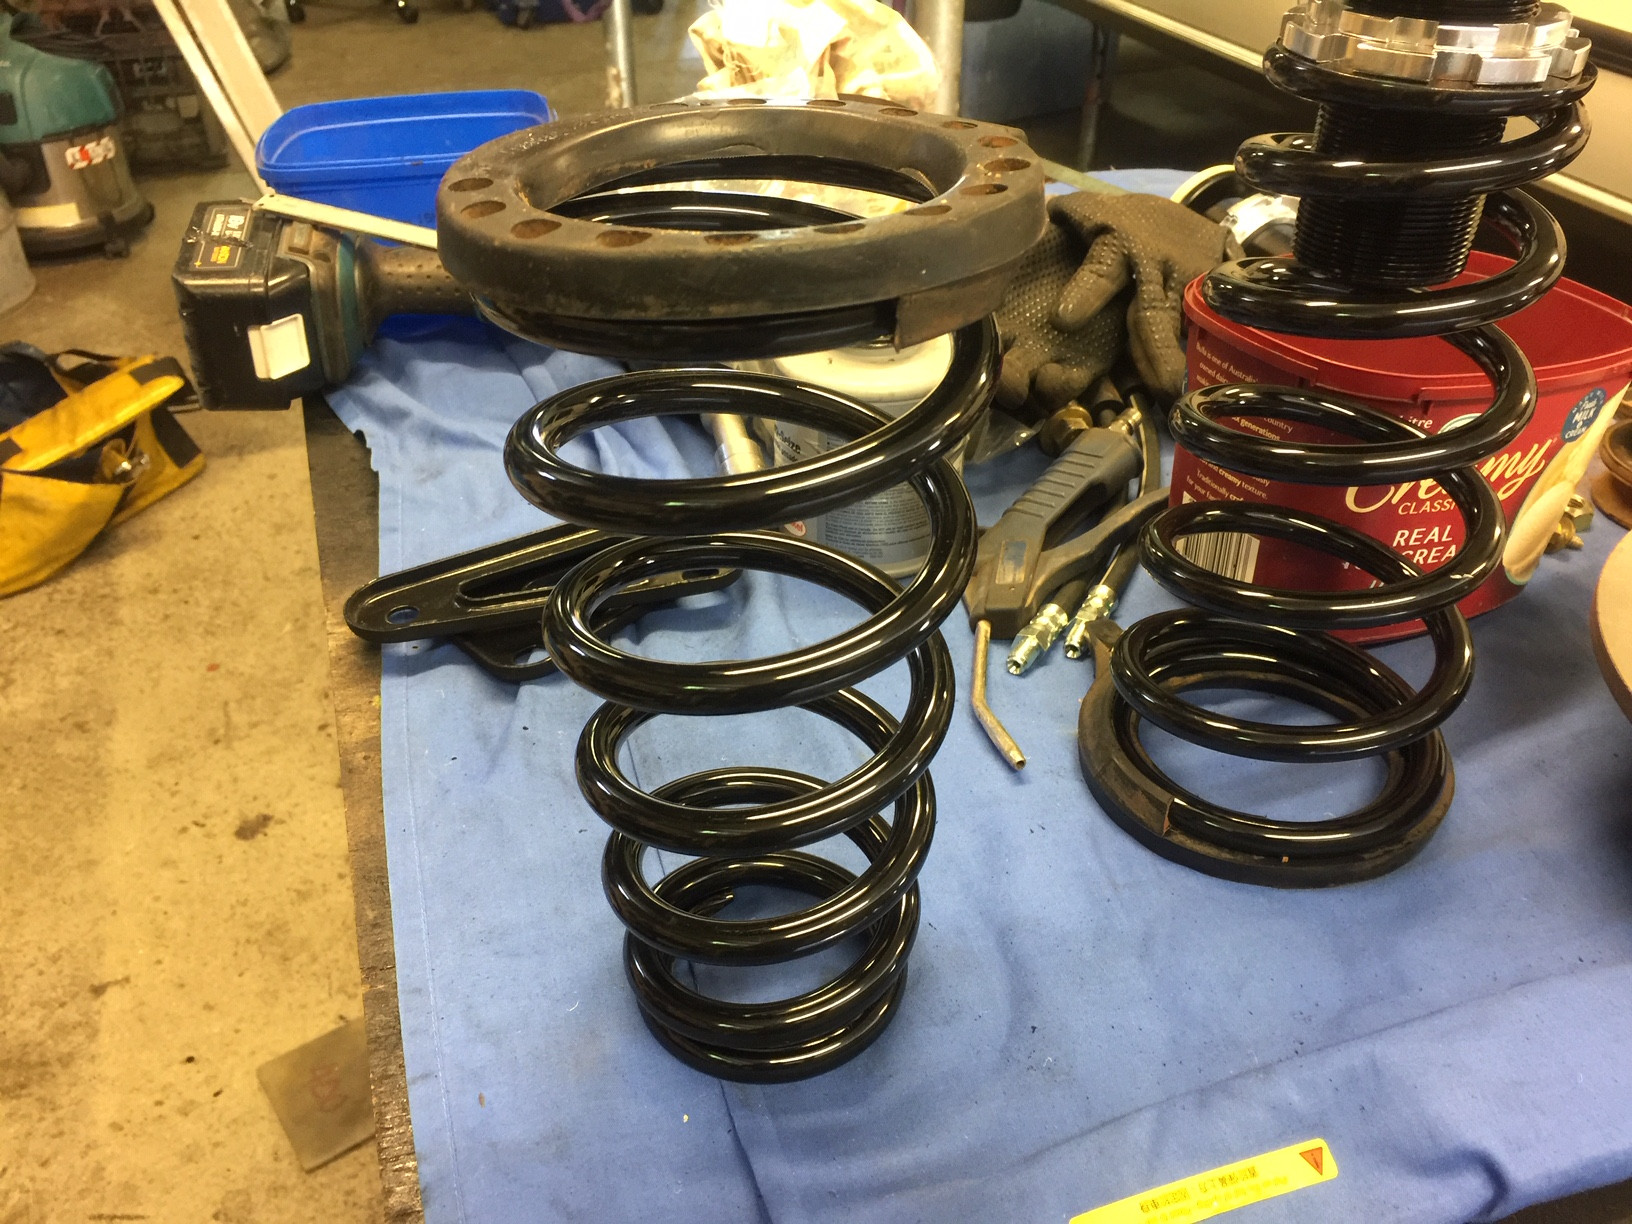
    The 740 was exceptionally comfortable ride with the standard suspension with the exception that cornering was more like riding in a boat. I spent a considerable amount of time researching and trying to find the standard 740 spring rates and, I found no credible information. In the end I went with D2 Street Kit because the D2 front and rear spring rates where similar, the kit was reasonably priced for a entry level full spring and adjustable shock absorber set. Time will tell if the quality is there.

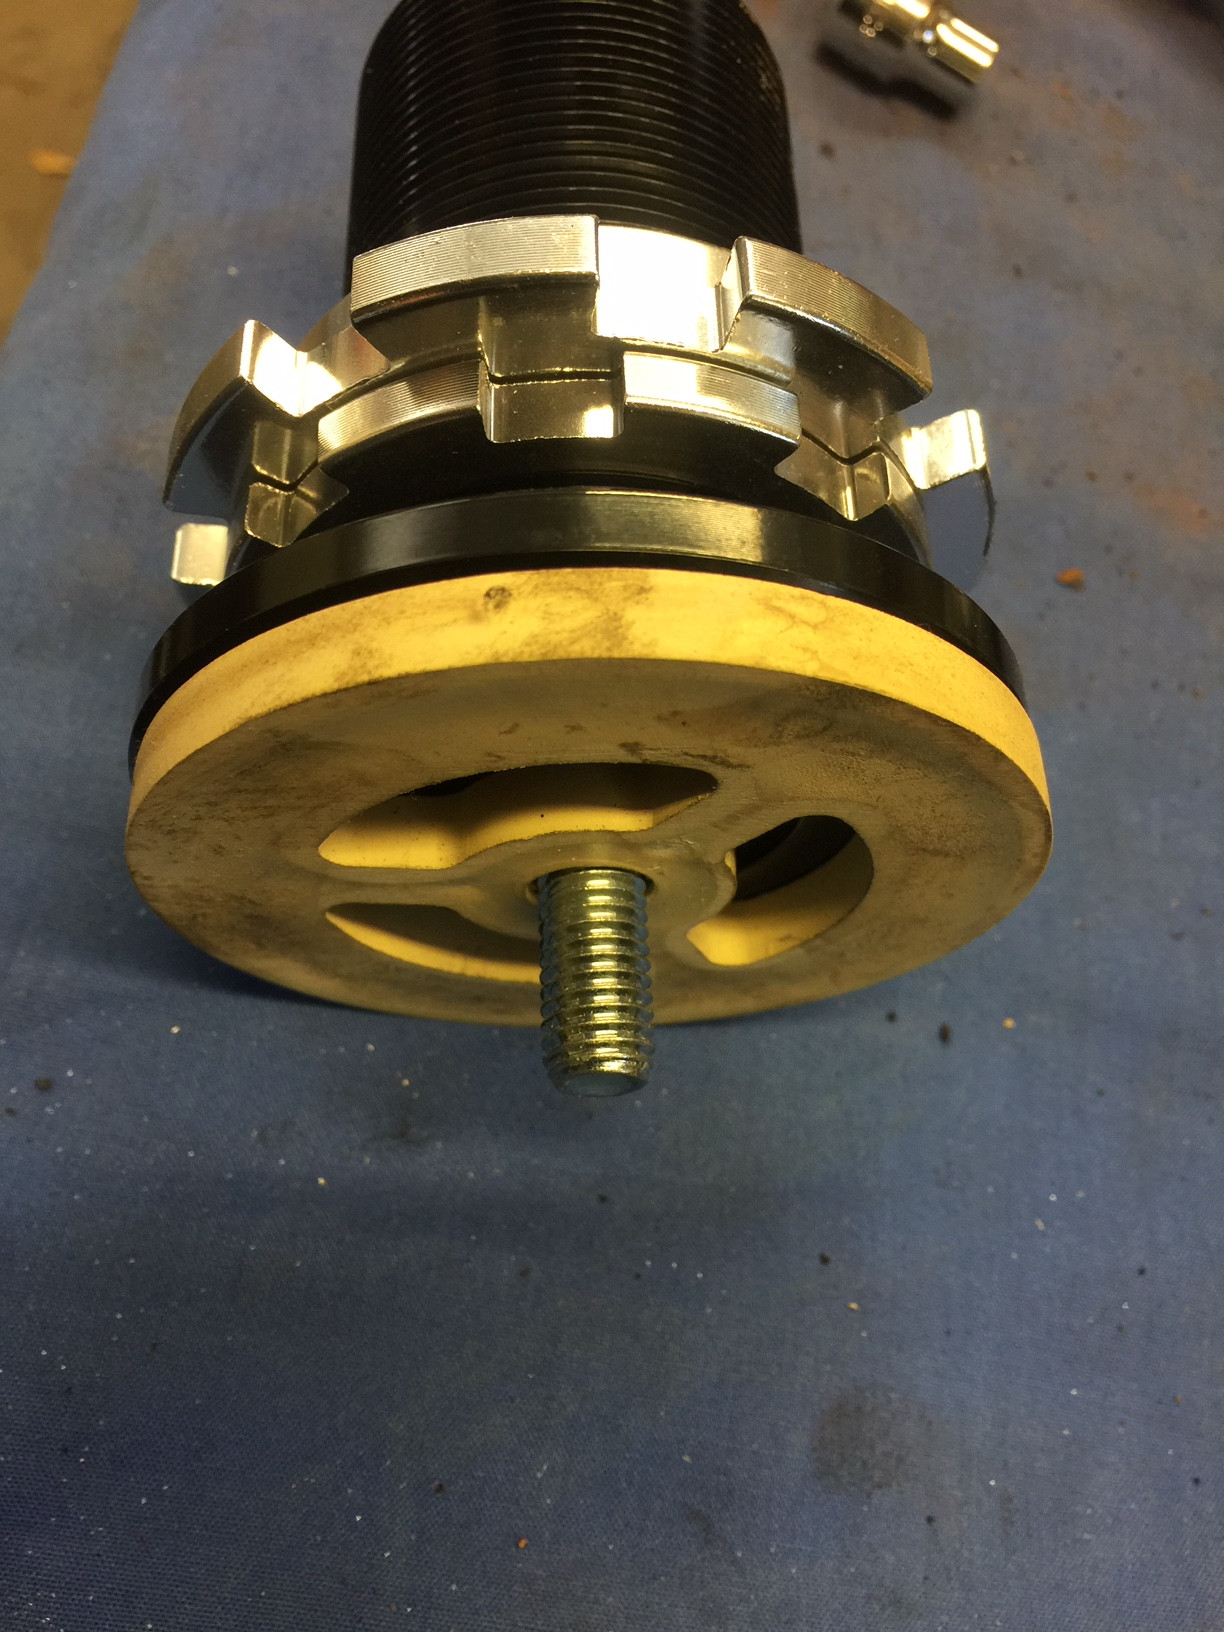
    The D2 Pro Series Street Kit has advertised spring rates of Front 8.7 kgf/mm and Rear 4.4 kgf/mm. Motion ratio correction has the Fronts at 7.395 kgf/mm and the Rears at 6.468 kgf/mm

    I measured the 740 corner heights (top of the wheel opening to floor as a base measurement so as to gauge how much I was lowering the car when it came to setting it up.

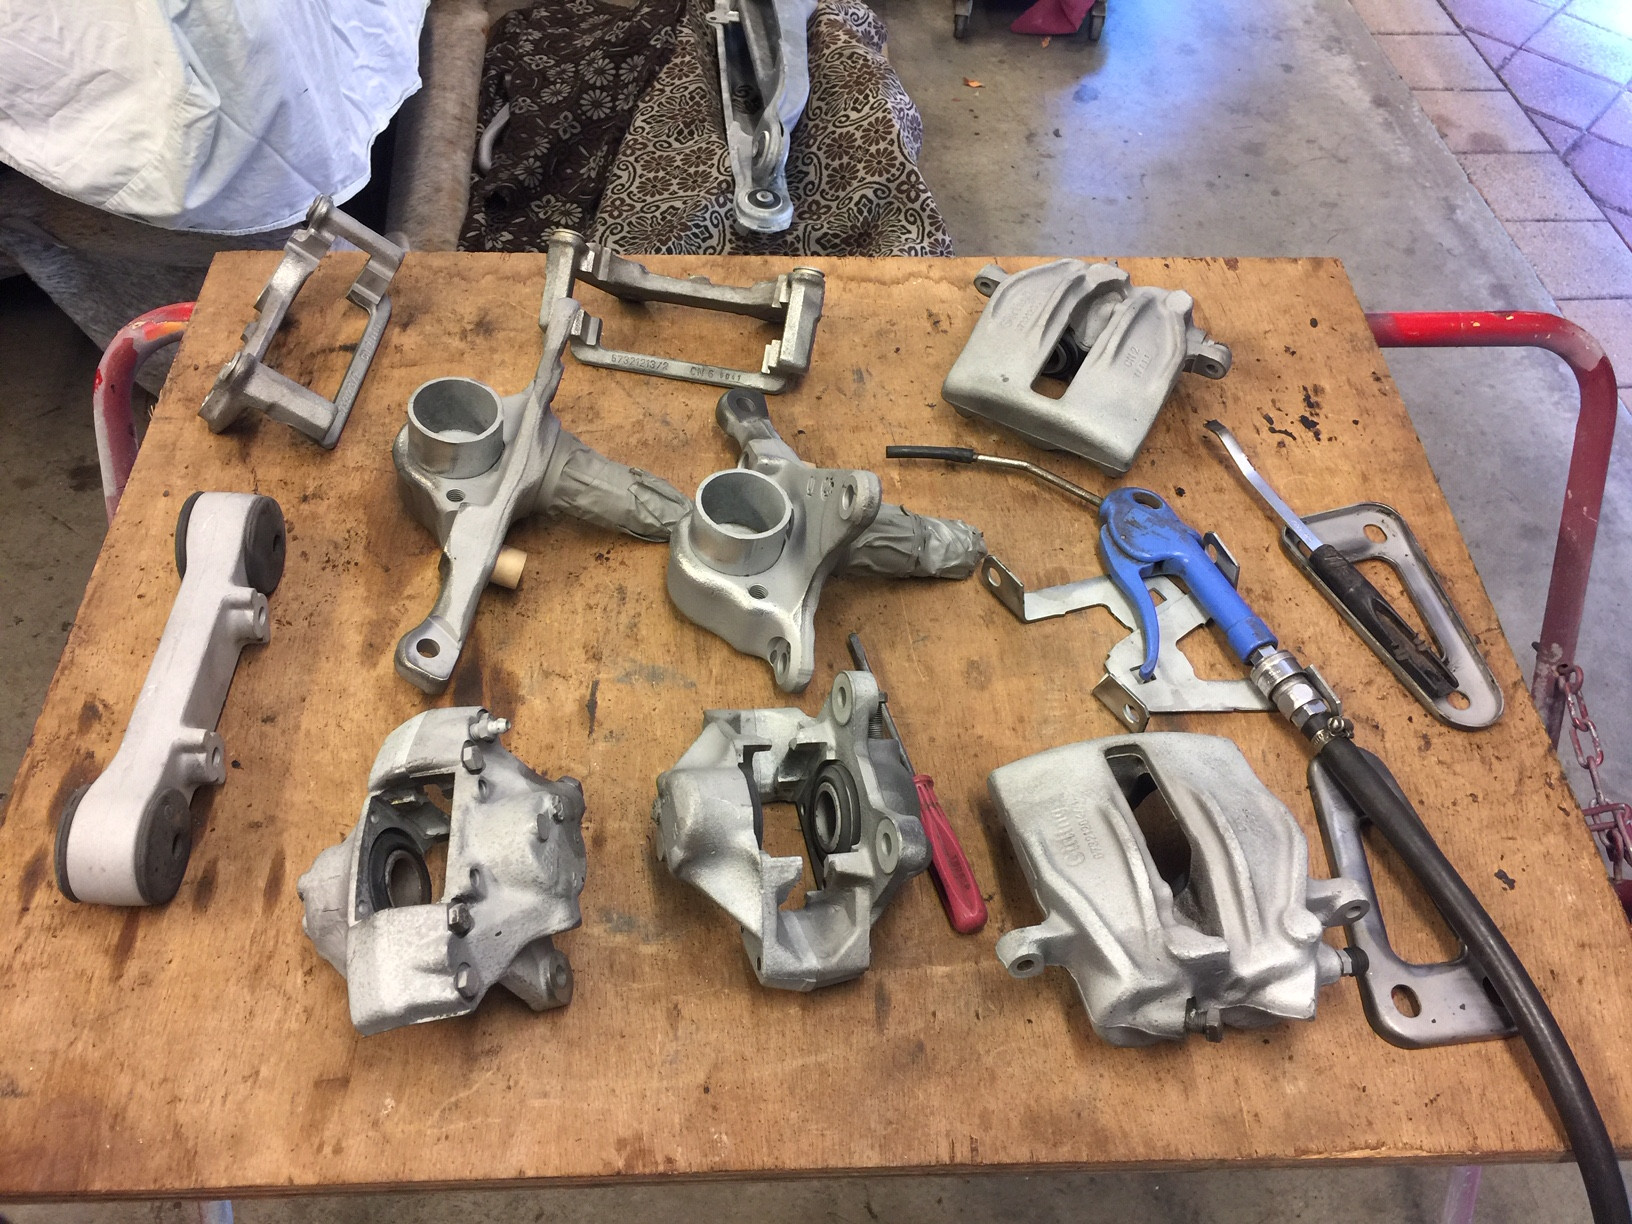
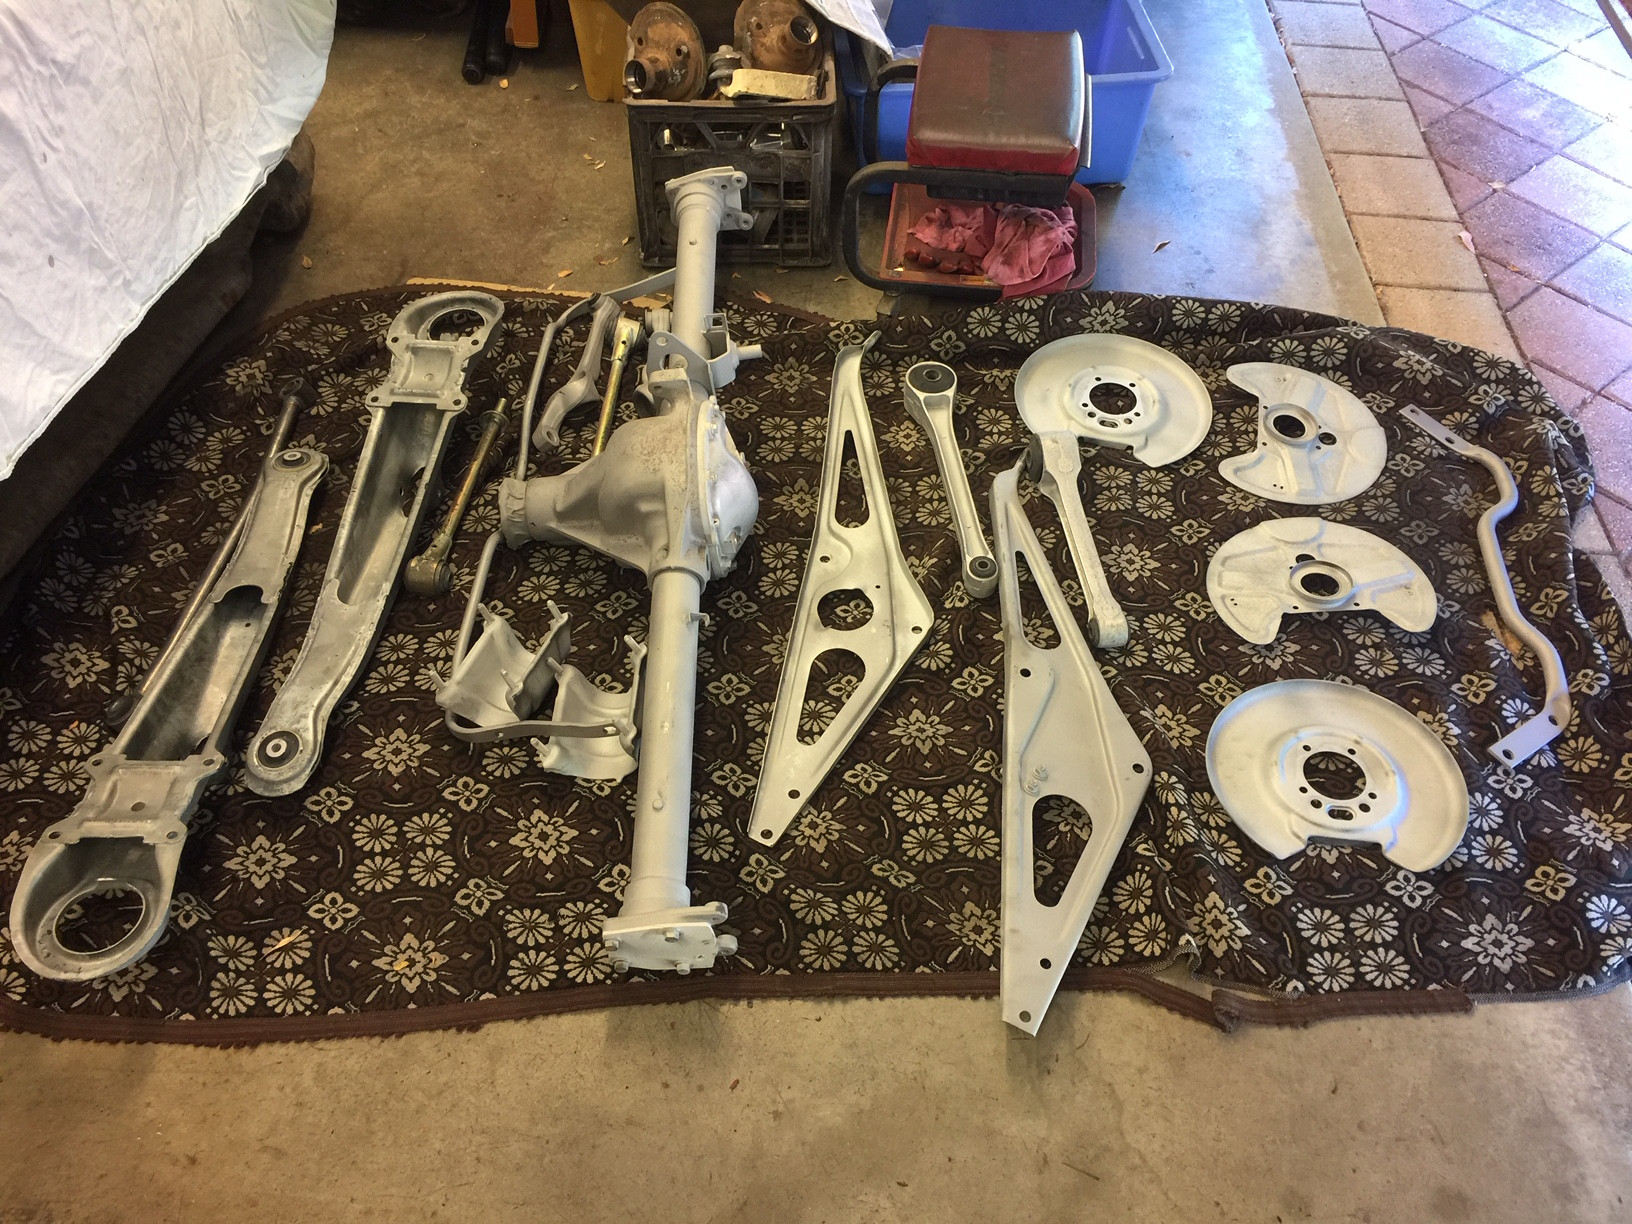
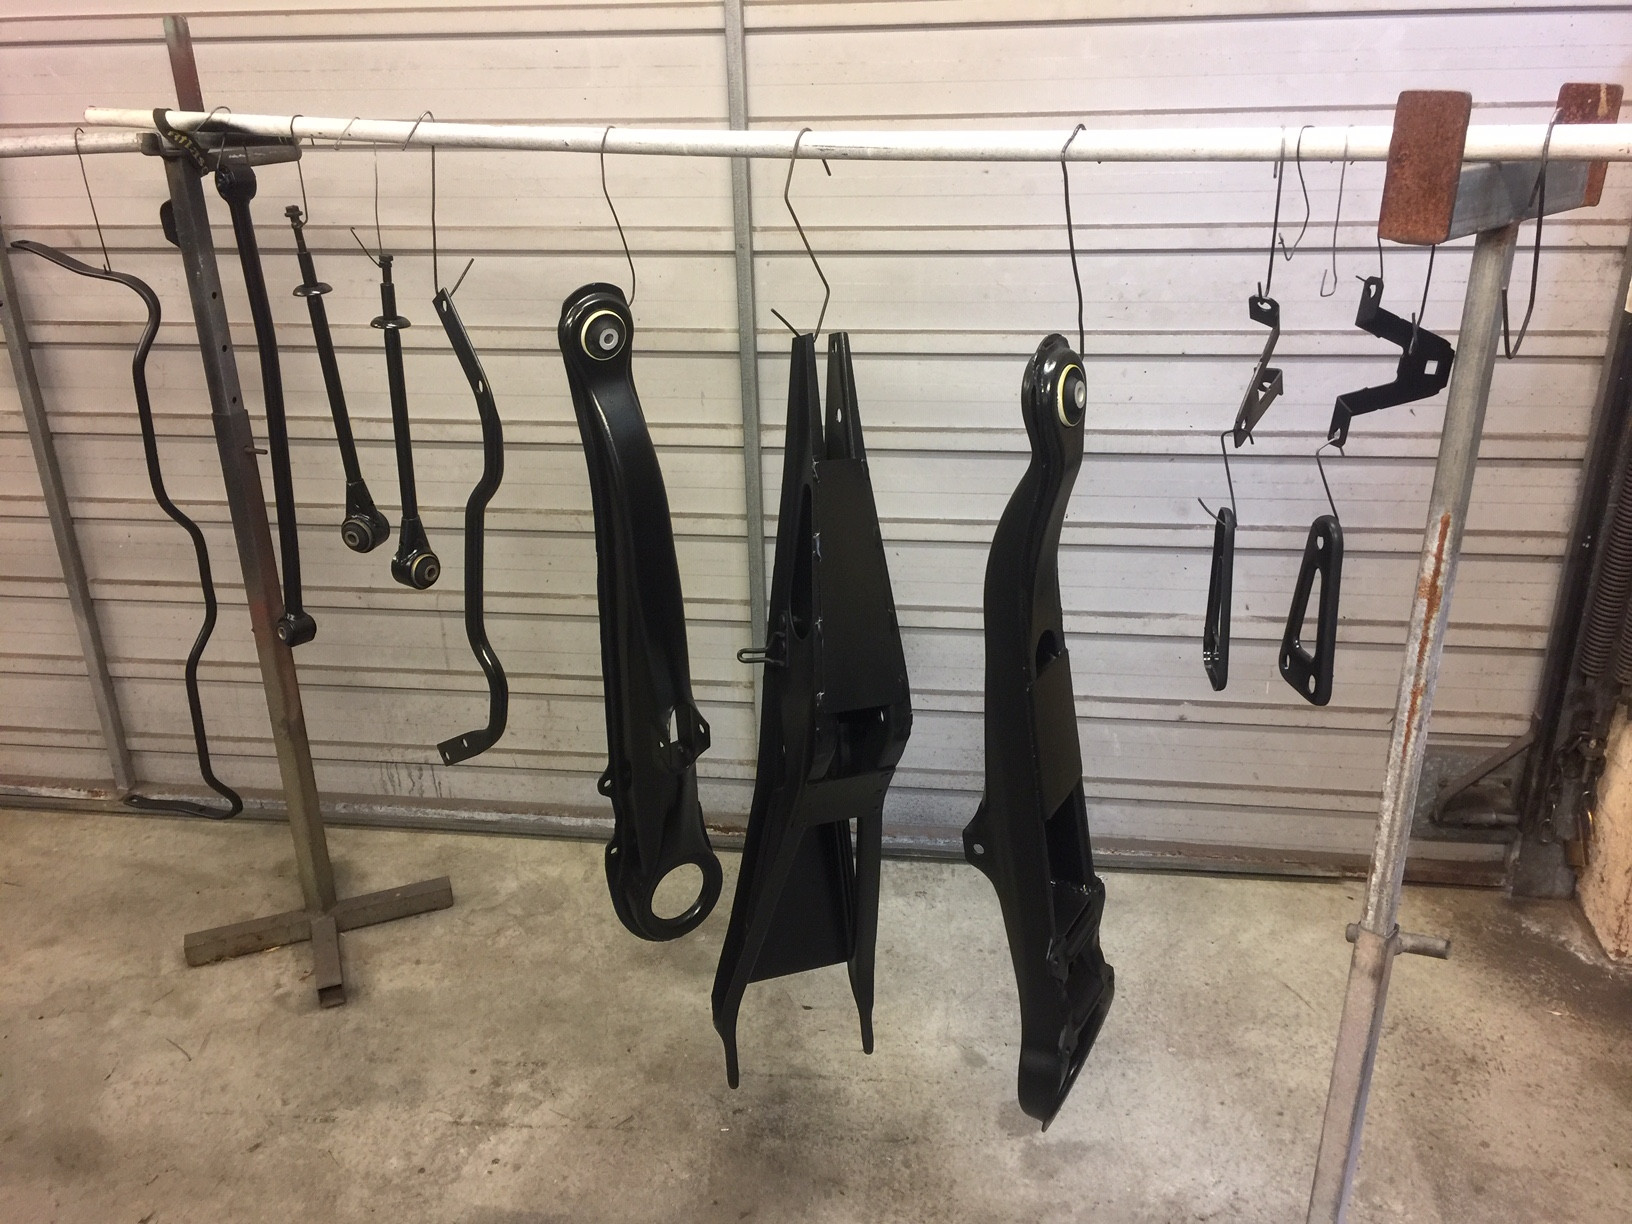
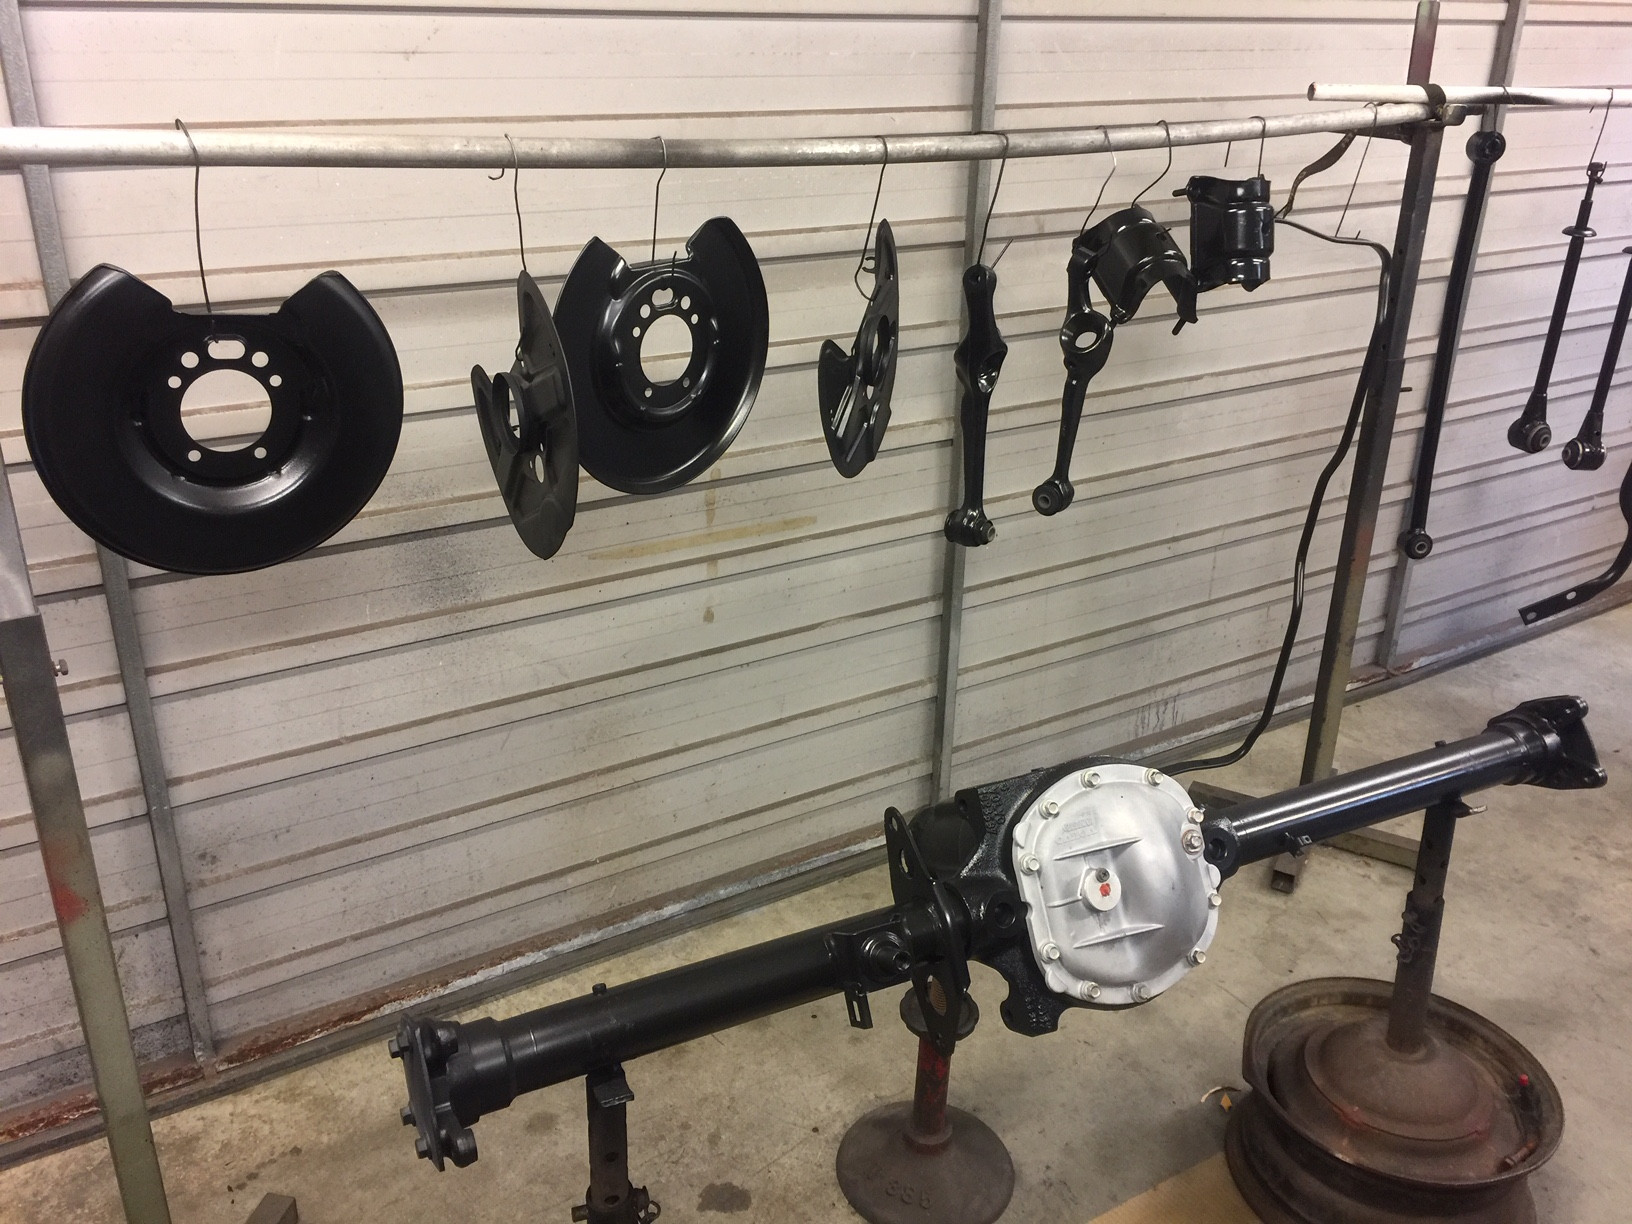
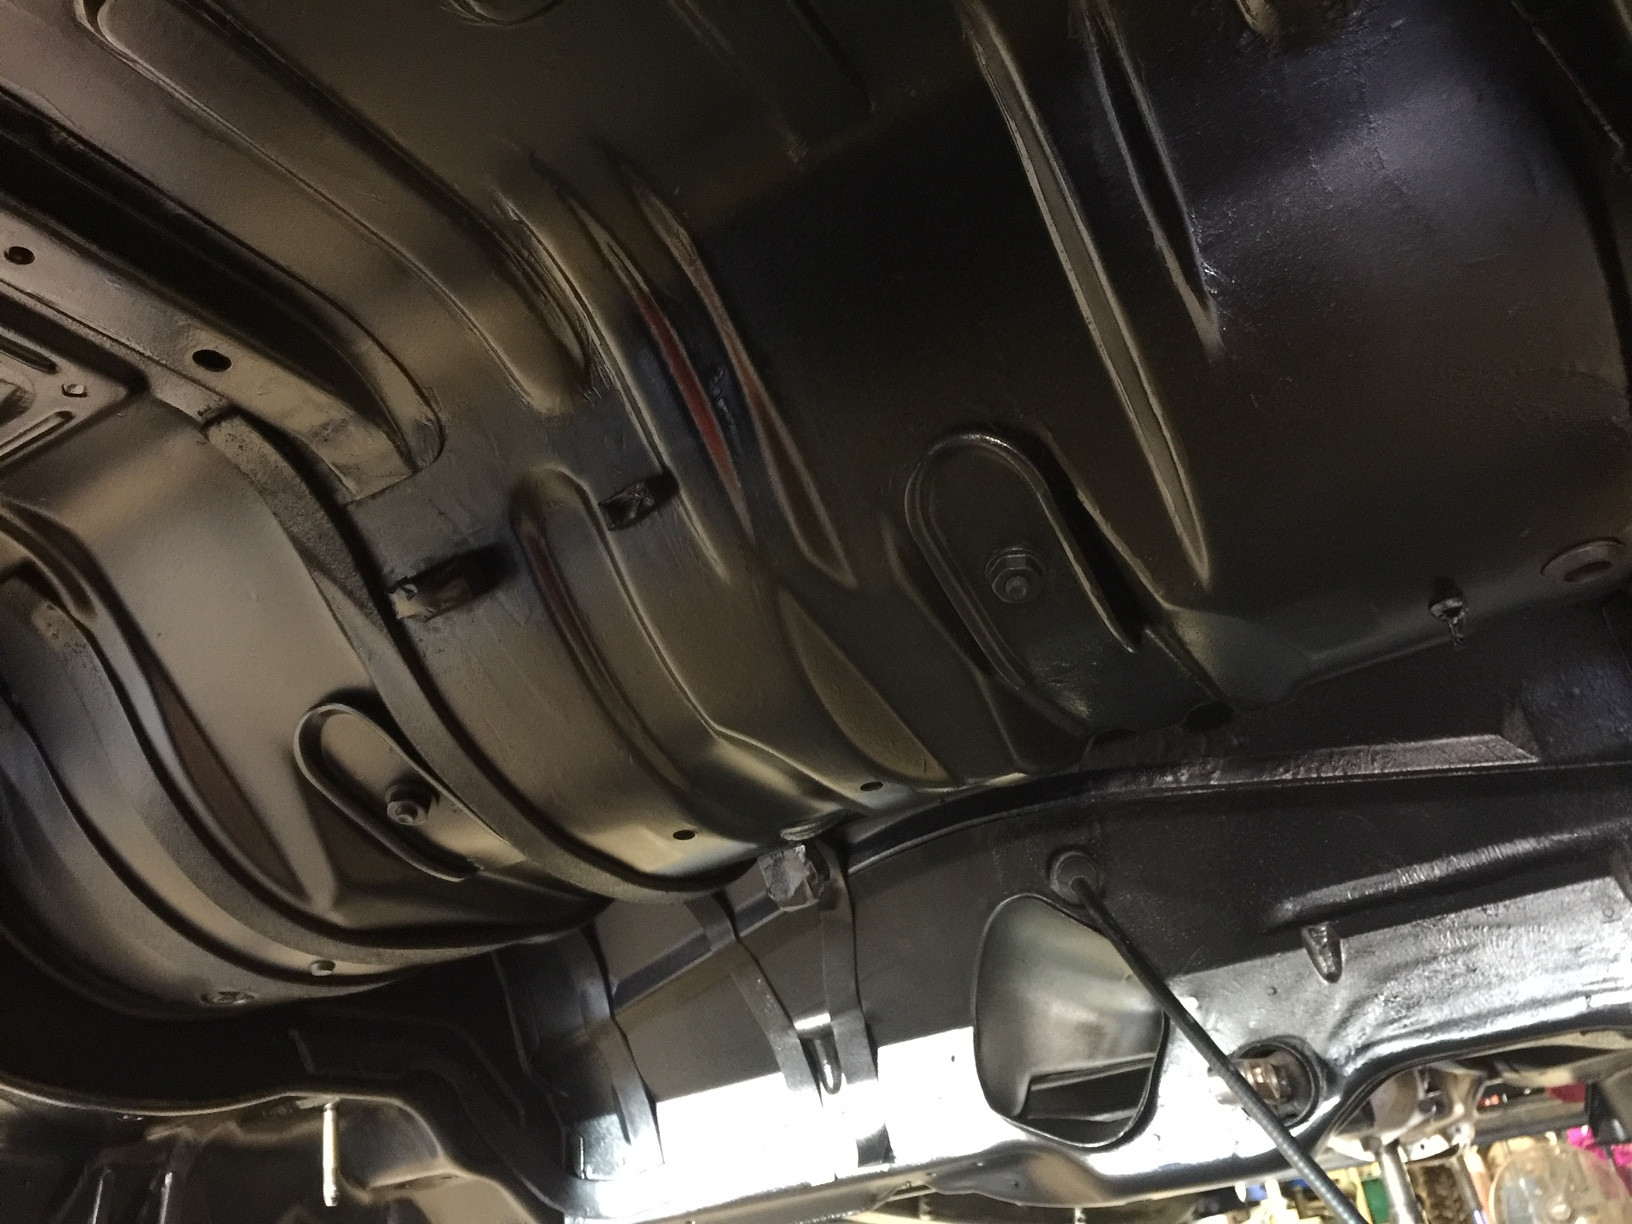
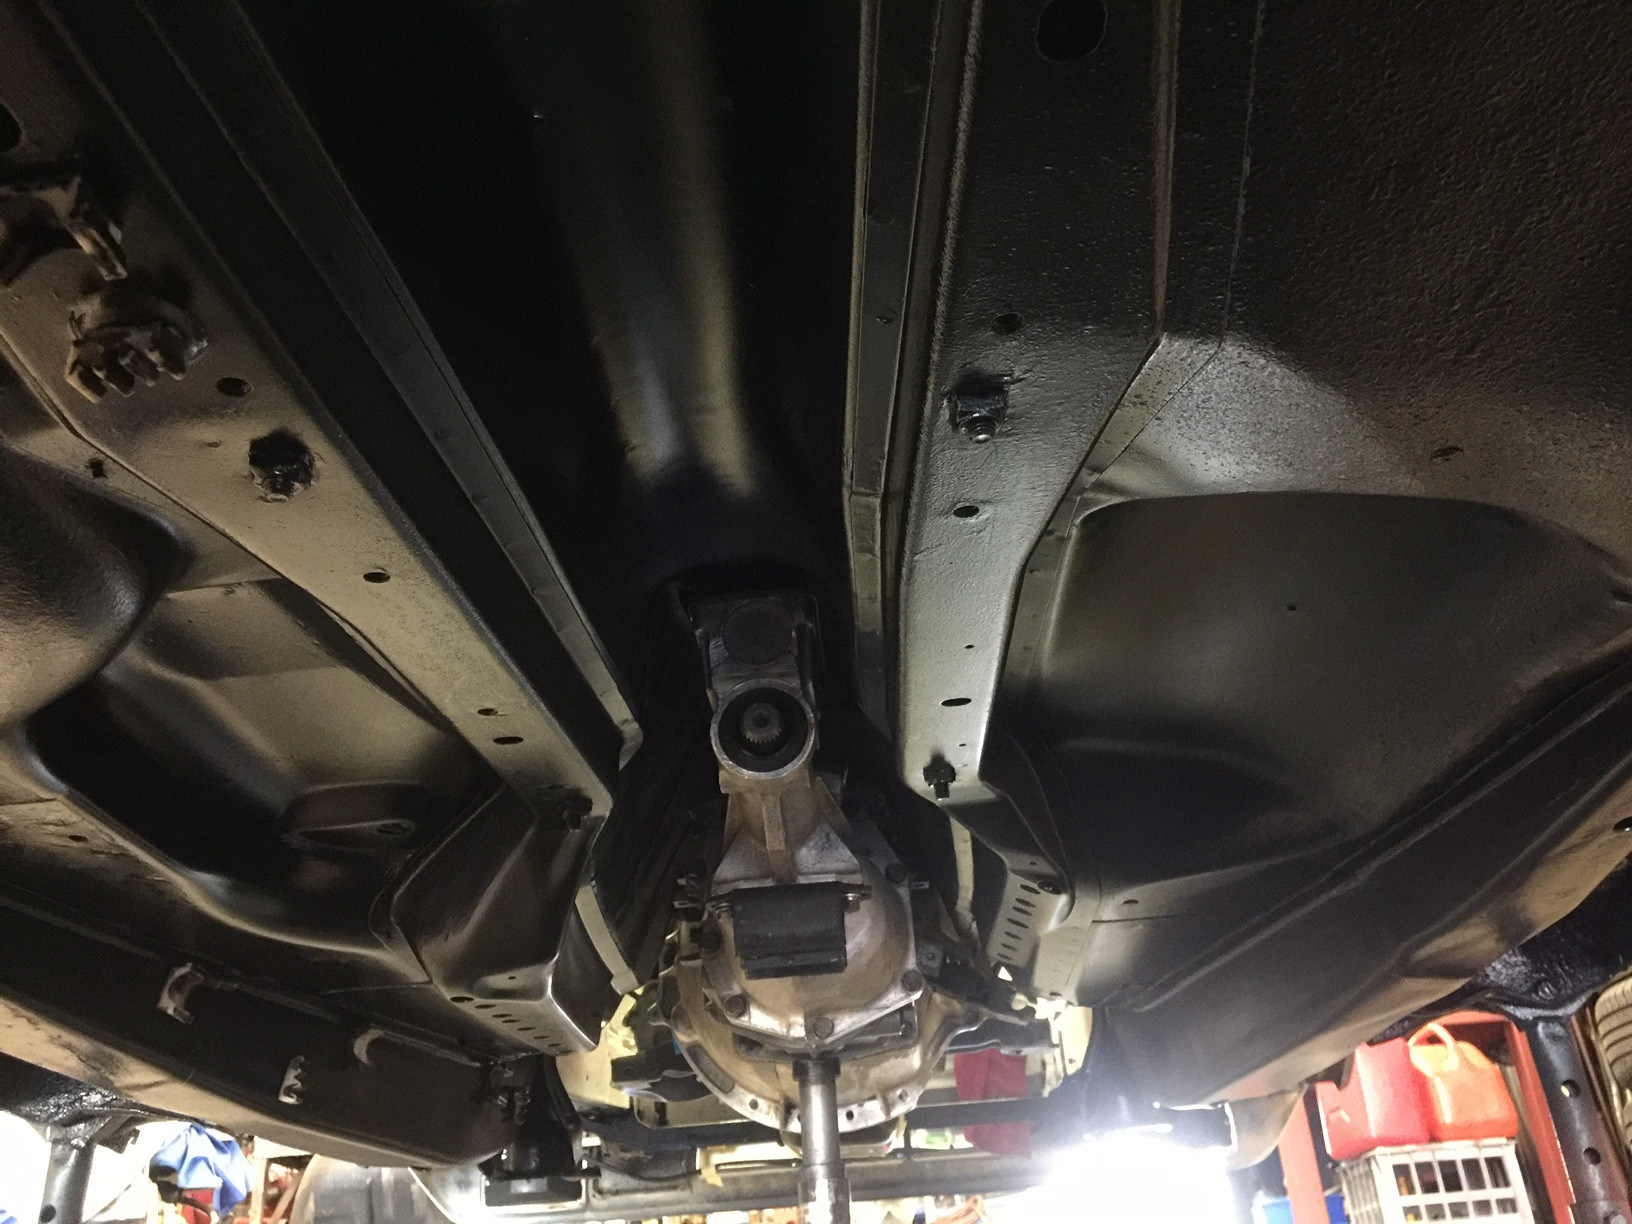
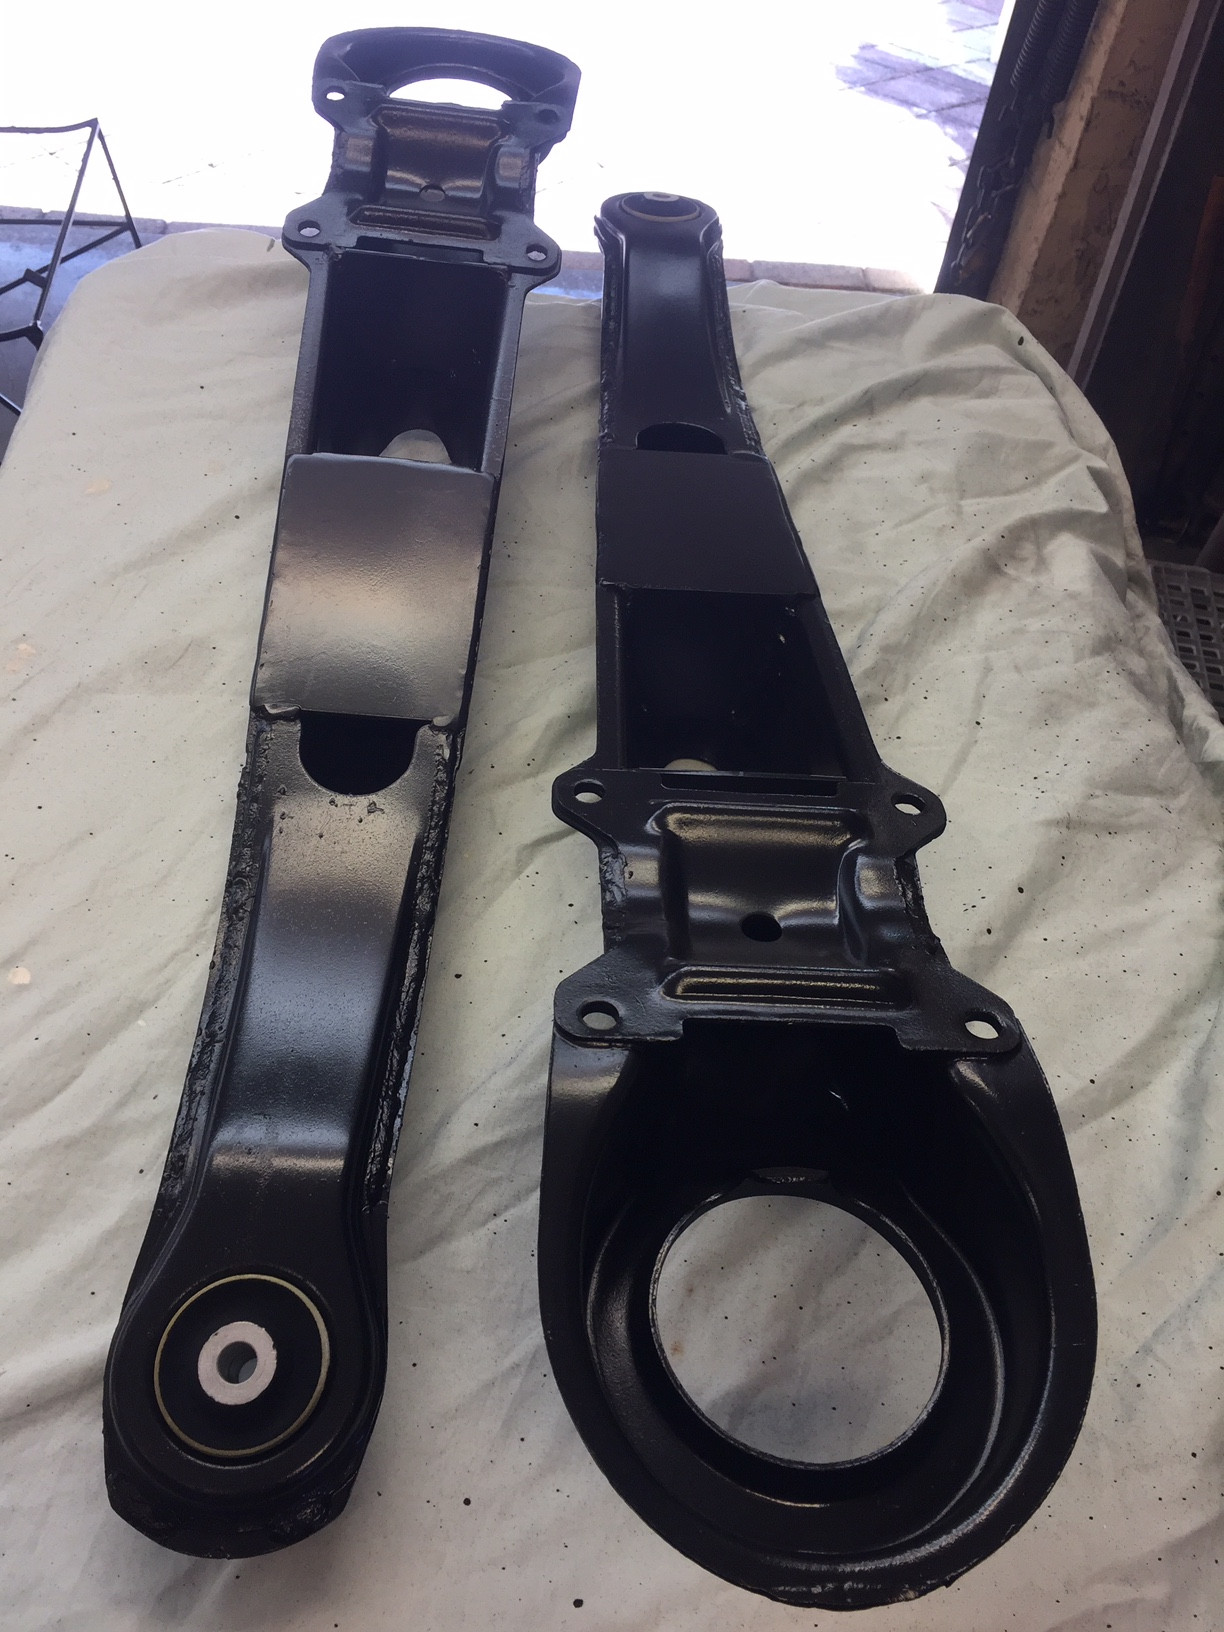
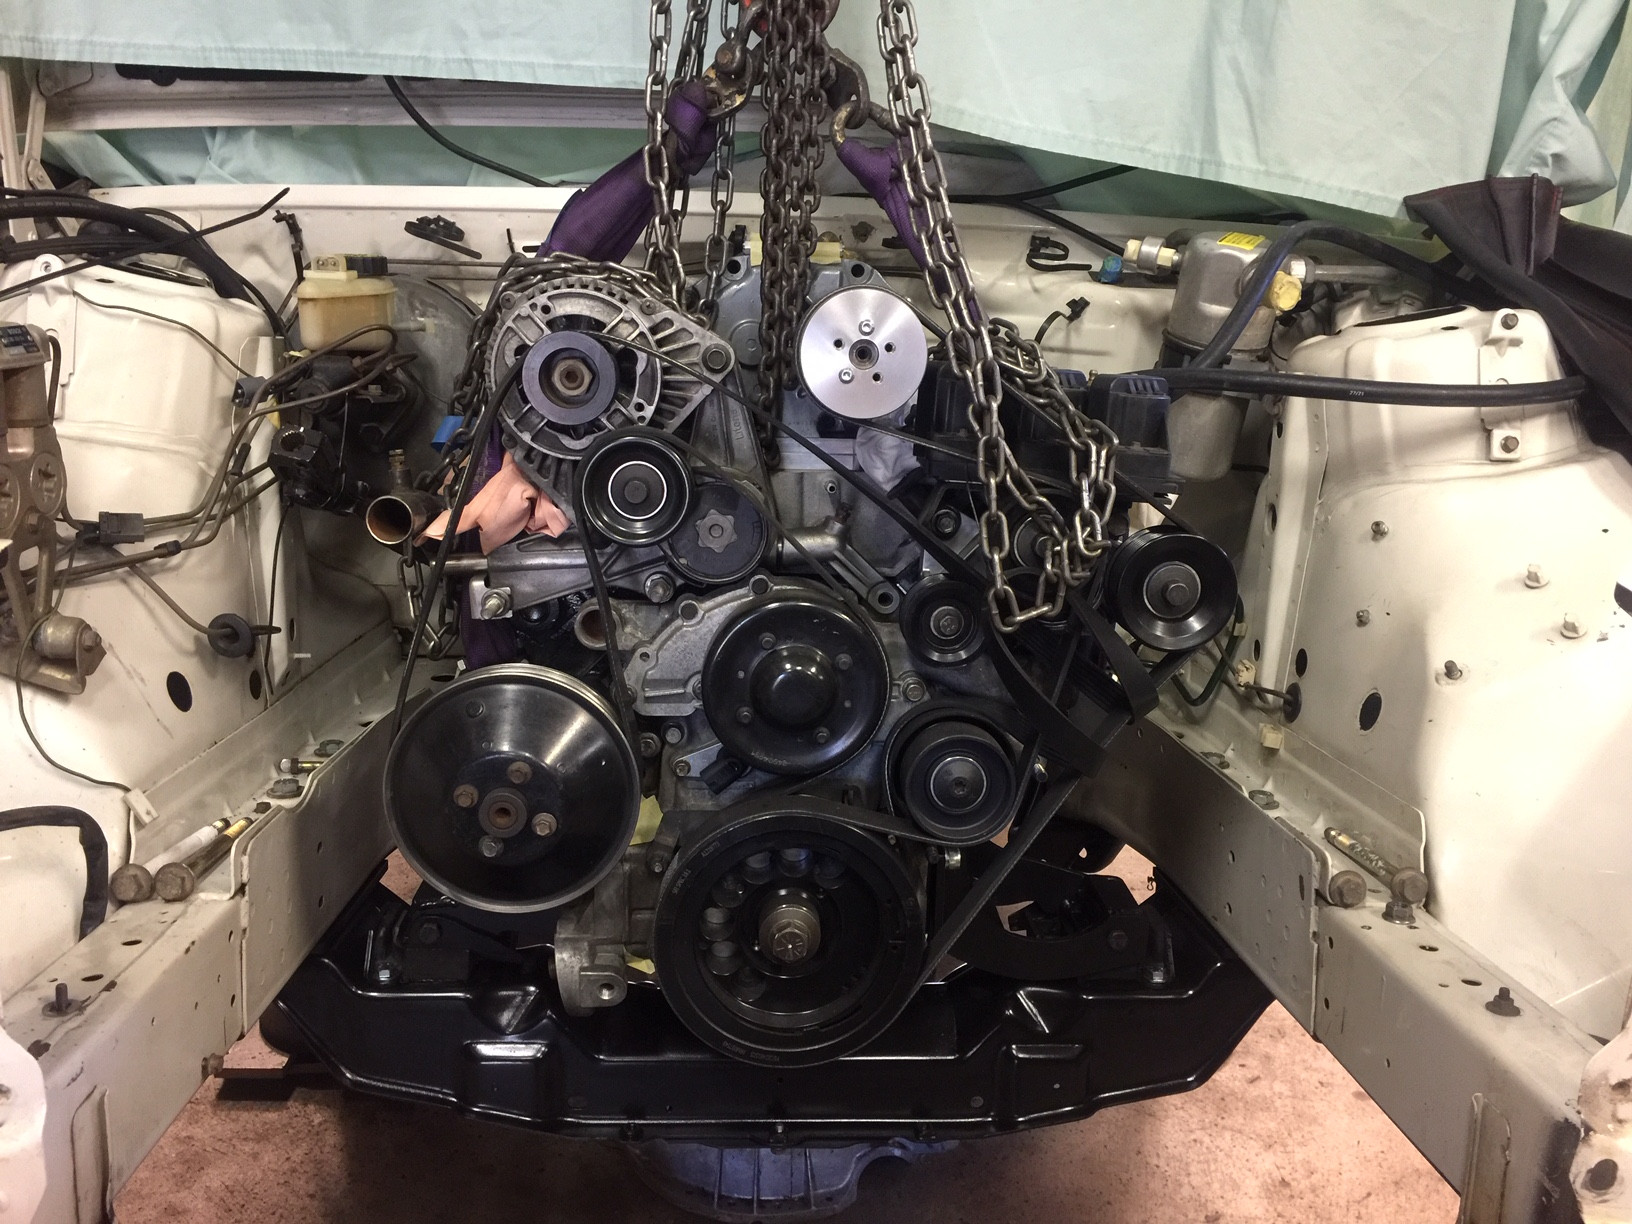
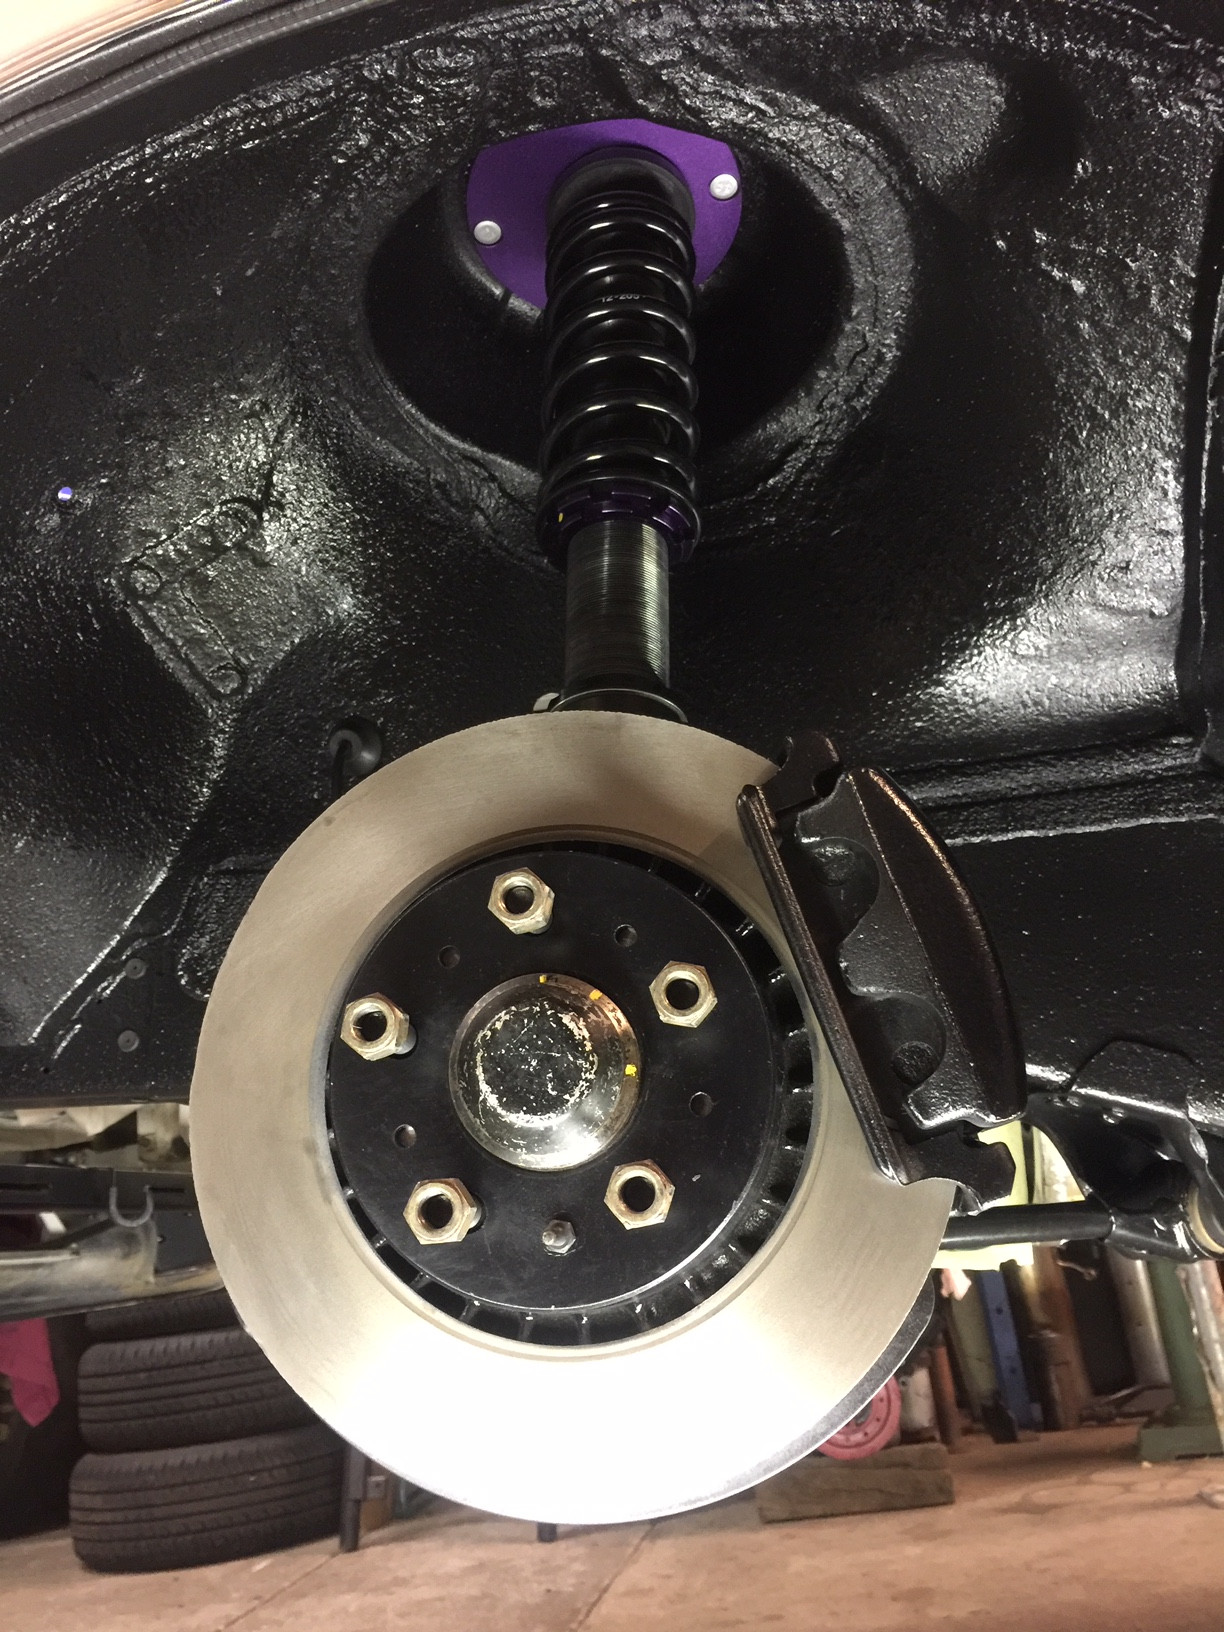
    I have finished re-installing rear axle, brakes and the front and rear suspension. The D2 kit was reasonably trouble free with the exception of a few modifications to have it all bolt up properly.

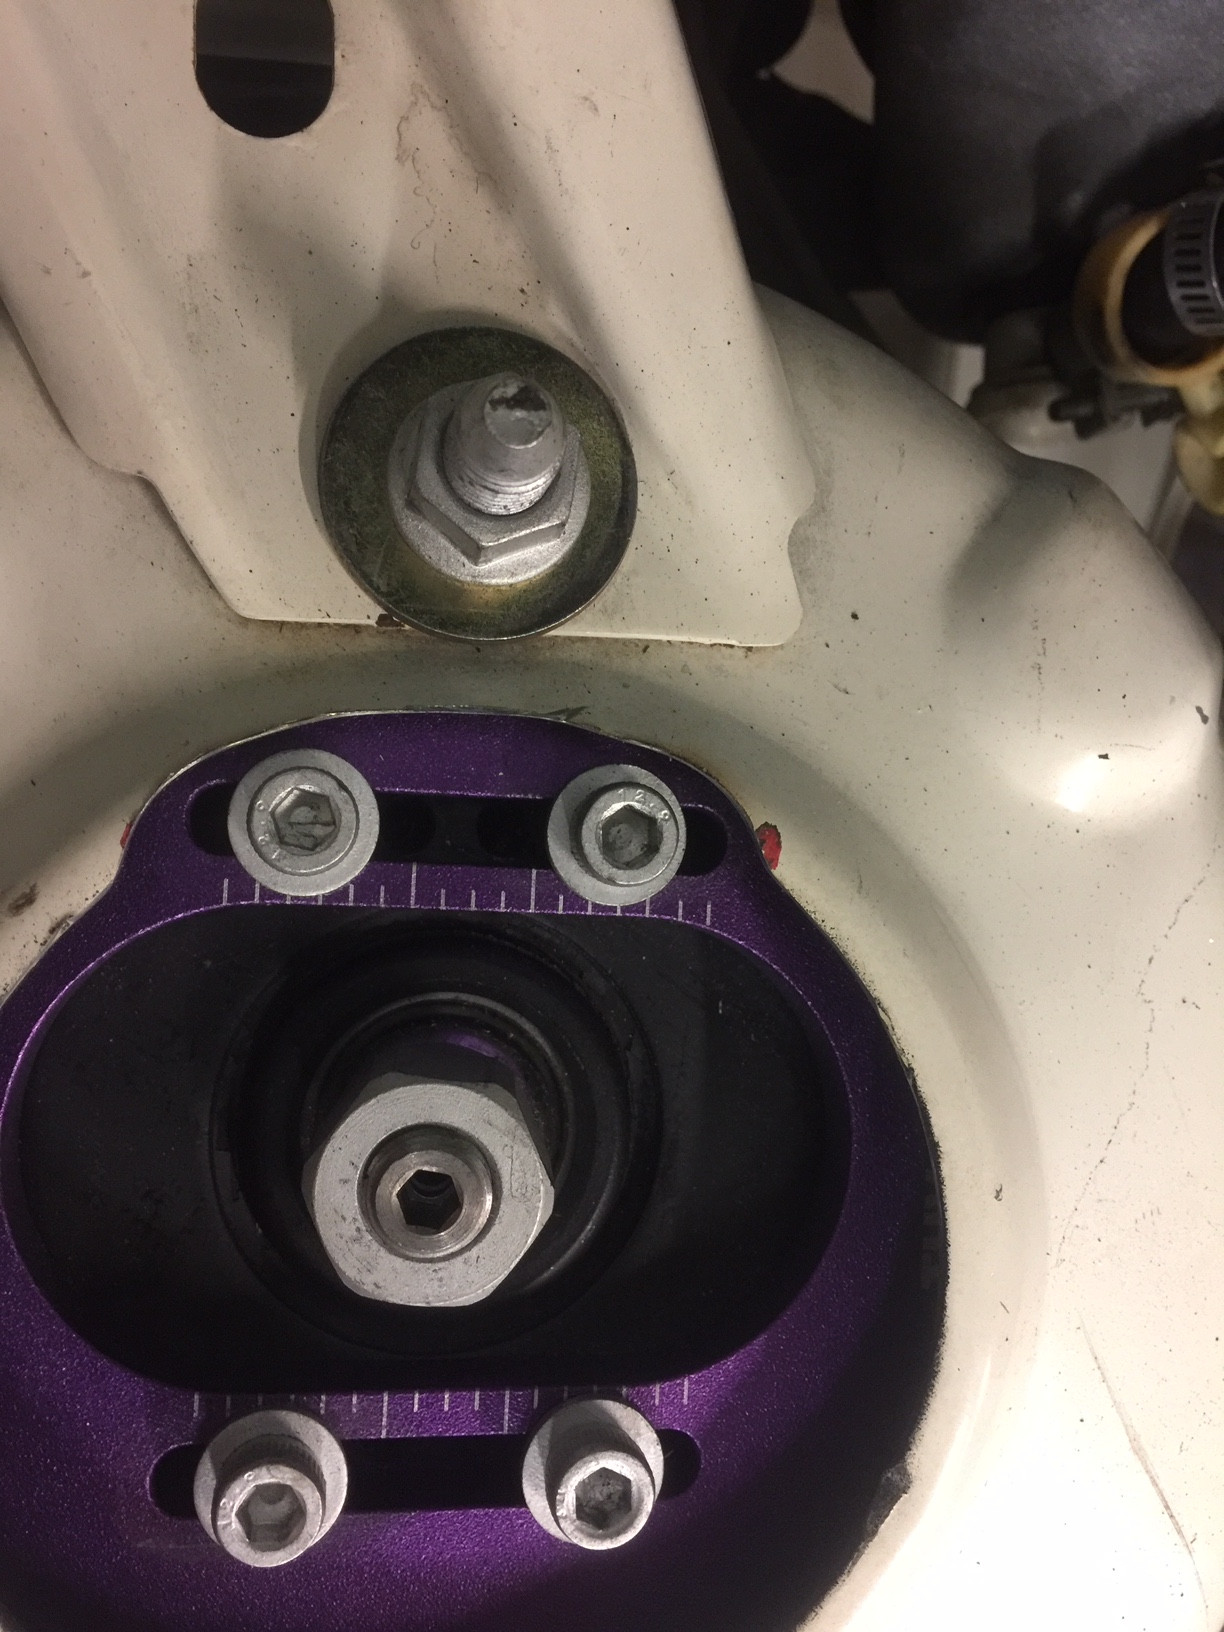
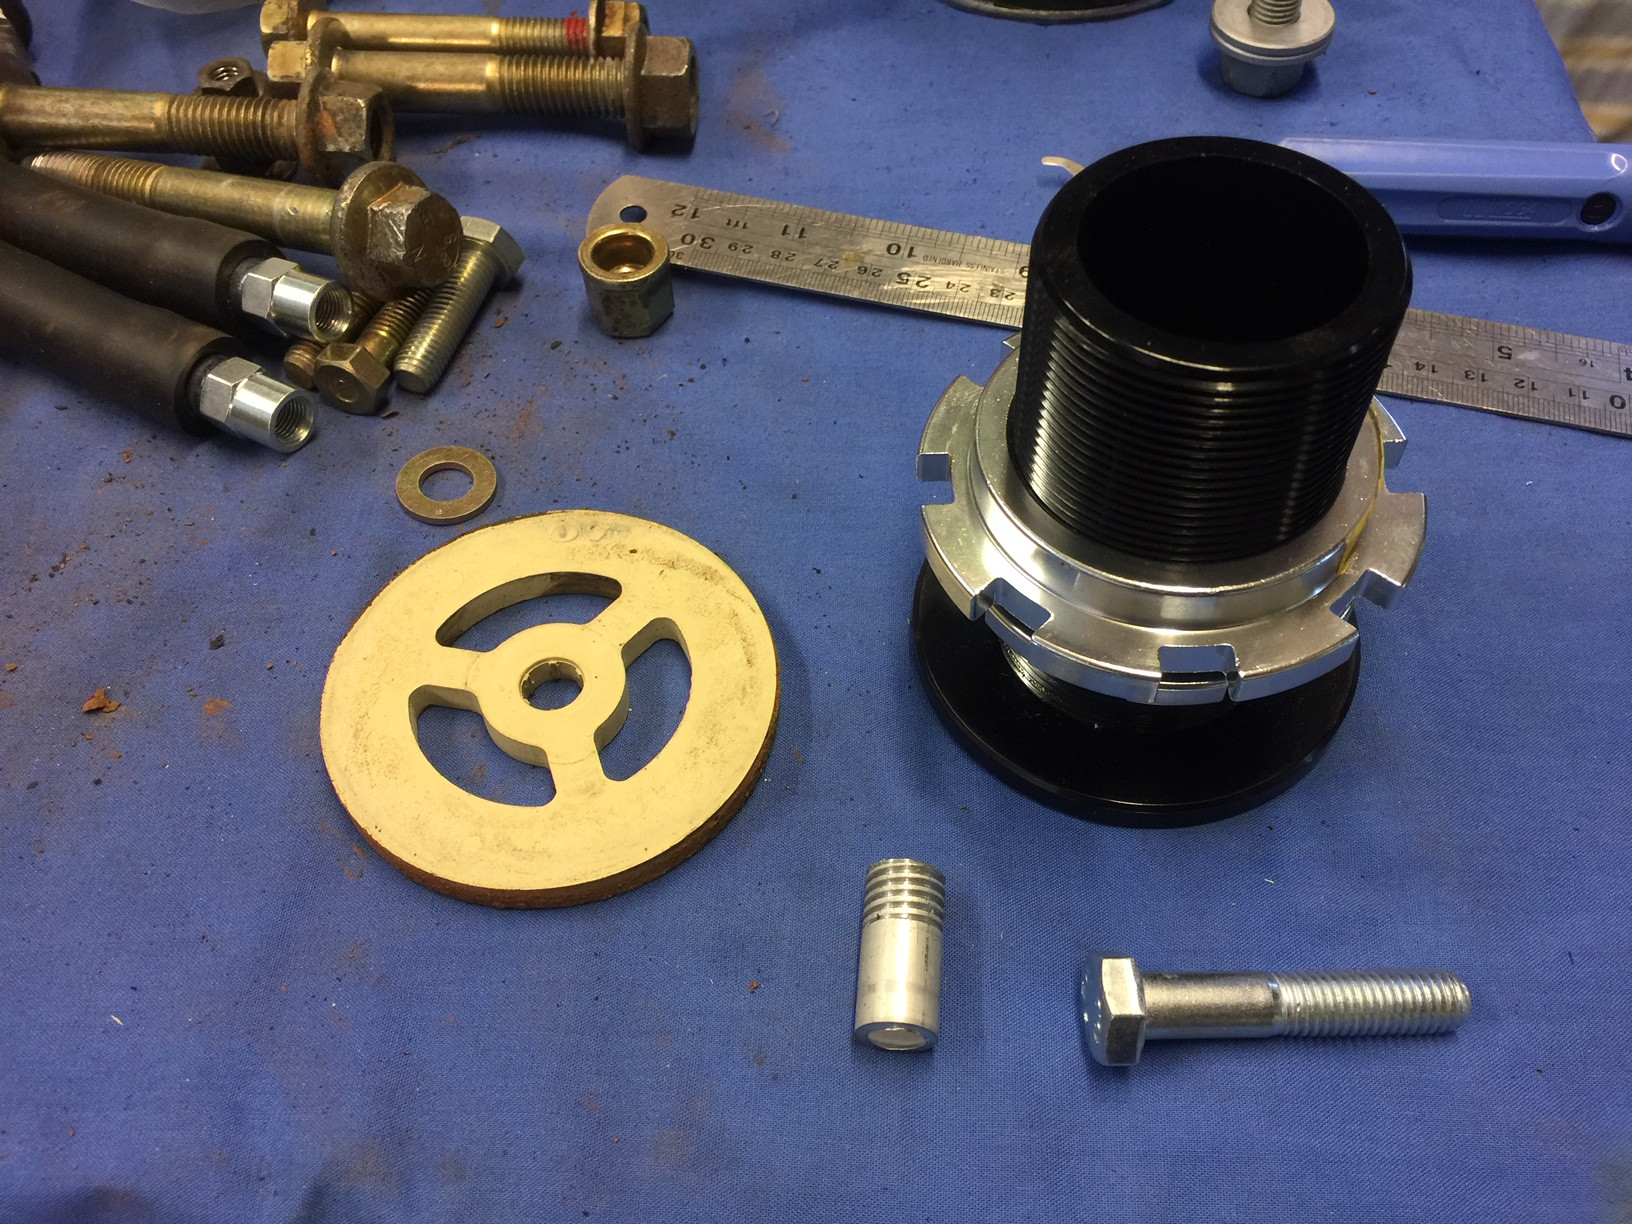
    To be able to access the camber plate adjusters, the top of the strut tower opening has to be relieved slightly. Apart from that modification which was not mentioned, the cutting of the strut tube and welding the D2 tube to the spindle was straight forward.

    Image description

    Image description

    Image description

    Image description

    Image description

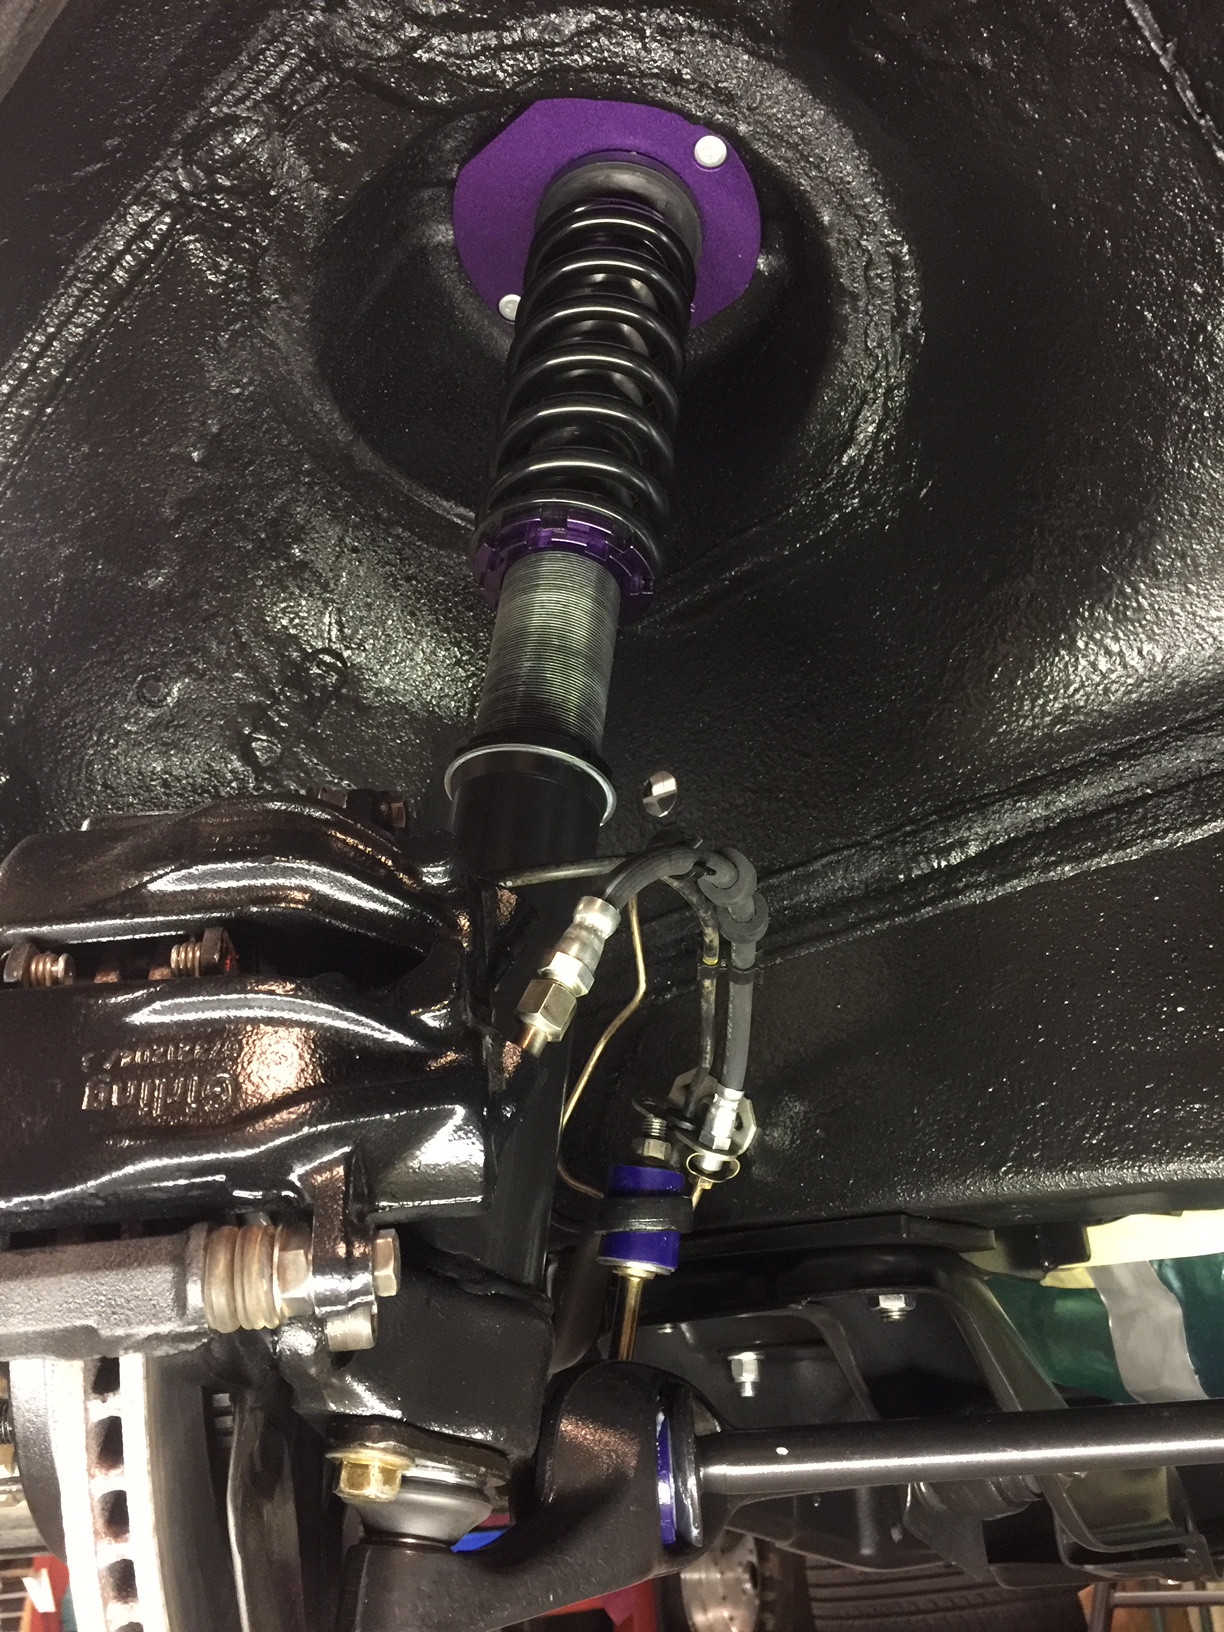
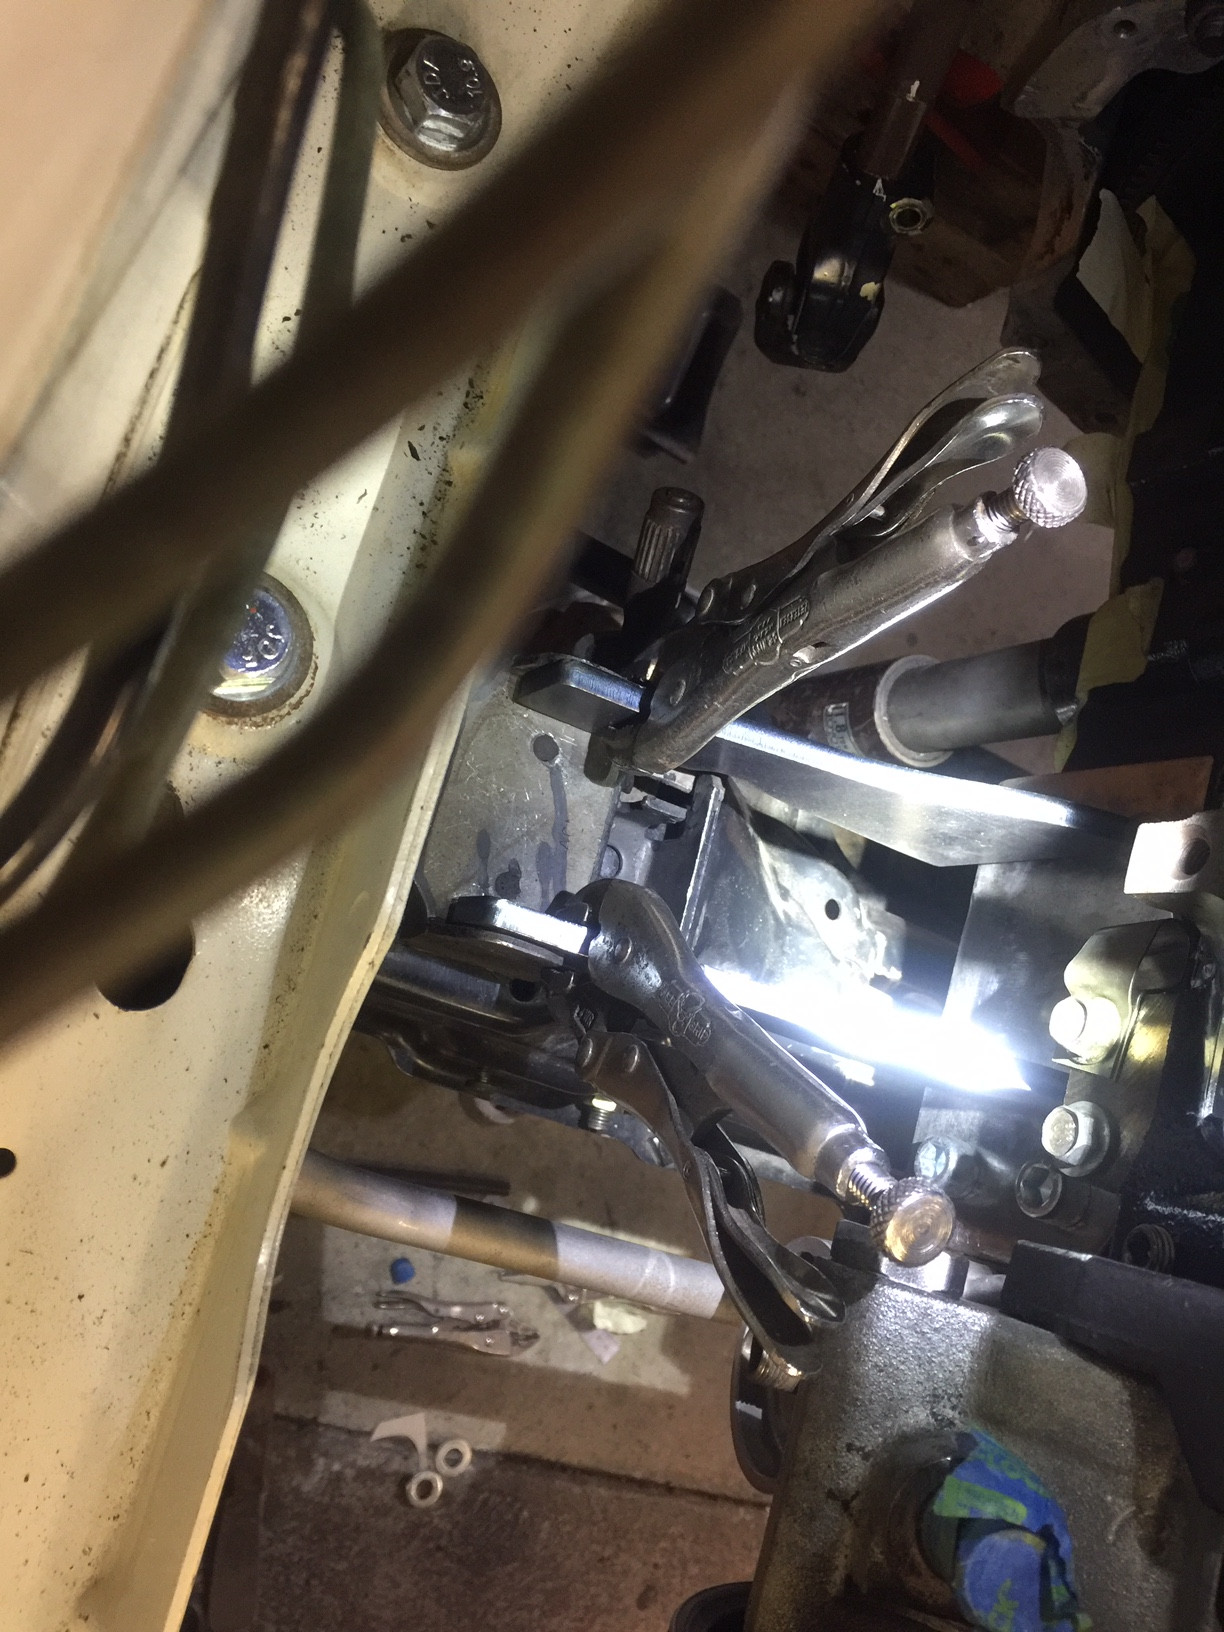
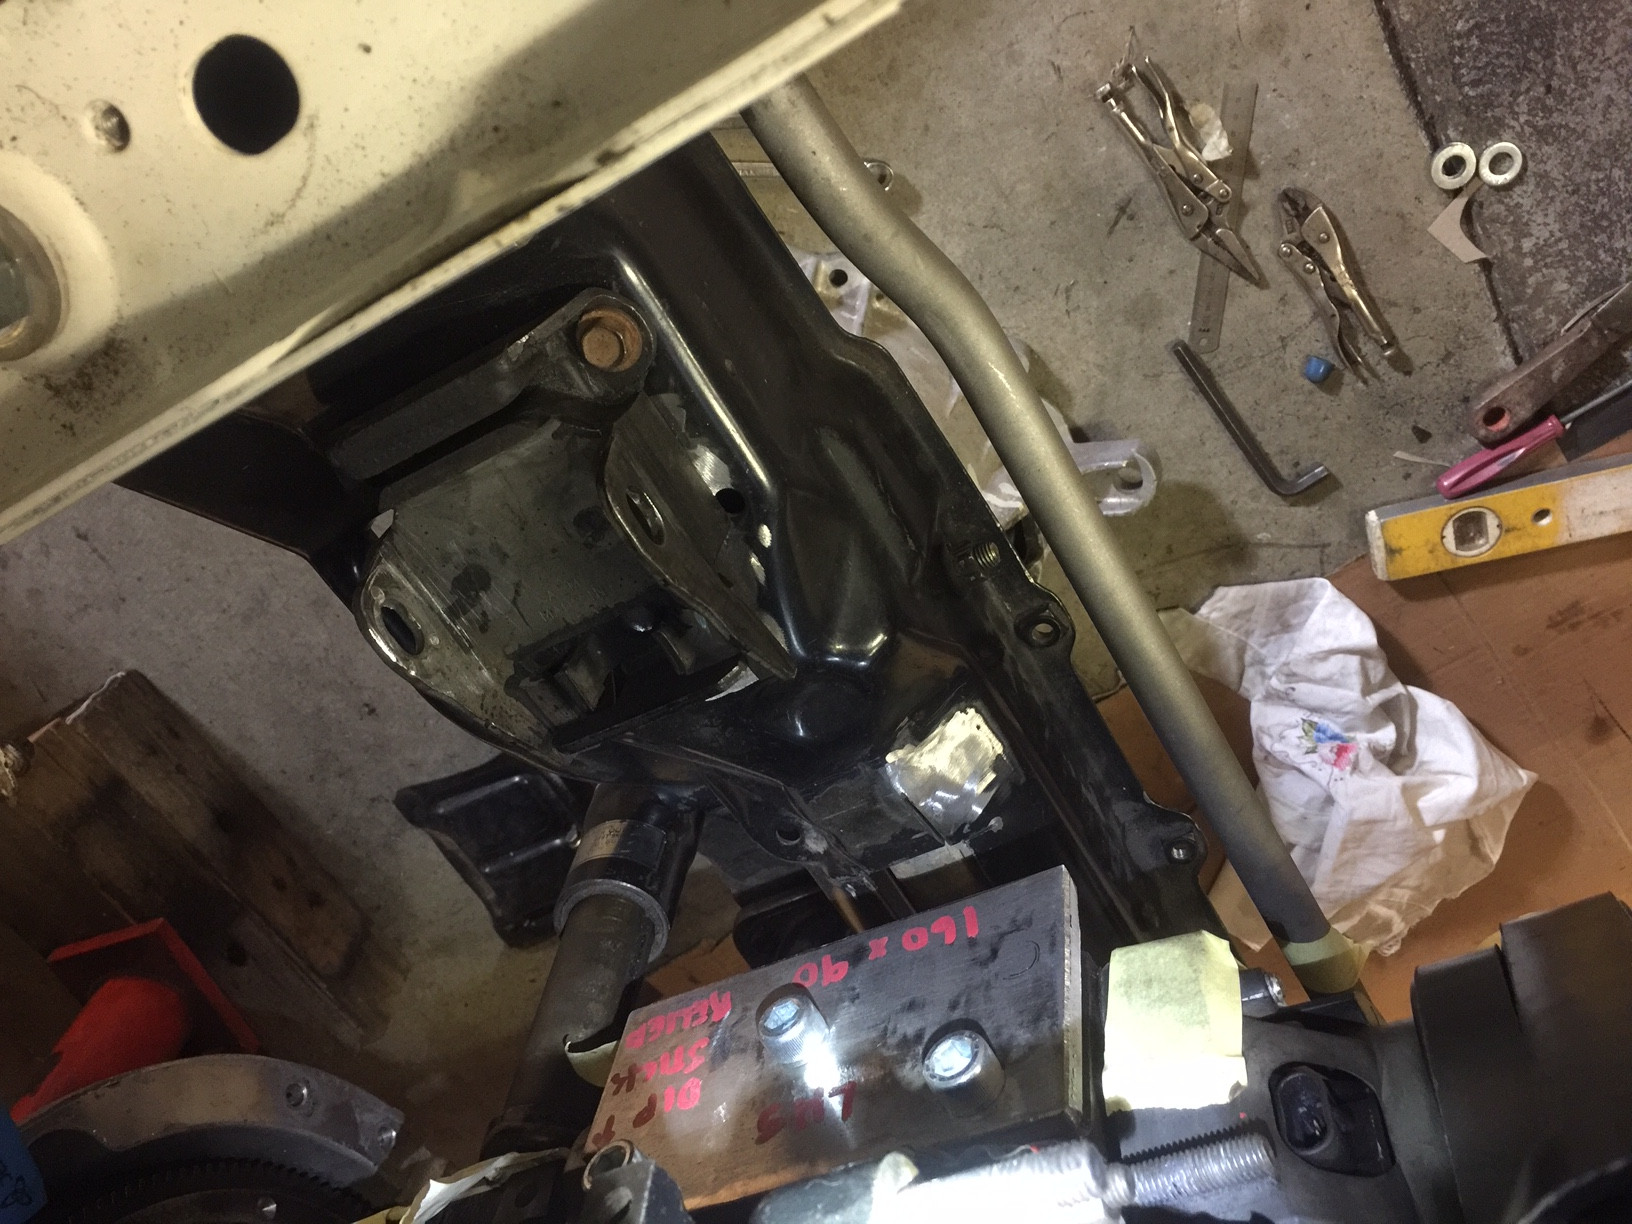
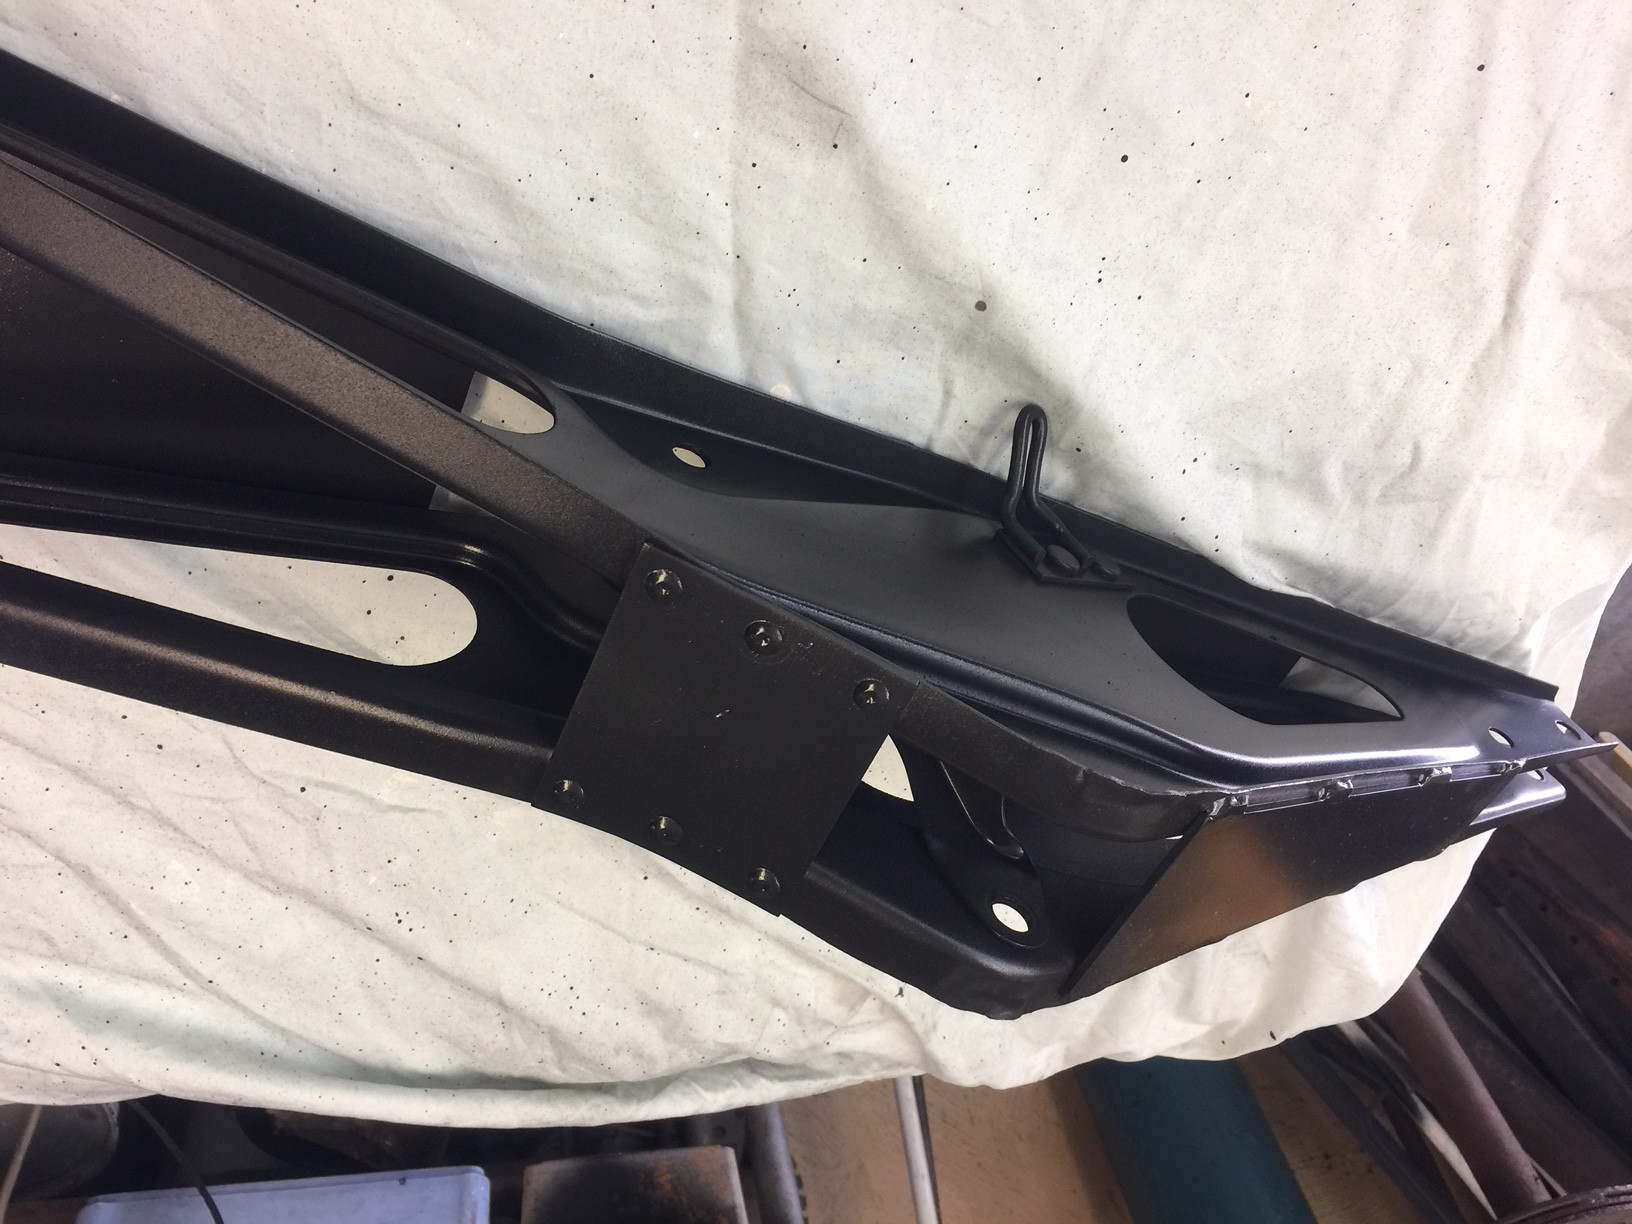
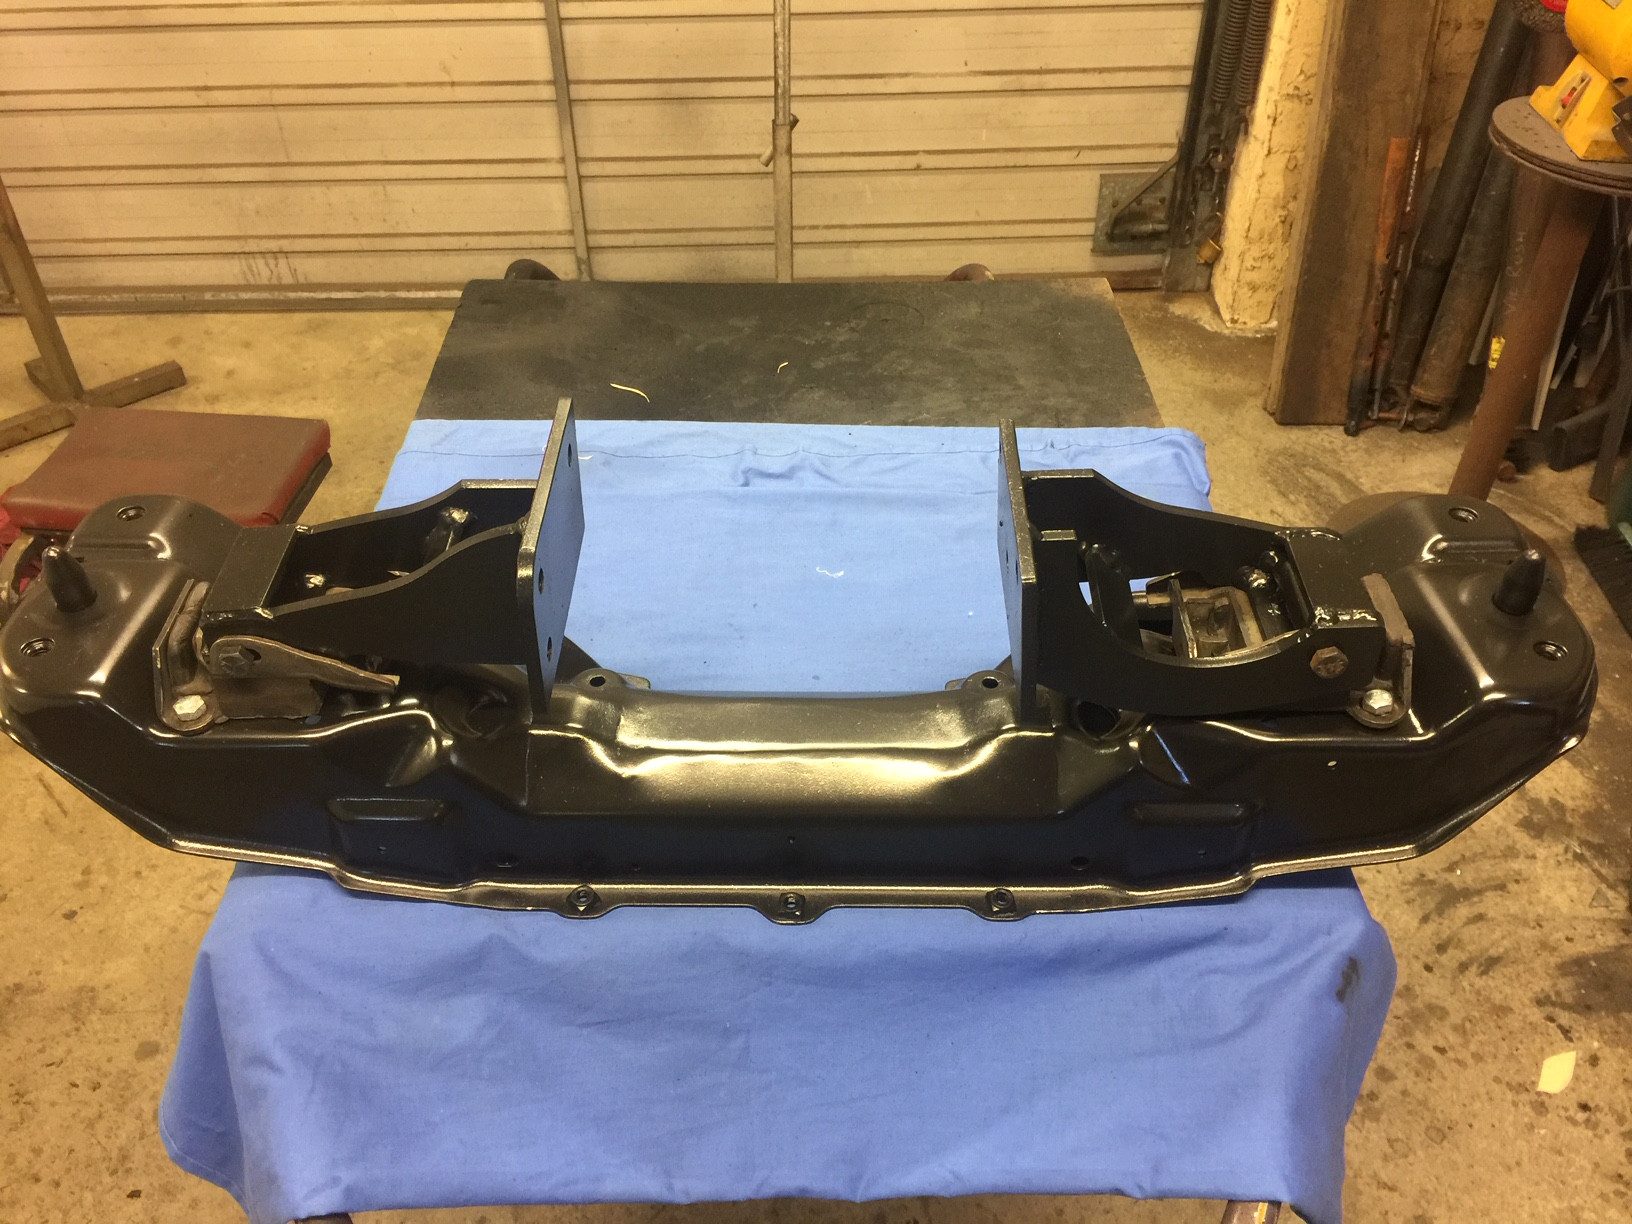
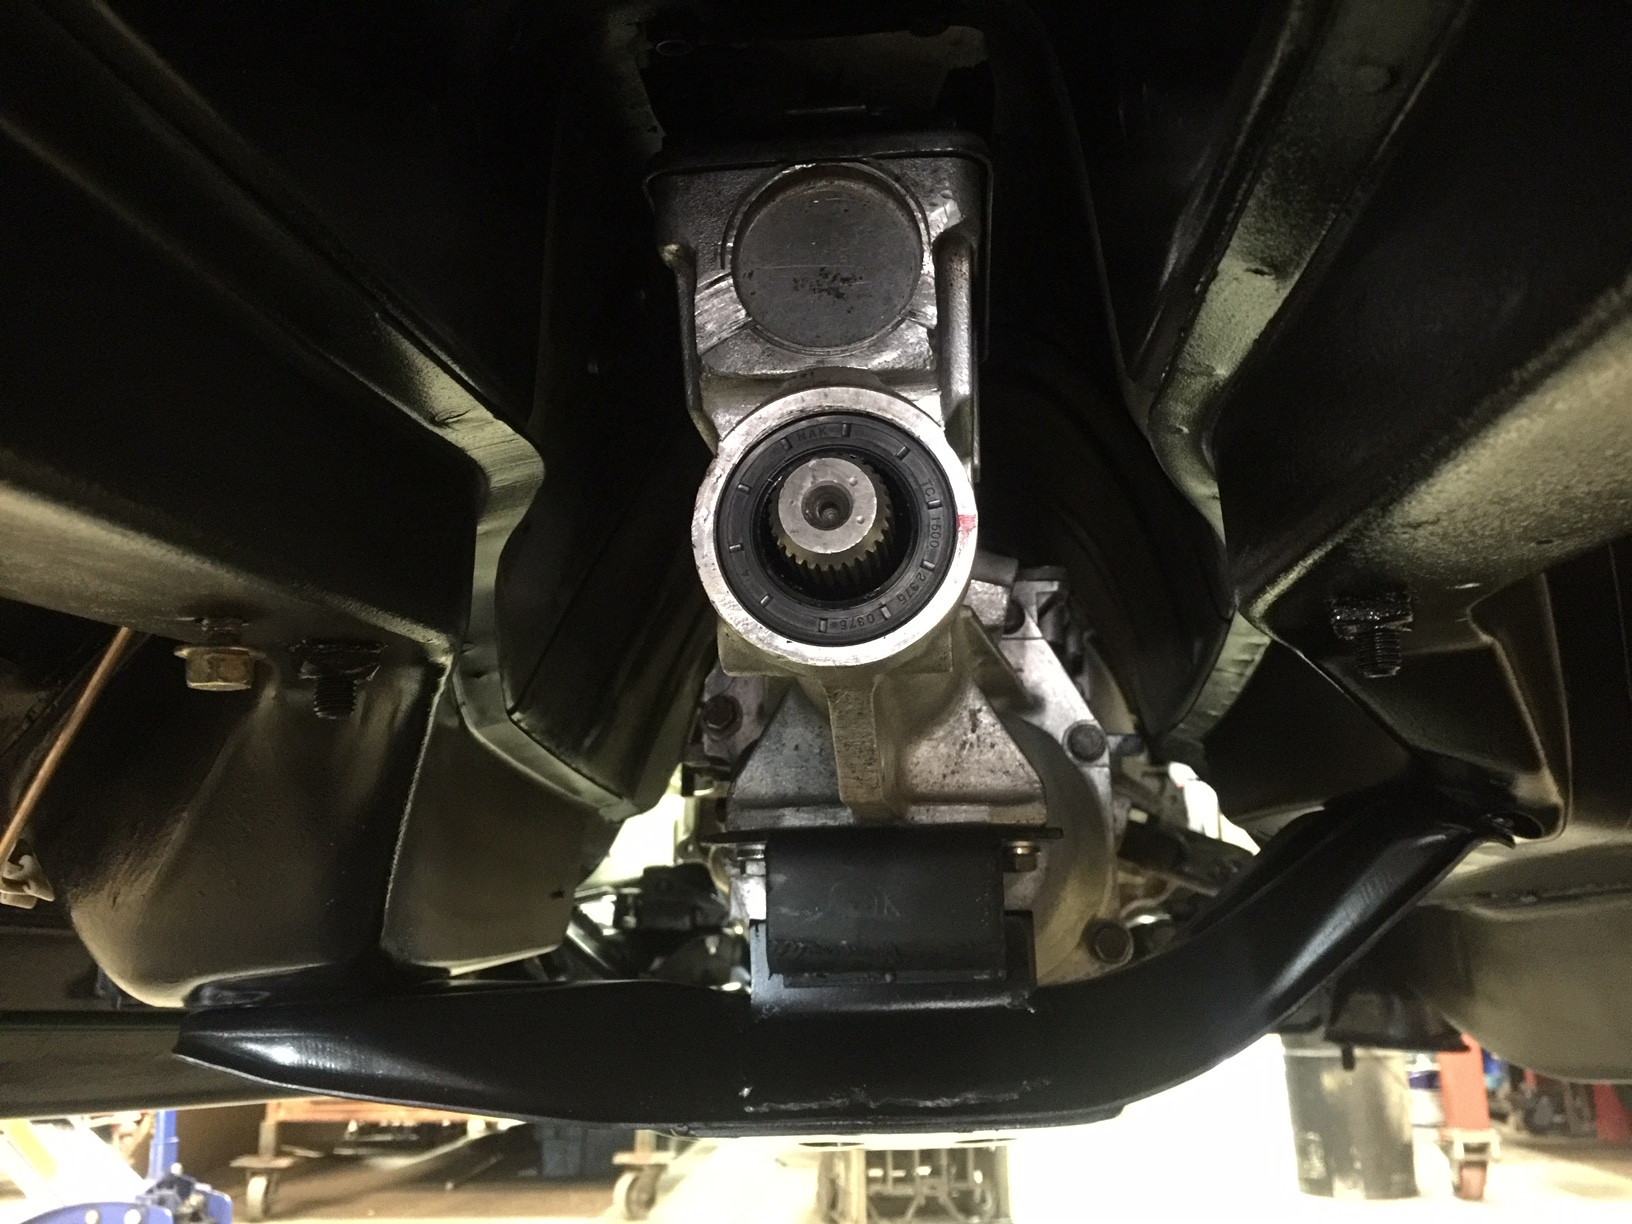
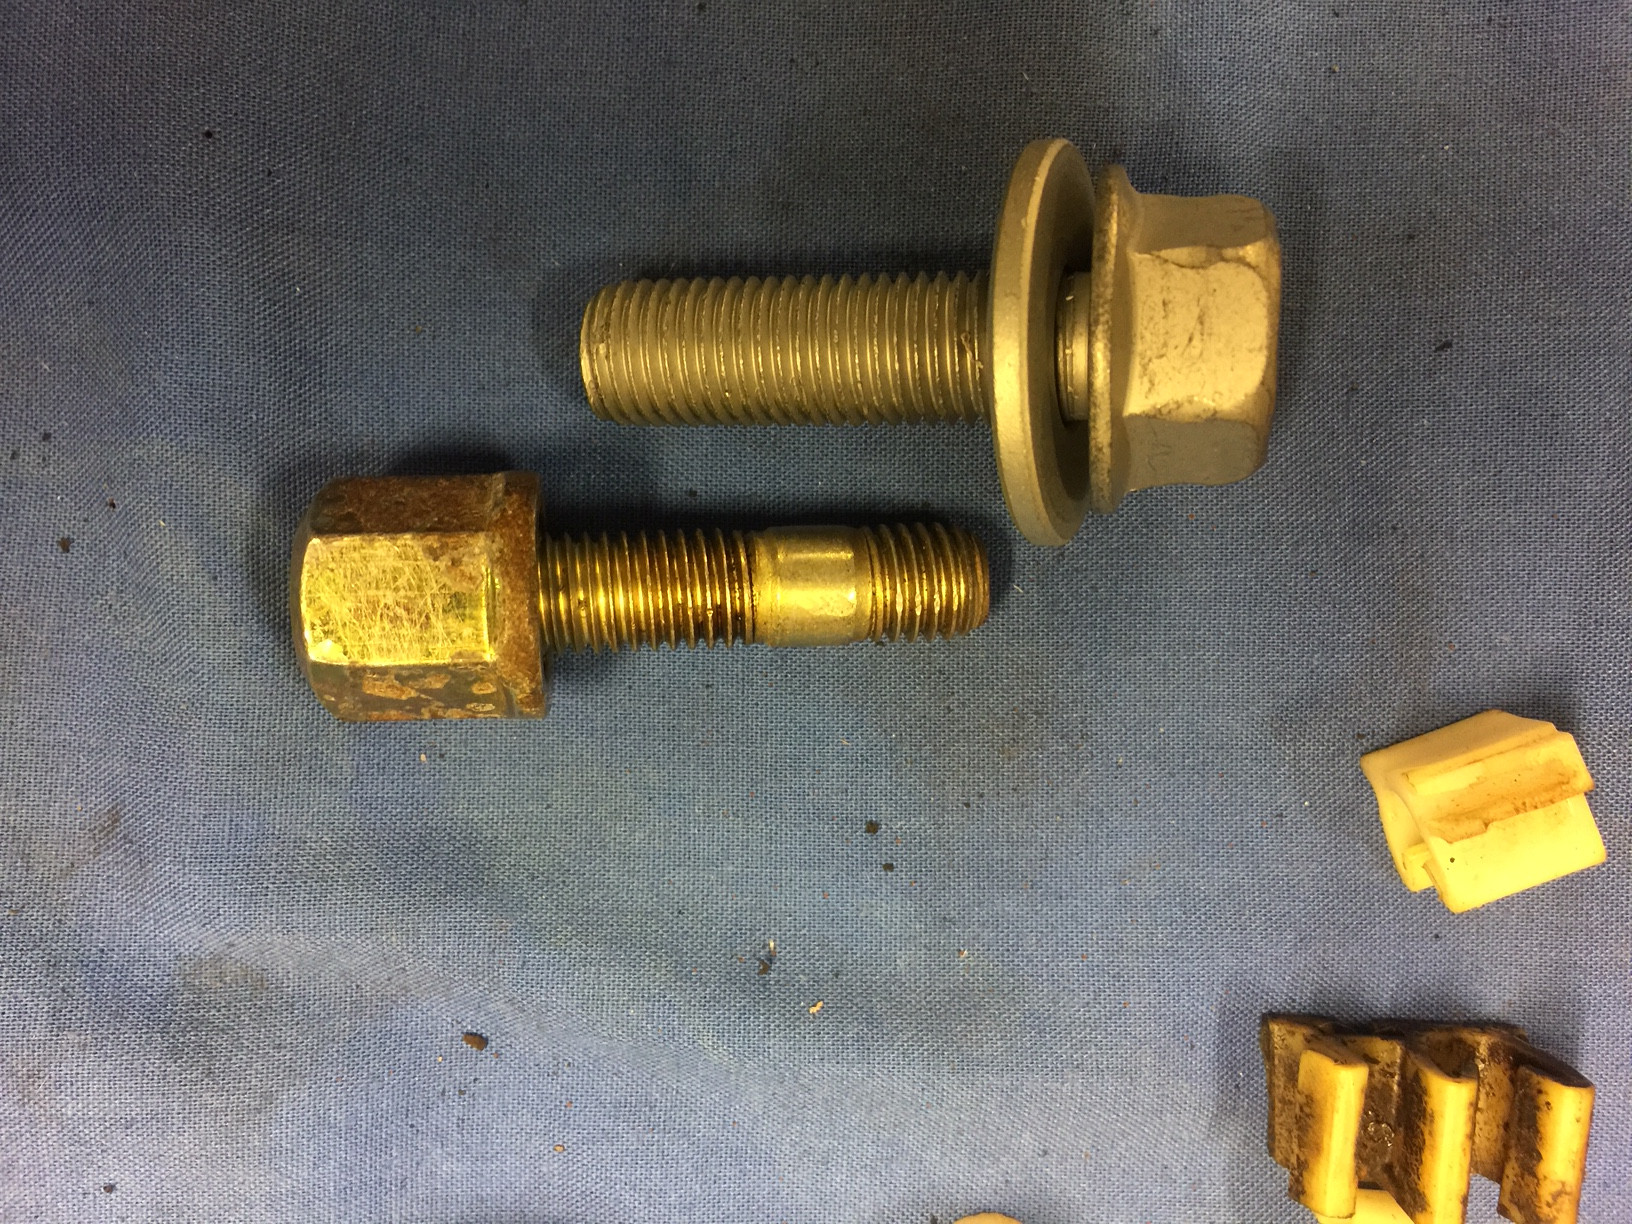
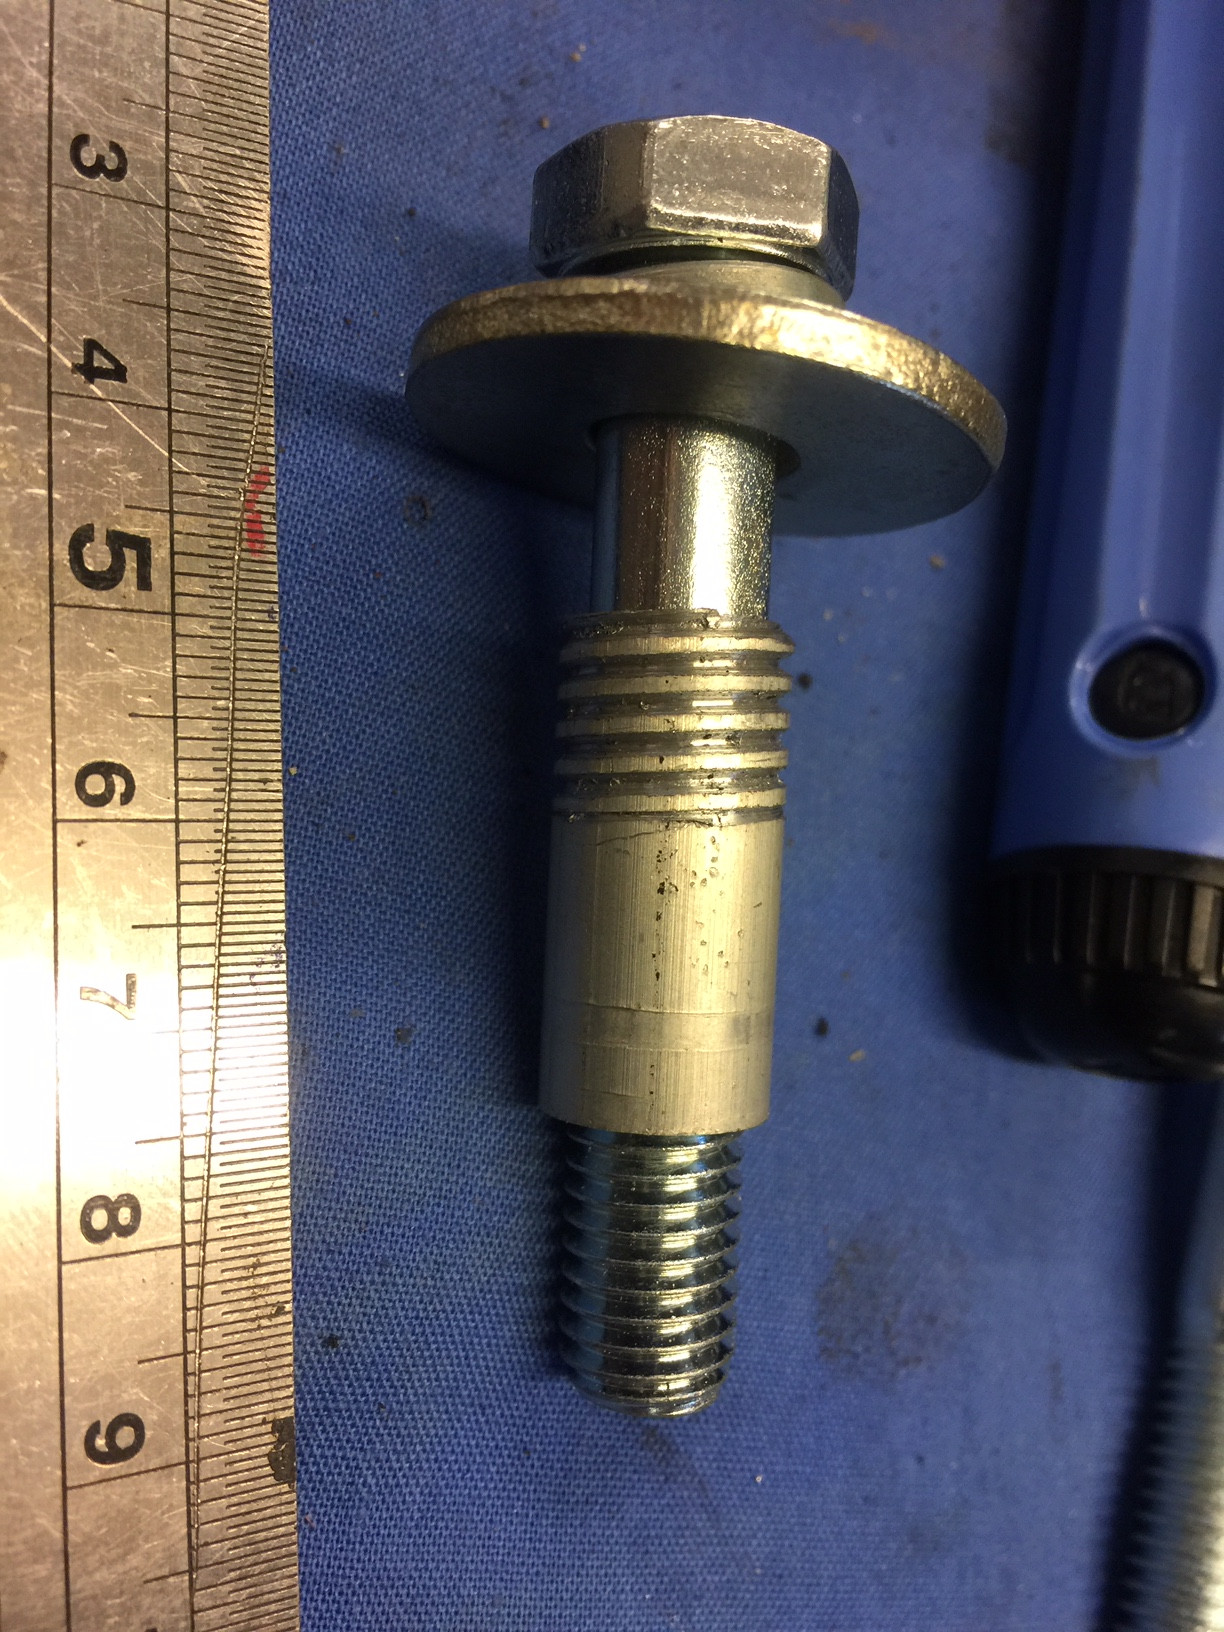
    The rear set up (pictured below) was also pretty straight forward. The kit instructions (which are pretty vague) says that OEM spring perch has to be re-uesd. This is incorrect. The supplied adjustable perch has to be used. The retaining bolt in the kit is the incorrect size, it is to big (diameter). The captive nut in the chassis is not big enough to re-tap to the size of the bolt supplied in the kit. I made a threaded sleeve to screw into D2 perch and bought 2 x longer 10.8 bolts to secure the spring perch.

    The kit instructions made to mention of re-using the spring insulators. To reduce 'spring creak' or noise that could be transmitted into the car I re-used the top insulator and the lower spring seat insulator. This reduces the amount that the car can be lowered if the intention was to drop it as low as possible. Thats not my aim so the insulation is of more importance.

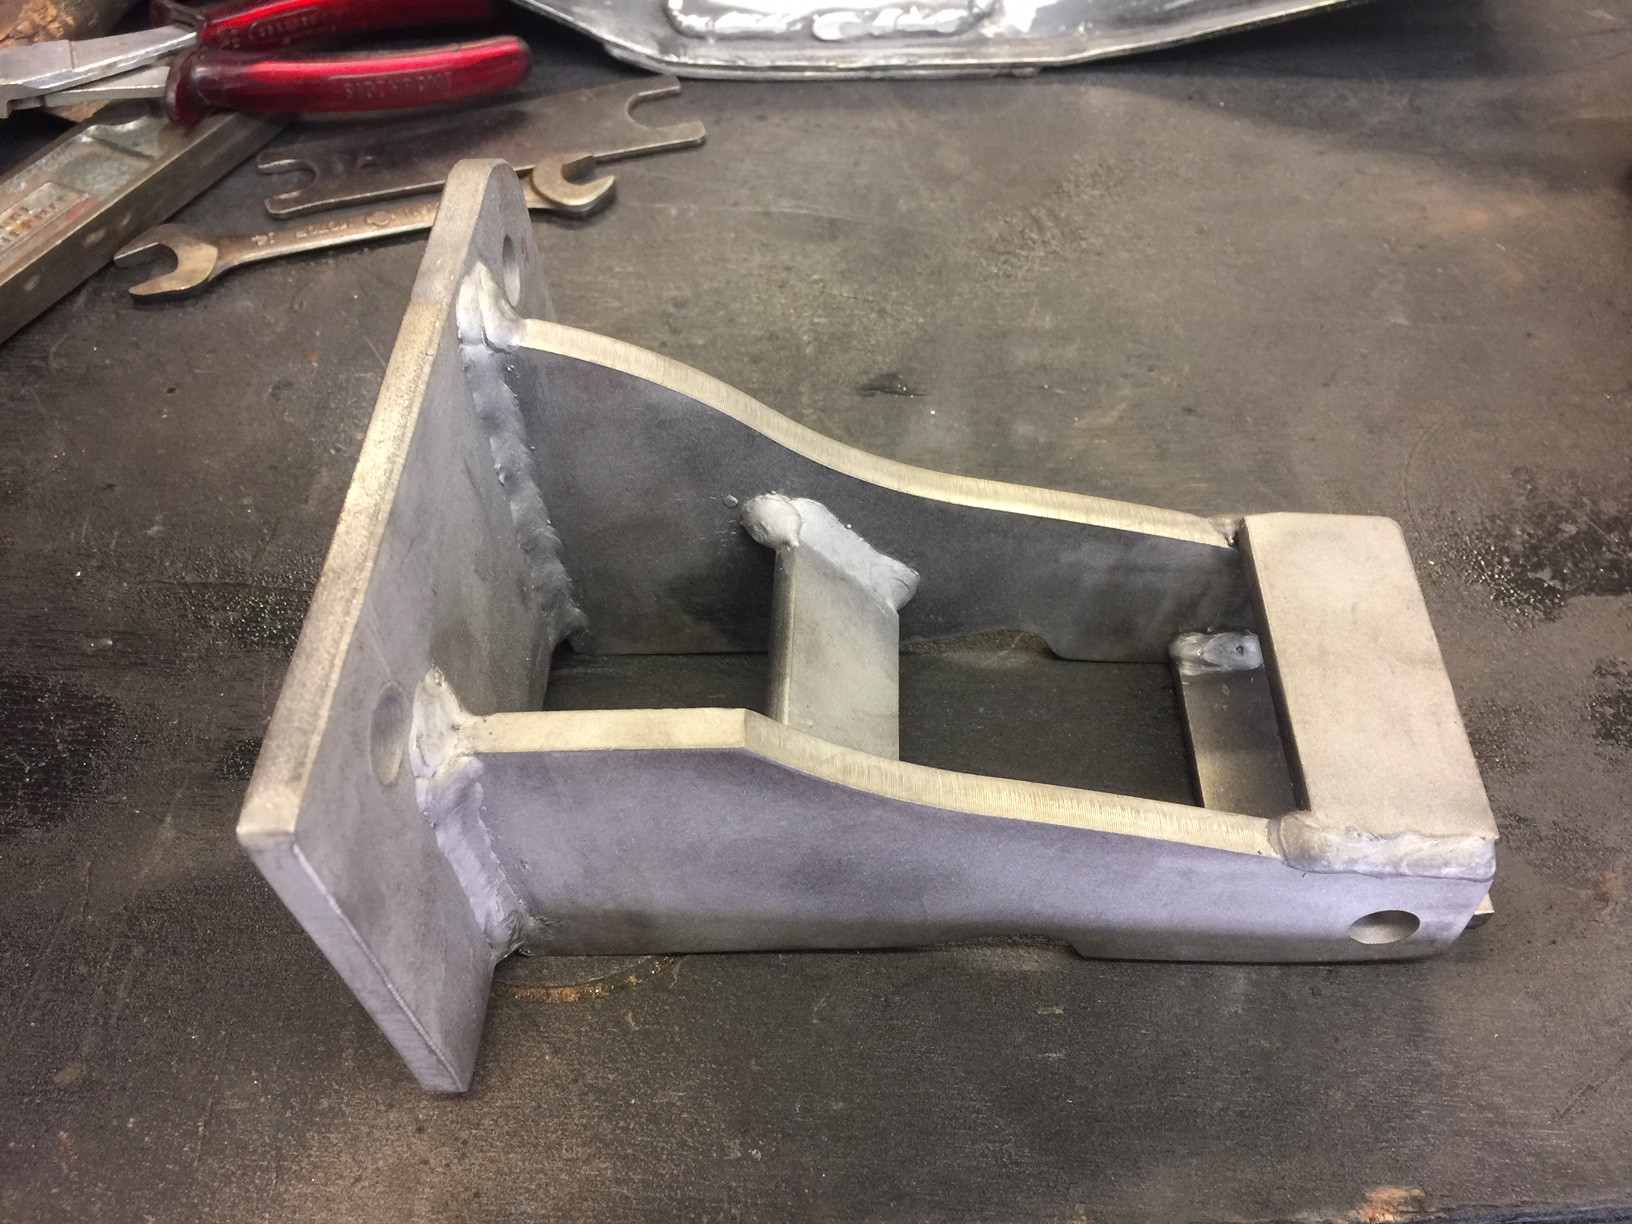
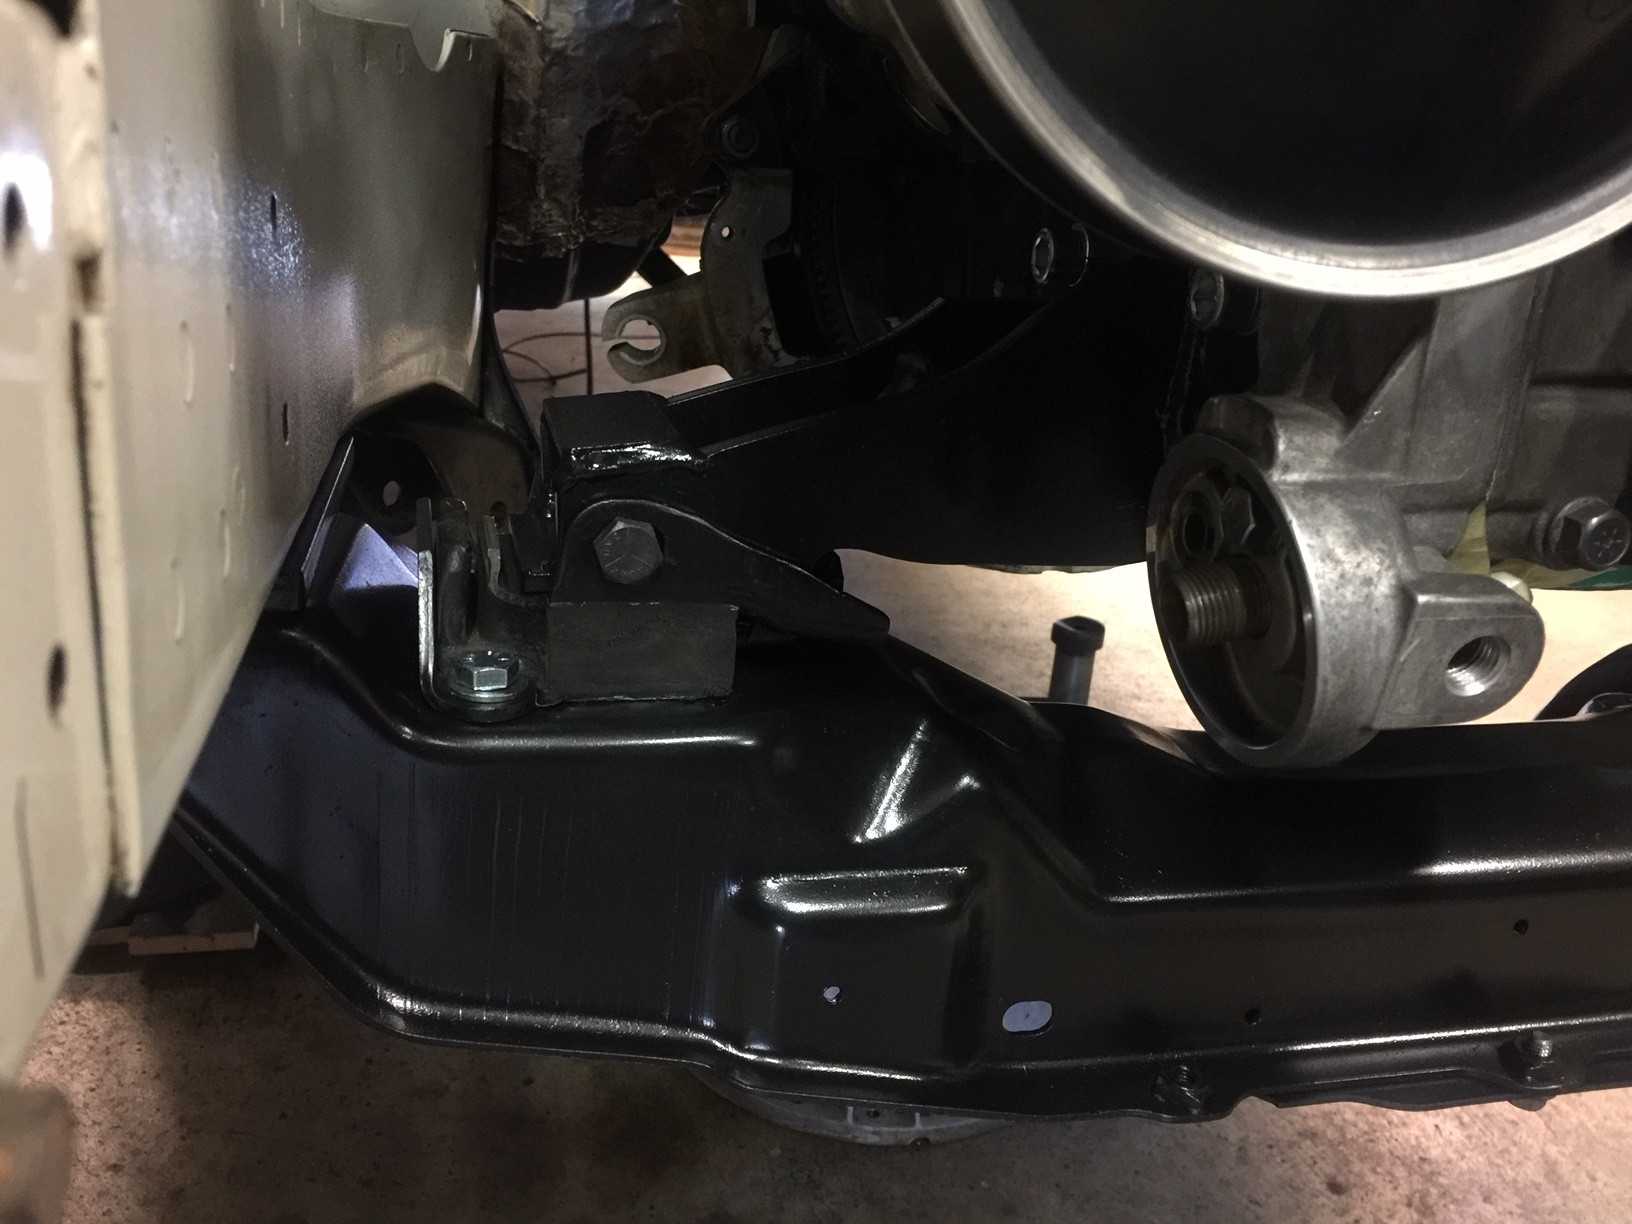
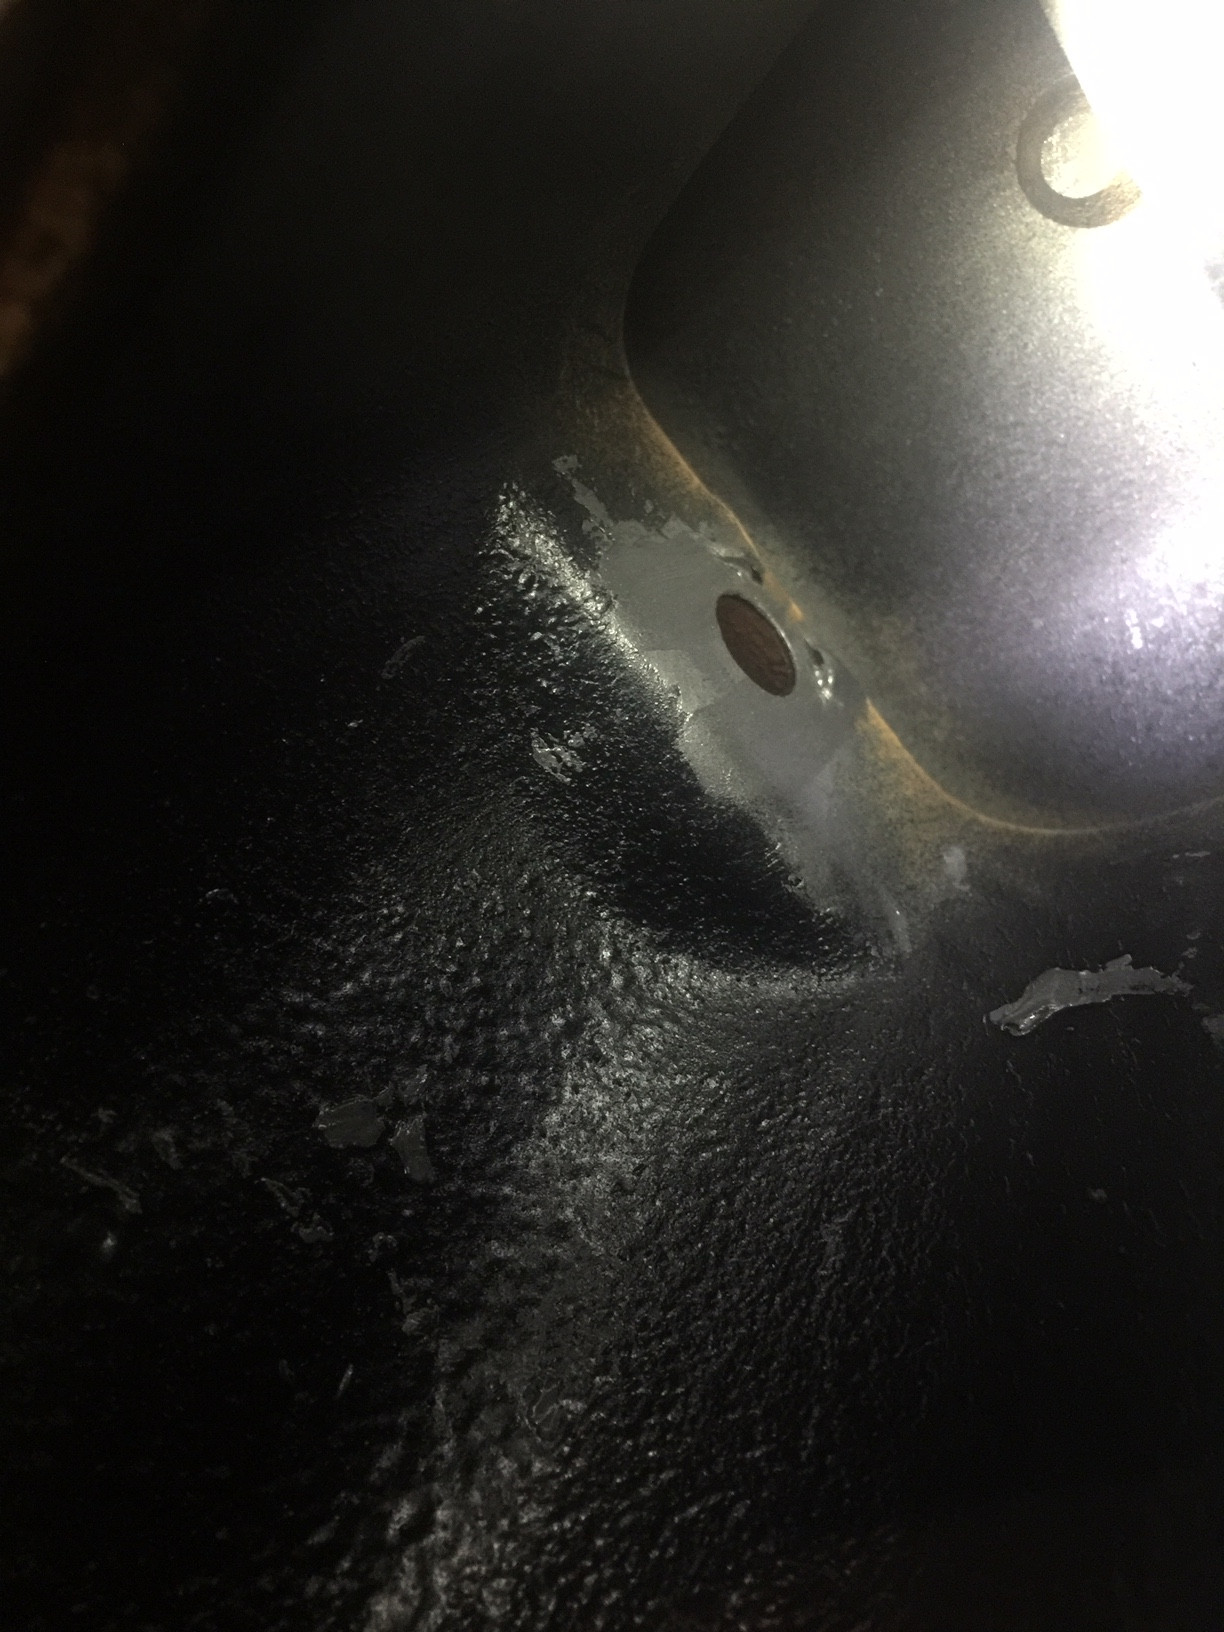
    The only other issue not mentioned is that there are 2 'nibs' inside the chassis where the top shock absorber mount bolt hole is located. These need to be removed so the mount hole can be aligned and bolt can be inserted.

    Image description

    Image description

    Image description

    Image description

    Image description

    Image description

    Image description

    Image description

    Image description

    Image description

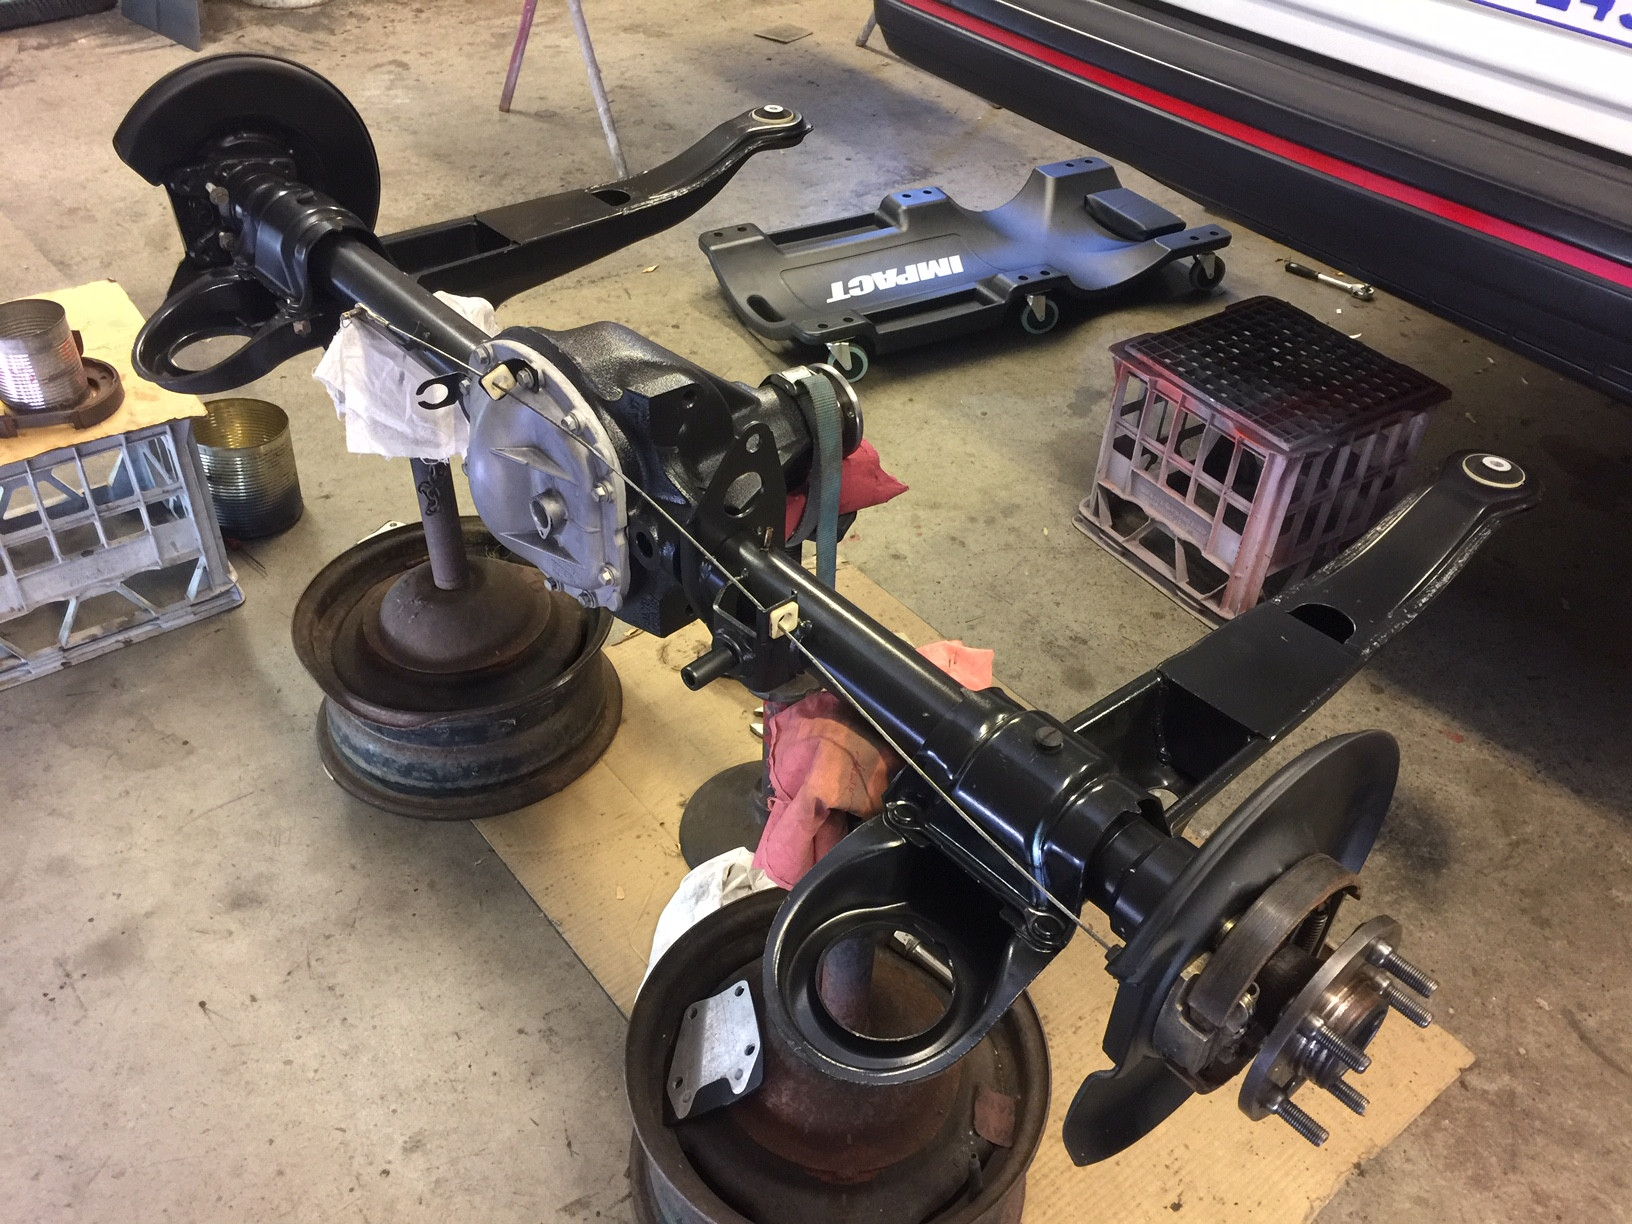
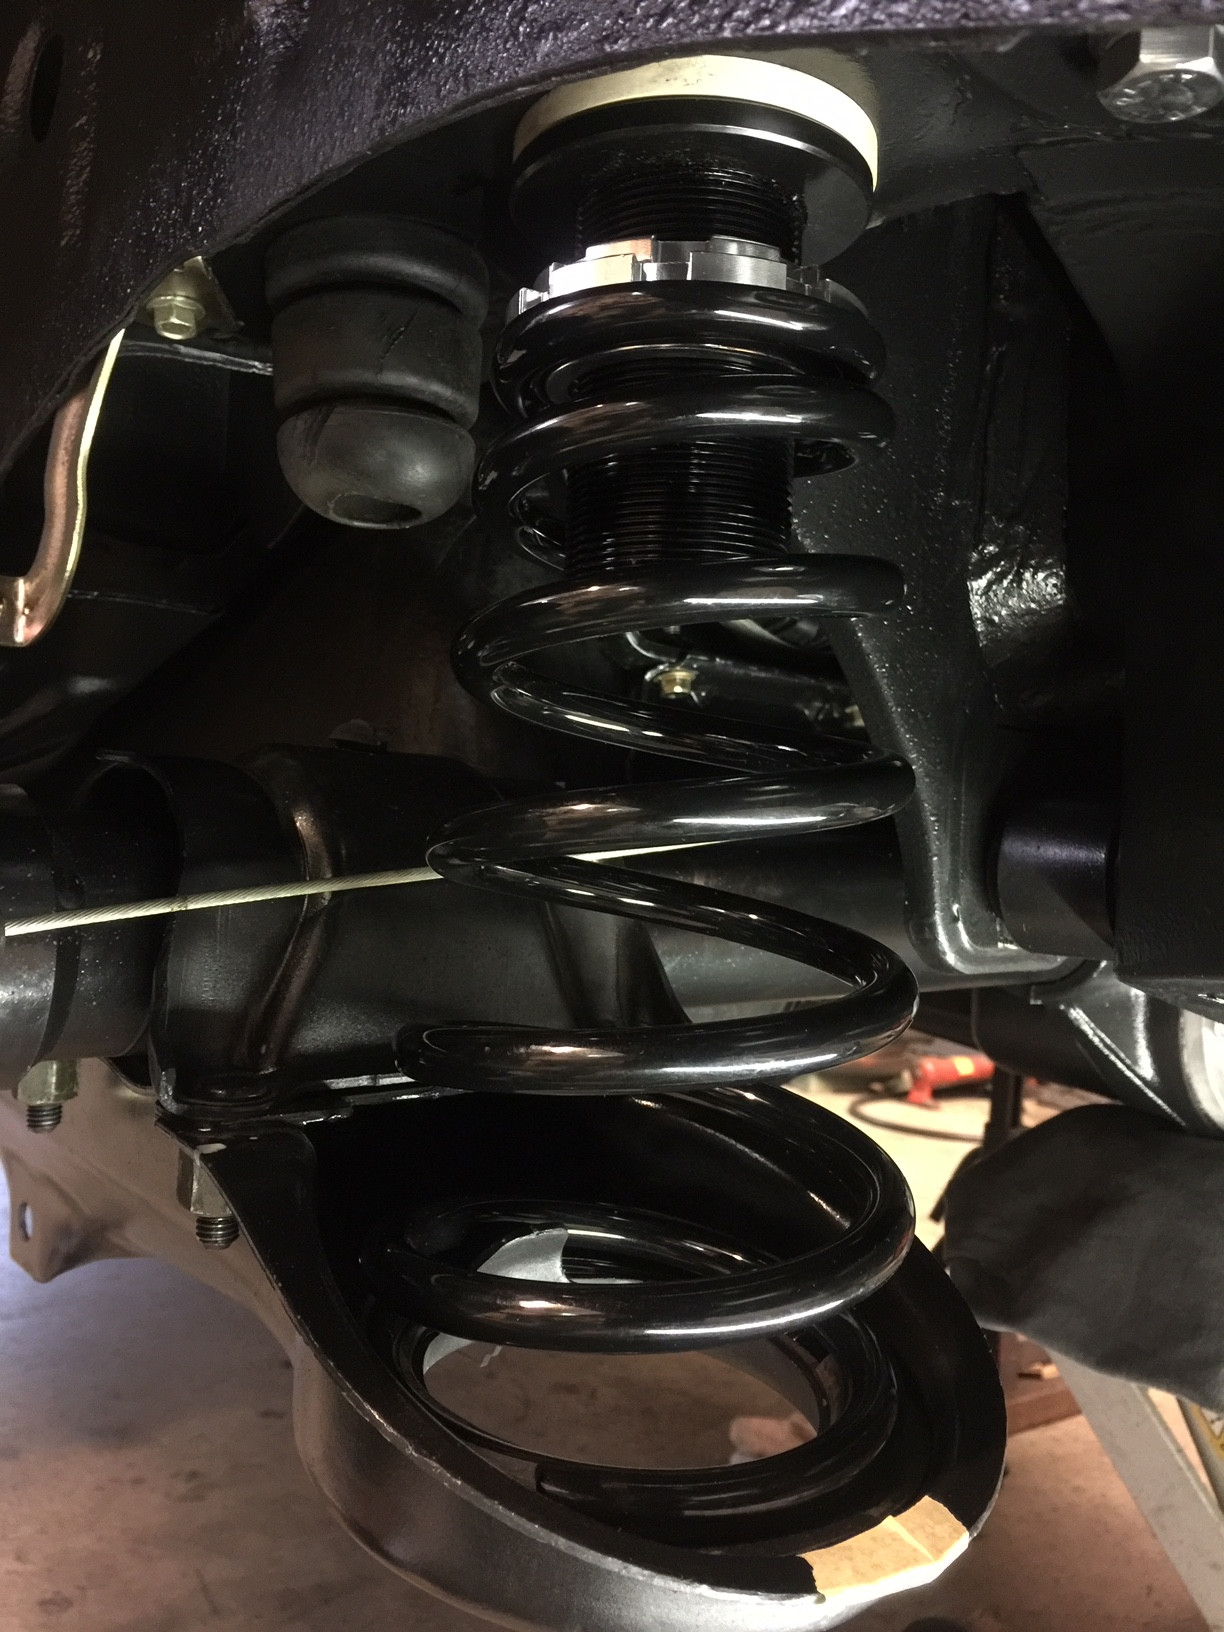
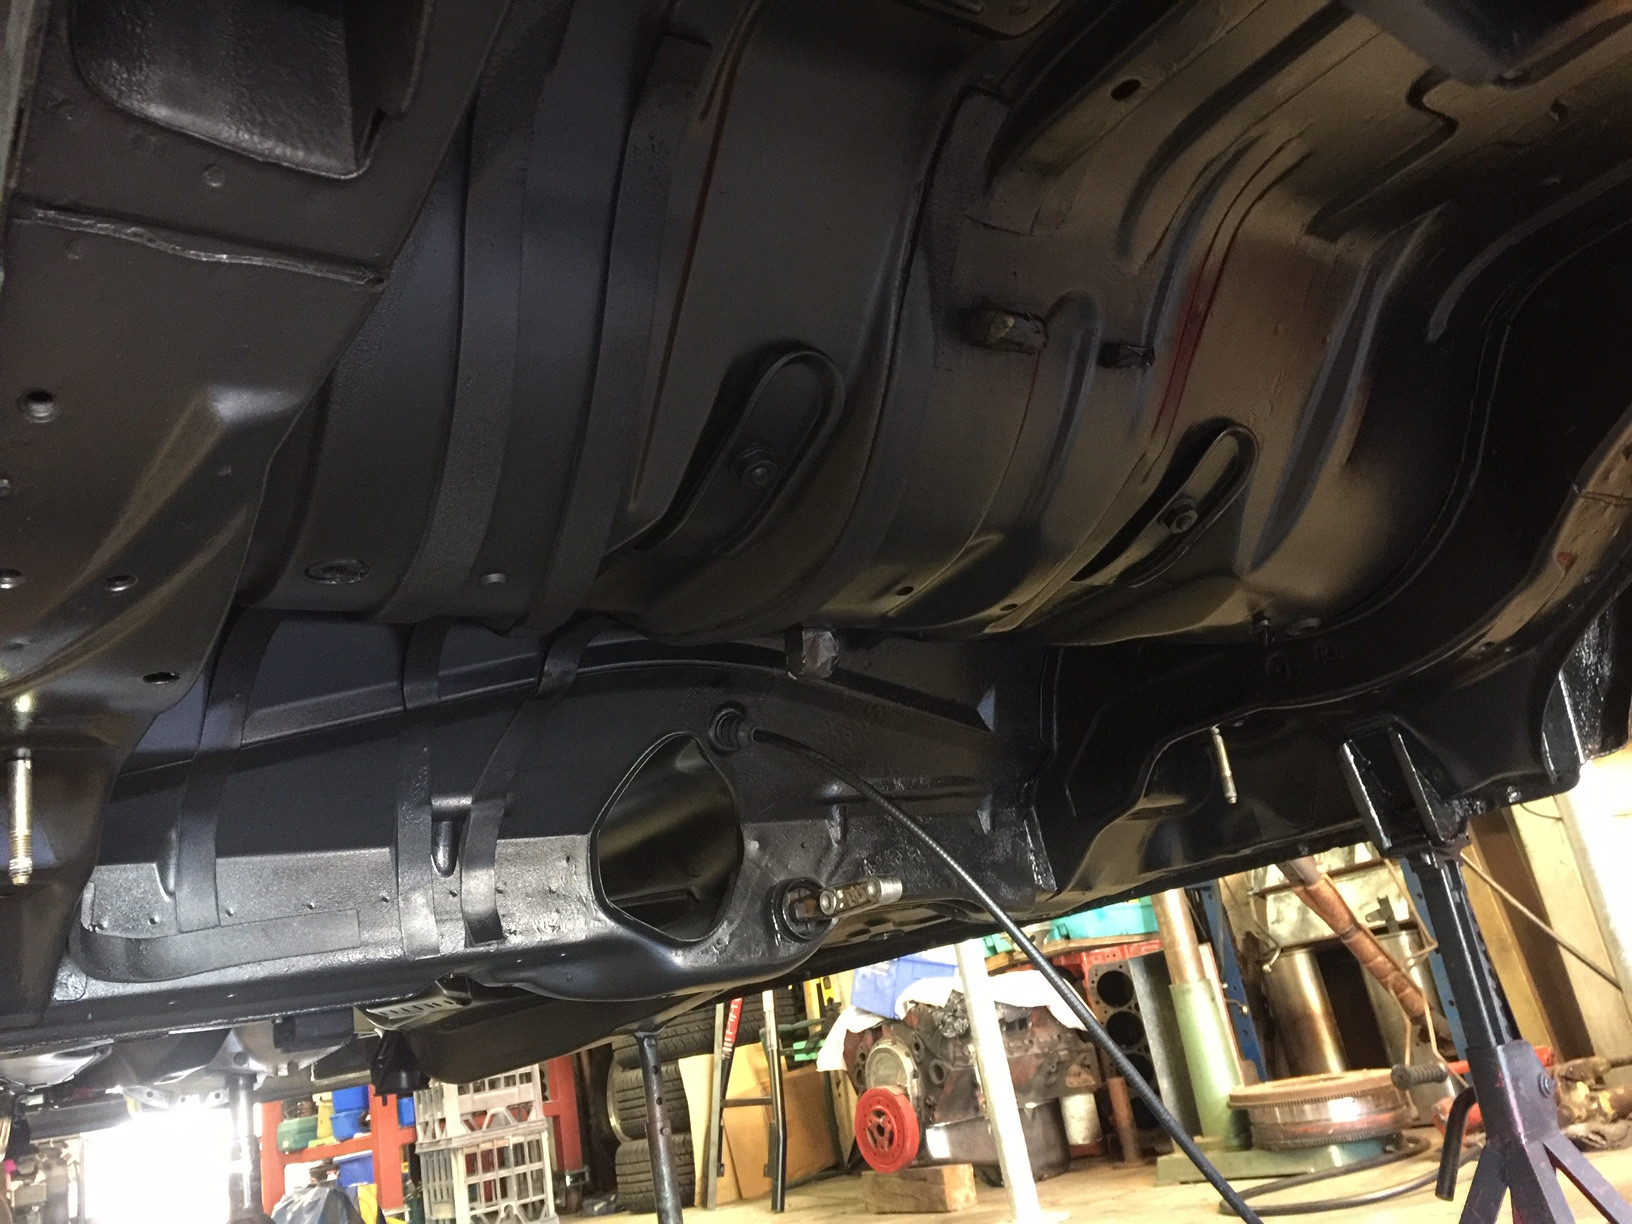
    To date. The rear axle, front and rear suspension has all reinstalled. I have resealed the calipers and installed those, fitted new brake hoses and bled the brakes. The suspension height has been set at 30mm lower than the original measurements taken. The new steering rack has been fitted along with all the front end suspension components.

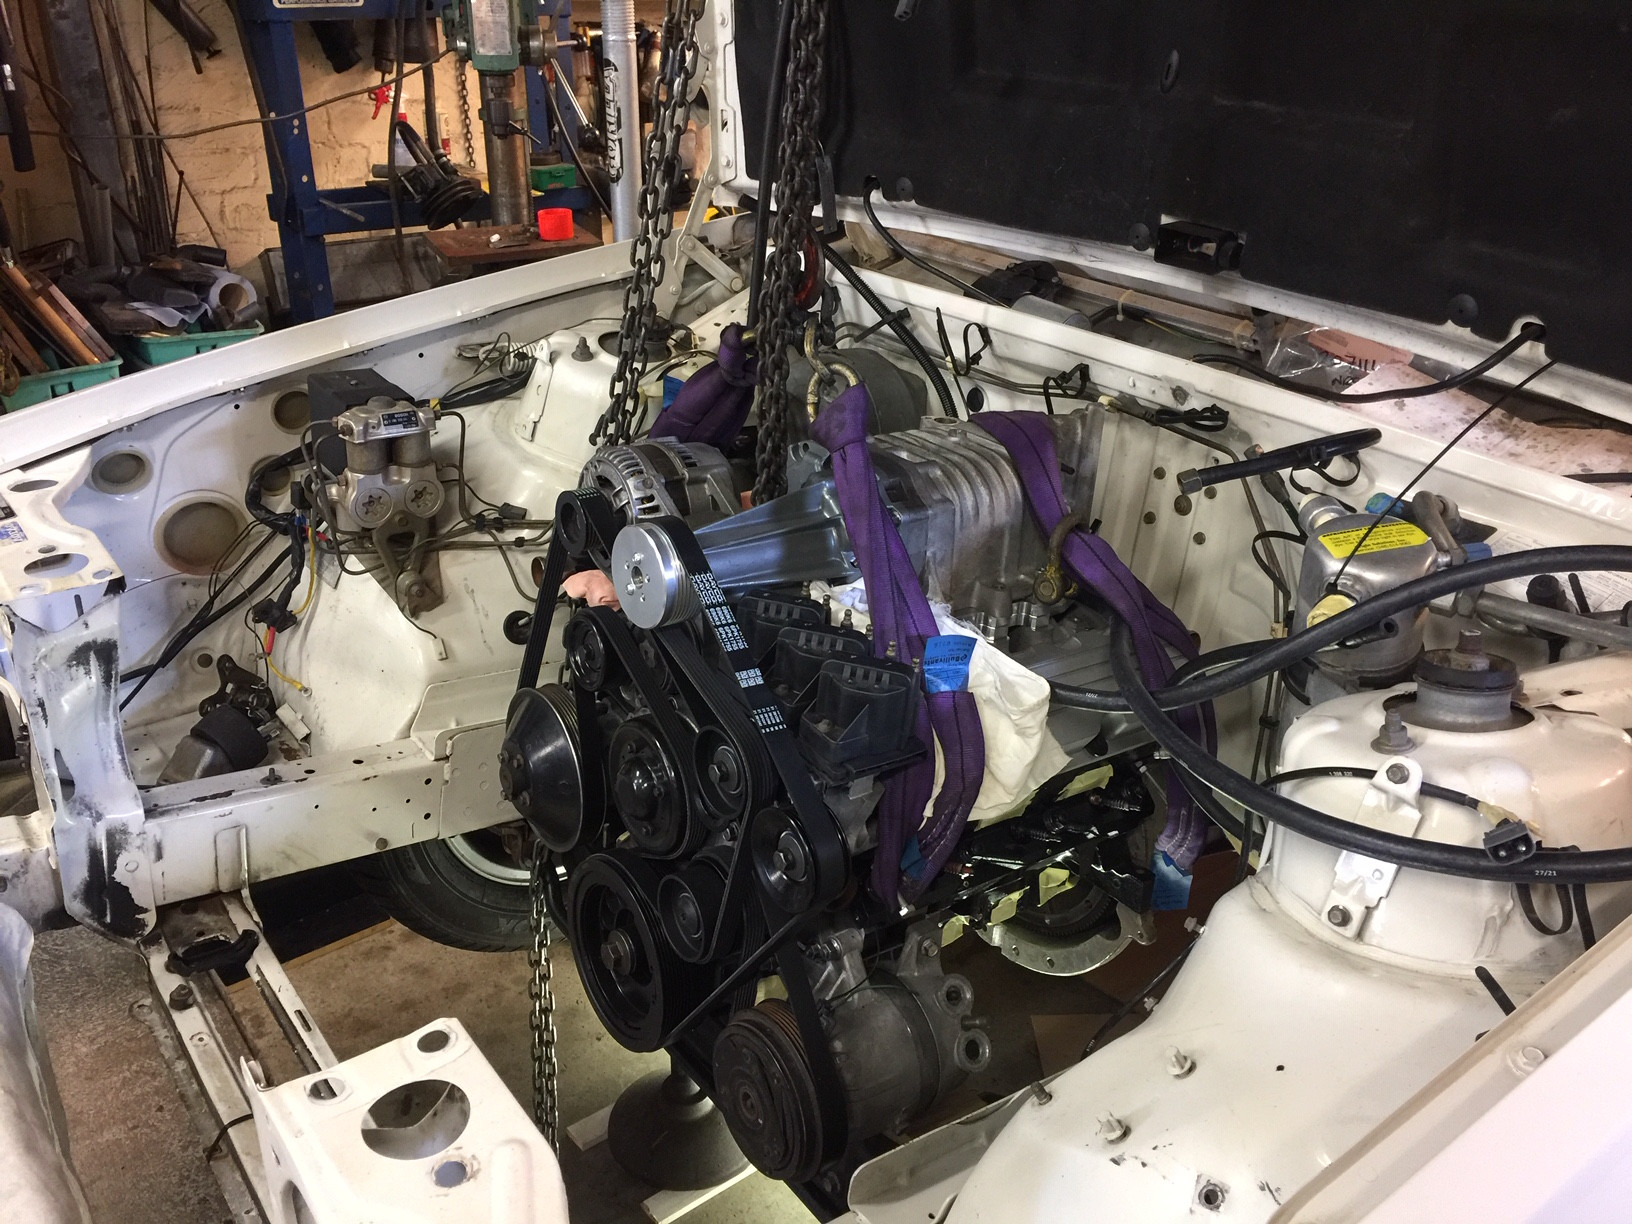
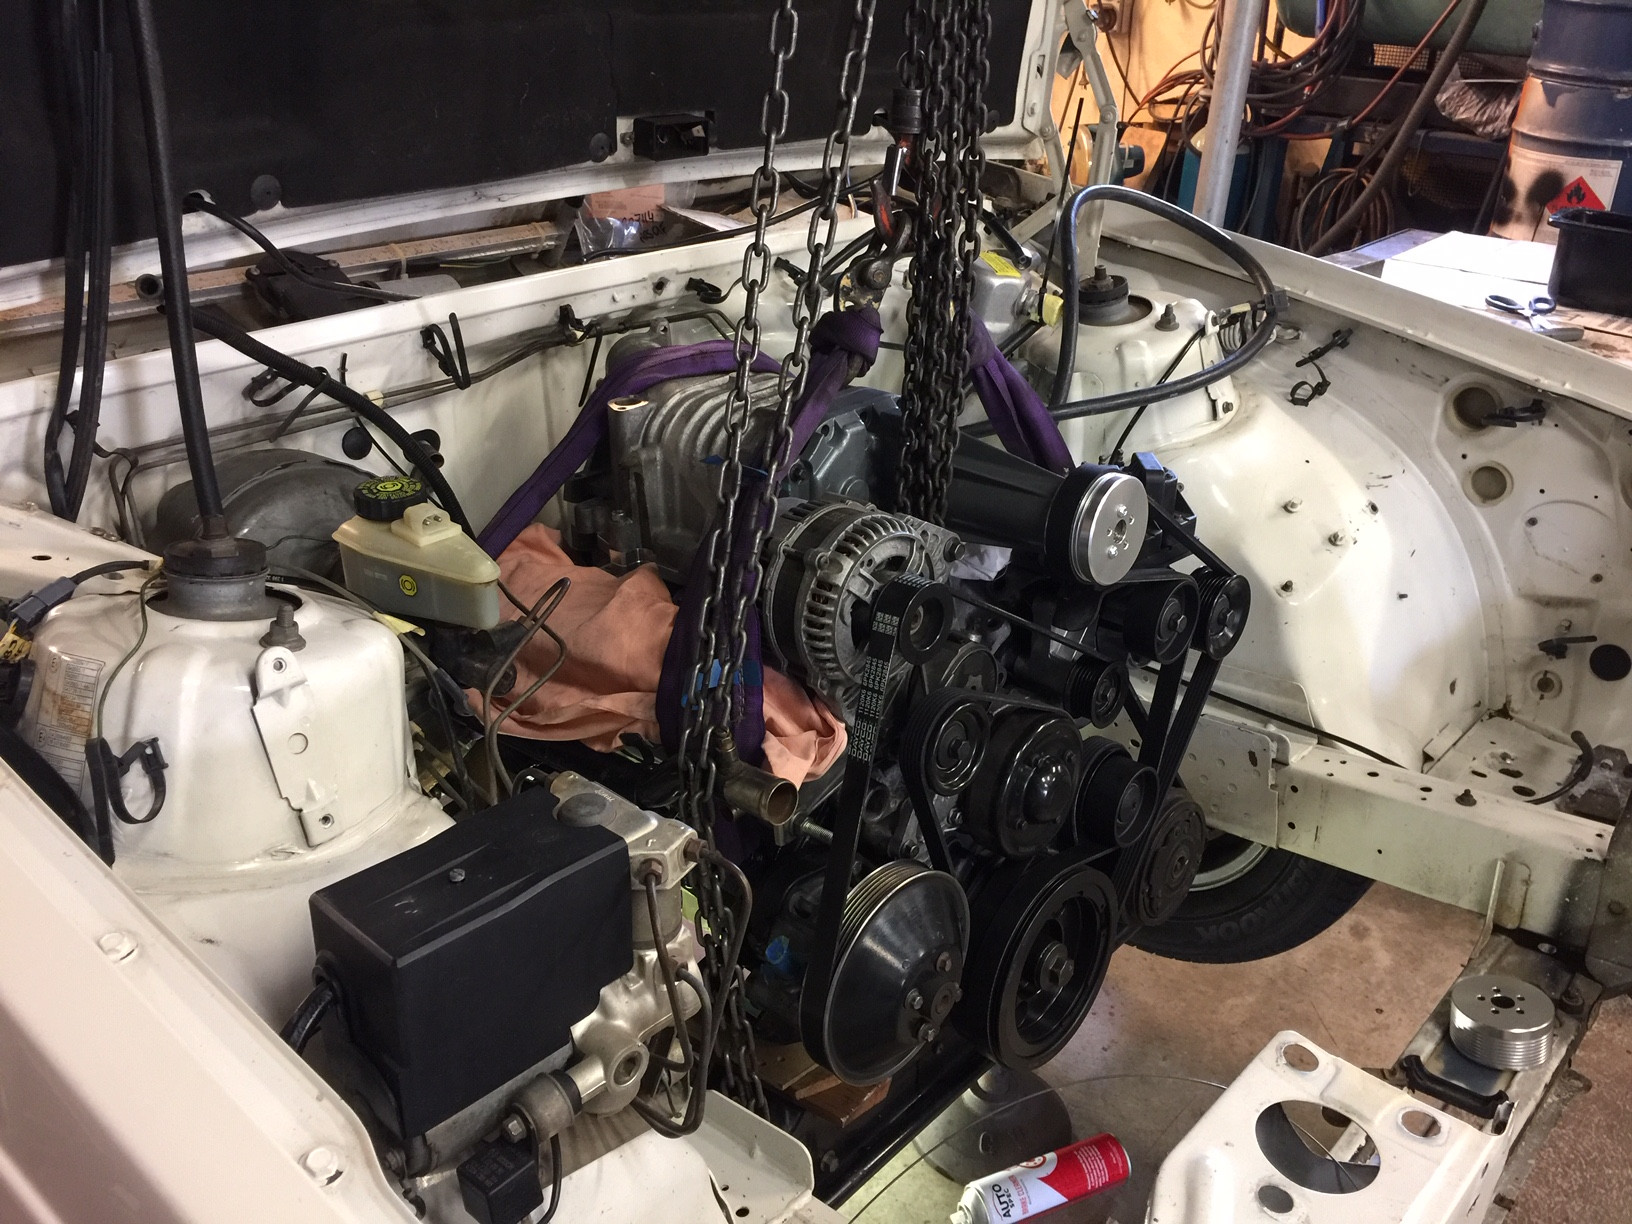
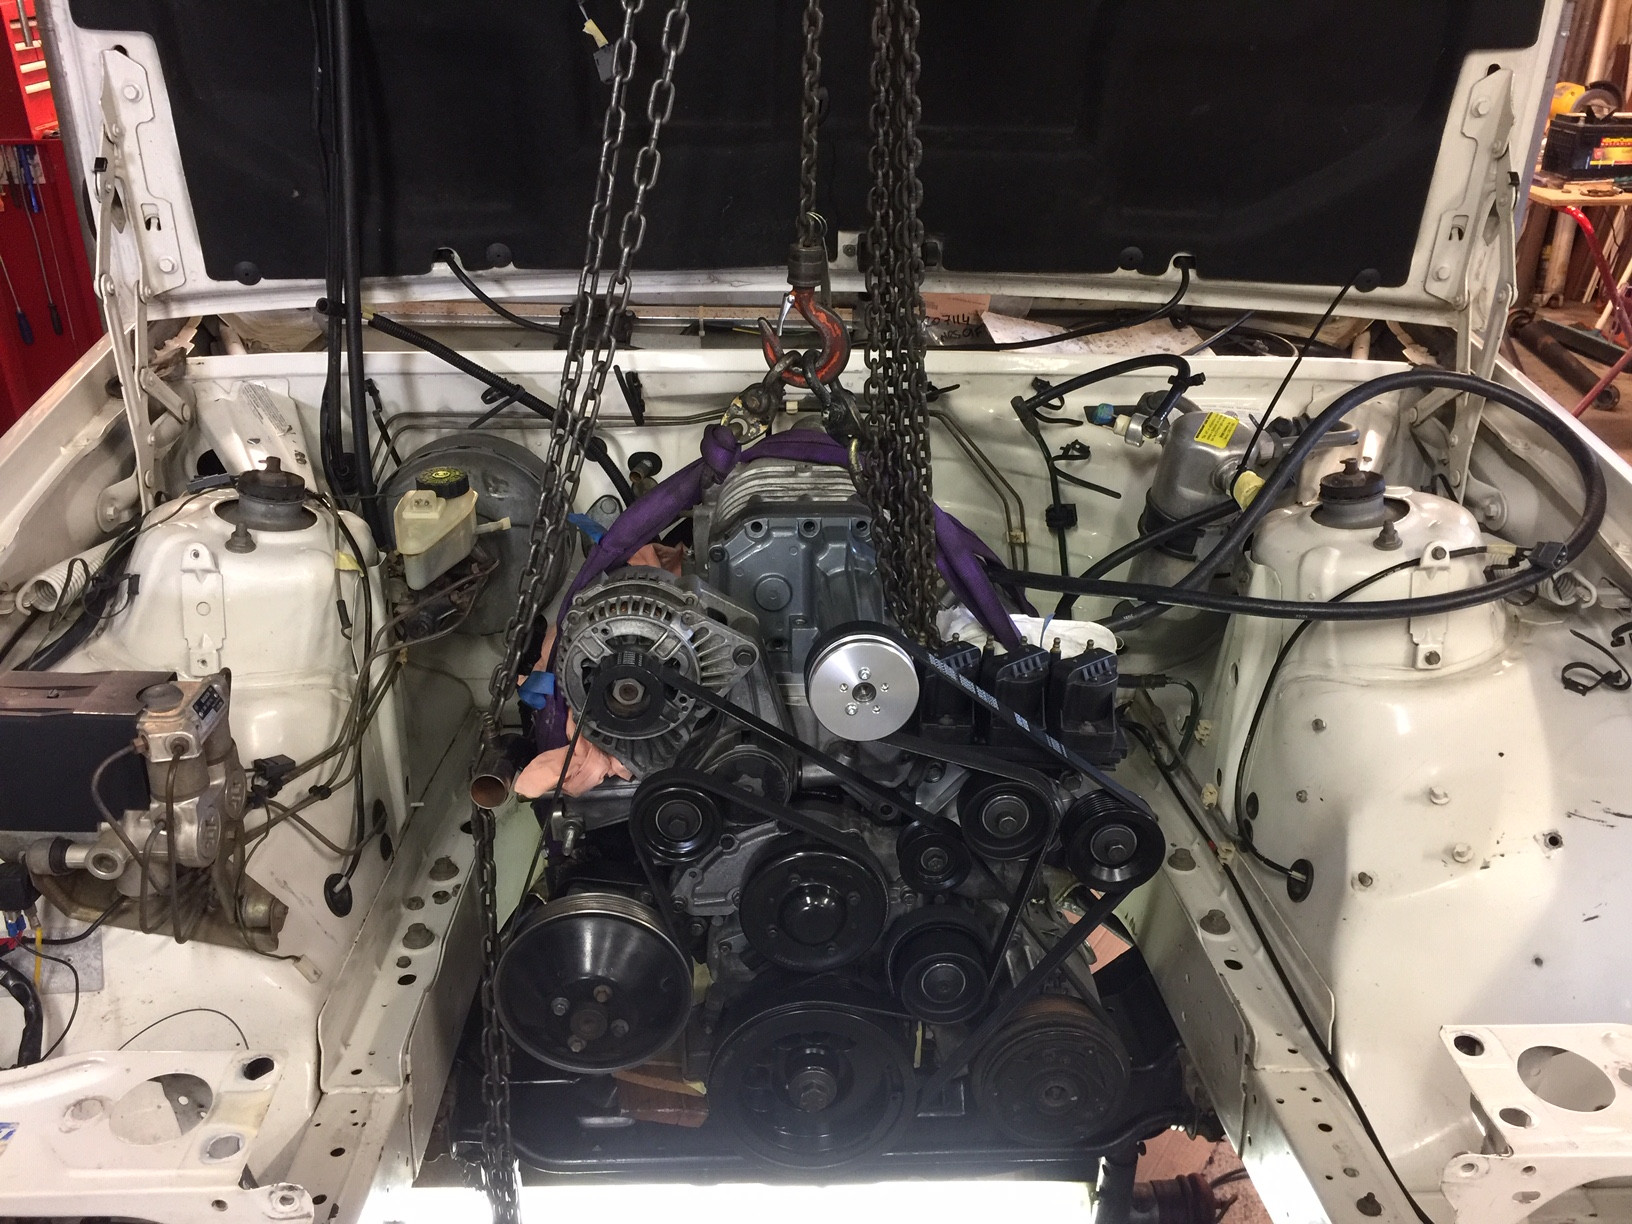
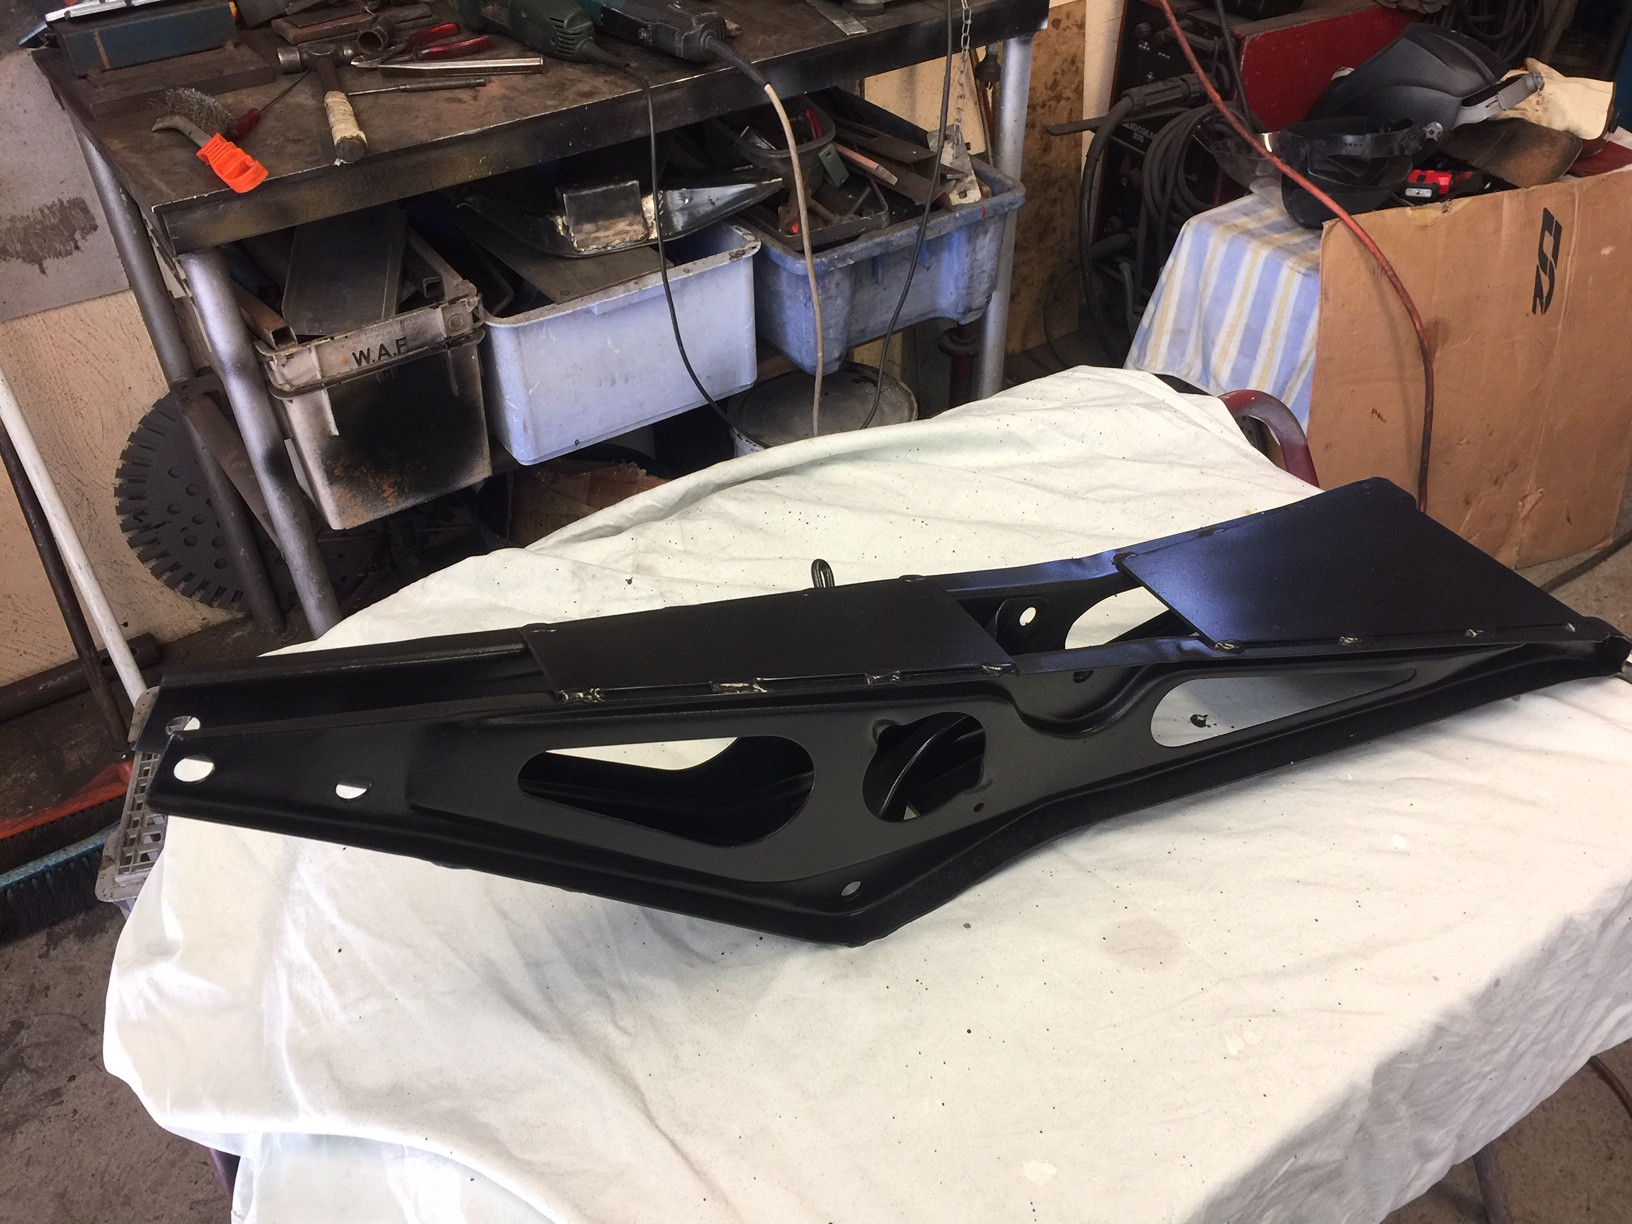
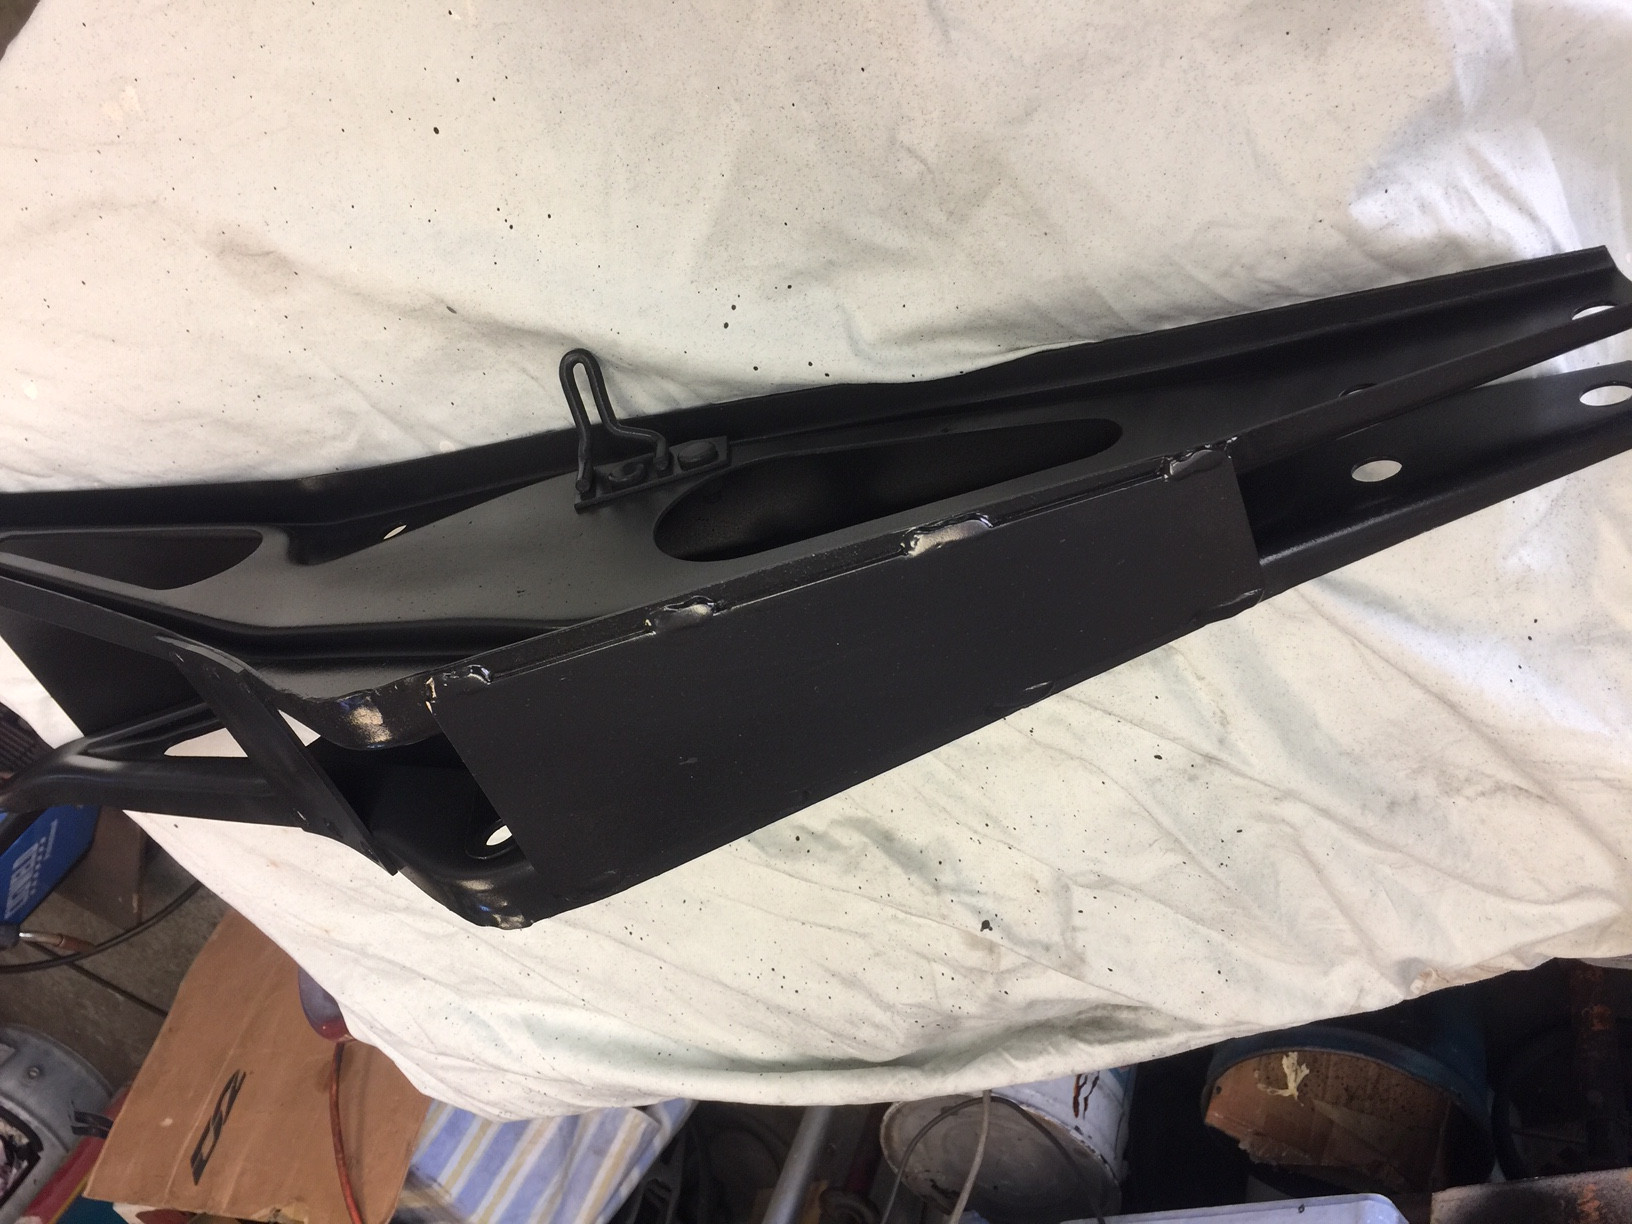
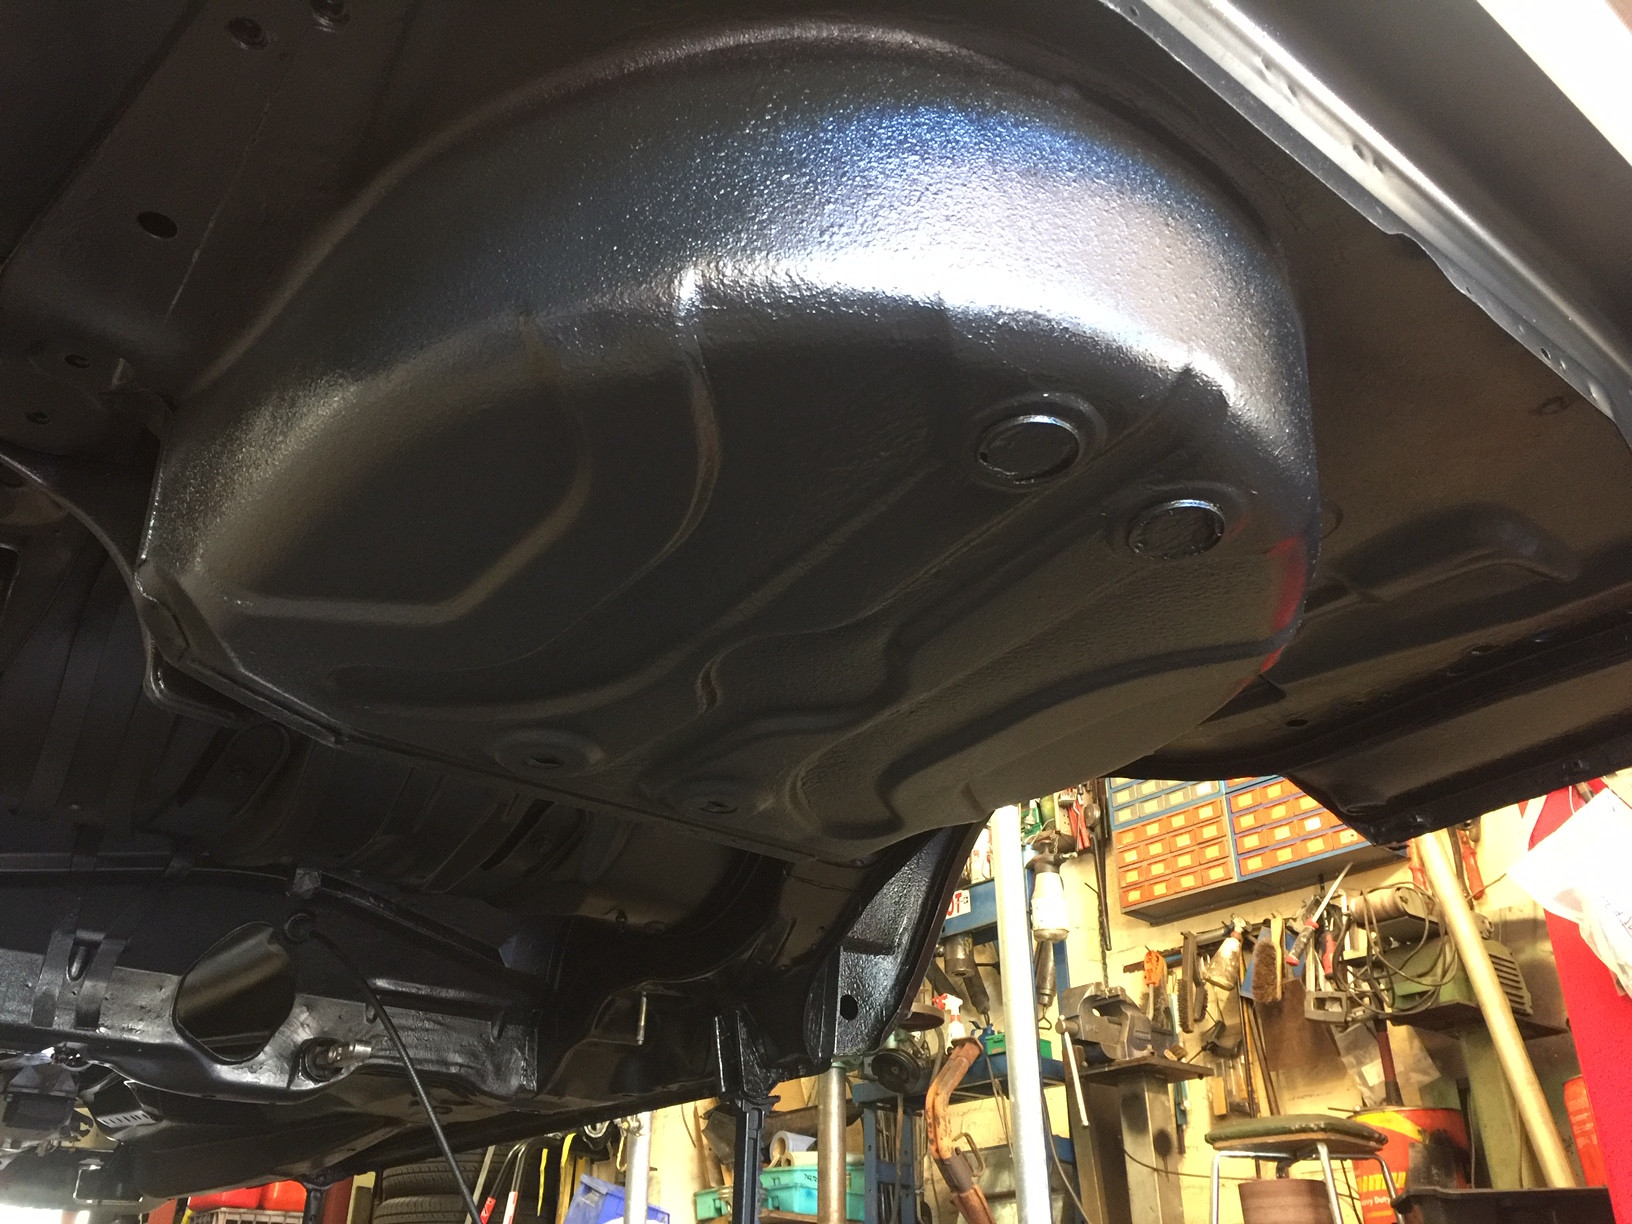
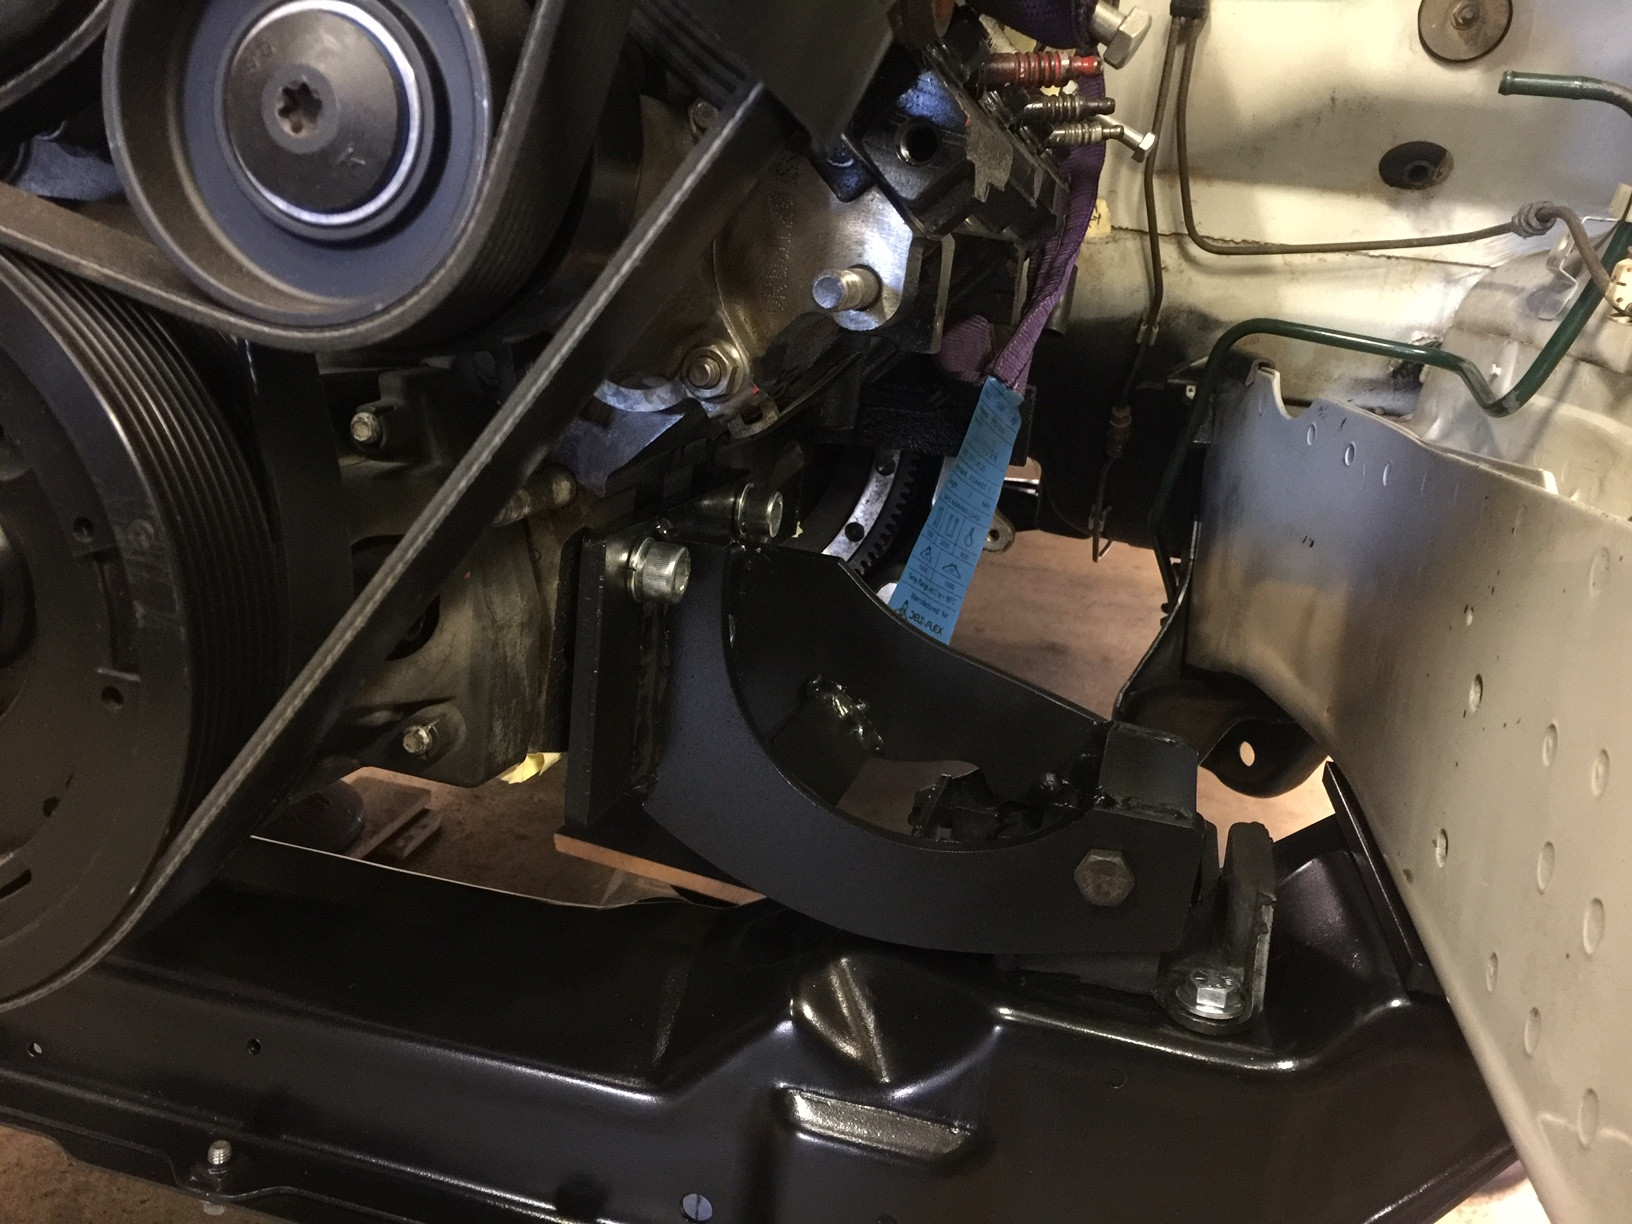
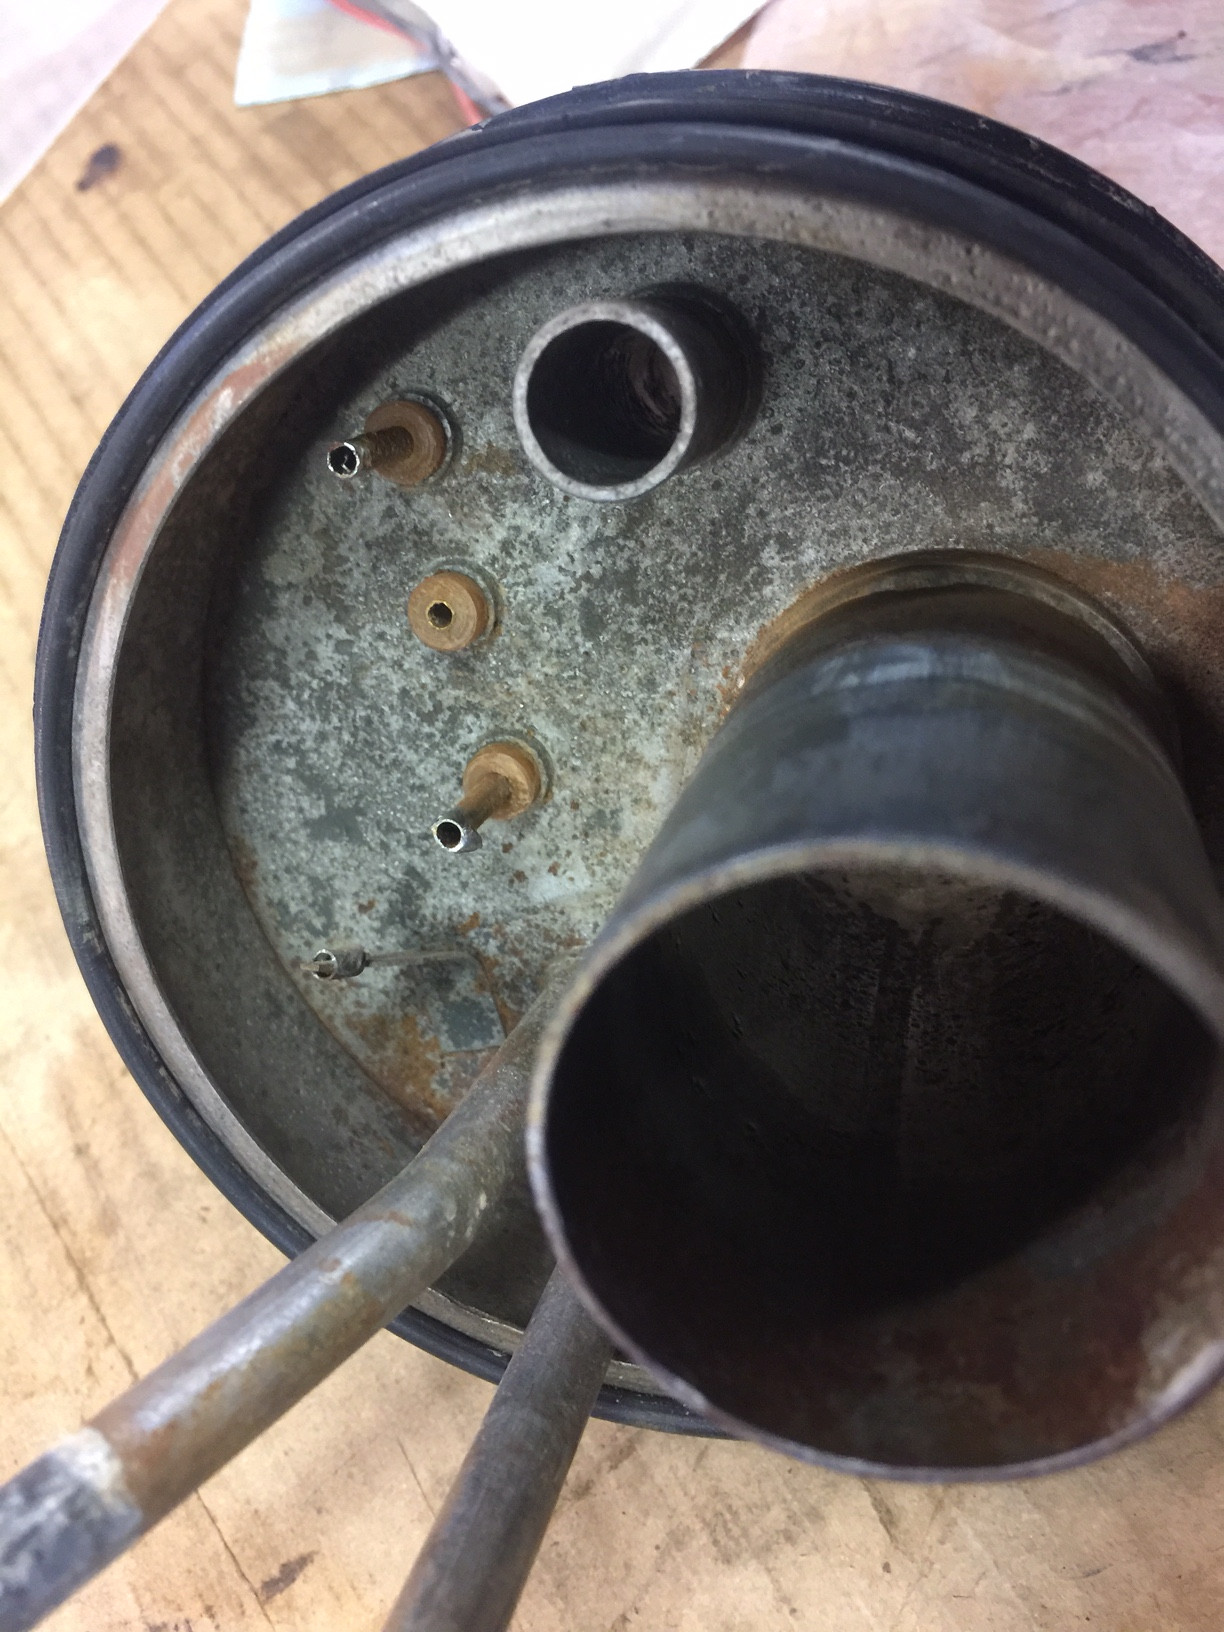
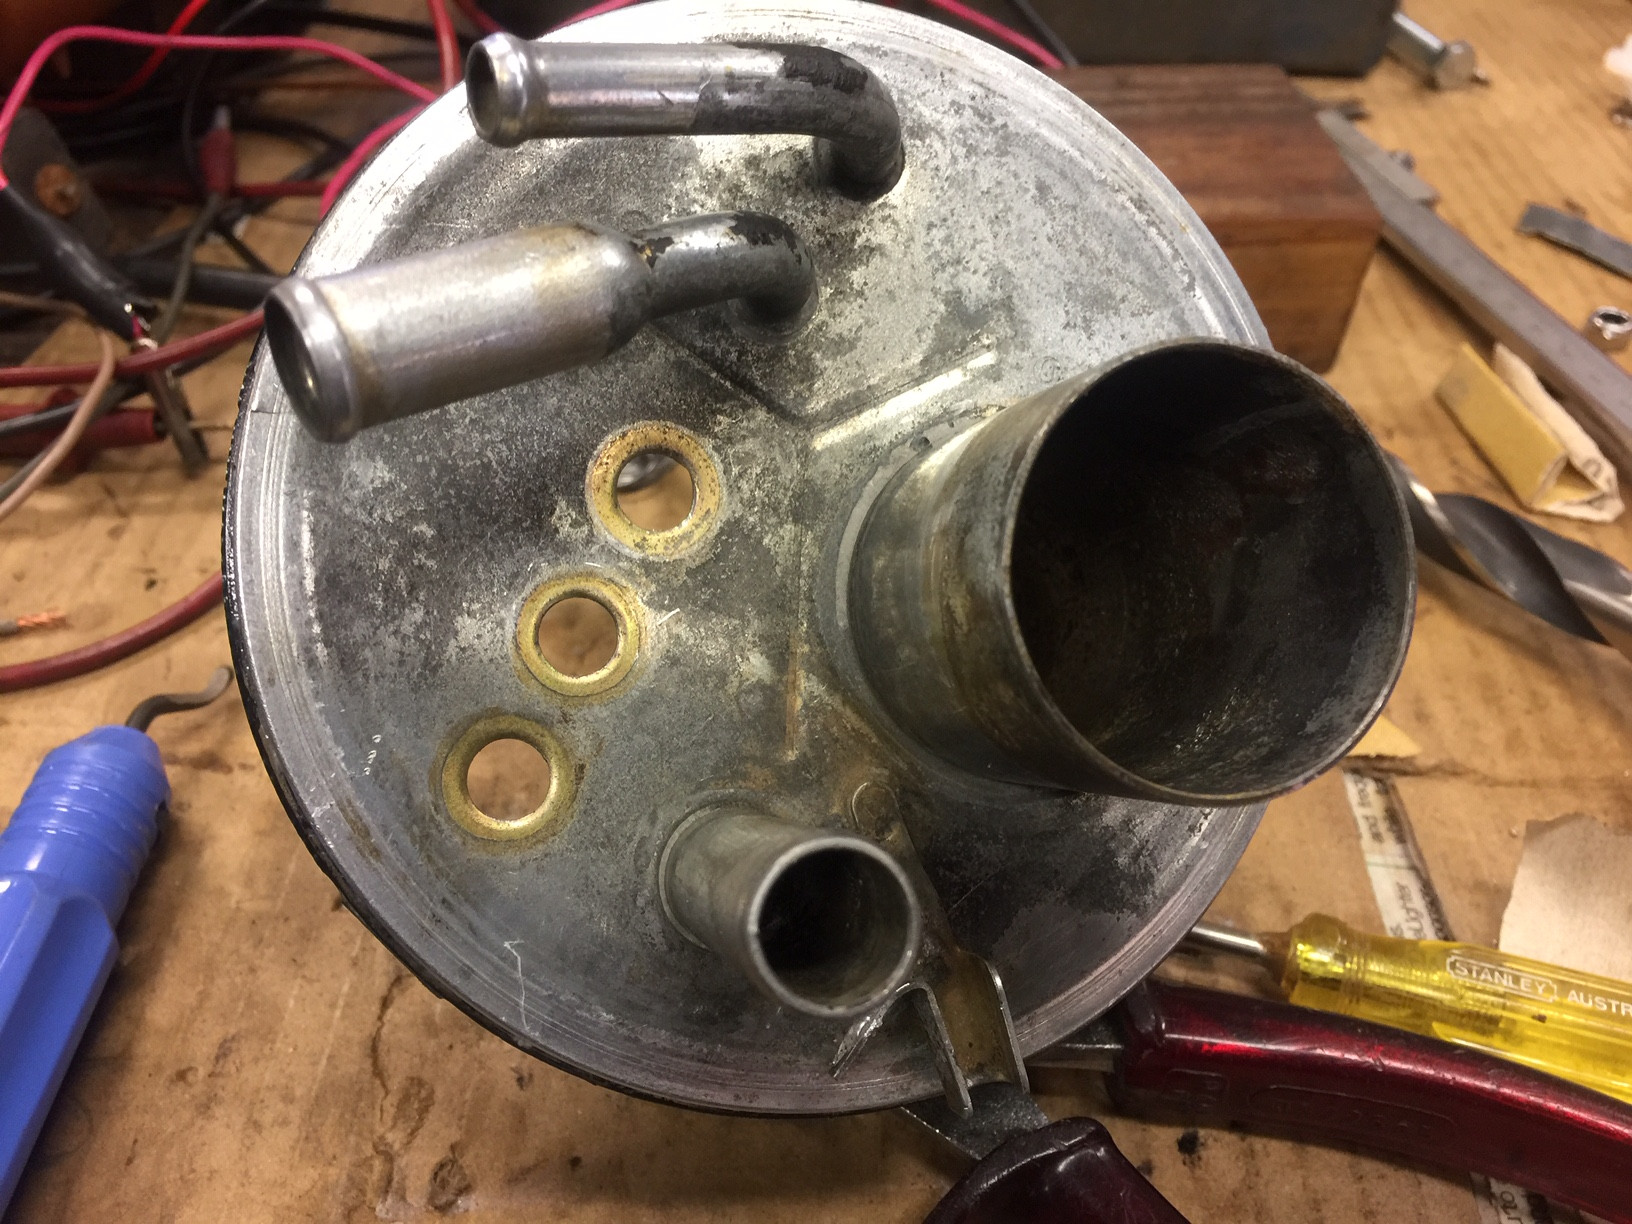
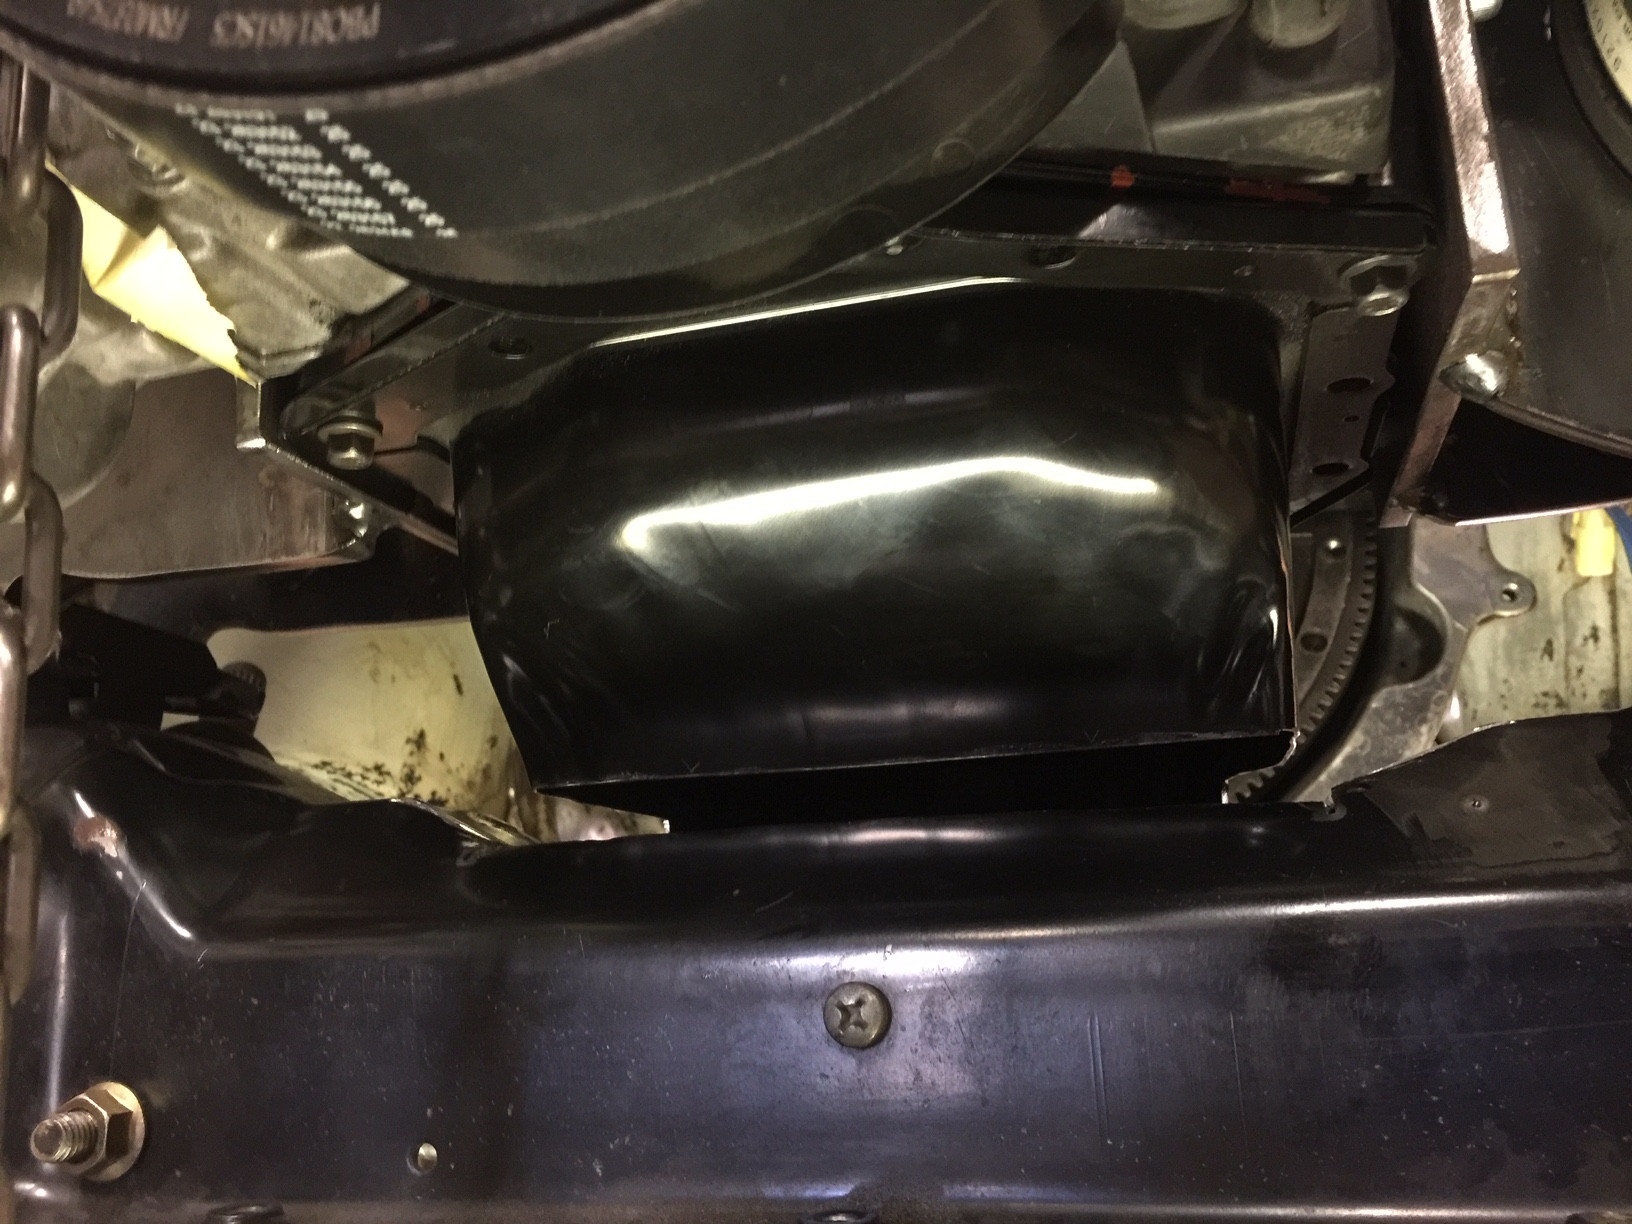
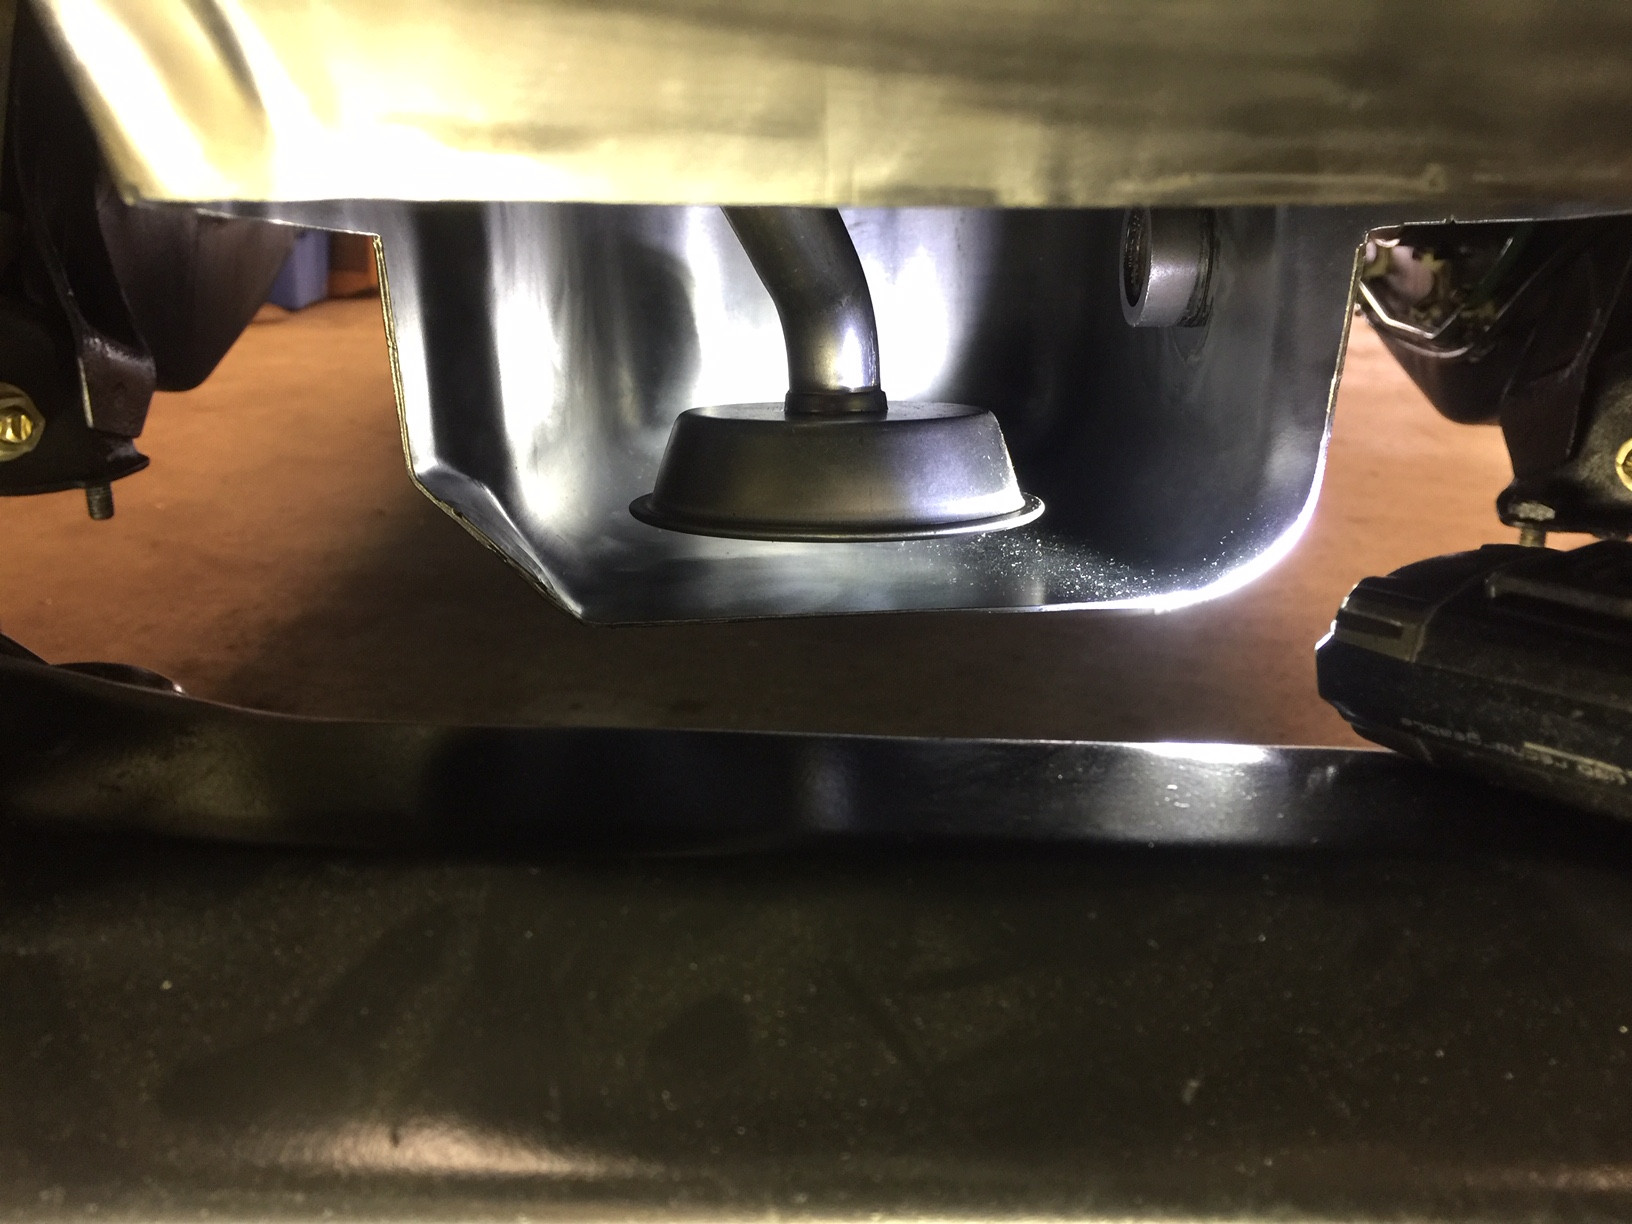
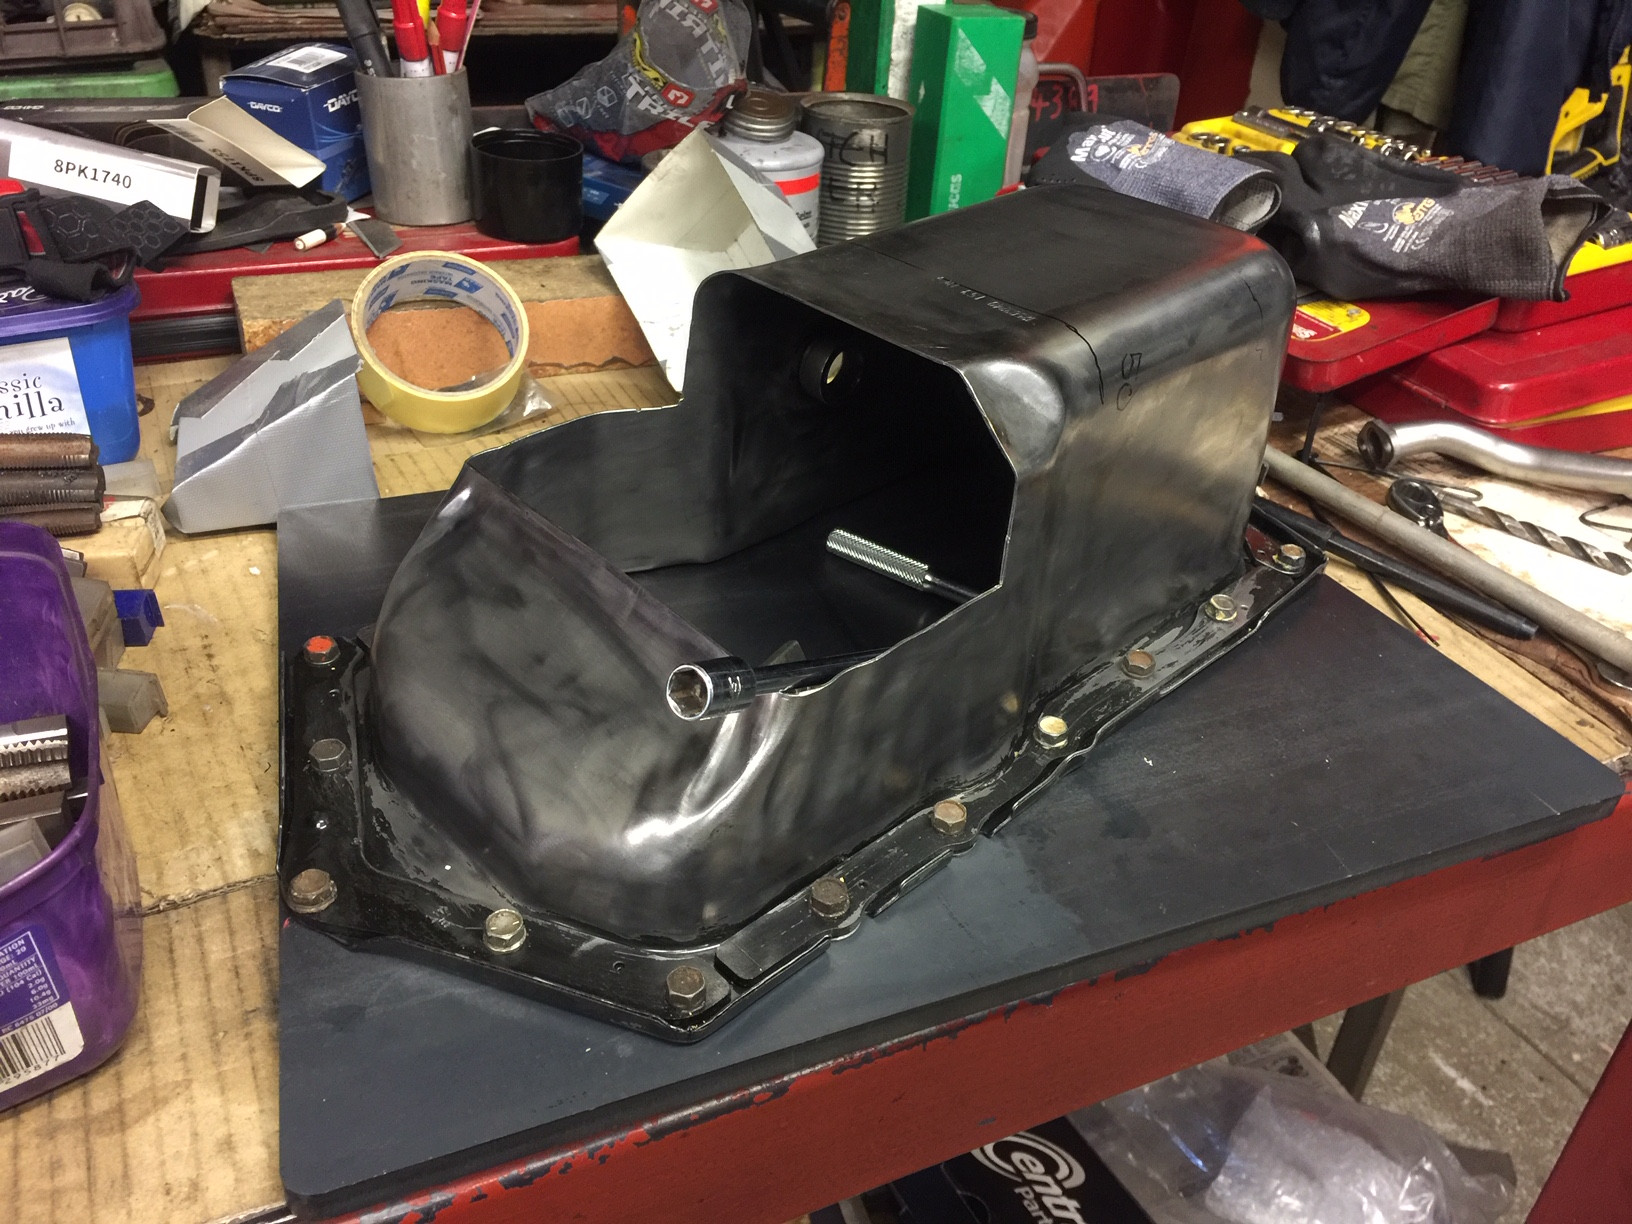
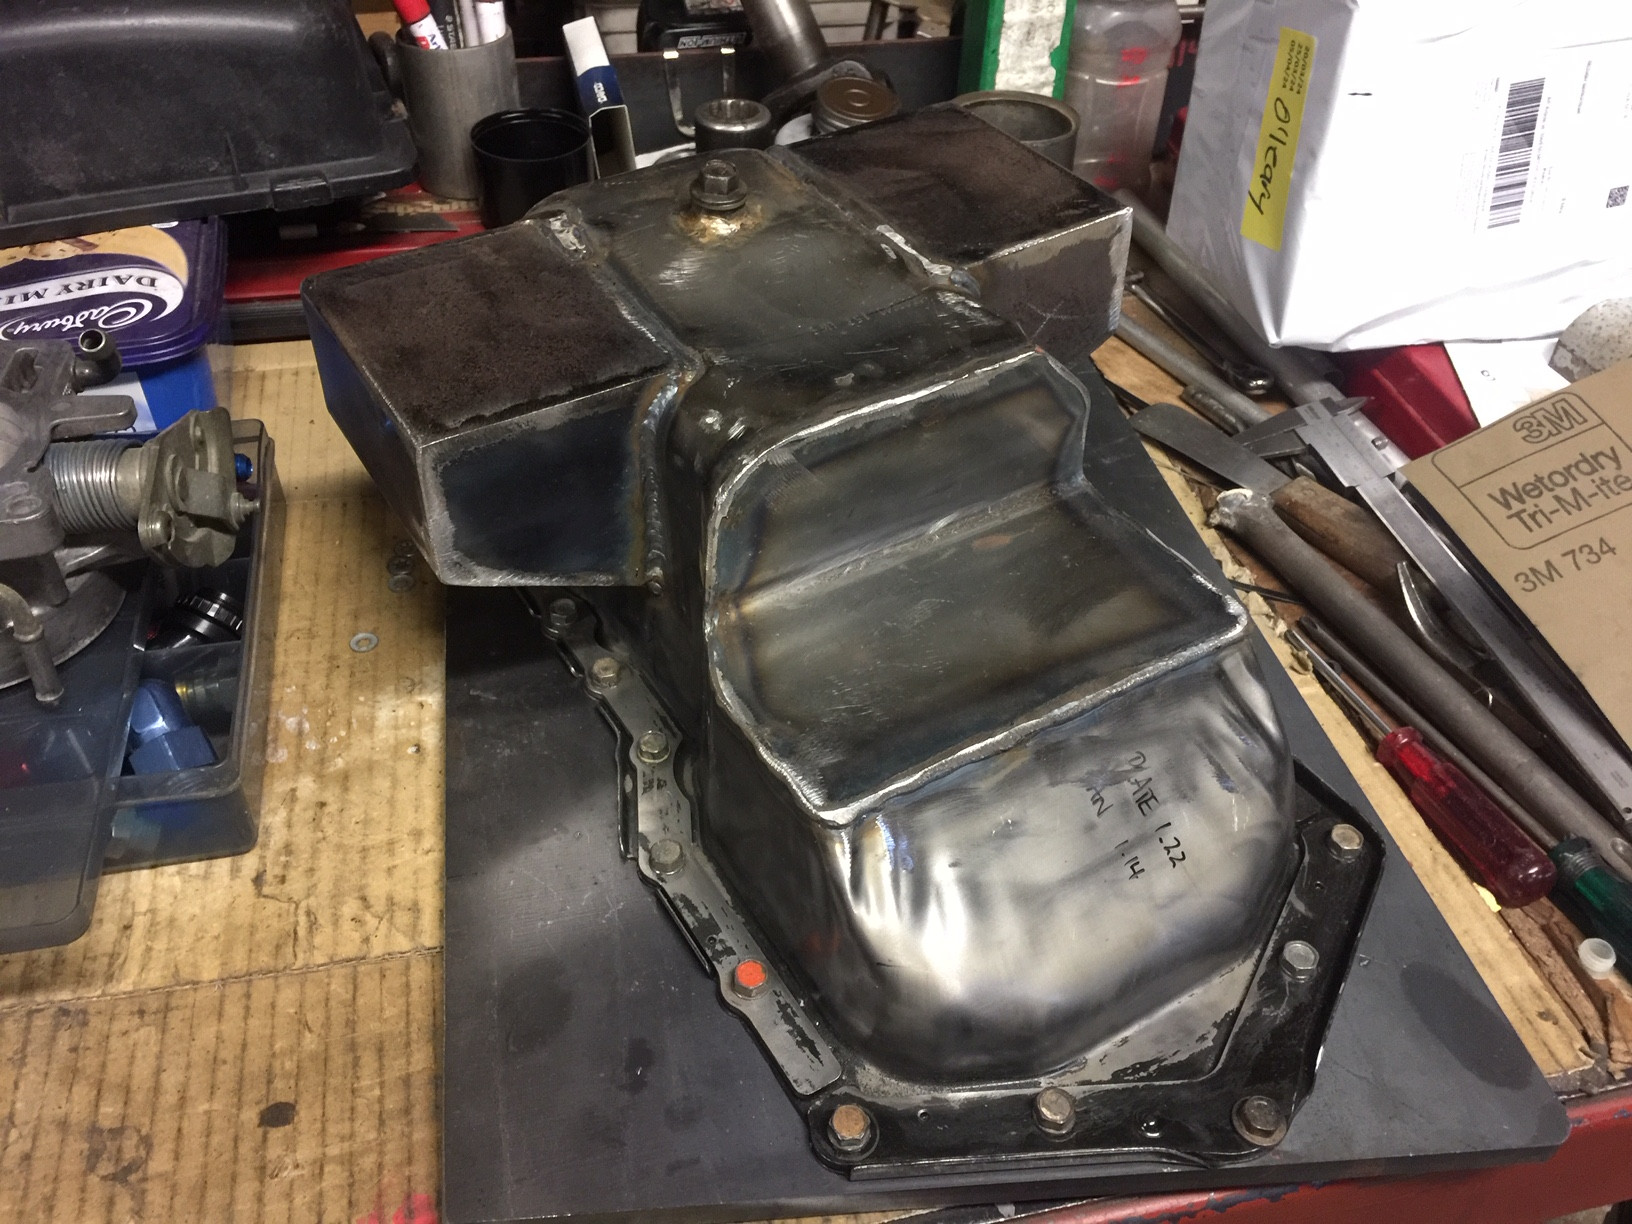
    I have cut the engine sump to have it fit and made wings to weld to regain the volume capacity plus an extra liter.

    I will post some pictures of the sump a little later.

    I have seen others cut the top of strut tower off and weld a thicker bit of sheel on there for the larger hole , 3.0mm would do fine , a 10.0mm high bit of SCH 5 pipe around the hole maybe , but really , 3.0mm is plenty there over a small area and triple the thickness of the sheetmetal.

    I can see that what you say could be beneficial for a drift car where the loads are substantially increased. Compared with the standard top spring plate the D2 top plate has substantially more contact with the underside of the spring tower which should reduce flex and transfer the load more evenly.

    This is a street sleeper for cruising and some 'straight line racing'. The change of suspension was more to bring the cars handling in line with the engine modification, give me the ability to set the suspension height and adjust the shock absorber rate. After I have the engine back in the car I will look at making a tower brace, if it will fit over the top of the supercharger.

    The Oil Pan.

    As the L67 (Commodore V6) has a cast alloy pan with bowl forward, this would not work in the 740. In fact this has proved to be the biggest hurdle in fitting this engine. I managed to find a steel pan that was used when these engines were fitted into 2000 -2002 Chevrolet Camaros. So, I purchased this and the oil pickup from the US. What I didn't realiase was that the pan is actually pressed with 2 sheets of metal, the result is this has made the welding all that more difficult.

    Removing the front section of the oil pan (for crossmember clearance) decreased the volume by 1 liter, the wings on the rear gives me back almost 2 liters, increasing the pan to almost 6 liter volume. I drilled and tapped a piece of 13mm steel plate to bolt the pan to for welding.

    Now all I have to do is leak test it again and then its ready to fit.

    Image description

    Image description

    Image description

    Image description

    Image description

    Very interesting you needed to custom a sump for this … my recollection from the 90’s was dozens of ads in Unique Cars for 760’s that’d been converted to moo-mangs when their PRV’s had inevitably given up the ghost.

    760 doesn’t do something different to 740 crossmember-wise, somehow?
    Unlikely, you’d have researched that!
    Ah wait … if you’ve looked at 2000 Camaros this is an Ecomoo, mebbe that’s the difference, those conversions I was talking about were the ancient original moo-mangs.