I am thoroughly enjoying this thread. Nice work
Kawasaki KX200 rebuild
- Edited
More things have happened...
Installed an extra mounting point on the back of the airbox for the wrong shock mudflap that I am using.


/\ Detail shot of normally obscured things looking pretty.
Head mount removal...


...Because the fuel tank hits on it.
I still need to hit the tank with the heat gun to clear the thermostat housing.


But yeah, the motor is in!

Swingarm and rear suspension all sorted too.

Airbox had to be resealed - there’s the plastic box and the rubber boot sandwiched between two thin steel plates. One of the plates has five studs sticking out of it - one has been snapped off, and was (presumably) why the previous owner had pulled it all apart.
After a lot of wondering how to seal all of the elements without making a huge mess with silastic, I realised that I only needed a good seal between the inner ring and the rubber boot - much easier. Bit of head scratching on the broken stud, then just fitted a countersunk screw. Simples.

Kawasakis of this era are notorious for crappy welding on the frame.
This ignition mount is a case in point. While it is plenty strong enough to hold the CDI box, it lets water into the steering bearings.
Easy solution was a smear of sikaflex on the inside.

Gearlever is a close fit, but clears.

Radiators are the next challenge.
The radiator on the left is from a 1988 KX250, the one on the right is from the 1990 KX125. I do not own a pair of radiators for either bike.
The older KX water path is motor - first radiator - second radiator - back to motor.
The 1990 water path splits the coolant between each radiator, and has a balance pipe between the radiators.
The KDX motor has the older set up, so it is easier to go that way.

I was juuuuusst about to buy new 88 KX250 radiators from ebay when I realised that I wasn’t certain that the RHS radiator would fit my frame. After a bit of research (asking on Facebook and having a mate ring me from his shed! ?), I discovered the 250 radiator is too long for my bike.
Glad I asked first!
Next step is to try KDX200 radiators.
Rear wheel is also a problem.
I have a nice wheel from a KLX250 that I was planning to use. The brake rotor is too big for the KX caliper.
I have a new KX rotor, which fits but bolts to the hub with 6mm bolts instead of the KLX’s 8mm bolts.
Drilled one hole out to try, works fine - but it appears that the KLX hub is wider, so either the rotor lines up or the sprockets line up - but not both...

More measuring to be done!
Same. I had a KDX200. This is my new favourite thread.
FB spat this up tonight.
KX200 features at 2:45 and 3:05 and once or twice later.
https://www.youtube.com/watch?v=uSDt9j2tOw0&feature=share&fbclid=IwAR1E6arz1hMCdYL9JiigWMe5zXRM2ovidbNw950kvw1doBMFgsErksxOa9Q
For some Volvo content, I am pretty sure this is the event where I bent two Aeries wheels on my much-loved 940GLE on the way there.
- Edited
And there’s the budget blown on the 1990 model...

I am justifying it by the money I have saved by not doing anything apart from going to work.


Minimal progress on it today.
Finally found the throttle assembly that I lost in my shed (and was stressing me out that I couldn’t find). Was sitting on one of the spare pairs of handlebars - which was a perfectly sensible, safe place for it... ?
So I also sorted the throttle cable.
KLX hub is the same 145mm width between sprocket and rotor as KX (and KDX). All the Kawasaki swingarms from disc brake bikes are the same 198mm width. I have no idea why I can’t make things line up.
And the front brake is confusing me. Basically the caliper suits a rotor 10mm larger in diameter than the rotor I have. Need to work that out too. *sigh*
Tinkering day, rather than getting stuck in.
Remember how I said all the Kawasaki swingarms are 198mm wide? Except this one isn’t.
I checked part numbers of spacers and bearings and concluded that it should be the same as all of the others.


A few minutes of careful work with a scissor jack pushed it back out to the correct width.
And now, magically, I can use the correct spacers and everything lines up.
Also fitted better tyres before fitting the rear wheel.
Got my head around the front wheel spacers too. I have to shorten down a spacer for the LHS.


Also helicoiled the seat mount bolt holes. Seems like the original setup was just threads into the aluminium... Can’t see how that was a good idea.
Muffler was something that I hadn’t worked out. Found a YZ250 muffler in the shed, seems like it can be made to work.


Rear brake line was annoying. Found one that worked, cleaned it up and then discovered that it is blocked. Faffed around trying to unblock it before I dug through the stash and found one that did work.
Haven’t bled it yet.

Had to work this morning, so used the world’s shittiest lathe to shorten one of the front wheel spacers.

Also bled the rear brake. Was probably the easiest bleed of a dry system ever.
- Edited
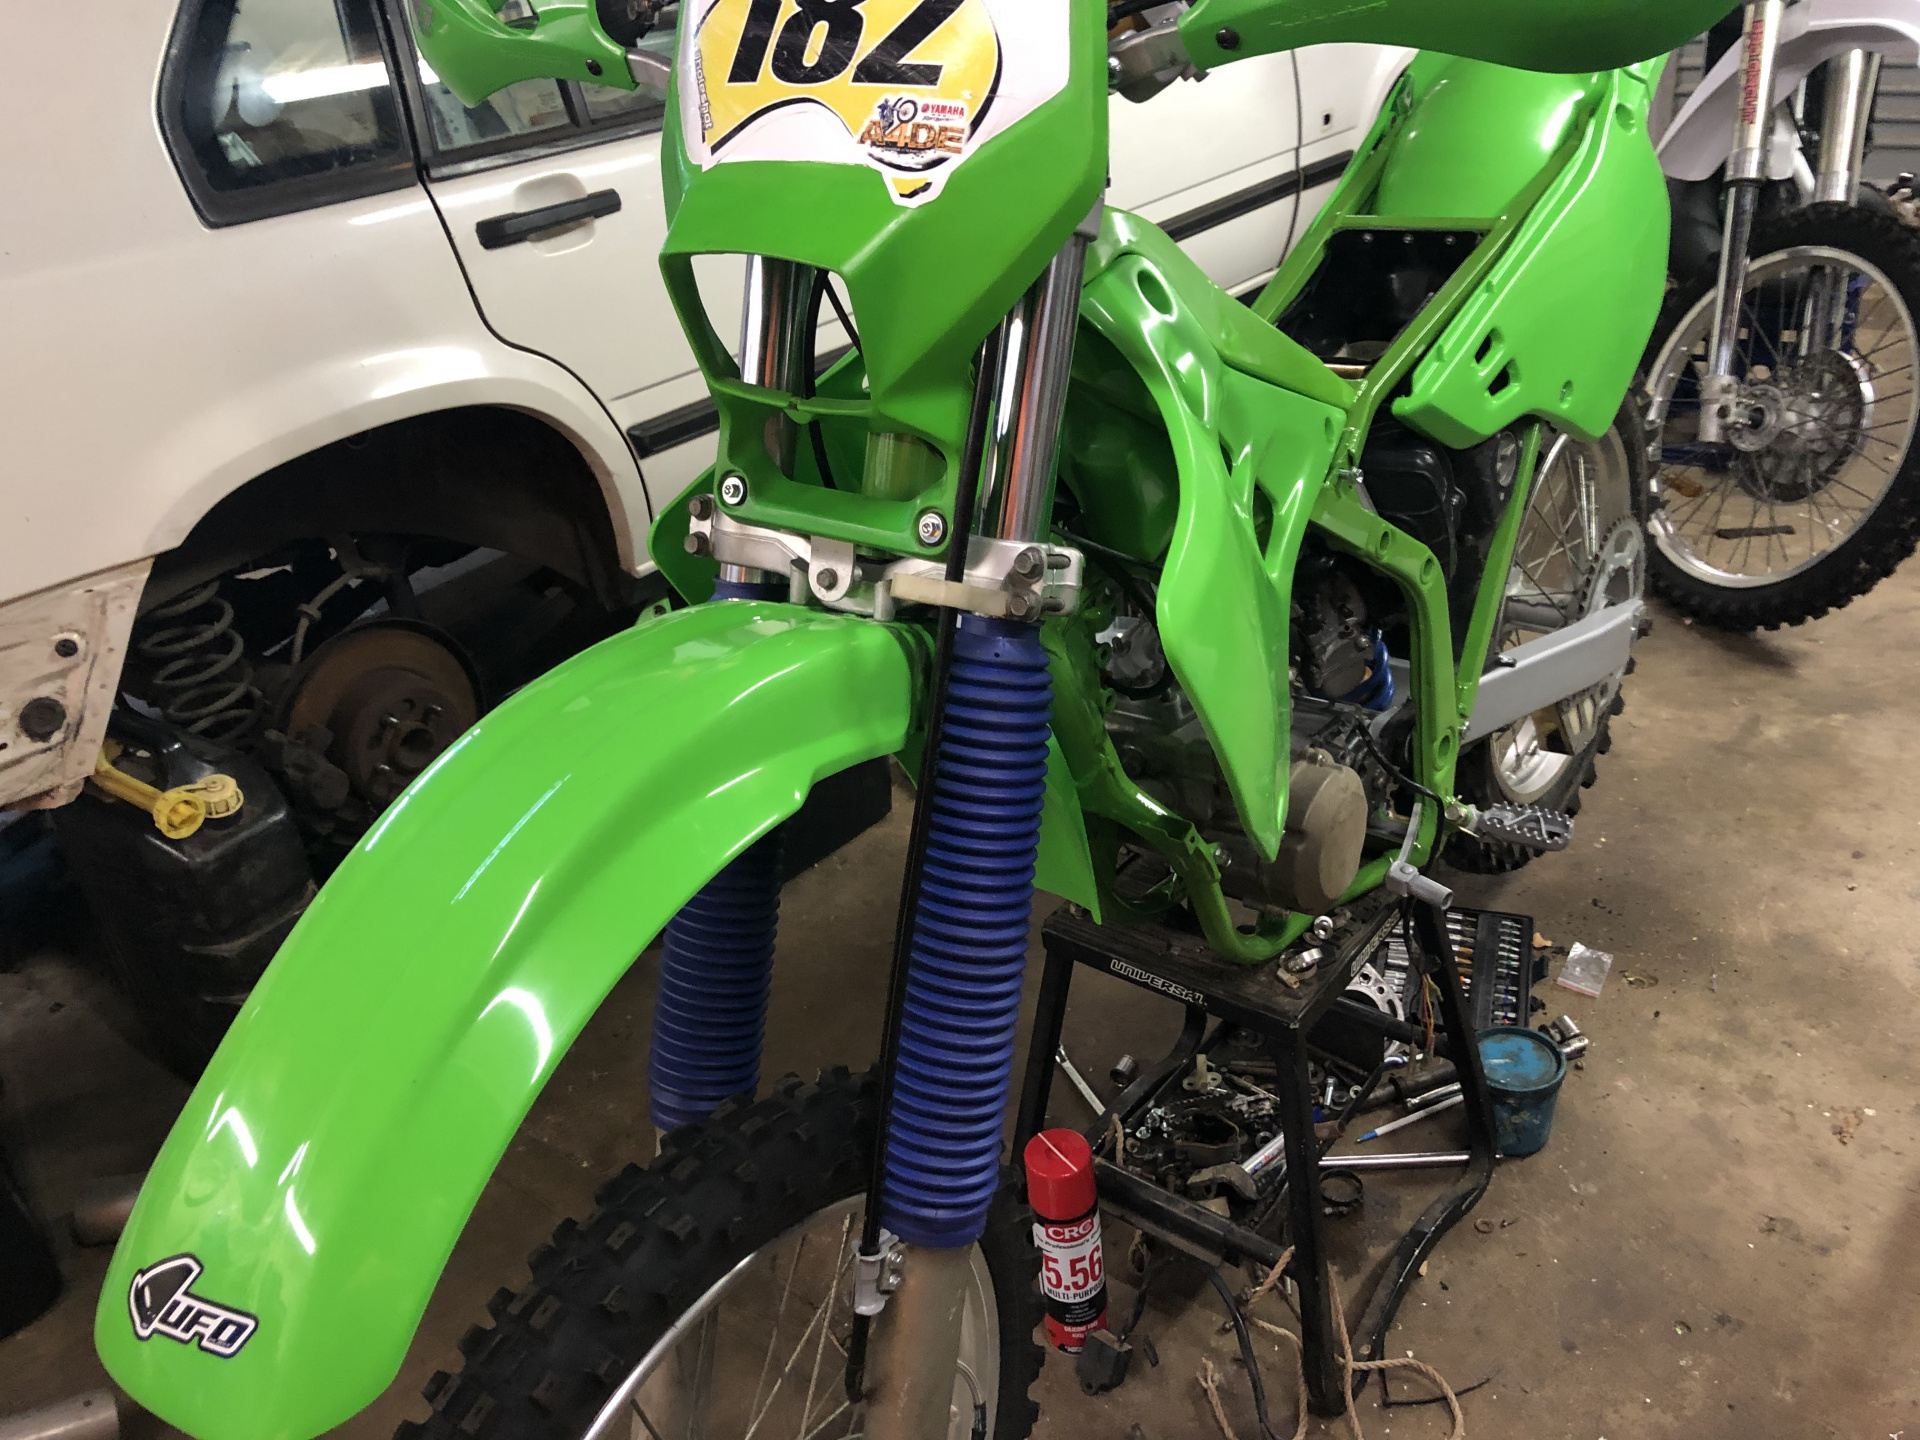
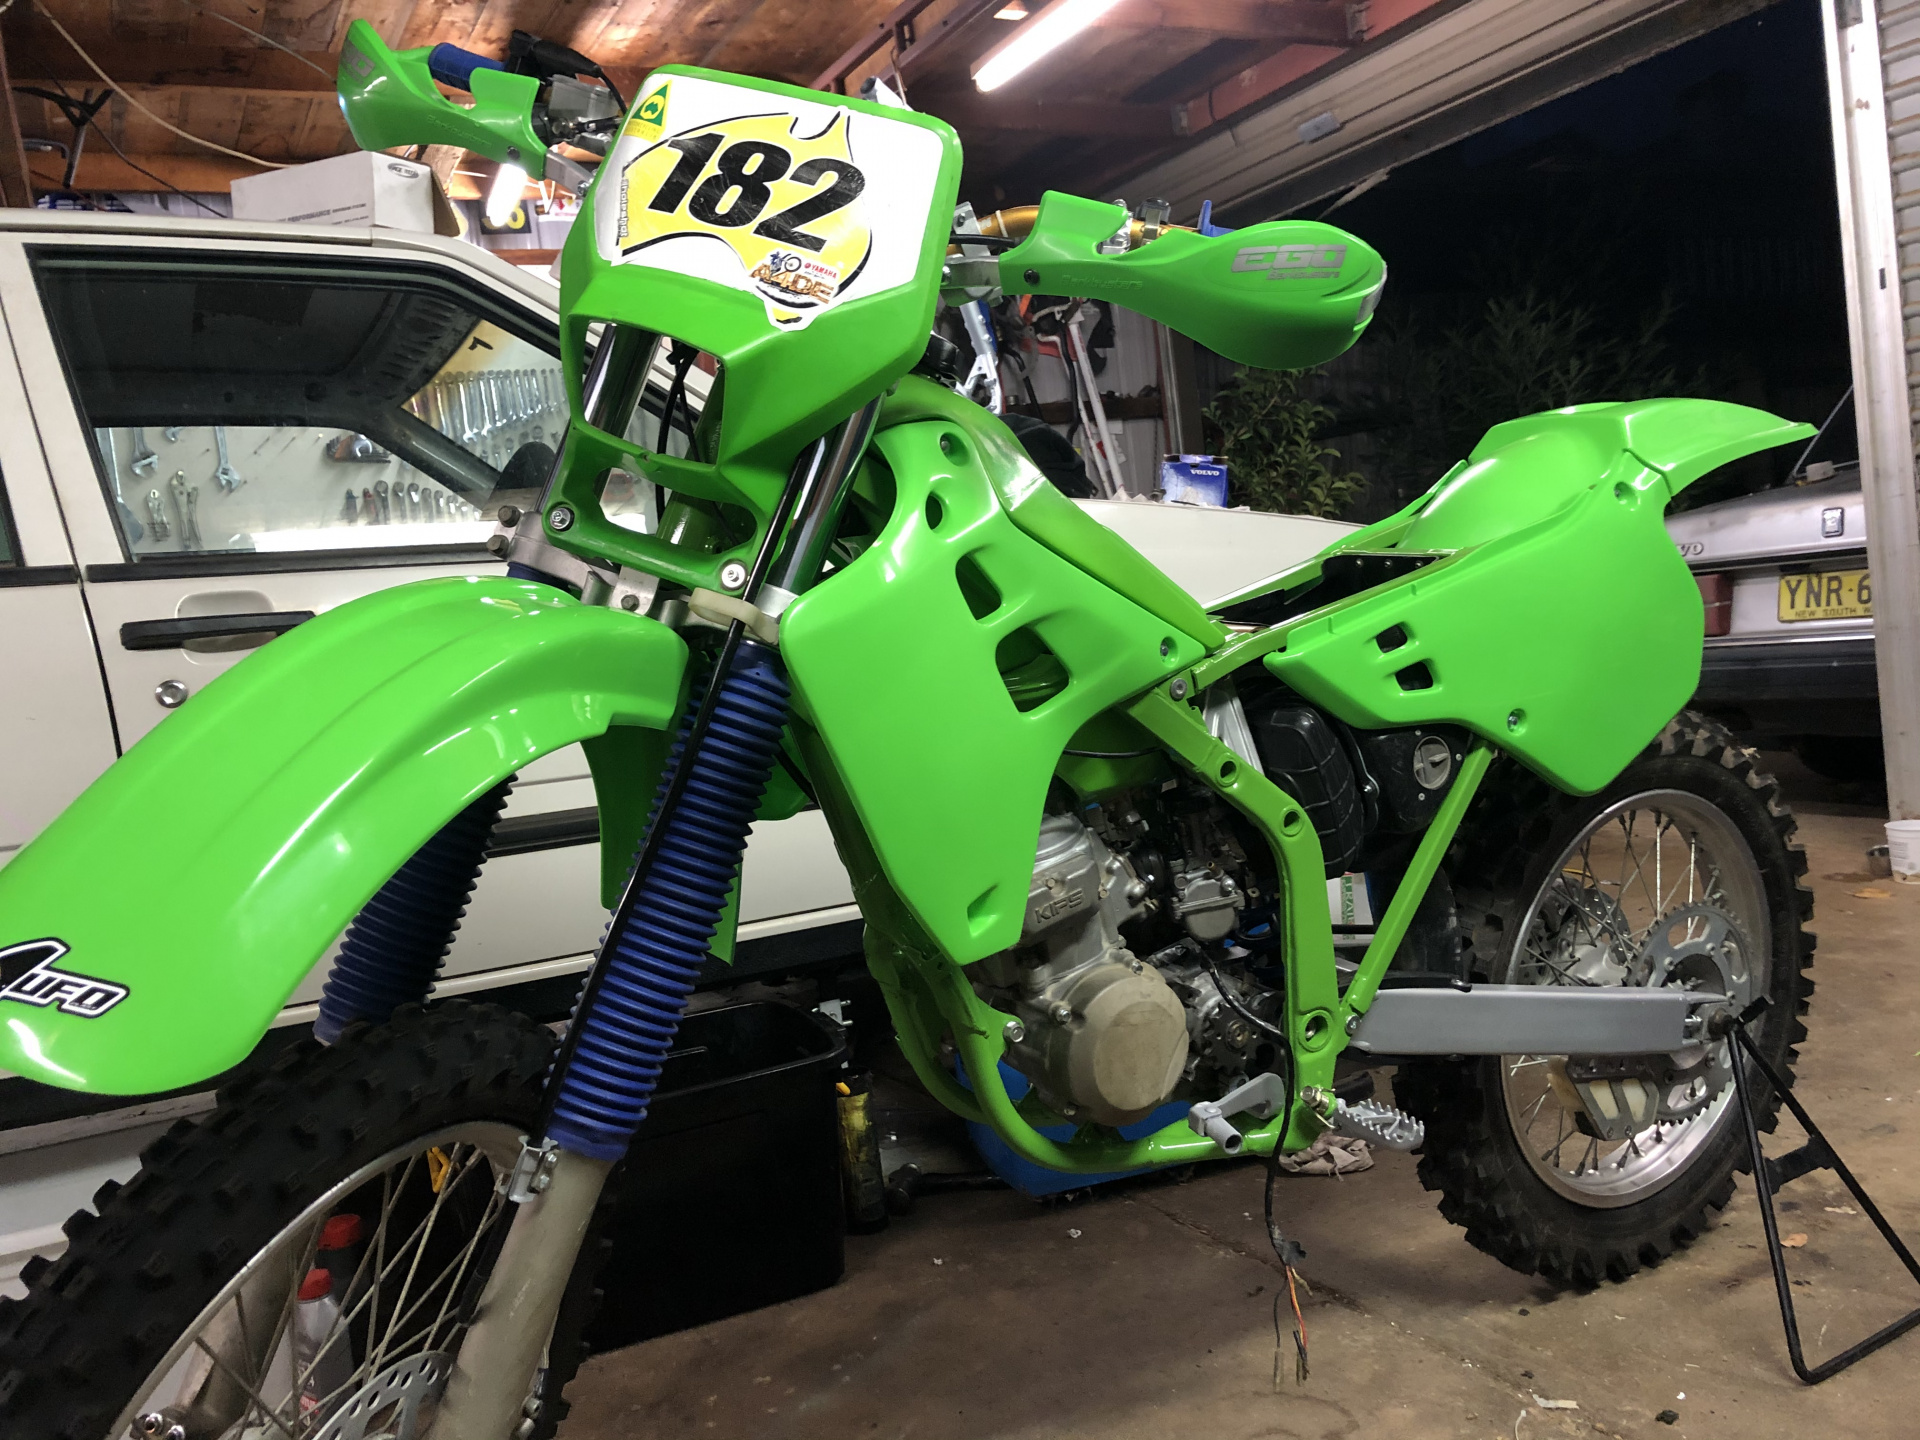
Fuel tank tidy up. I seem to be getting on top of the 20/80 rule when it comes to making old plastic fuel tanks look ok again.
As usual, I missed a bunch of photos, but this should be enough to get the idea.
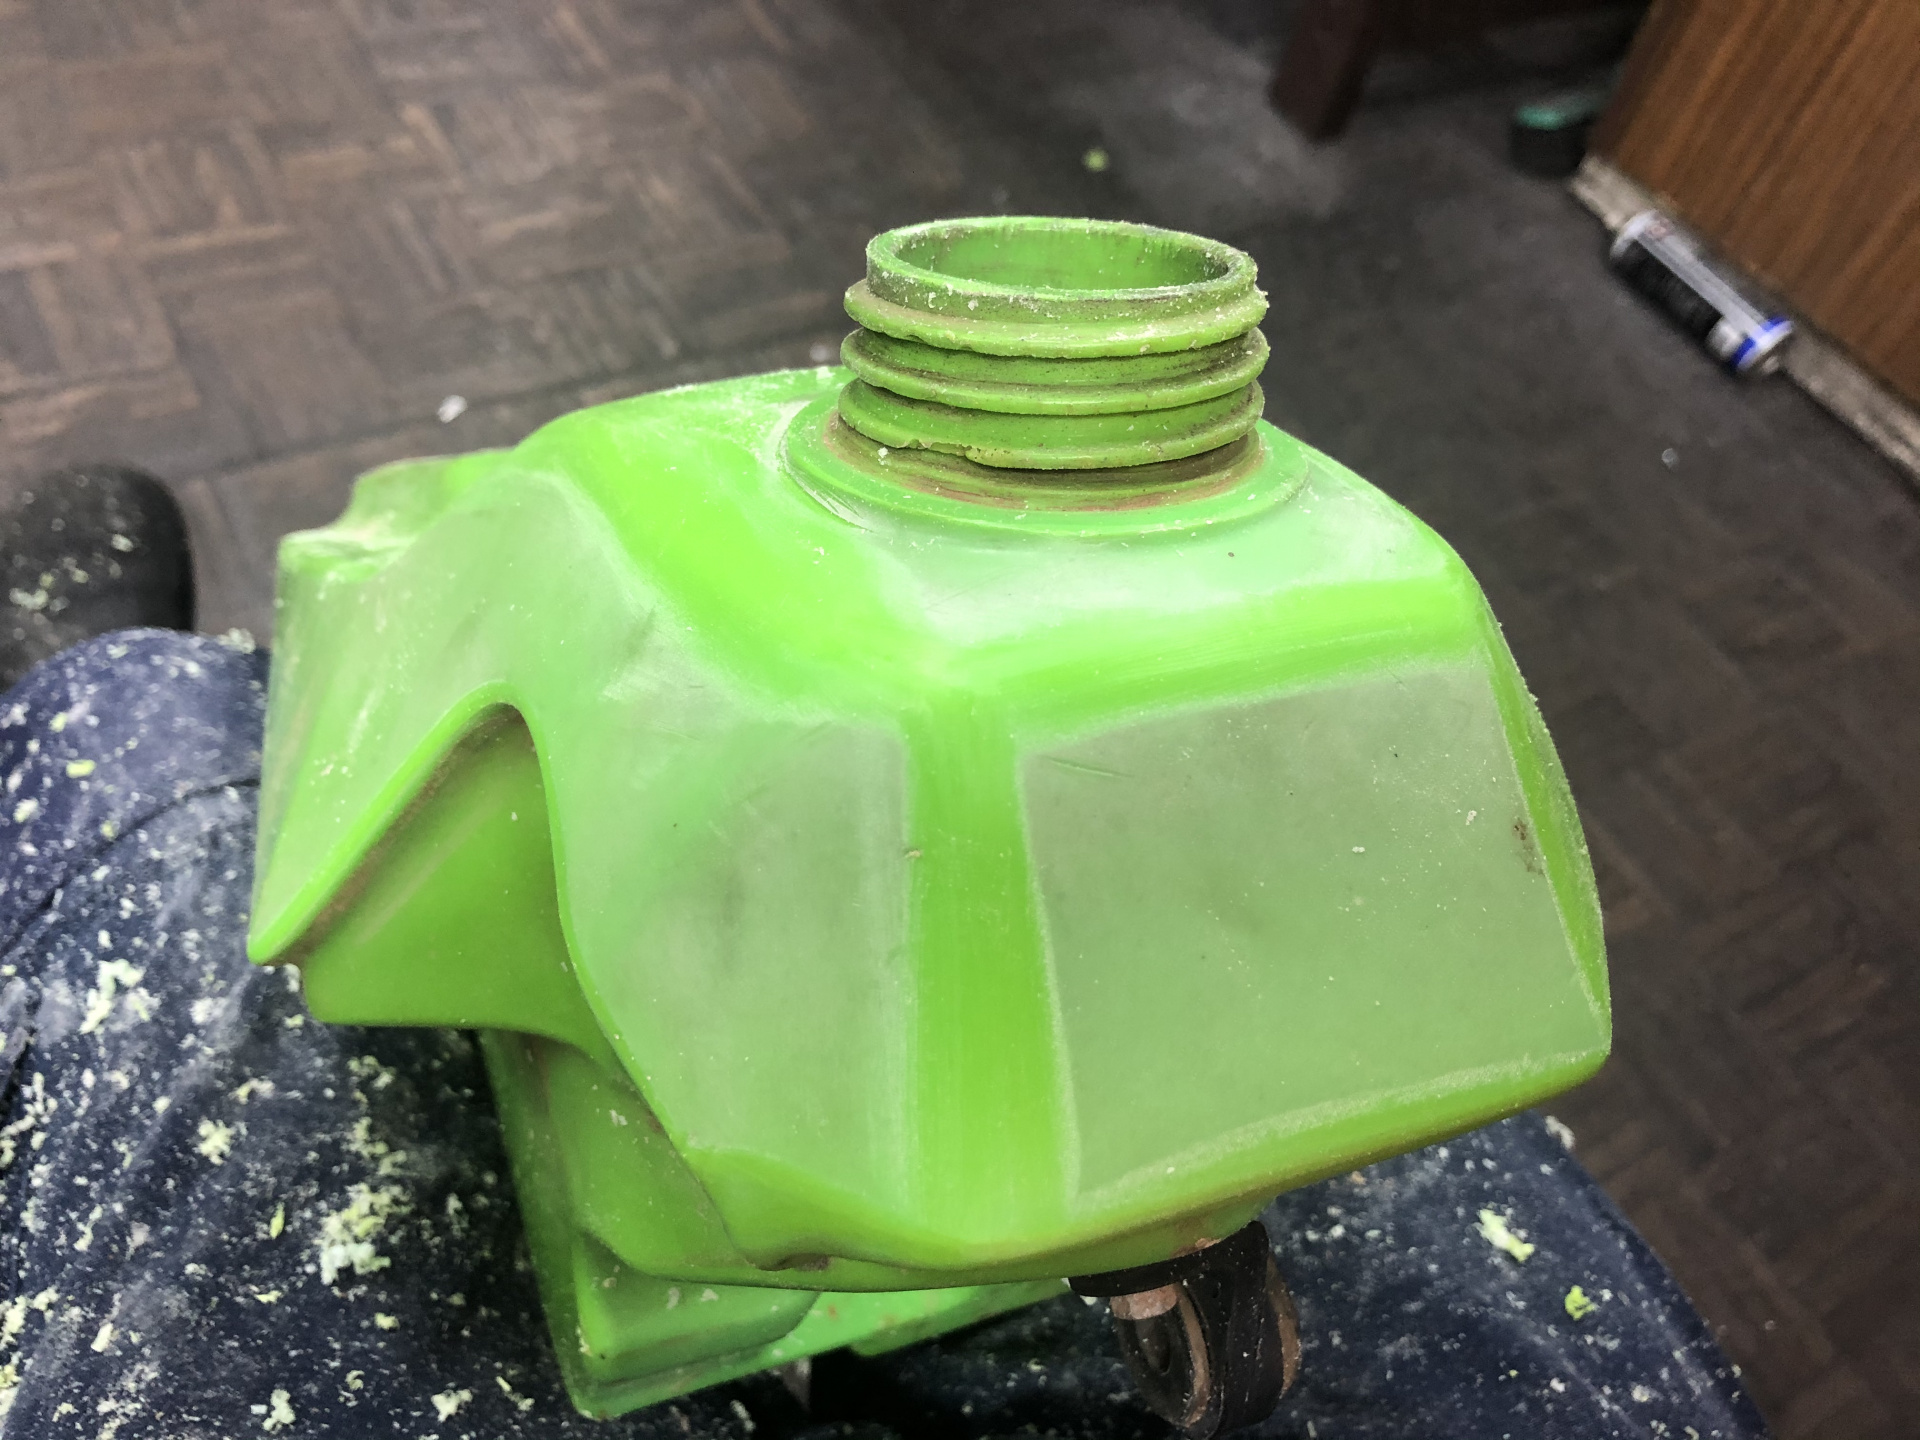
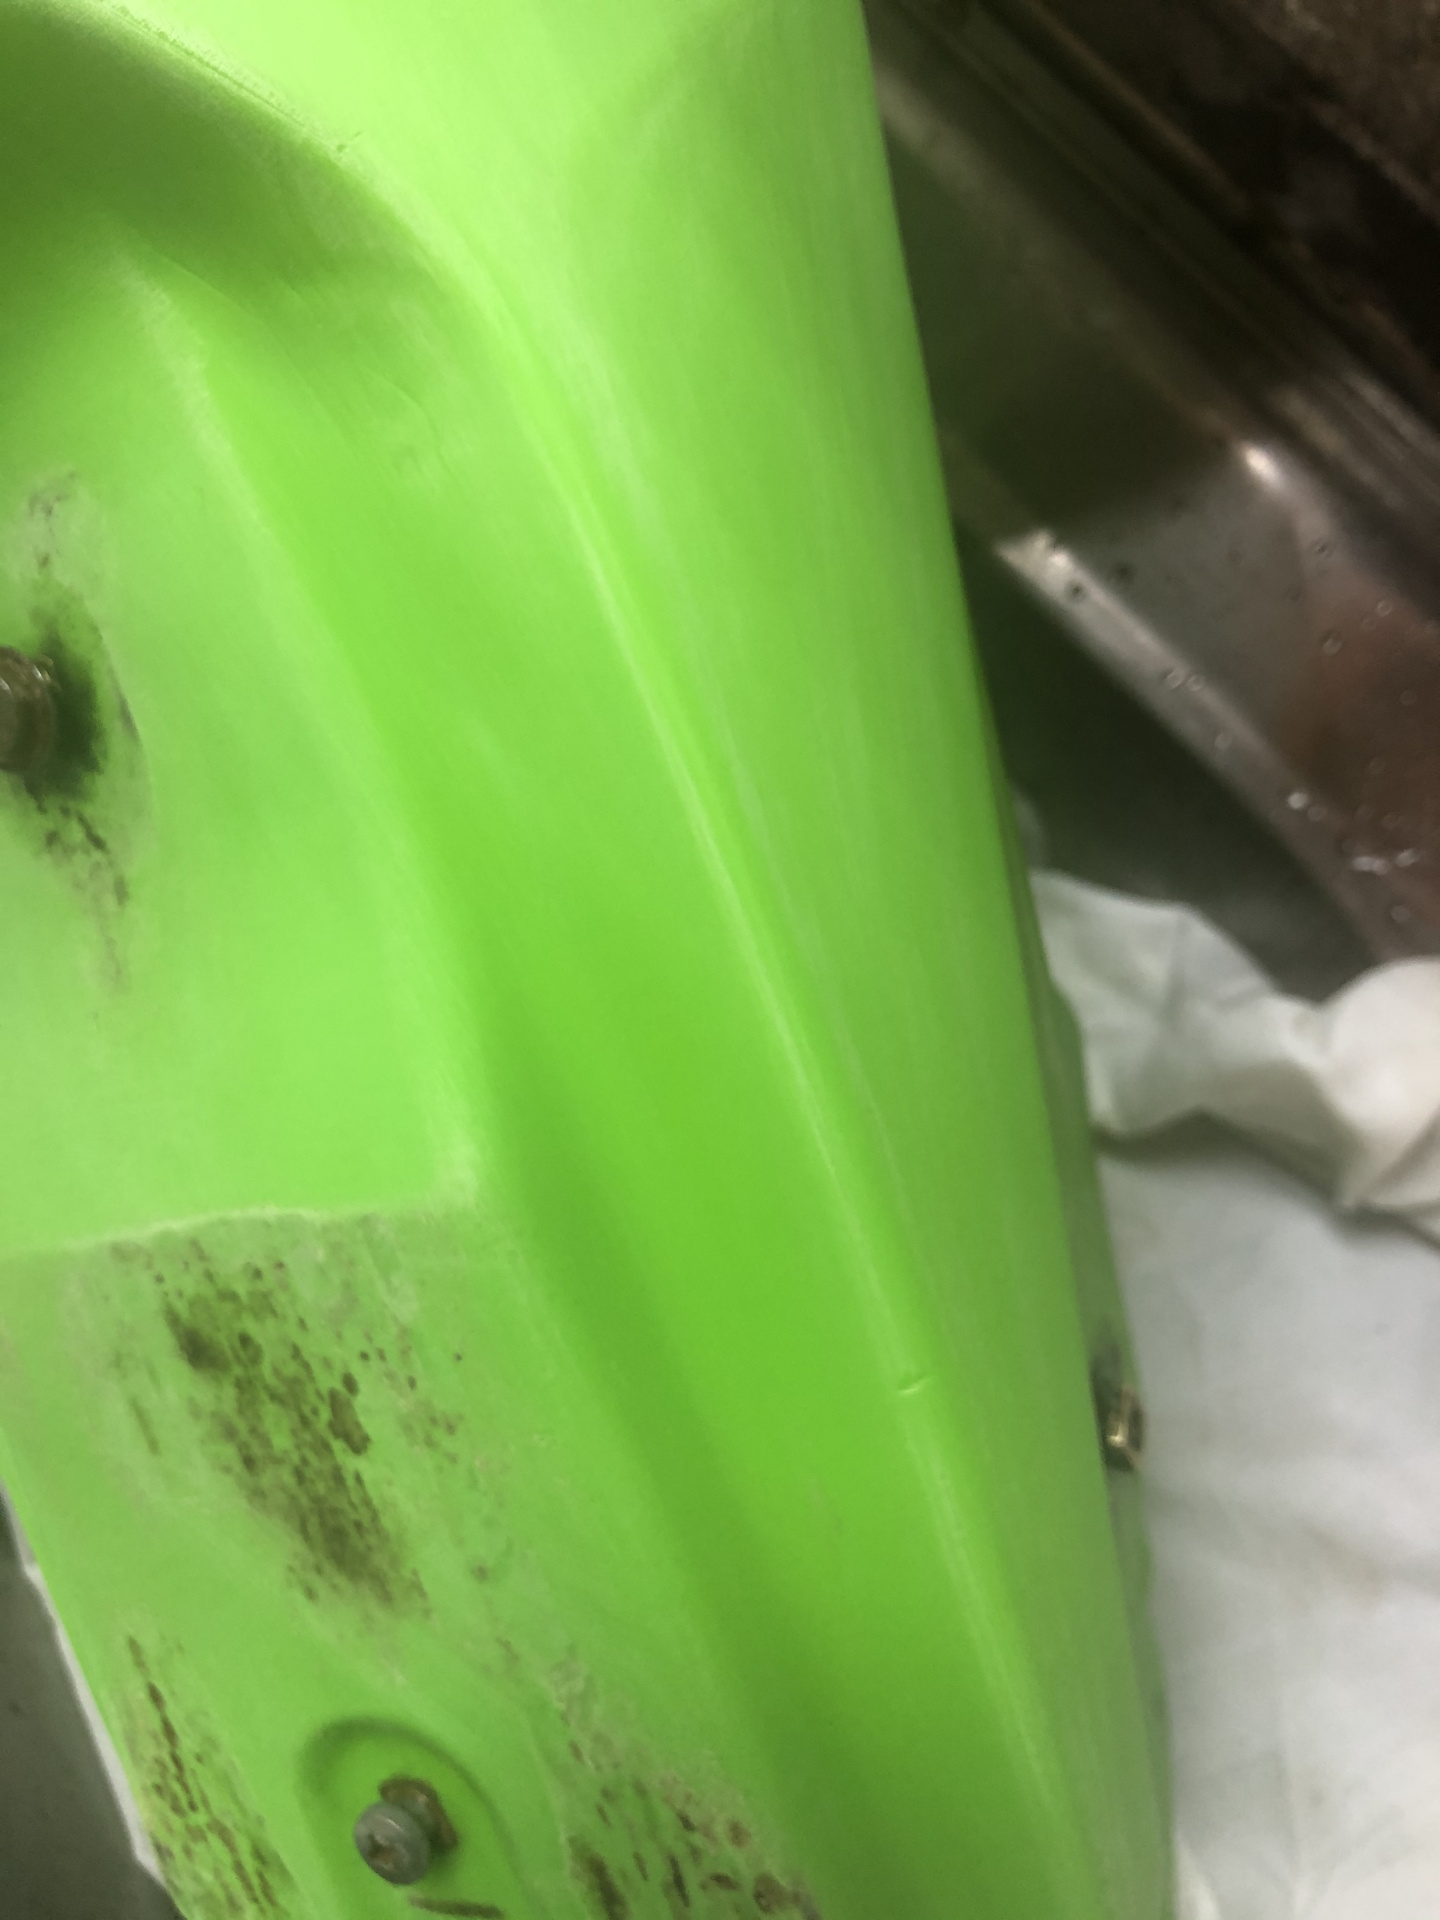
First step is to scrape off the chalky outer layer.

Then wet sand with 240 grit.

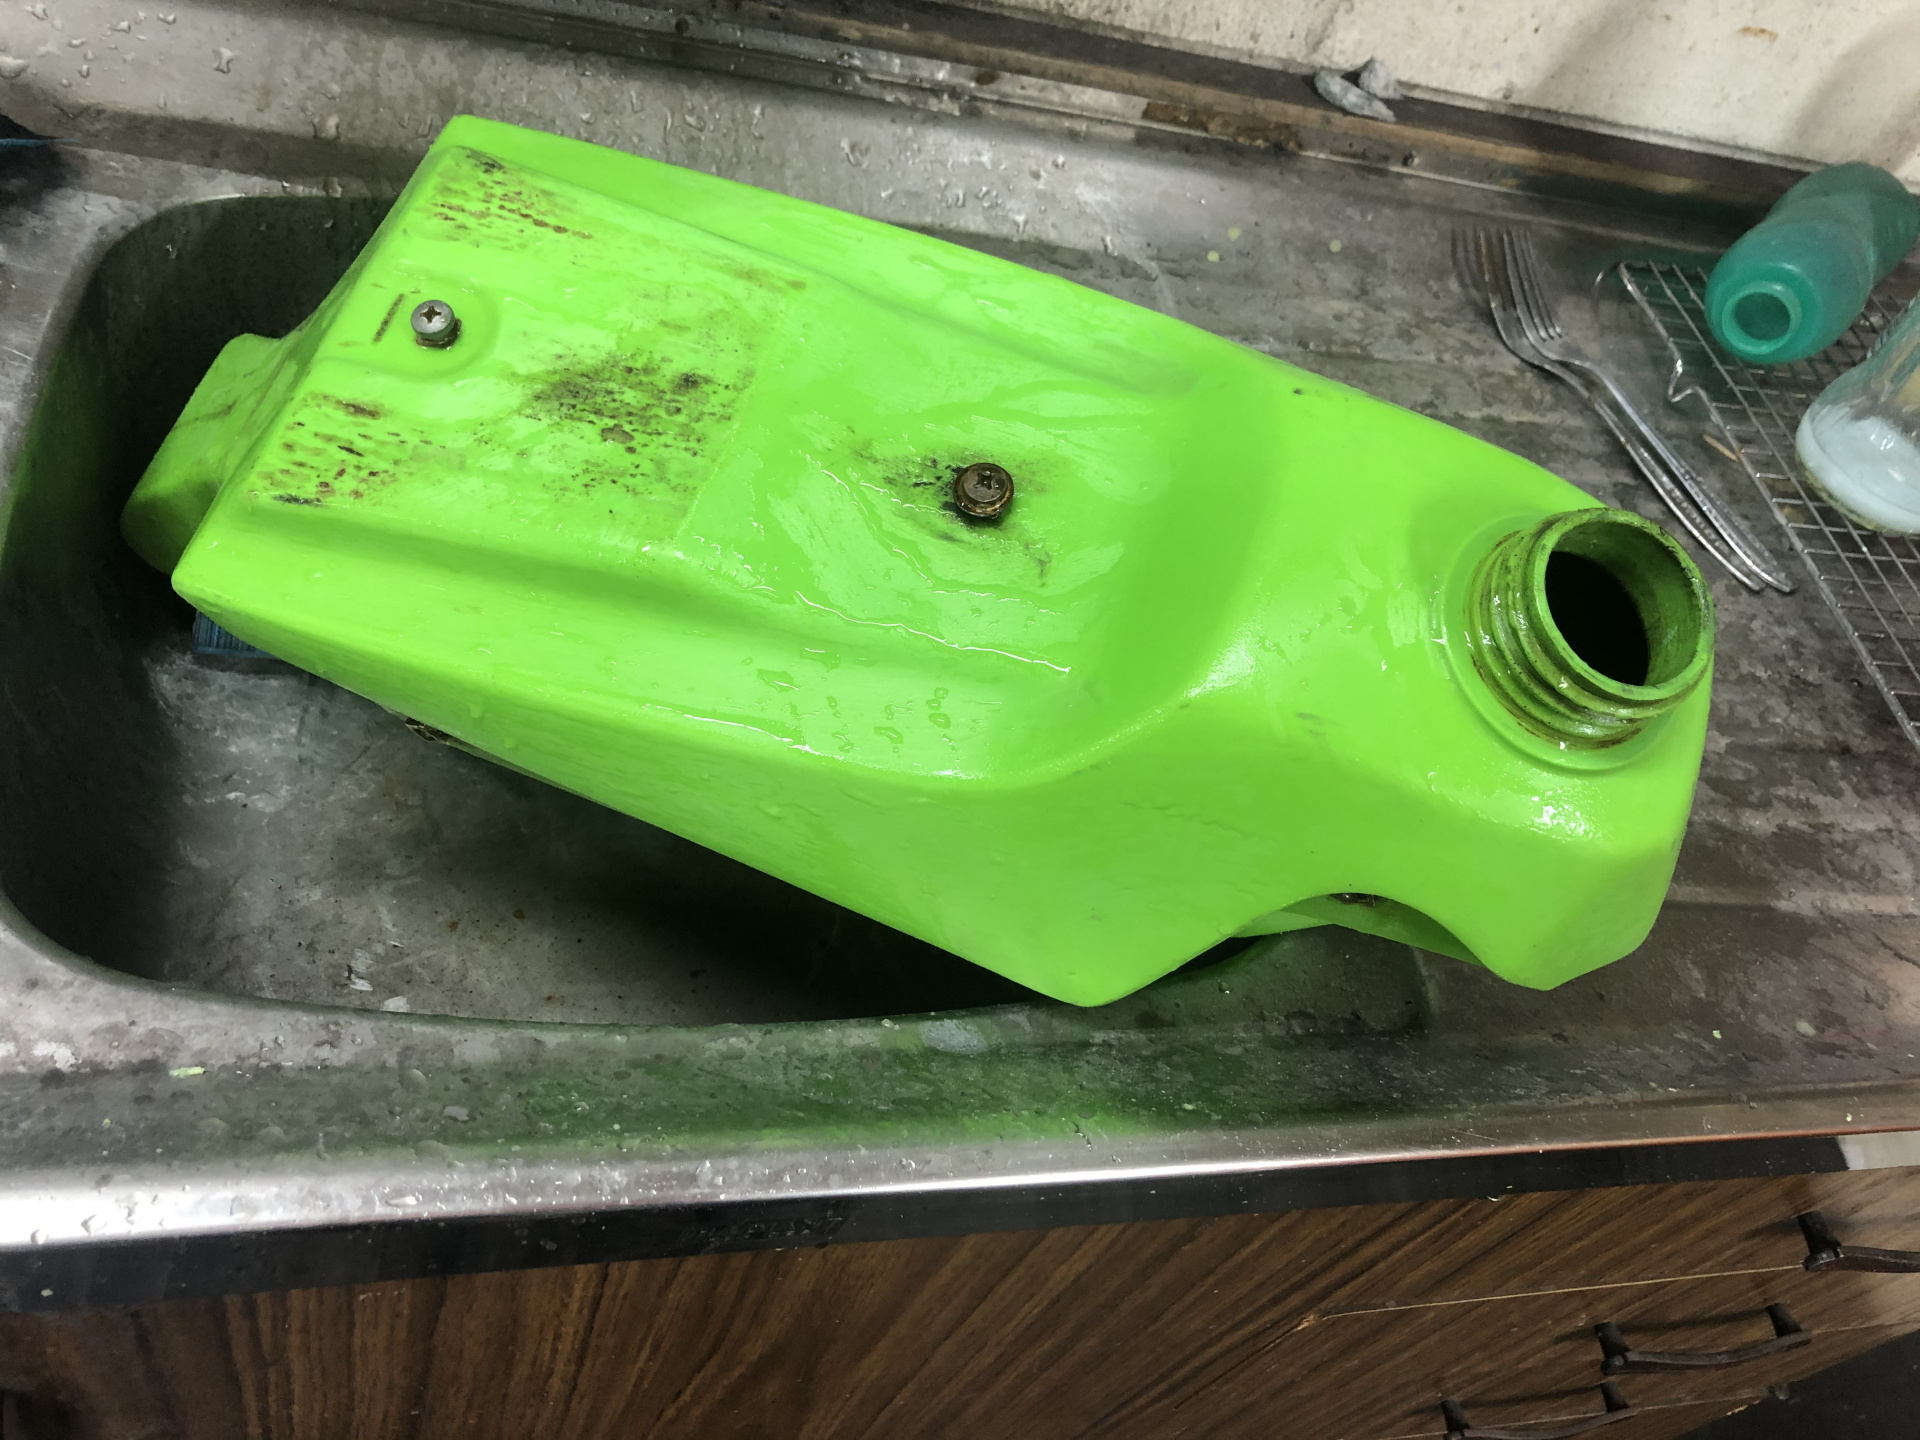
They always look great when they’re wet (above), but once the surface dries out, you can see how much more work is needed...

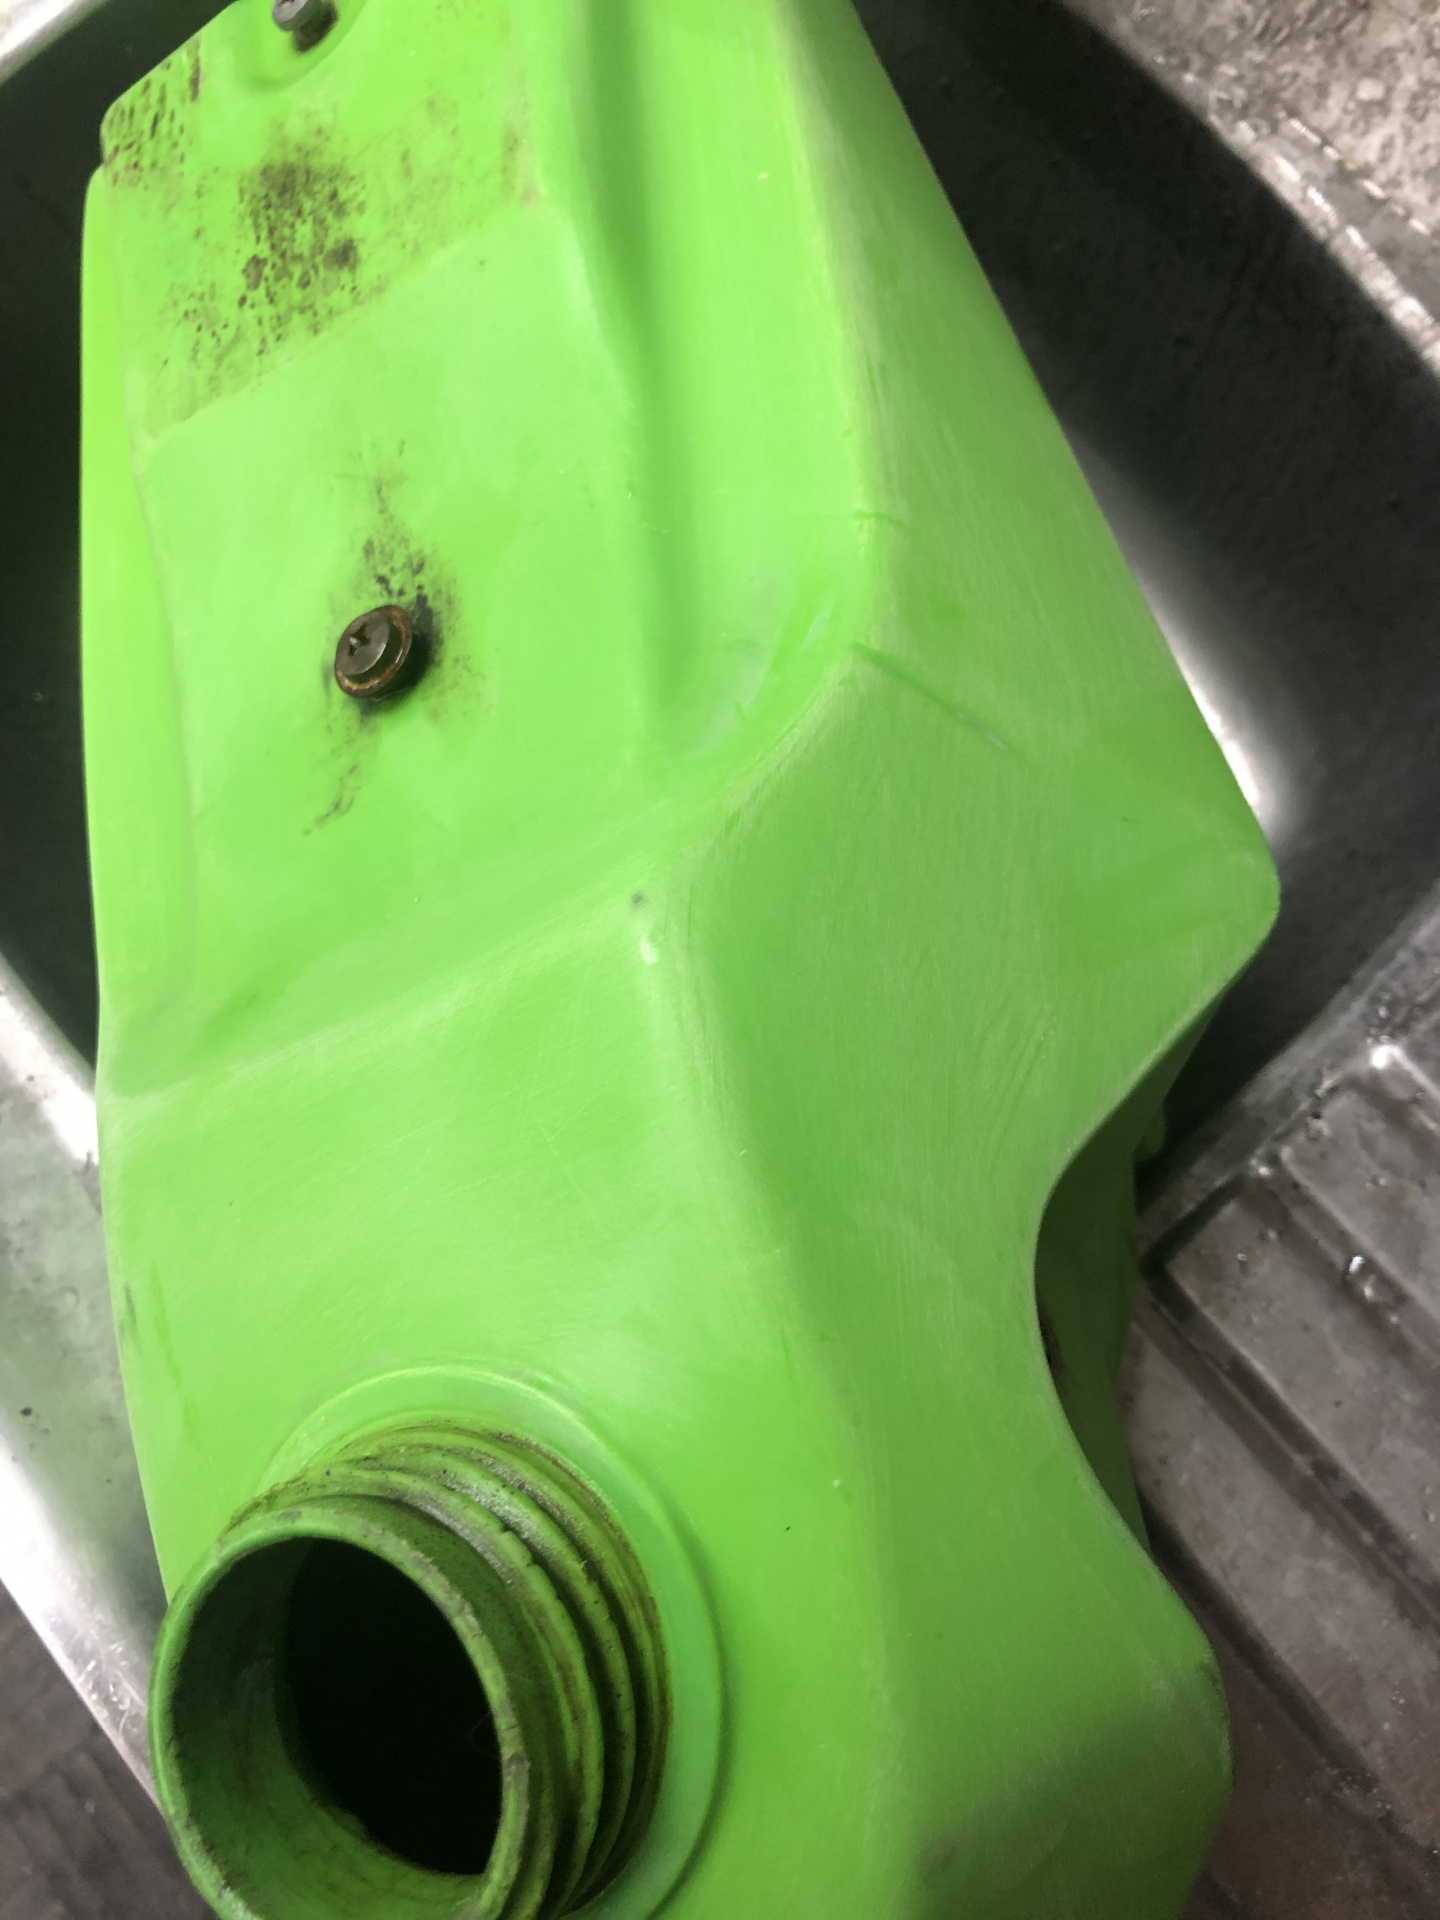
And repeat the sanding with 600 grit...

Then 800...

And then 1200. The 1200 is the worst - while it is wet, it looks perfect and you start thinking that it is almost finished - then it dries out and you realise that there’s heaps more to do...
Even wiping it with a dry rag doesn’t help - you have to wait until the water evaporates out of the tiny scratches.
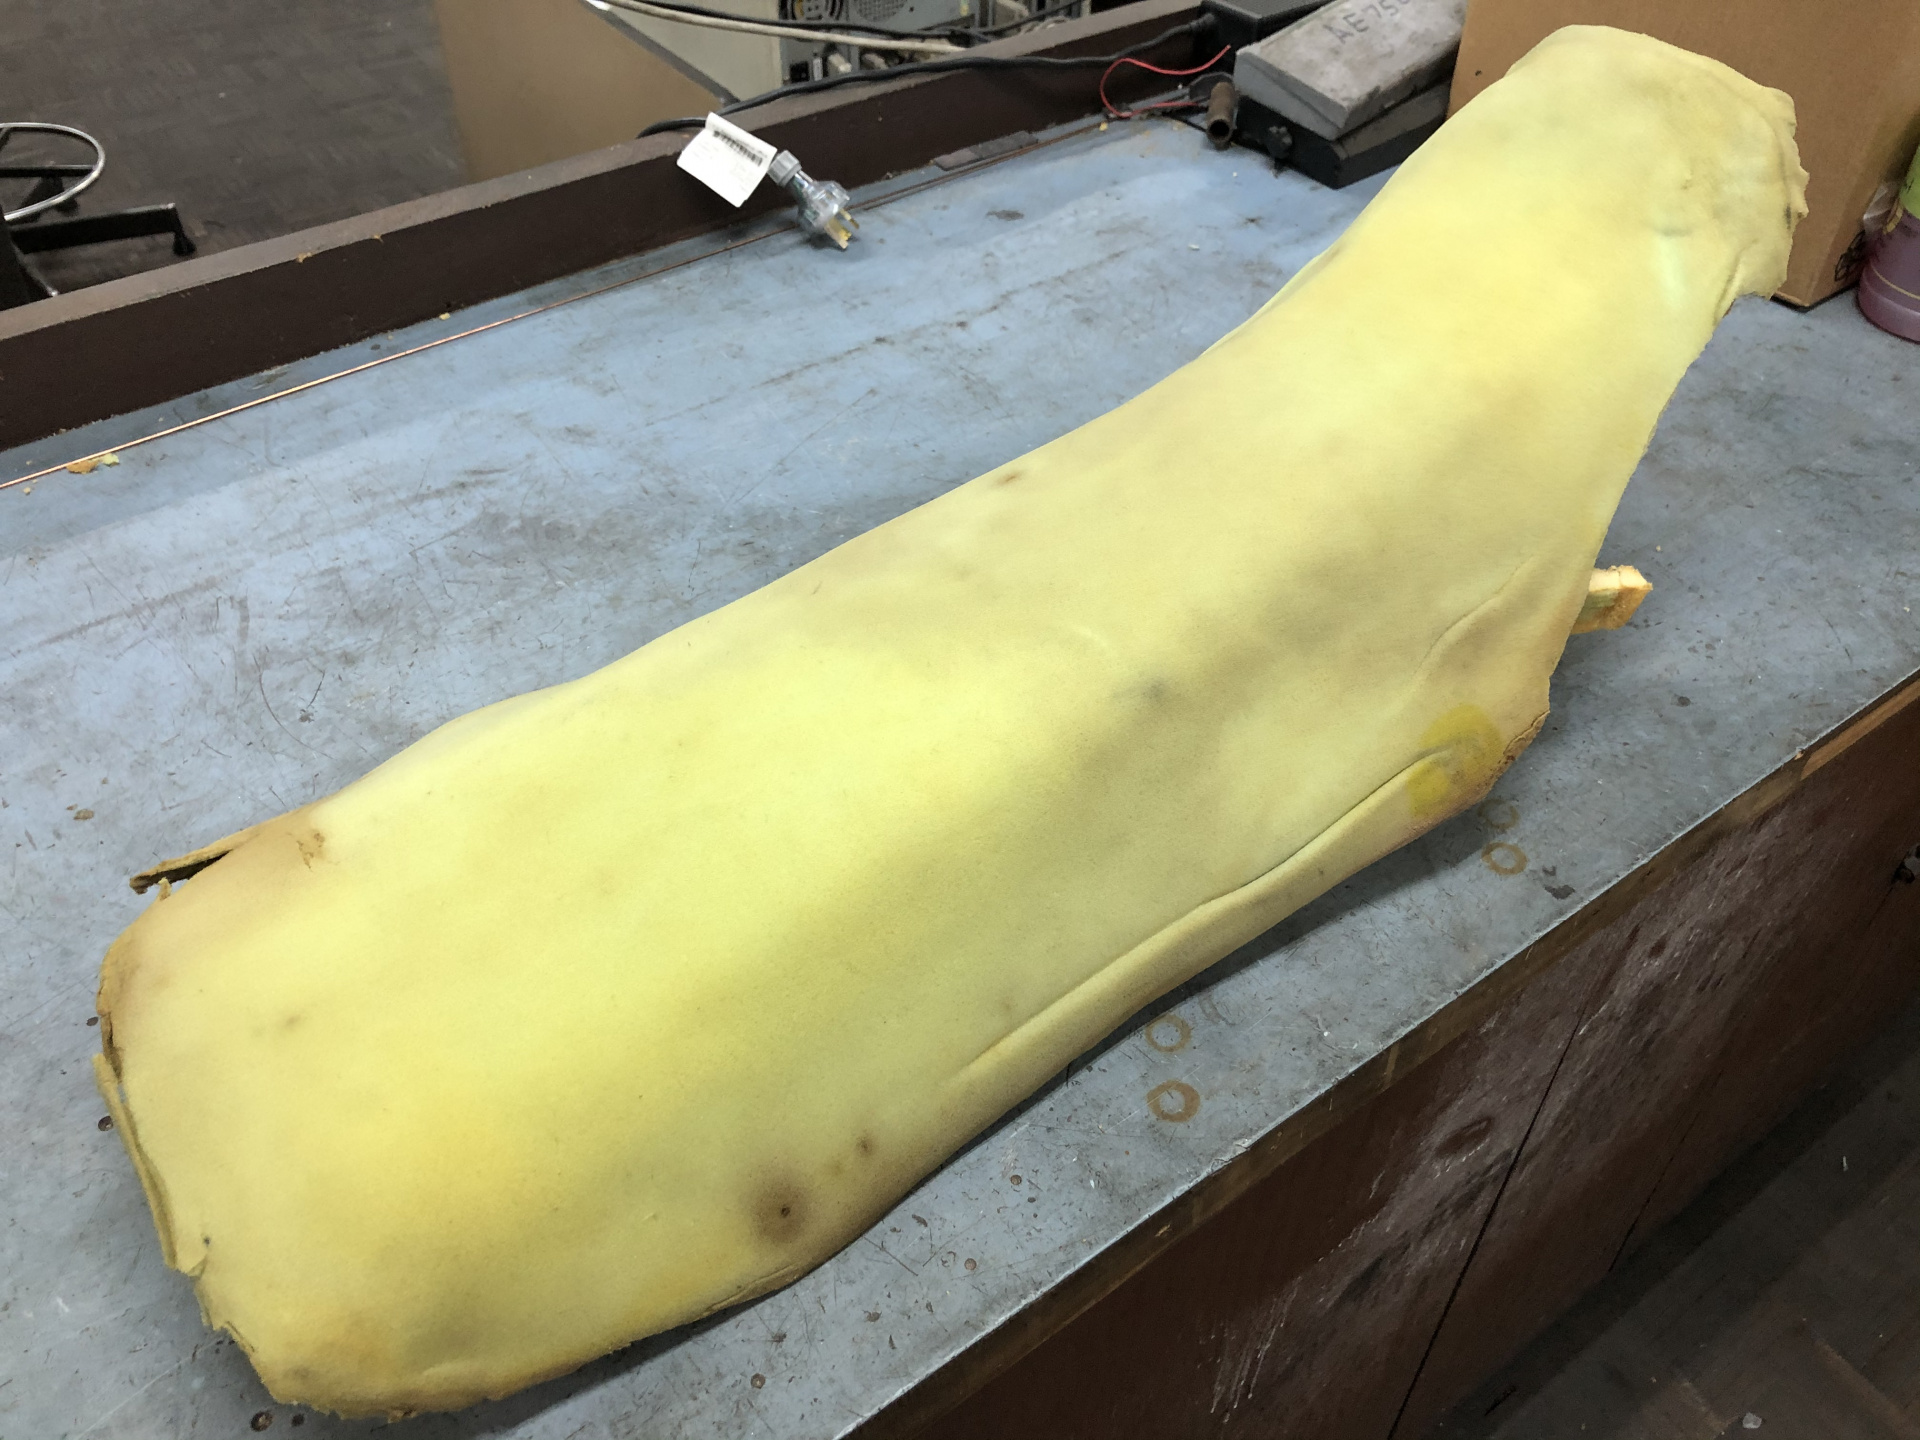
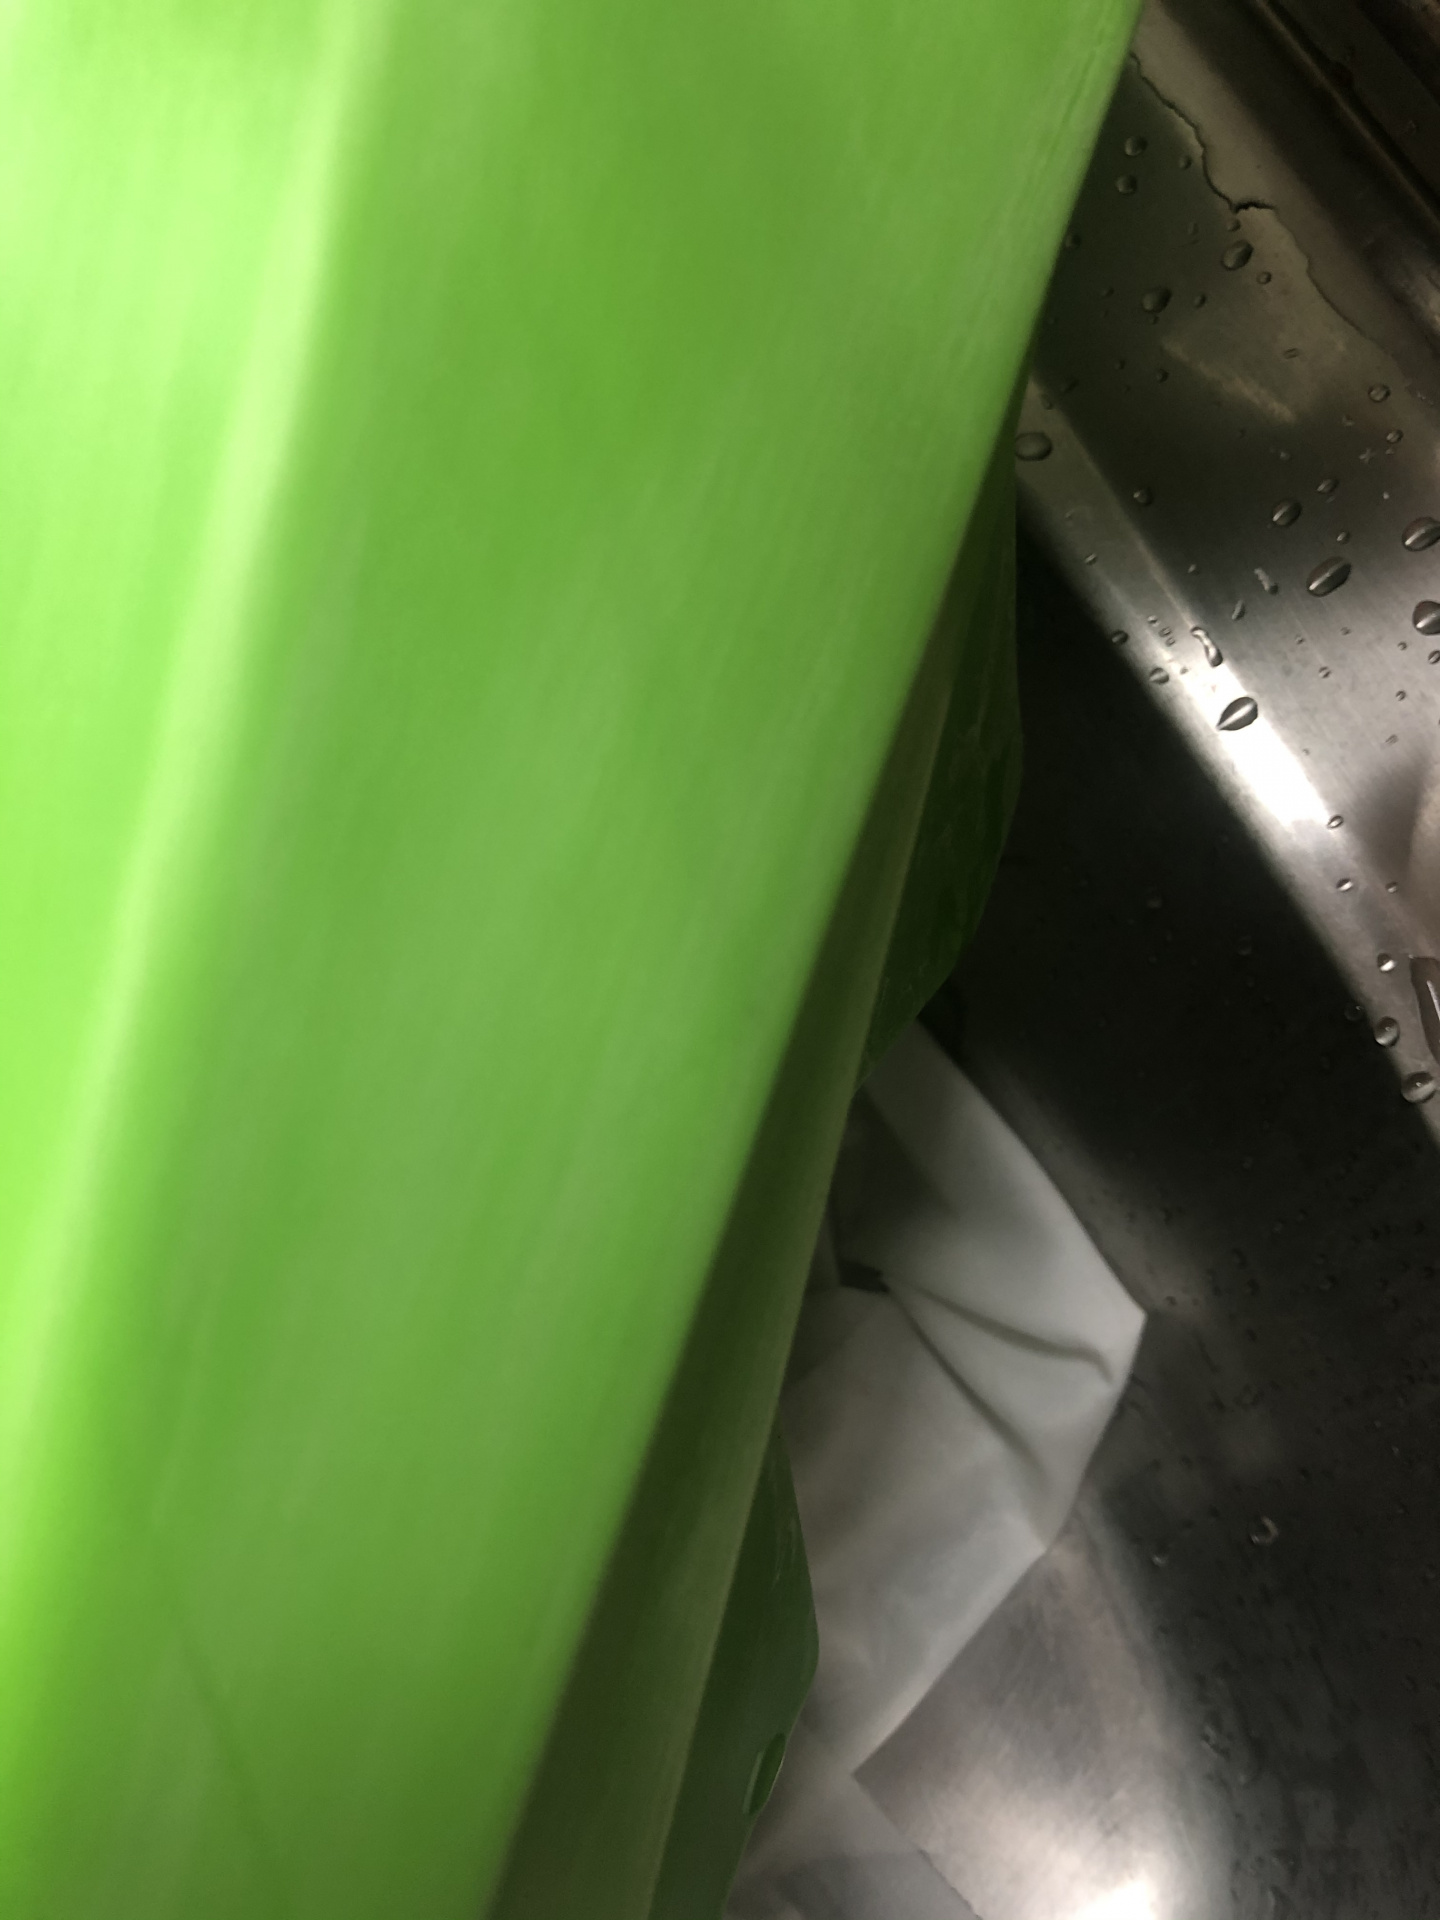
But eventually the colour is nice and even, albeit it entirely matt.

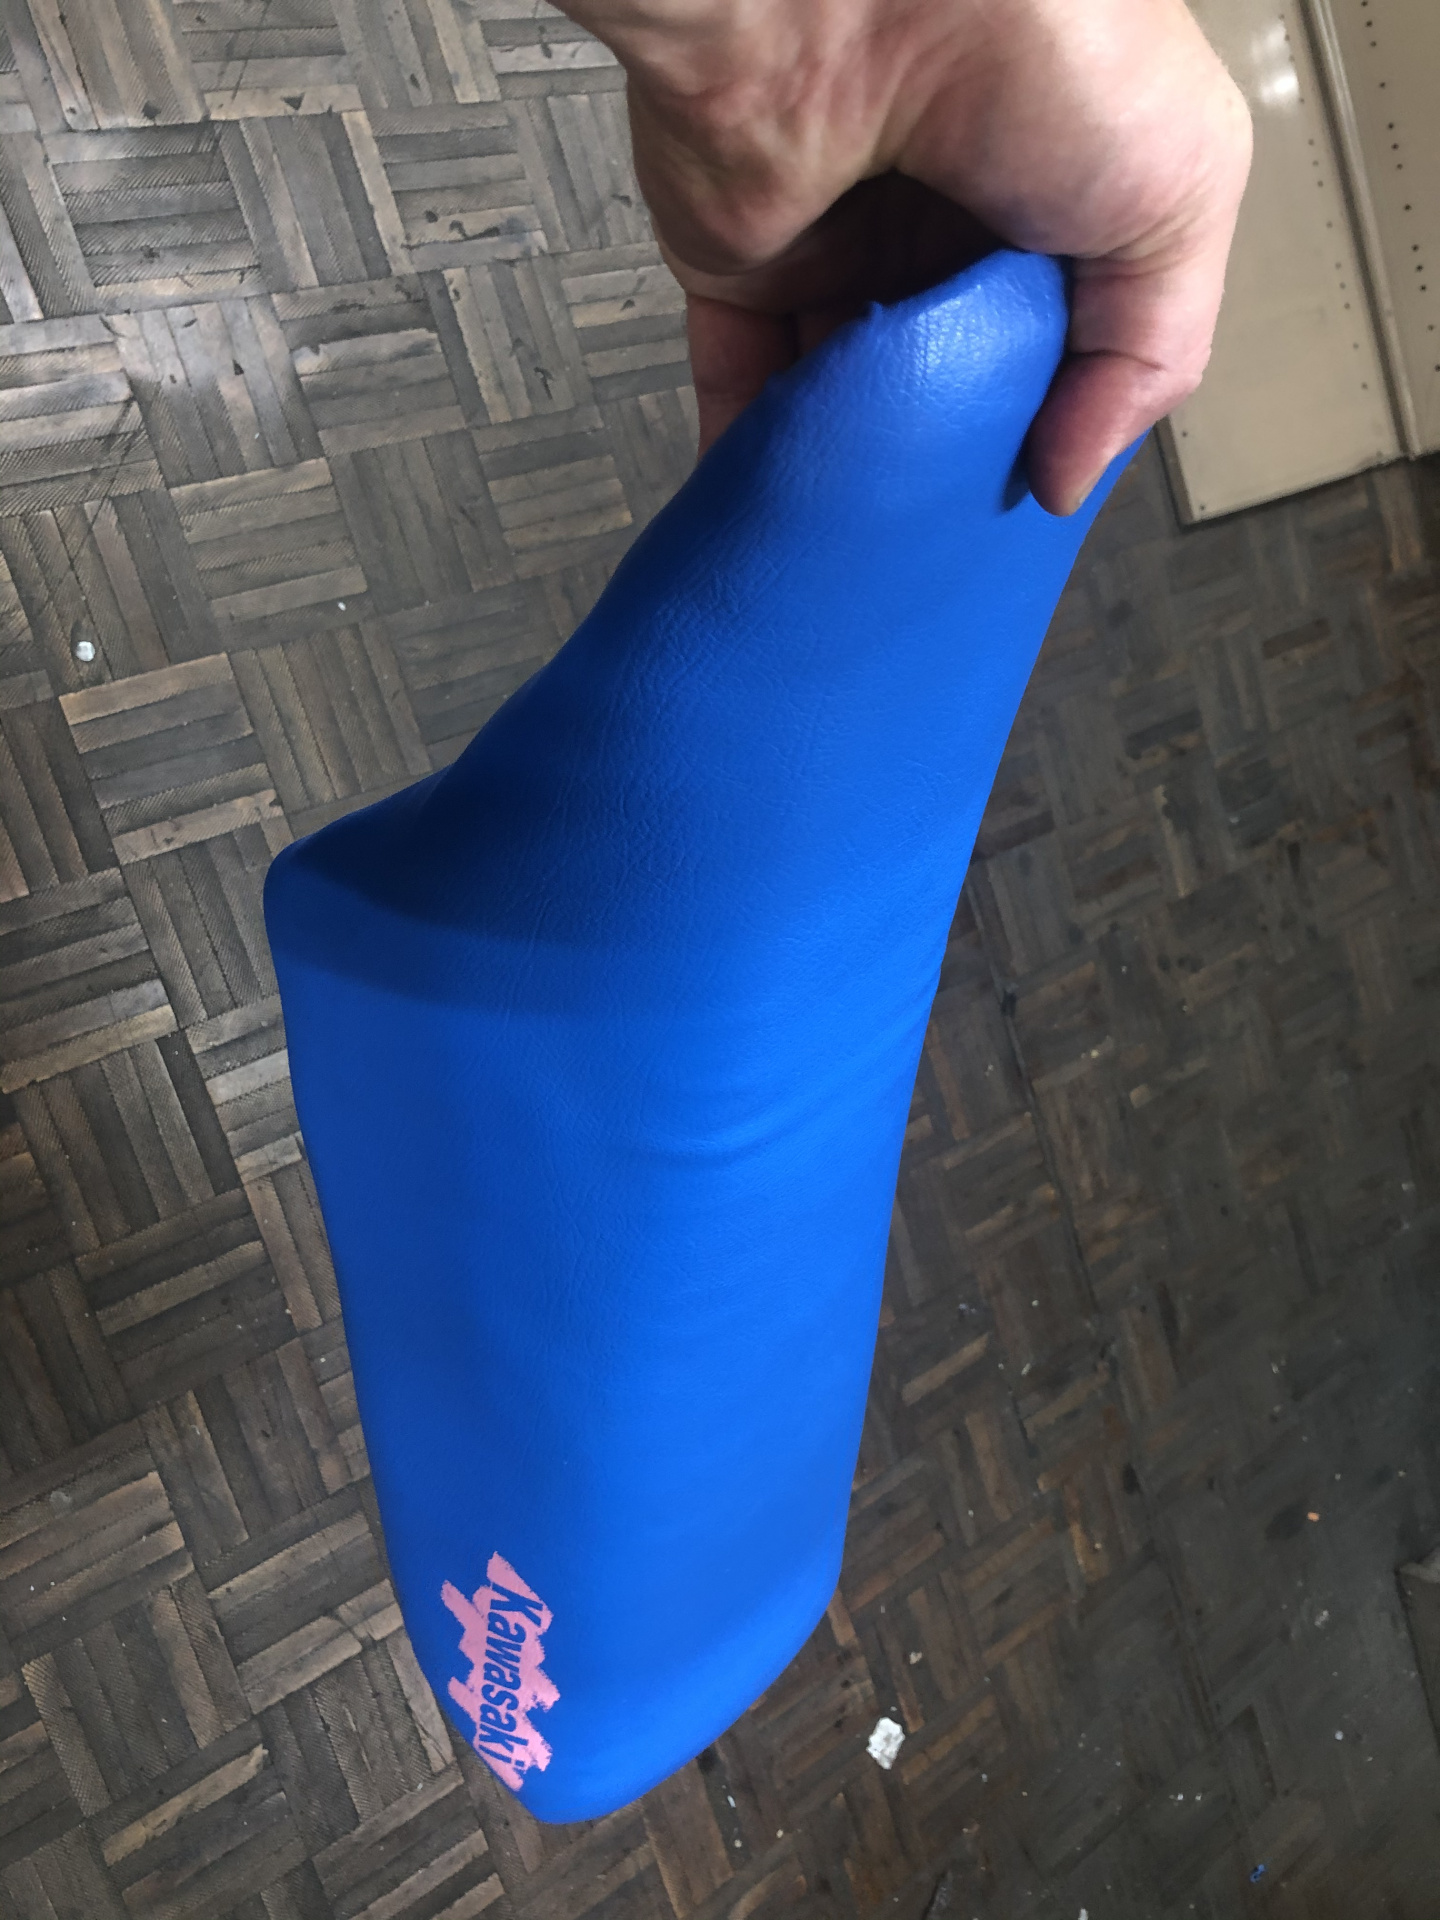
Then a bunch of fun with the heat gun to bring the gloss back to the surface.
I borrowed a decent heat gun for this task which was far more enjoyable than using my ancient, non-adjustable one. Set to 400*C, fan on the middle setting, and the task was relatively pleasant.


There are people who can do a FAR better job than this, but for a bike that is going to be ridden, this is plenty good enough for me - 20% of the effort for 80% of the outcome!
In the past, I have put in the effort to get tanks really good, but they end up looking like this after the first ride anyway.
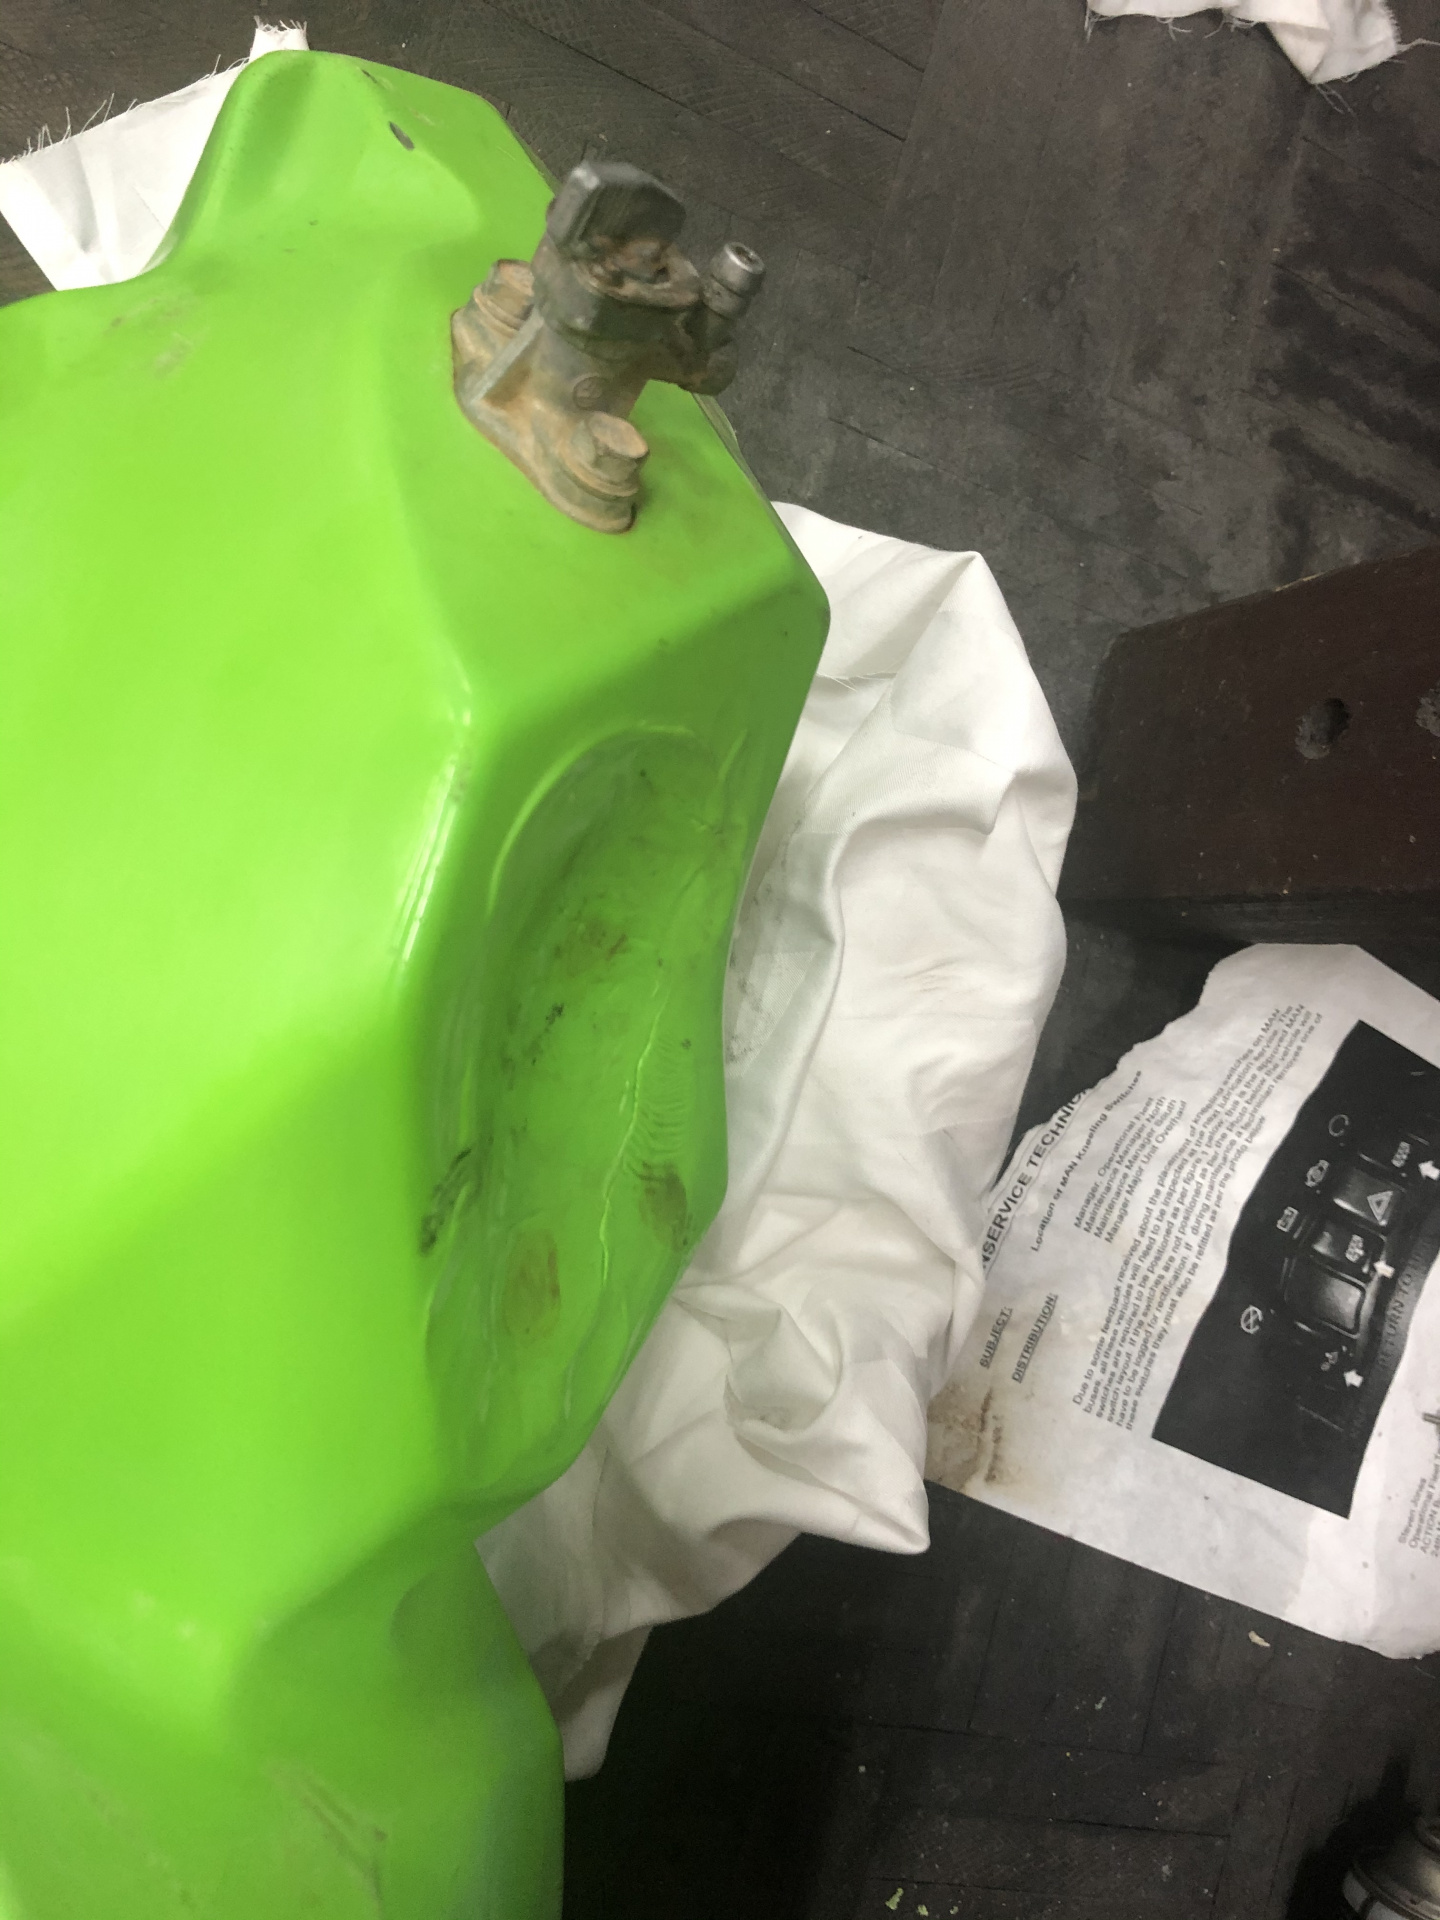
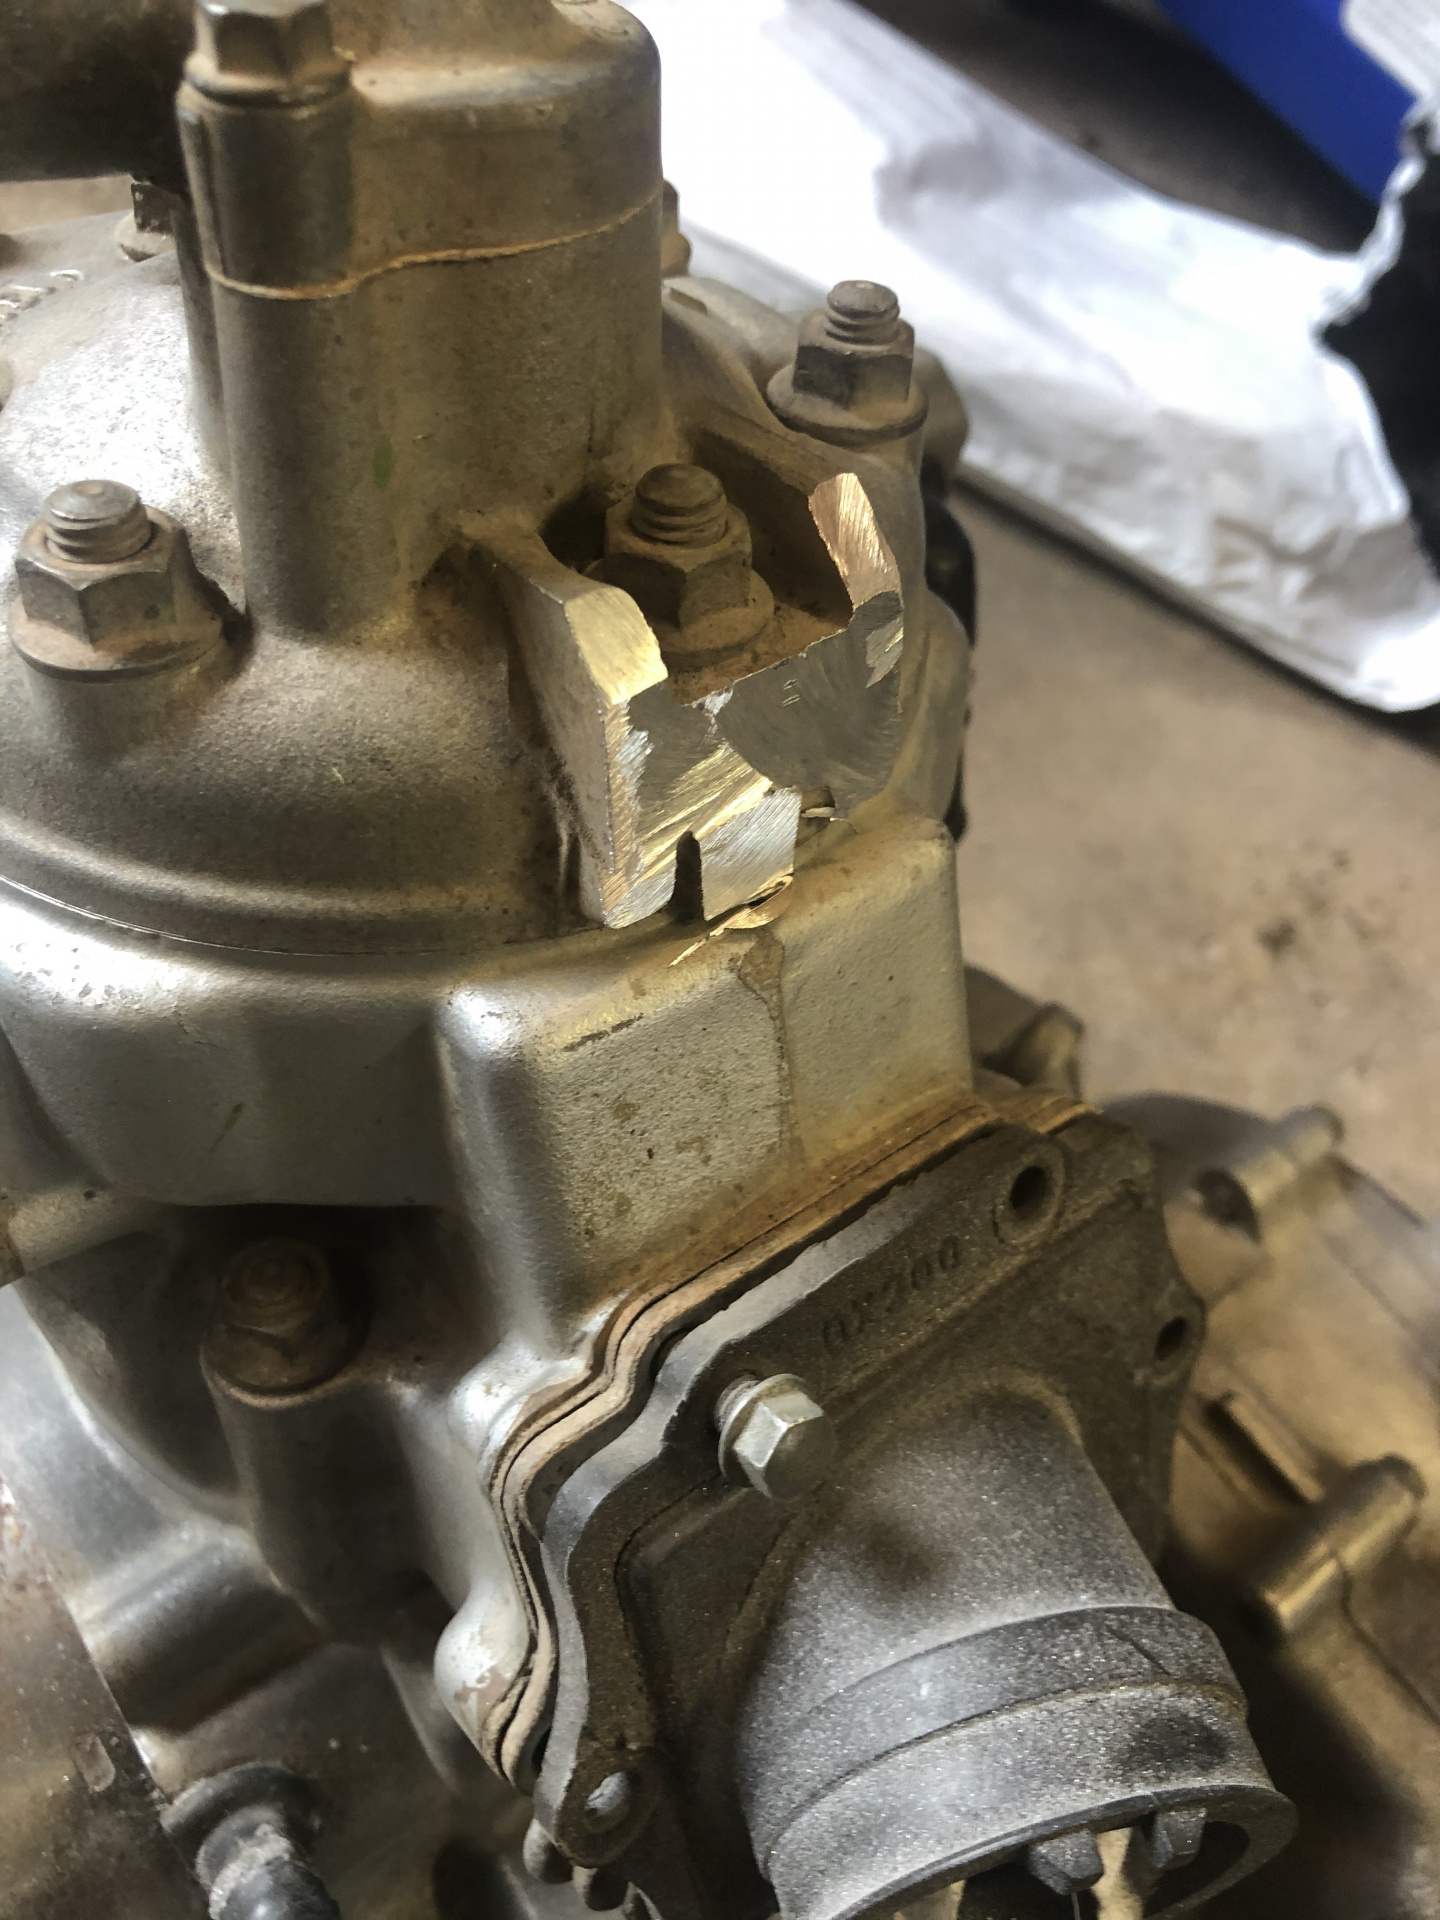
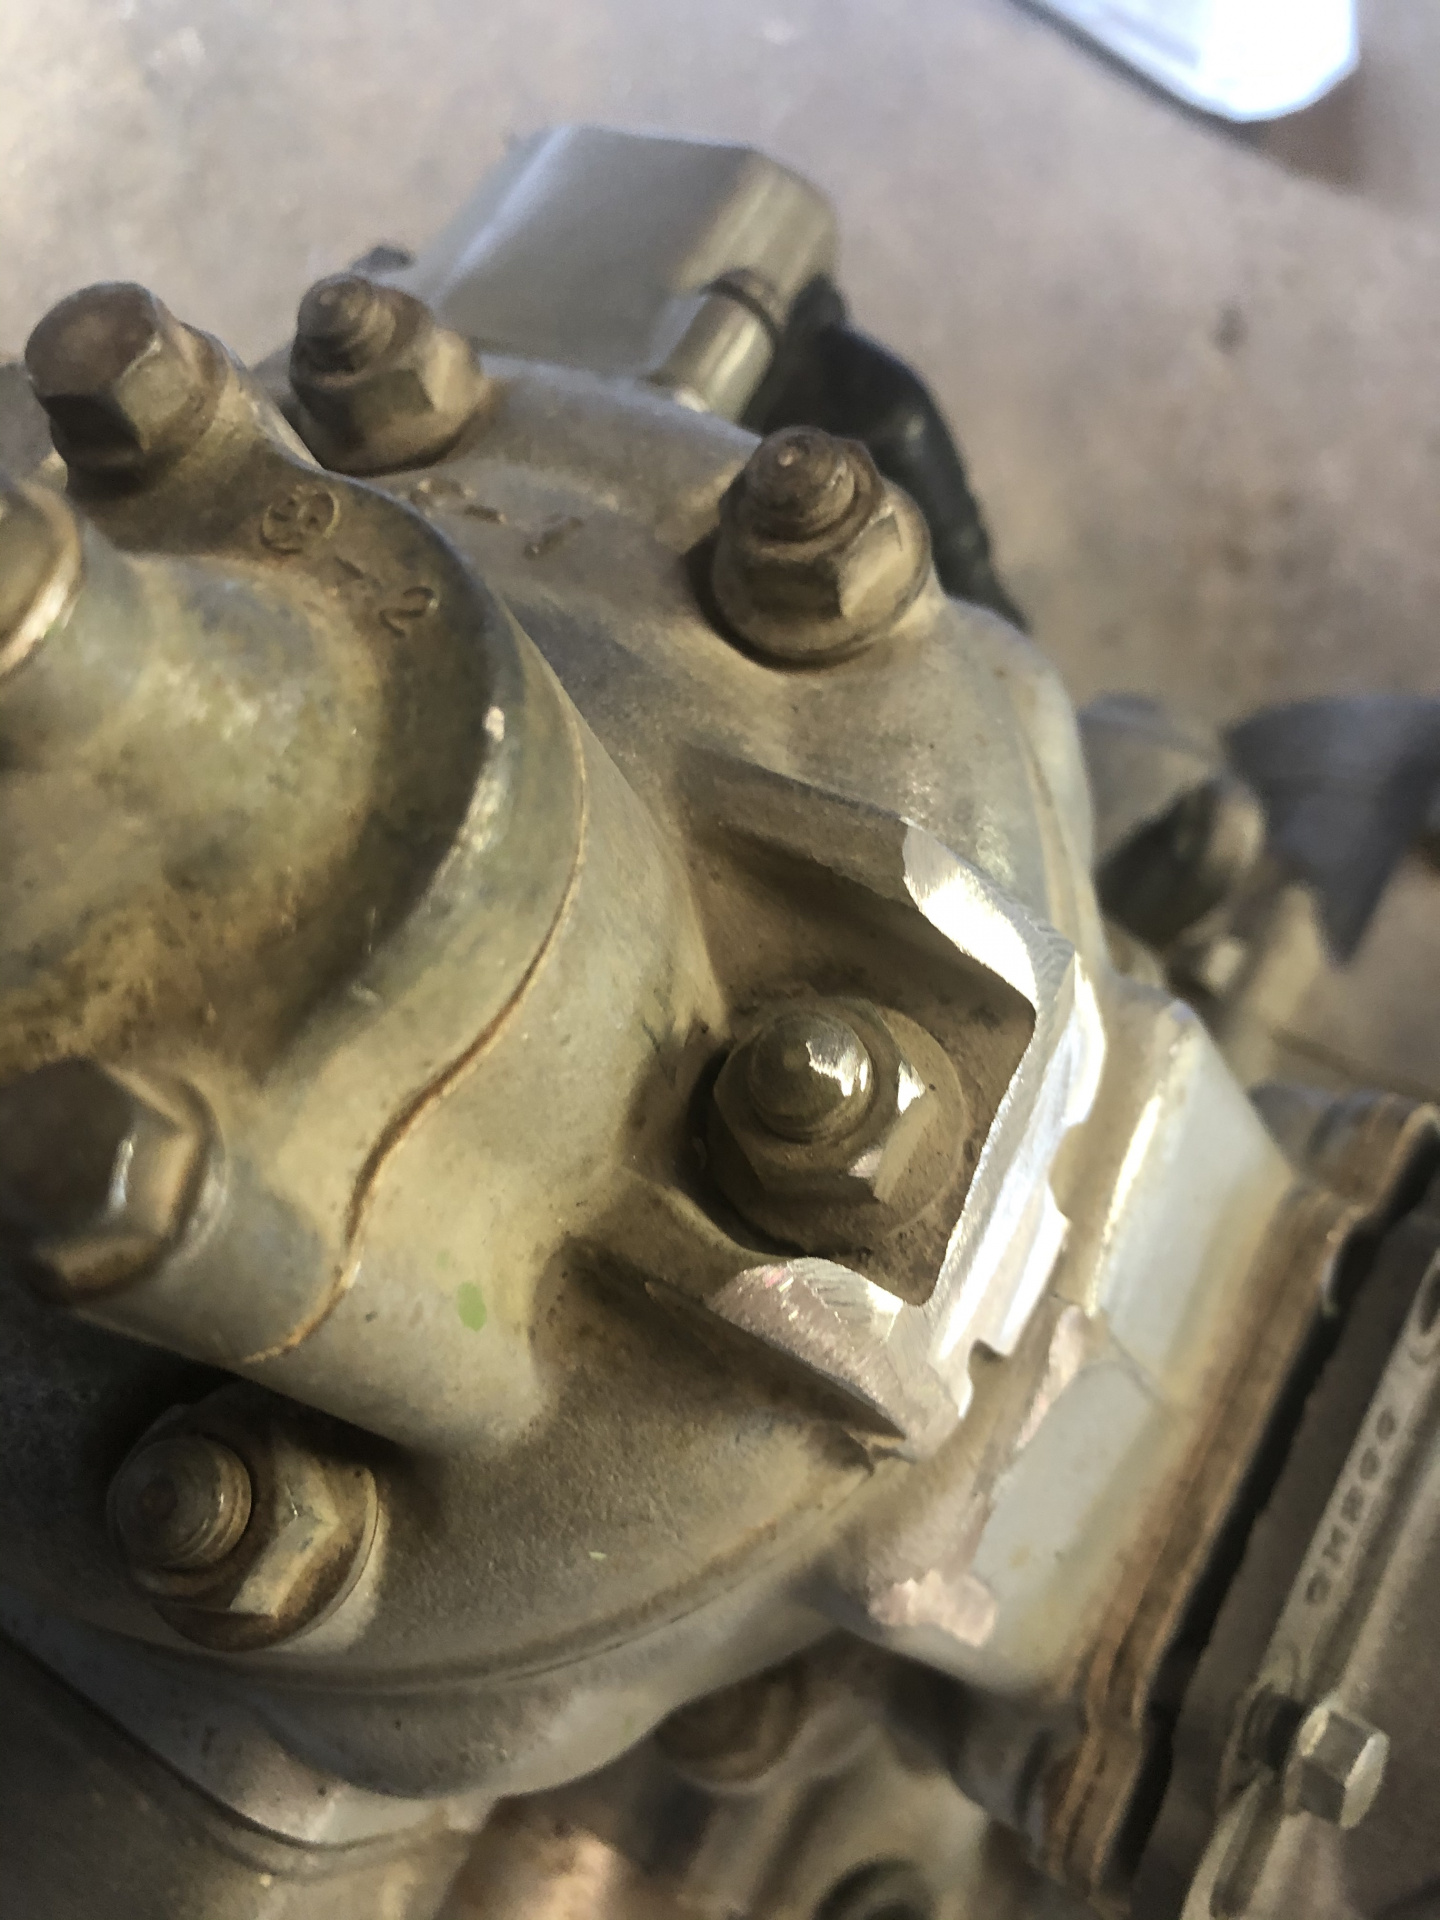
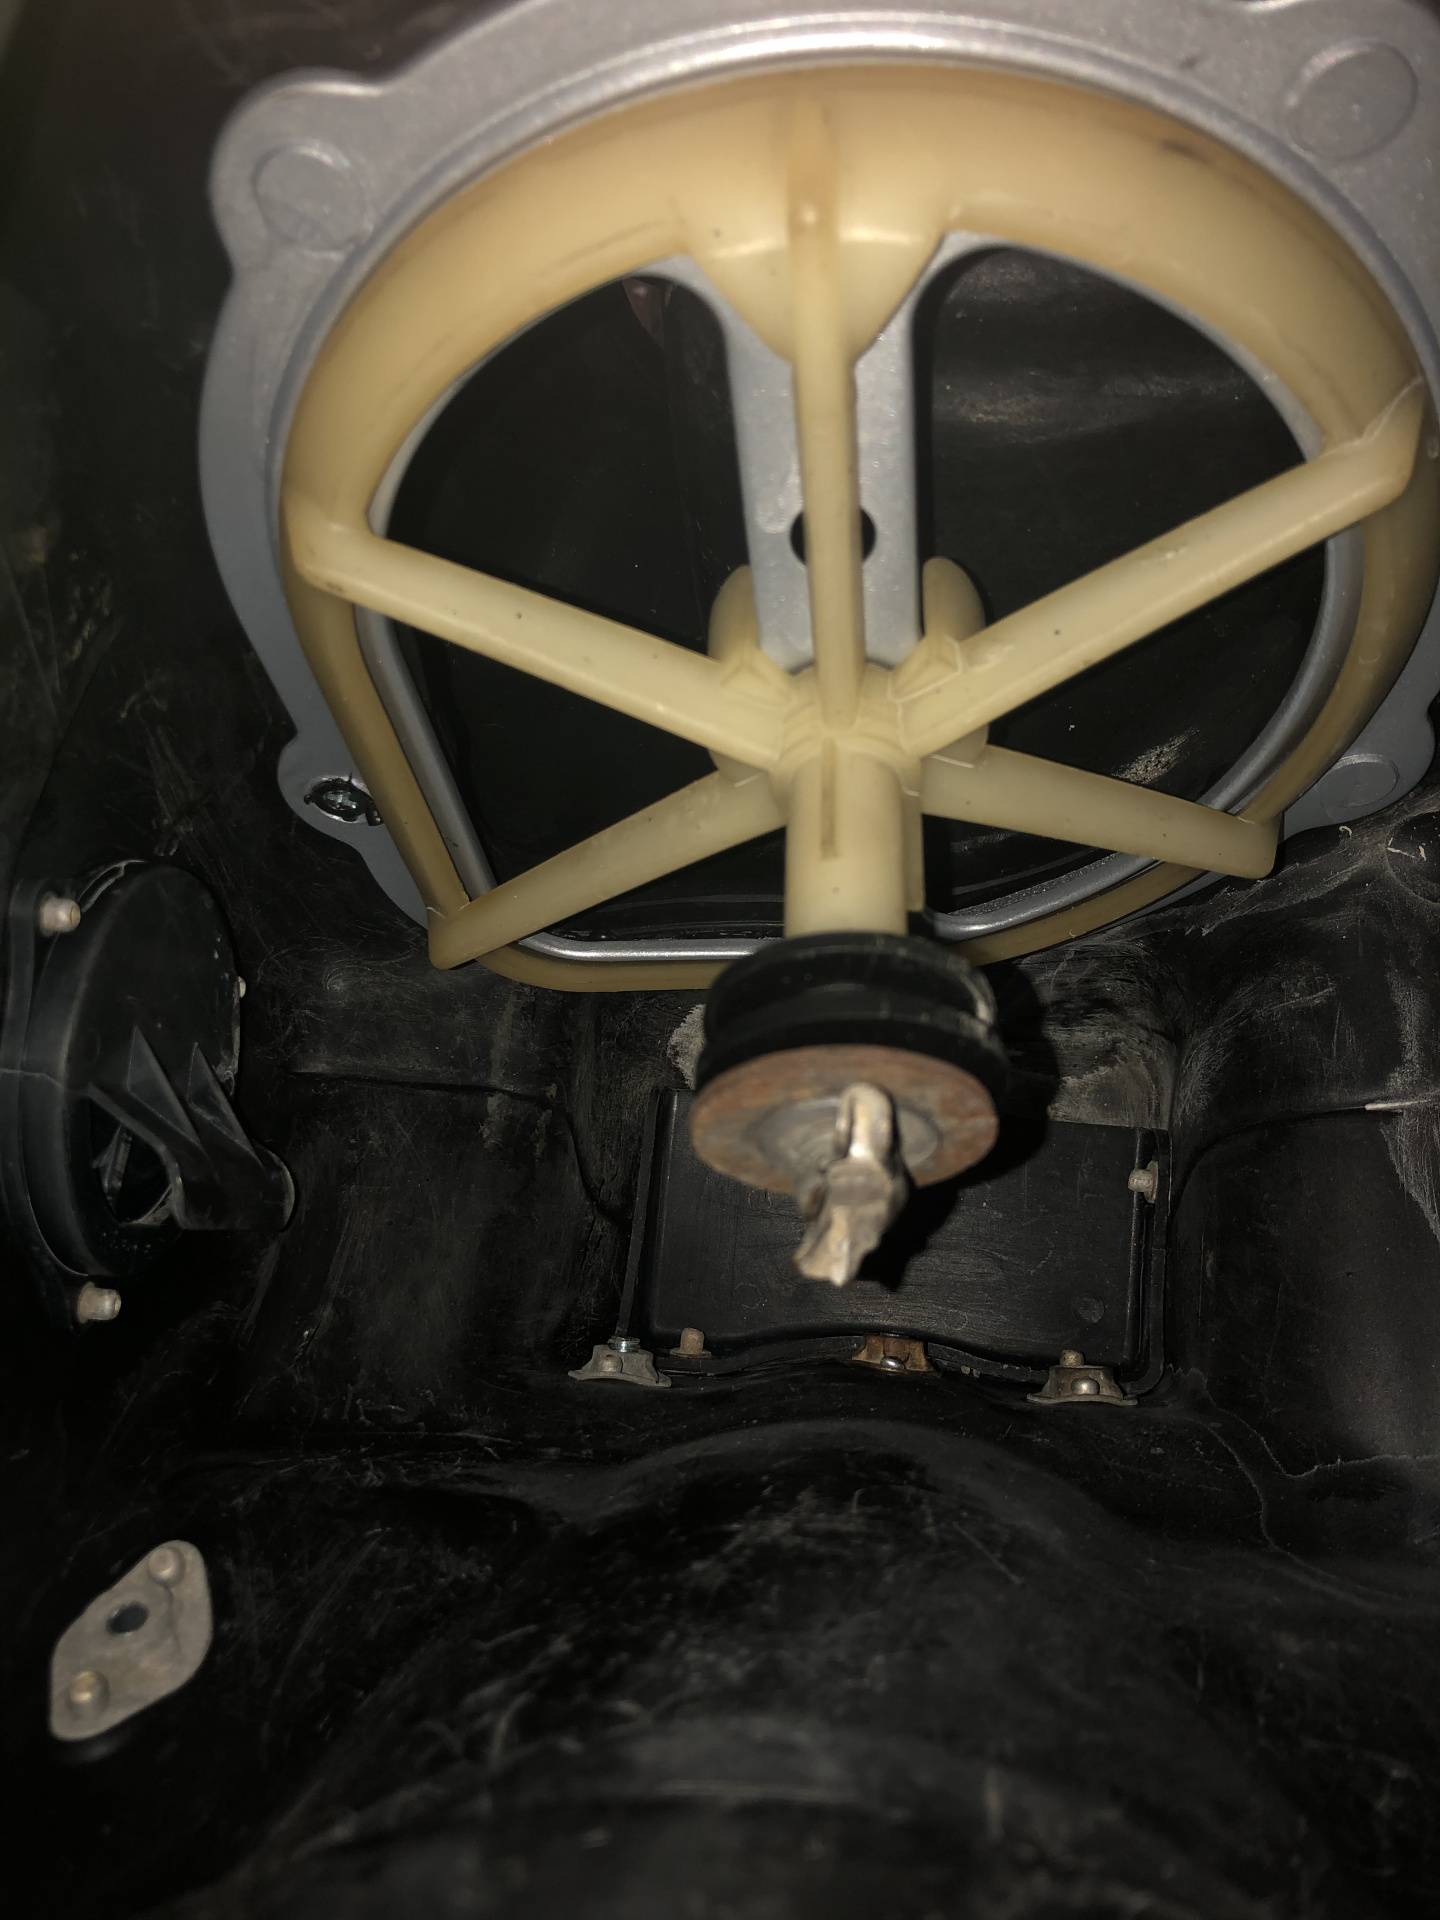
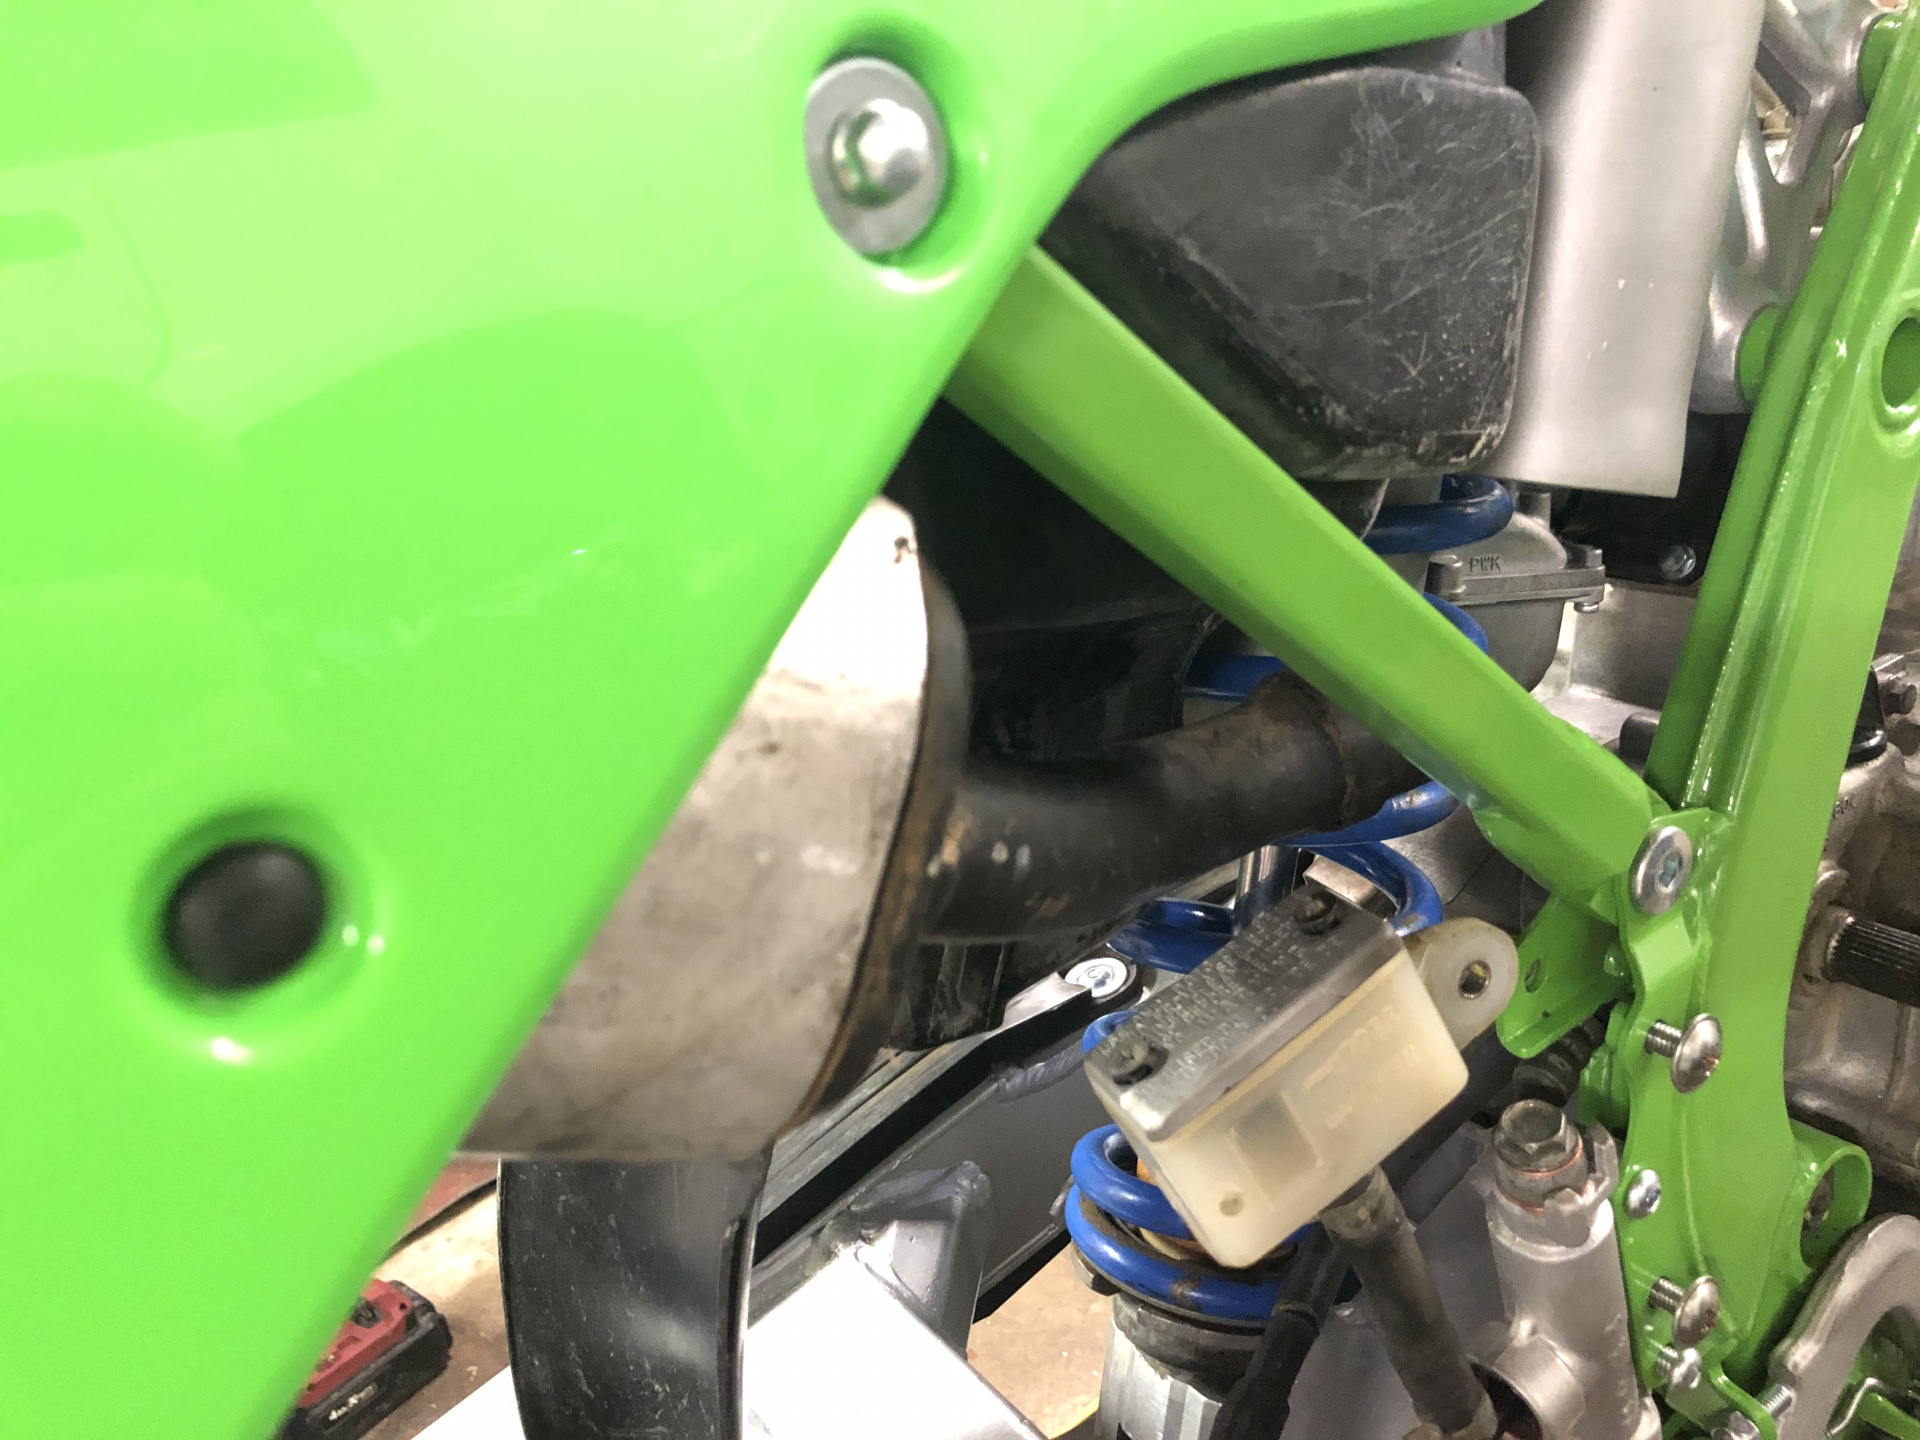
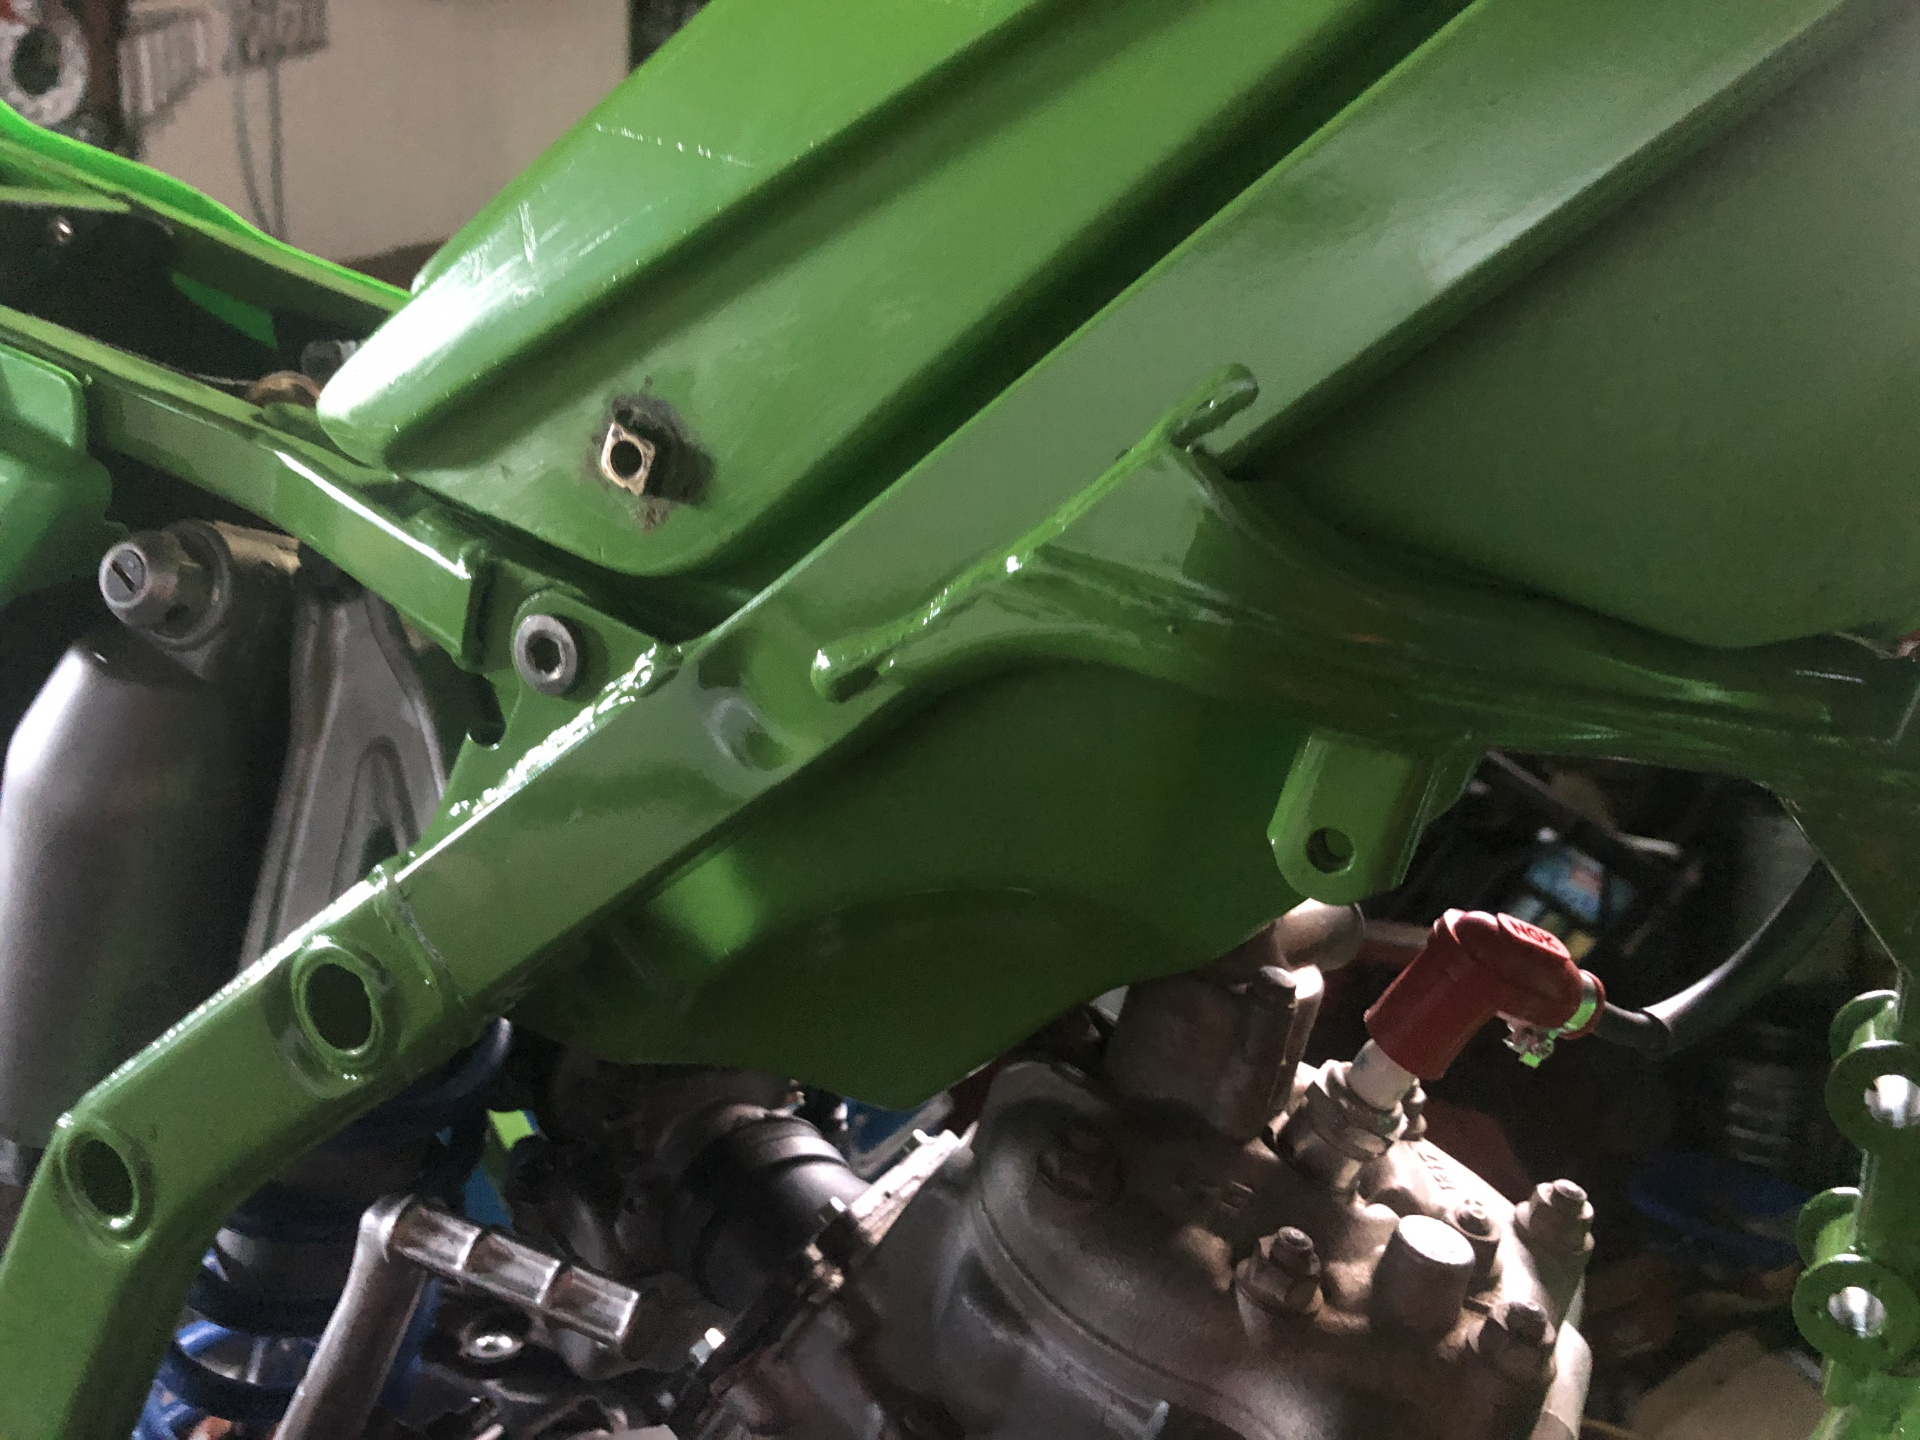
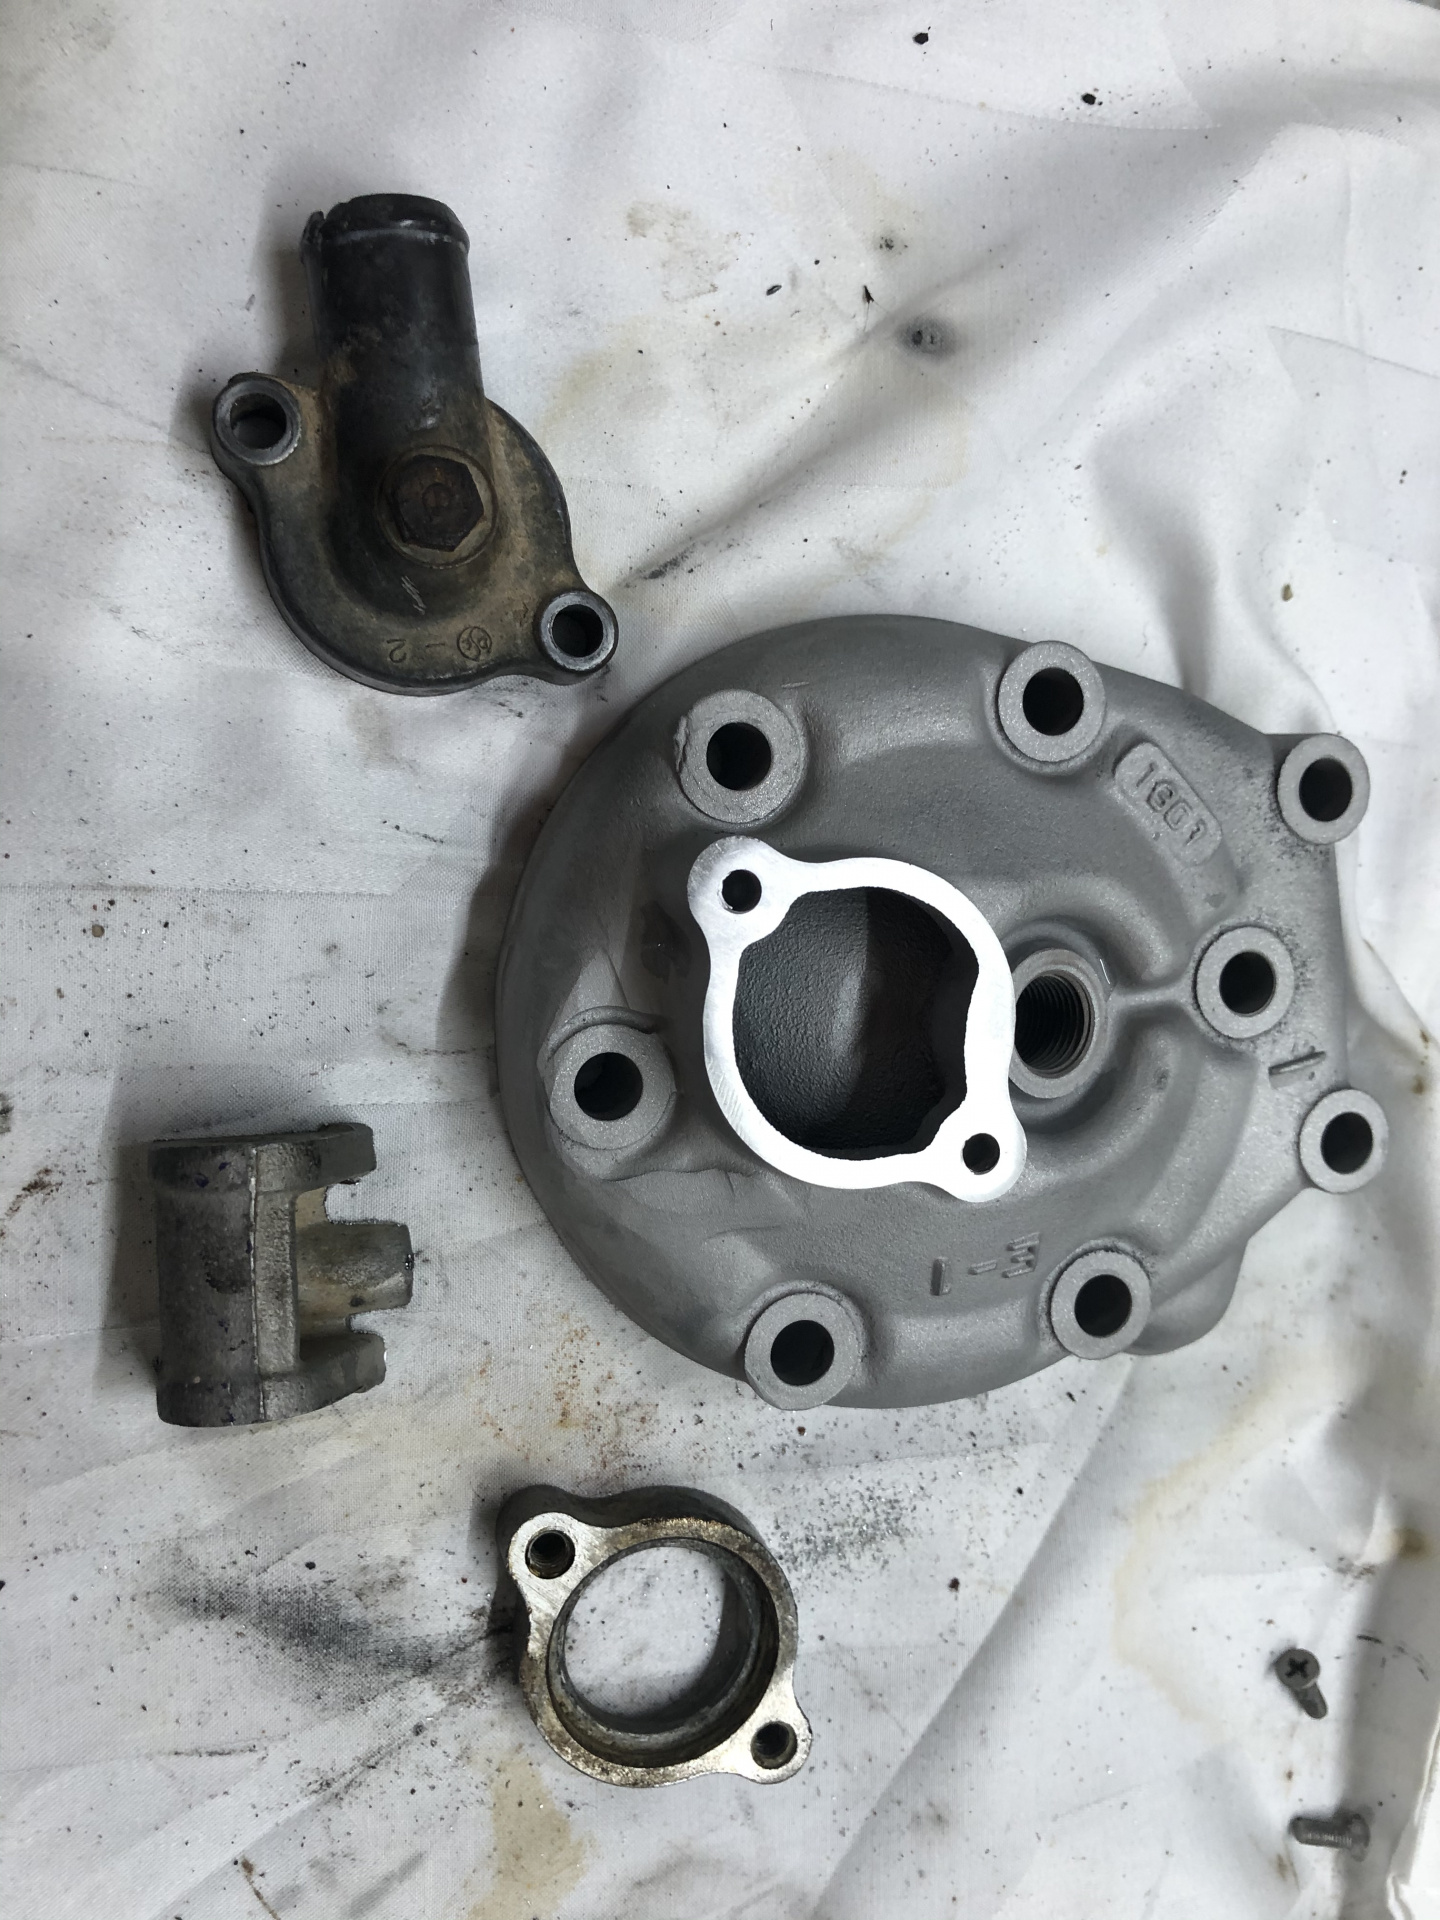
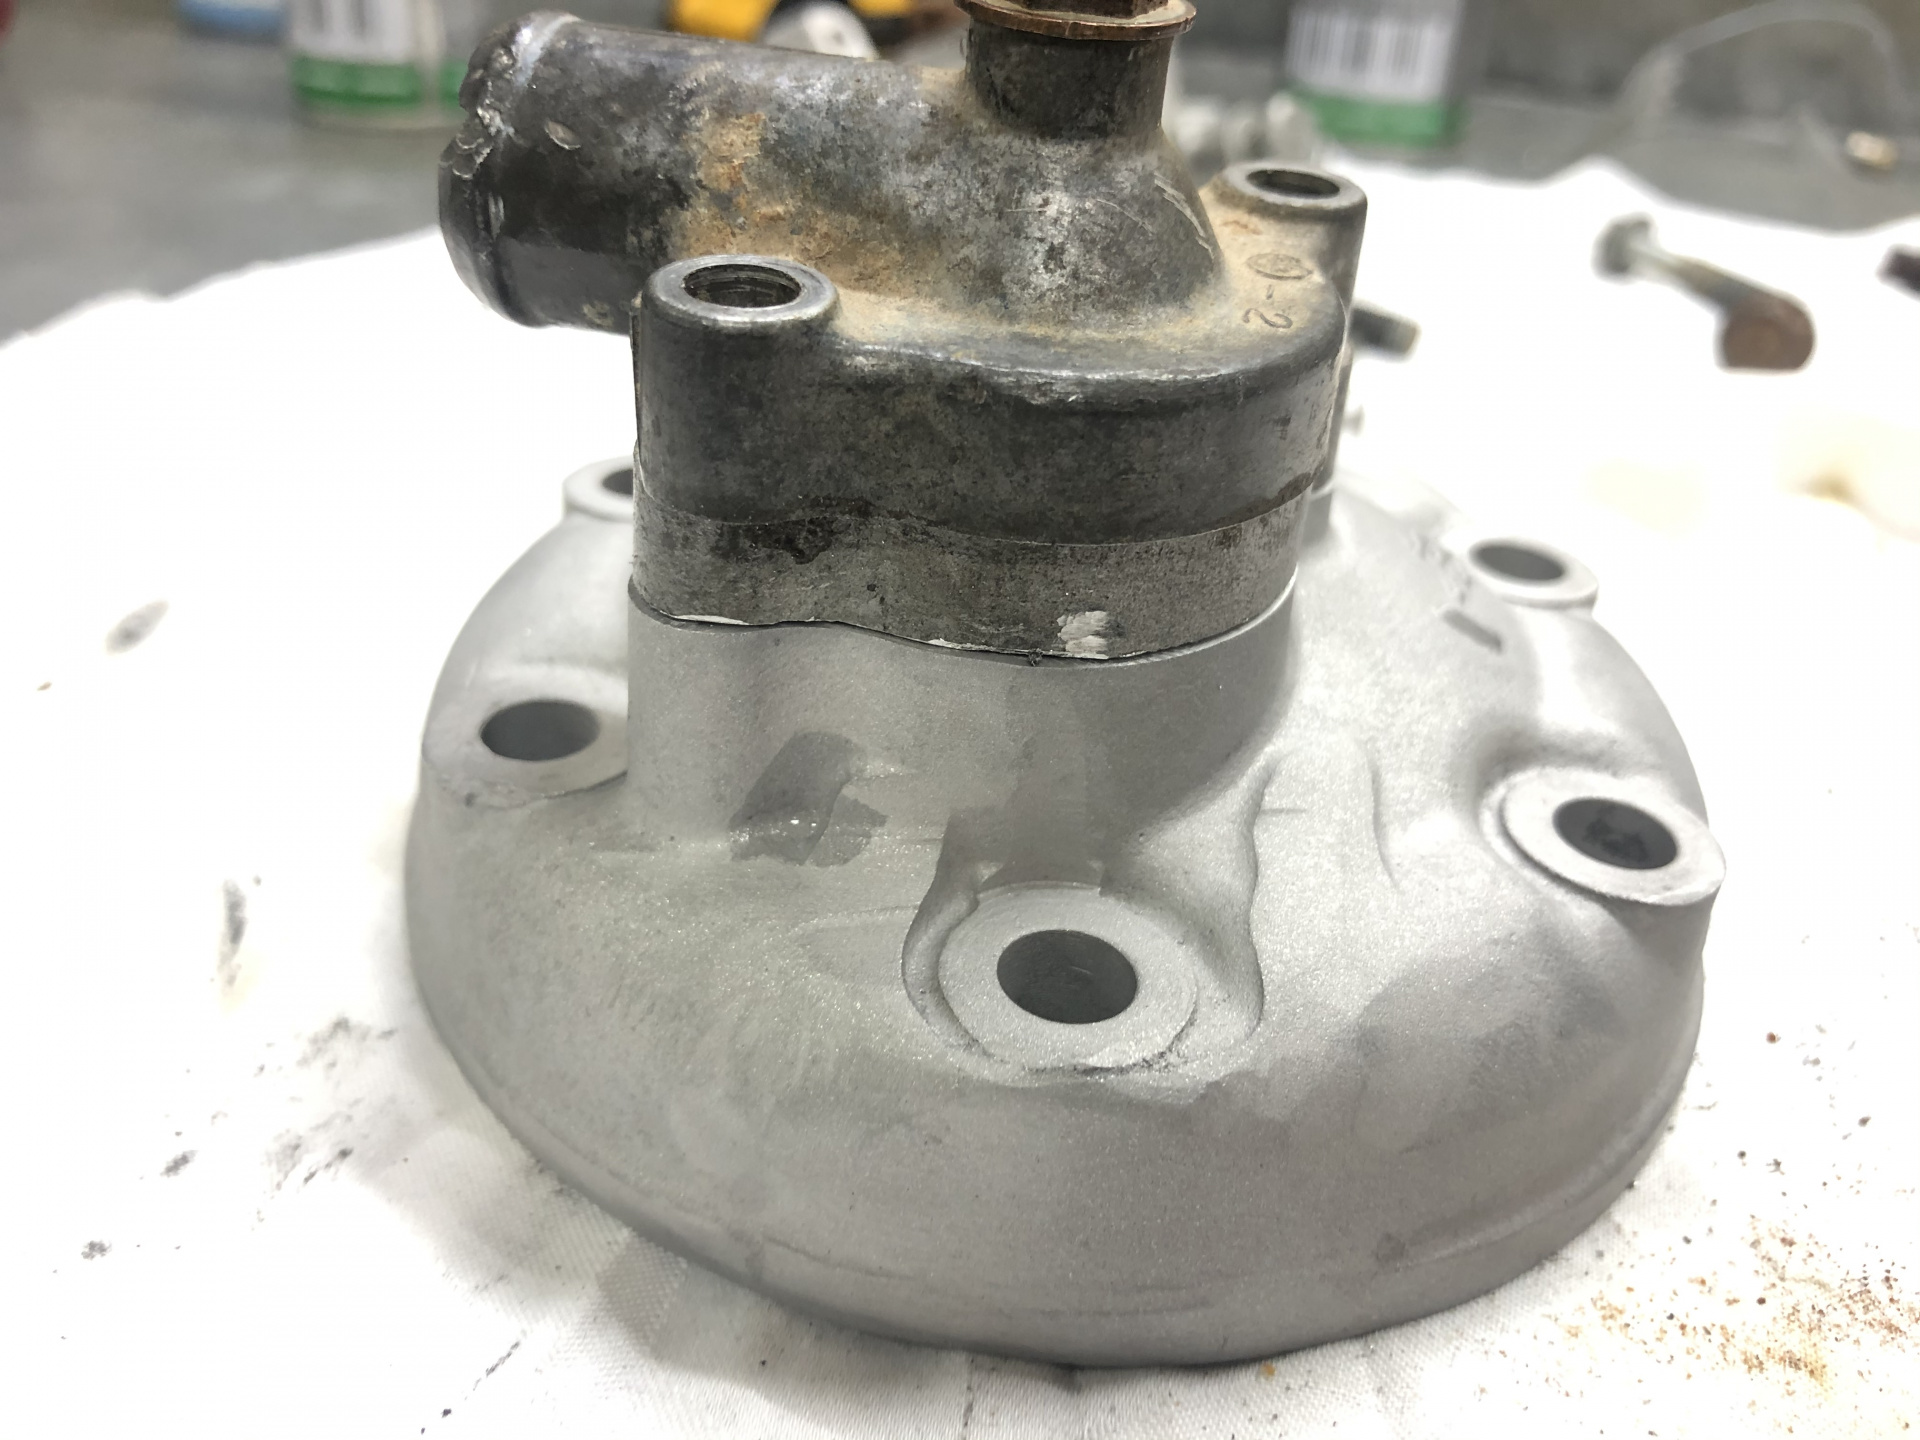
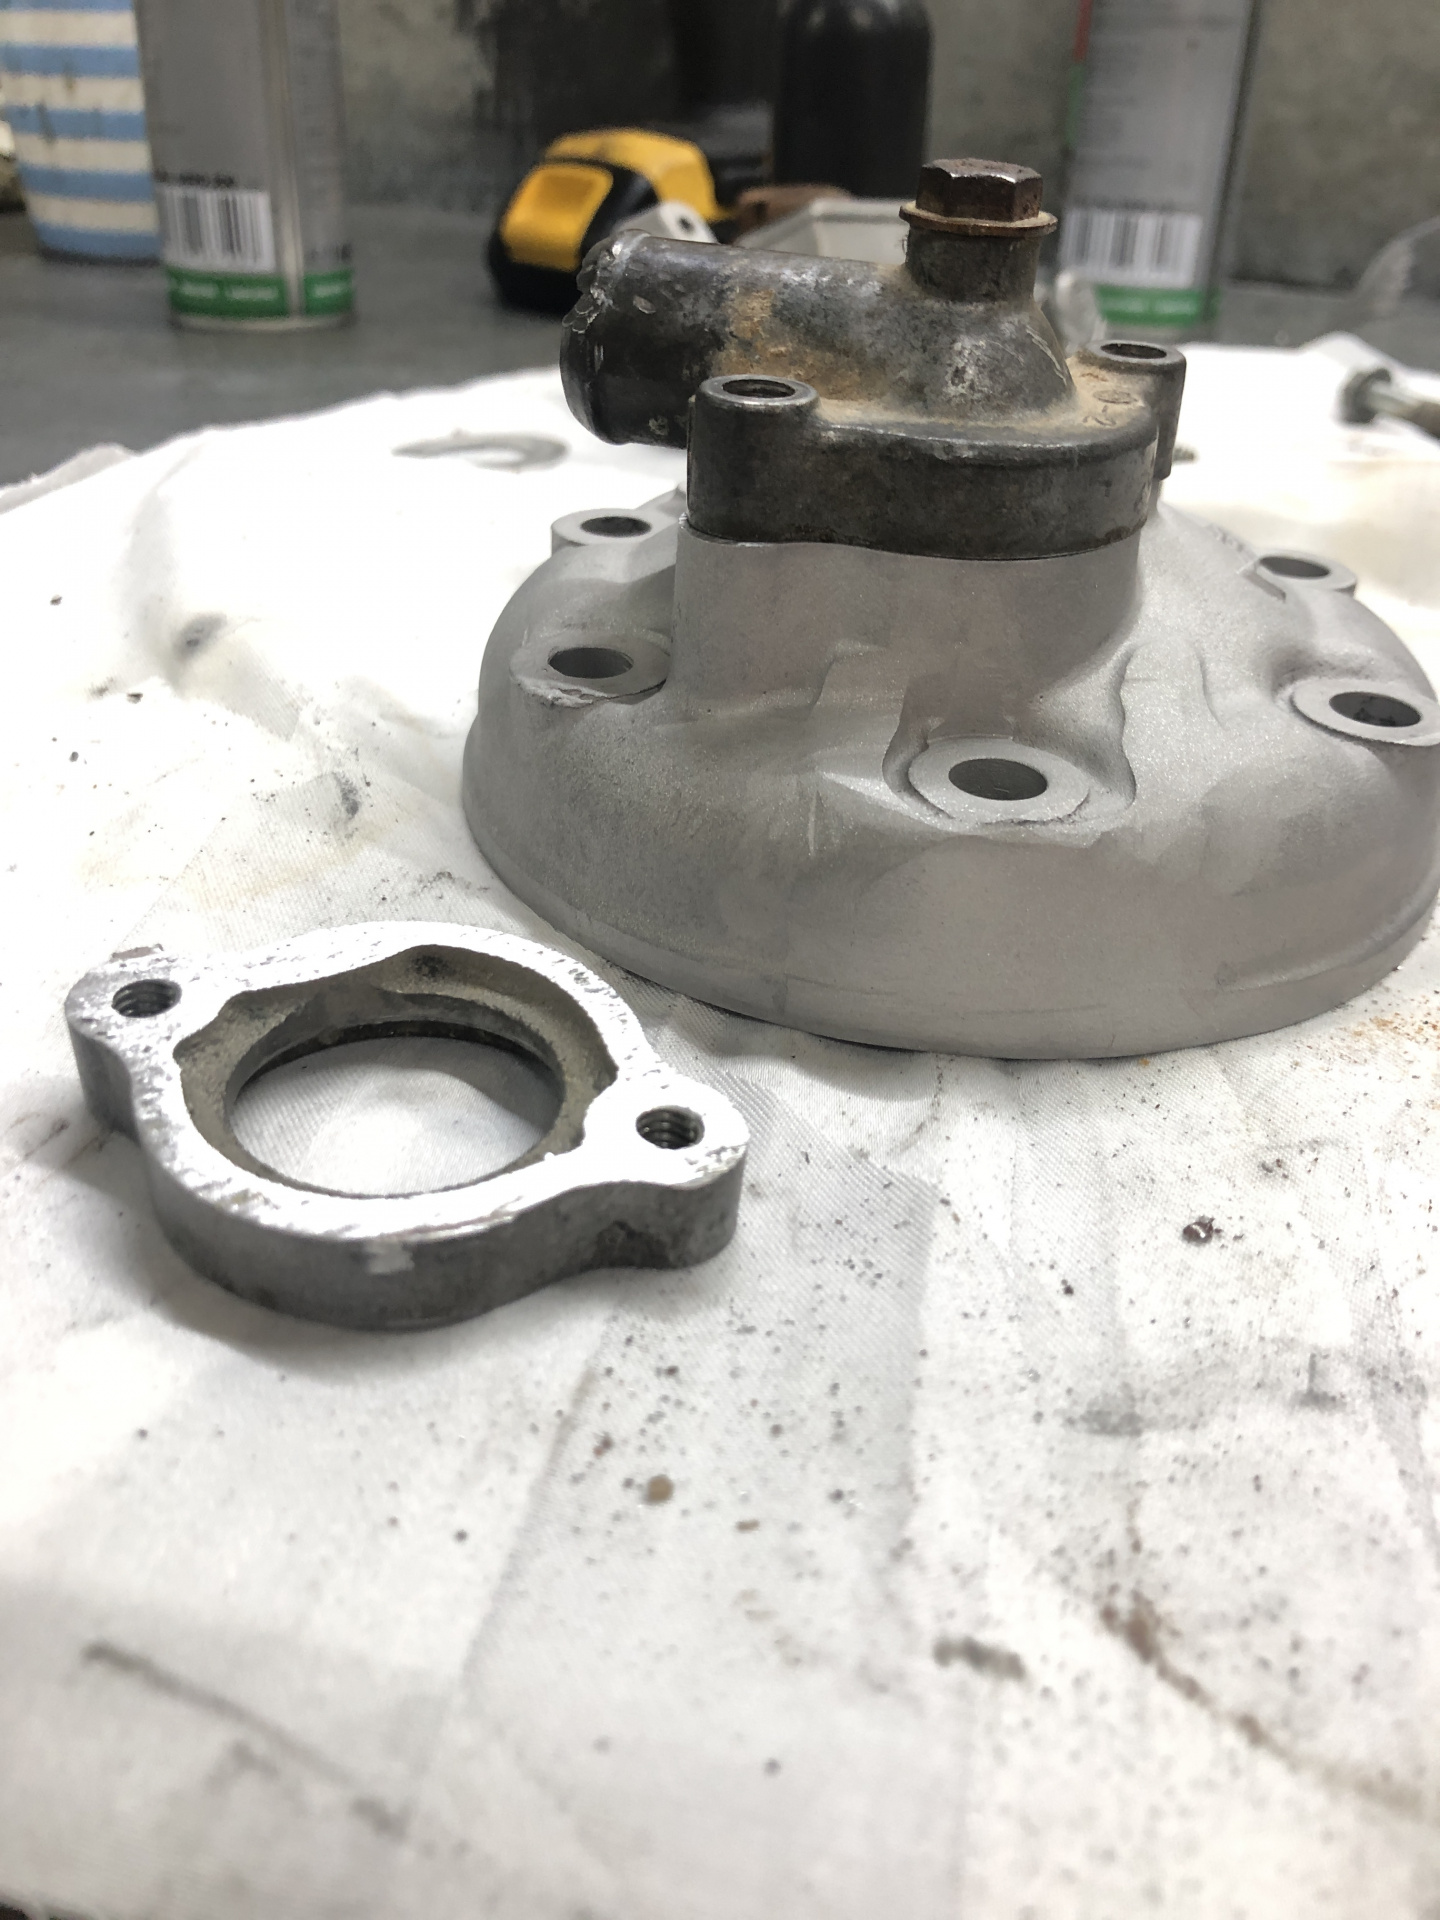
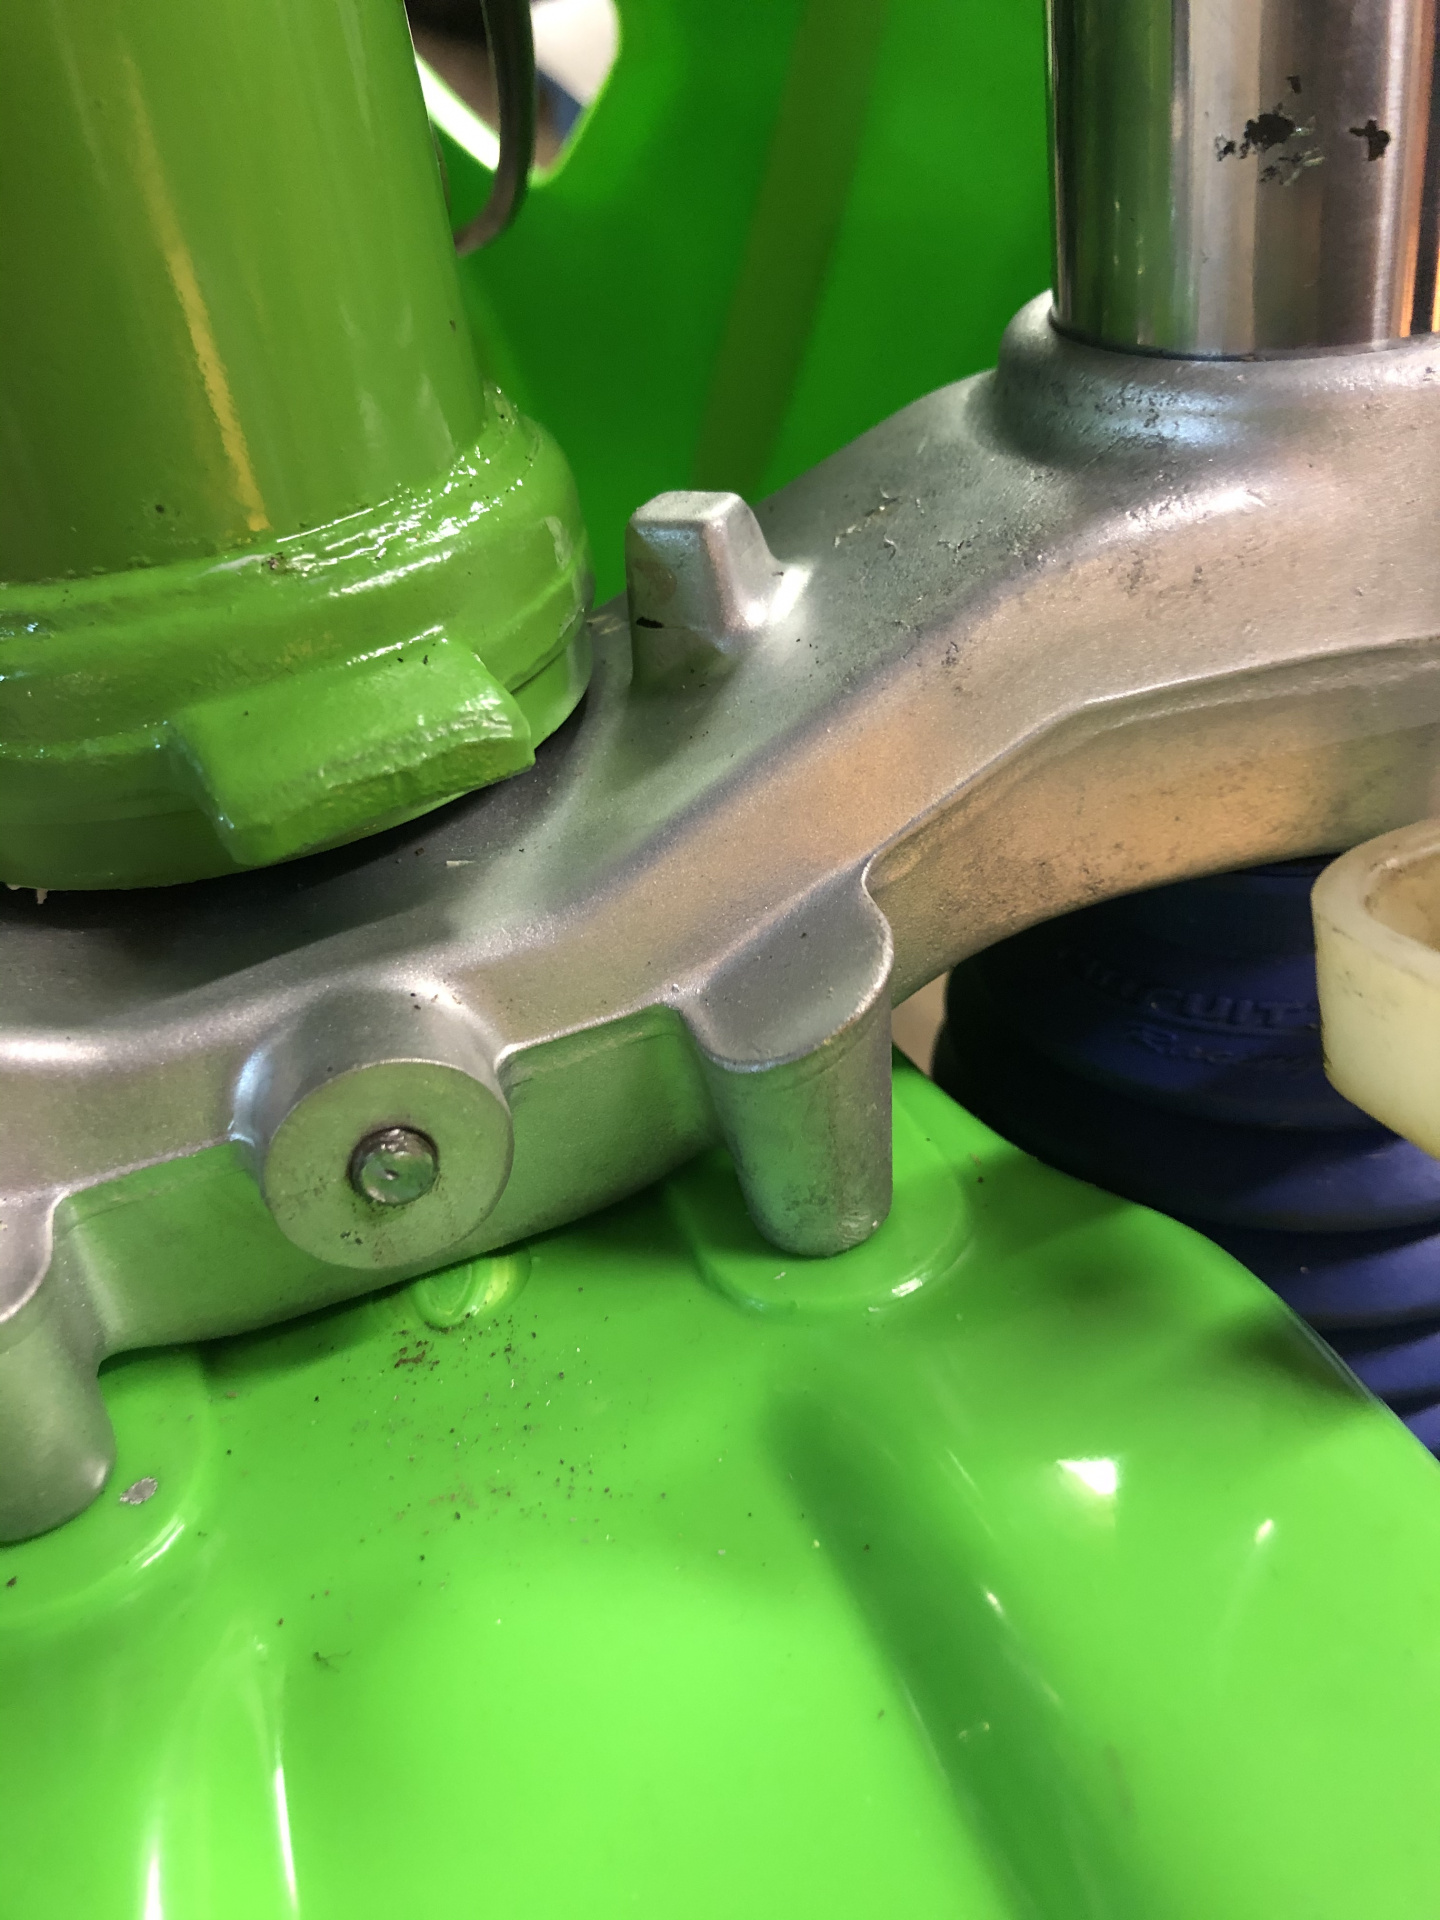
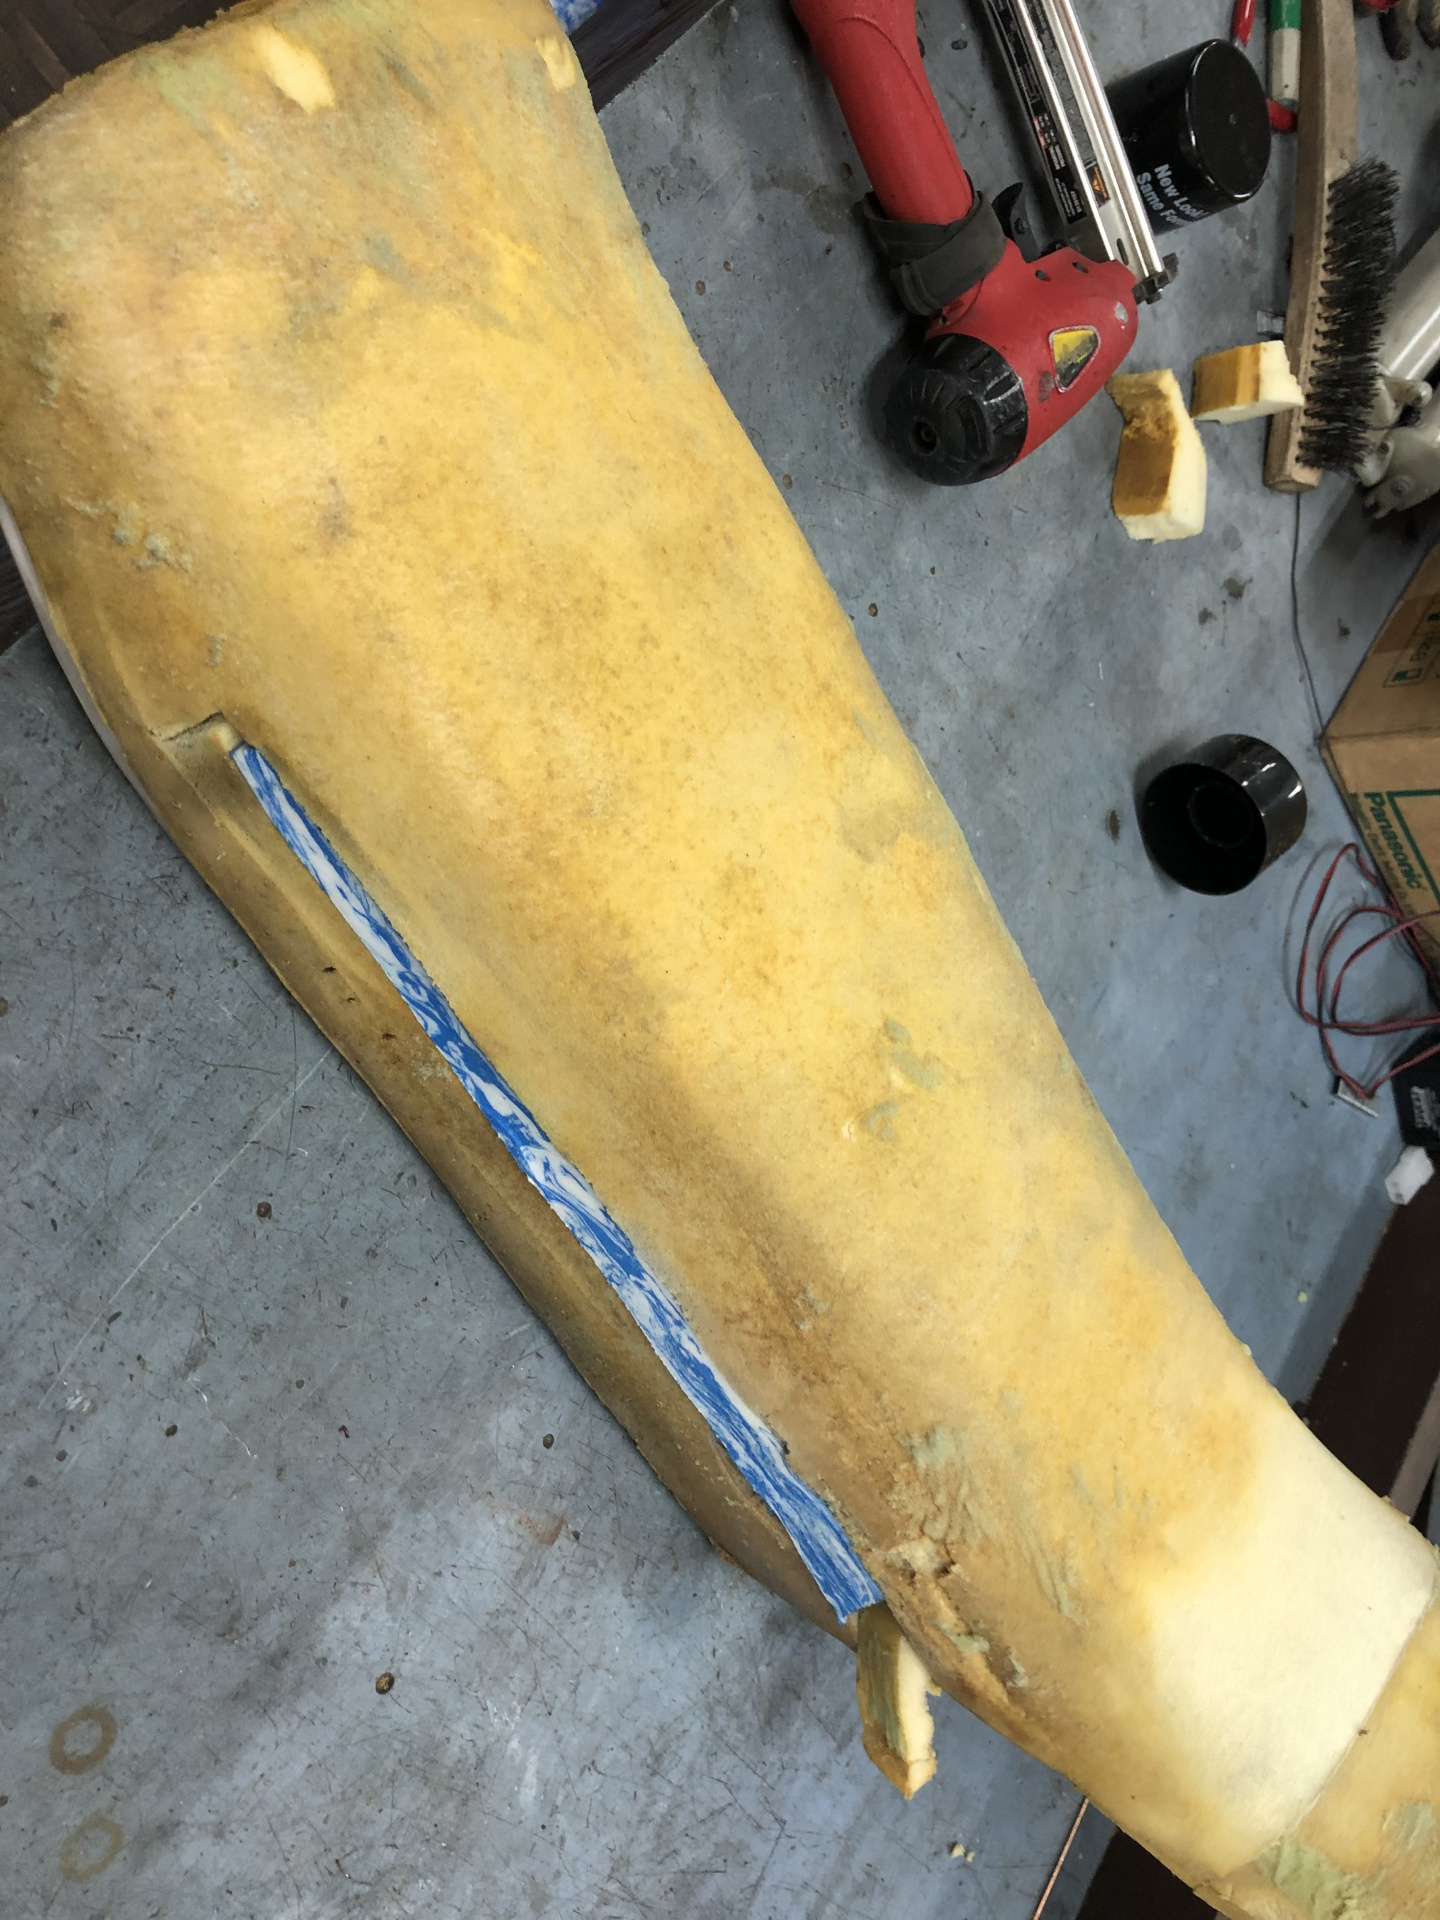
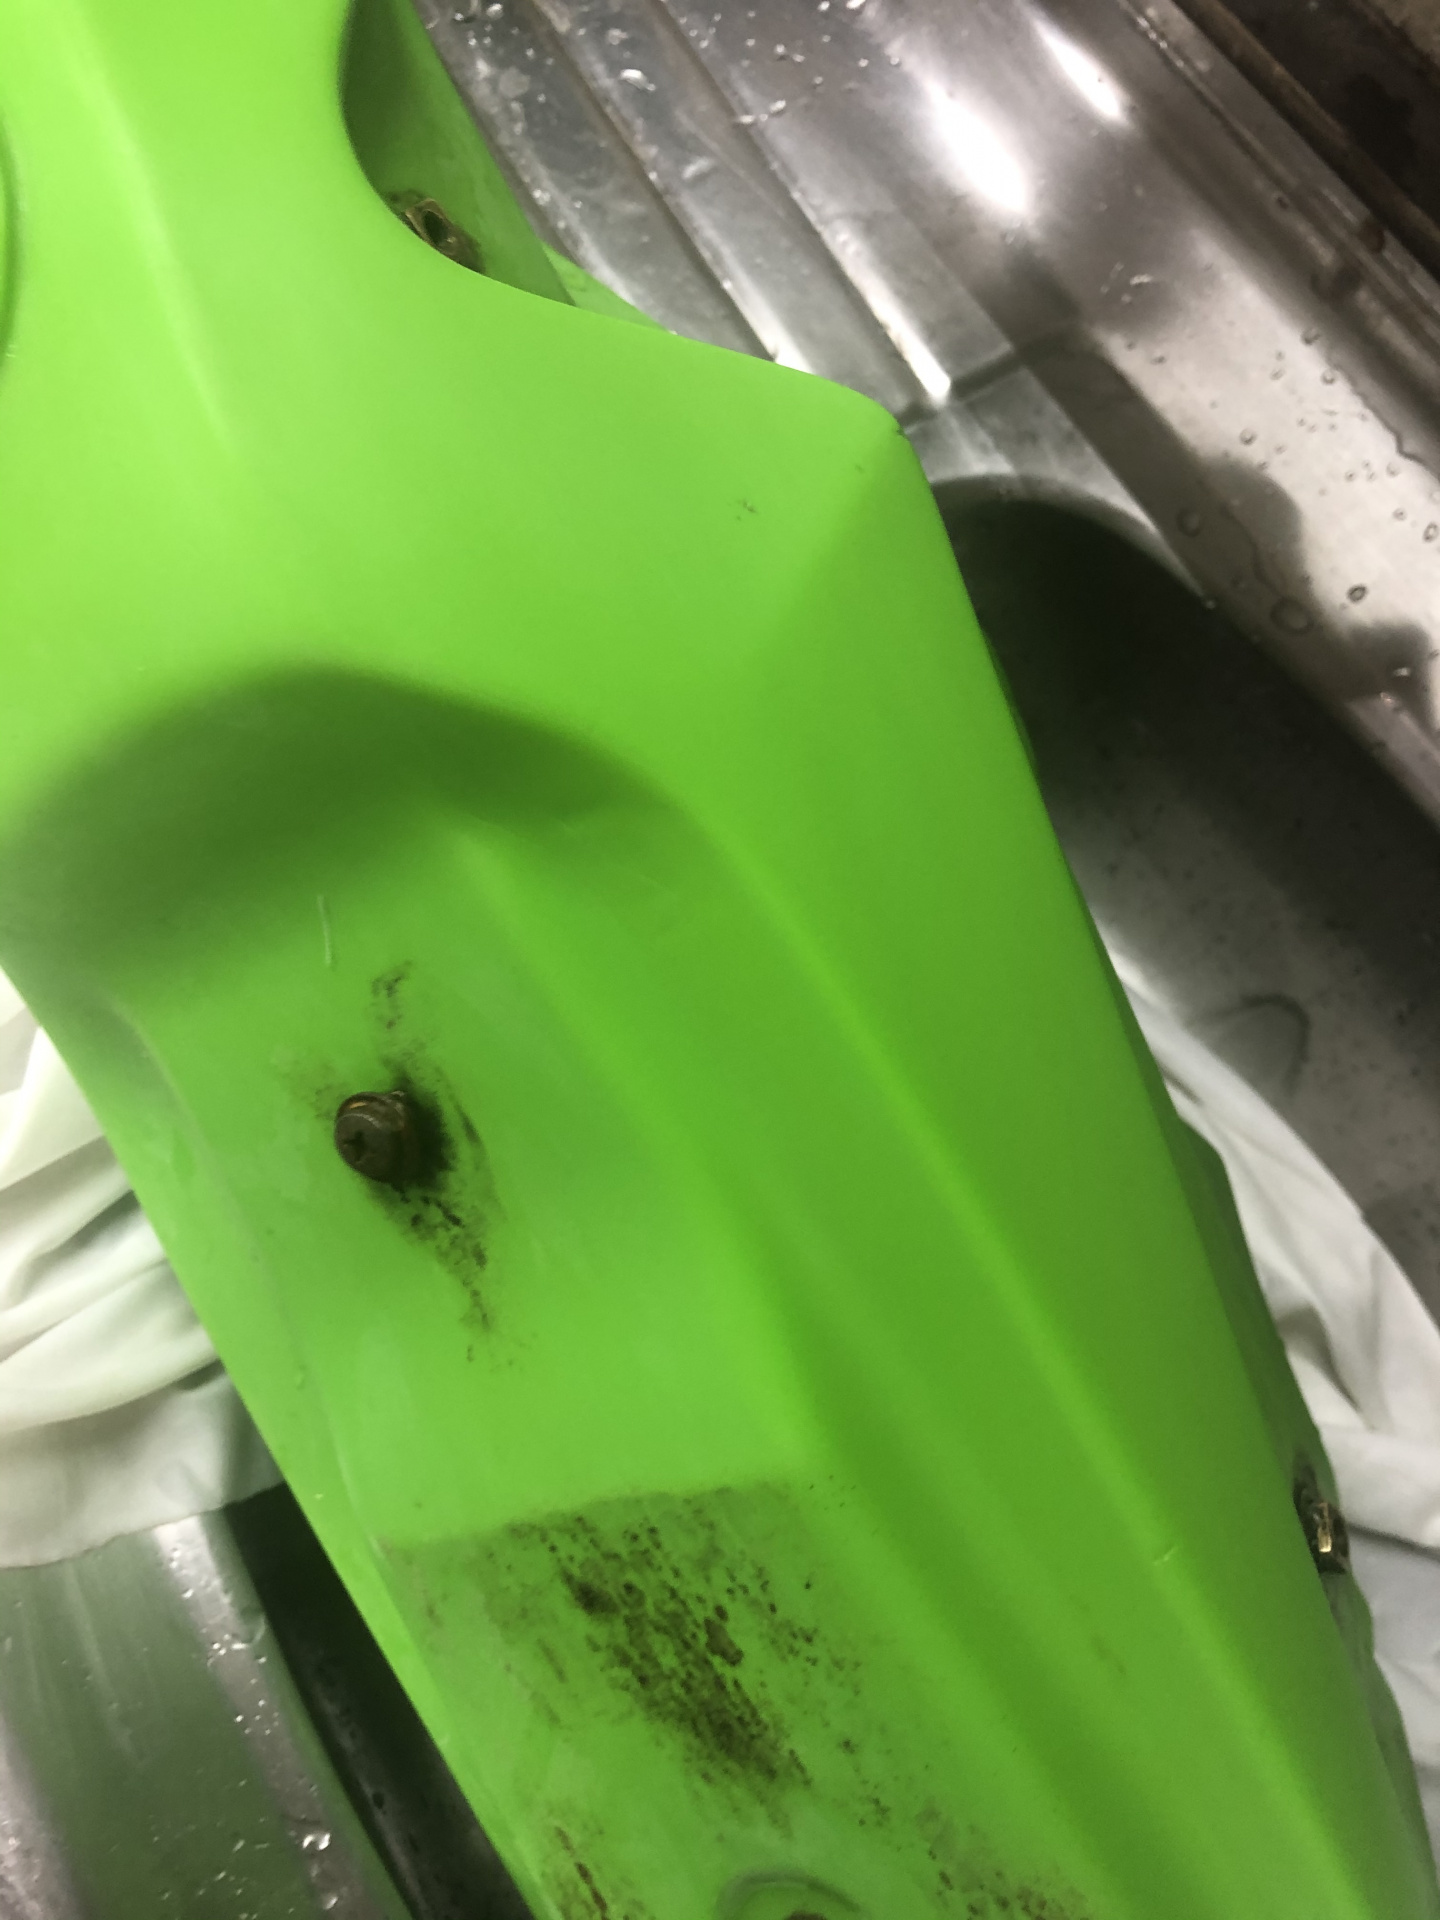
Today’s other fuel tank challenge was to add the dent to the underside so it clears the 200 cylinder head. I did this halfway through making the outside look good, so the photos aren’t in sequence.
First I tried half filling the tank with boiling water and using the heat gun on the outside, but the water was too much of a heatsink.
Drained the water, turned the heat gun down to 320* and very carefully heated the entire area around where I needed extra clearance. Slllooooooow process, particularly because the plastic is so thick at this point - feels like 5 or 6mm.
When I first tried to reshape the tank, the outside surface was soft/semi molten, but the inside surface was still firm - all that was happening was that I was pushing the soft surface layer off the harder, cooler material underneath. So back to heating it until the entire thickness was soft.

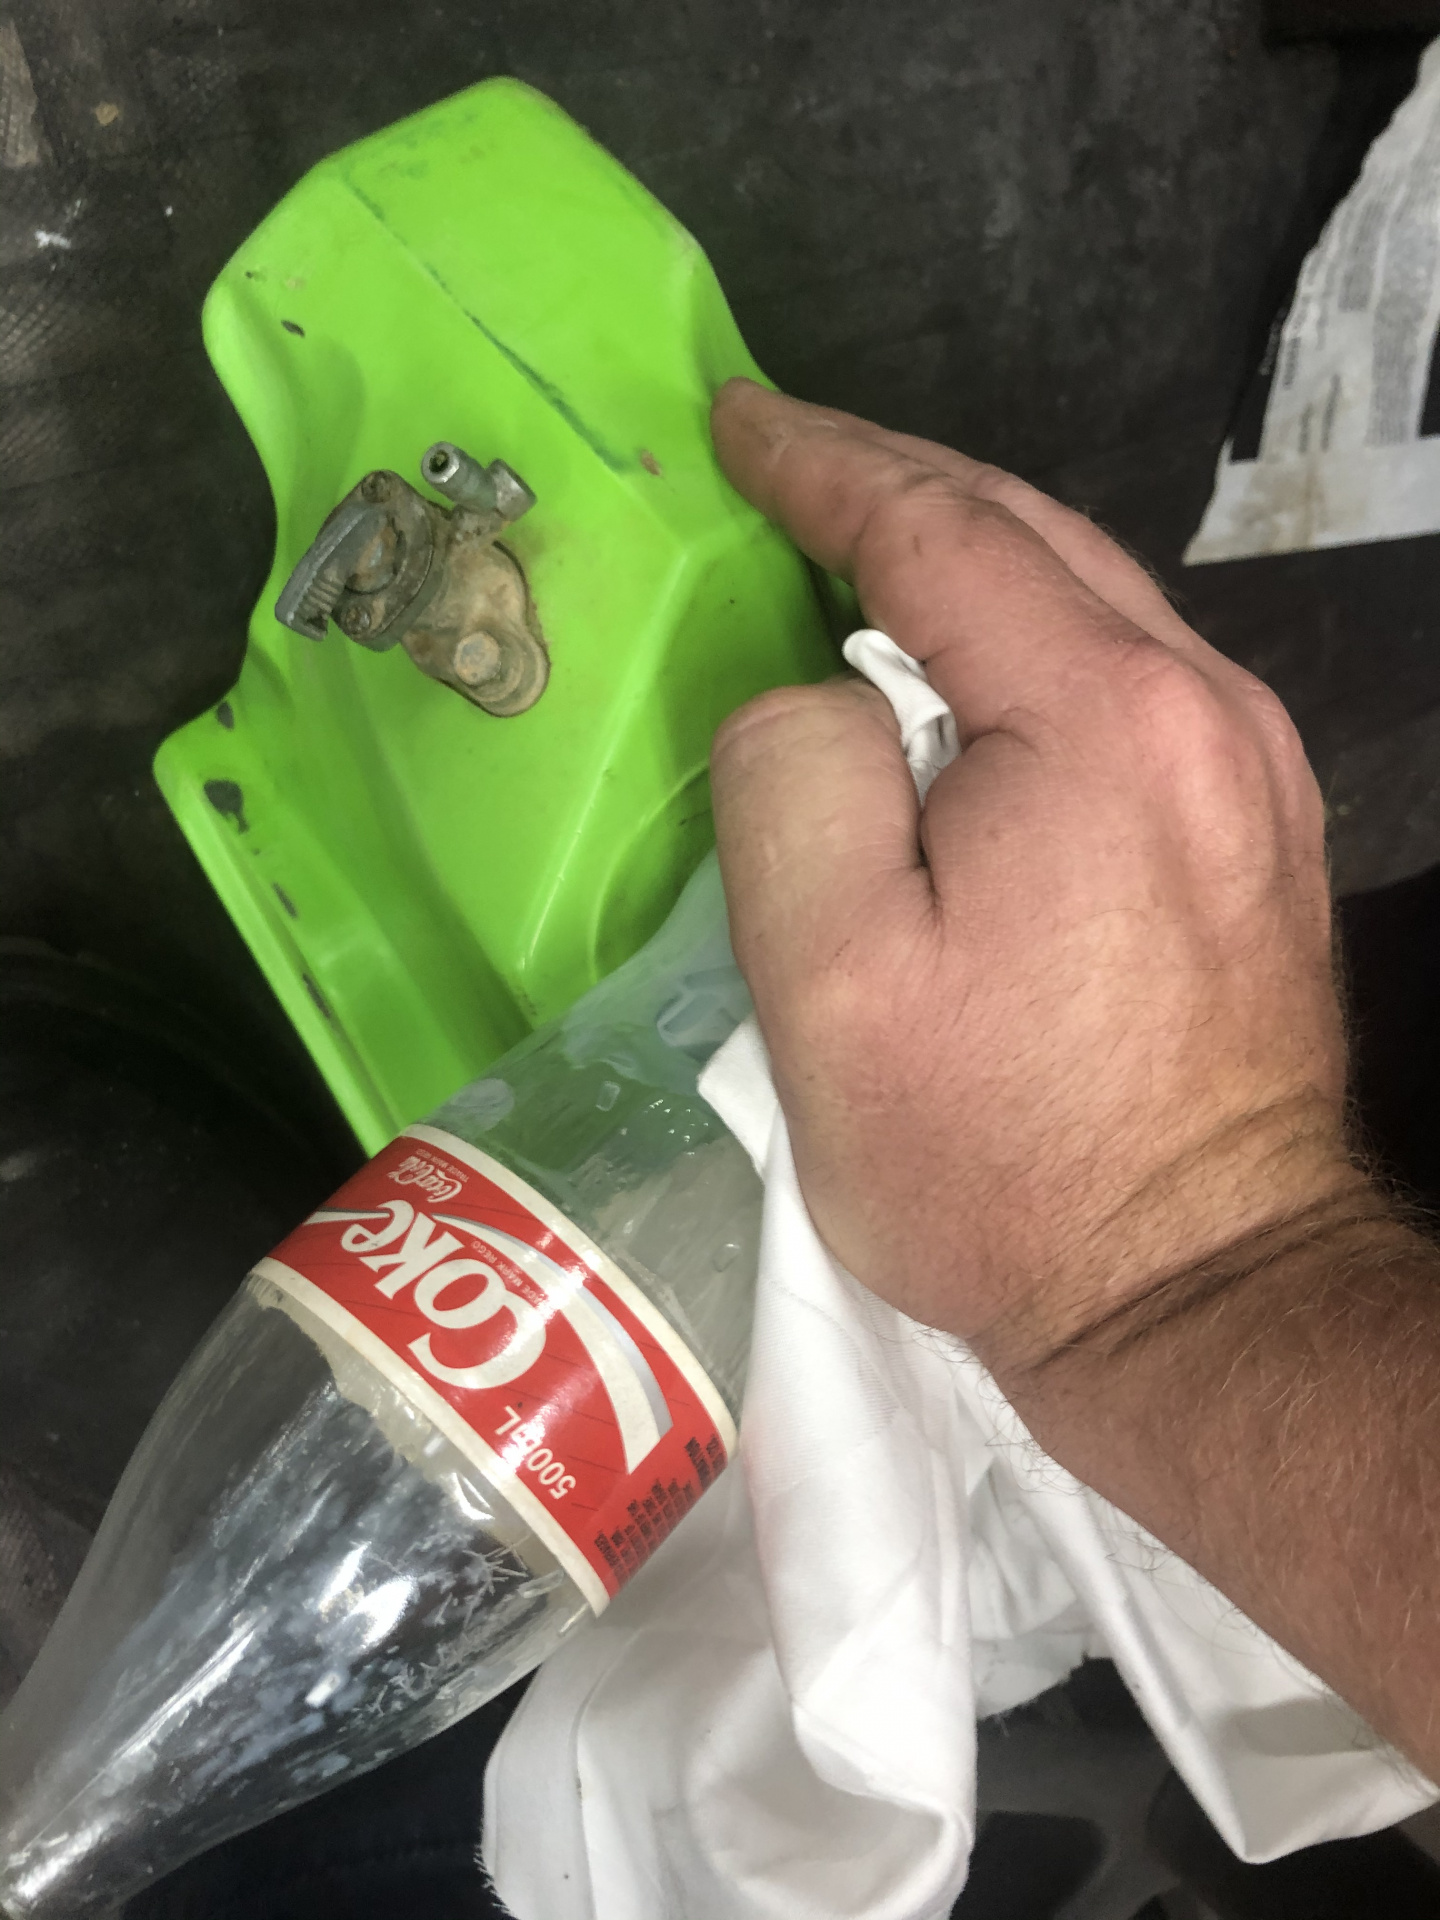
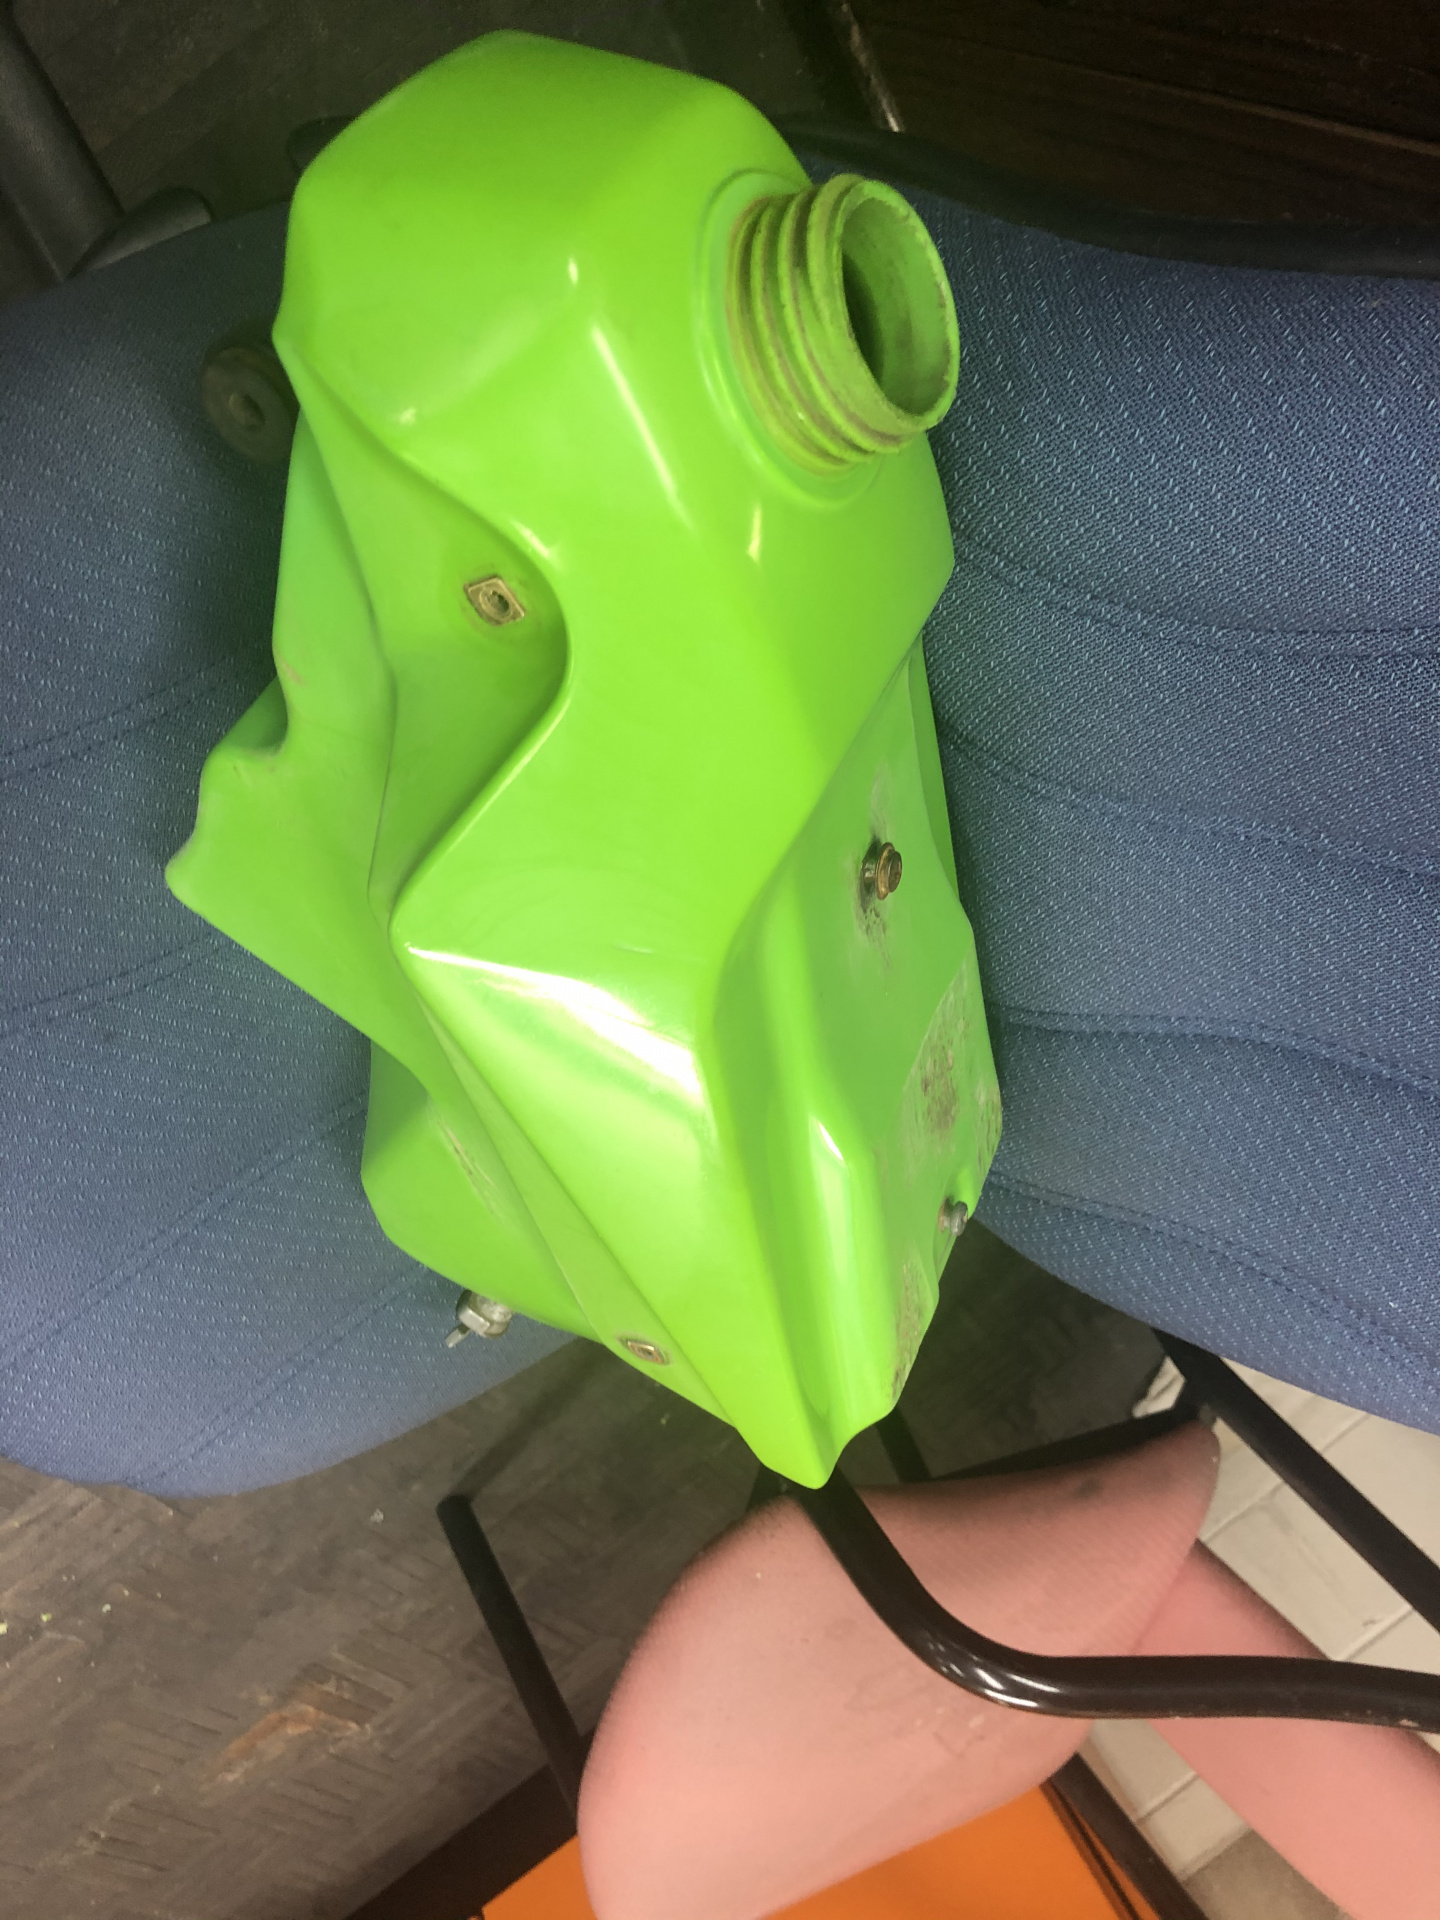
I really needed a roughly spherical shape, but an old glass coke bottle was the best that I could manage.
Had to keep pushing the plastic down as it cooled because it wanted to return to its original shape. My shoulders are sore now!
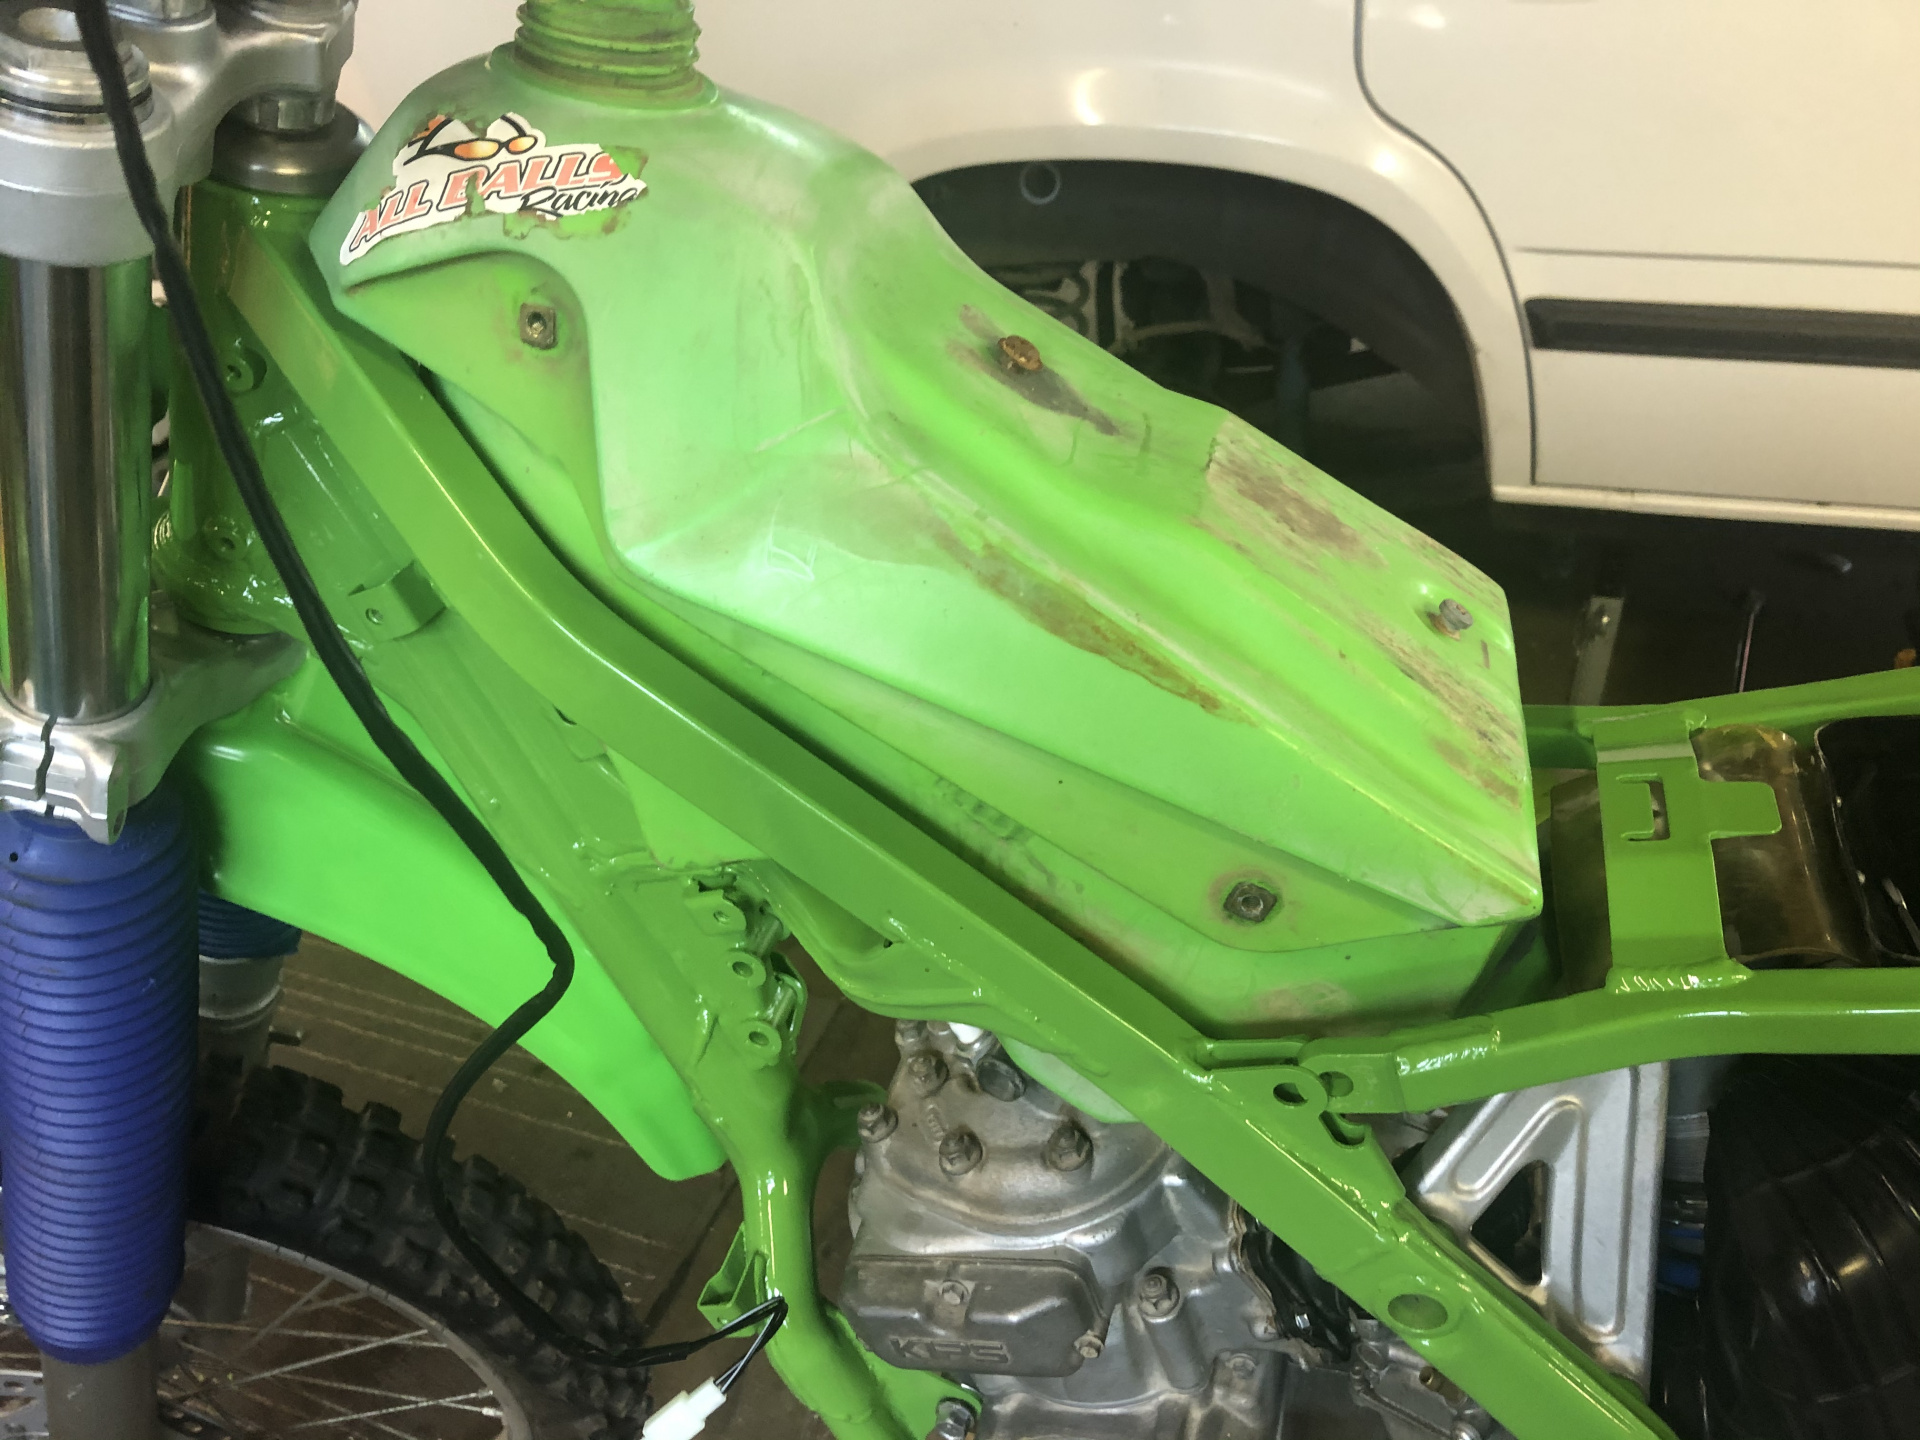
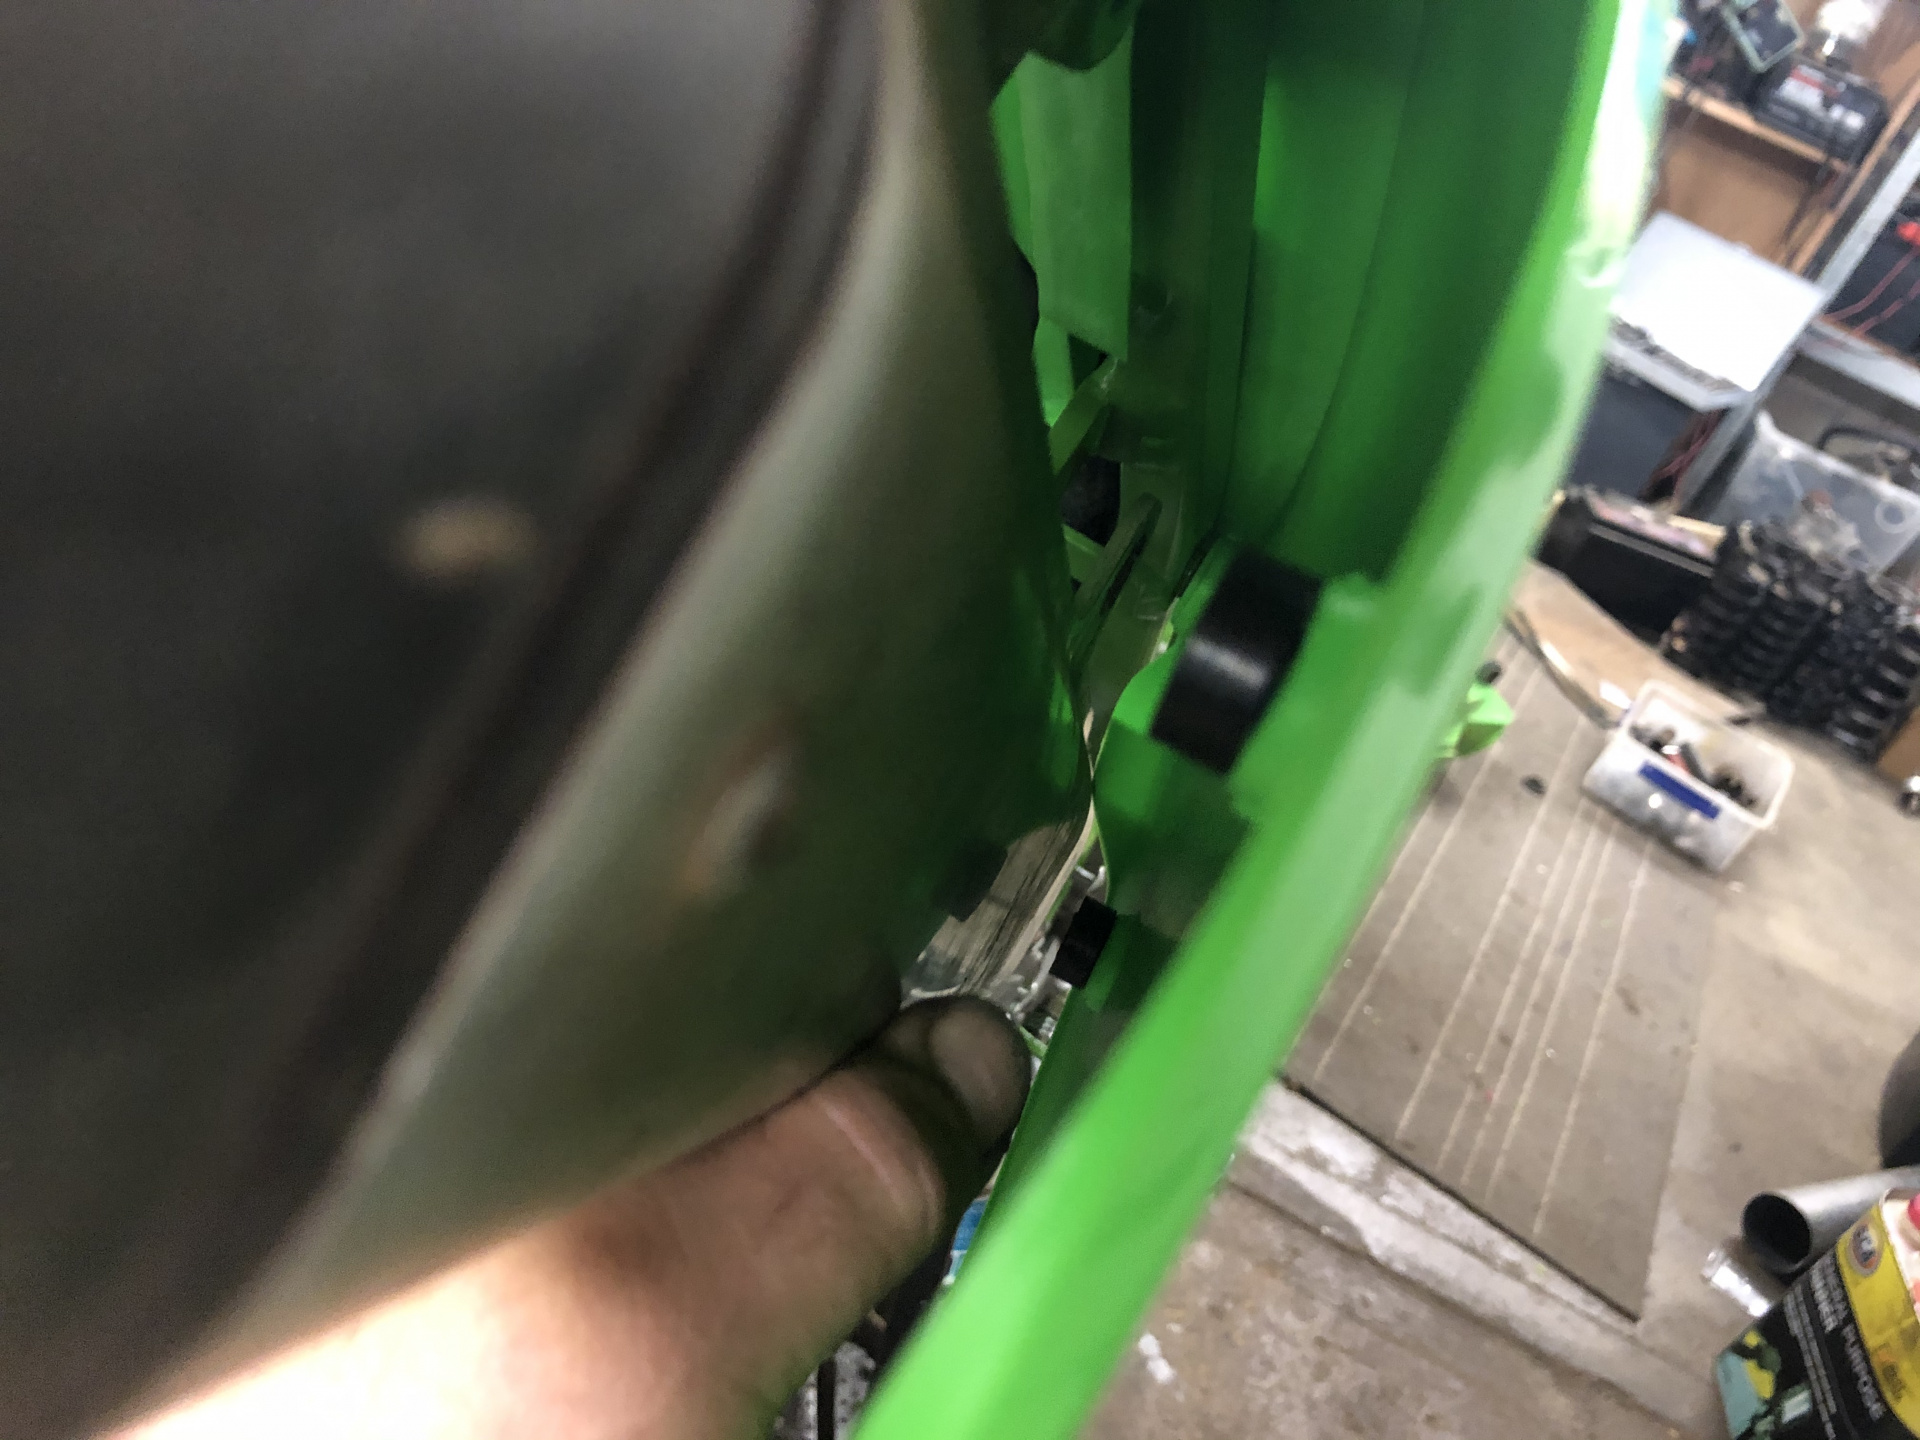
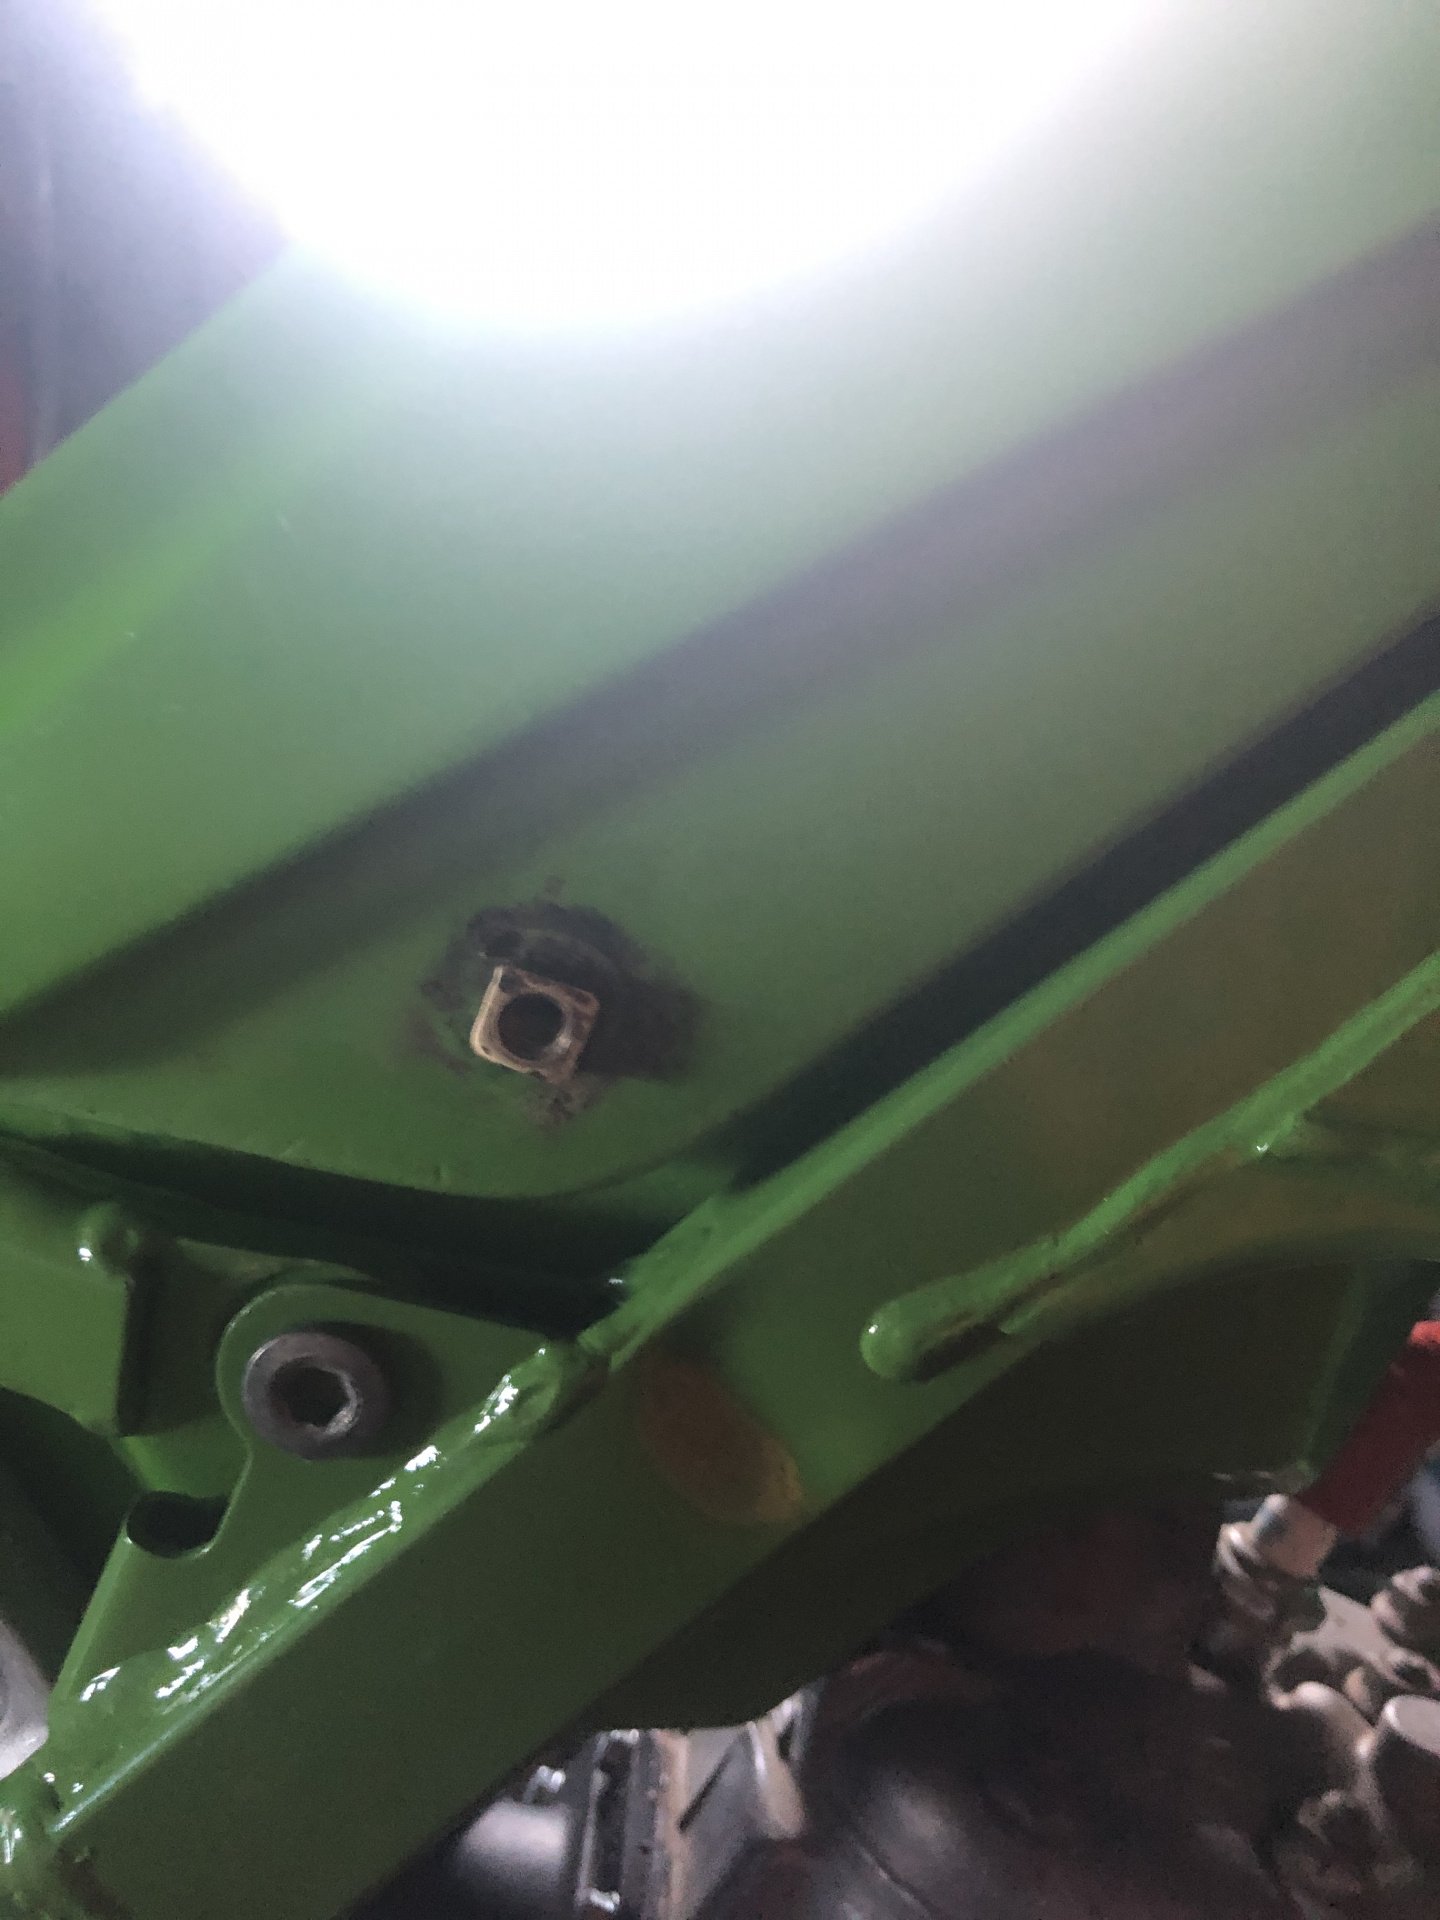
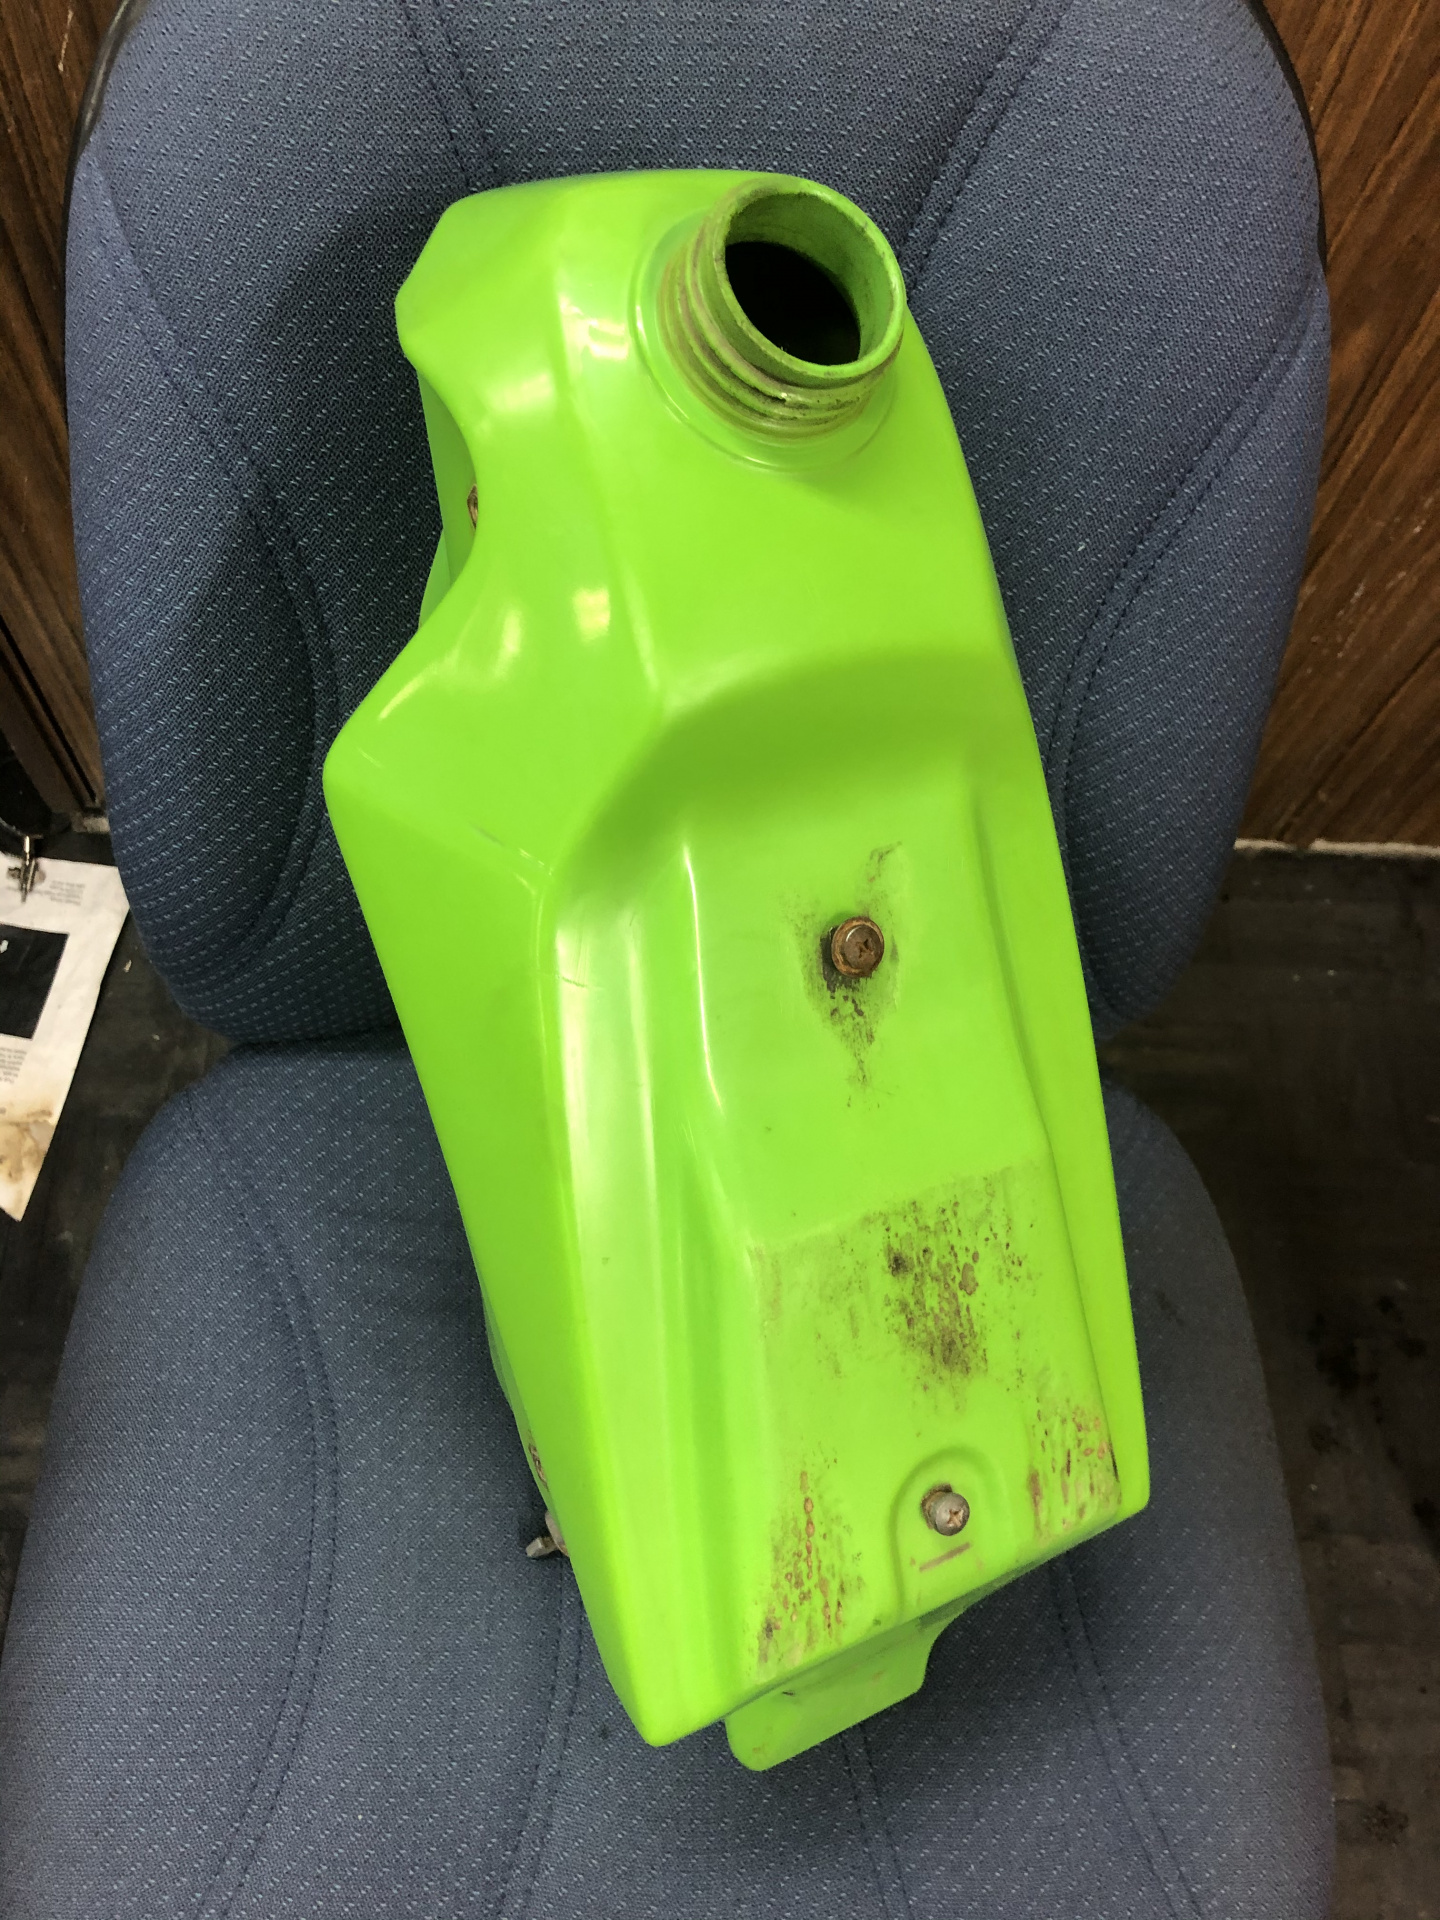
Anyway, its not pretty but mission accomplished!

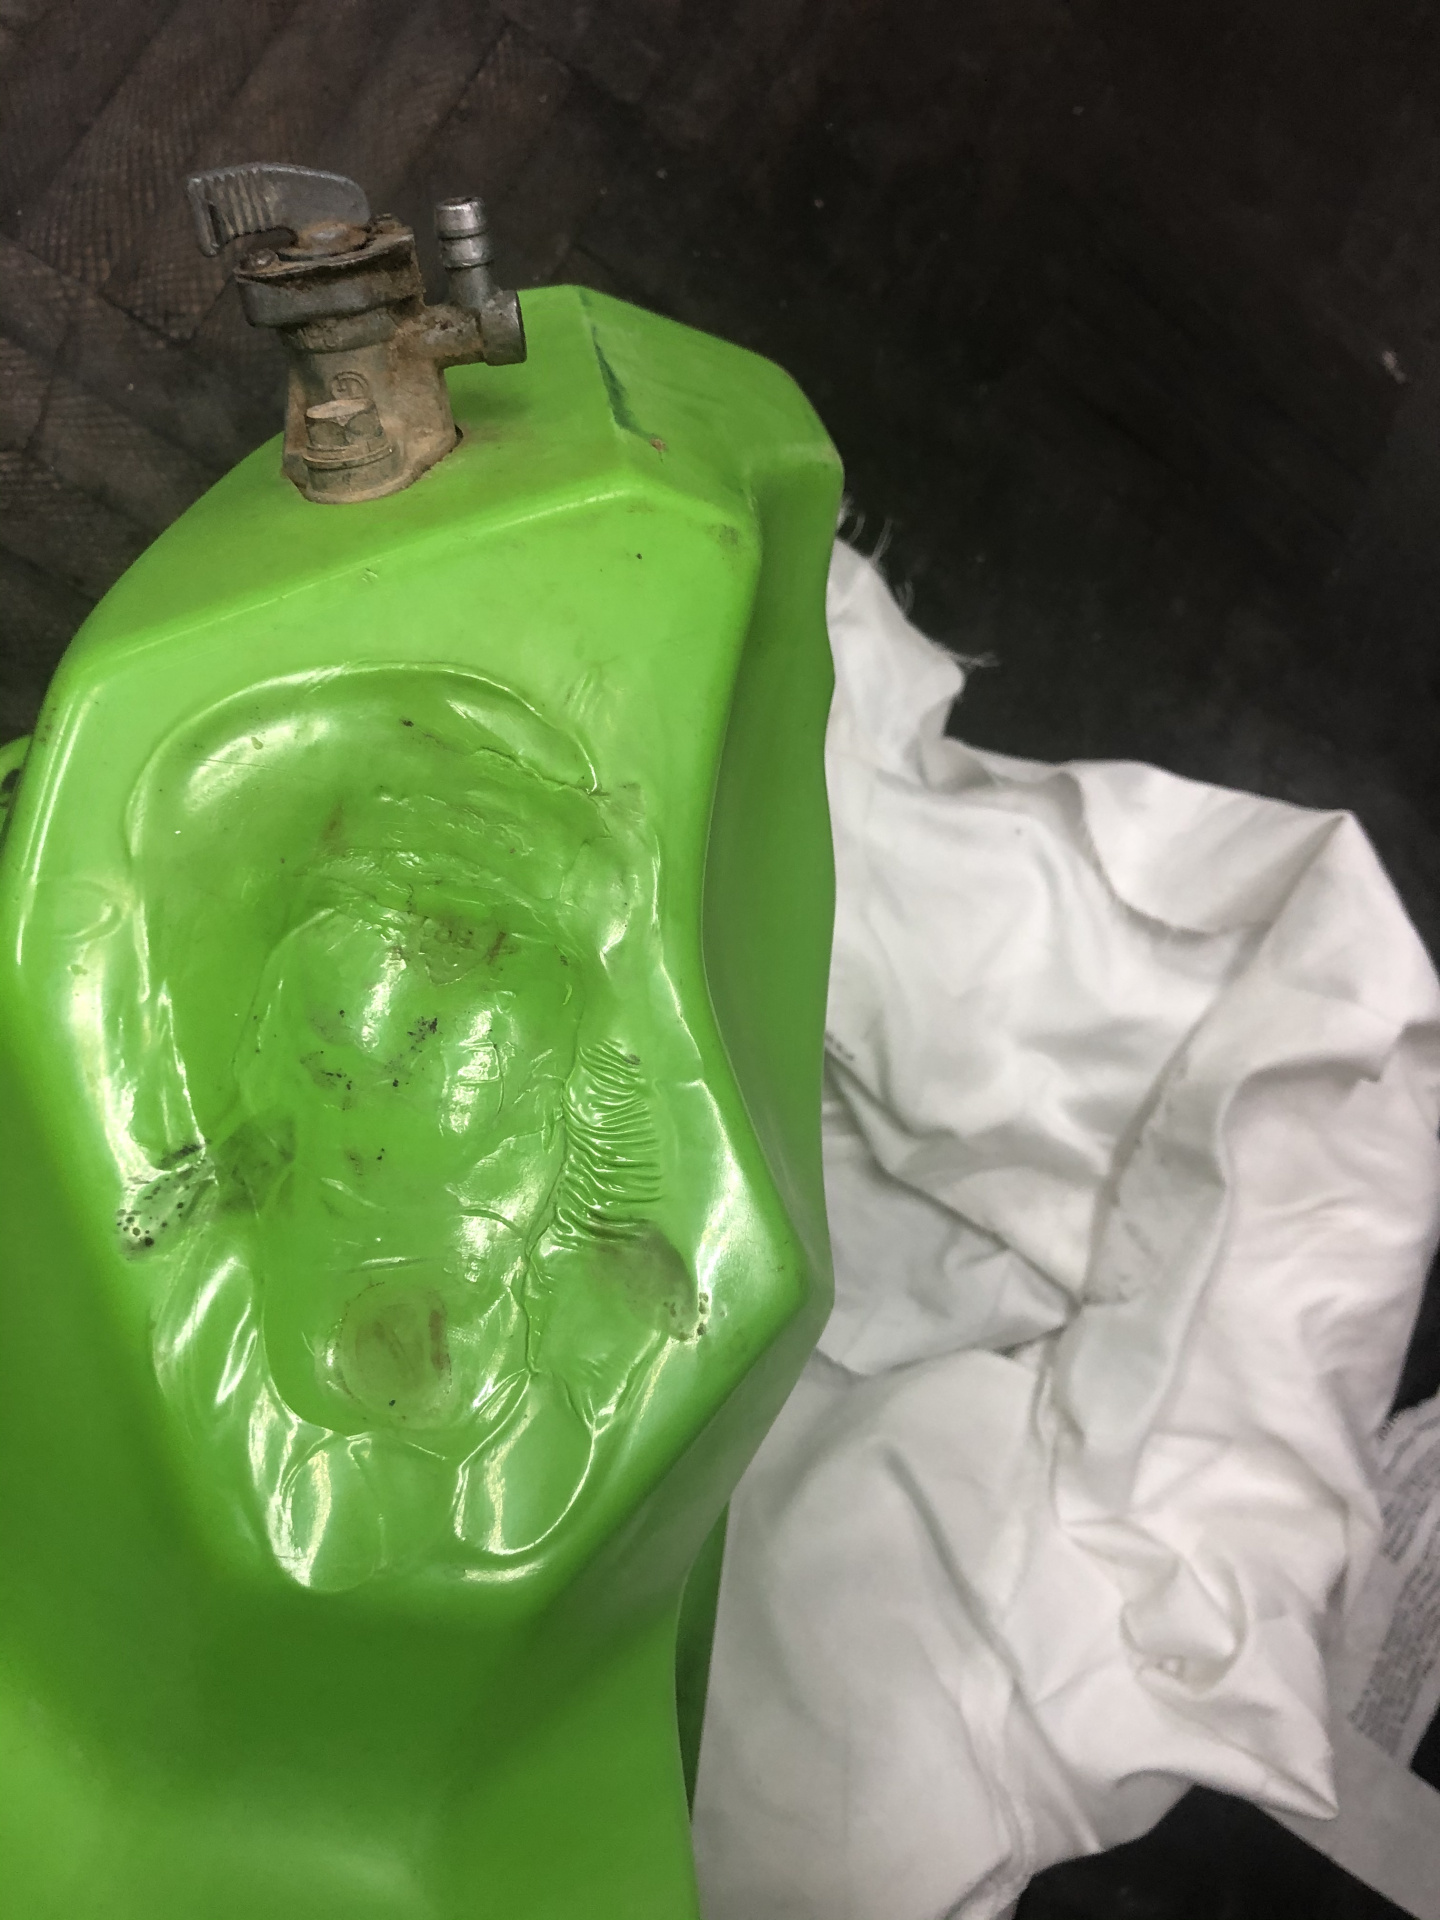
If it needs more clearance or the plastic wants to come back to its original shape over time, then I will make up a nice mandril out of bog or something.

- Edited
No cigar!


It isn’t wonderfully clear, but the tank is sitting too high/forward on the frame, because the head still touches. The gap between the tank and frame should be smaller.
In an attempt to avoid modifying the tank anymore (‘cause I am sick of the smell of hot plastic and now is not the time to be going to hospital with breathing difficulties), here is the spare cylinder head after modification:


The KDX200 motor runs a thermostat, which is uncommon in dirt bikes and very uncommon back then.
So I cut the thermostat housing down as far as I dared to make more room under the tank.

Just used a hacksaw to cut it down and got the new gasket surface pretty flat by not quite square.
Then tried the flat surface on the linisher and made a right mess of it - a big step backwards!
Next was a hand file which worked great but I couldn’t quite get right until I realised that the gasket face on the water neck was not flat.
Sorted that with a piece of wet and dry on a flat surface. A bit more filing of the head and then some wet and dry on it, and the world was a happy place again.
The blind bolt holes that hold the water neck to the head are now too shallow. I will have to drill them down into the water jacket and tap the threads deeper. Then I will need to fit fibre washers under the bolt heads to stop coolant escaping out that way.
I was far more aggressive with removing the mounting point for the frame this time.
And after all that, I suspect that the tank will still need some more modification... ?
...and I was right: still needs more work on the fuel tank.
Too busy sulking to take a photo.
Made a stupidly-over complicated mount to fit the KDX headlight to the earlier KX triple clamps.


Needed a spacer between the lower mount and the triple clamp.
Used a clutch lever pivot bolt which has the correct M6 thread, a 10mm shank and then a flanged head. Pressed a short length of aluminium tube over the shank to keep the bolt captive in the bracket. F$&k, I’m a genius!

...right up until I tried to remove it...

Then it was time to sulk again...
In other news, I refitted the cover on the 86 model’s seat. Added some foam to make the ergonomics a bit more modern (newer bikes have flatter, firmer seats than old bikes).
It looks a bit goofy, but should be a lot better to ride with. I will lift the cover and make an effort to reshape the foam to be a bit prettier at some stage in the future.

Slow progress...
Bought a front brake caliper to get the correct caliper bracket. The seller offered a vague offer of extra parts at a good price. The parts turned up yesterday - and I was very happy. There was an as-new braided front brake hose that I literally was too lazy to buy on ebay on Thursday night!
Anyhow, here’s the calipers - the difference is the location of the mounting bolts vs the slide pins (on the right of the photo).

Had to use the old caliper, as the thread was stripped in the new one. No biggy.
And then had a bastard of a time bleeding it. Eventually worked out that the lever adjuster was just touching the back of the piston and not allowing it to retract fully - it was maybe 0.5mm, but it was enough. Immediately bled up well.
Anyhow, this is where it is up to. Still haven’t fixed the broken bolt for the headlight mount. Feeling a bit more motivated after the win on the brakes, so might get onto it tomorrow.


And here’s why I haven’t been doing much on the Kawi (and another reason why think I have ADHD...).
First photo was taken 9/4/20... :)


It is a 1992 Yamaha WR250Z. I have owned it since 2014, IIRC and it has spent most of that time in pieces in my shed... Have spent lots of money on it - previous bursts of motivation have been mostly limited to spending money on bits, but I still didn’t manage to buy everything I needed.
I have managed to get most of the missing pieces, but am waiting on the head gasket (actually two O-rings).


Obviously still not finished! The rear brake master cylinder and the caliper are still in pieces.

These are a bit of a monster. Basically they are a two stroke 250 motocross bike with a wide ratio gearbox and a side stand, so they are not a happy friendly thing!
As such, I am not sure how well I am going to enjoy riding it once it is finished. But gee they are a pretty bike!
Can't put a man down for their love of a good Yamaha ?
Did some work on the 1990 model today.
Nothing big, just replaced the snapped bolt and made the top bracket for the headlight.


Still waiting for the replica seat cover and the radiators to turn up.
Please sir, I wish to purchase some of your finest Chinesium.

Fundamentally, they fit. The top cross over fittings need to be moved from the back of the tanks to the top.
I've got a couple of new alloy ones I was going to use for my water cooled intercooler, they may have been for a Honda I don't recall. I'll take pix when I dig em out.
Seat... Have been a bit delayed by a lack of appropriate tools to modify the foam but the band saw got a new blade recently.
The extra foam is to give the bike more modern ergos, and make the transition from sitting to standing easier.


Need to pull my finger out with the exhaust now.
Radiators modified so the cross-over pipe clears KX frame.


Still have to move the lower mounting bracket on the frame, so it meets the mount on the bottom of the RHS radiator.