Oh, look, it is another Spac thread that nobody cares about!

:)

As usual, the purpose of this thread is 50% getting stuff straight in my head, 45% recording things for myself, and 5% the expectation that someone else will ever care enough to read it...

————-

Background Part 1.

There’s an enduro event known as the International Six Day Enduro, which has been running since forever. The basic deal is that the best riders in the world slog it out for six consecutive days, with minimal time to work on their bikes, and with restrictions on what they are allowed to change.

Since 1978, there’s been the Aussie four day version which is partly to prepare the top Aussie riders for the ISDE, and is the Australian championship all by itself. I have competed in two Four Days - 2012 on a modern bike, and 2014 on a 1989 model KDX. Finished both WAAAAYYY down the back of the field.

In recent years, both have expanded to include a short class for old bikes. Sadly, the old bike class at the Four Day has become a political football, so a new, vintage-only Australian Three Day Vintage Enduro was first run in 2019. This event was designed specifically for old riders and old bikes - a challenge without being killer. I missed it last year because my busted knee hadn’t healed properly.

—————-

Background Part 2.

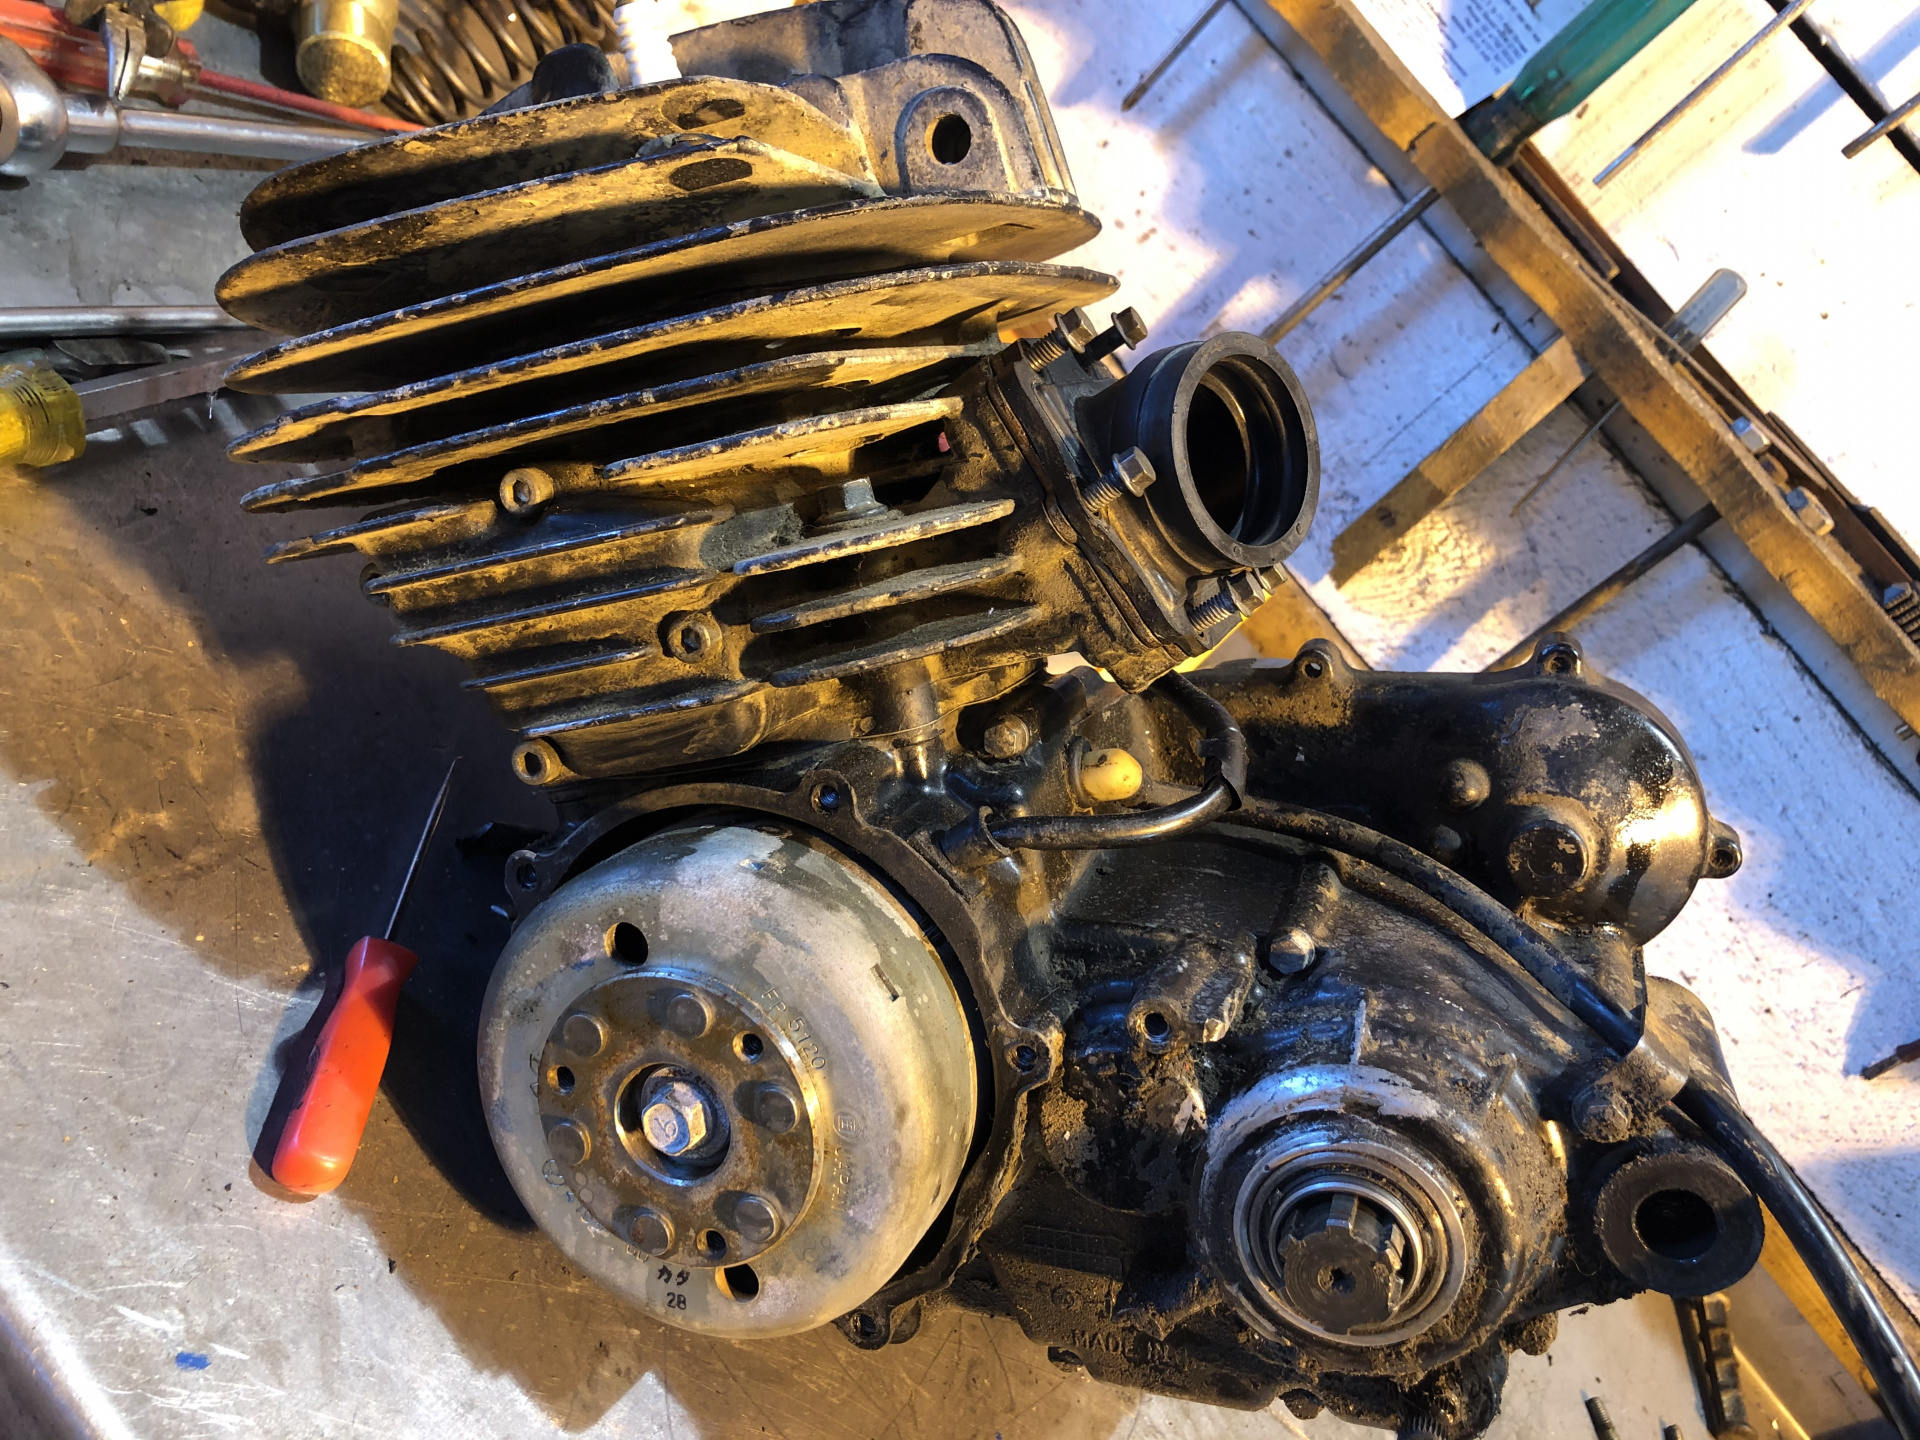
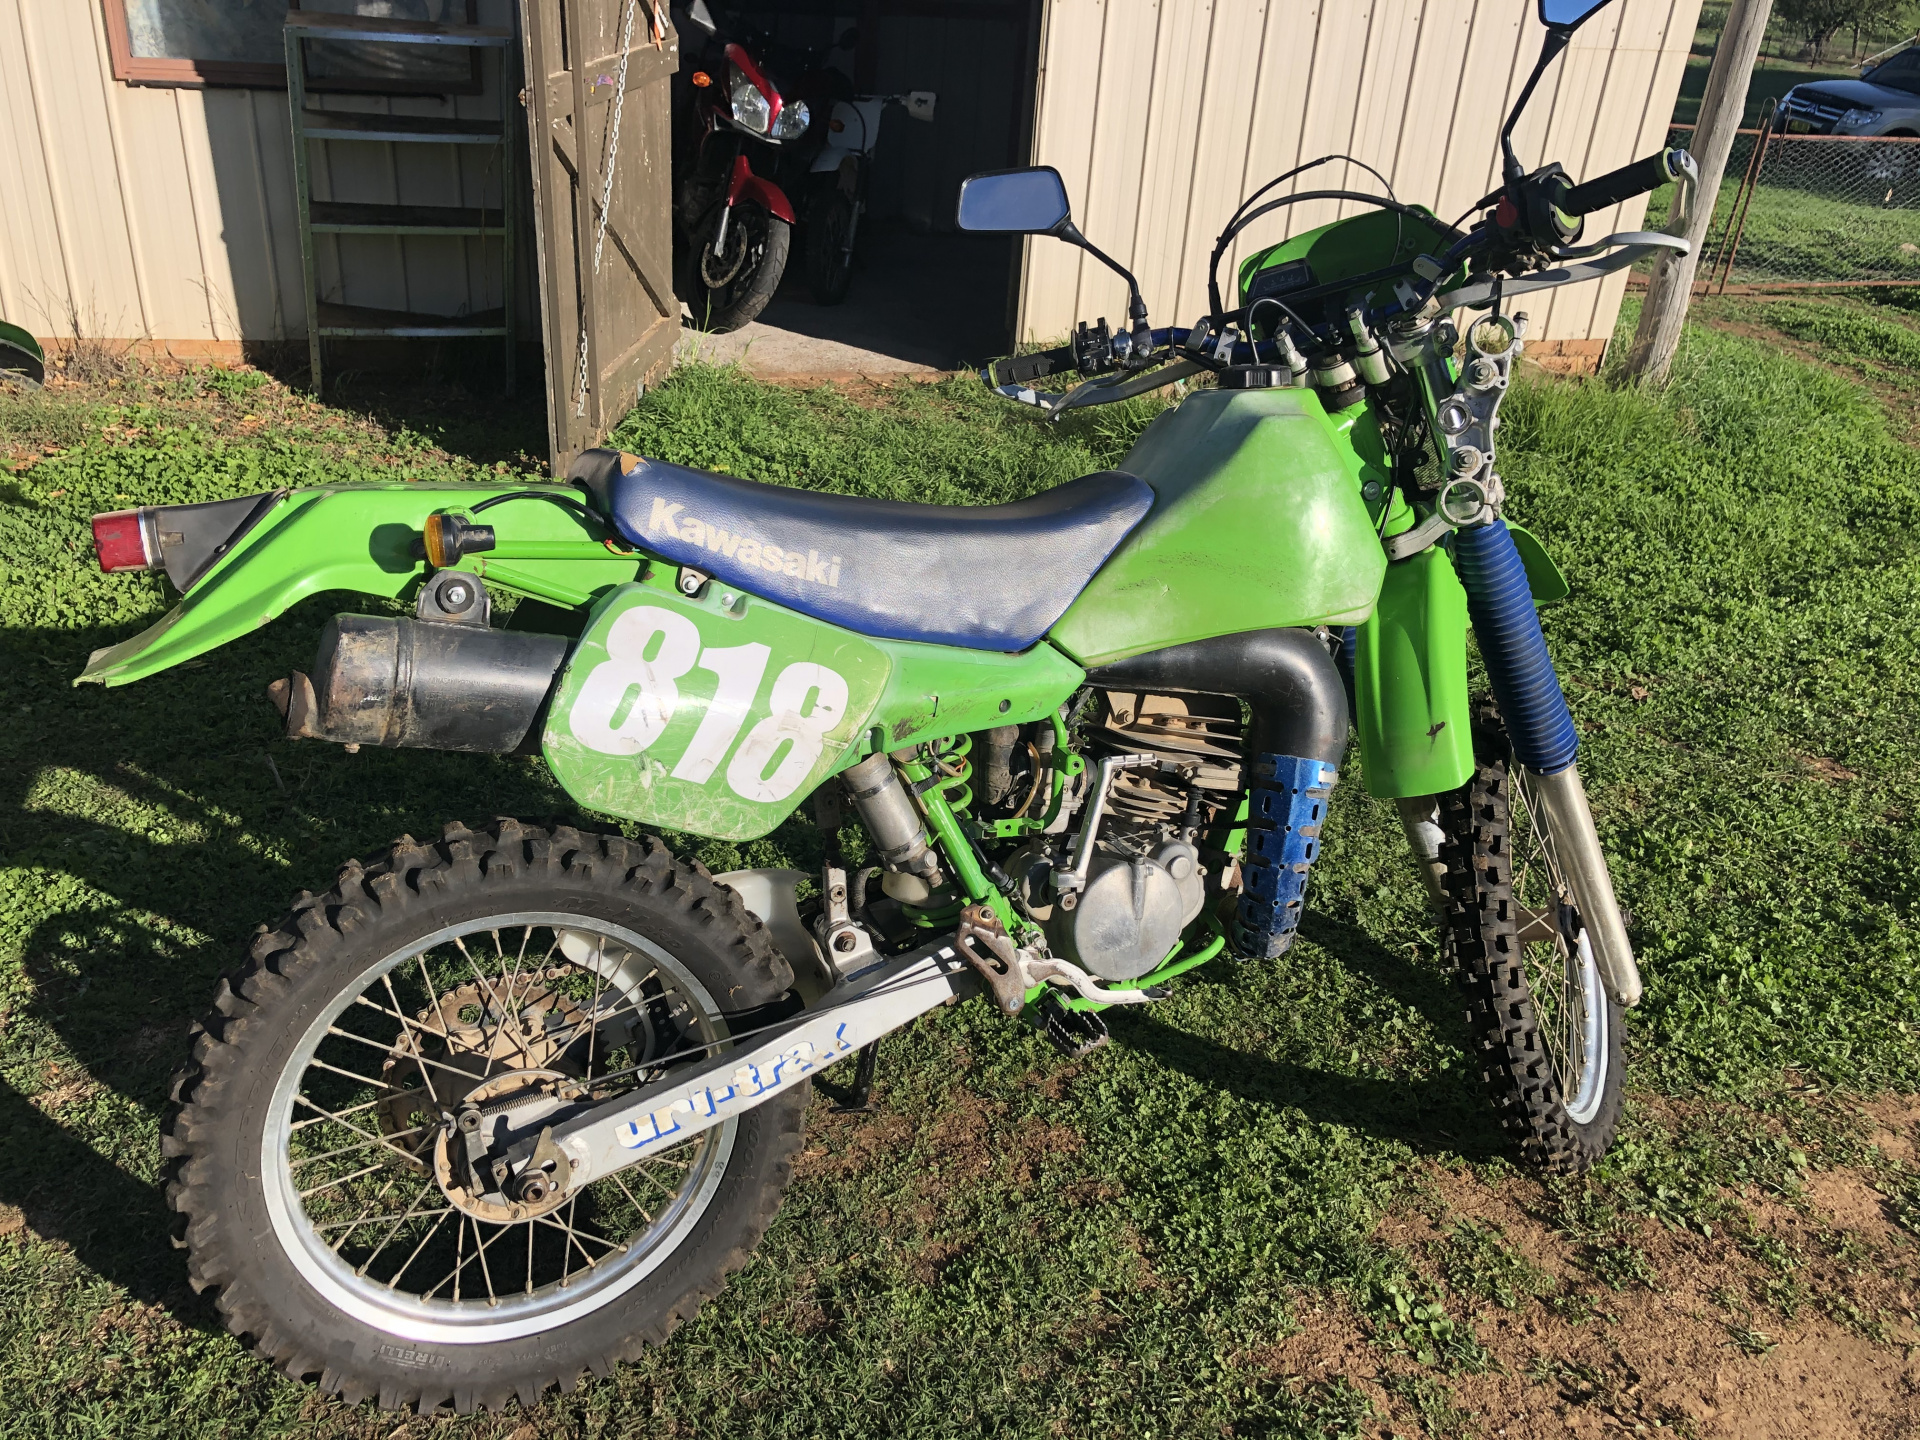
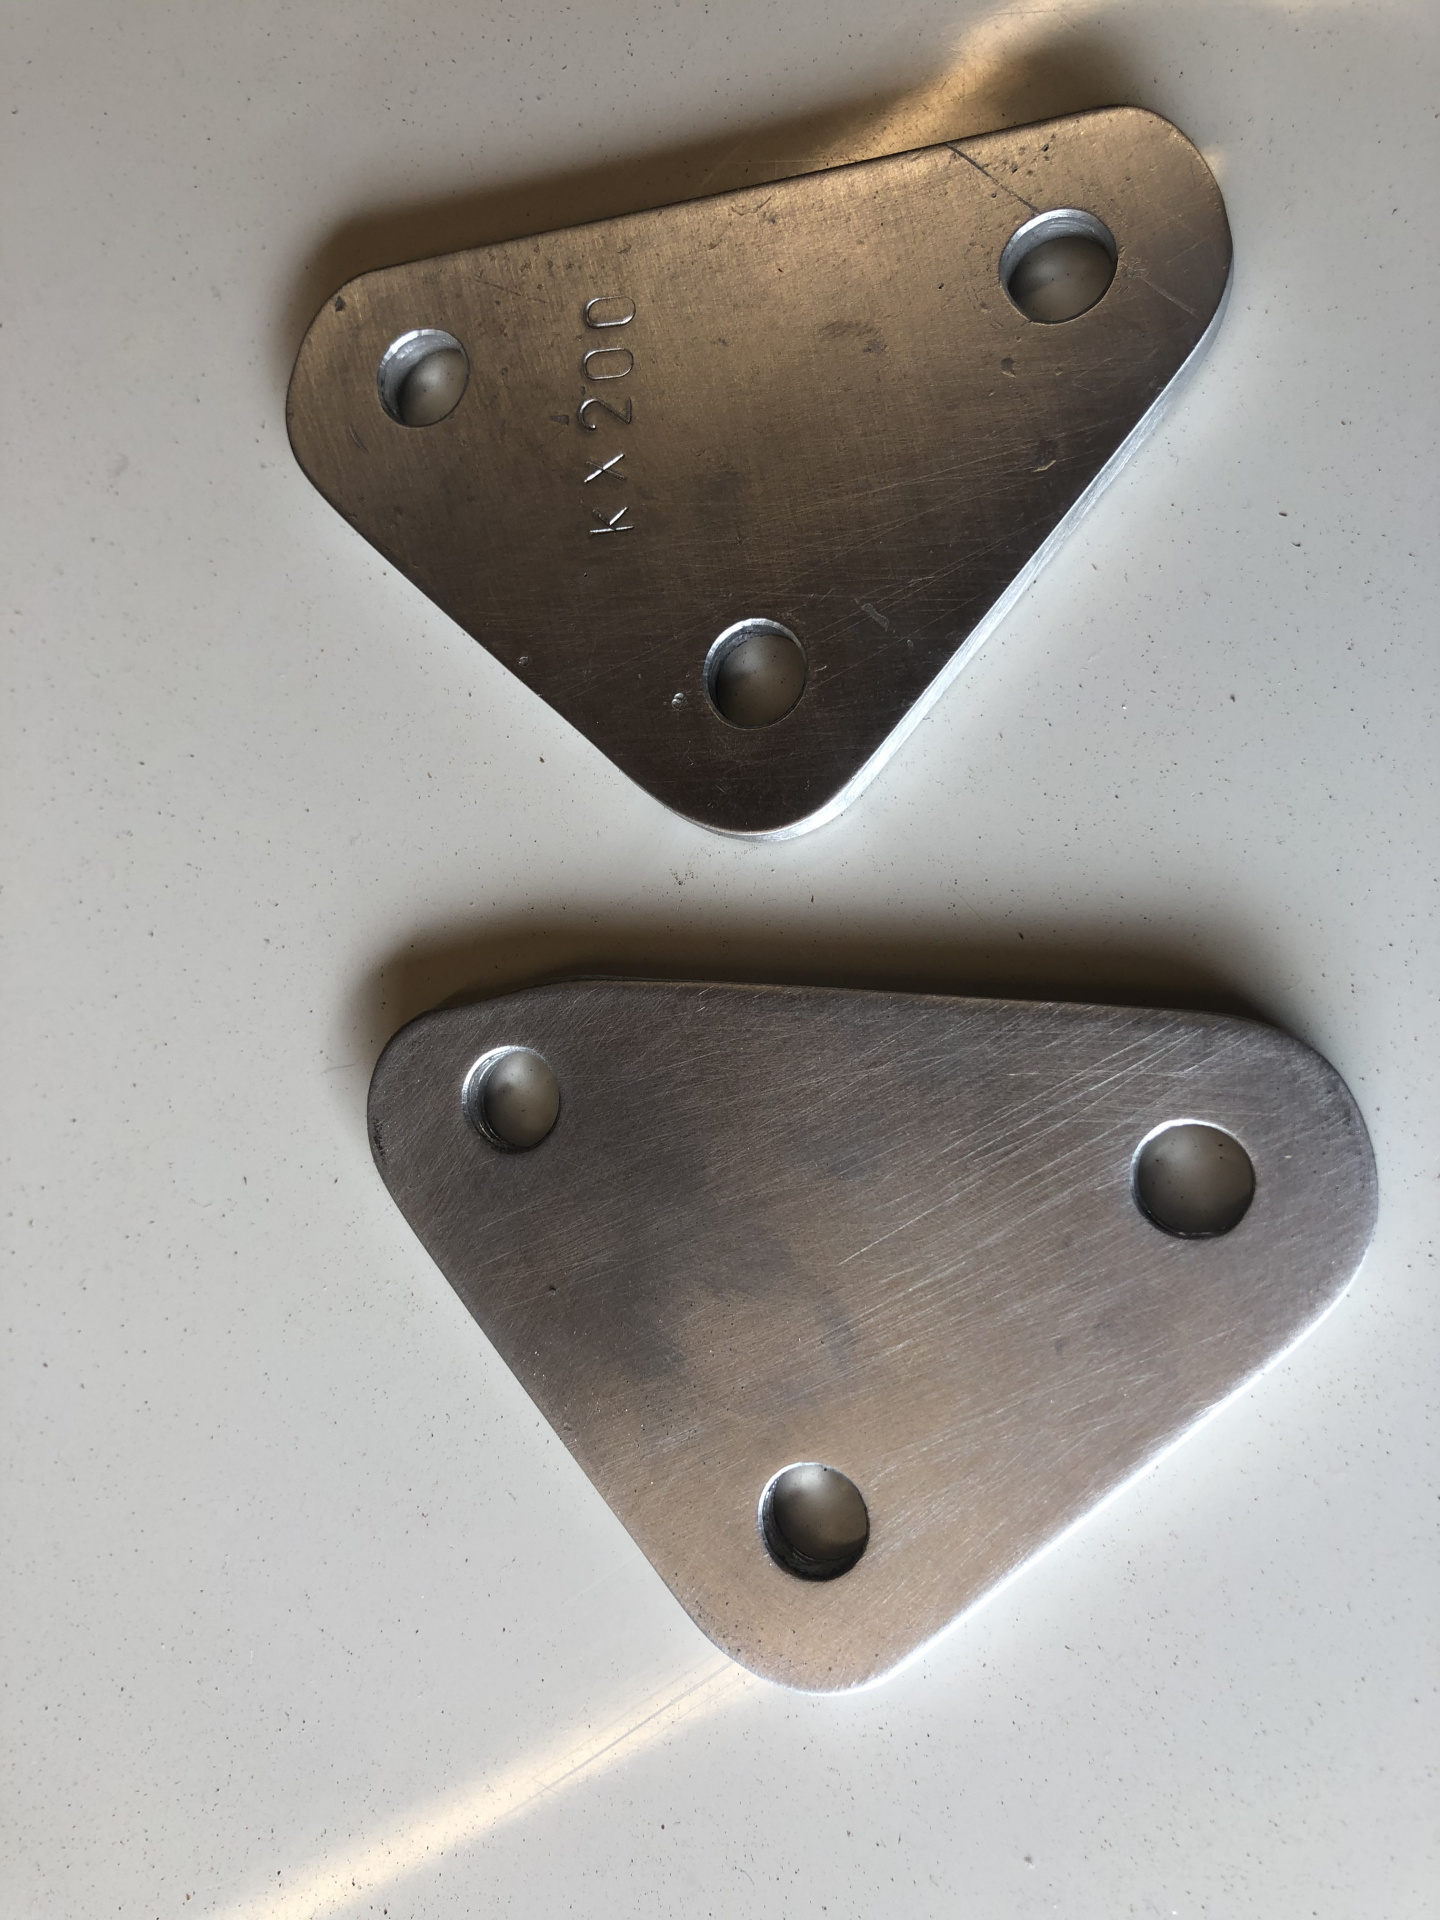
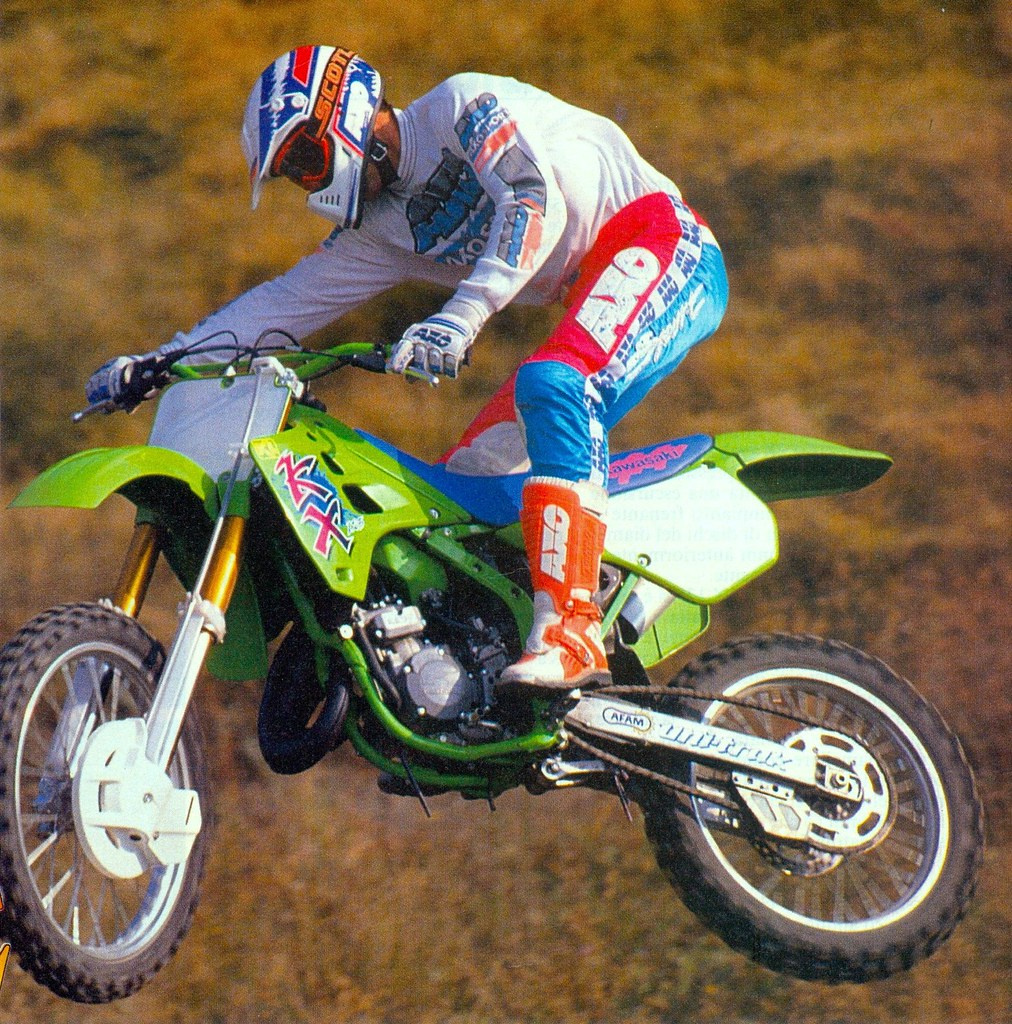
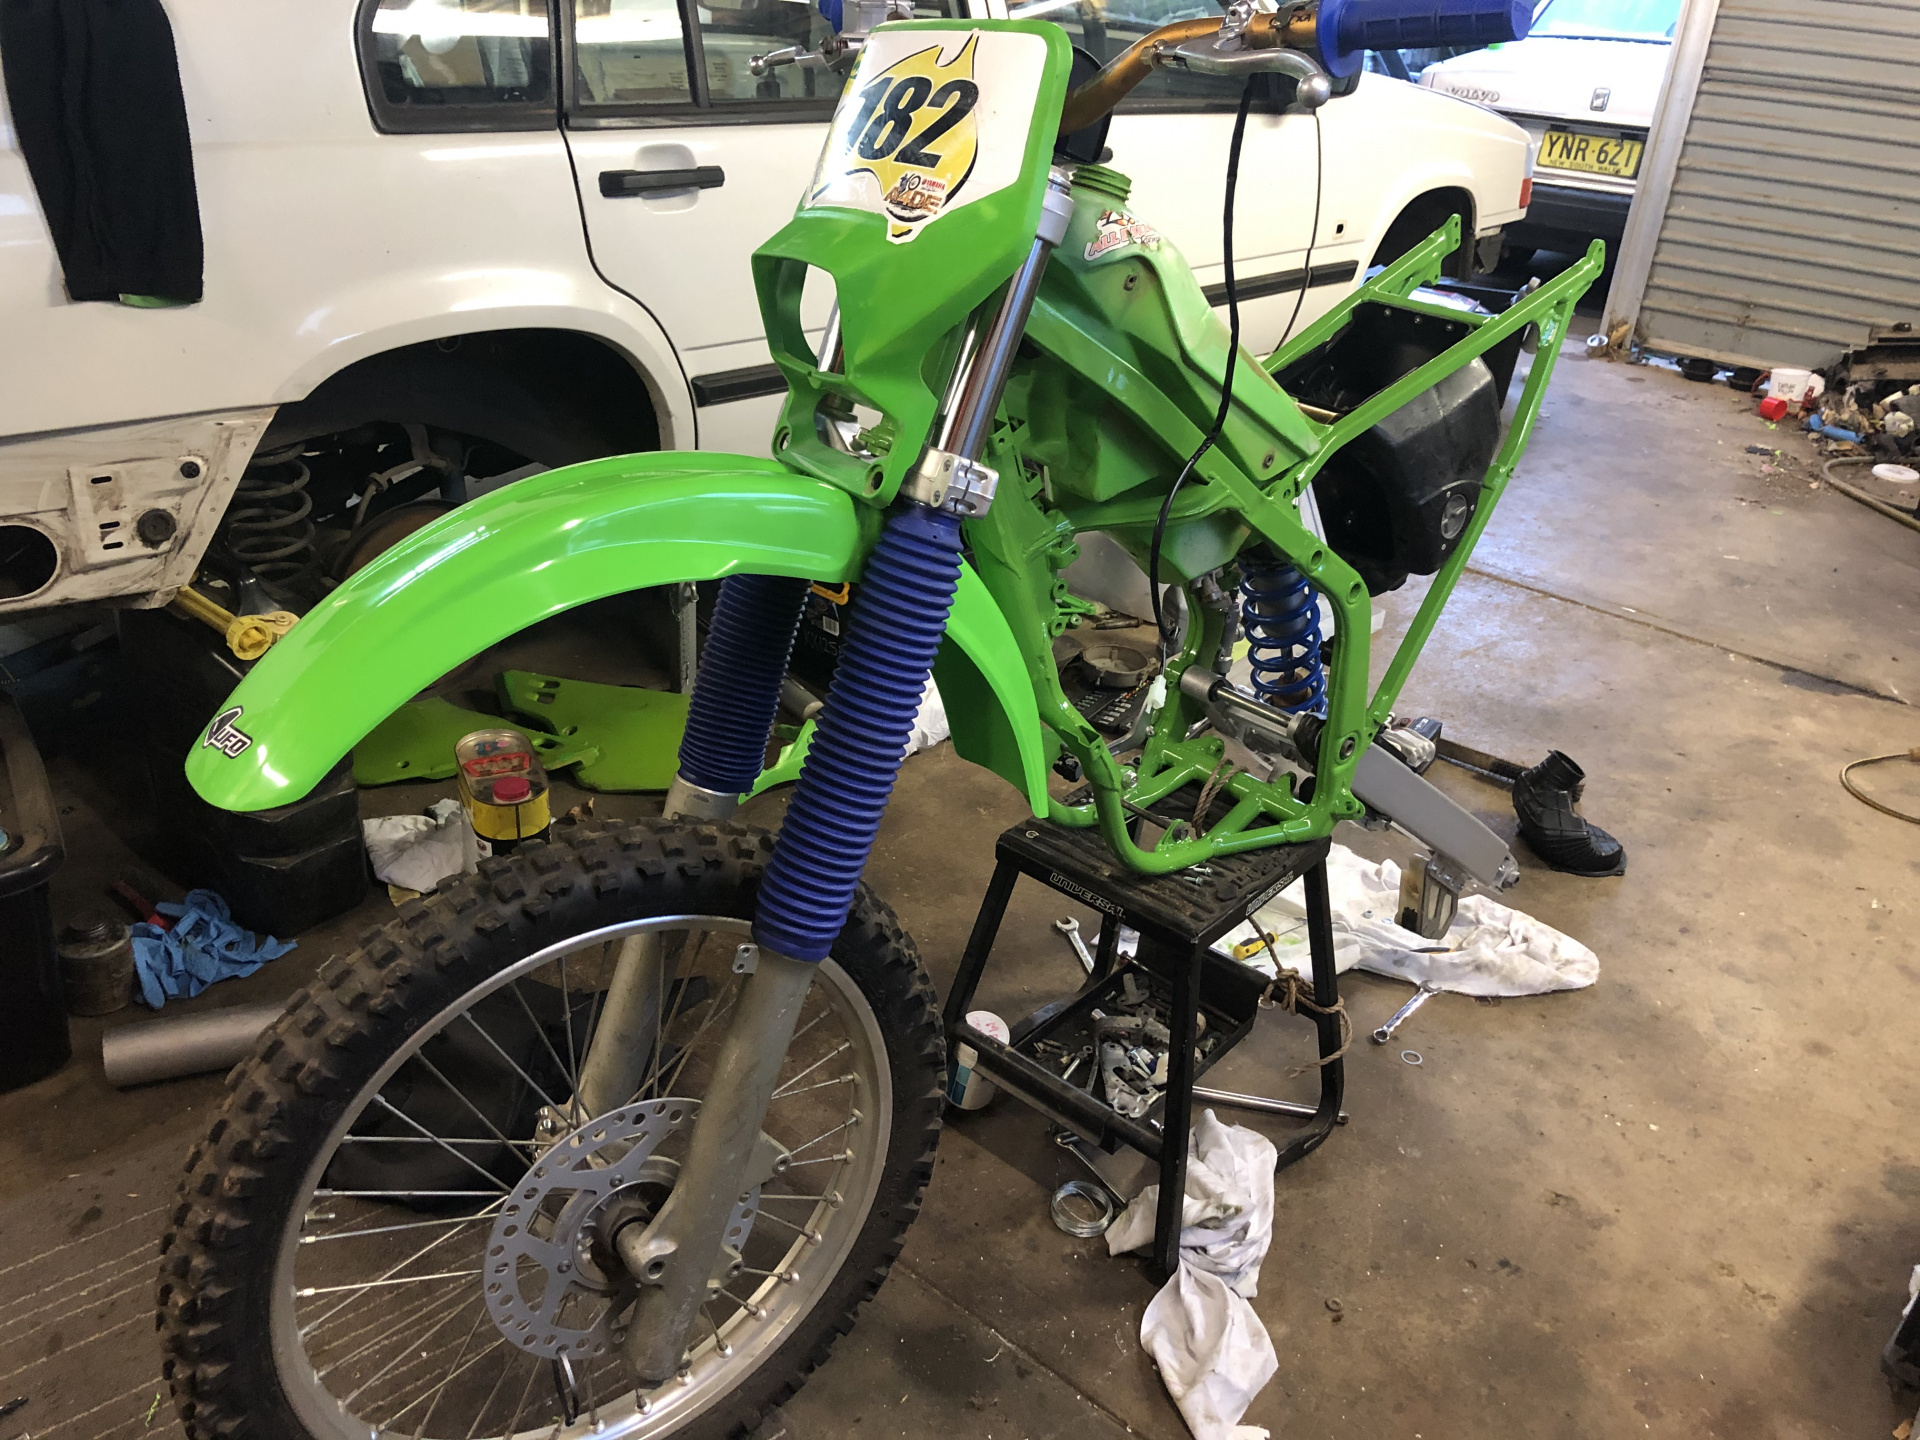
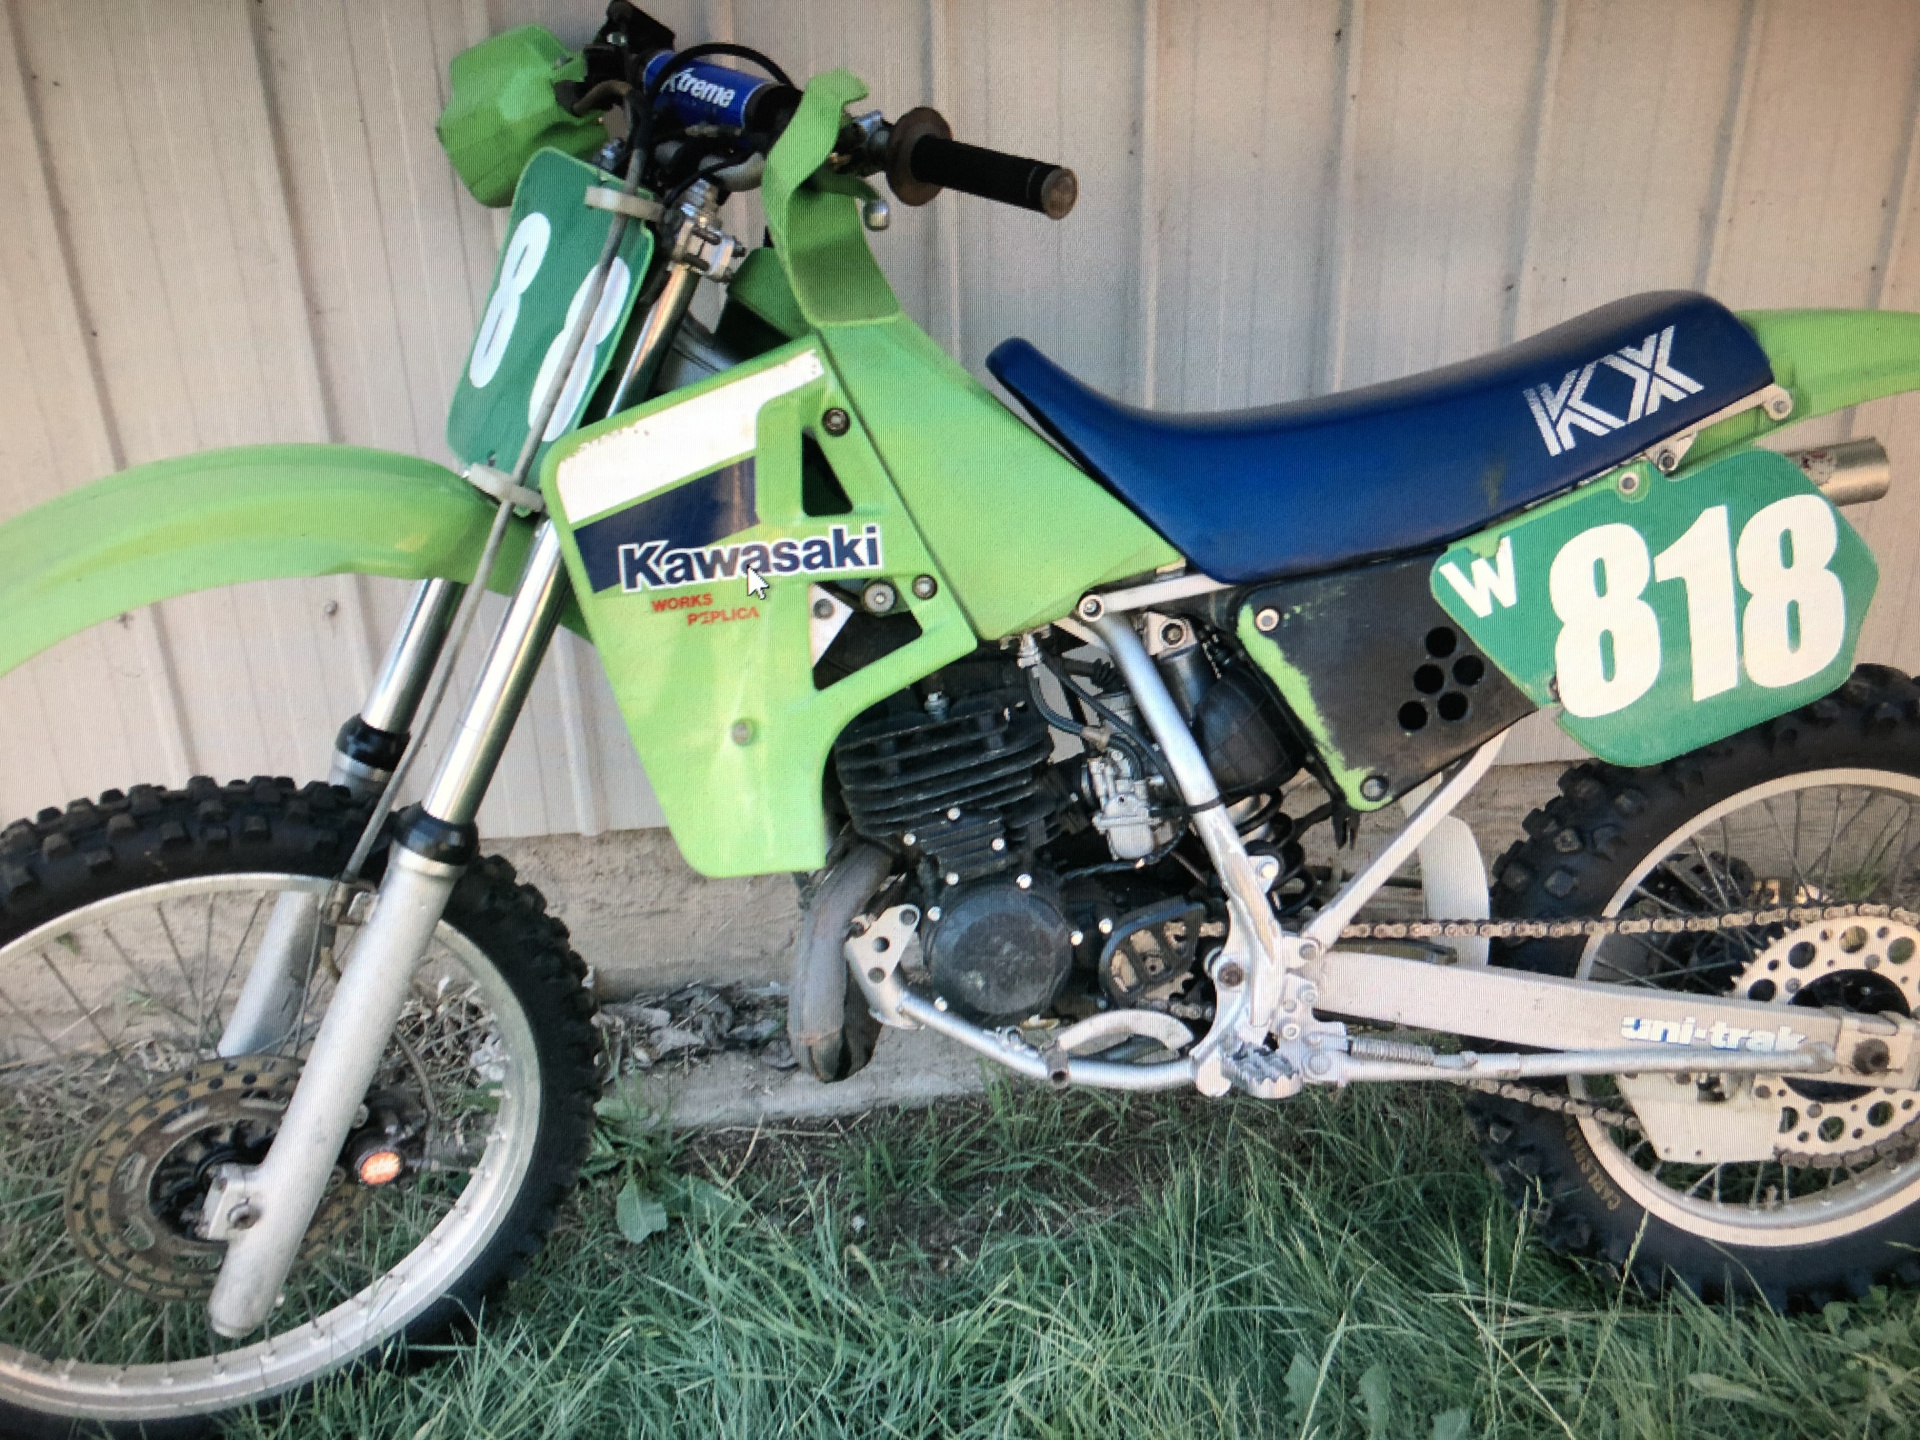
I build this bike in 2011. It is basically a 1986 KX125 motocross bike fitted with a 1986 KDX200 enduro motor.

Compared to the stock KX, it has a wide ratio gearbox and much broader power delivery. Compared to the stock KDX, it weighs heaps less, handles better, has better suspension and better brakes.

I sold it in late 2012, partly to help pay for the new bike I bought, and partly because it wasn’t legal for any of the old bike events at the time.

But it is legal for the Three Day.

My mate Tony happened to bump into the owner at a swap meet in early 2019, and gave me his phone number. We bounced messages back and forward about the bike for a few months but then he went cold.

With this year’s Three Day rapidly approaching, I tried again - and had success! A deal was done, and I had it couriered up from Melbourne.

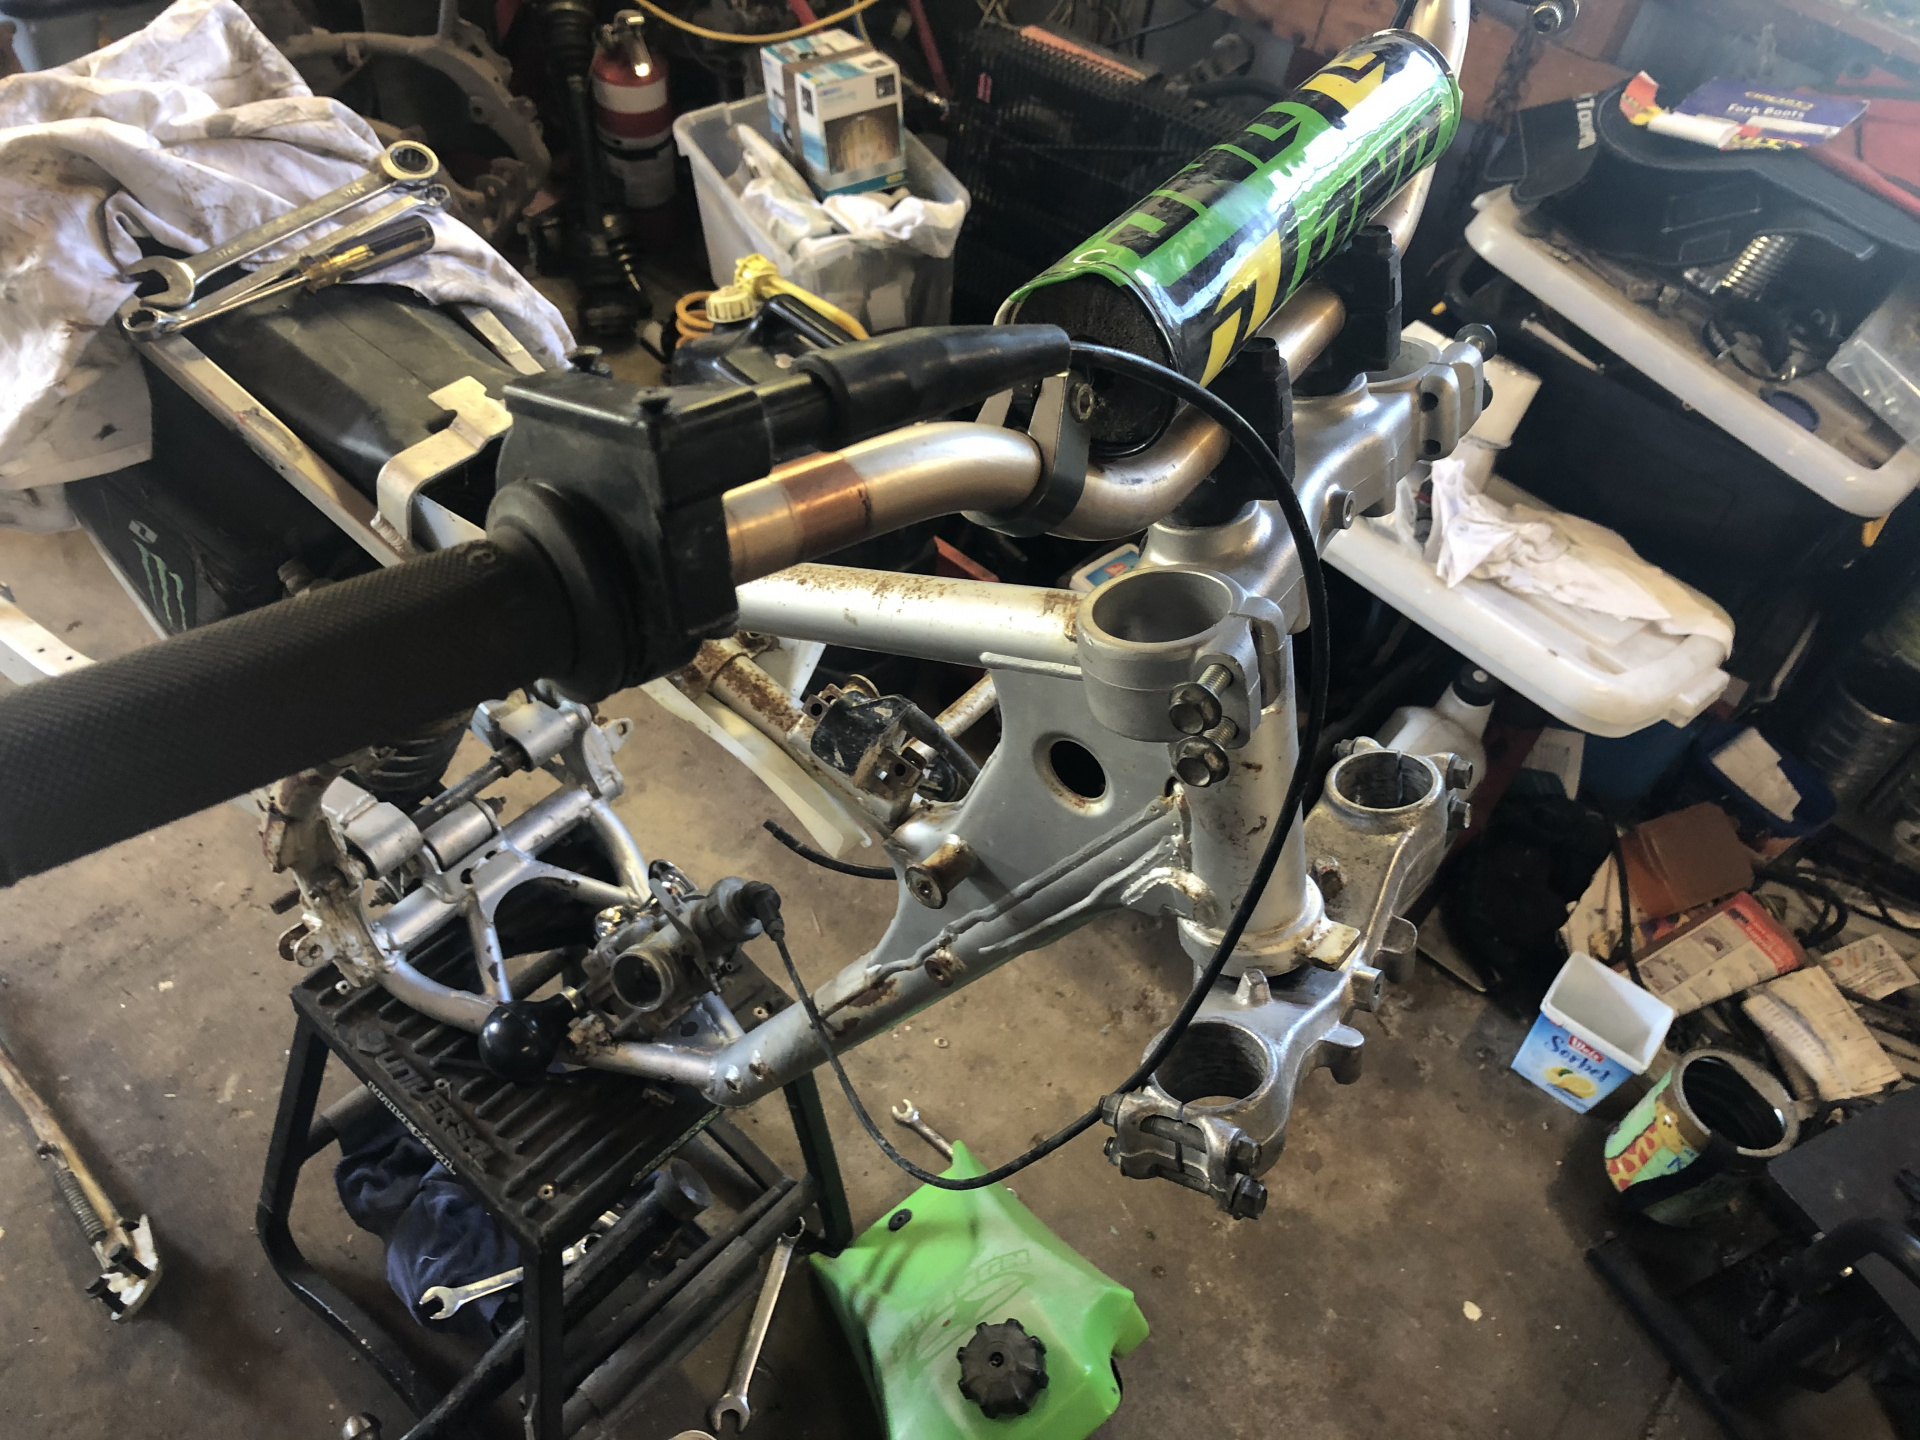
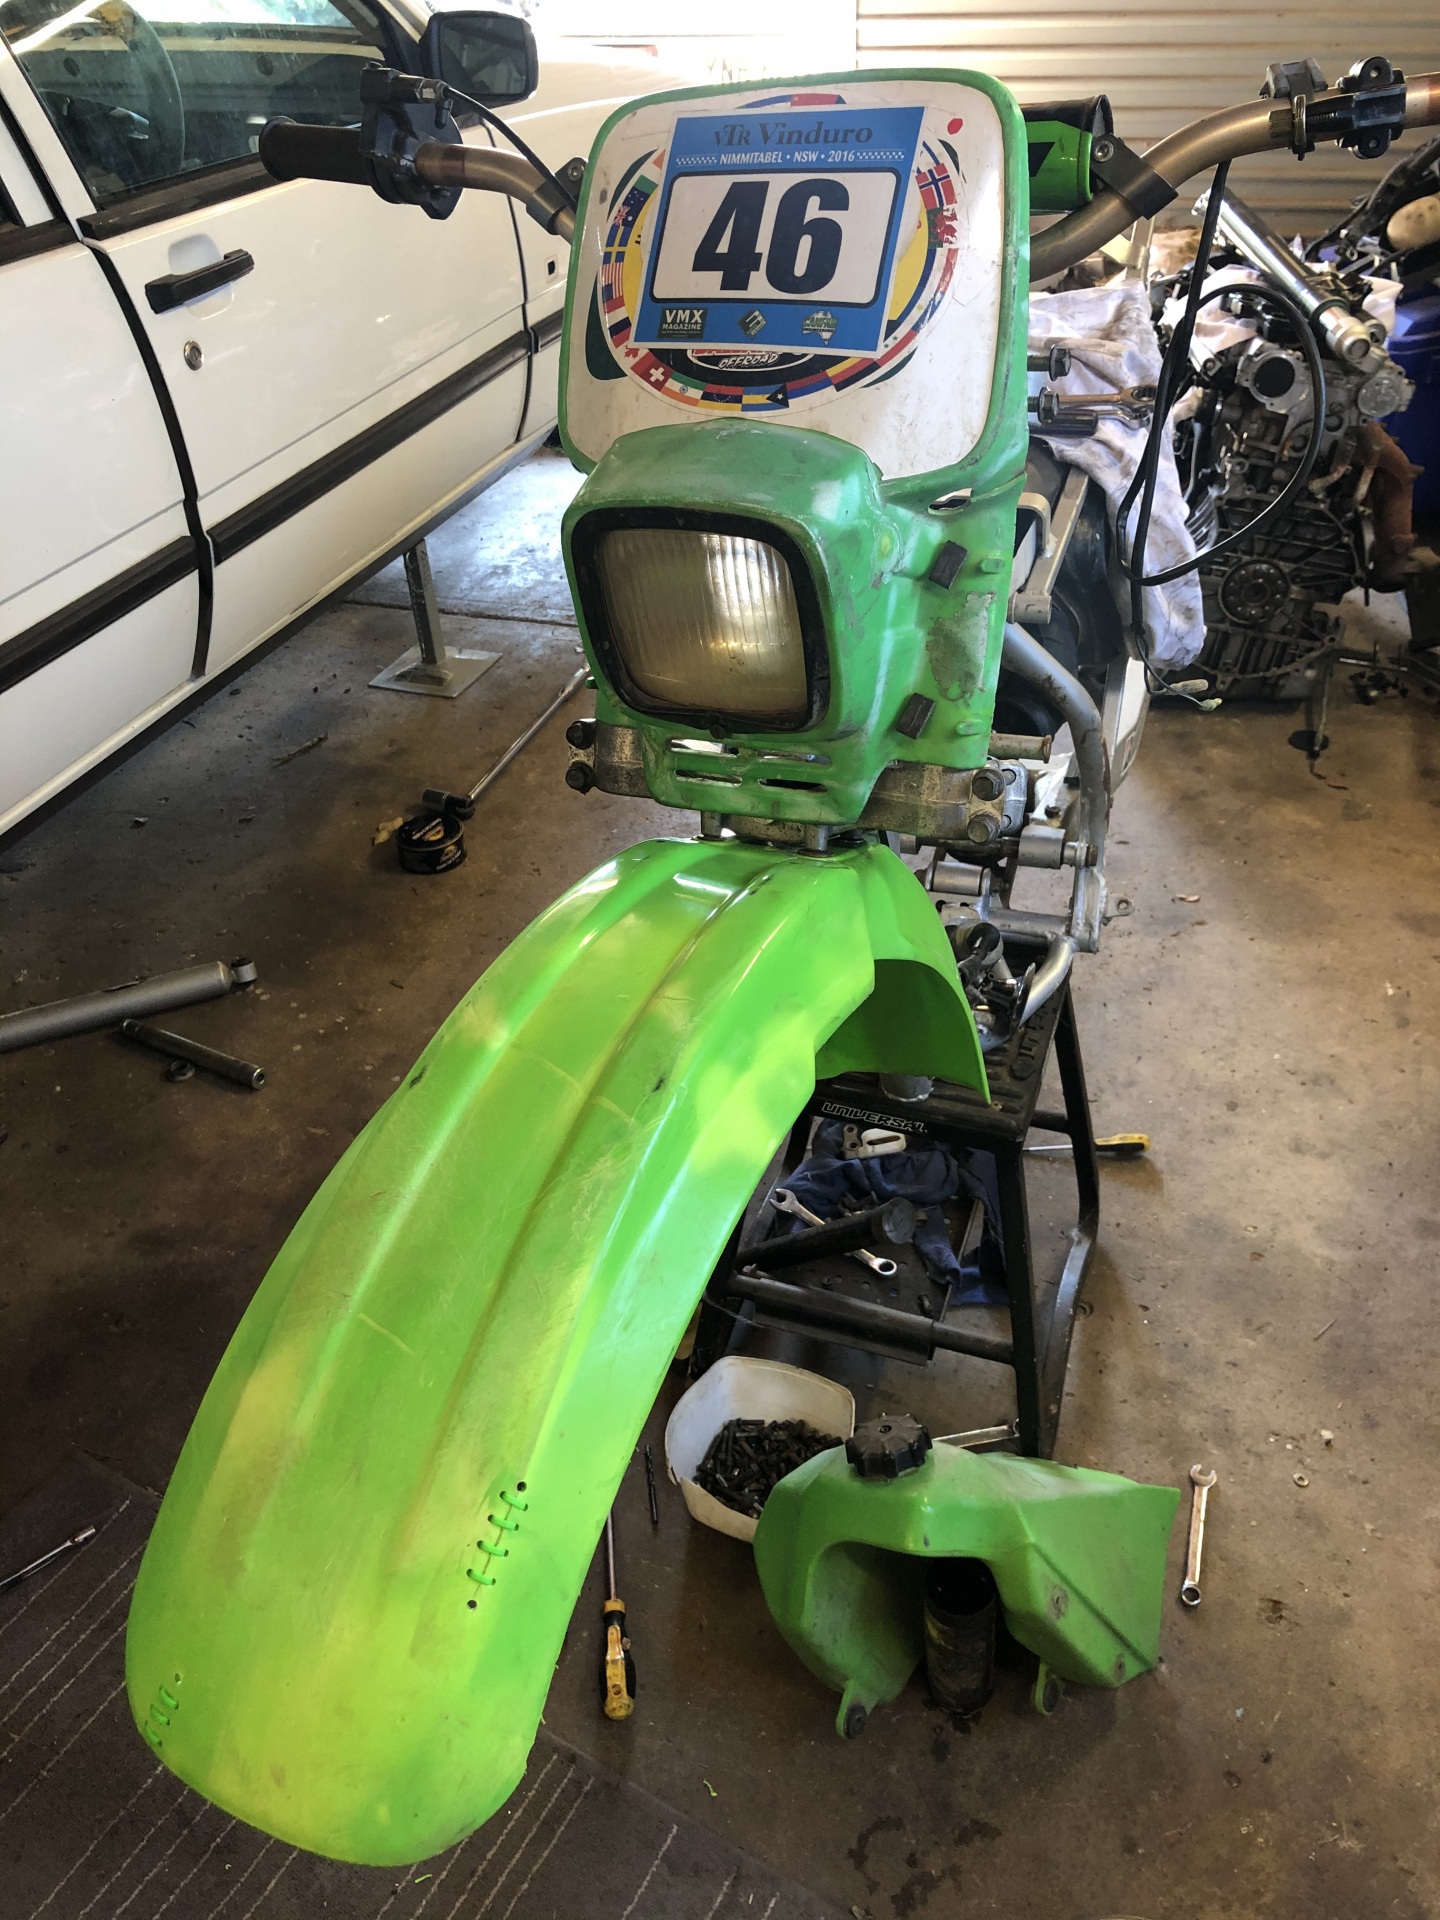
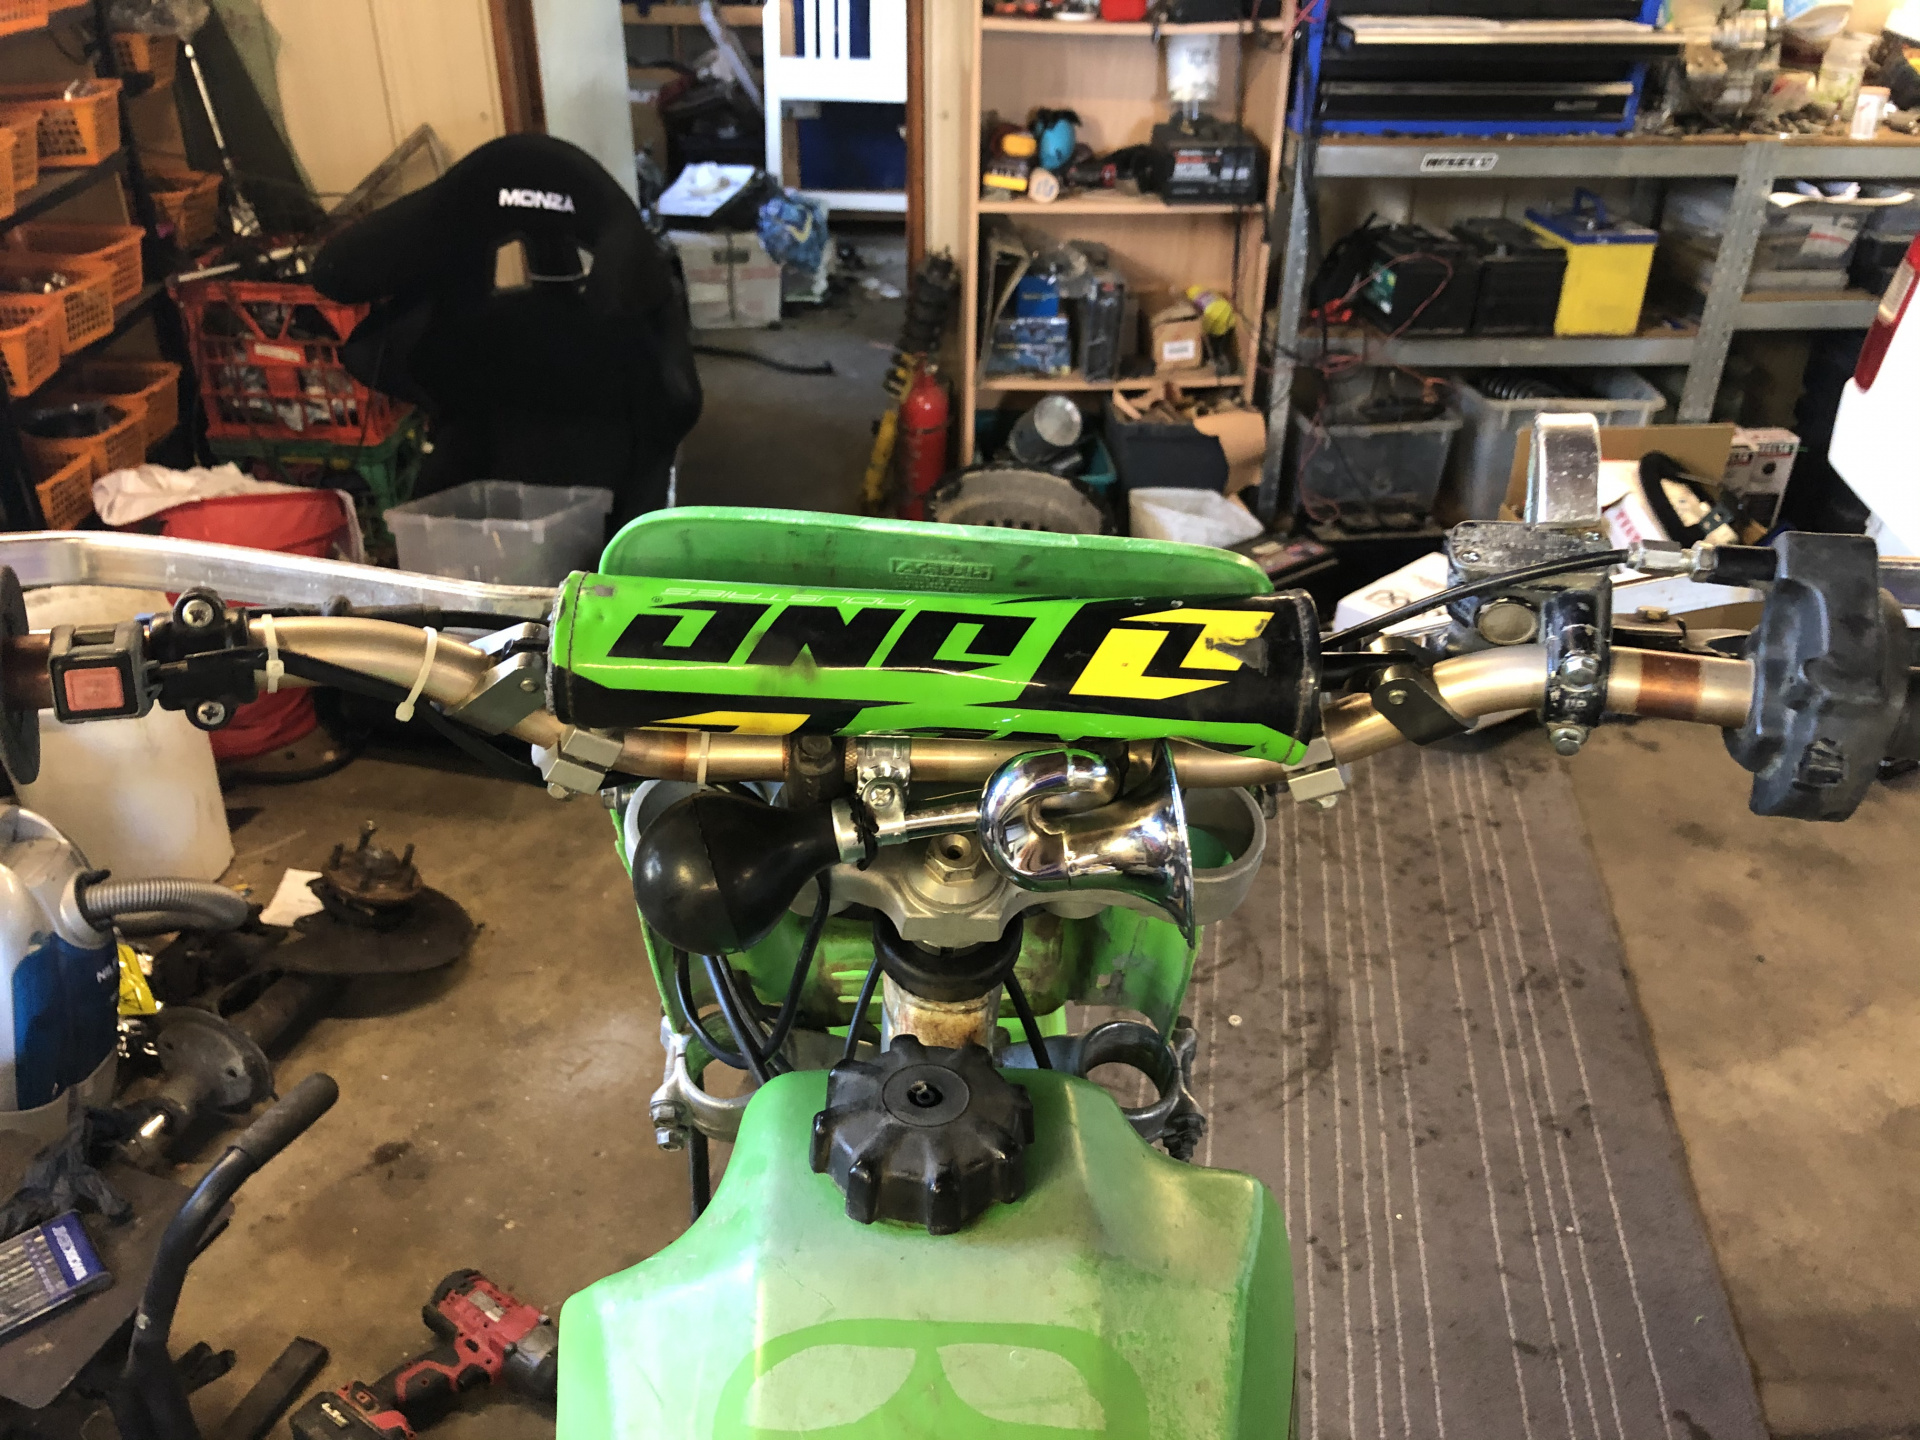
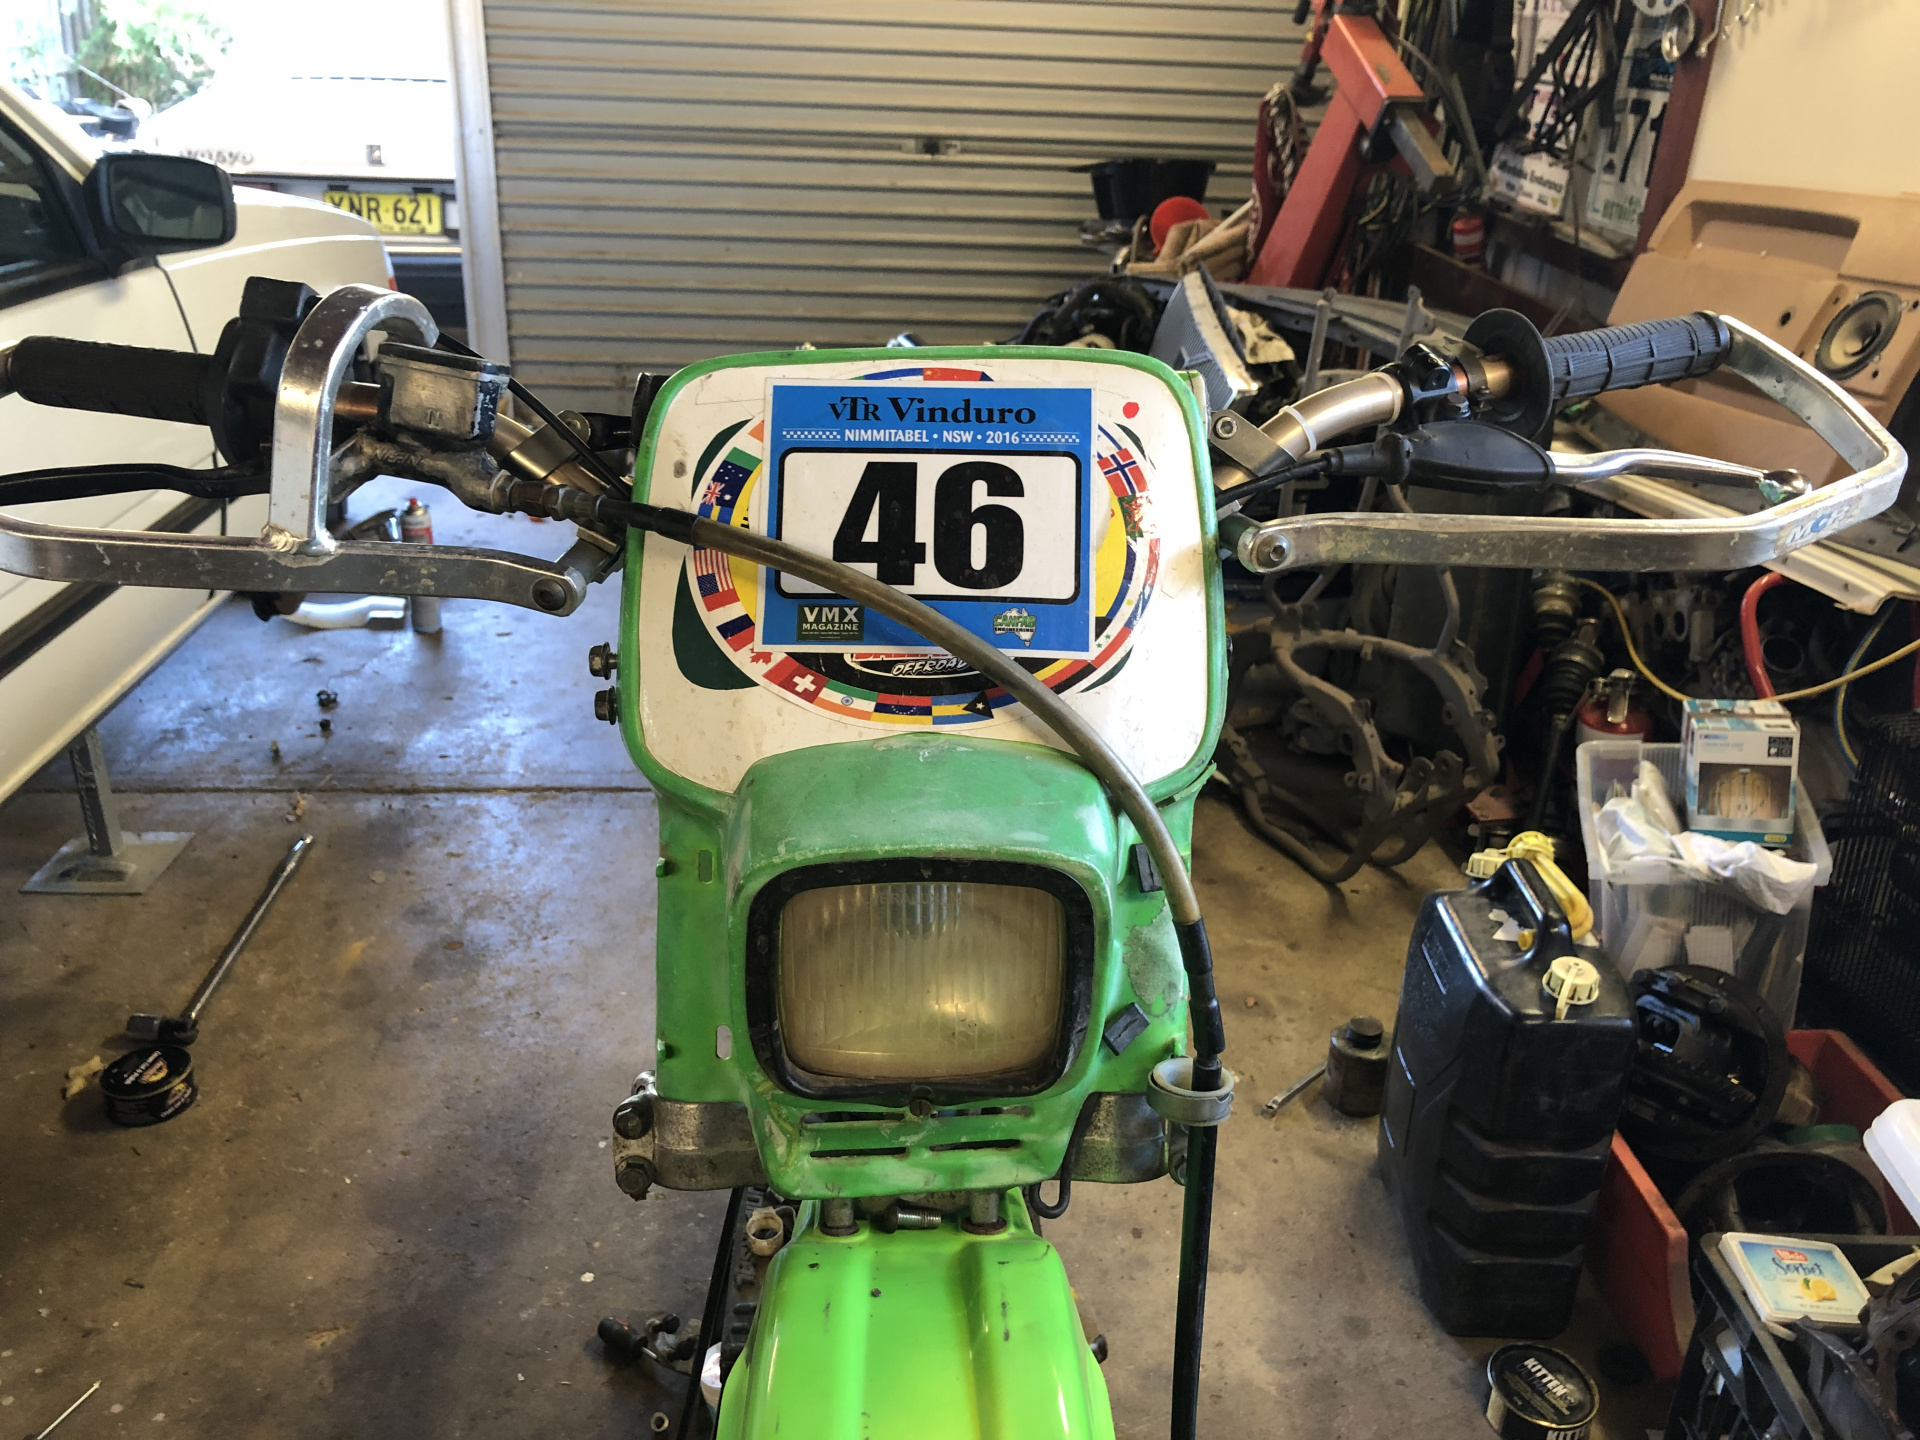
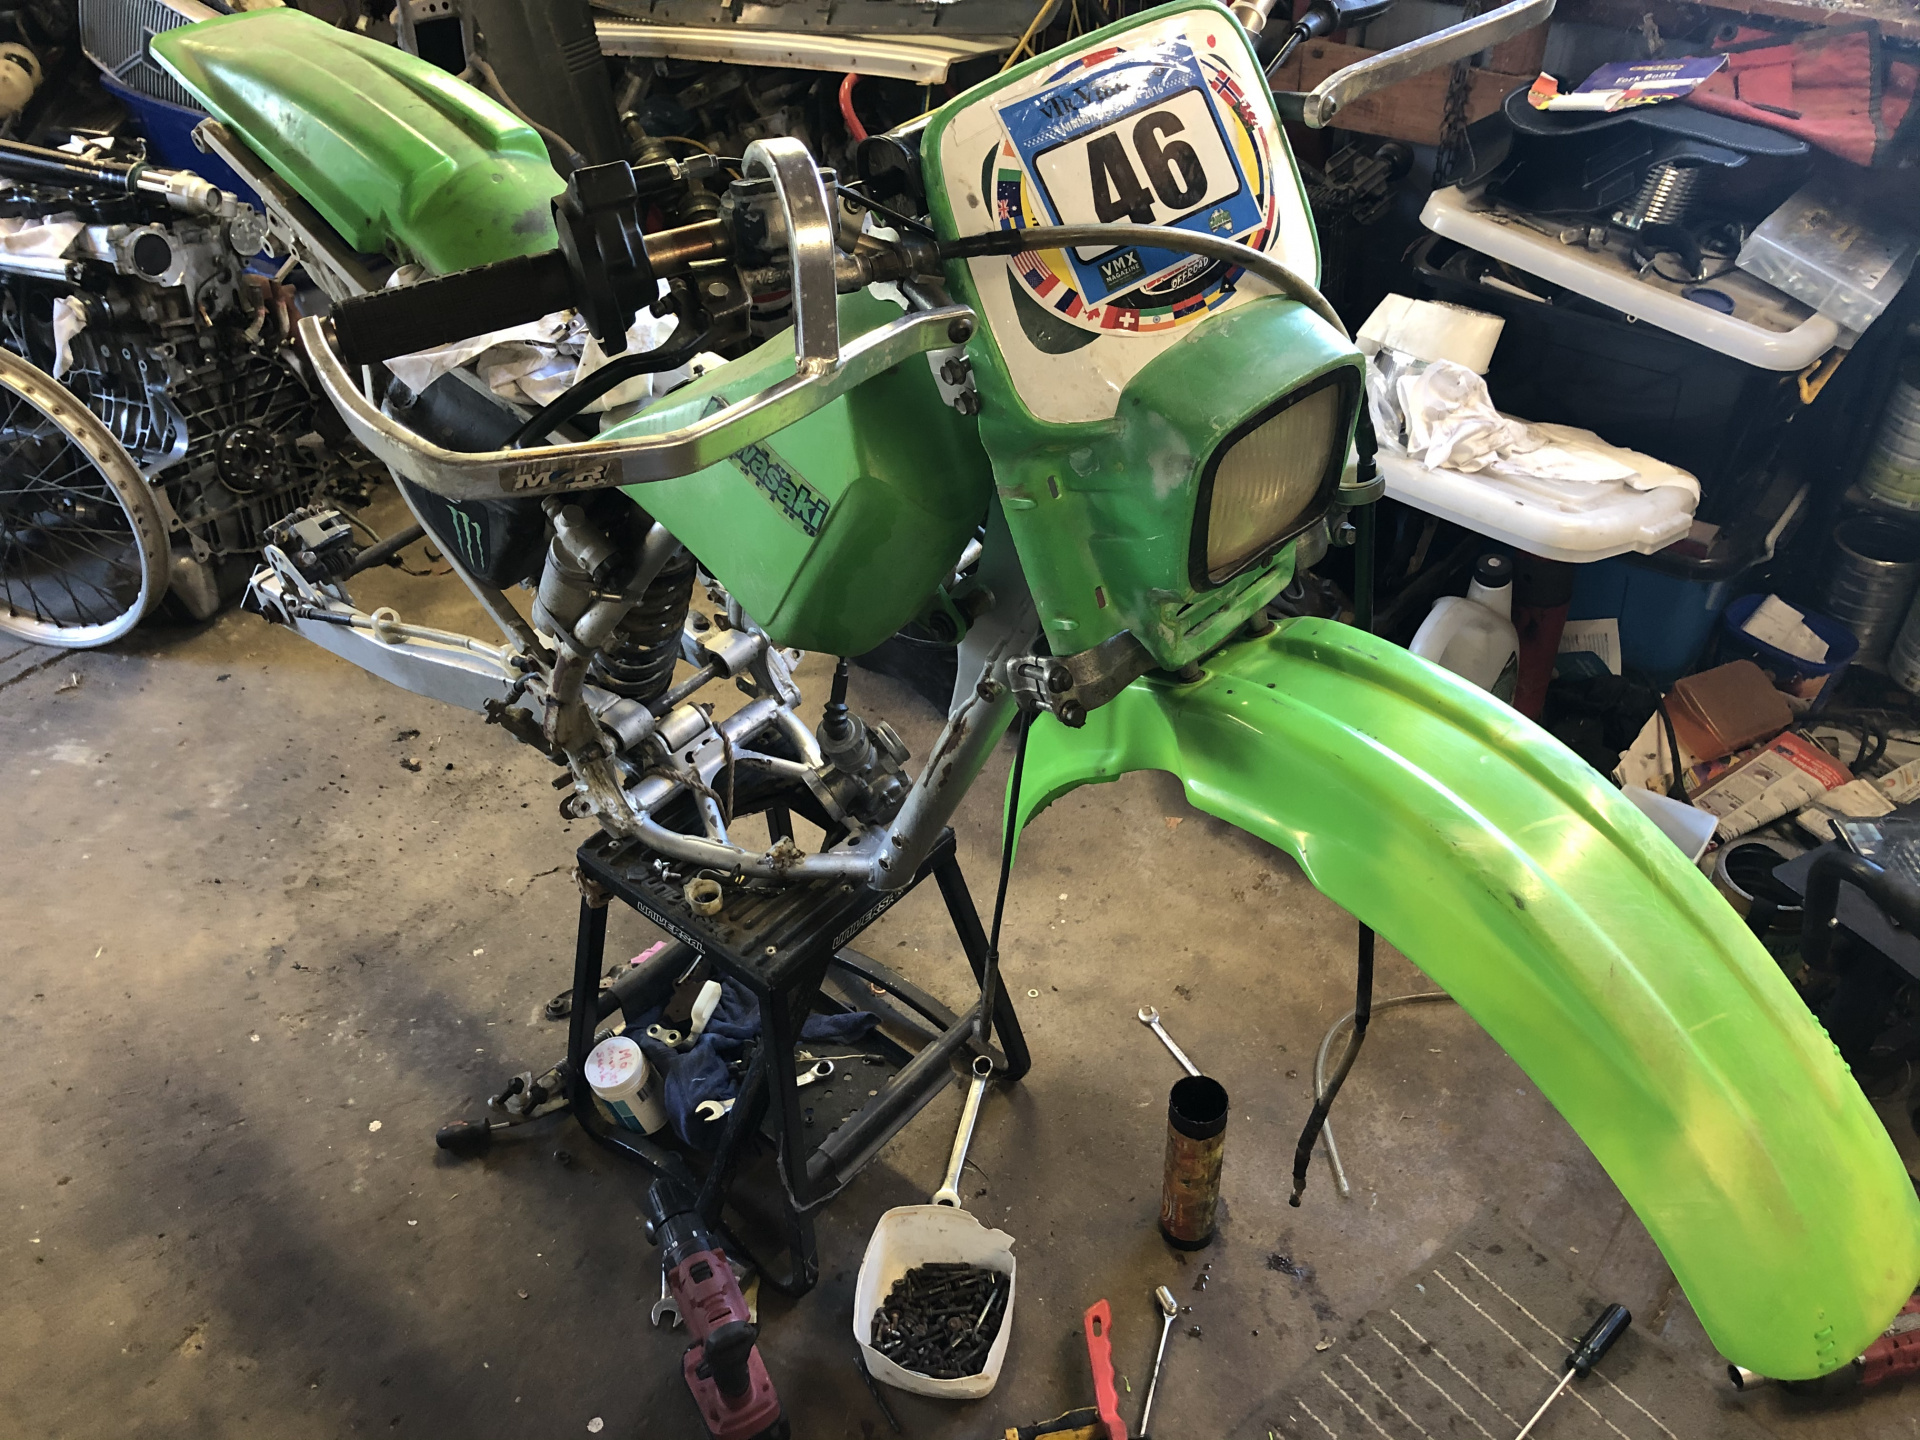
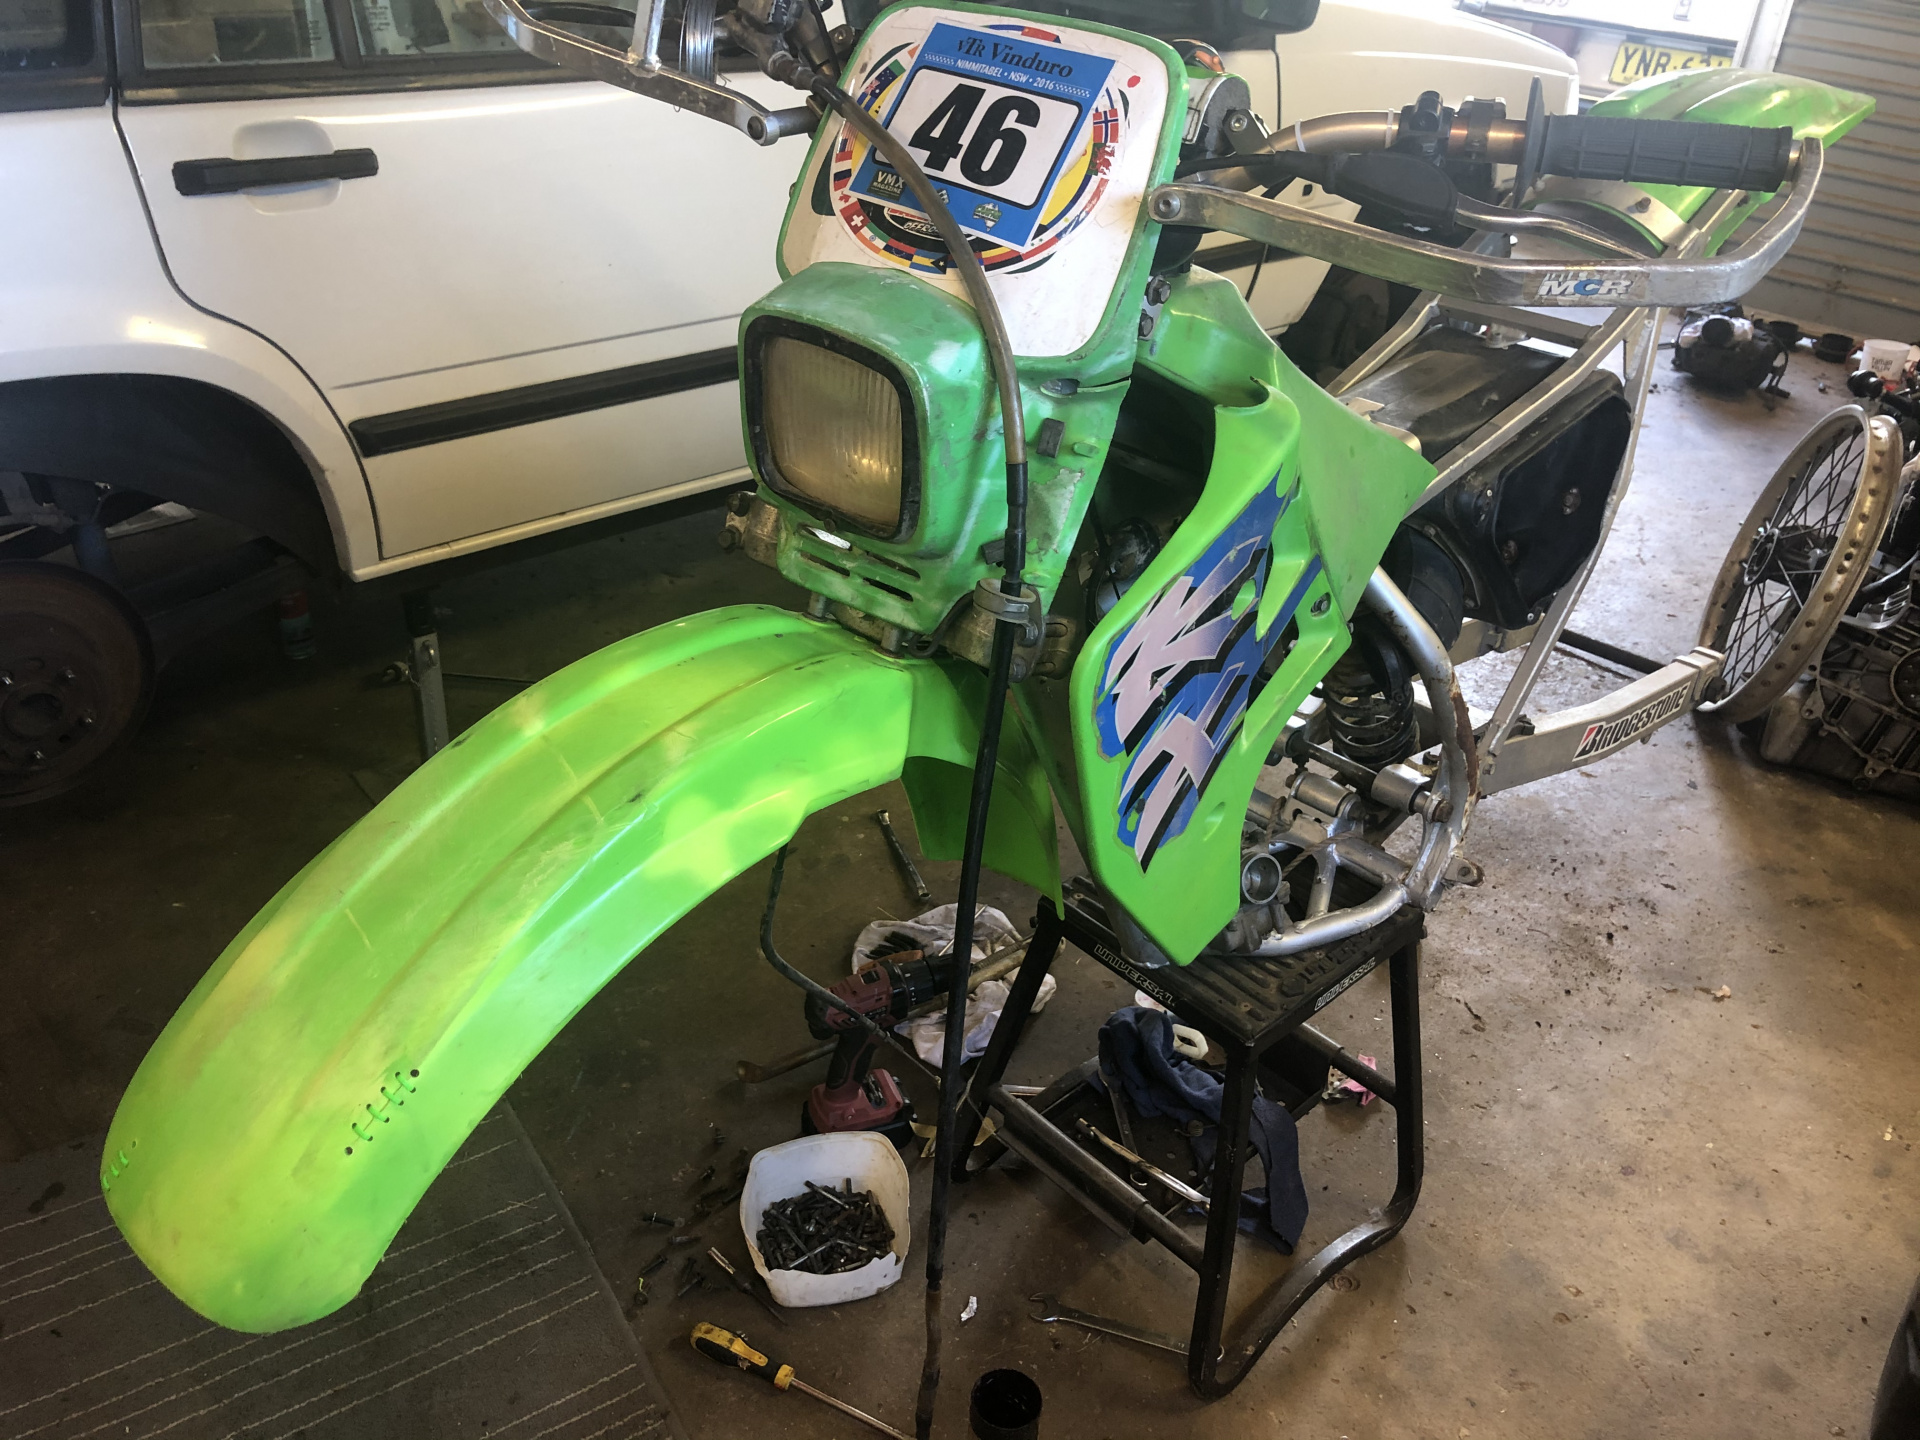
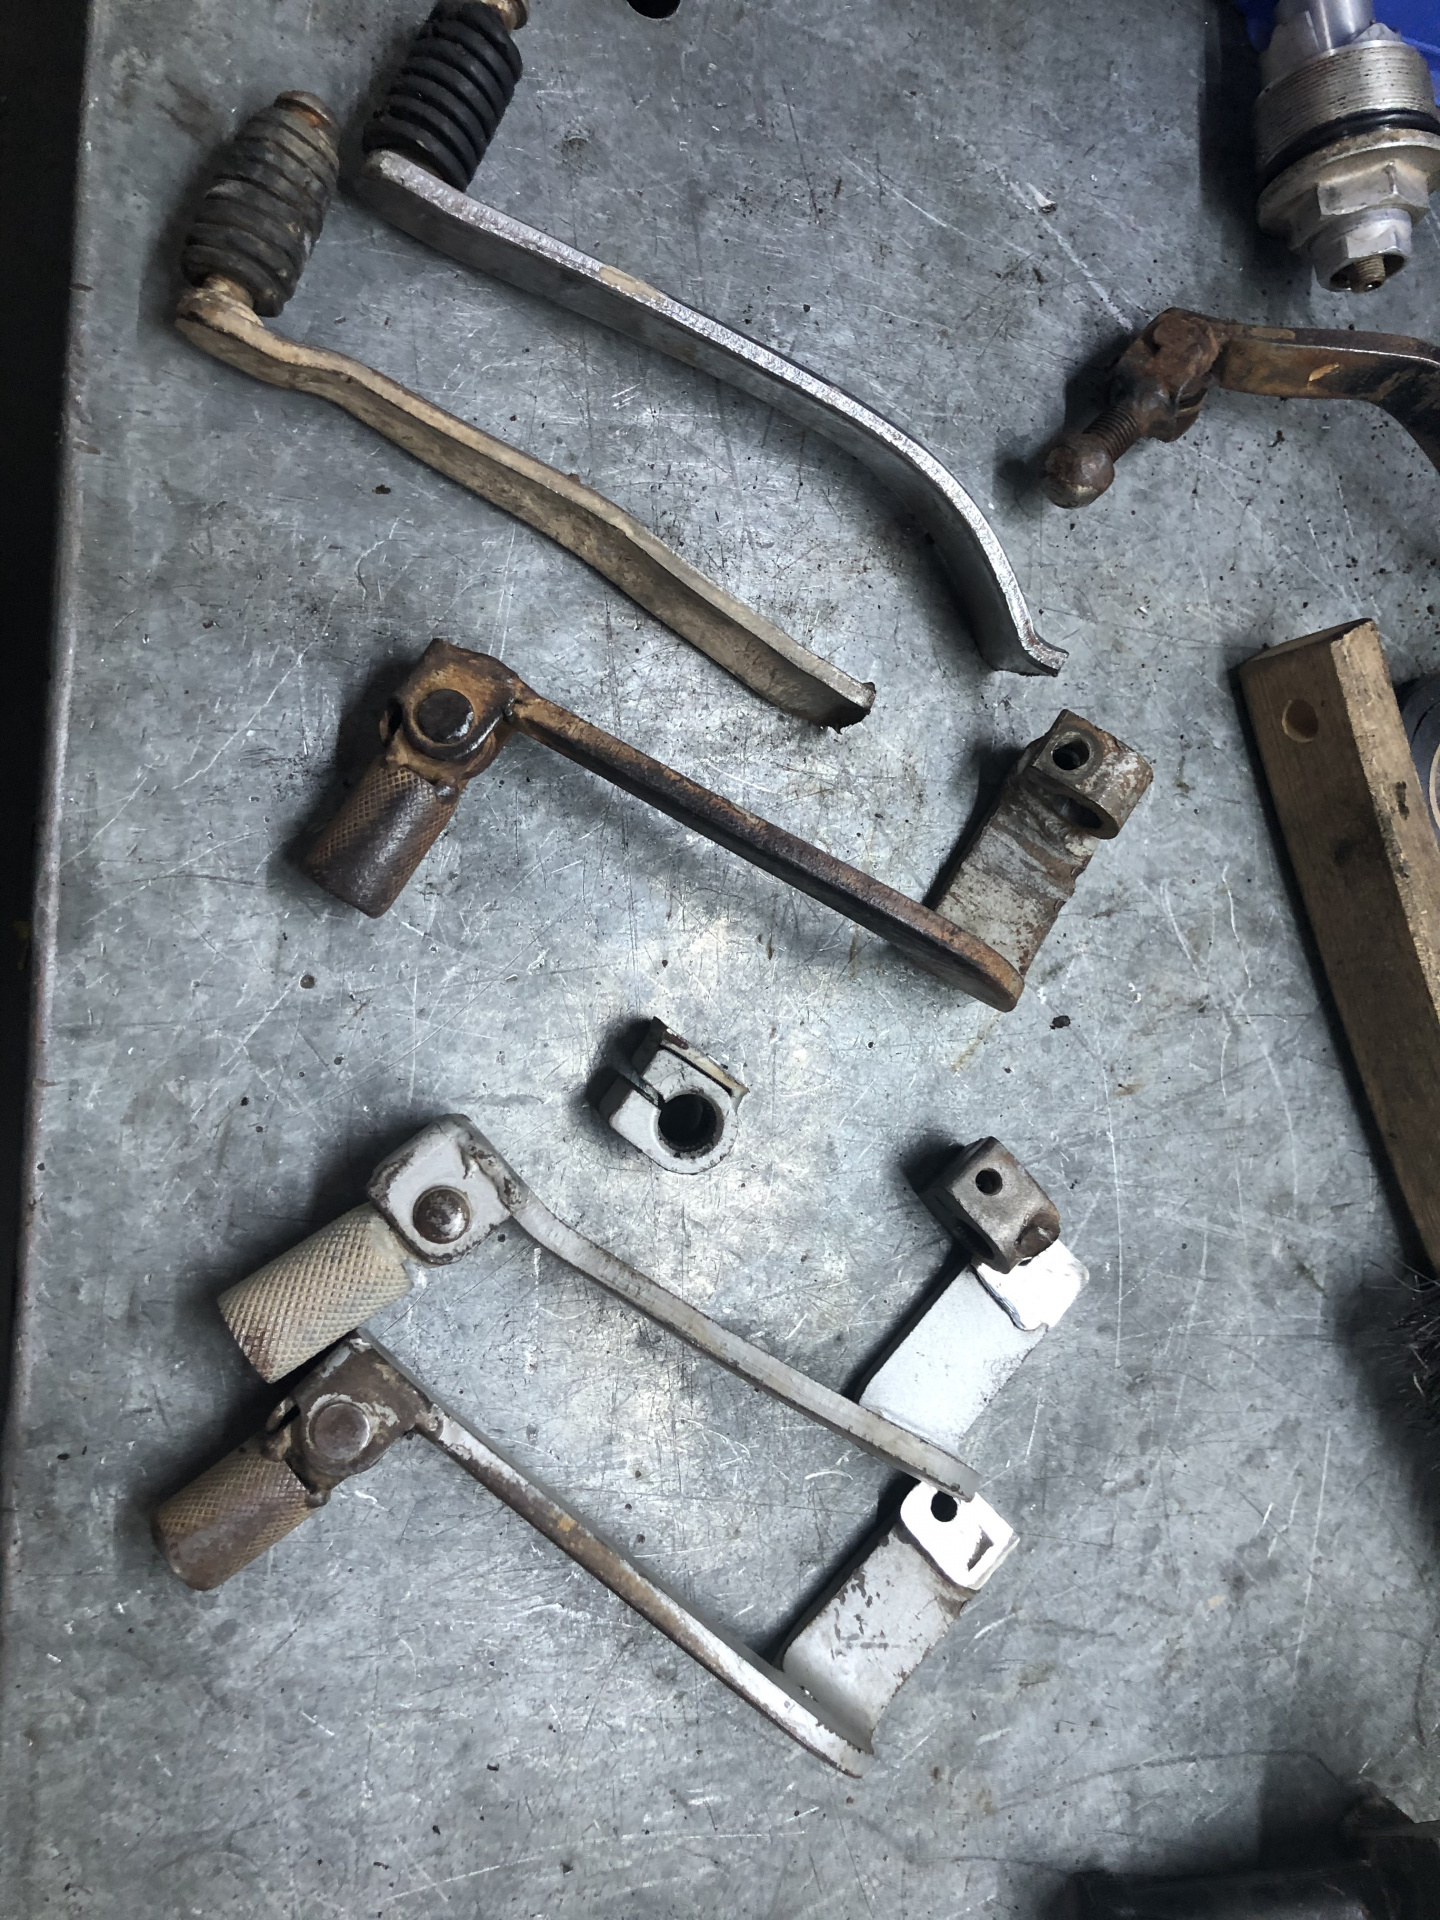
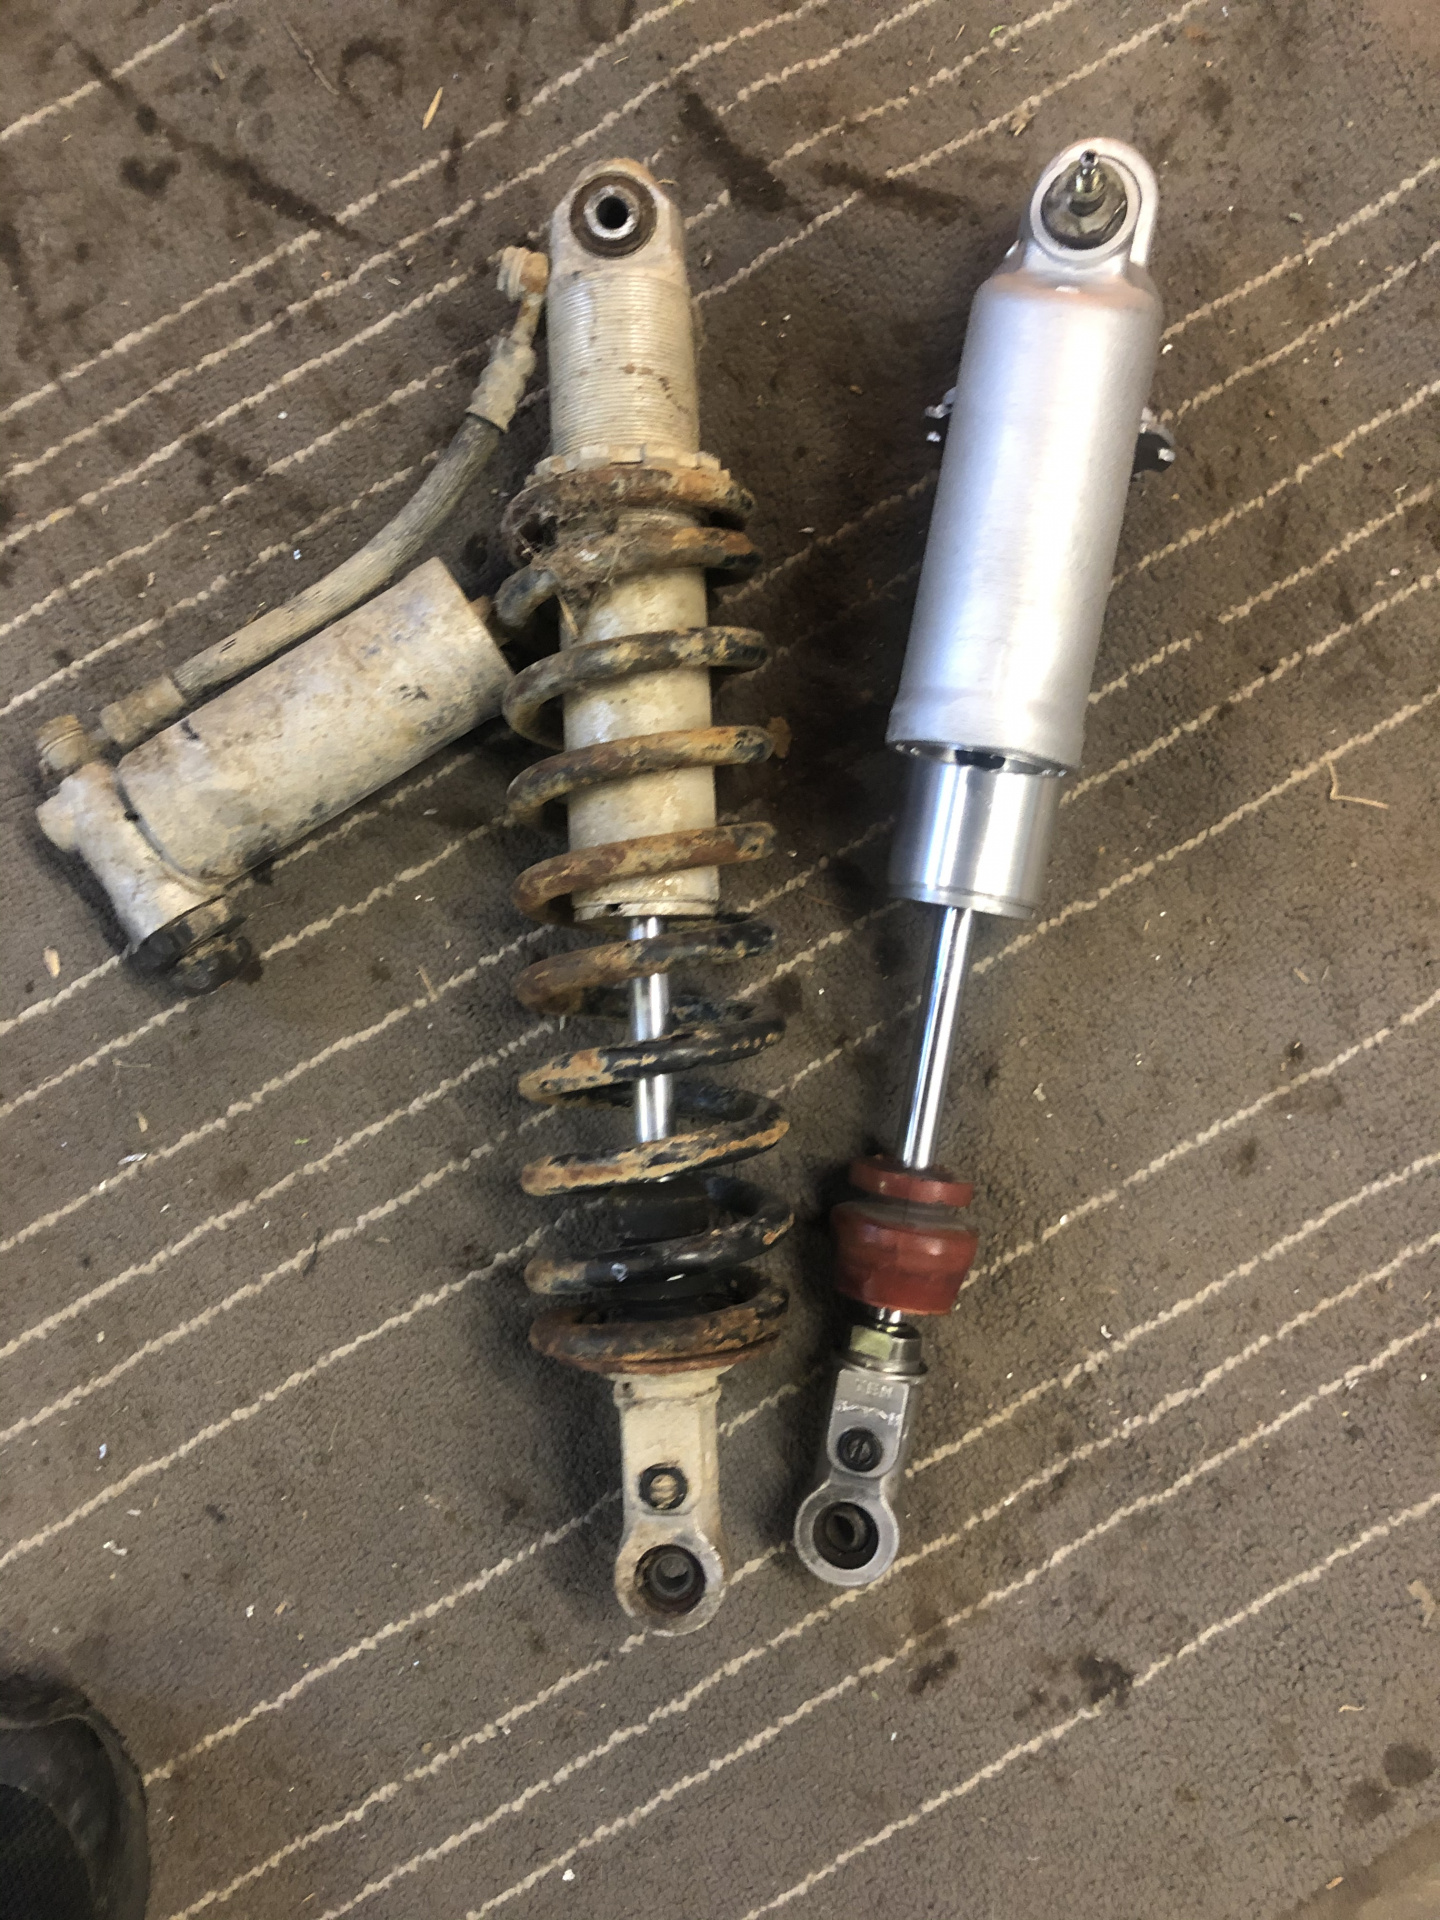
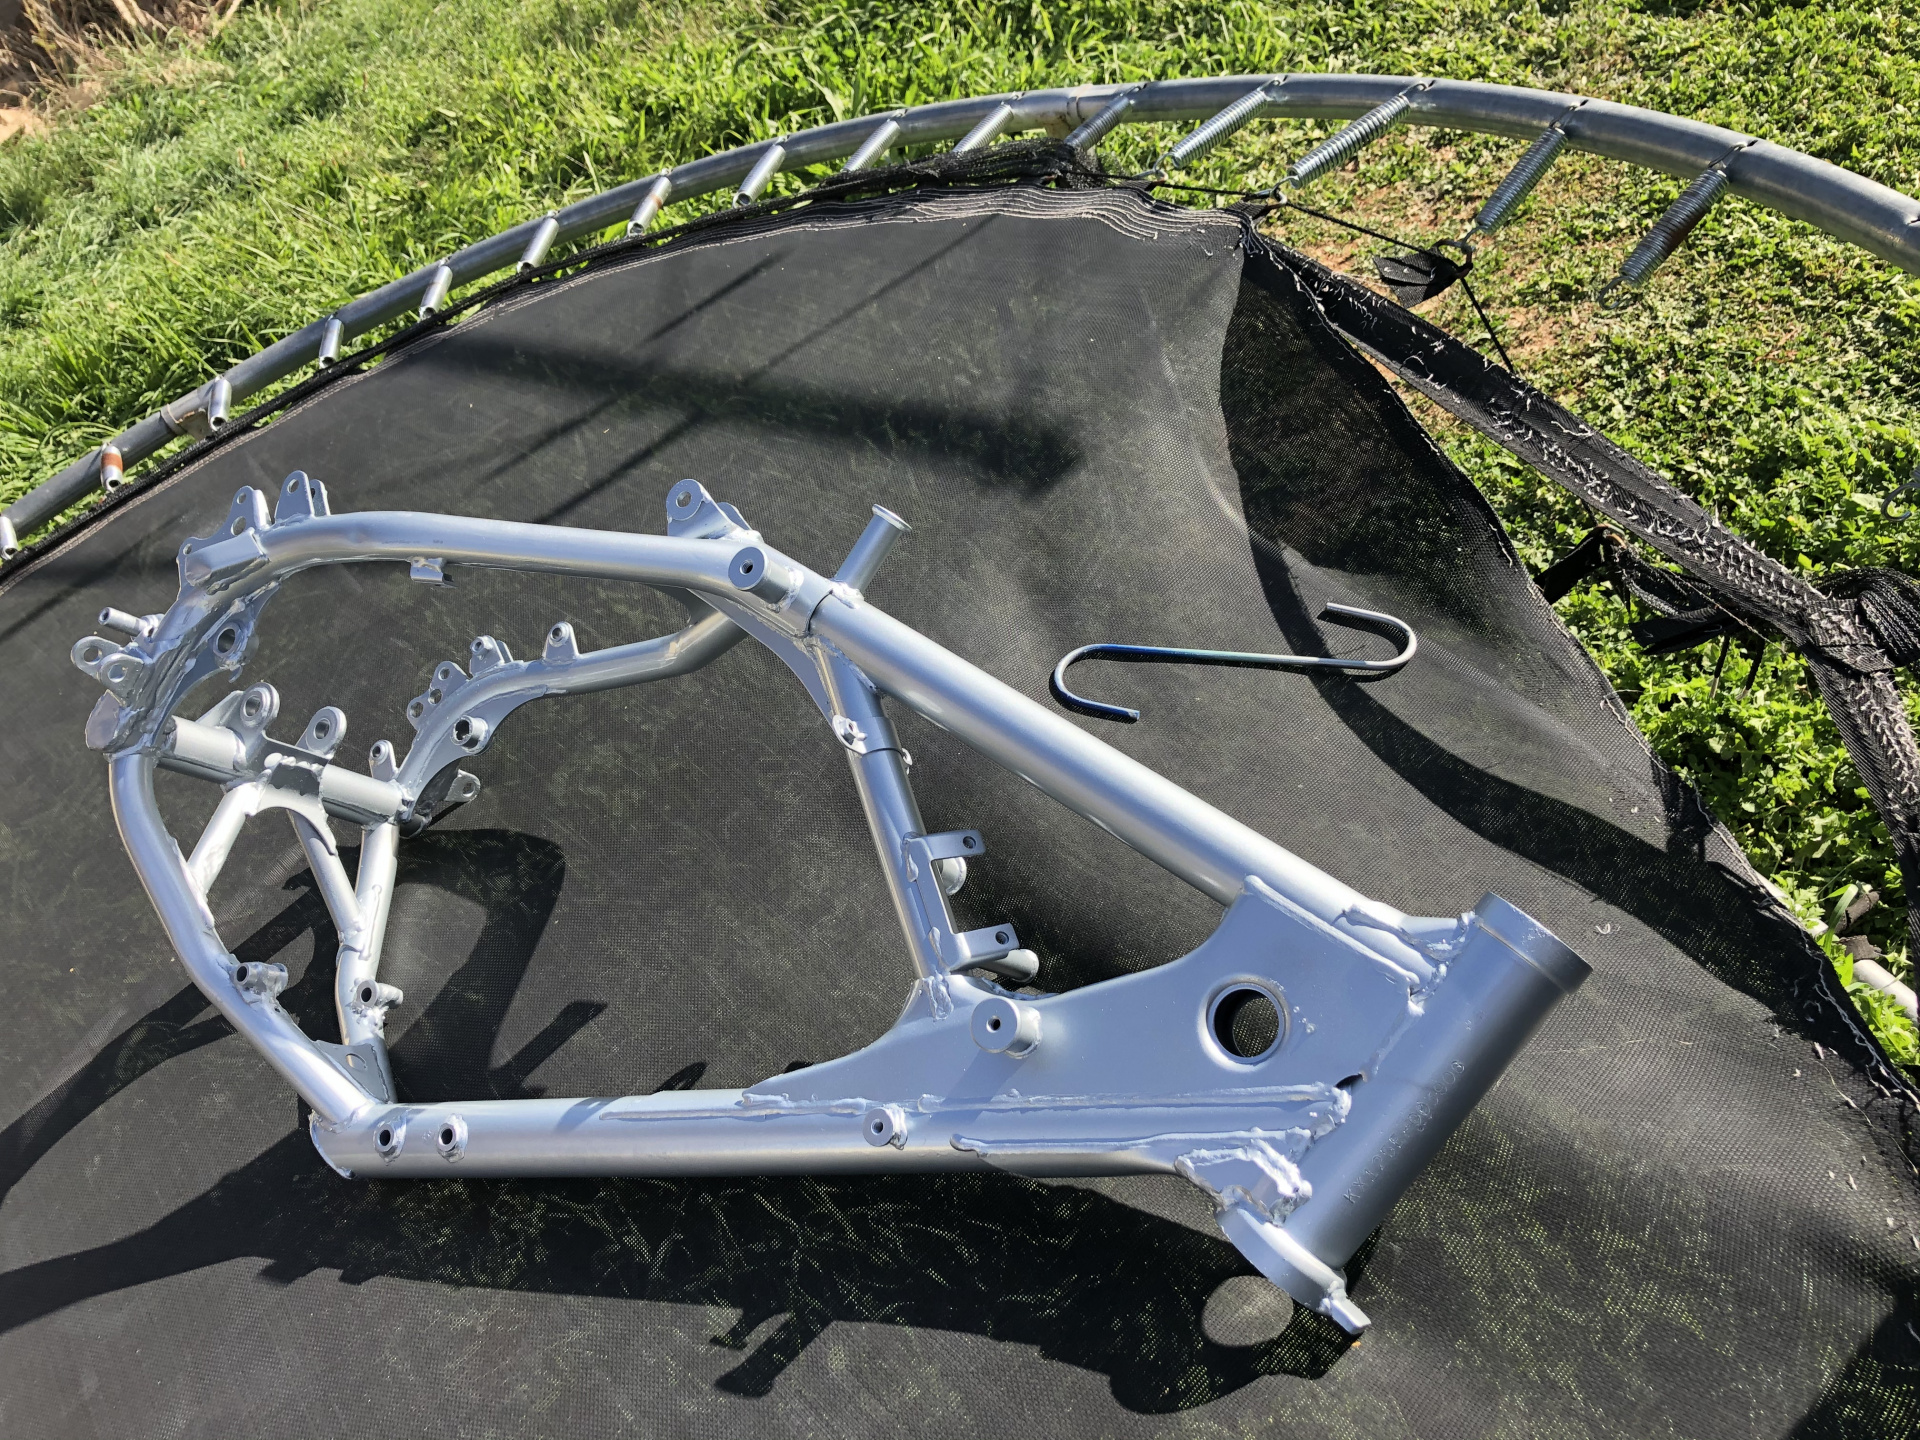
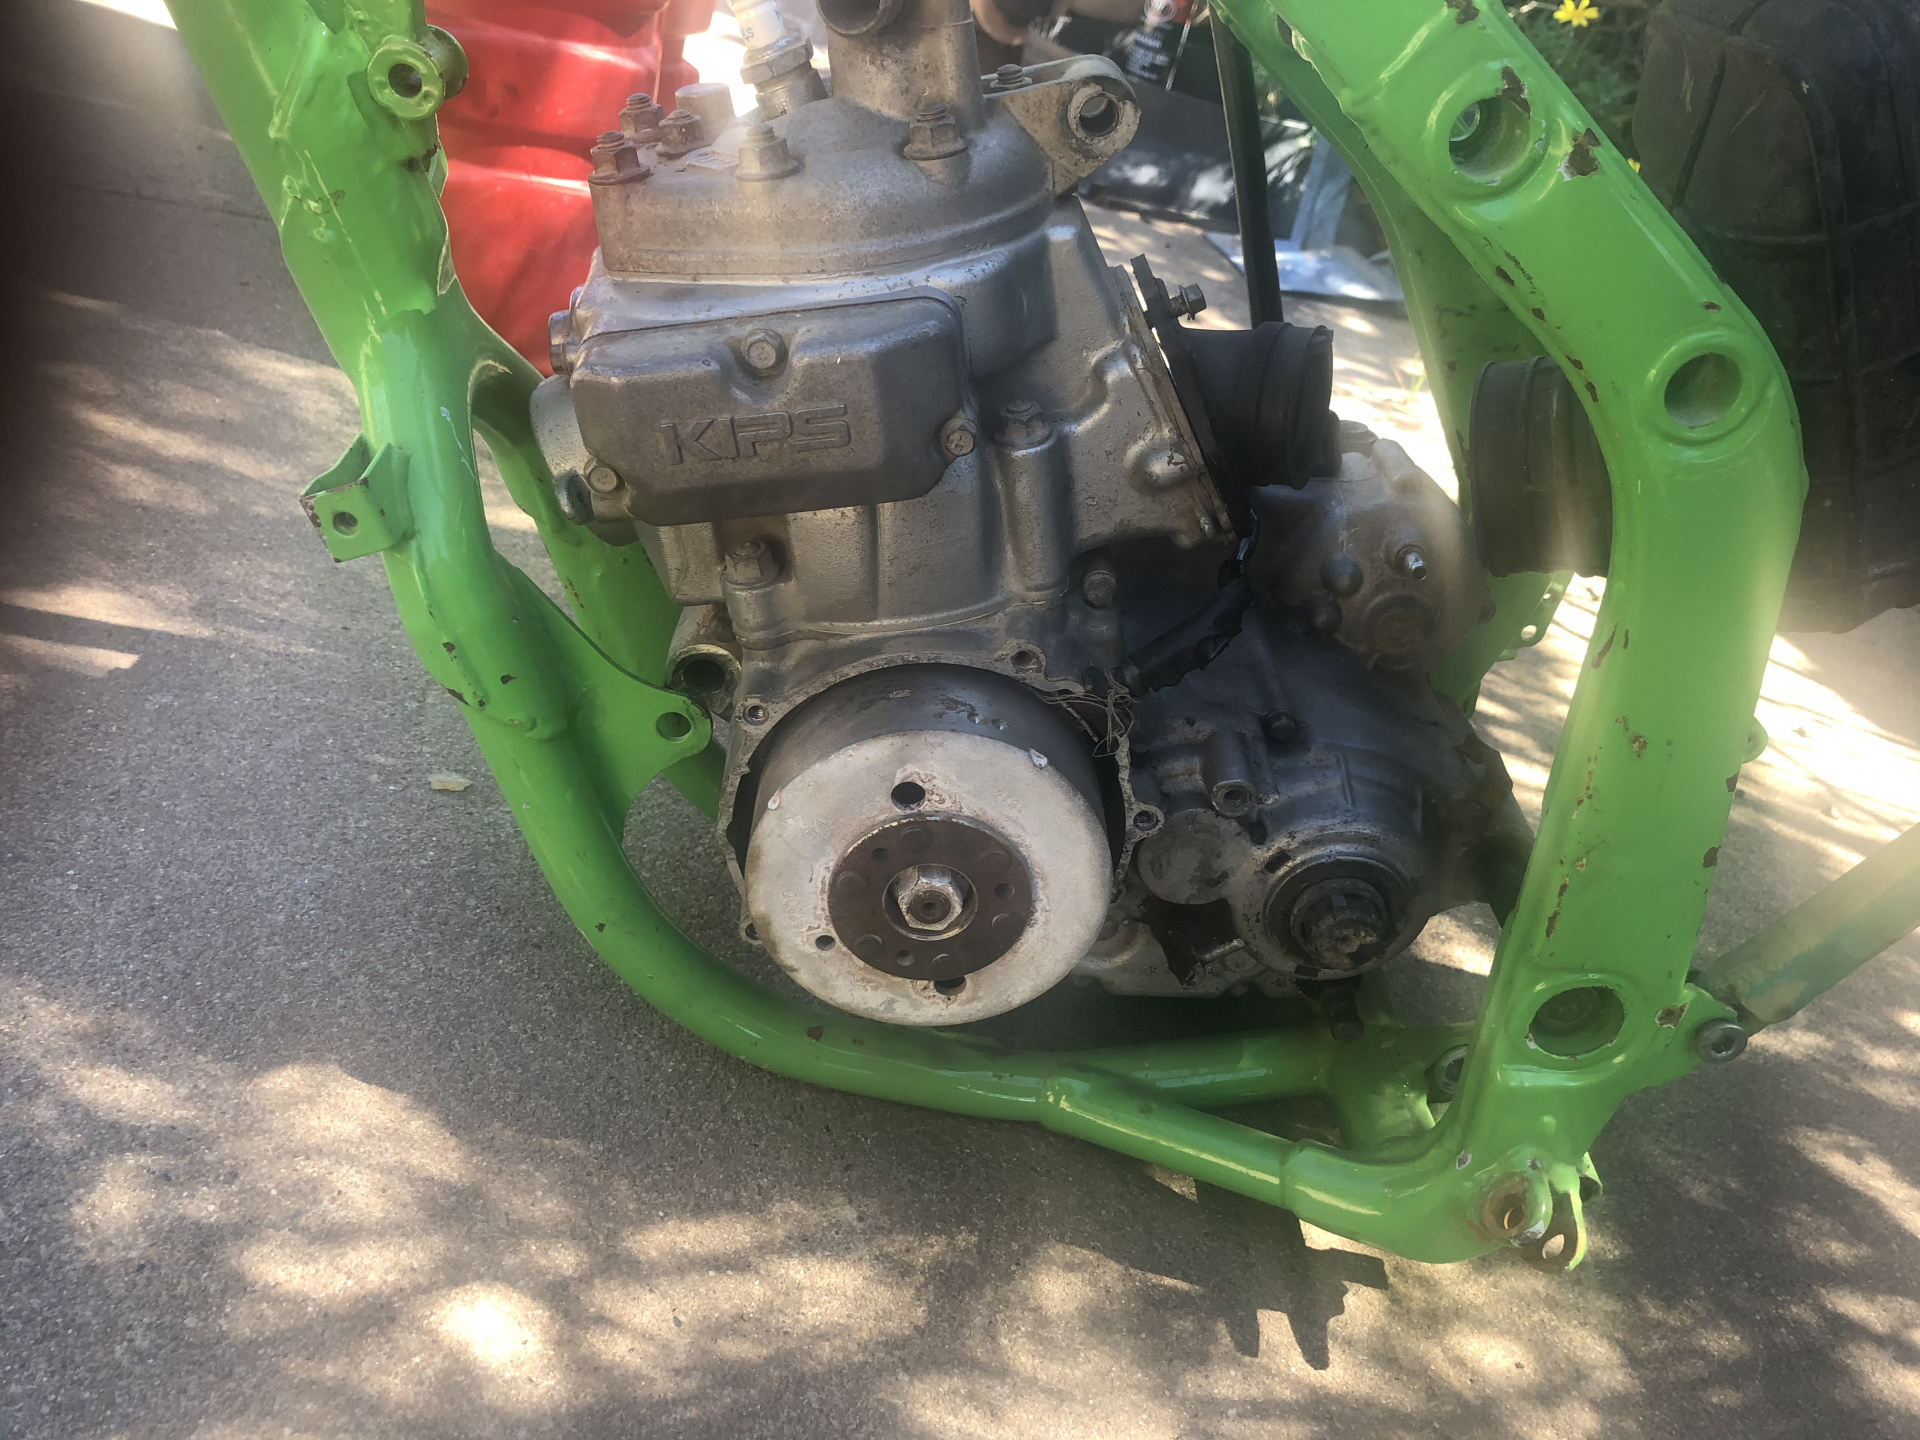
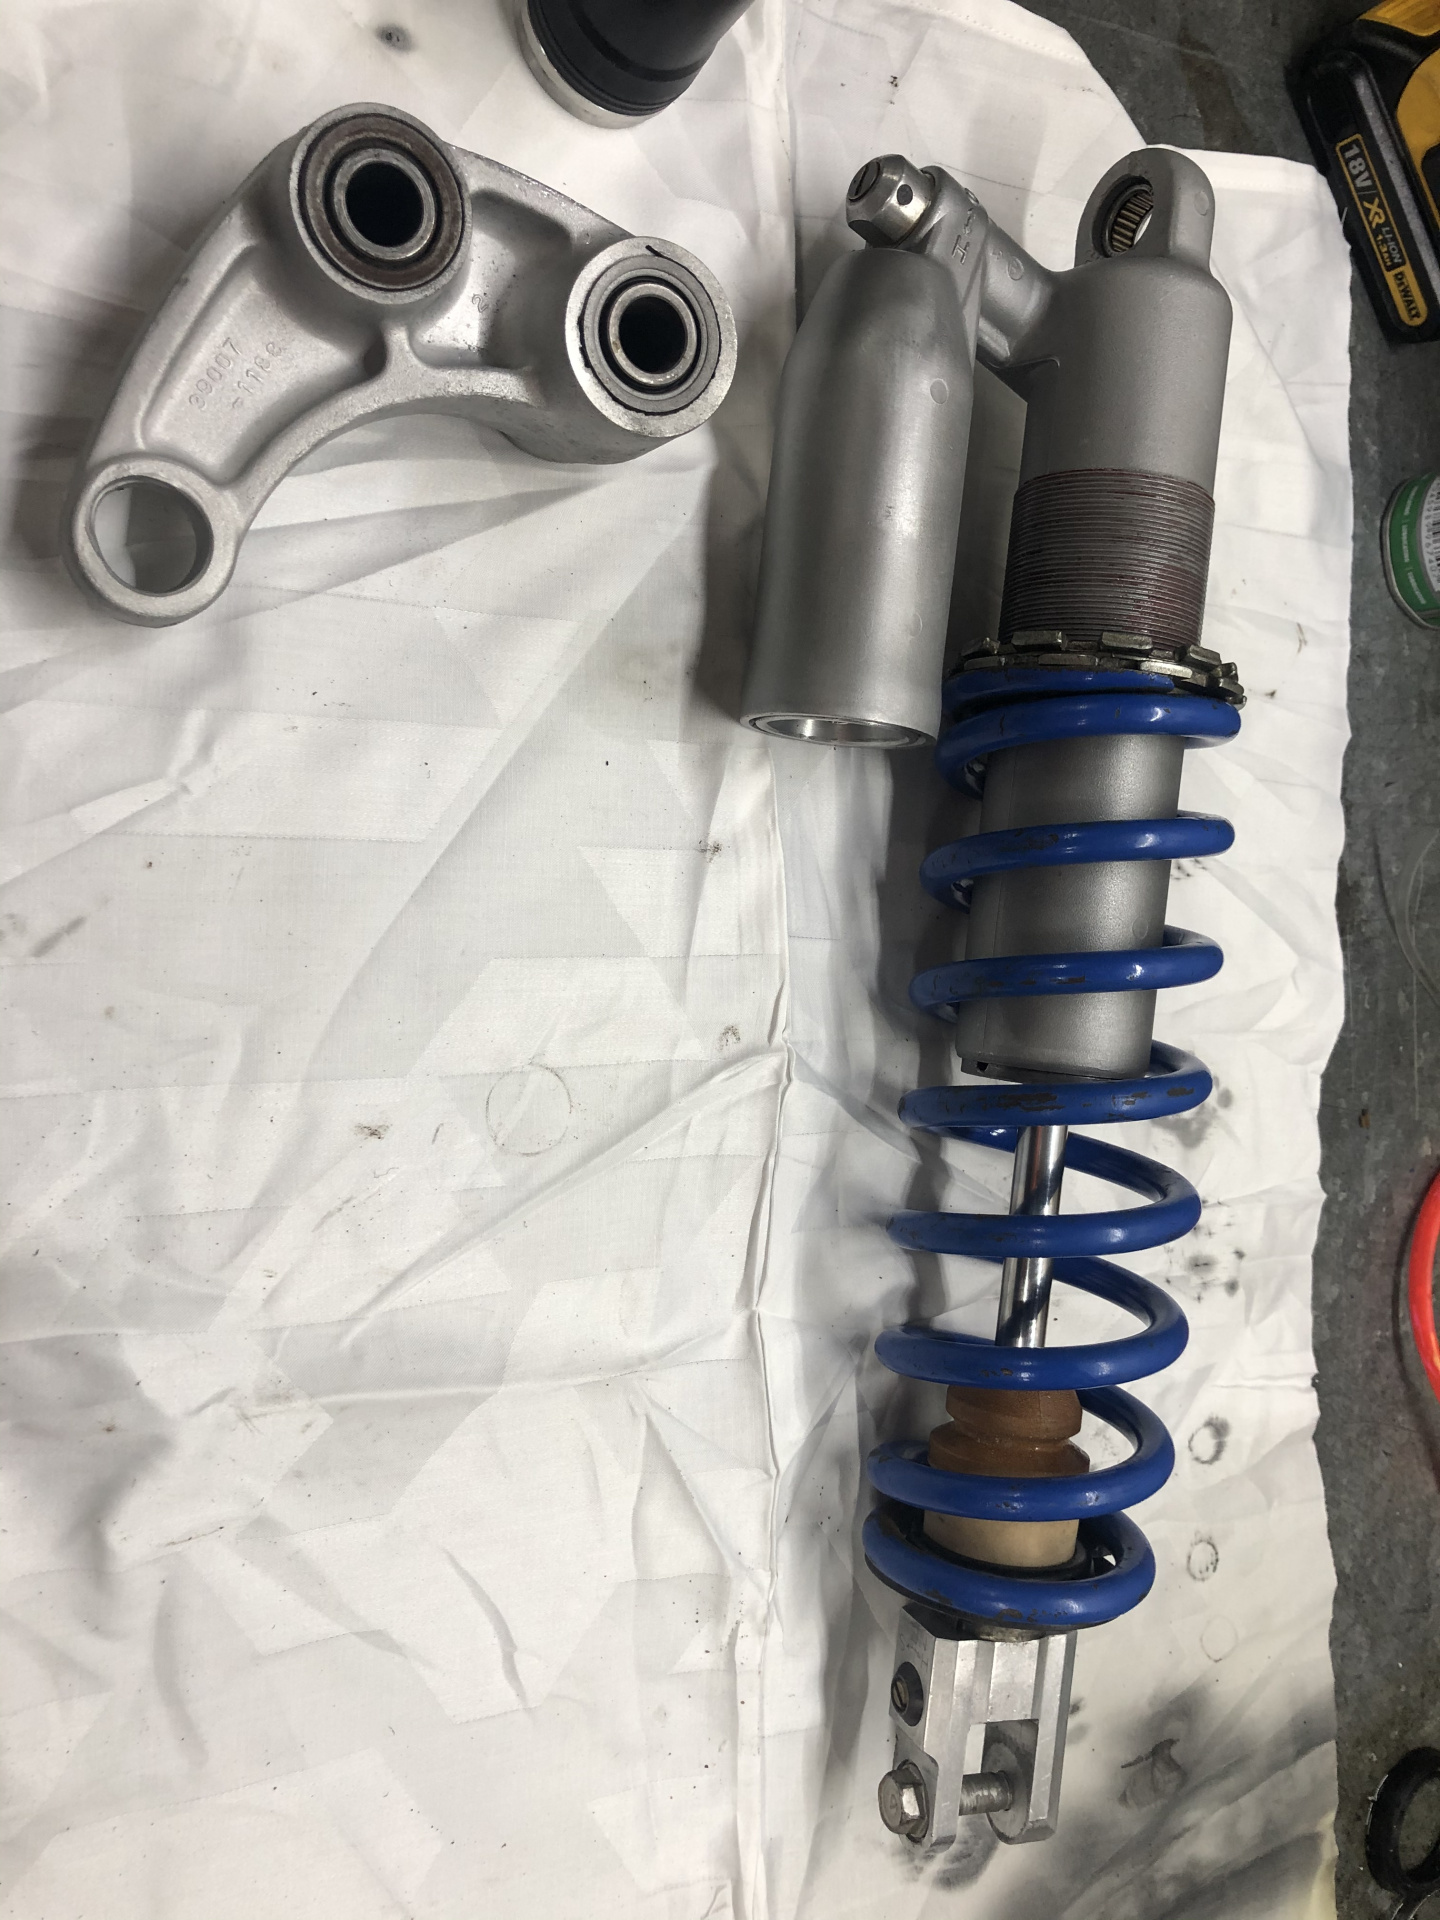
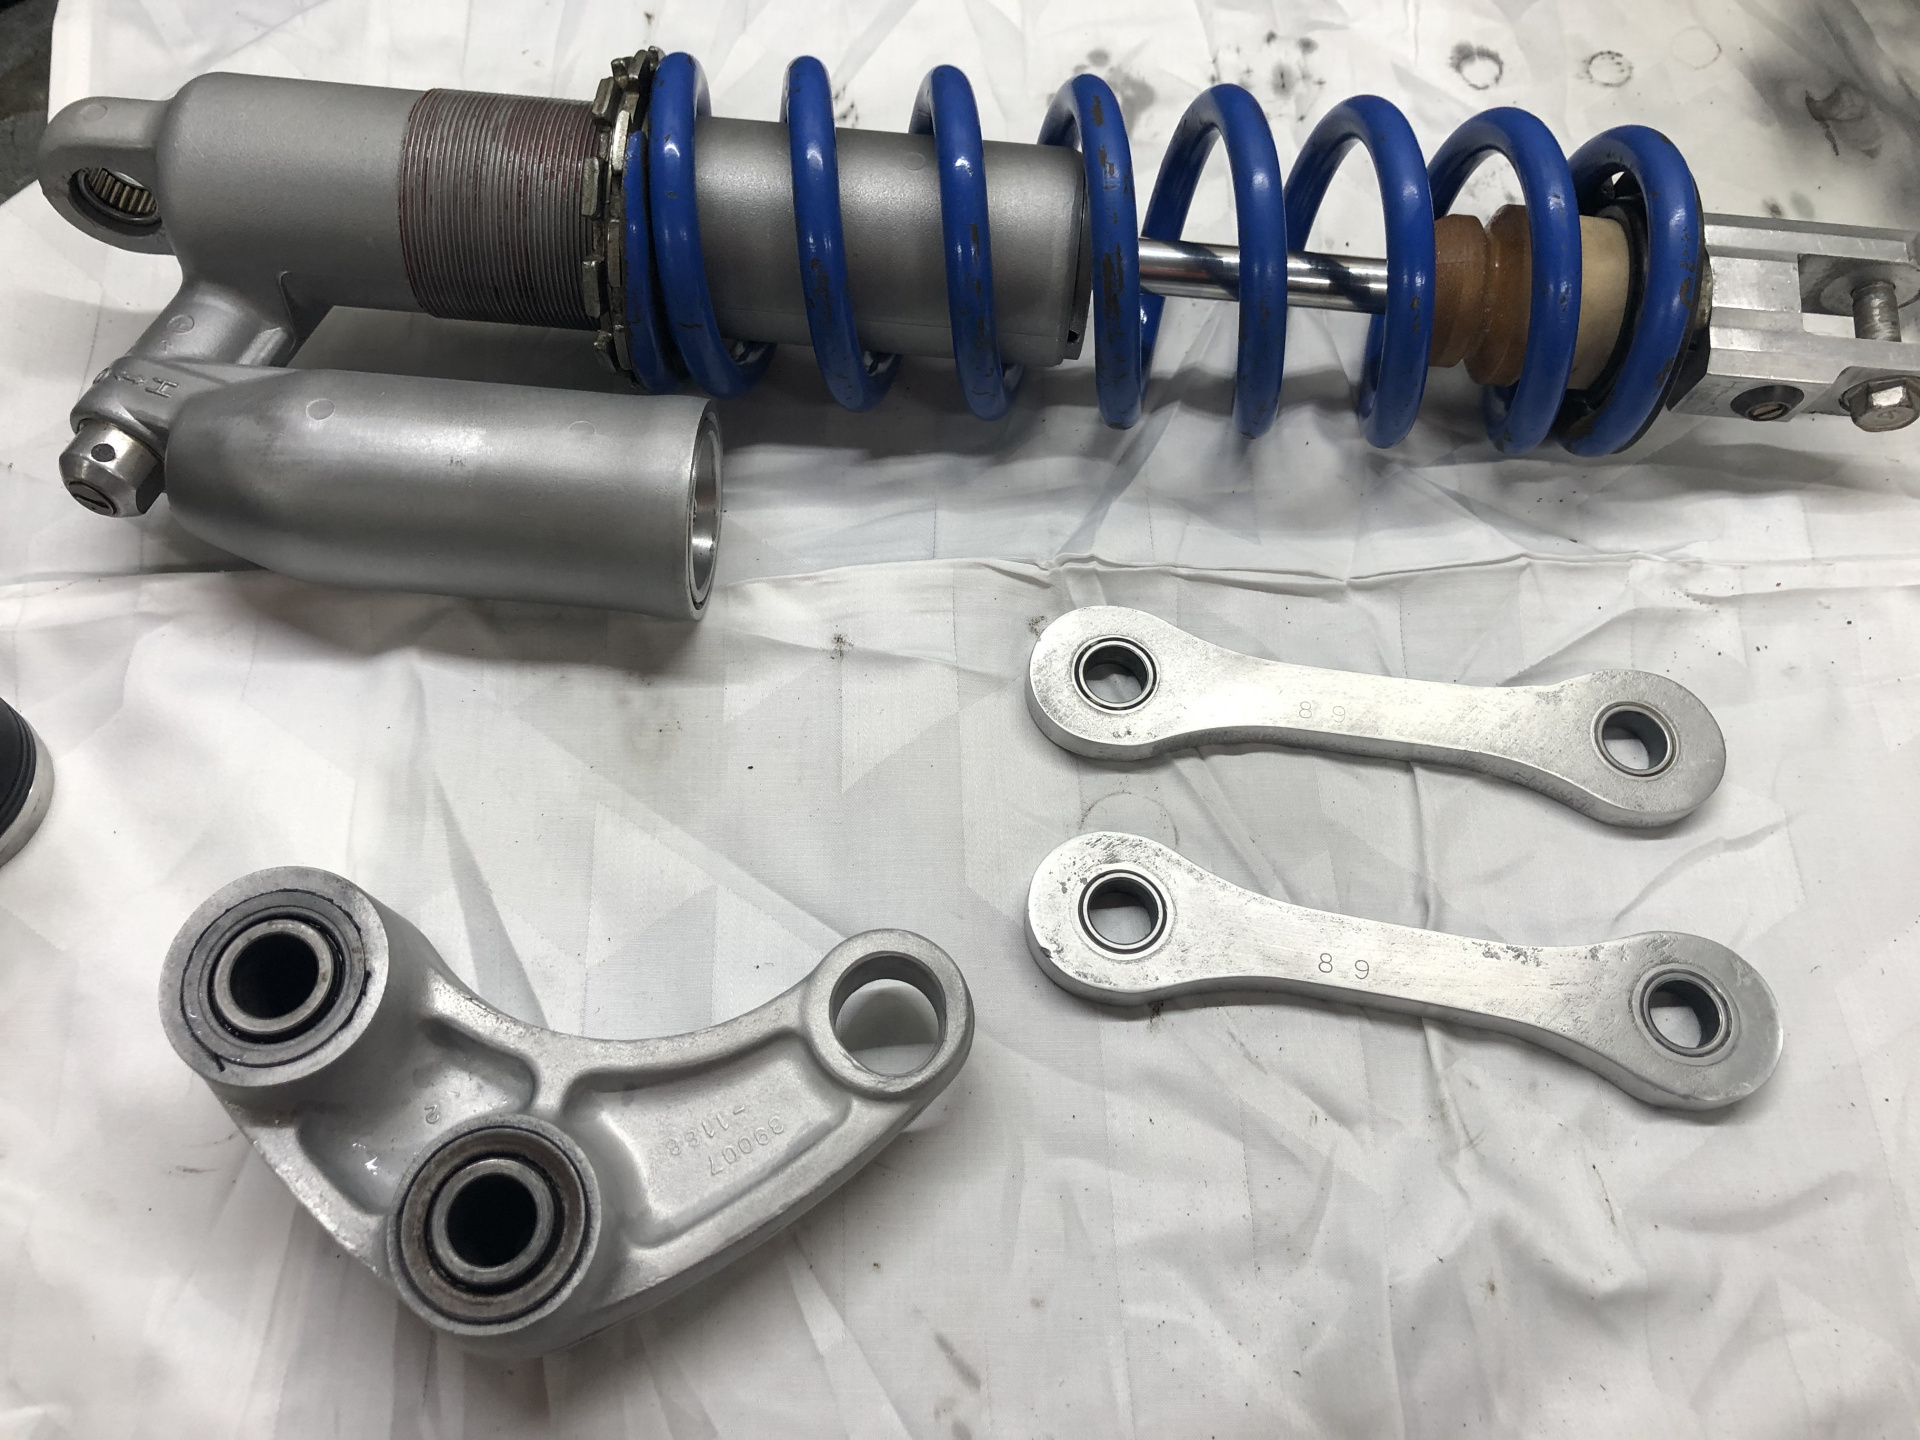
Buuuutt... It has had an “interesting” time since it left me in 2012. Here is what came back:

I could easily make this thread a million grumpy words about looking after stuff and not doing dumb things to tidy old dirt bikes, but I will try to resist. If I put a random pound sign (£) into any posts, just insert a Spac rant in its place.

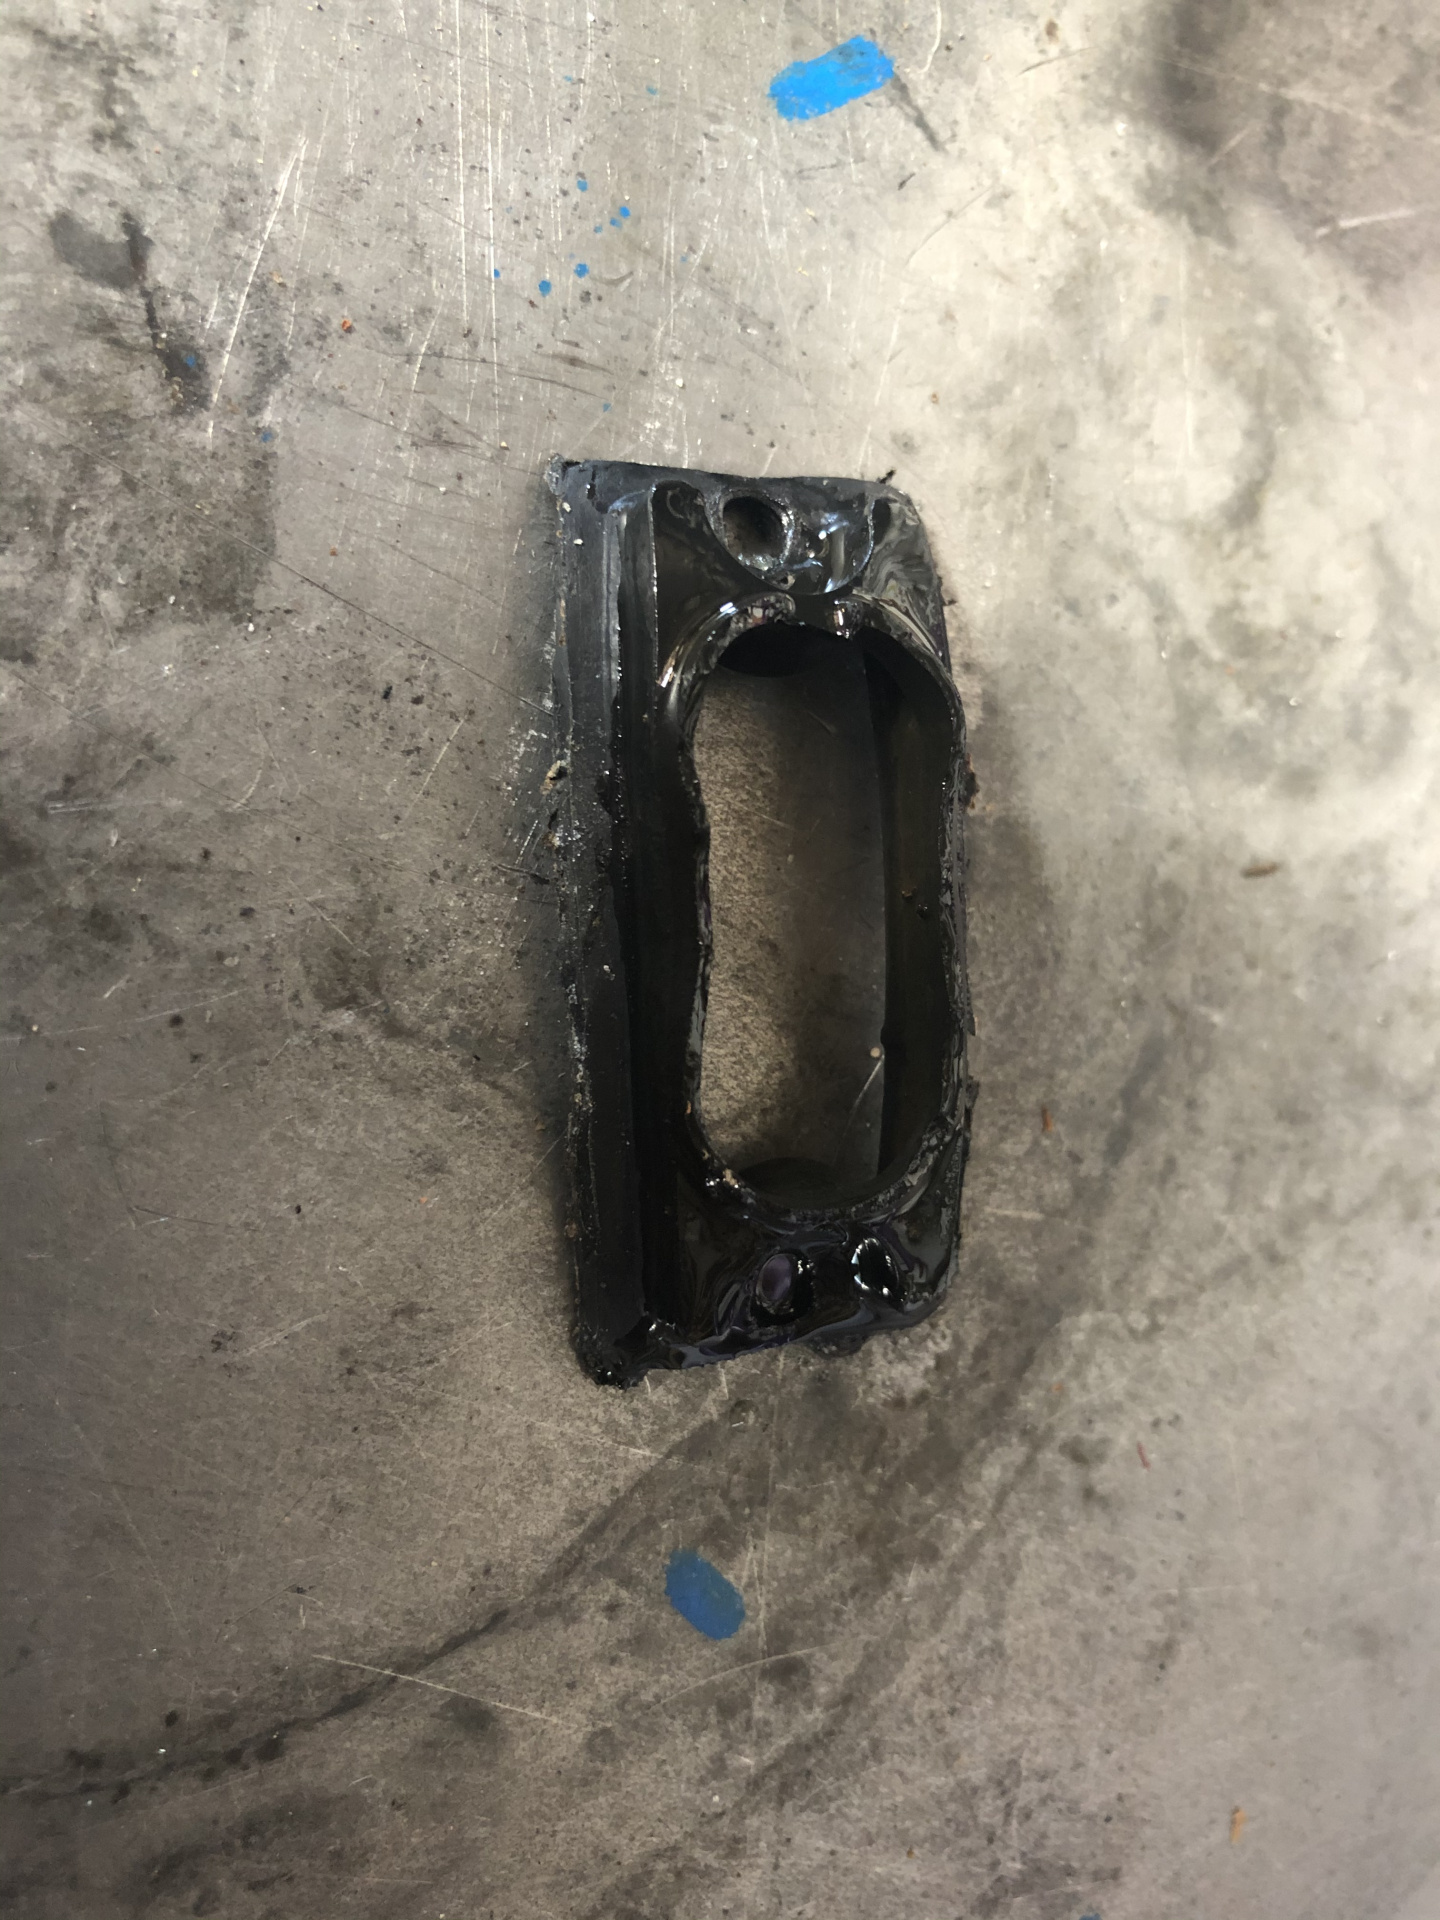
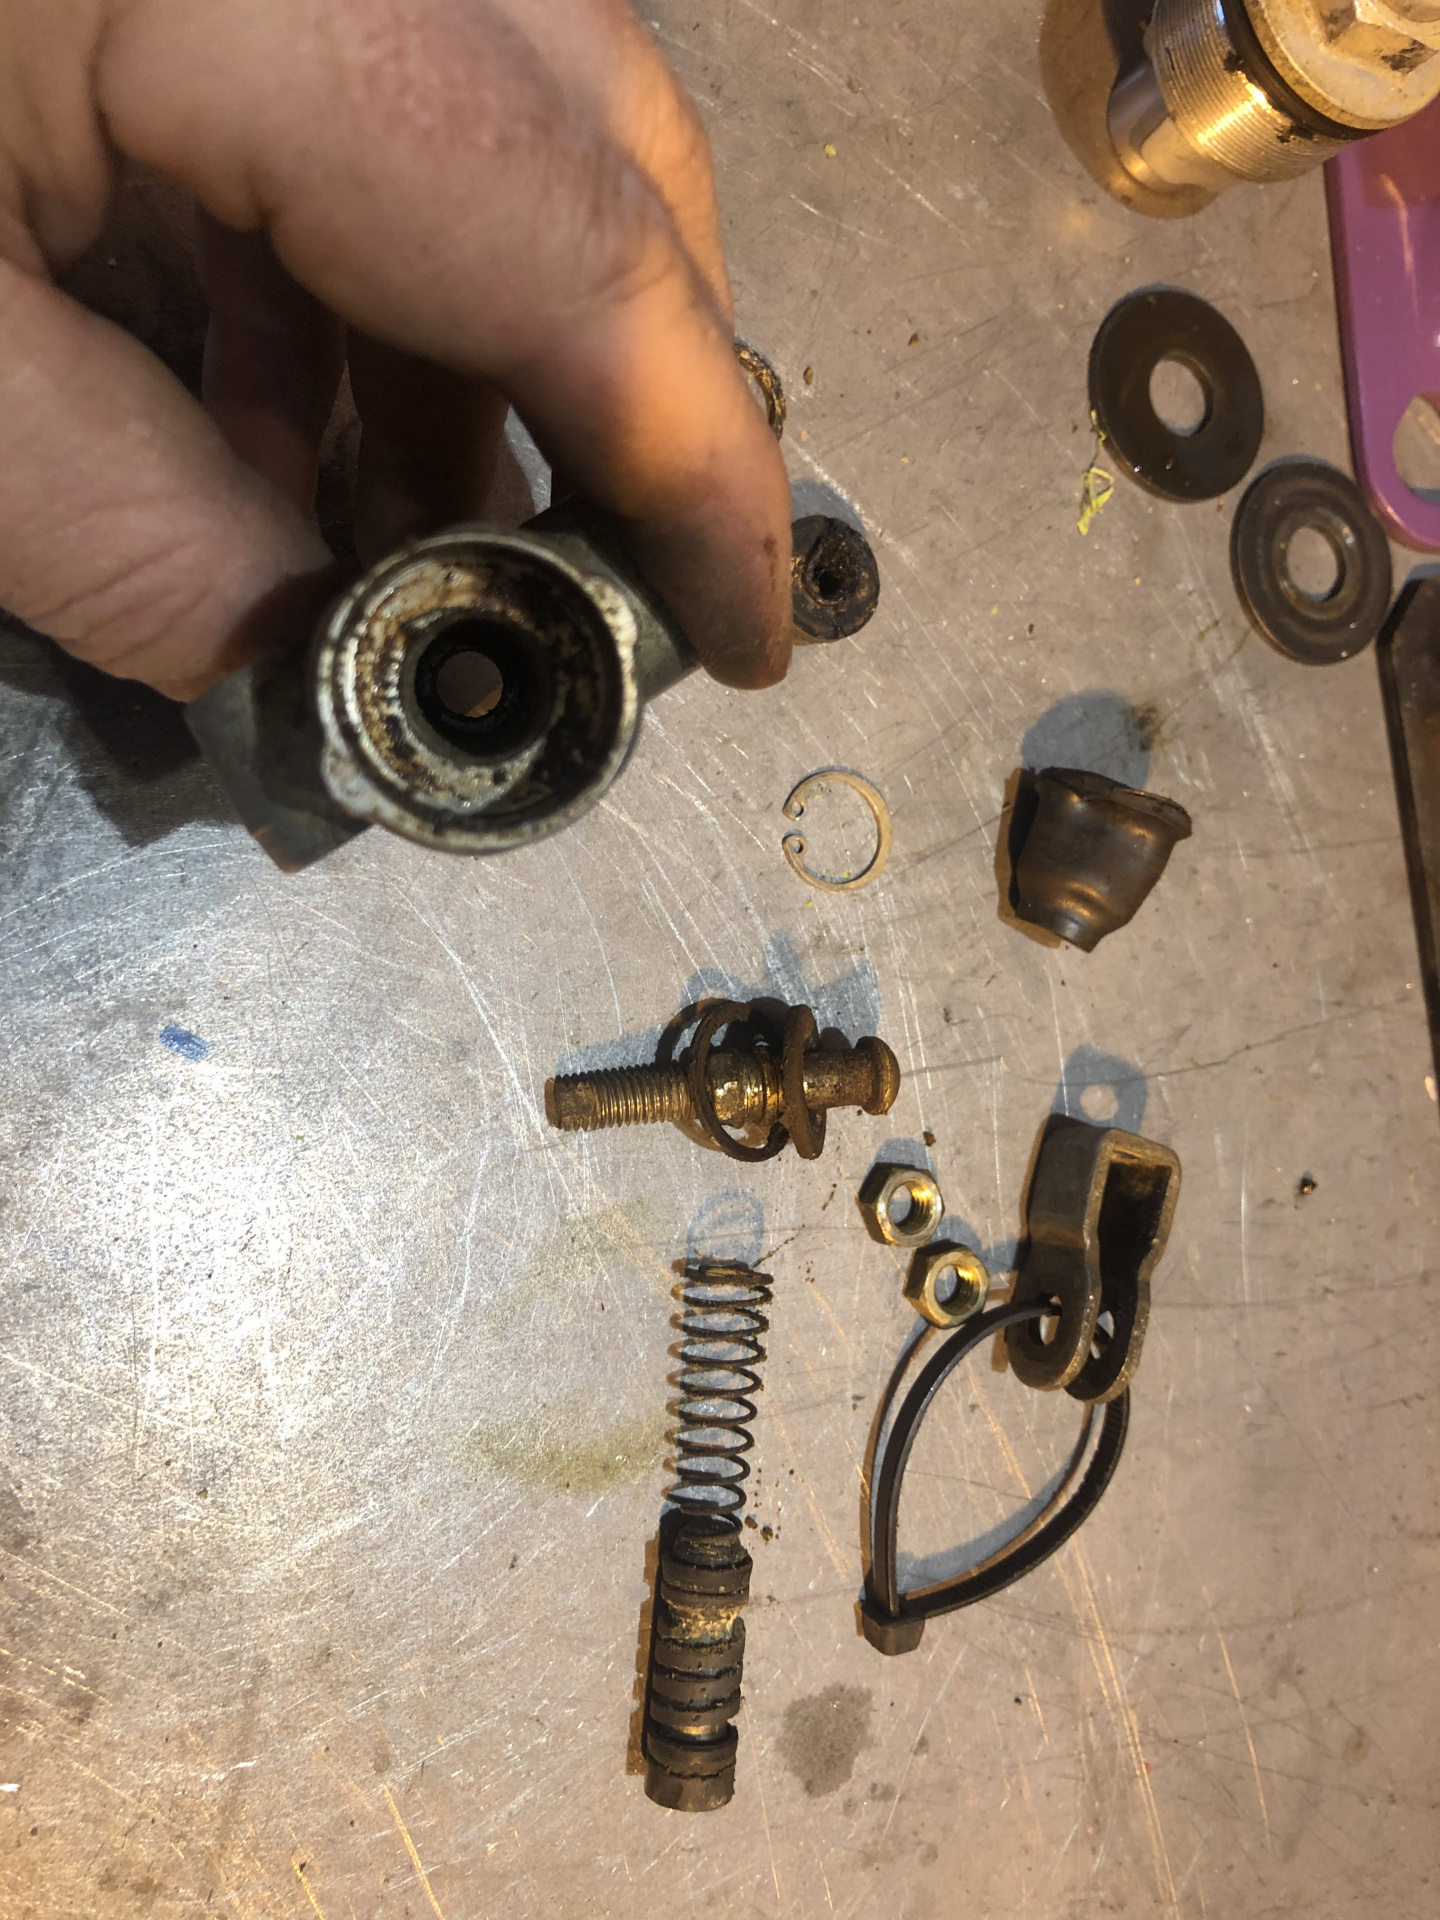
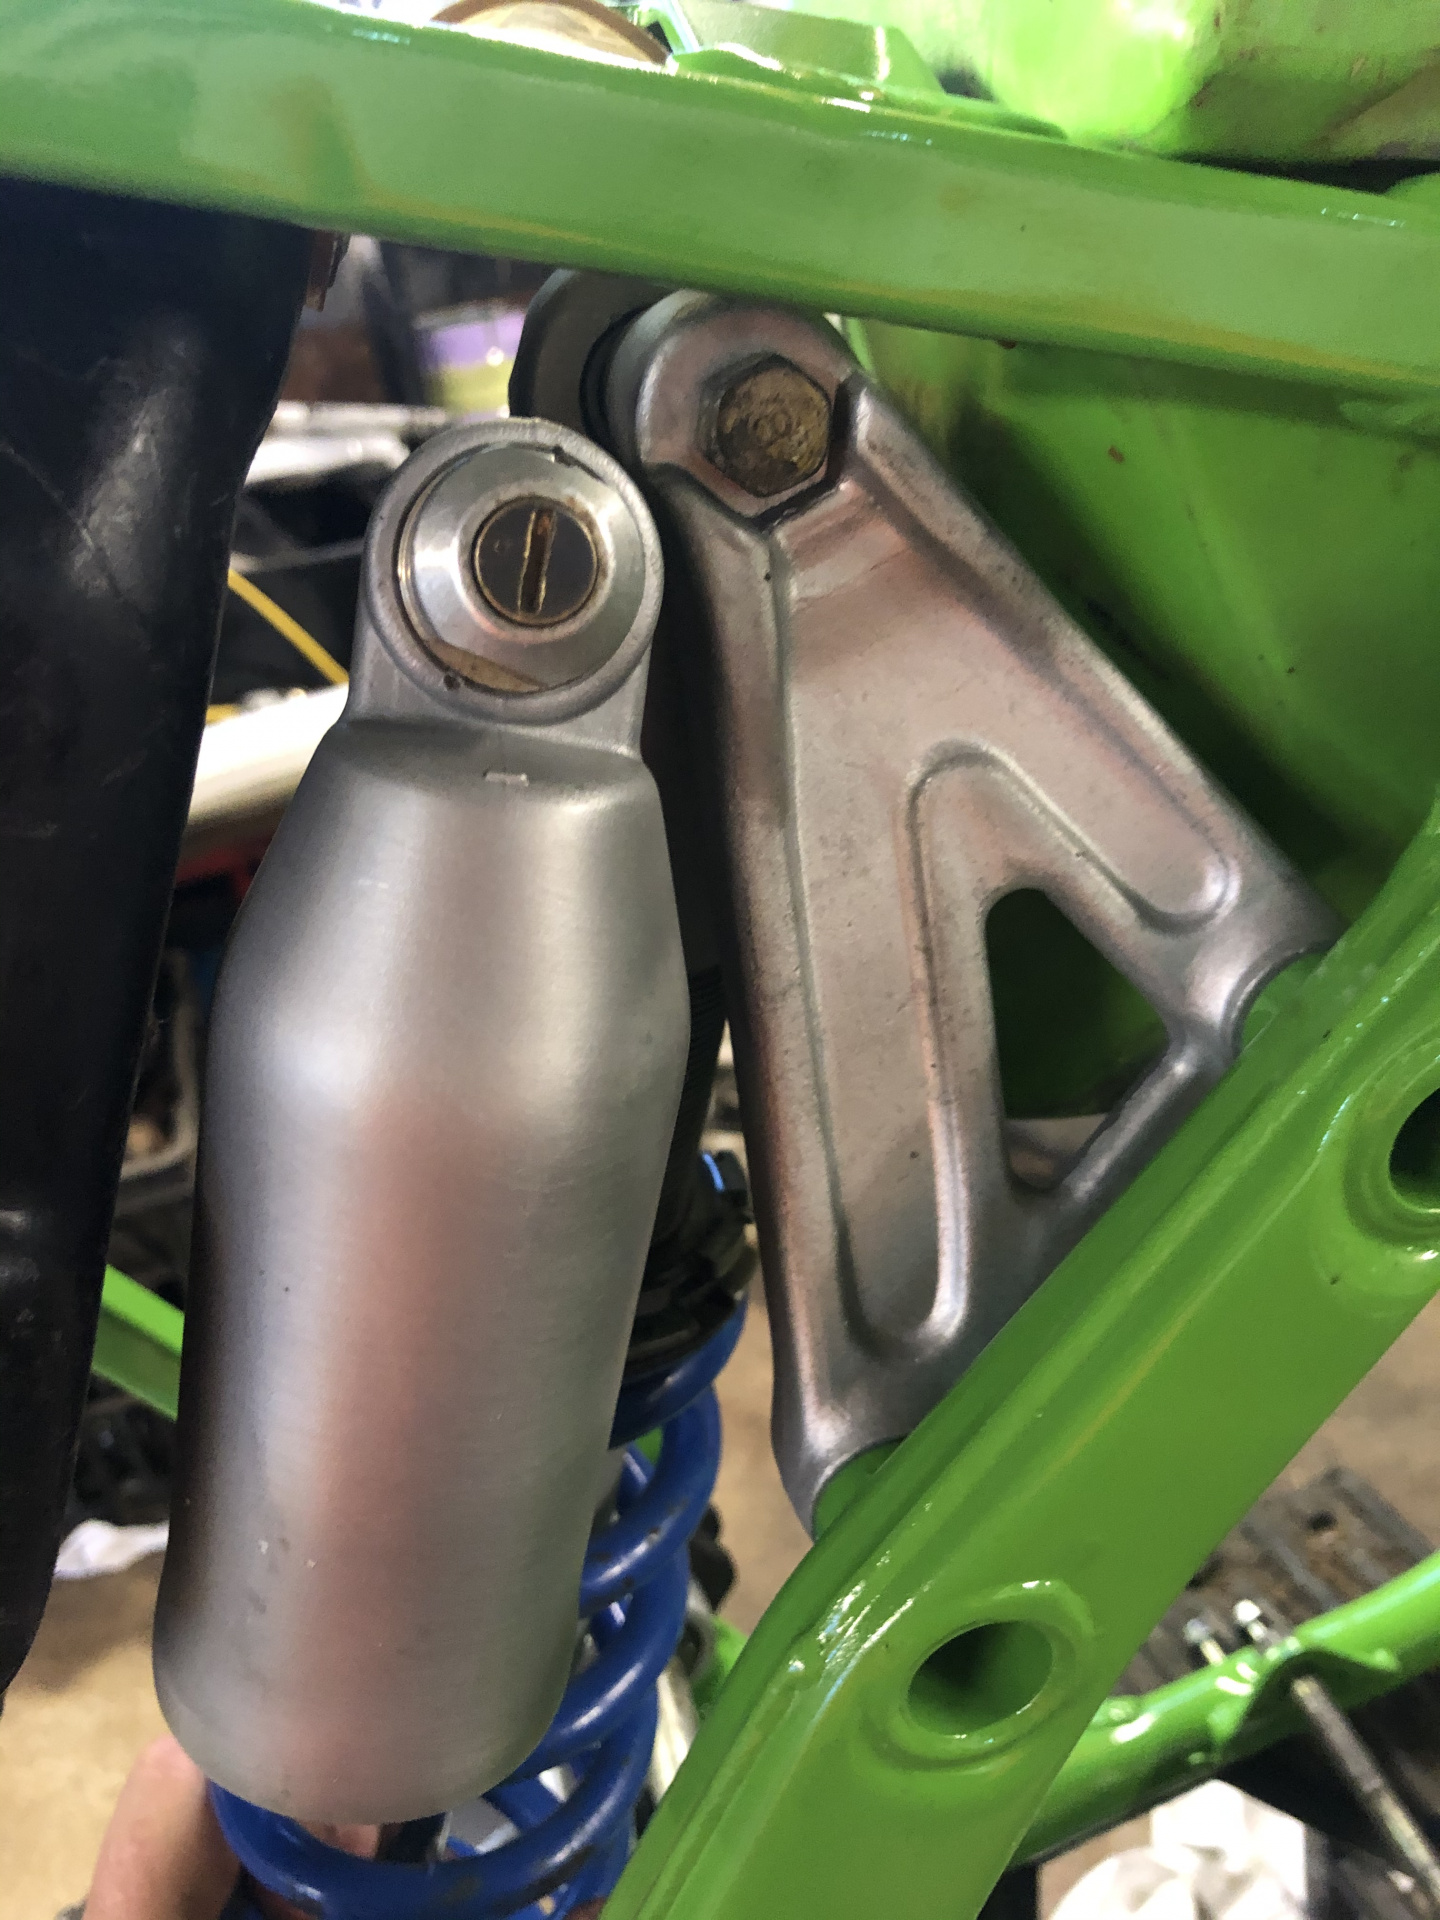
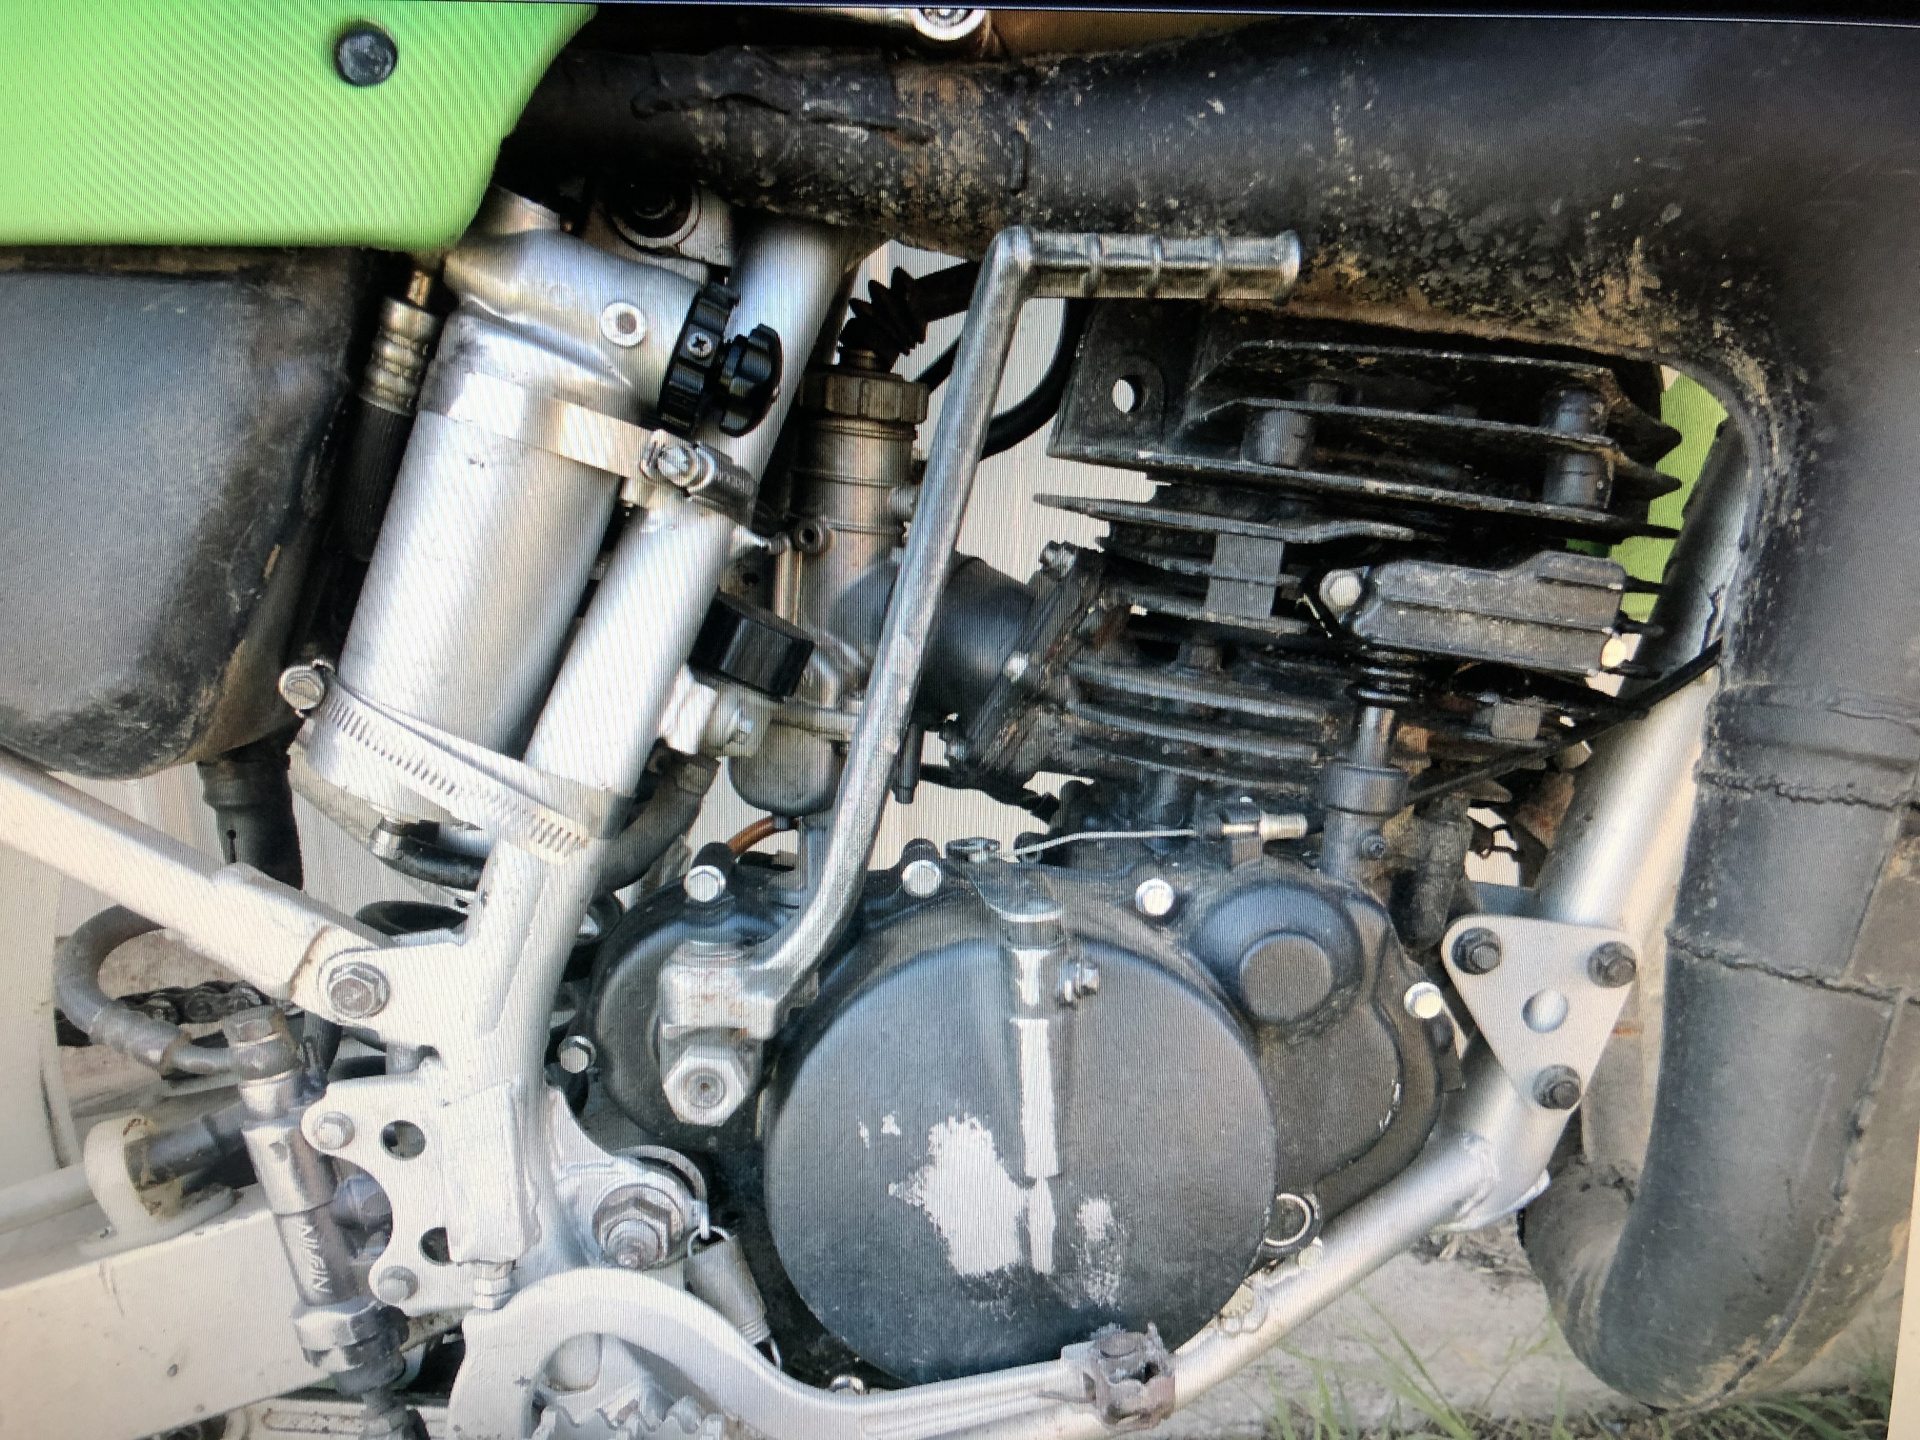
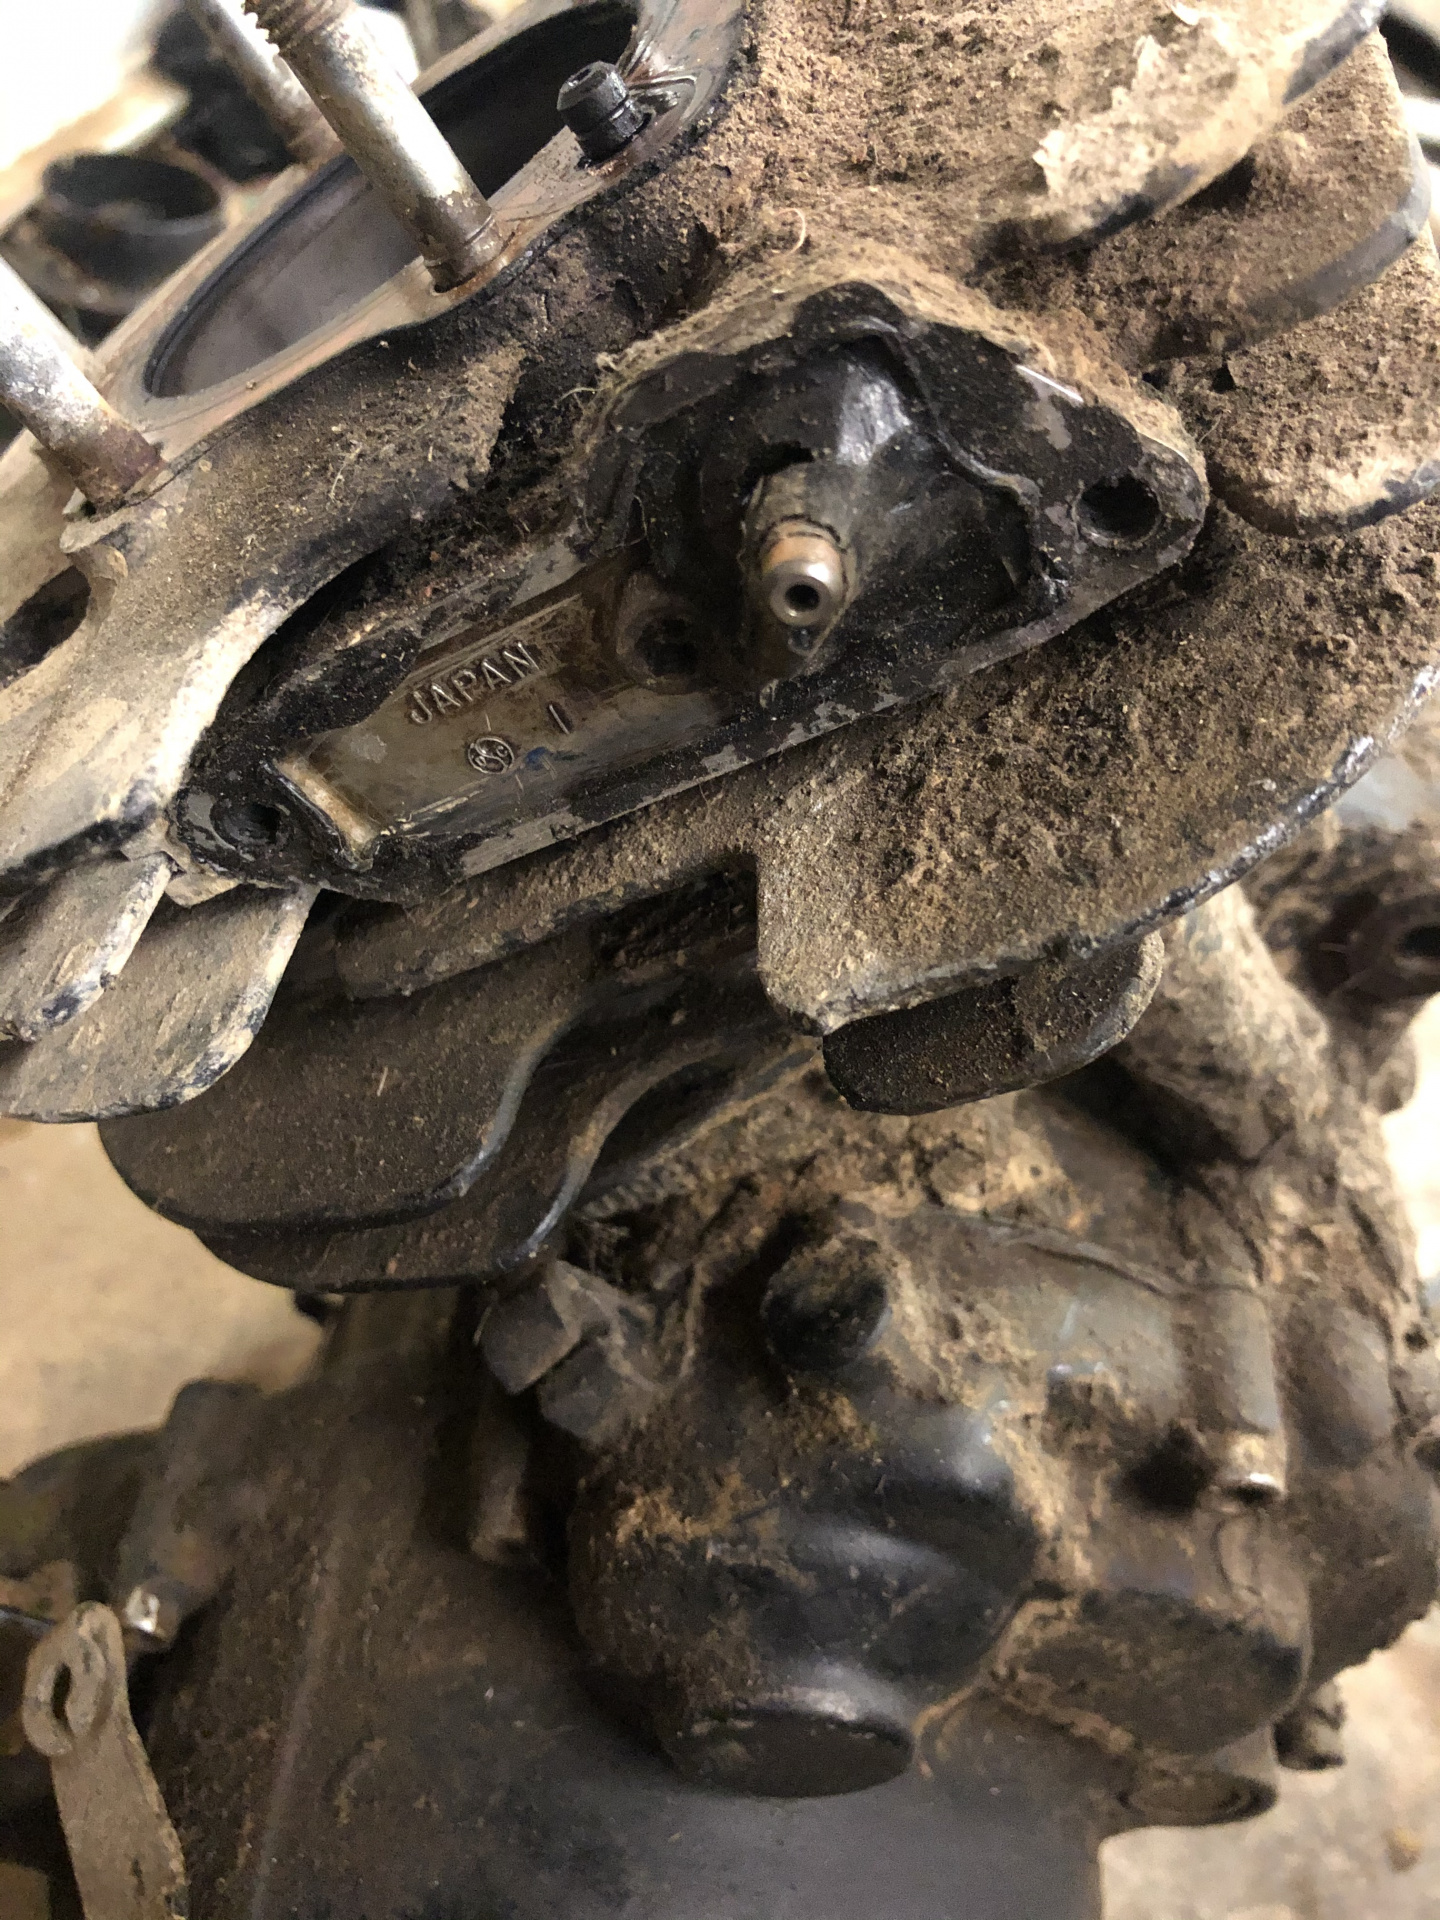
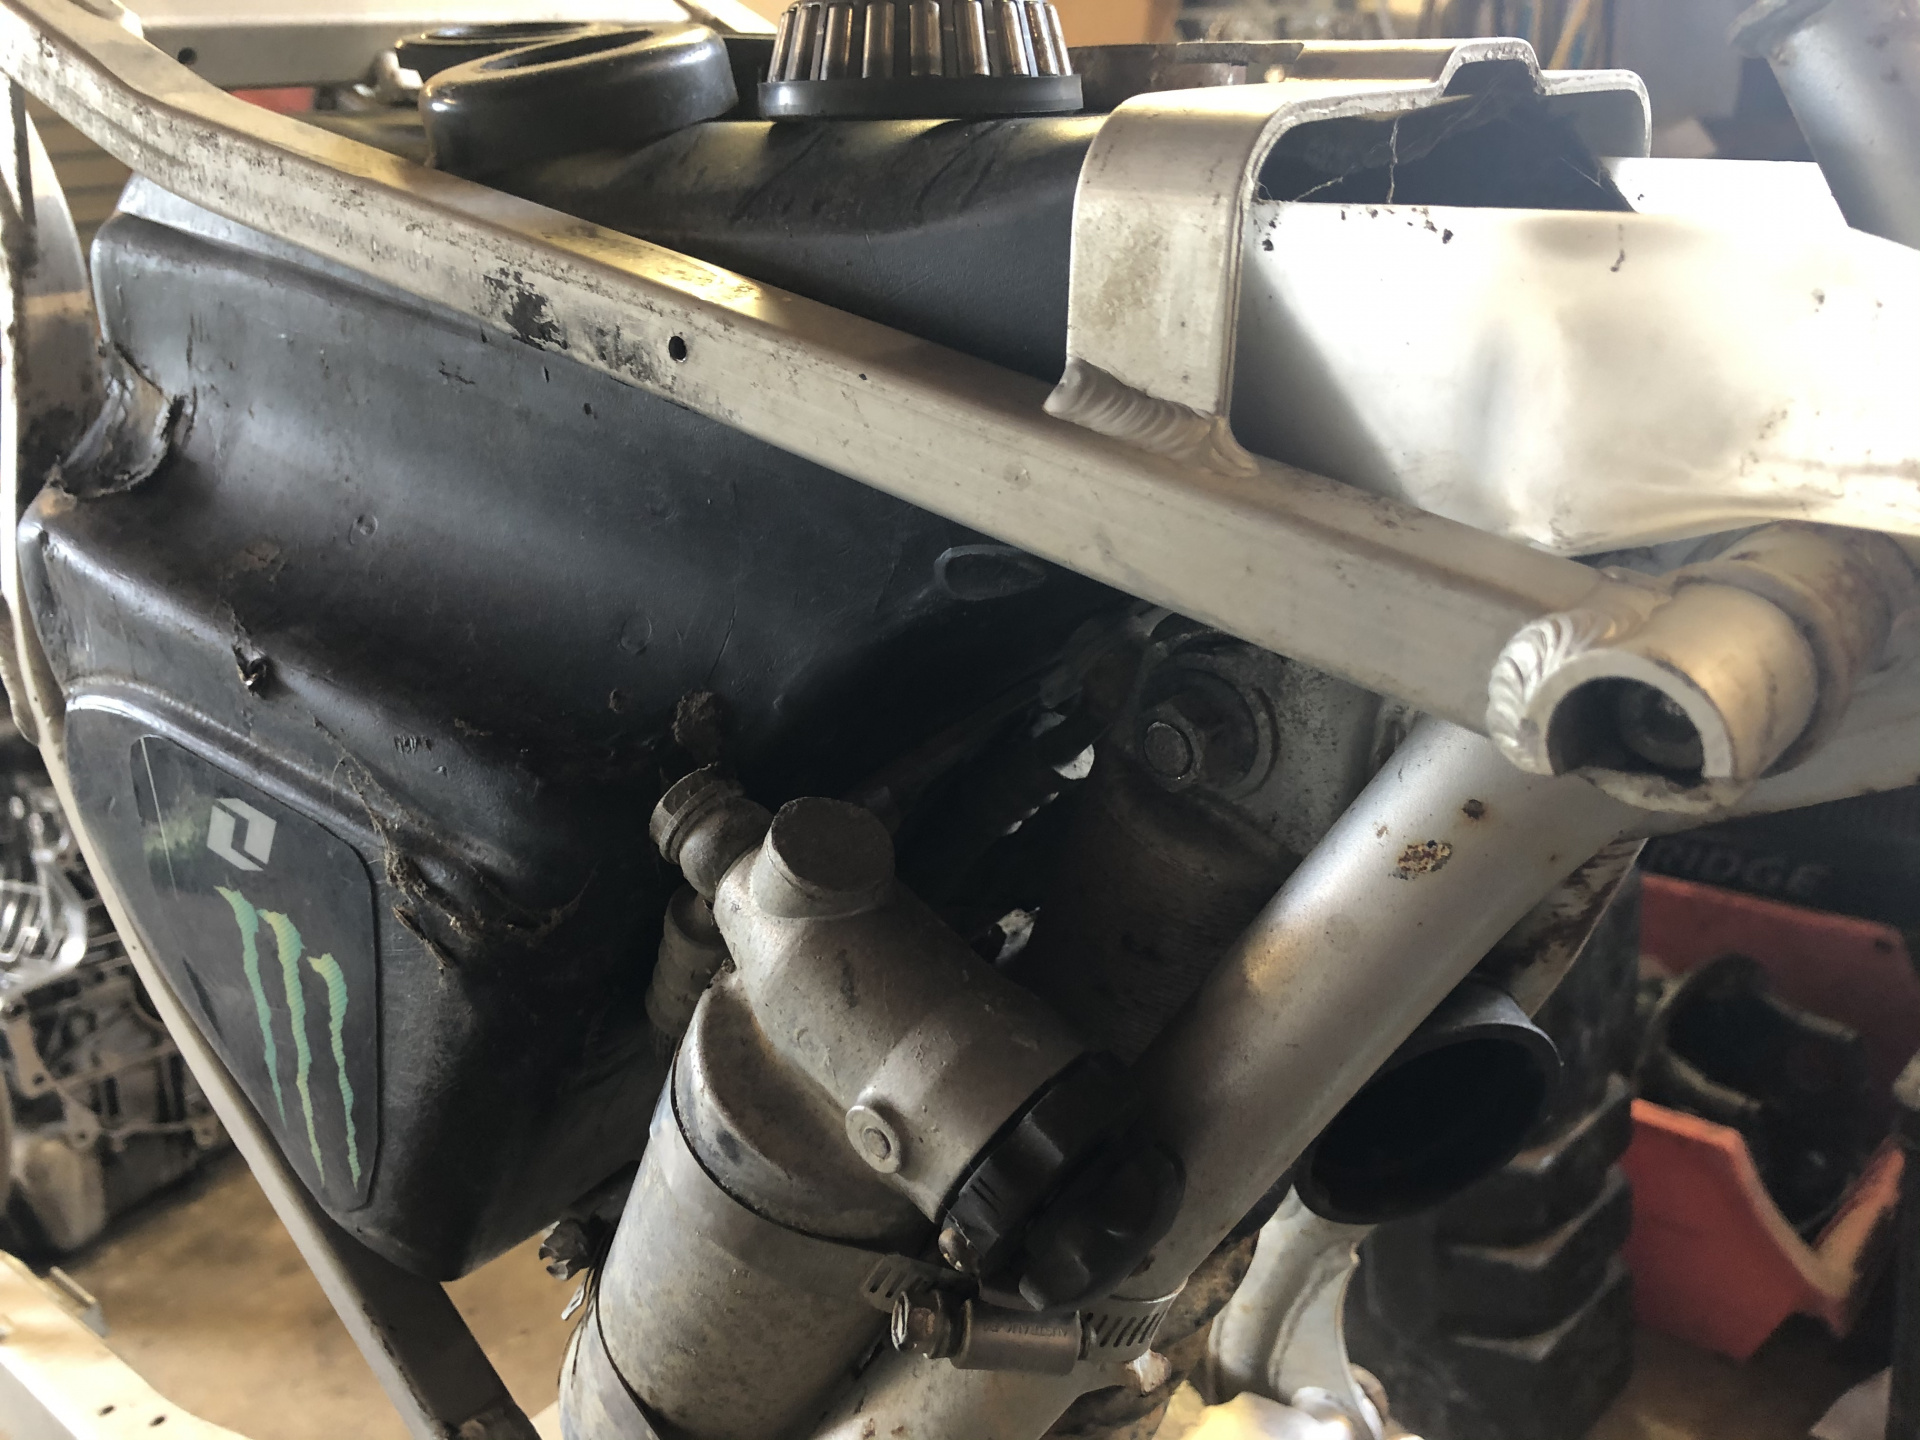
For now, suffice to say that there’s a few “highlights” that have left me scratching my head - disabling the exhaust power valve with silastic...

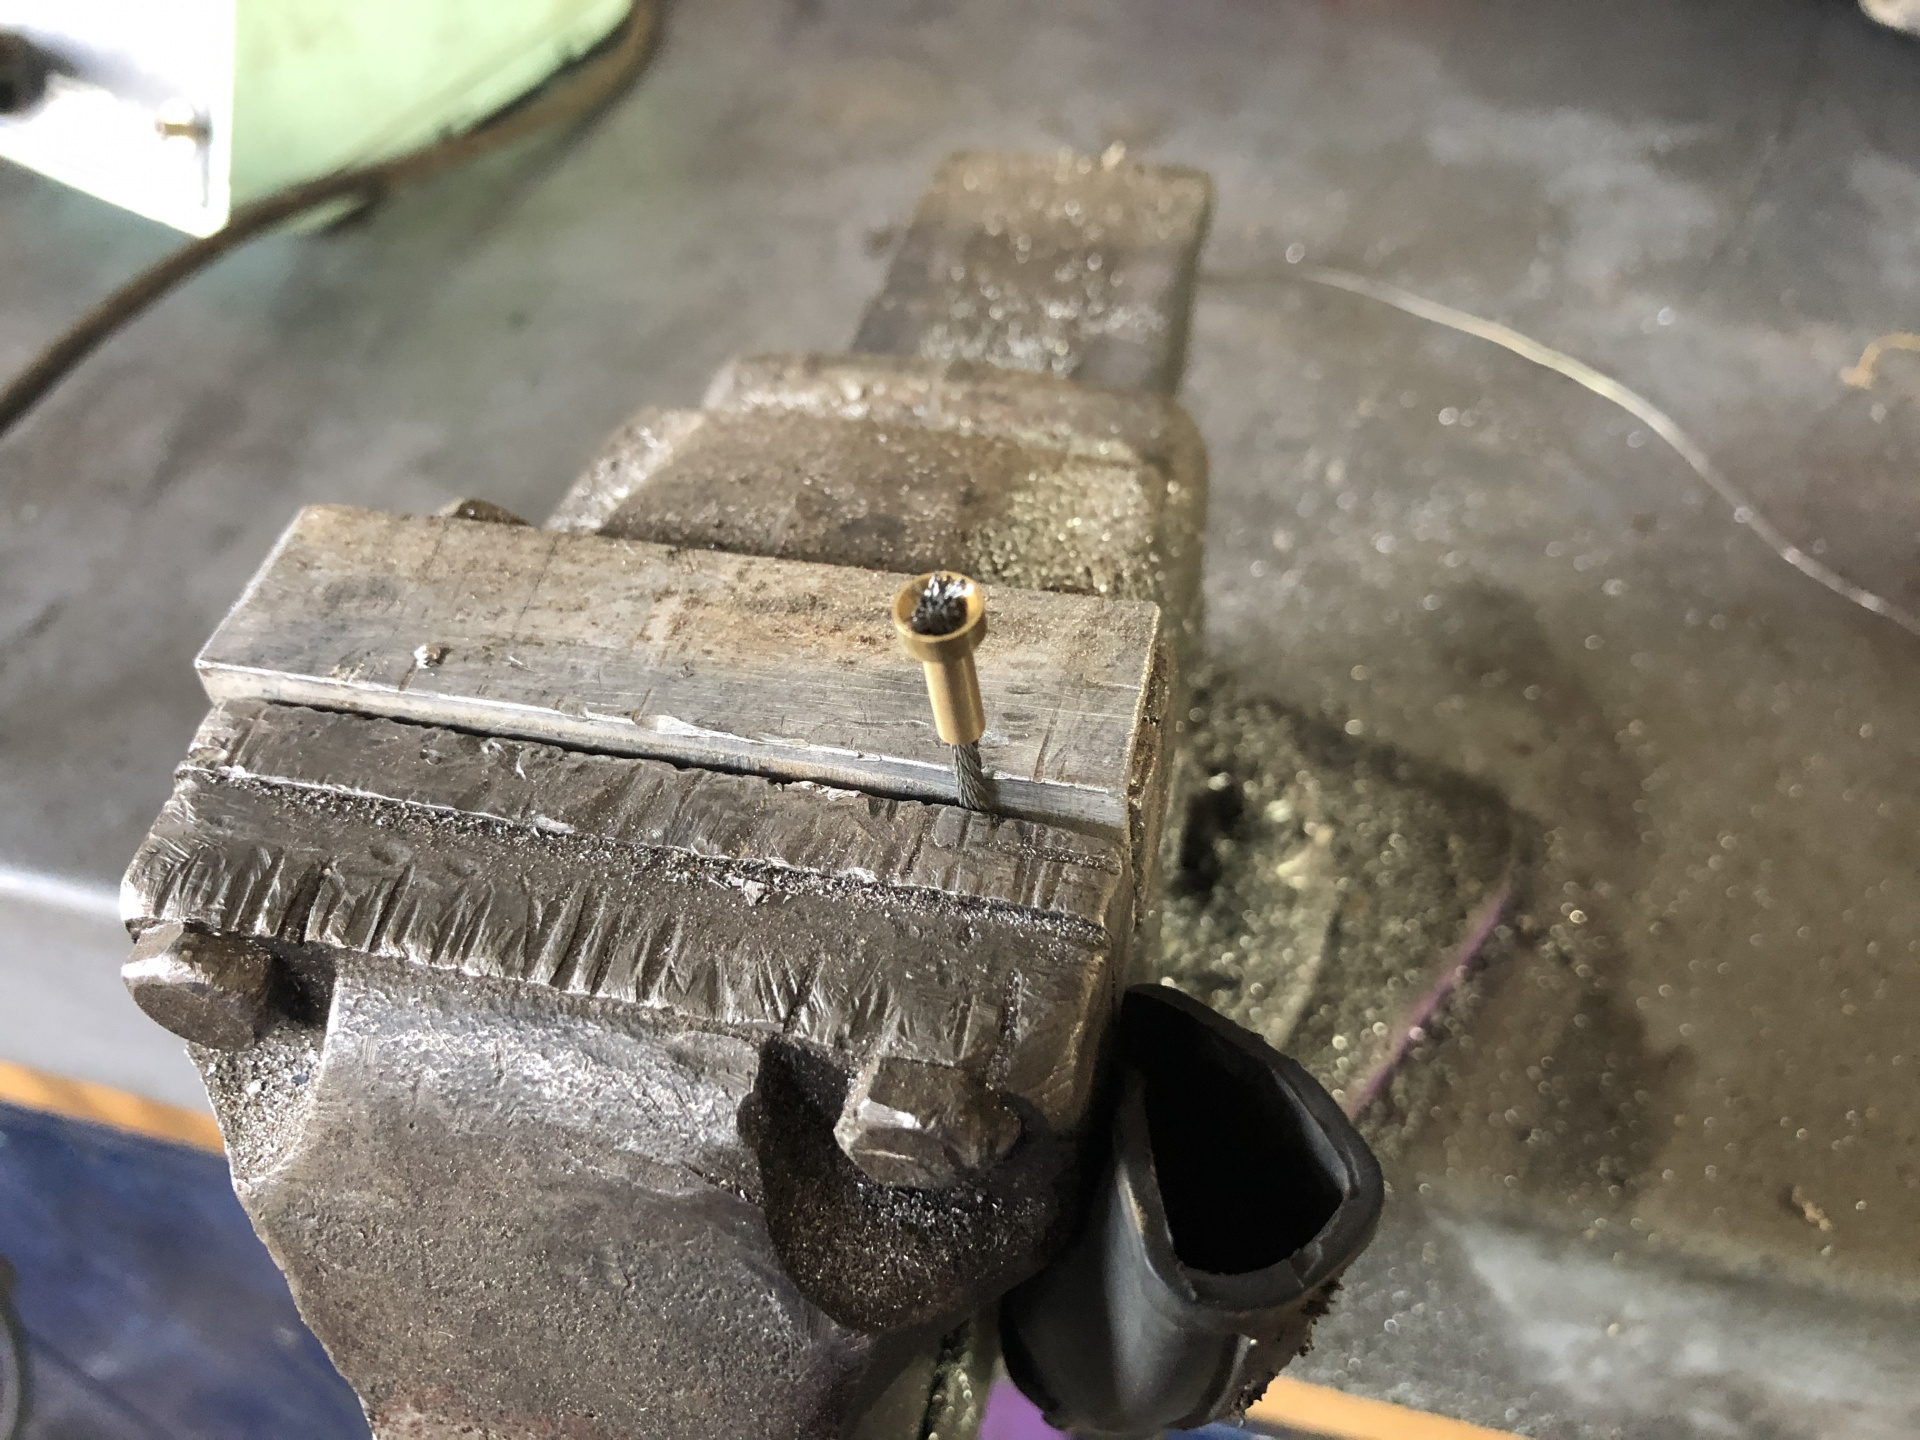
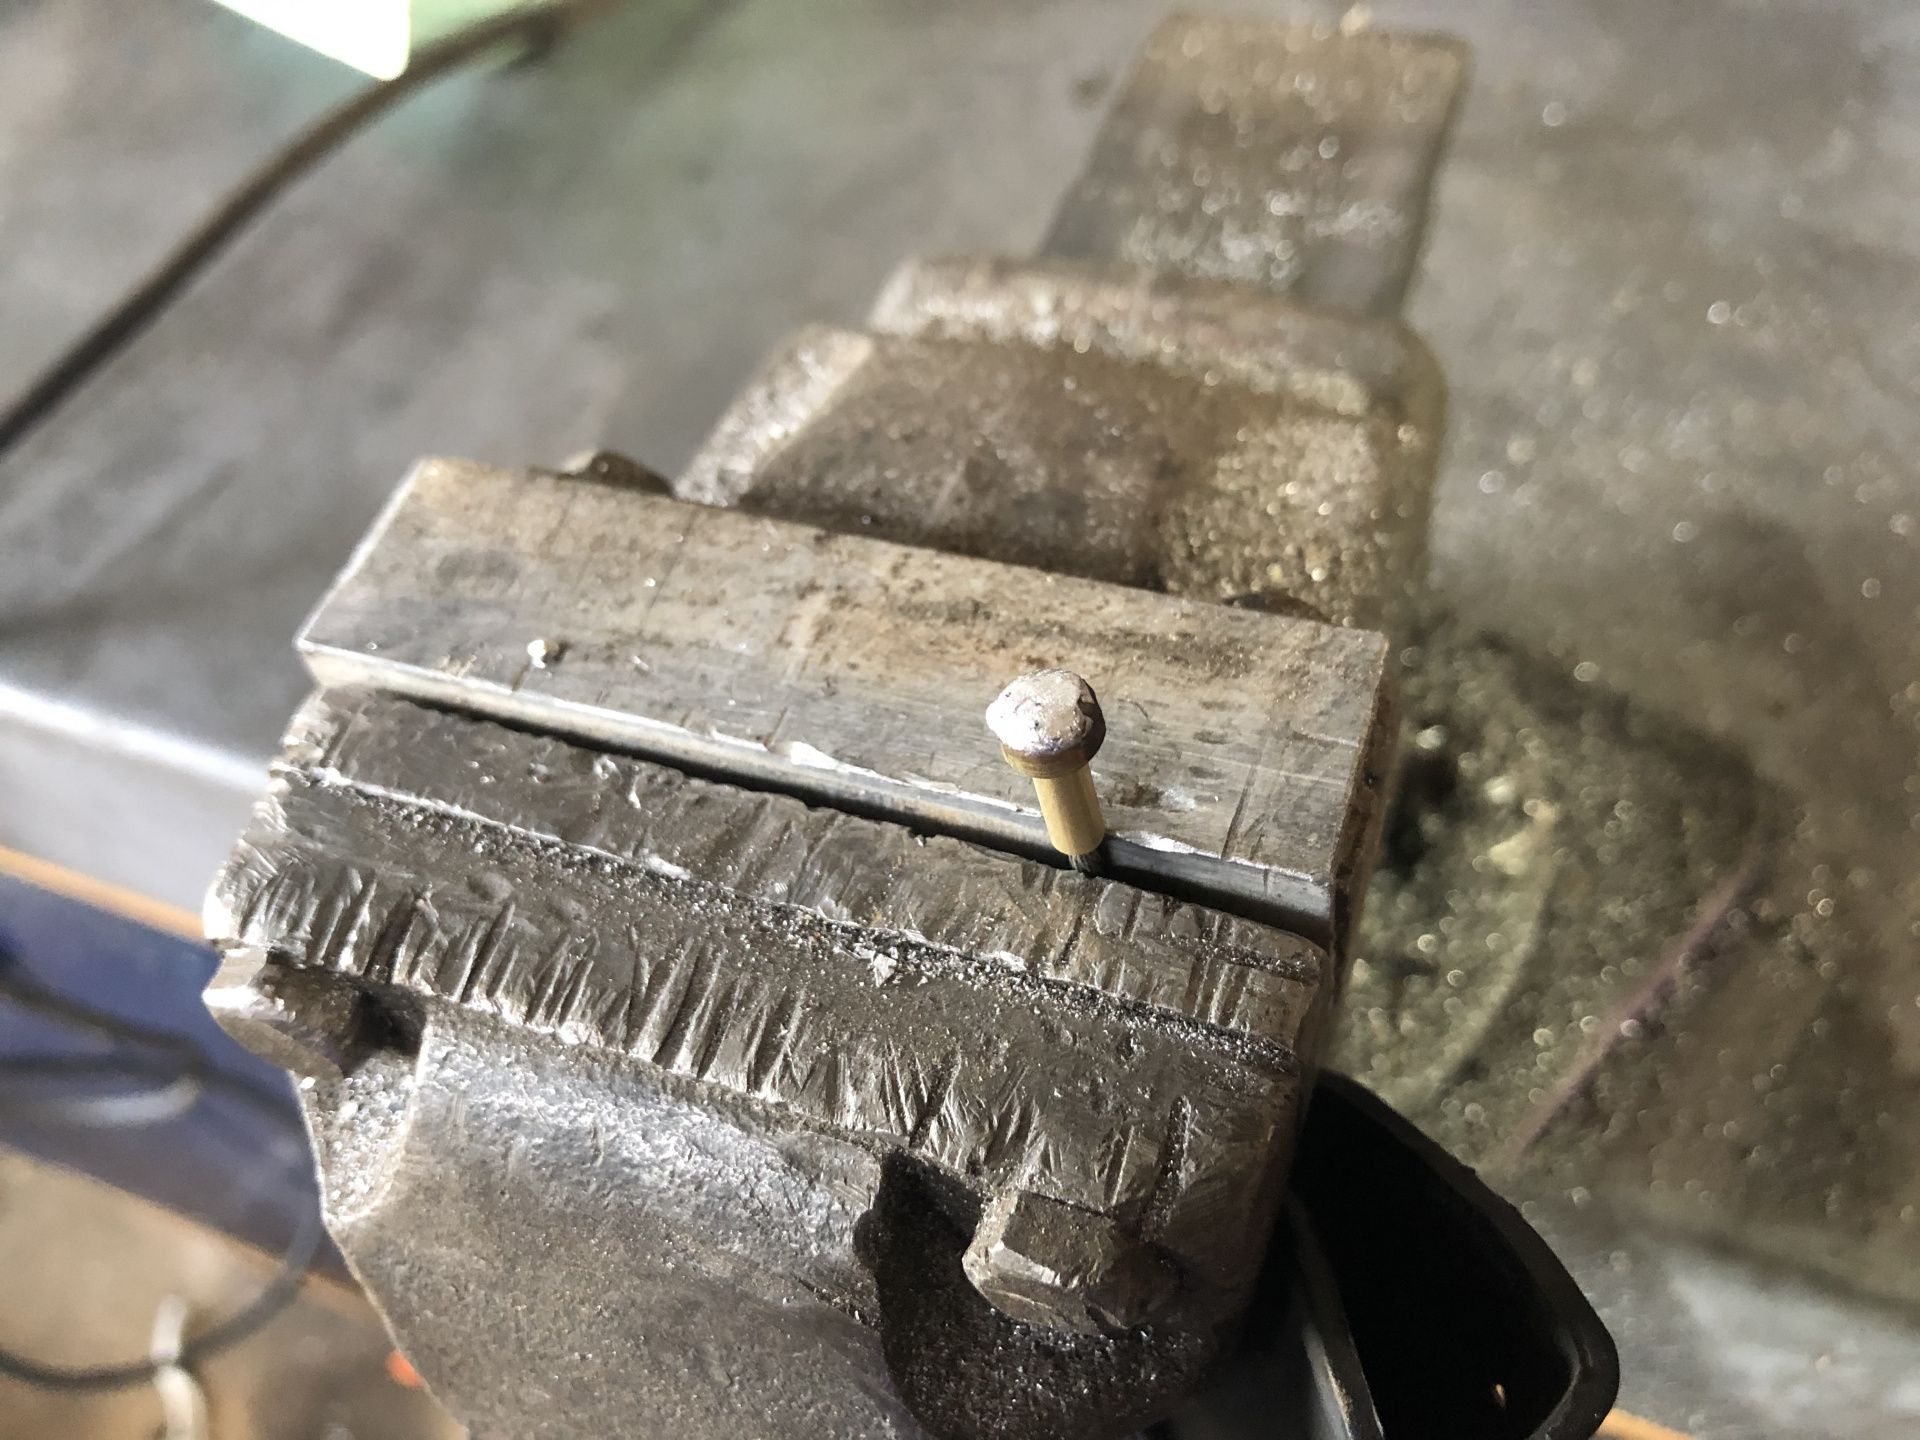
...and cutting the wiring rather than disconnecting the plugs...

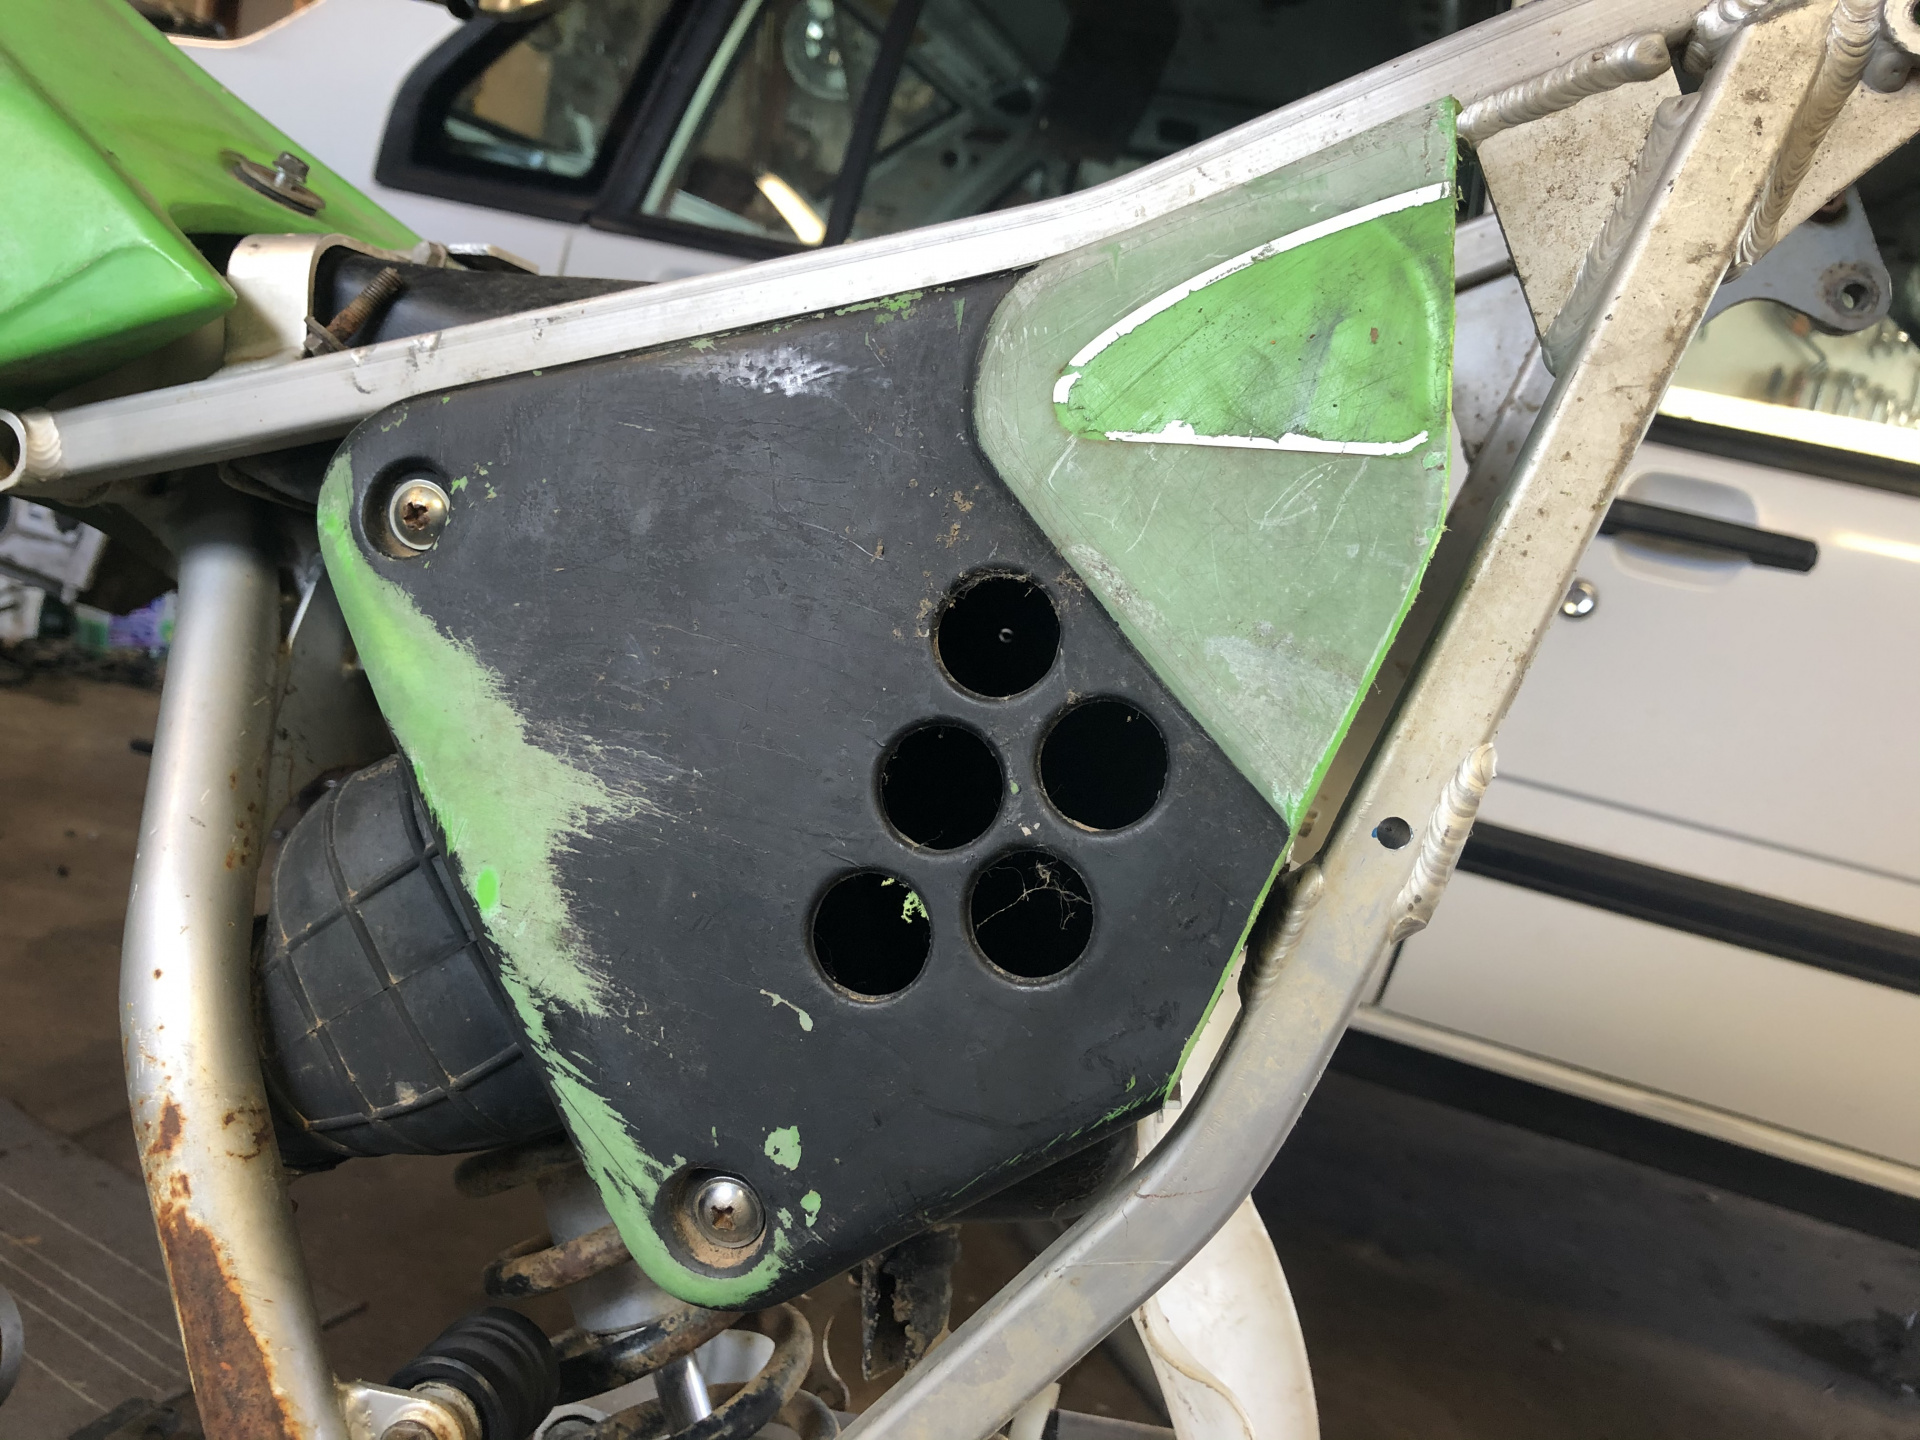
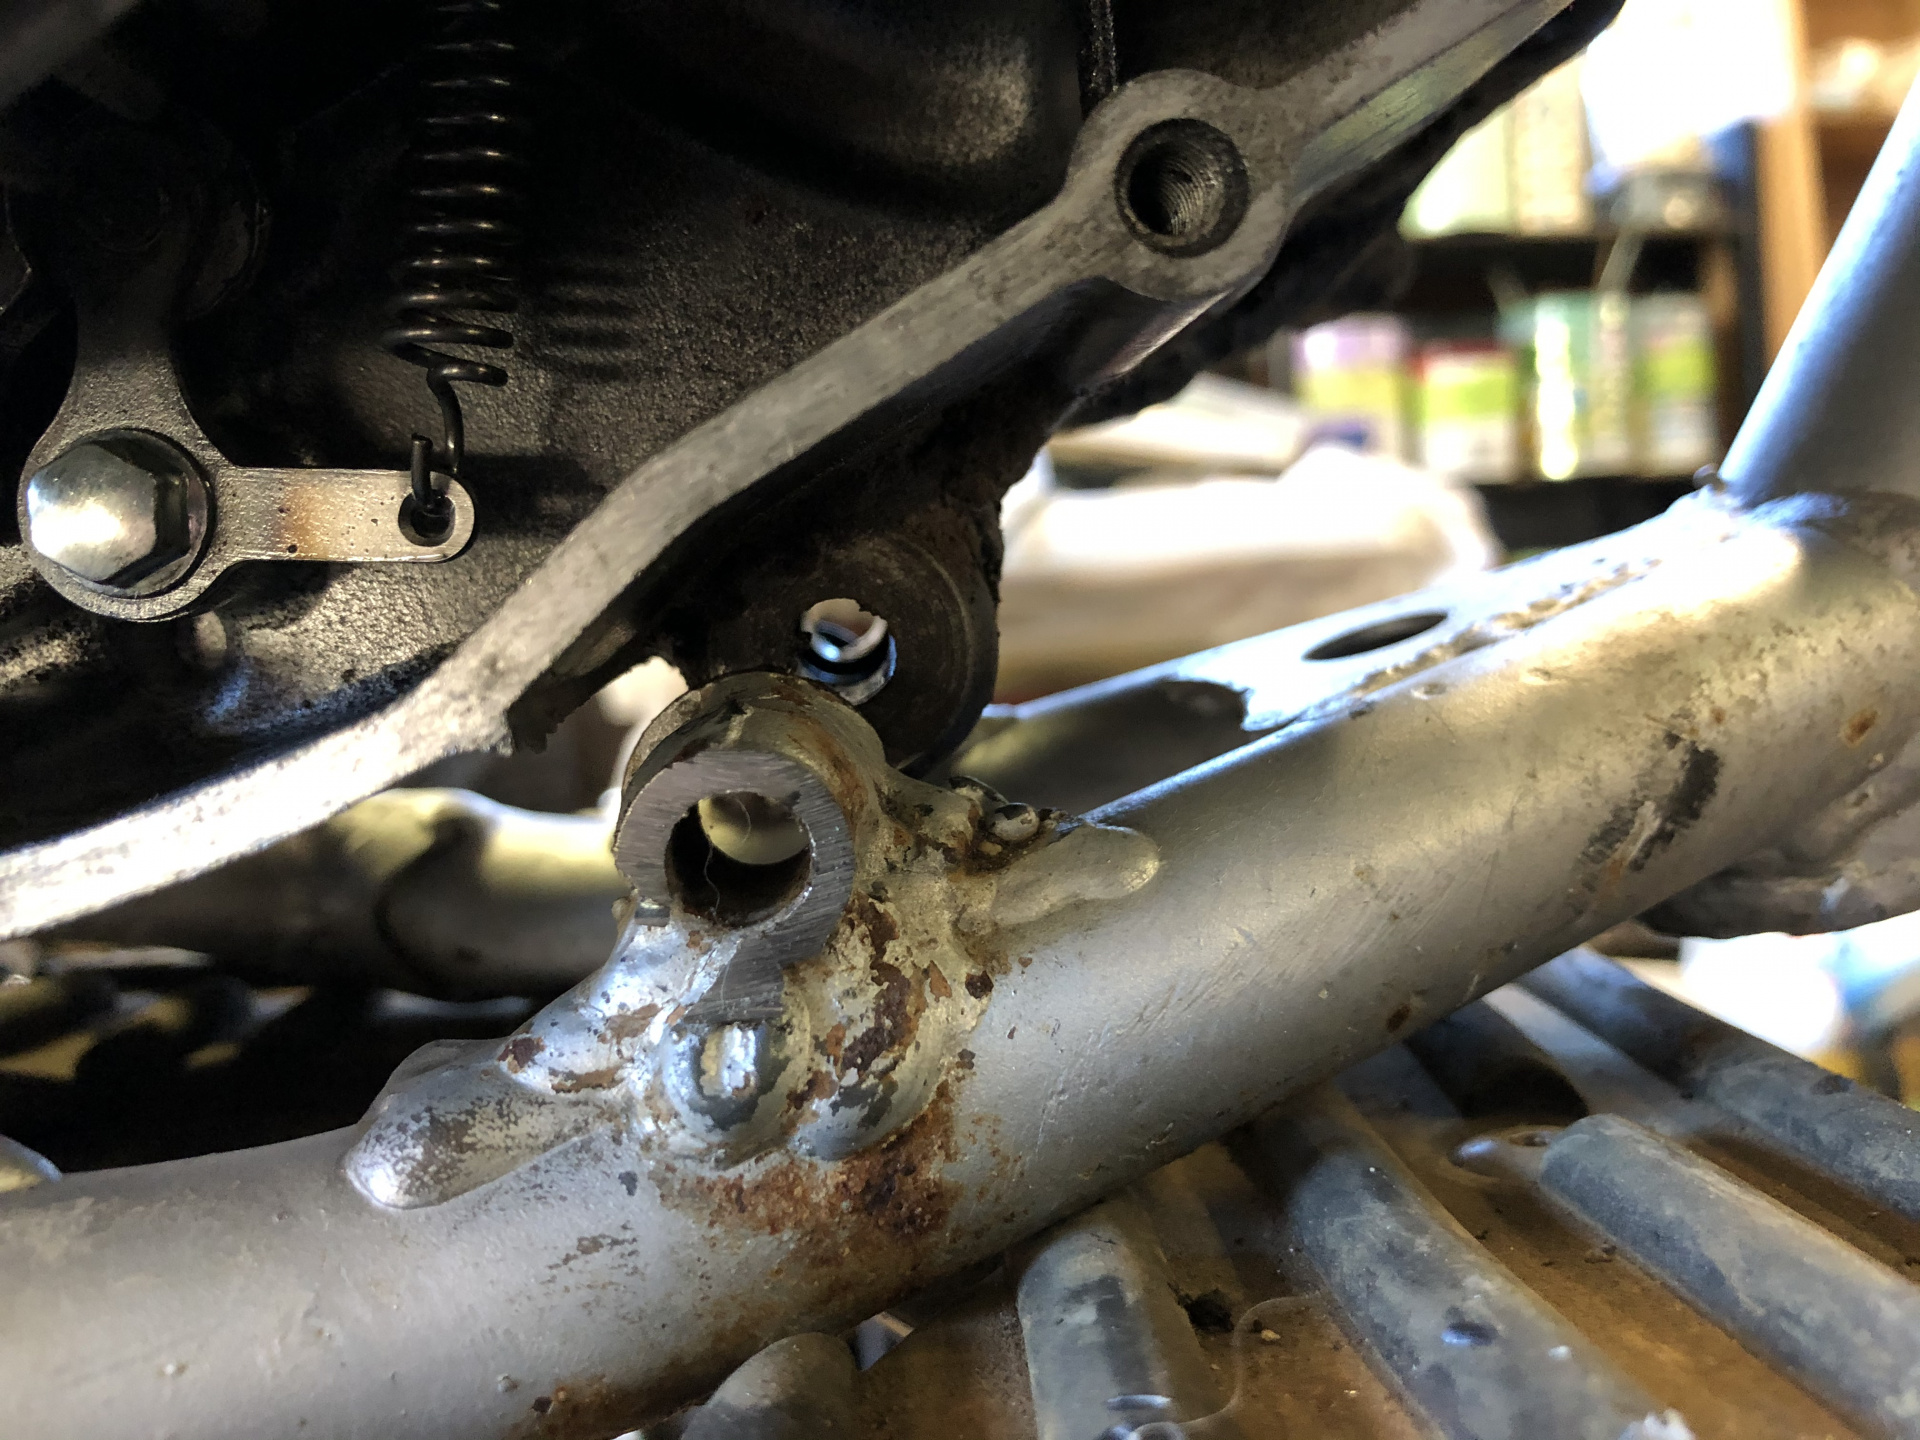
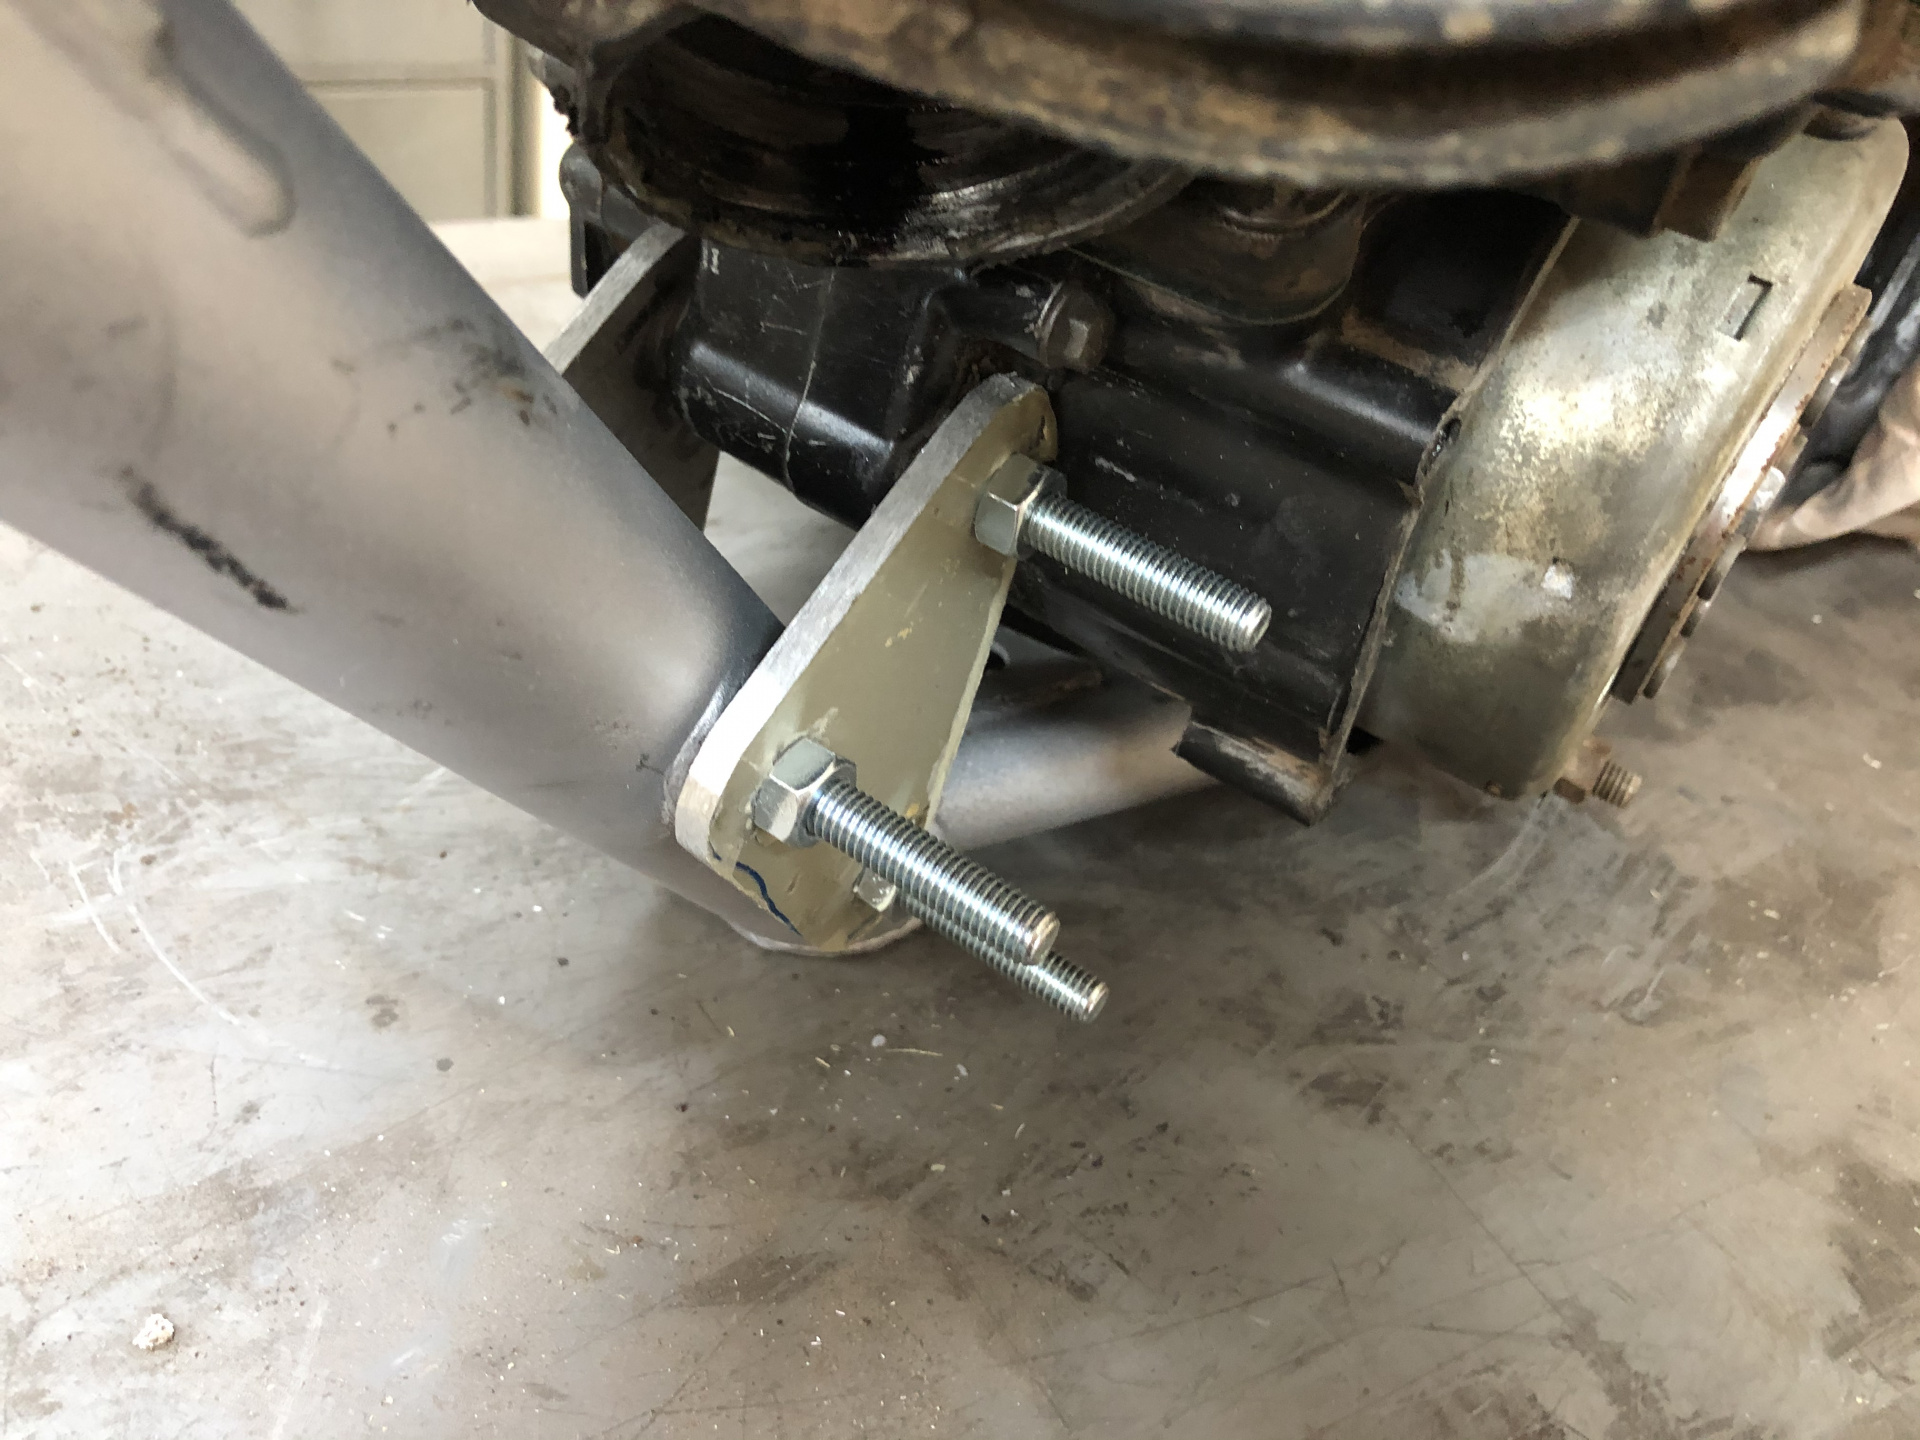
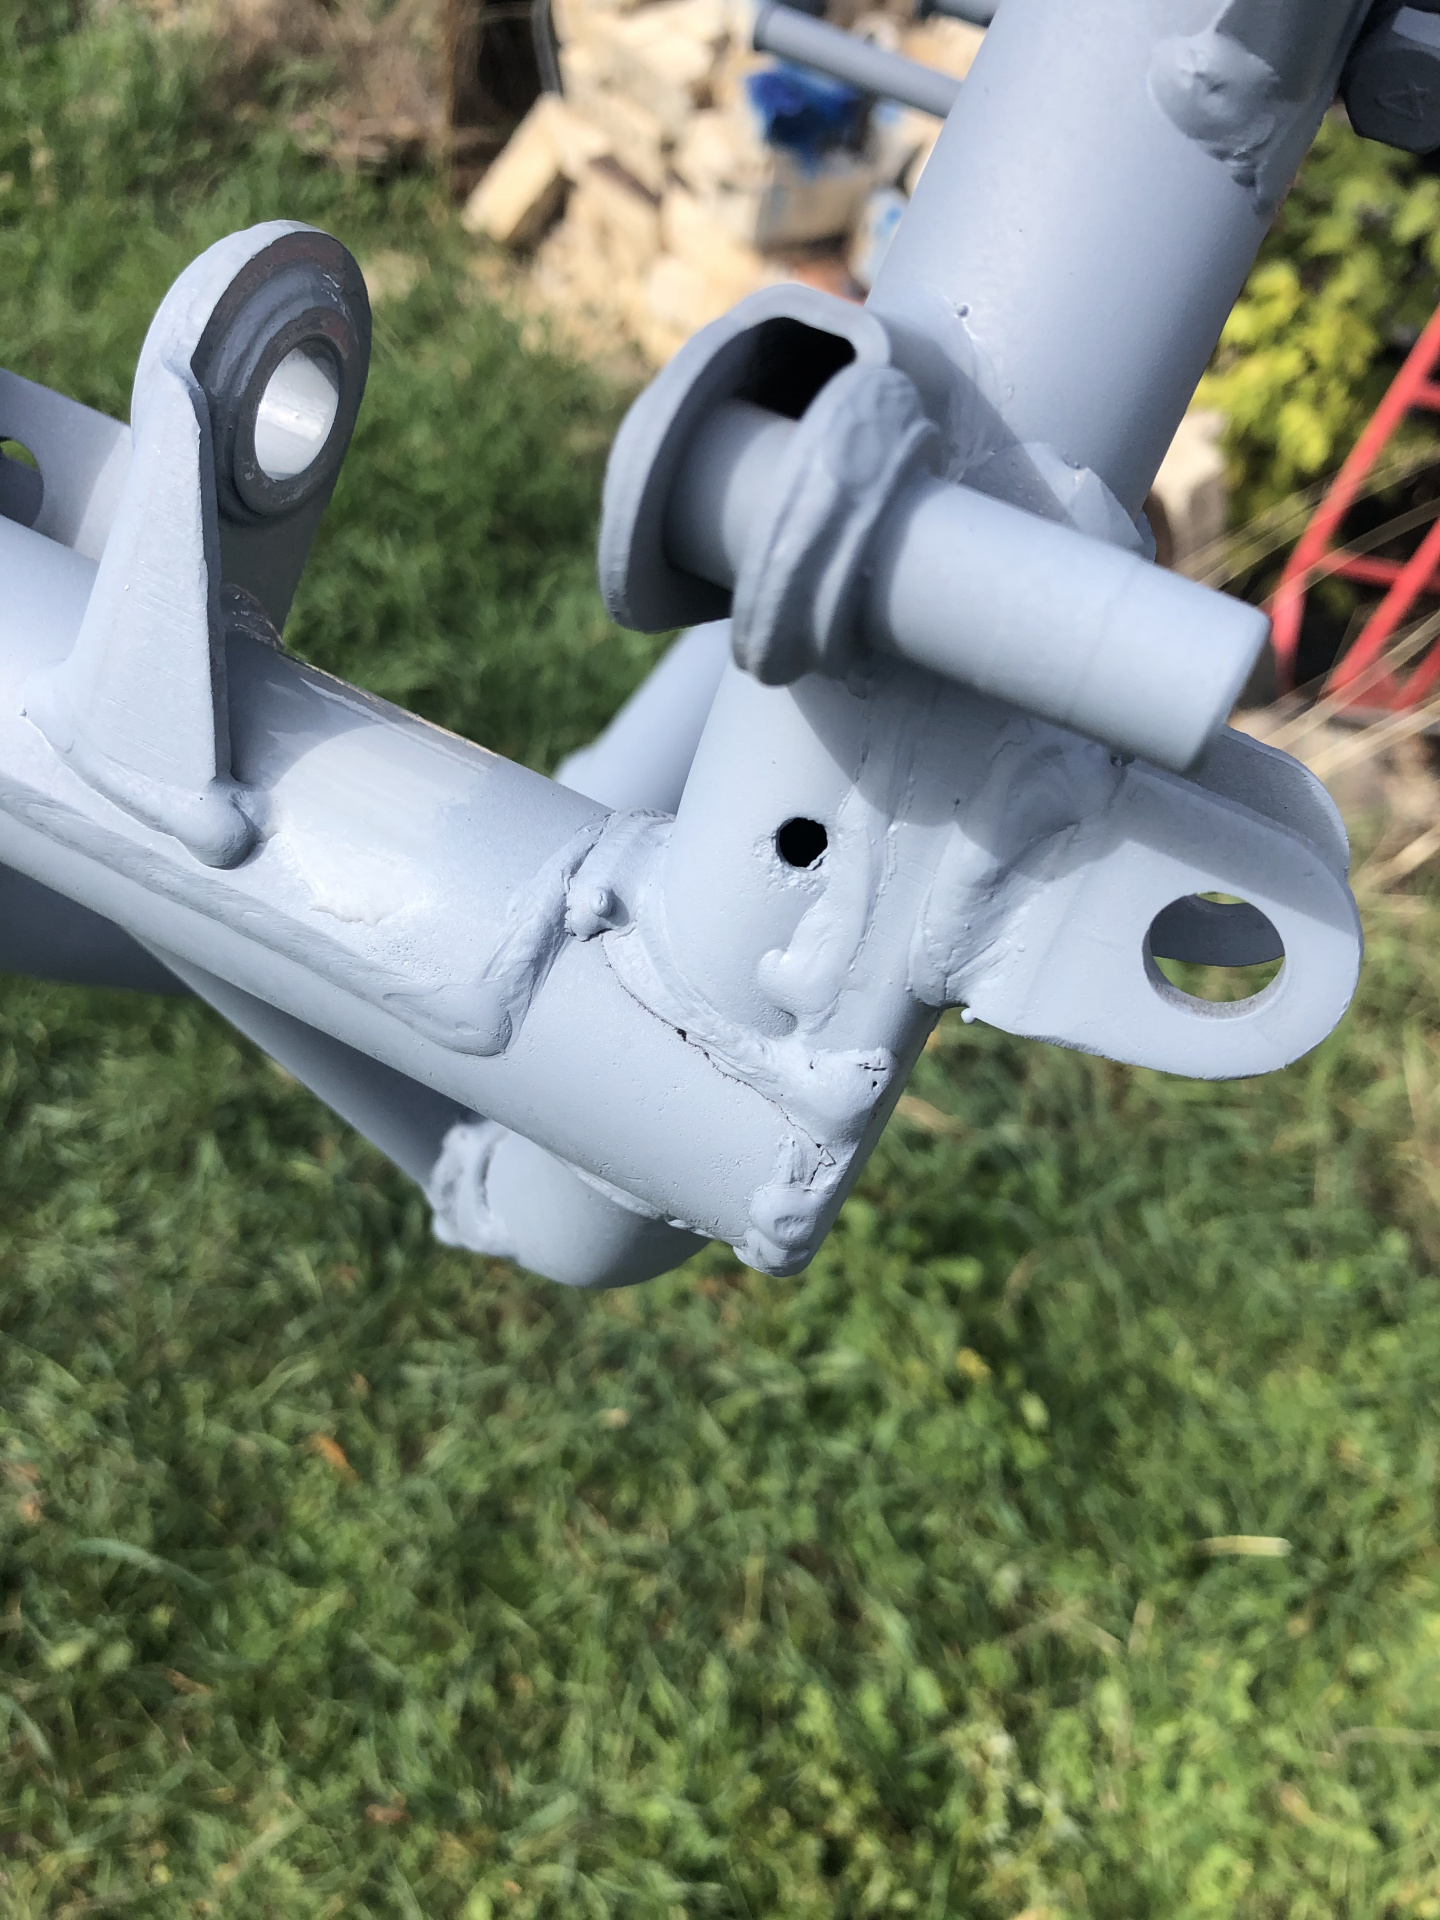
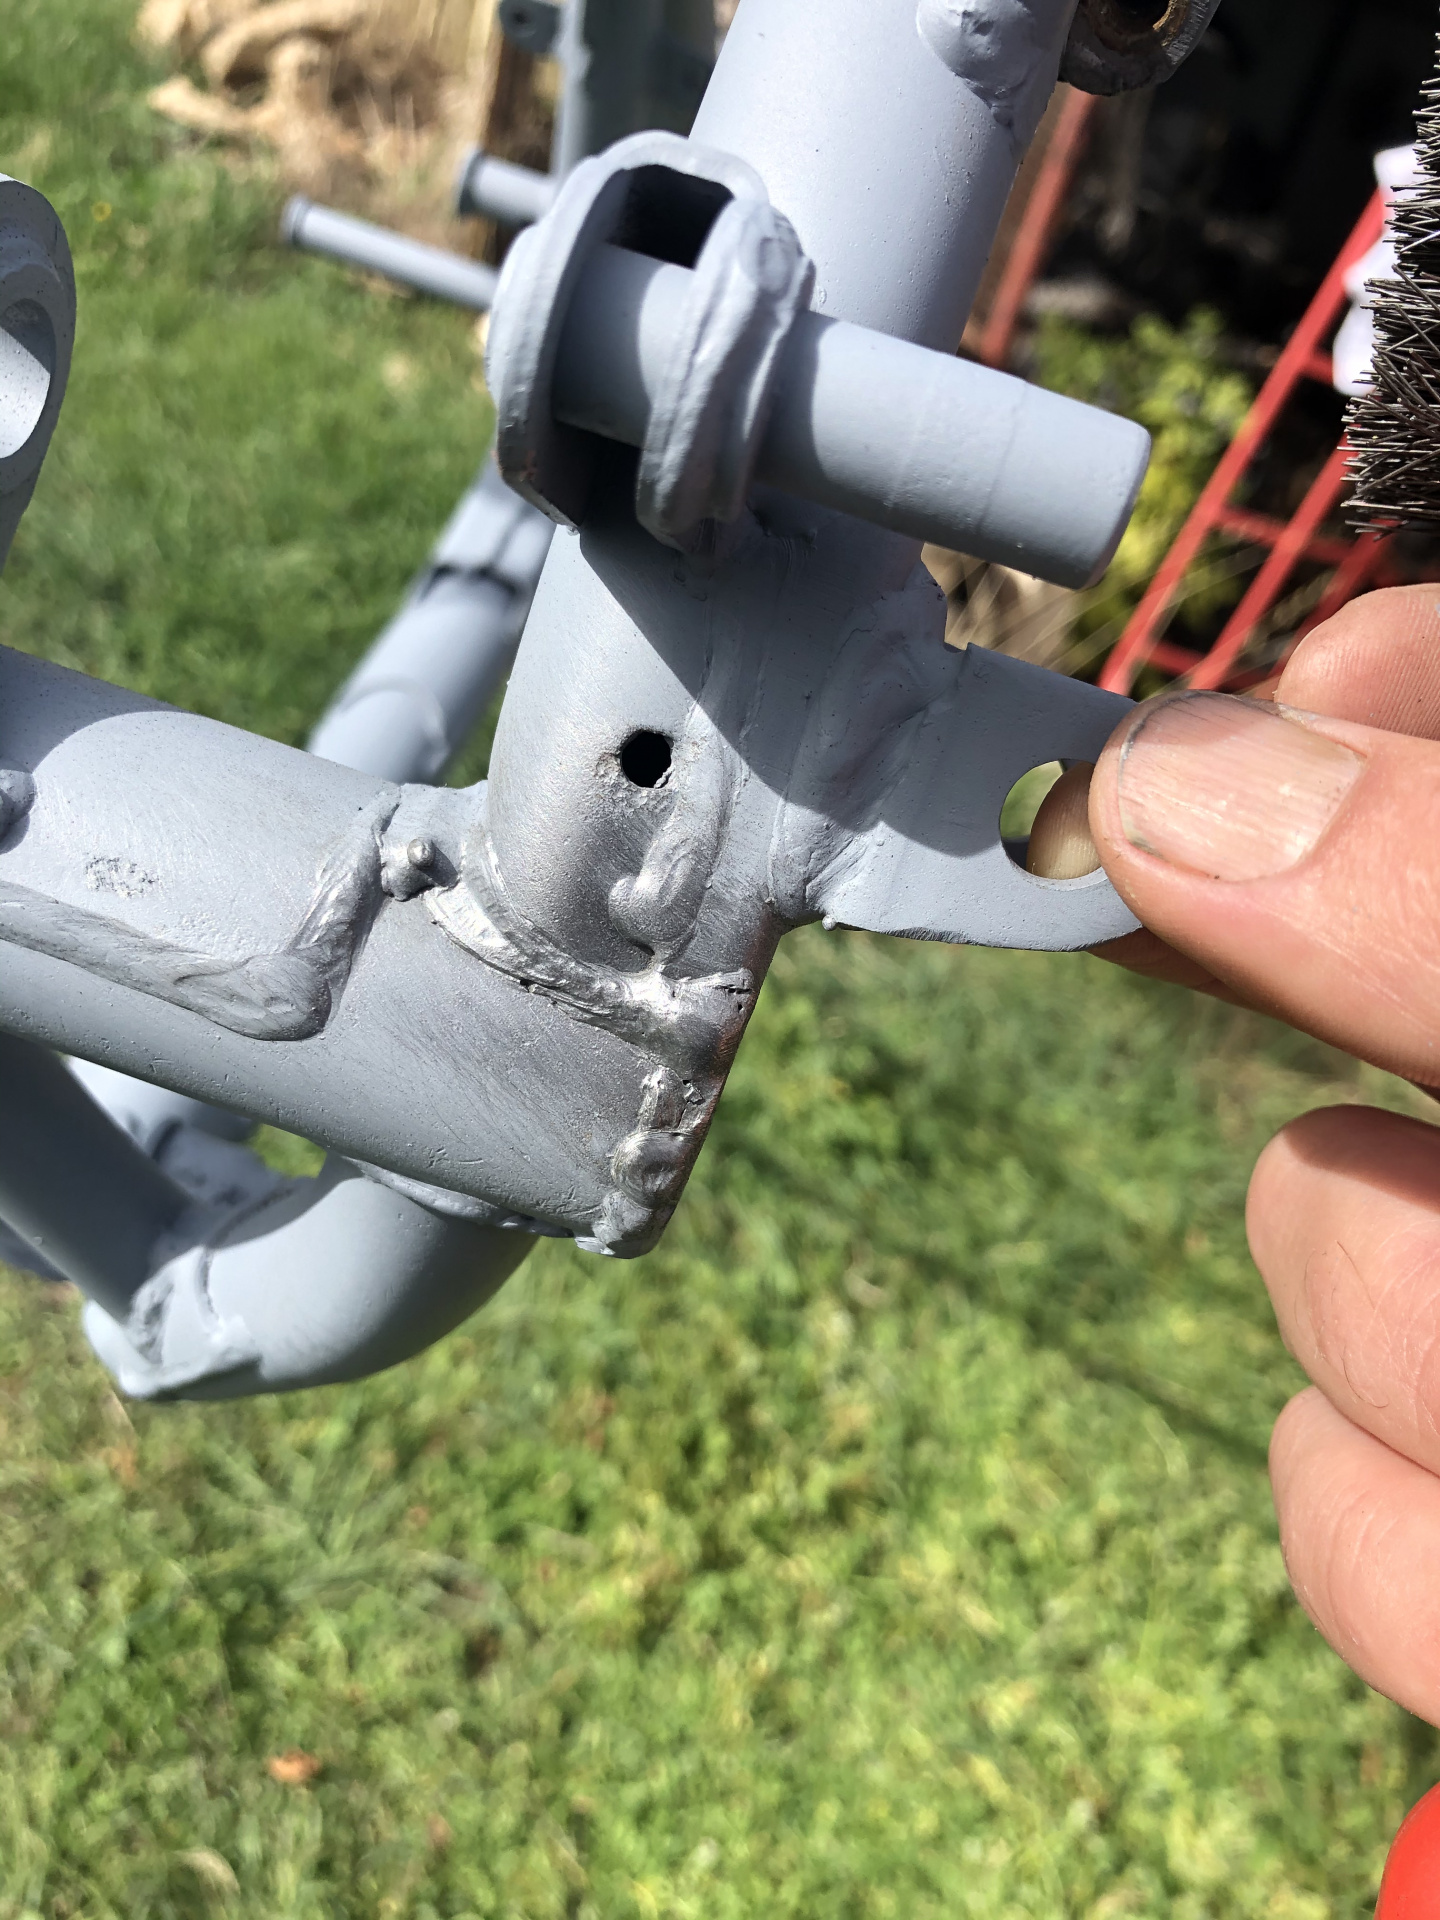
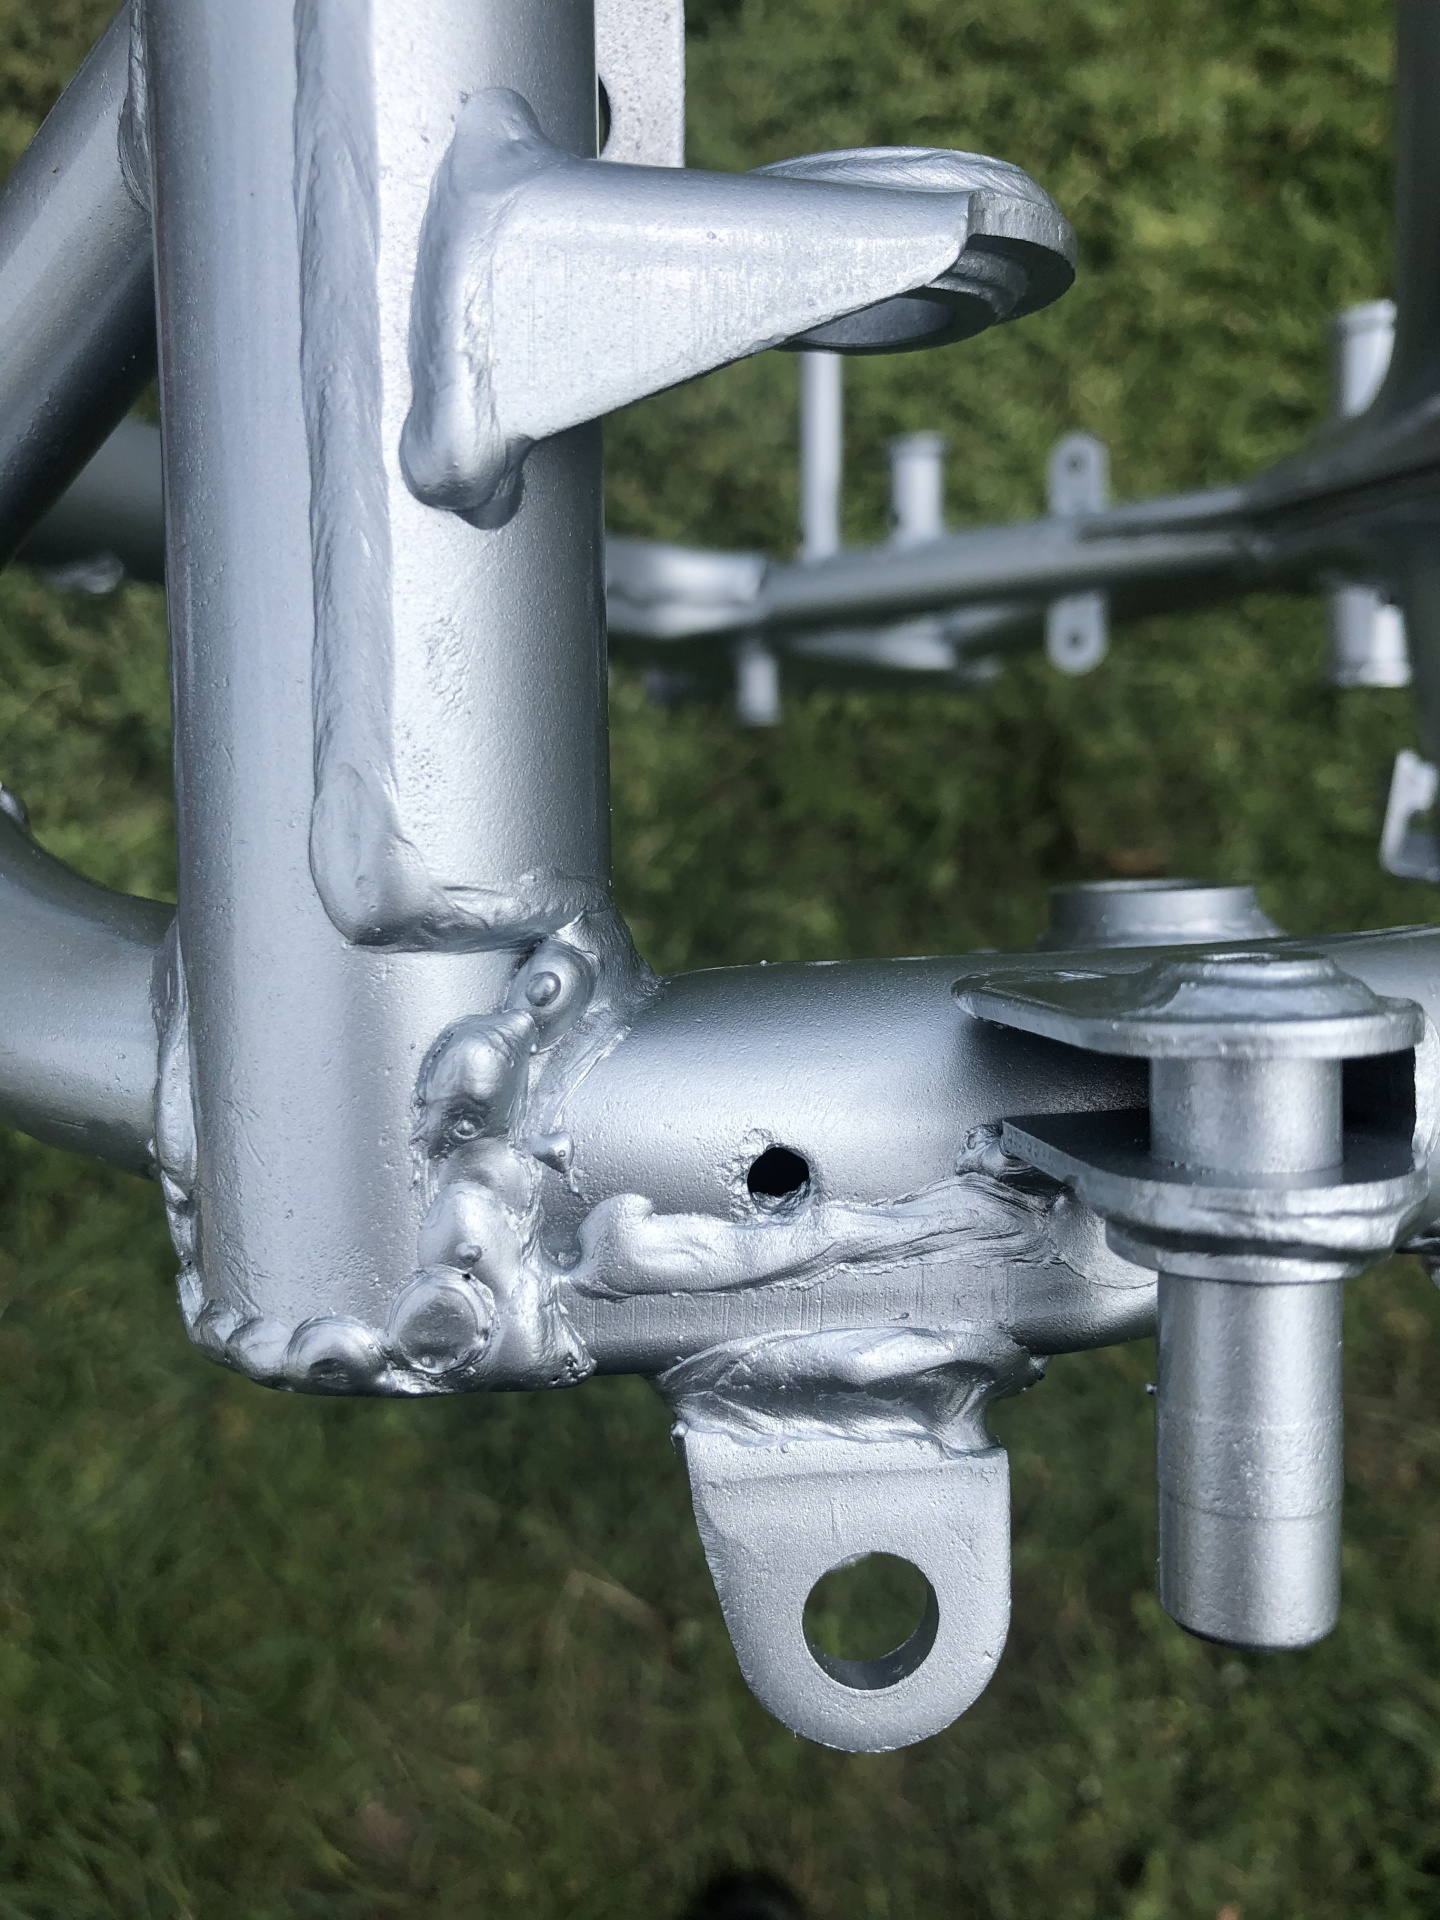
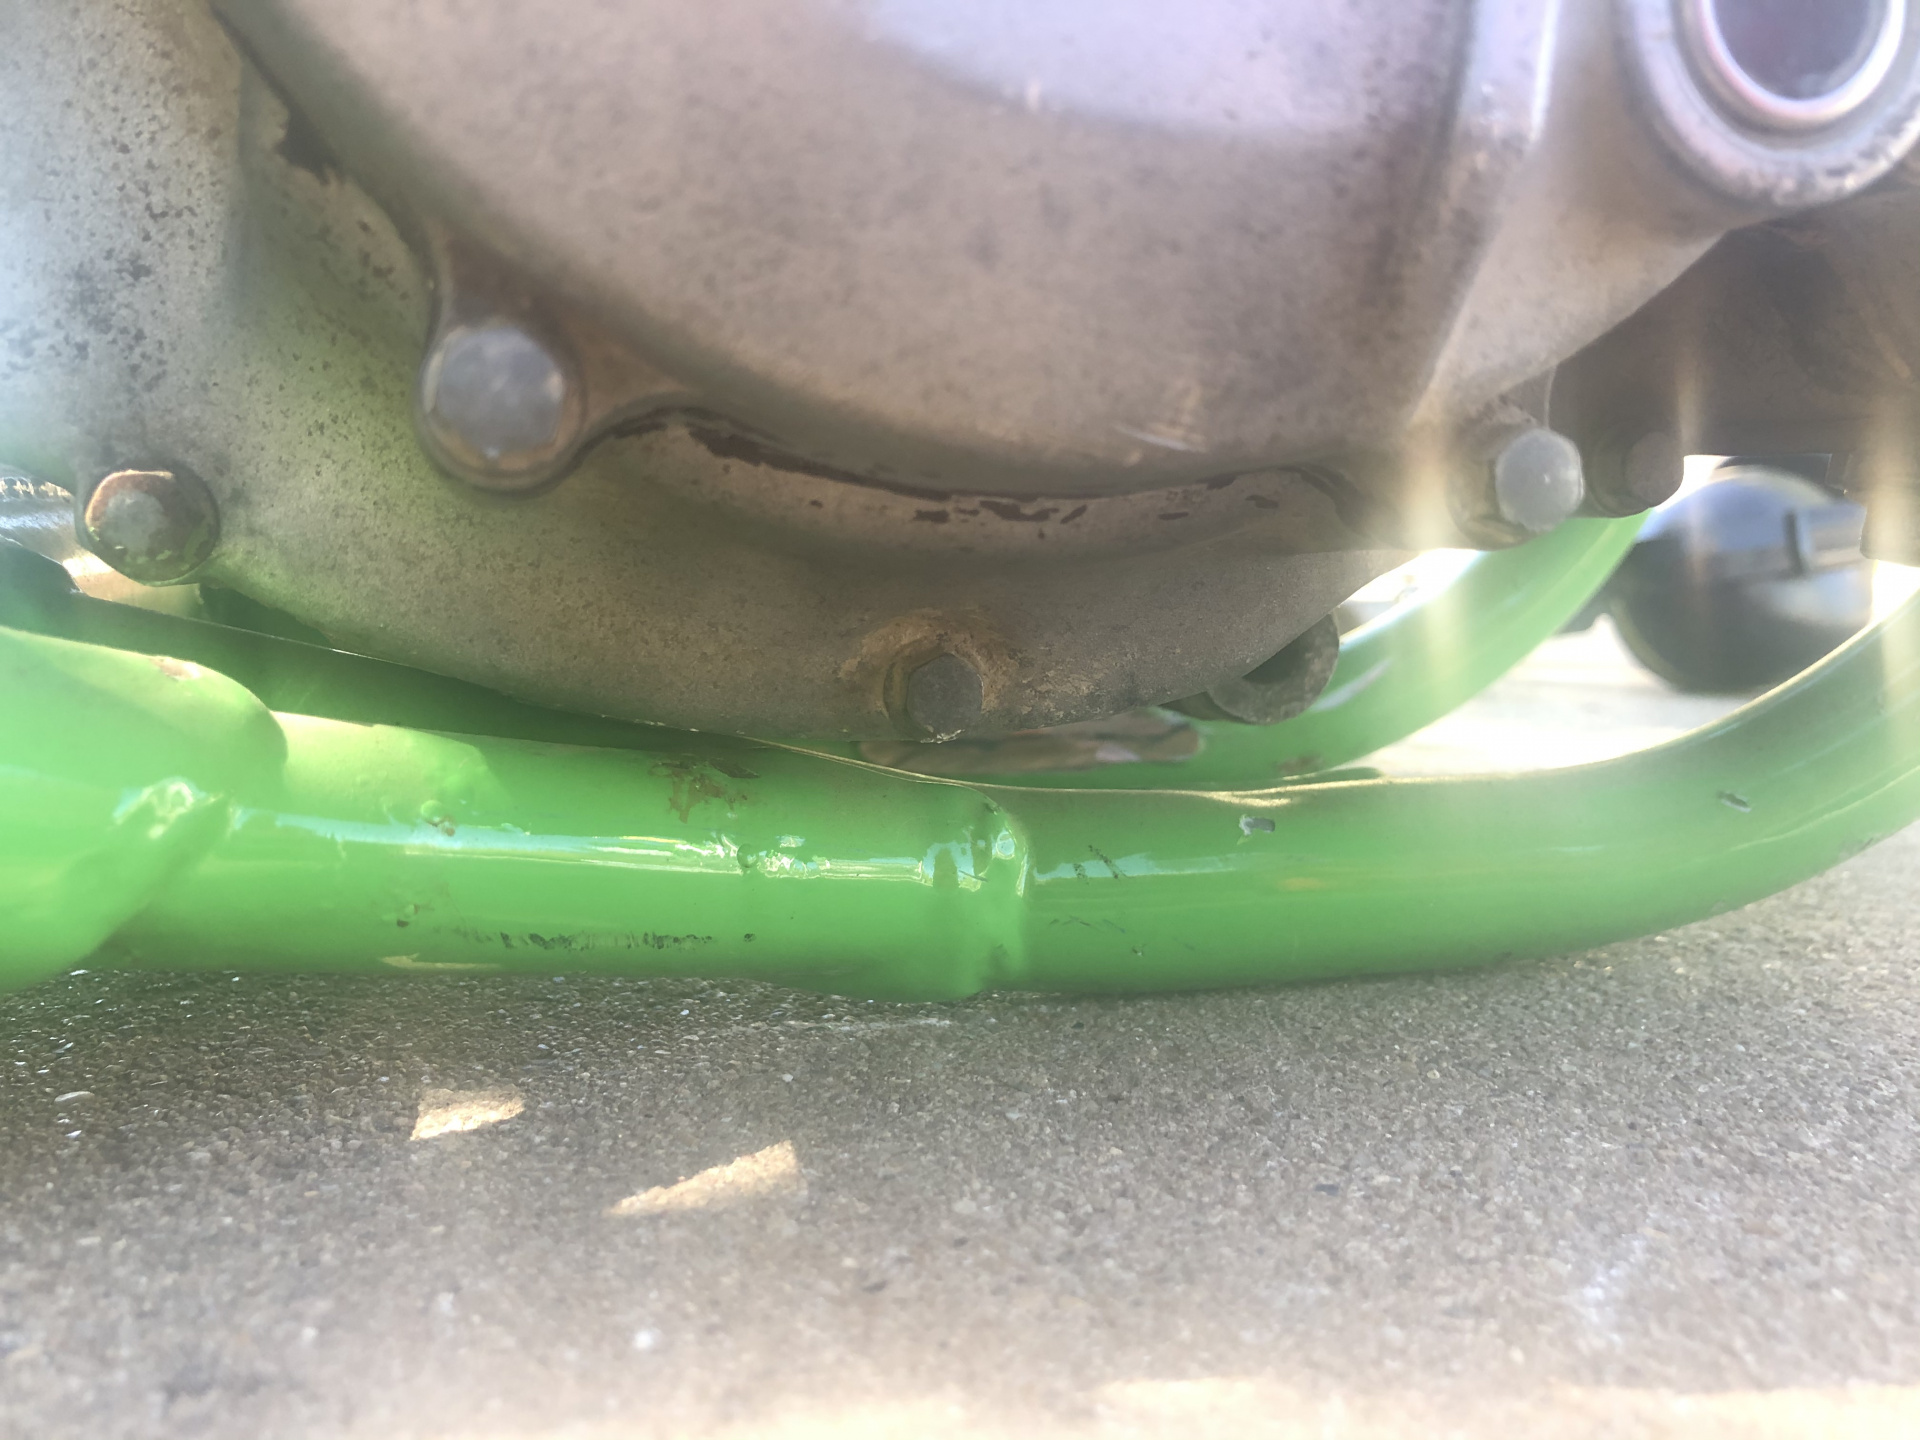
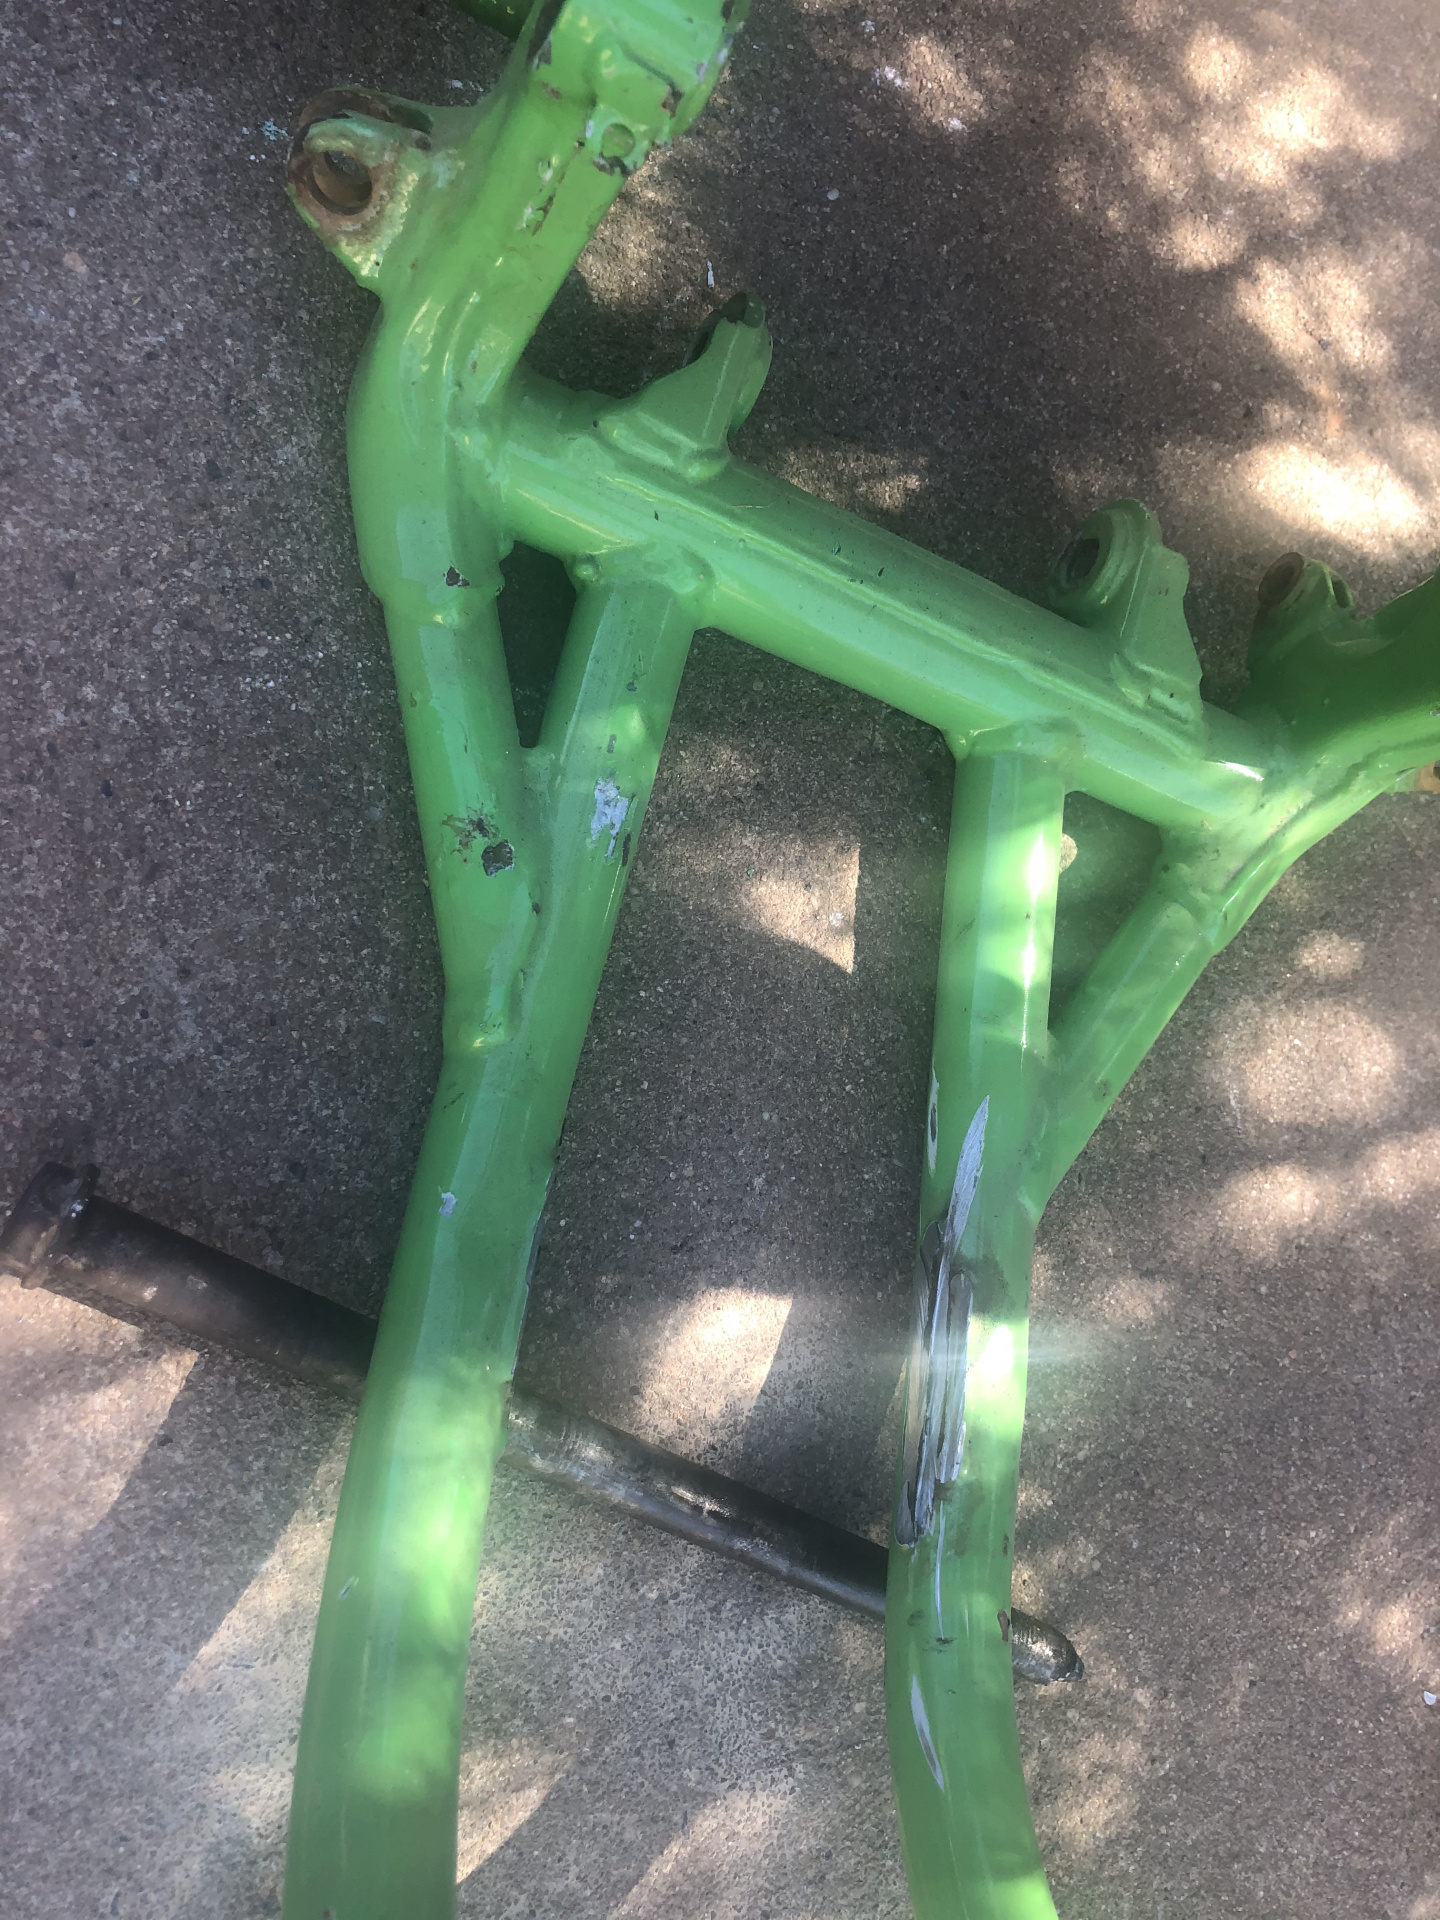
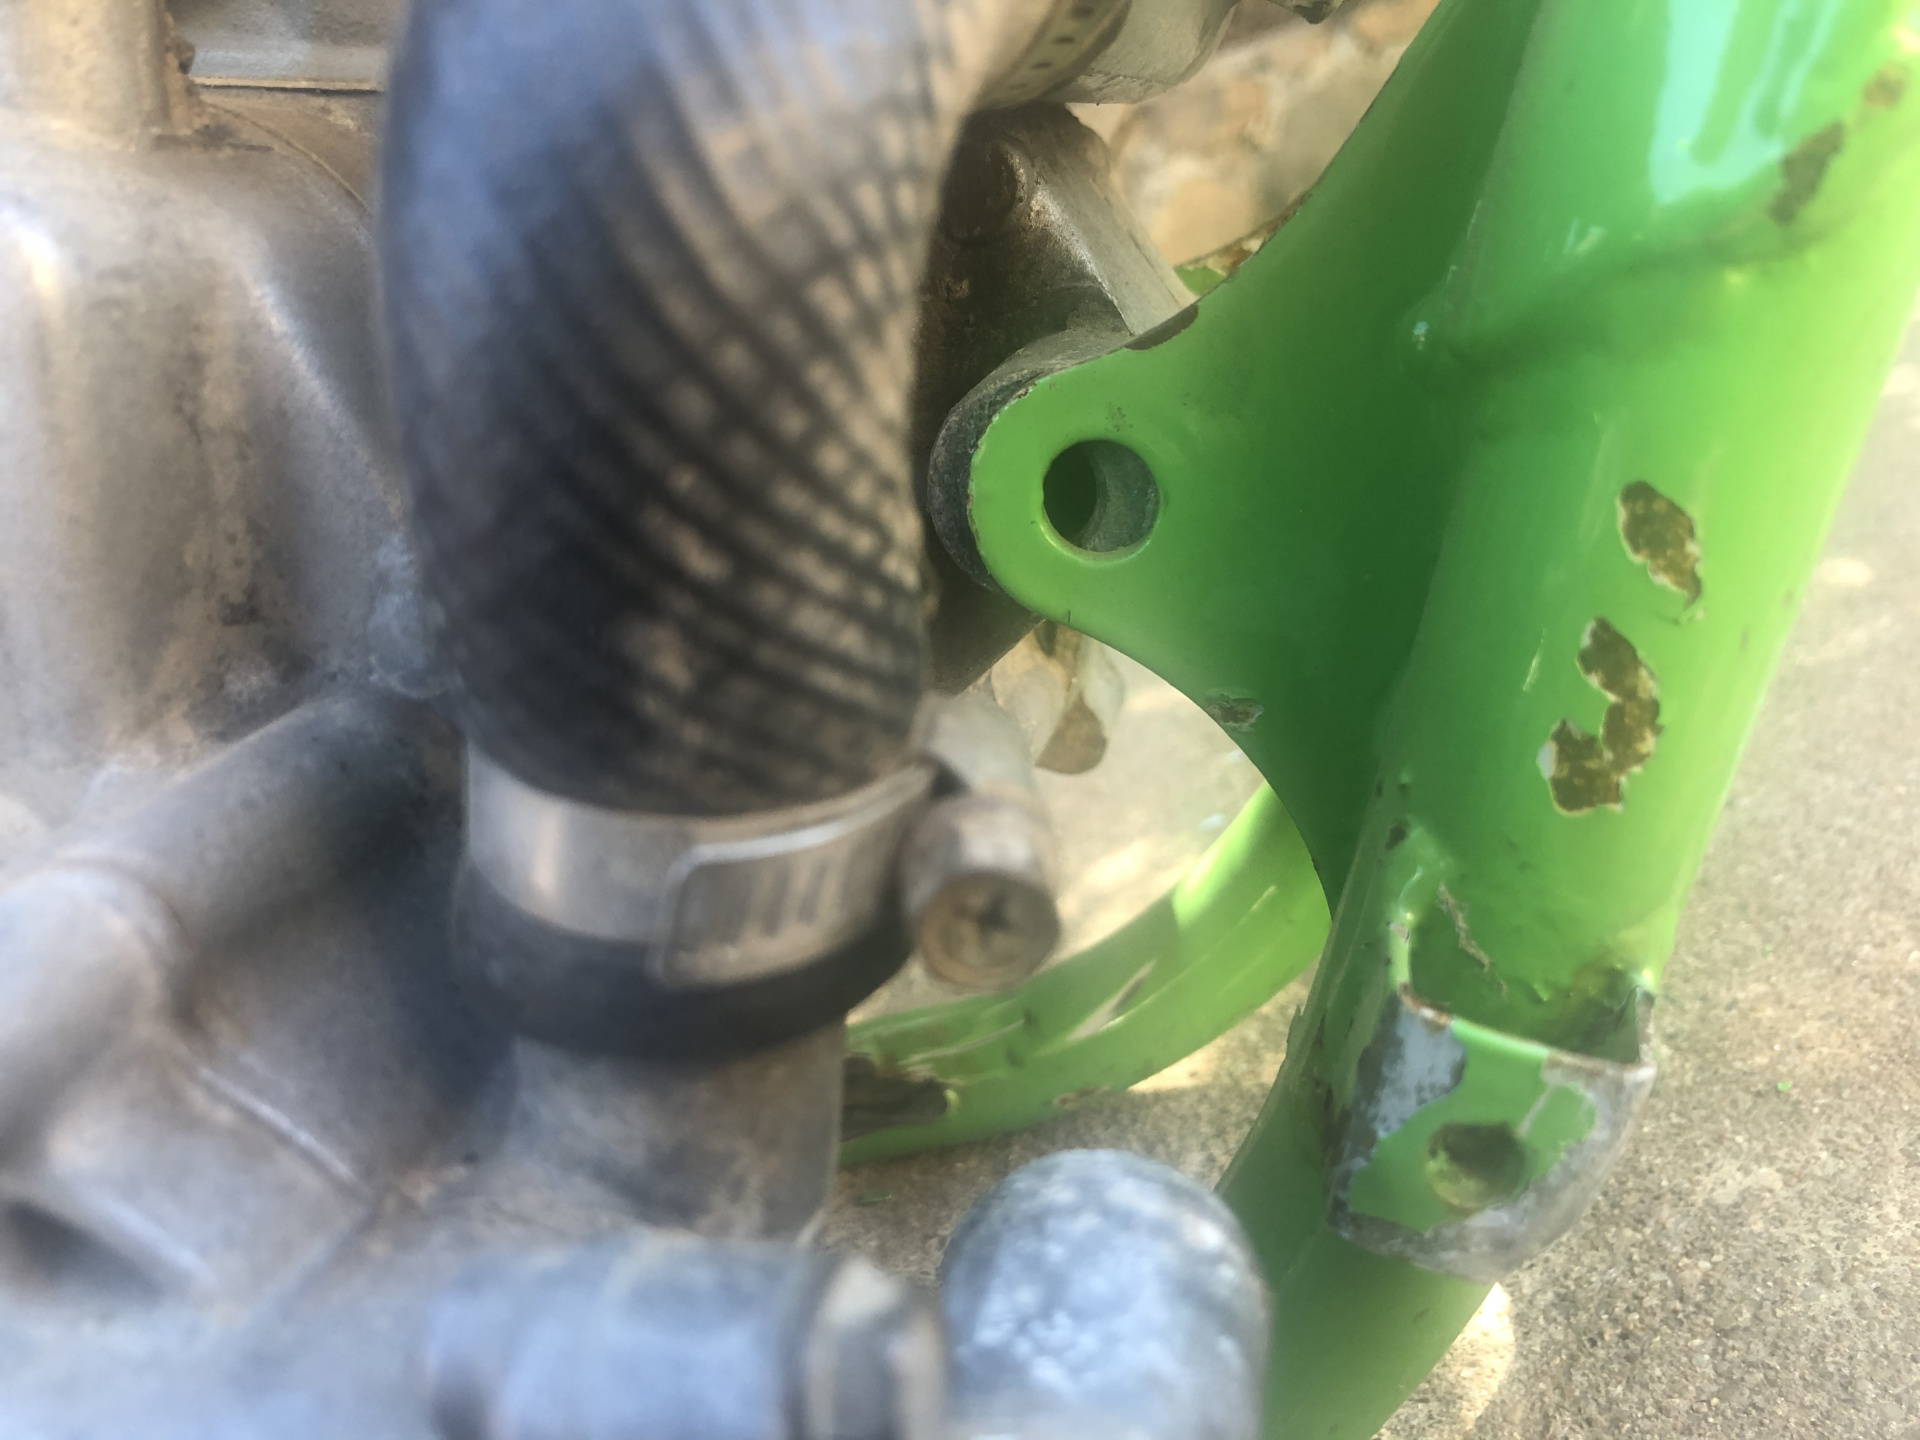
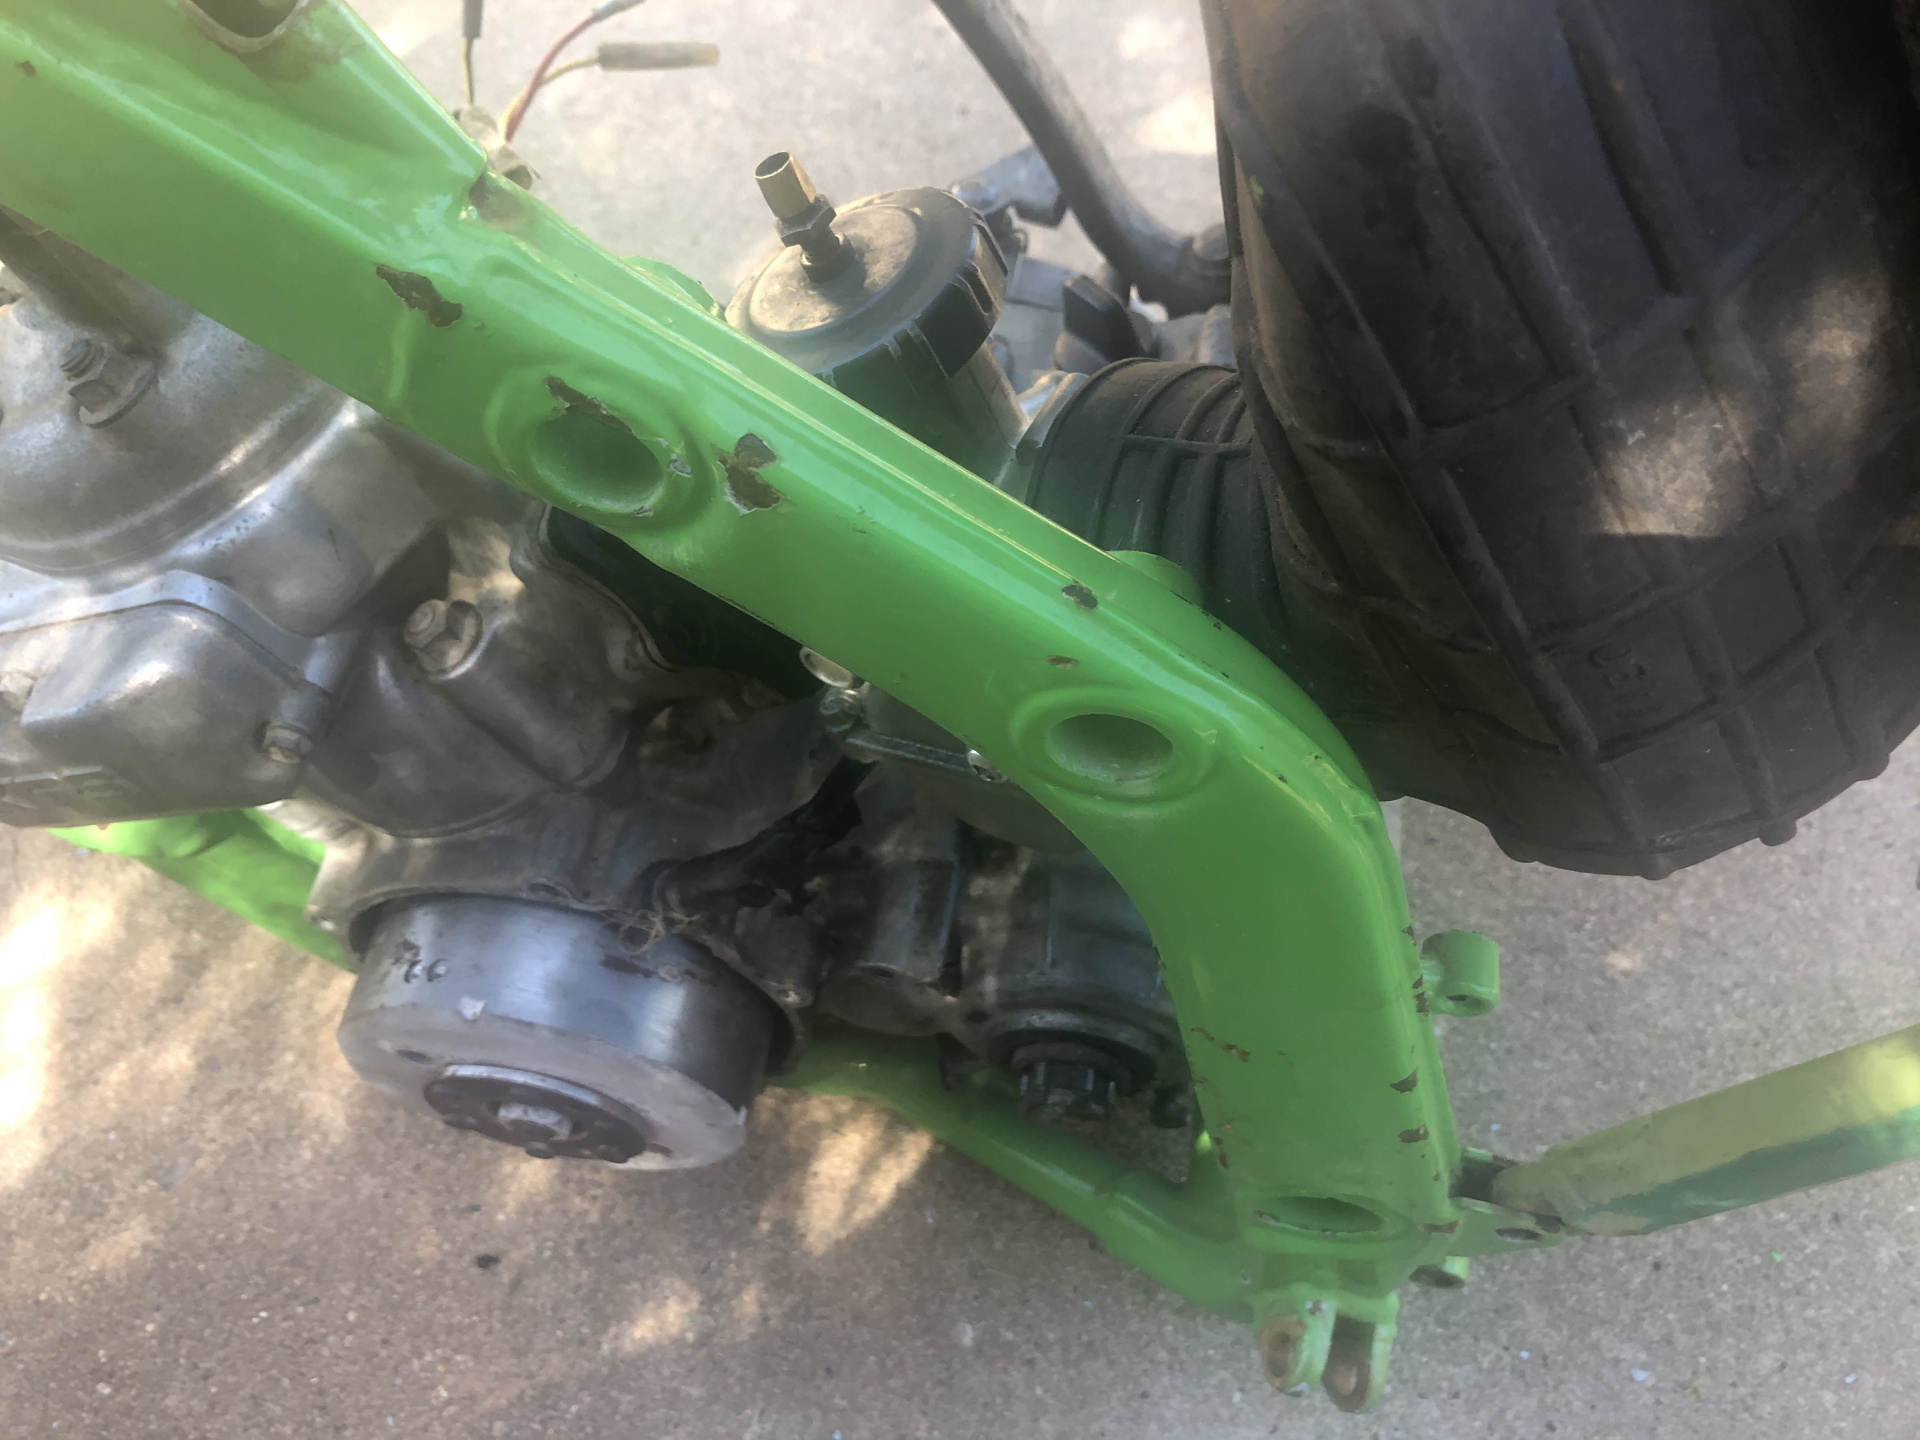
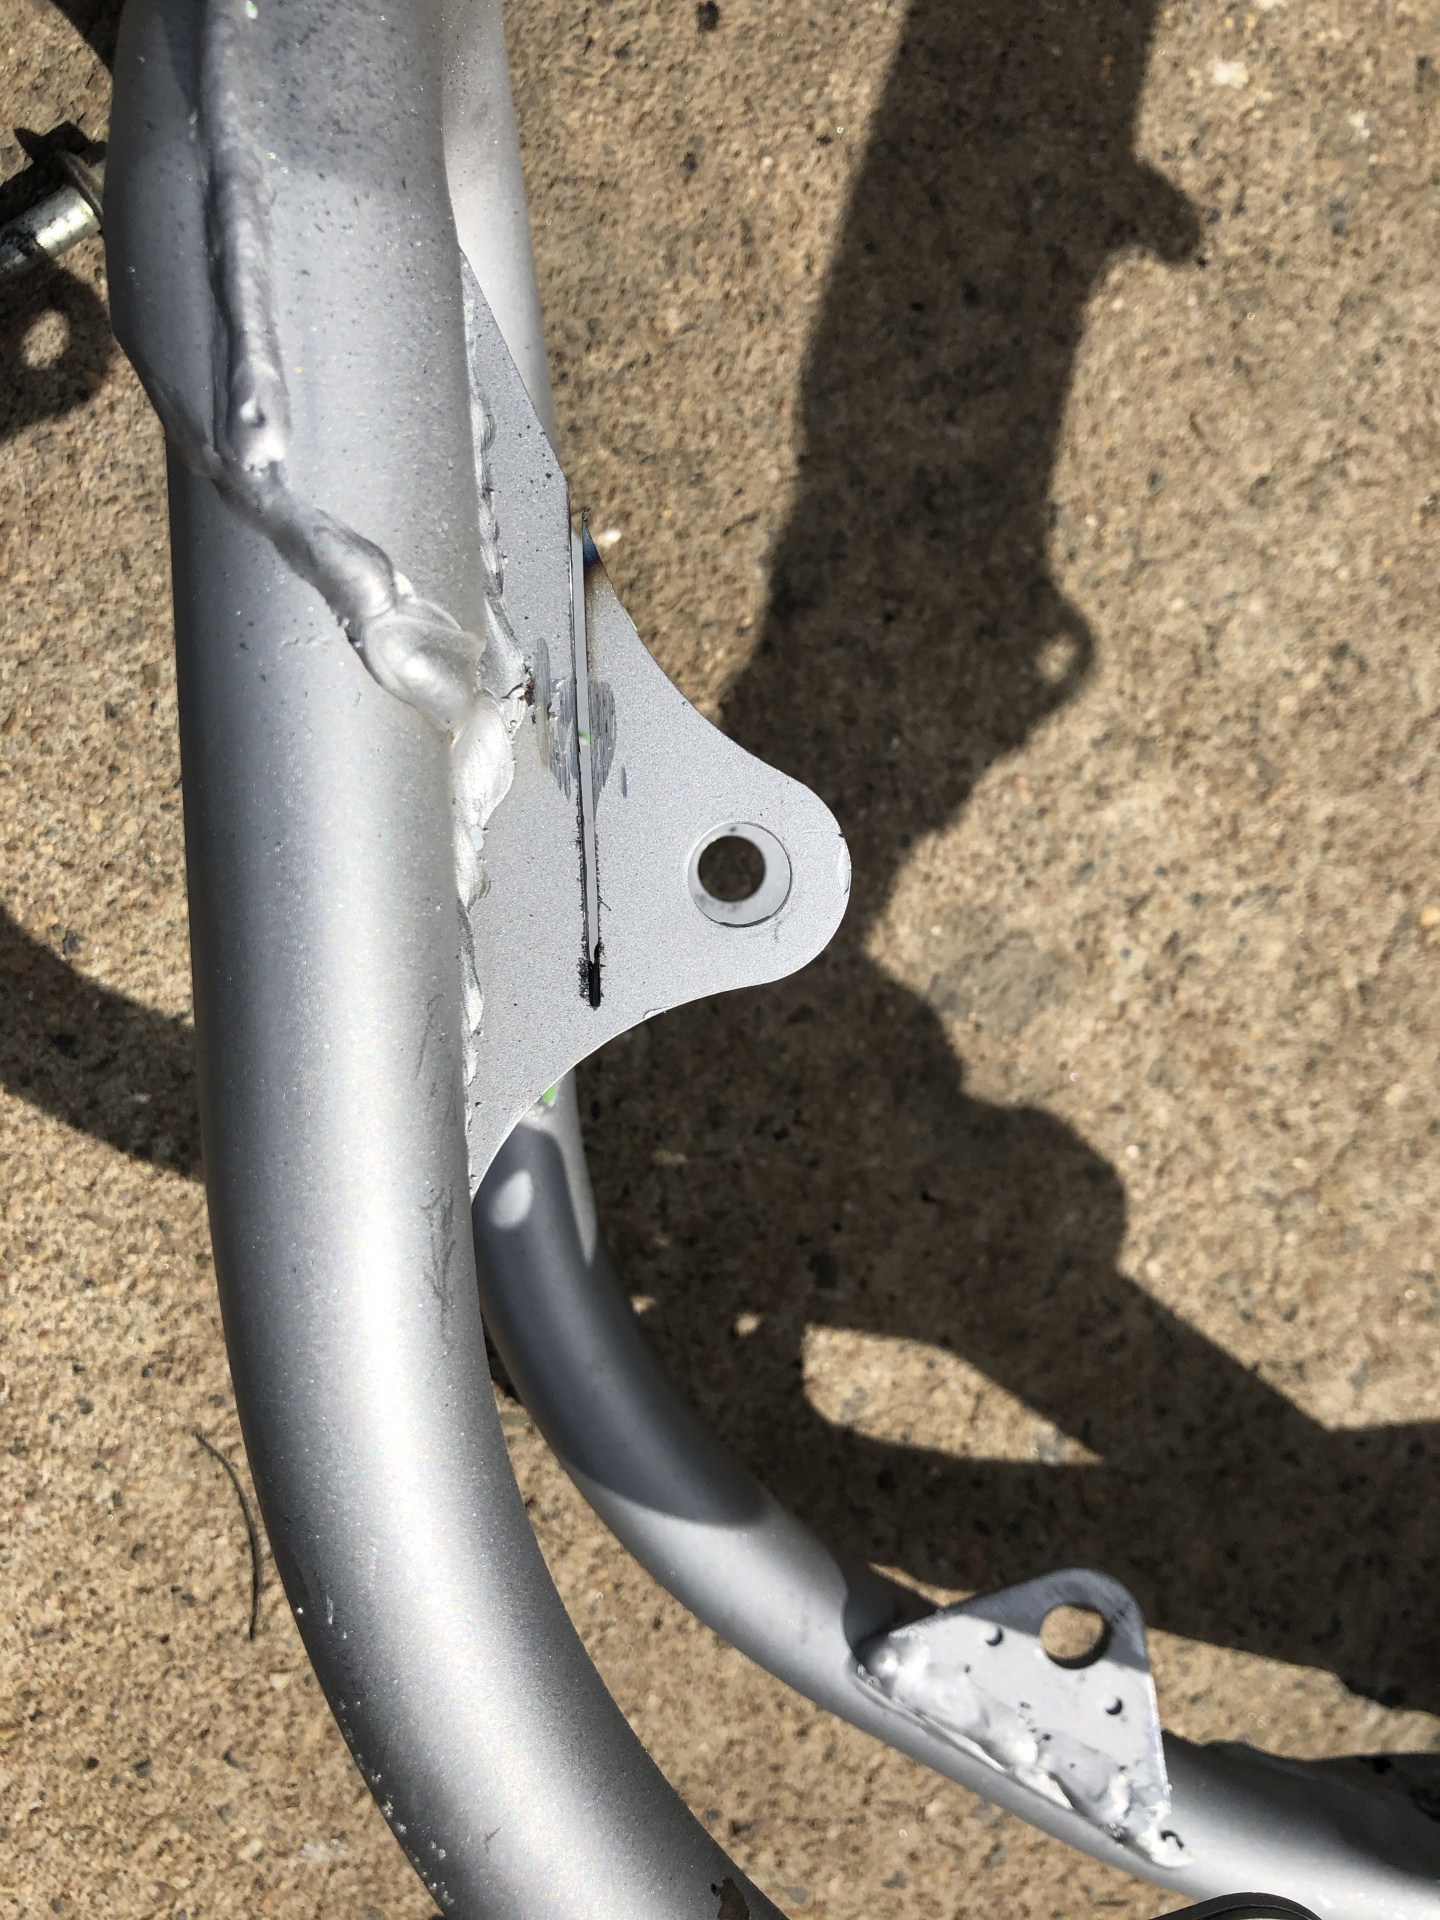
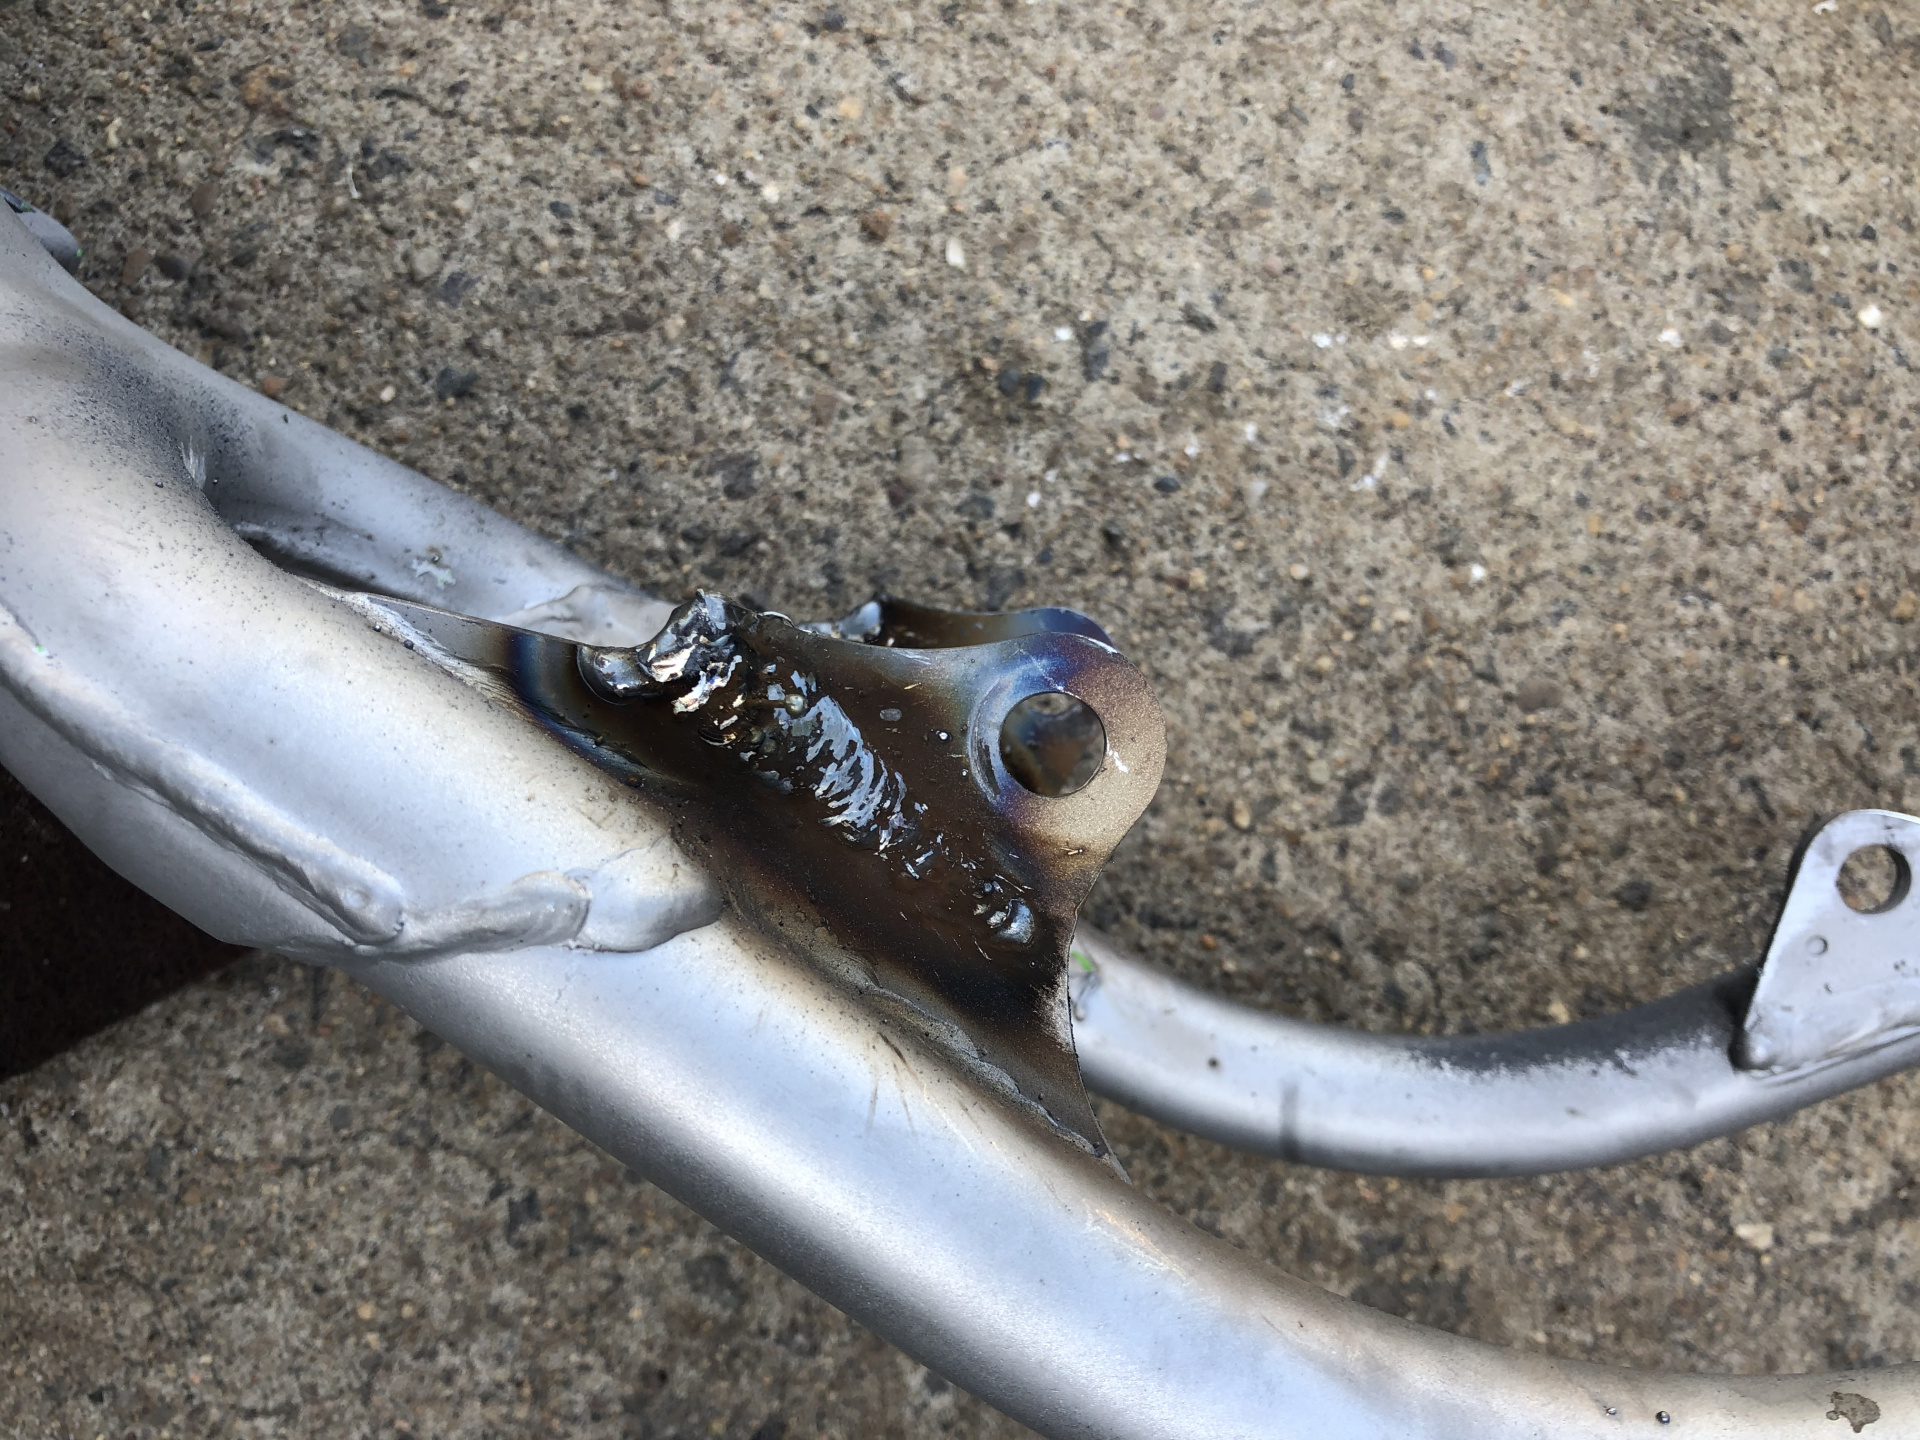
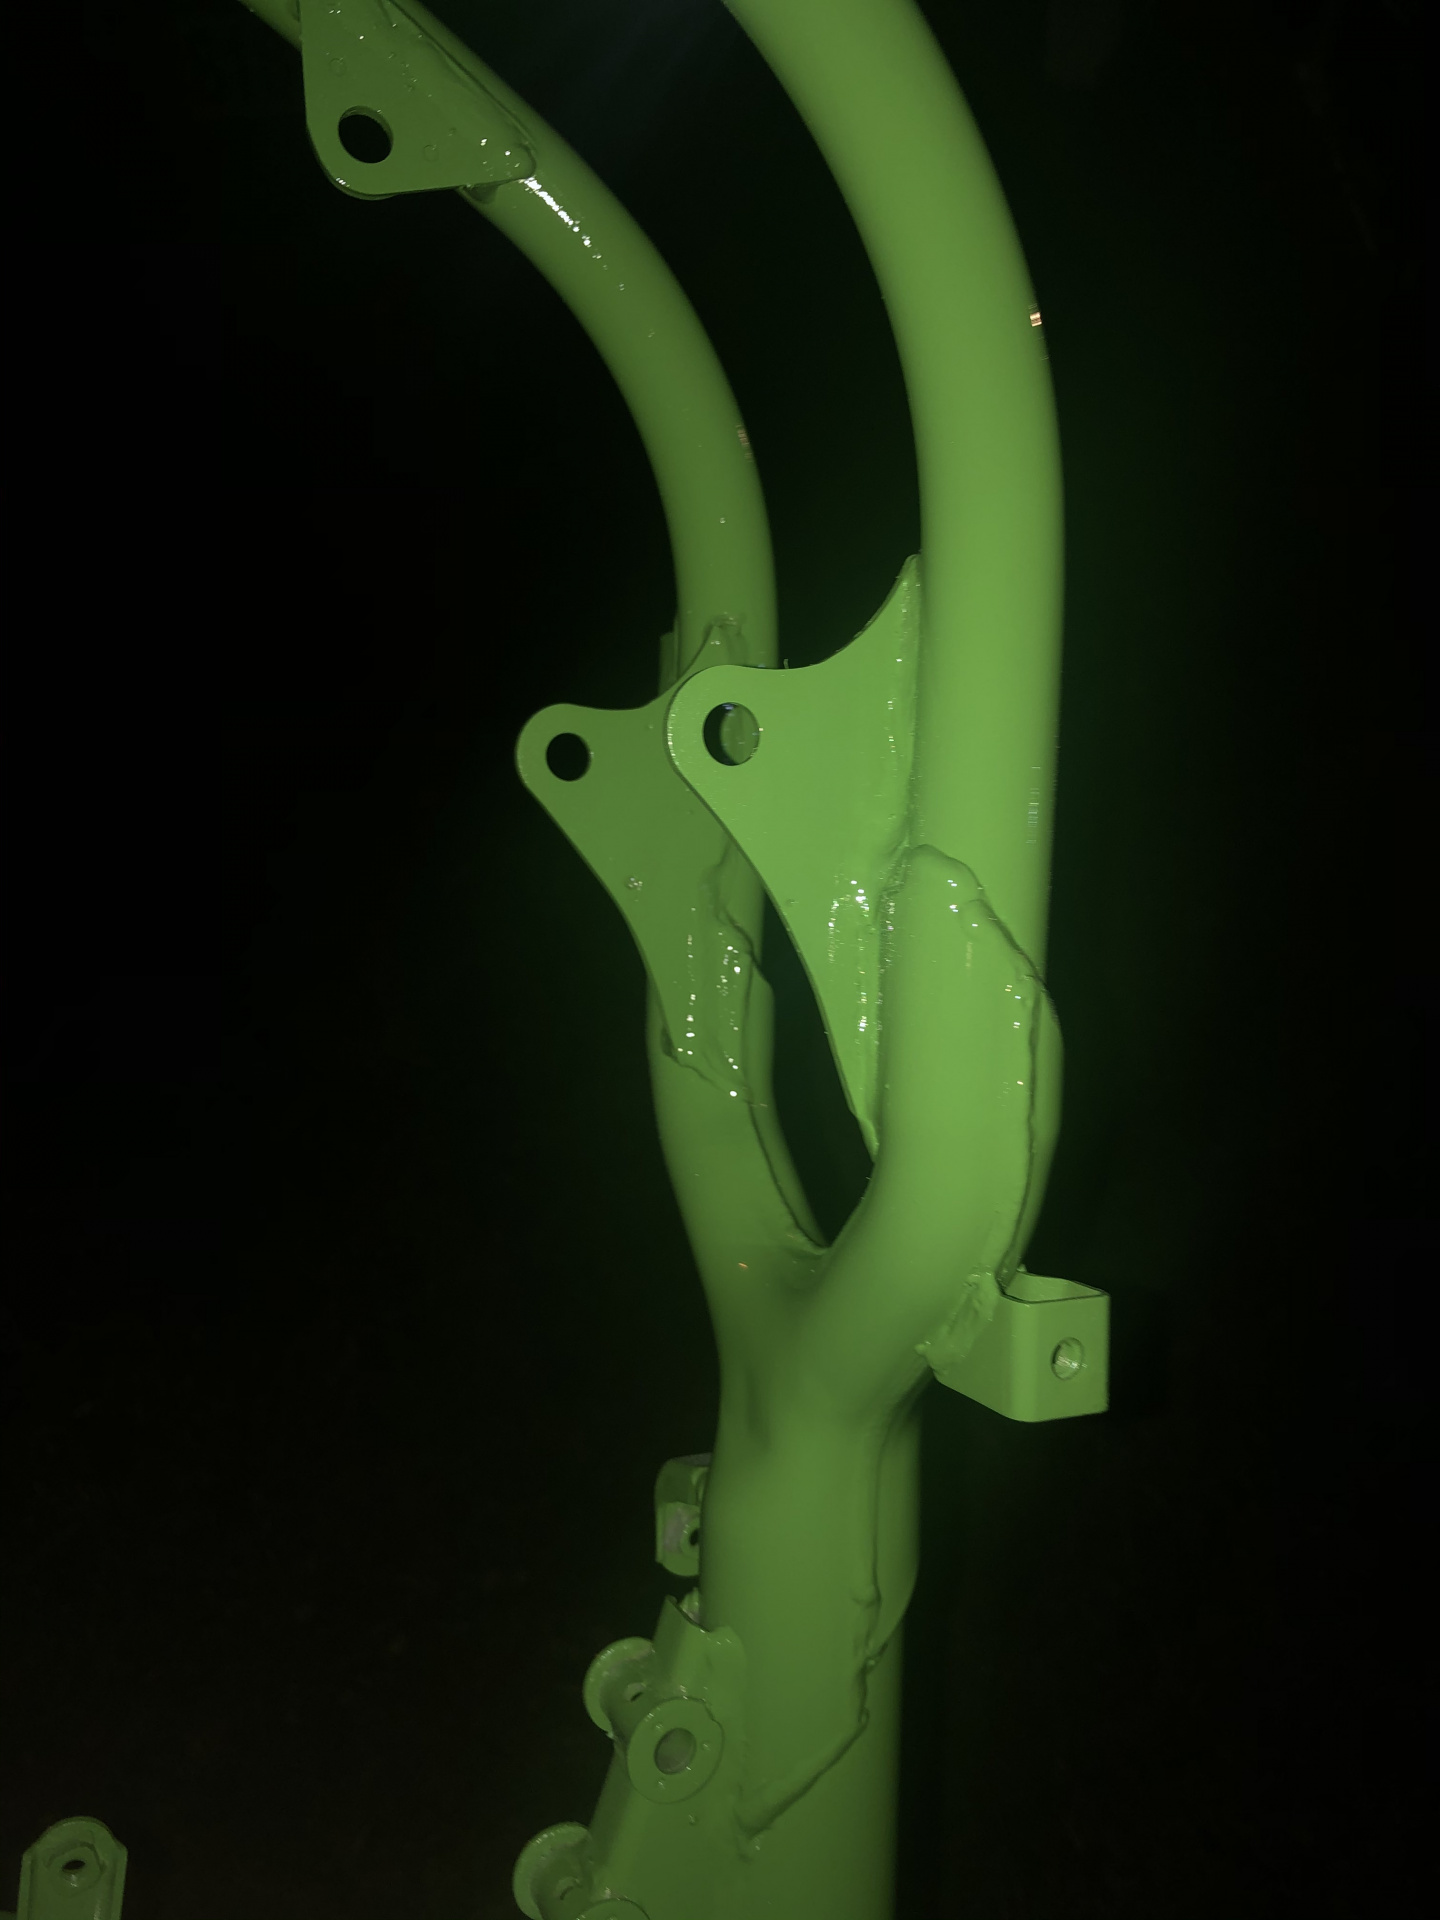
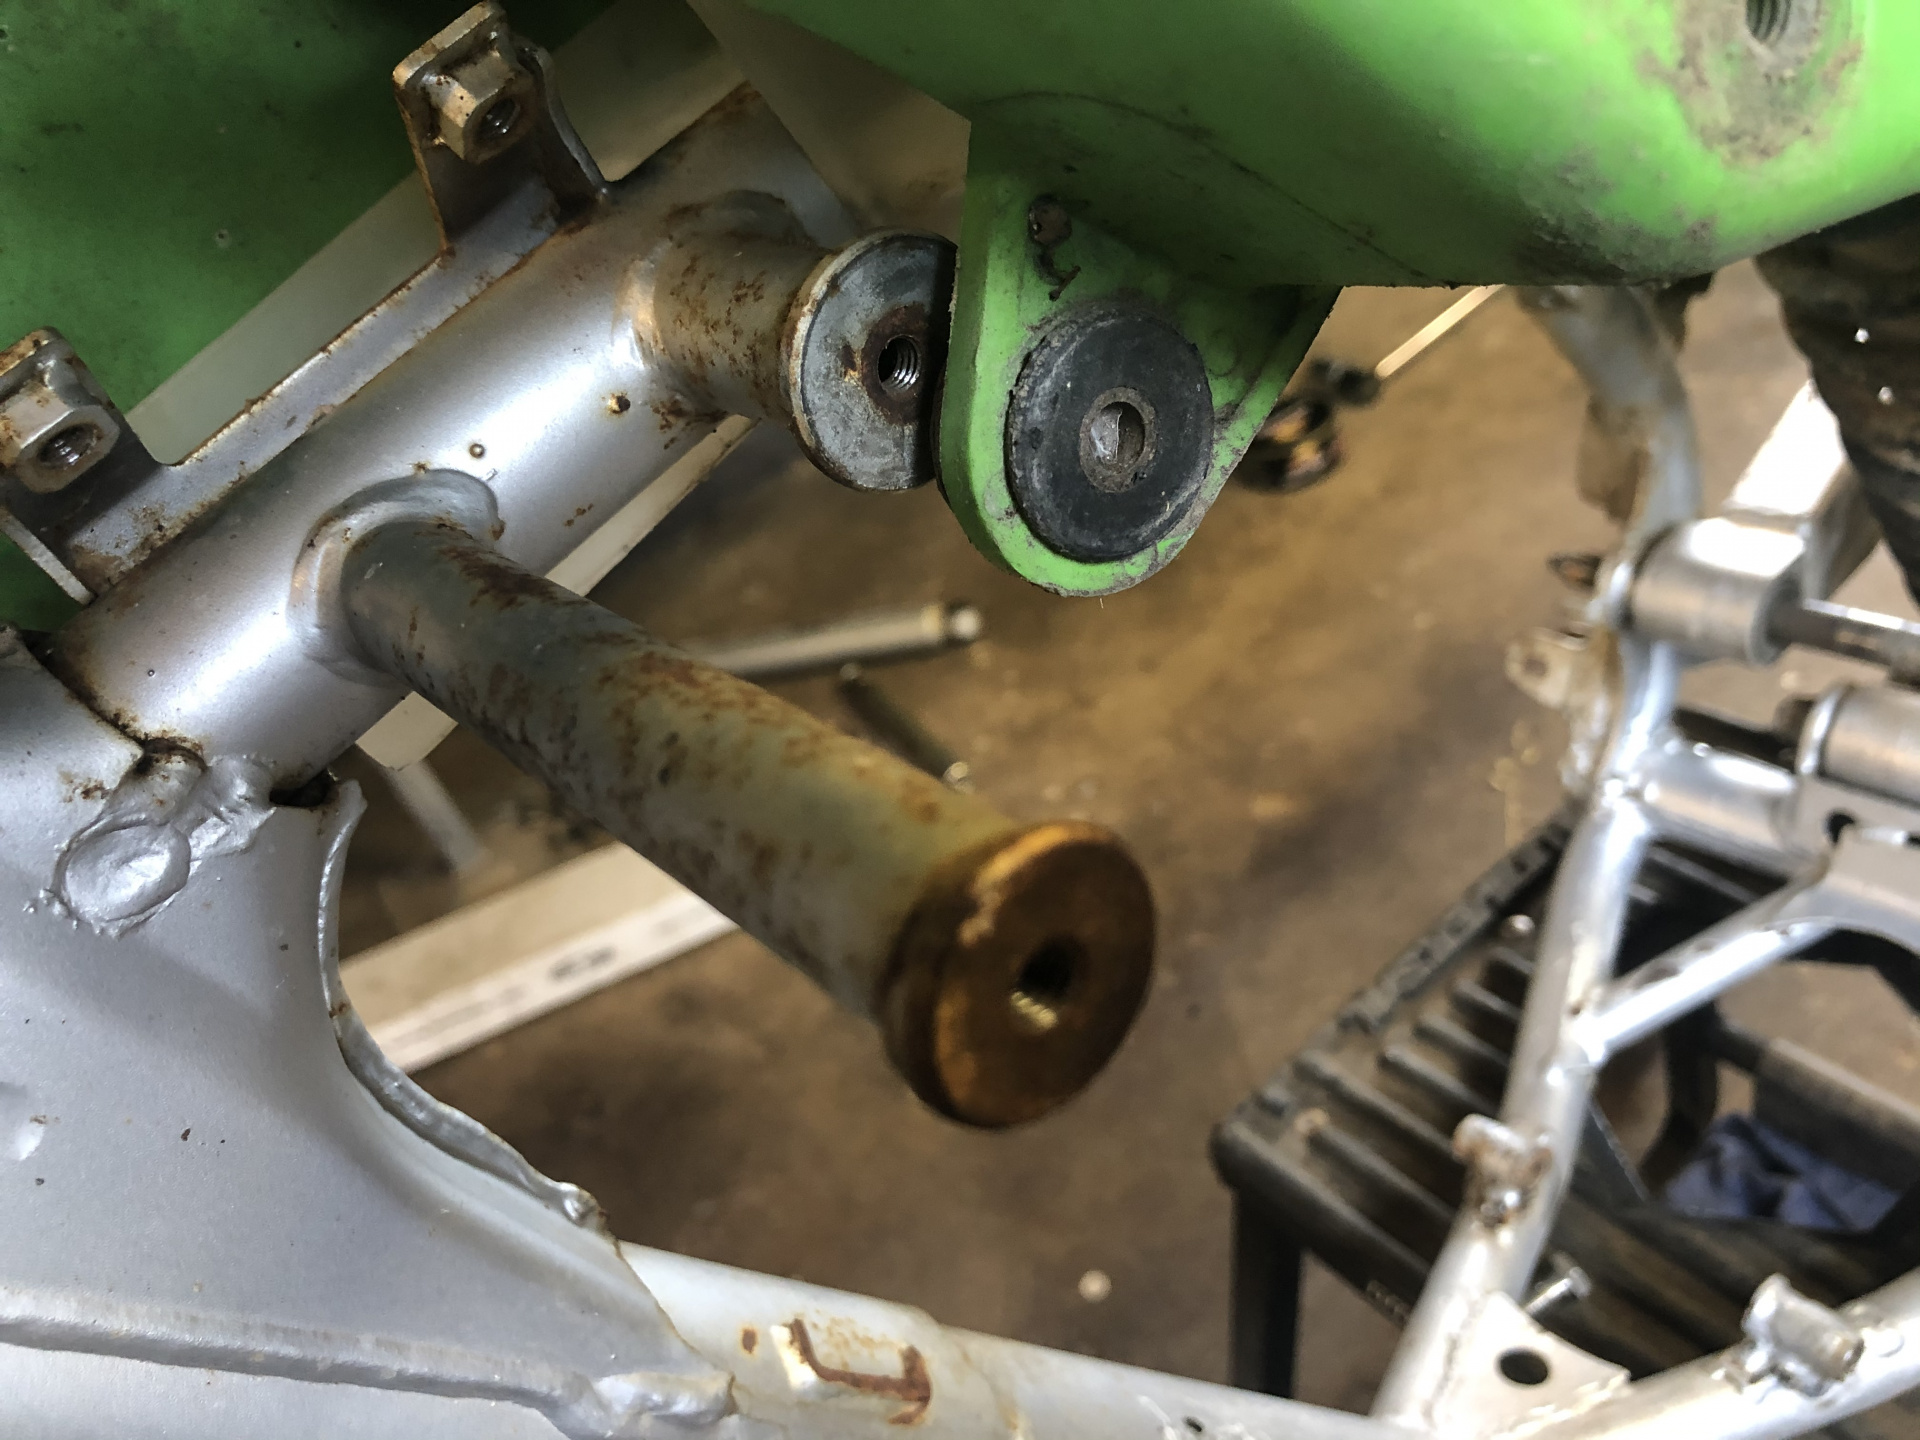
Hacking the subframe AND allowing the airbox to be burned after bending the exhaust (rather than straightening the exhaust?!?)...

—————

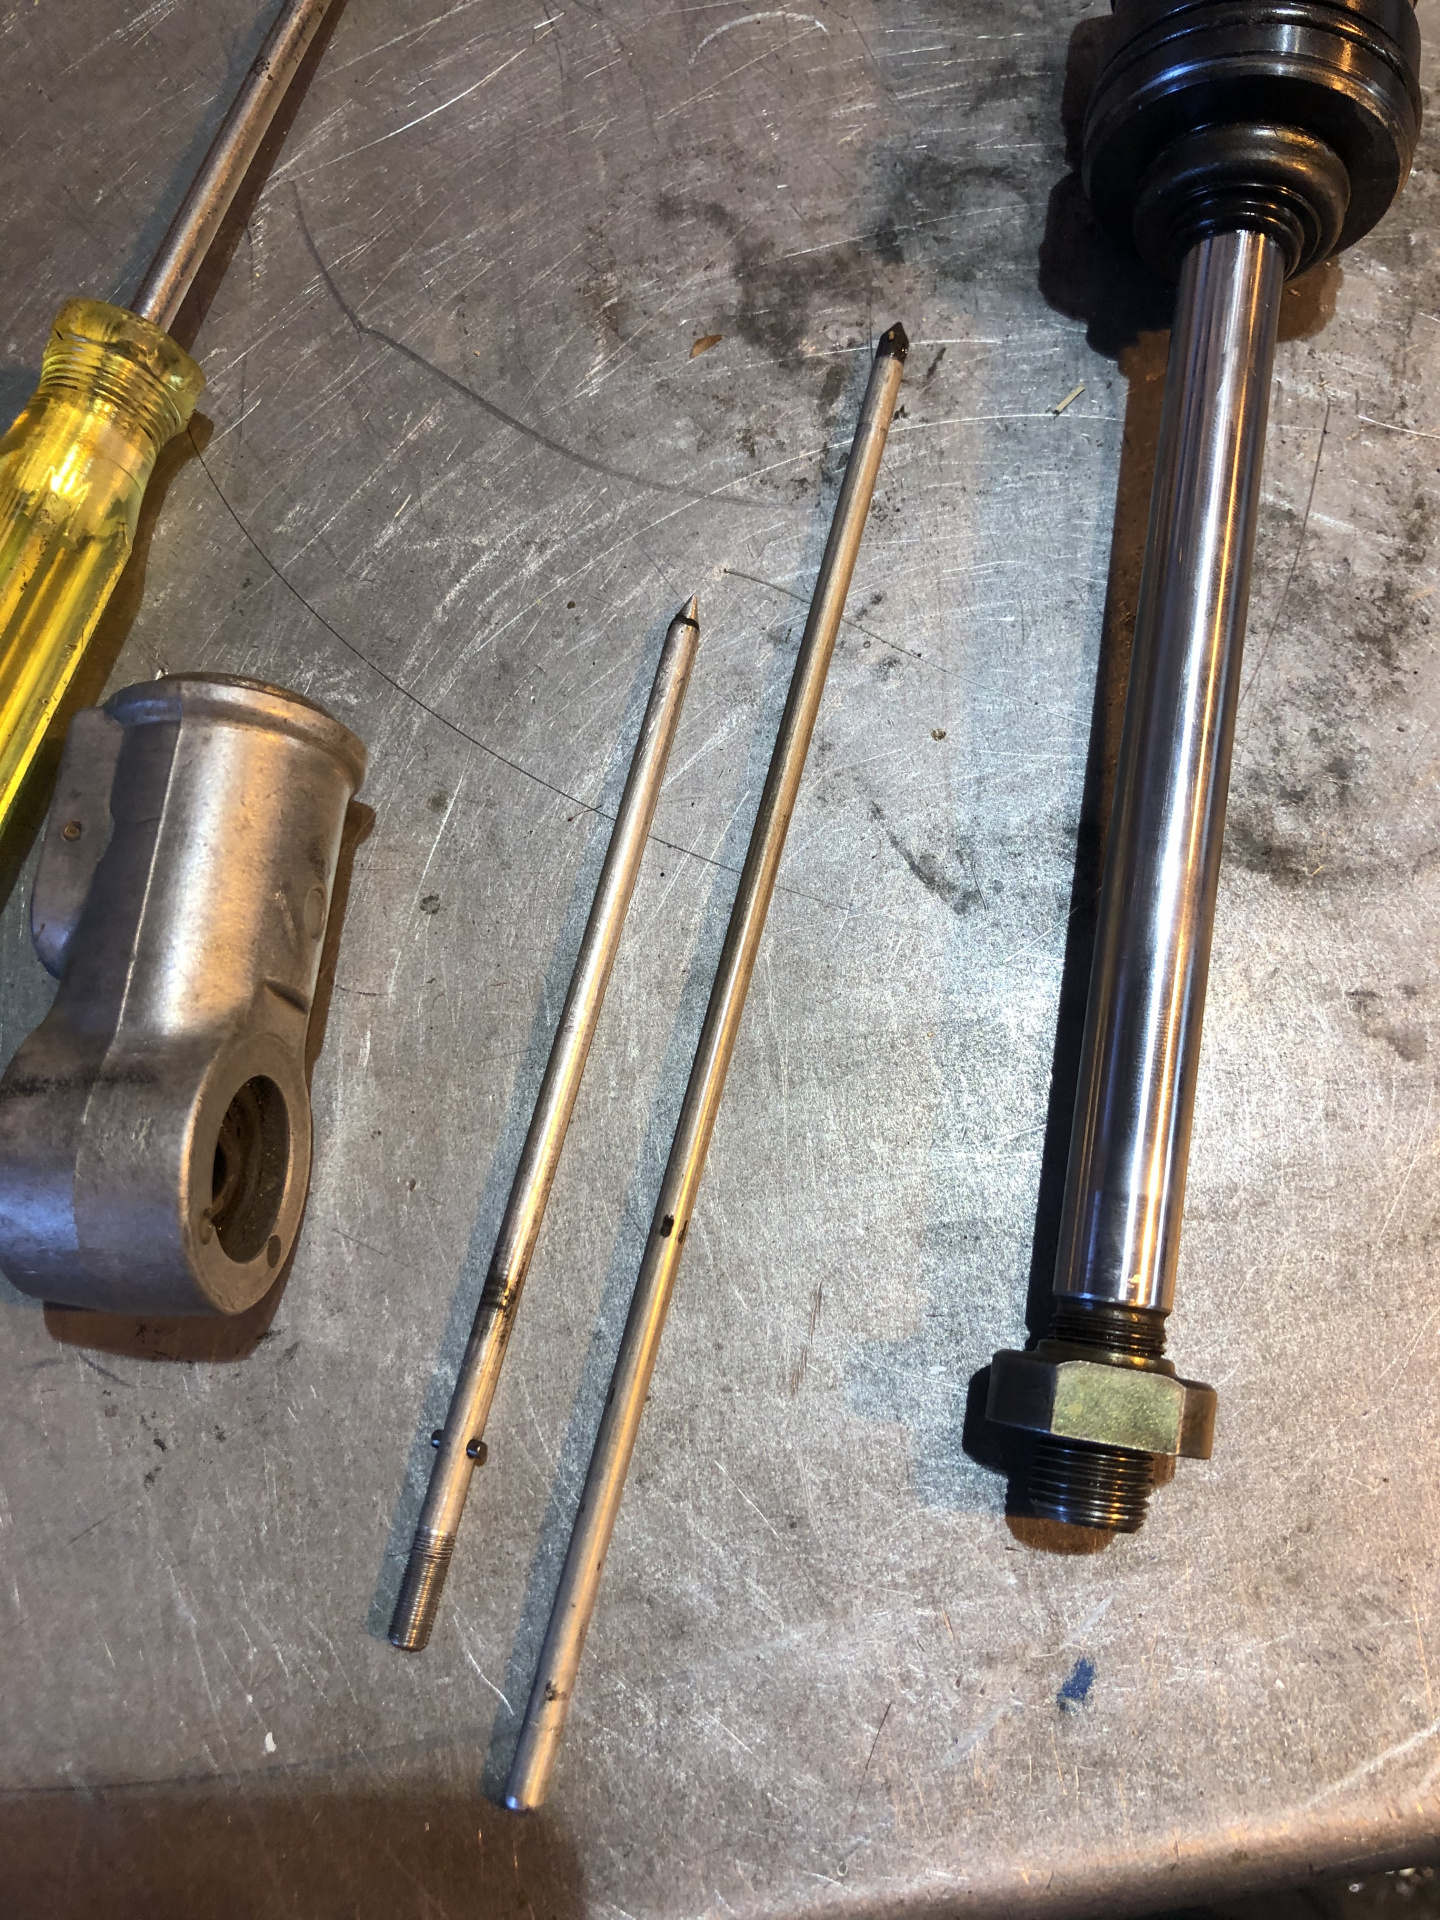
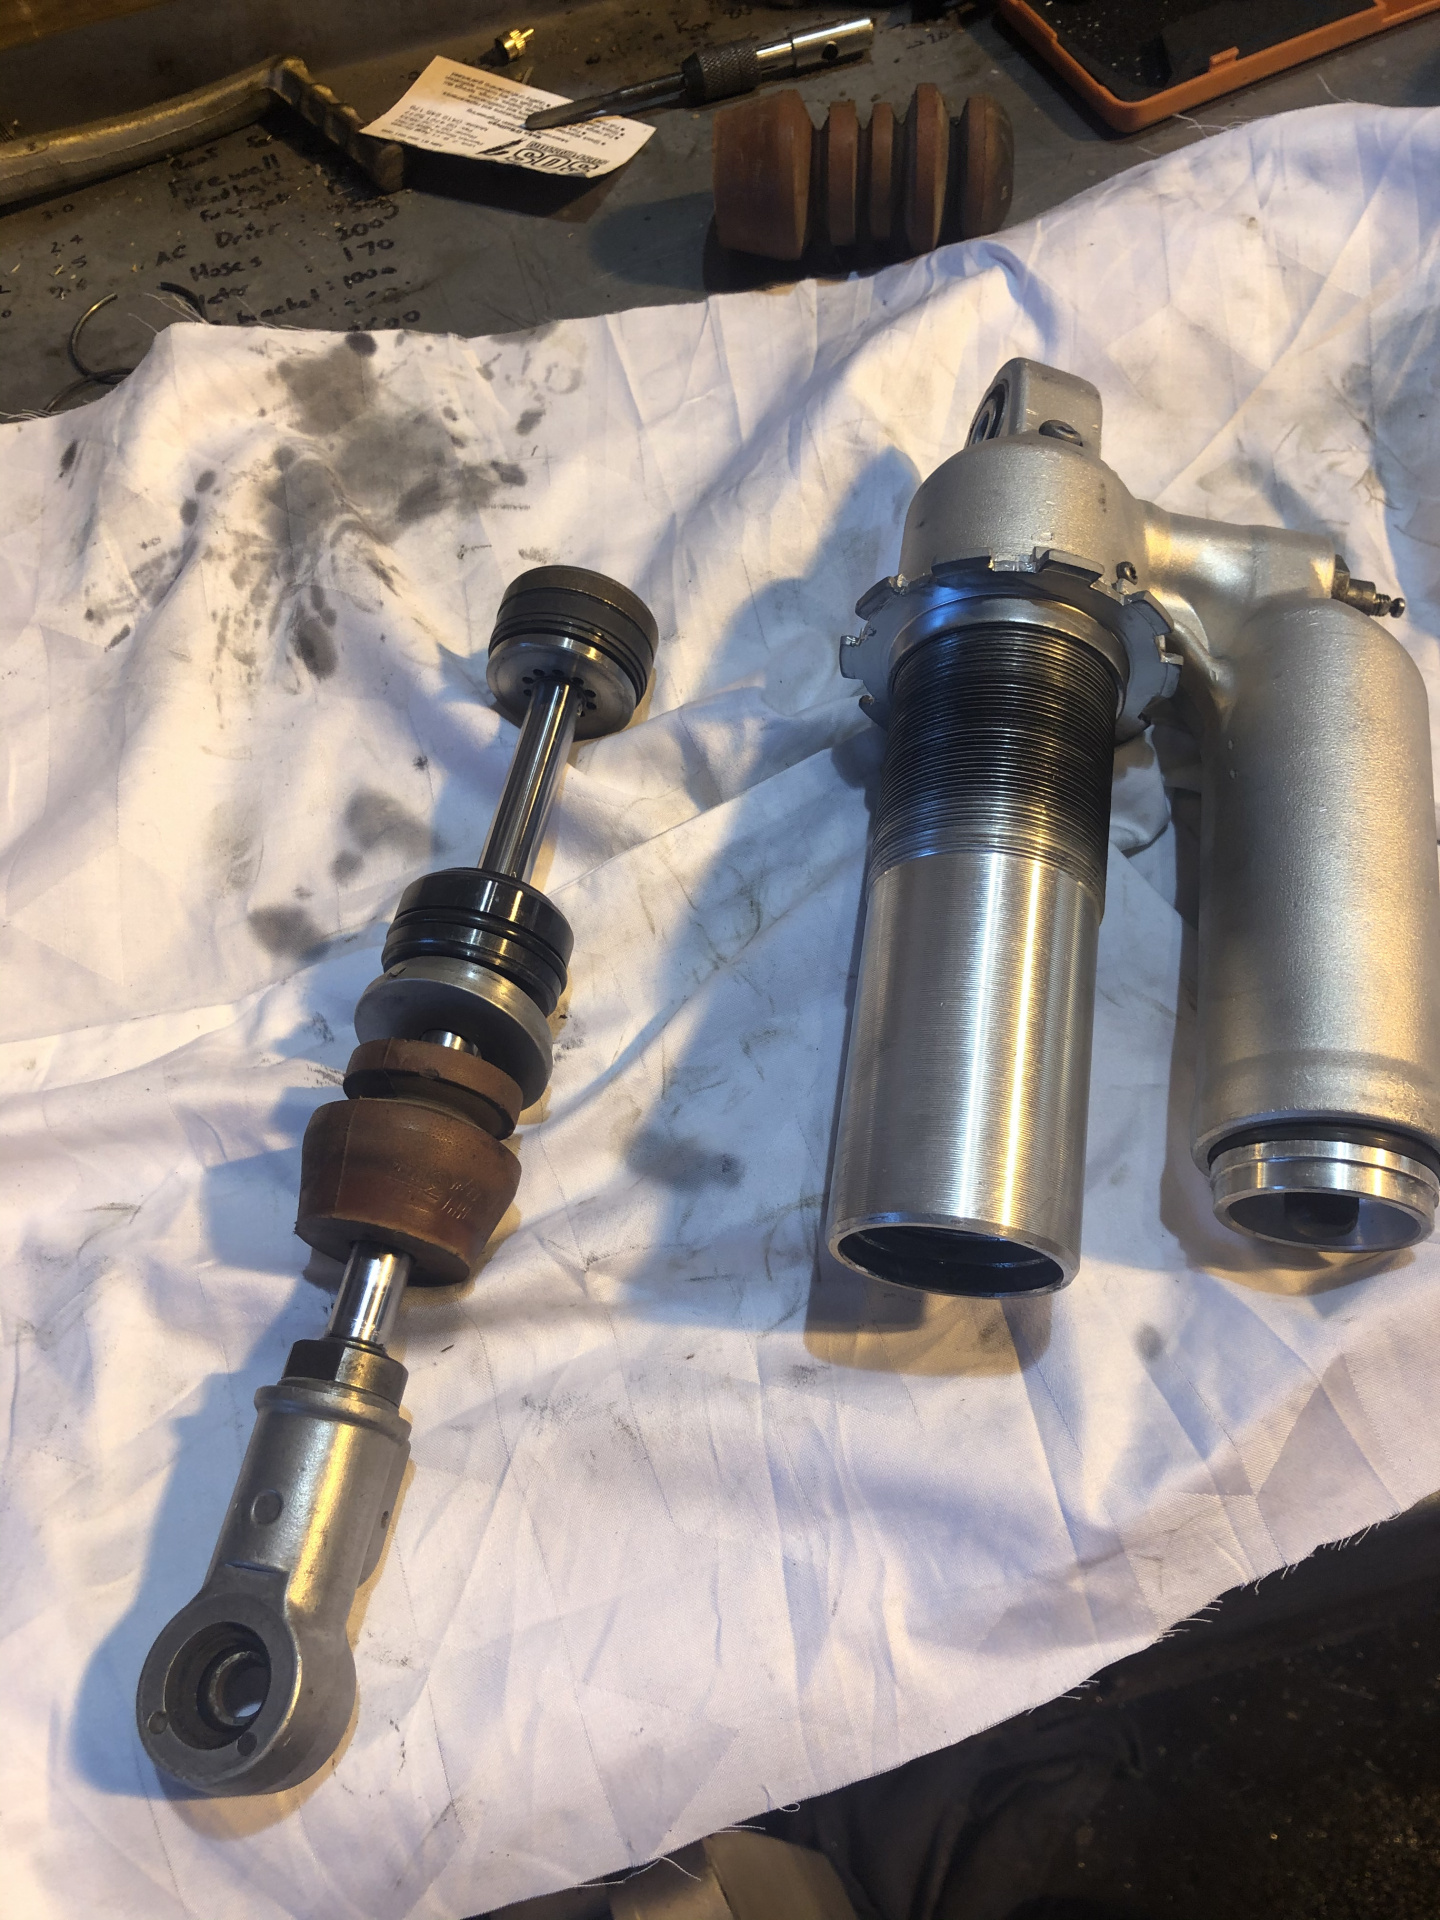
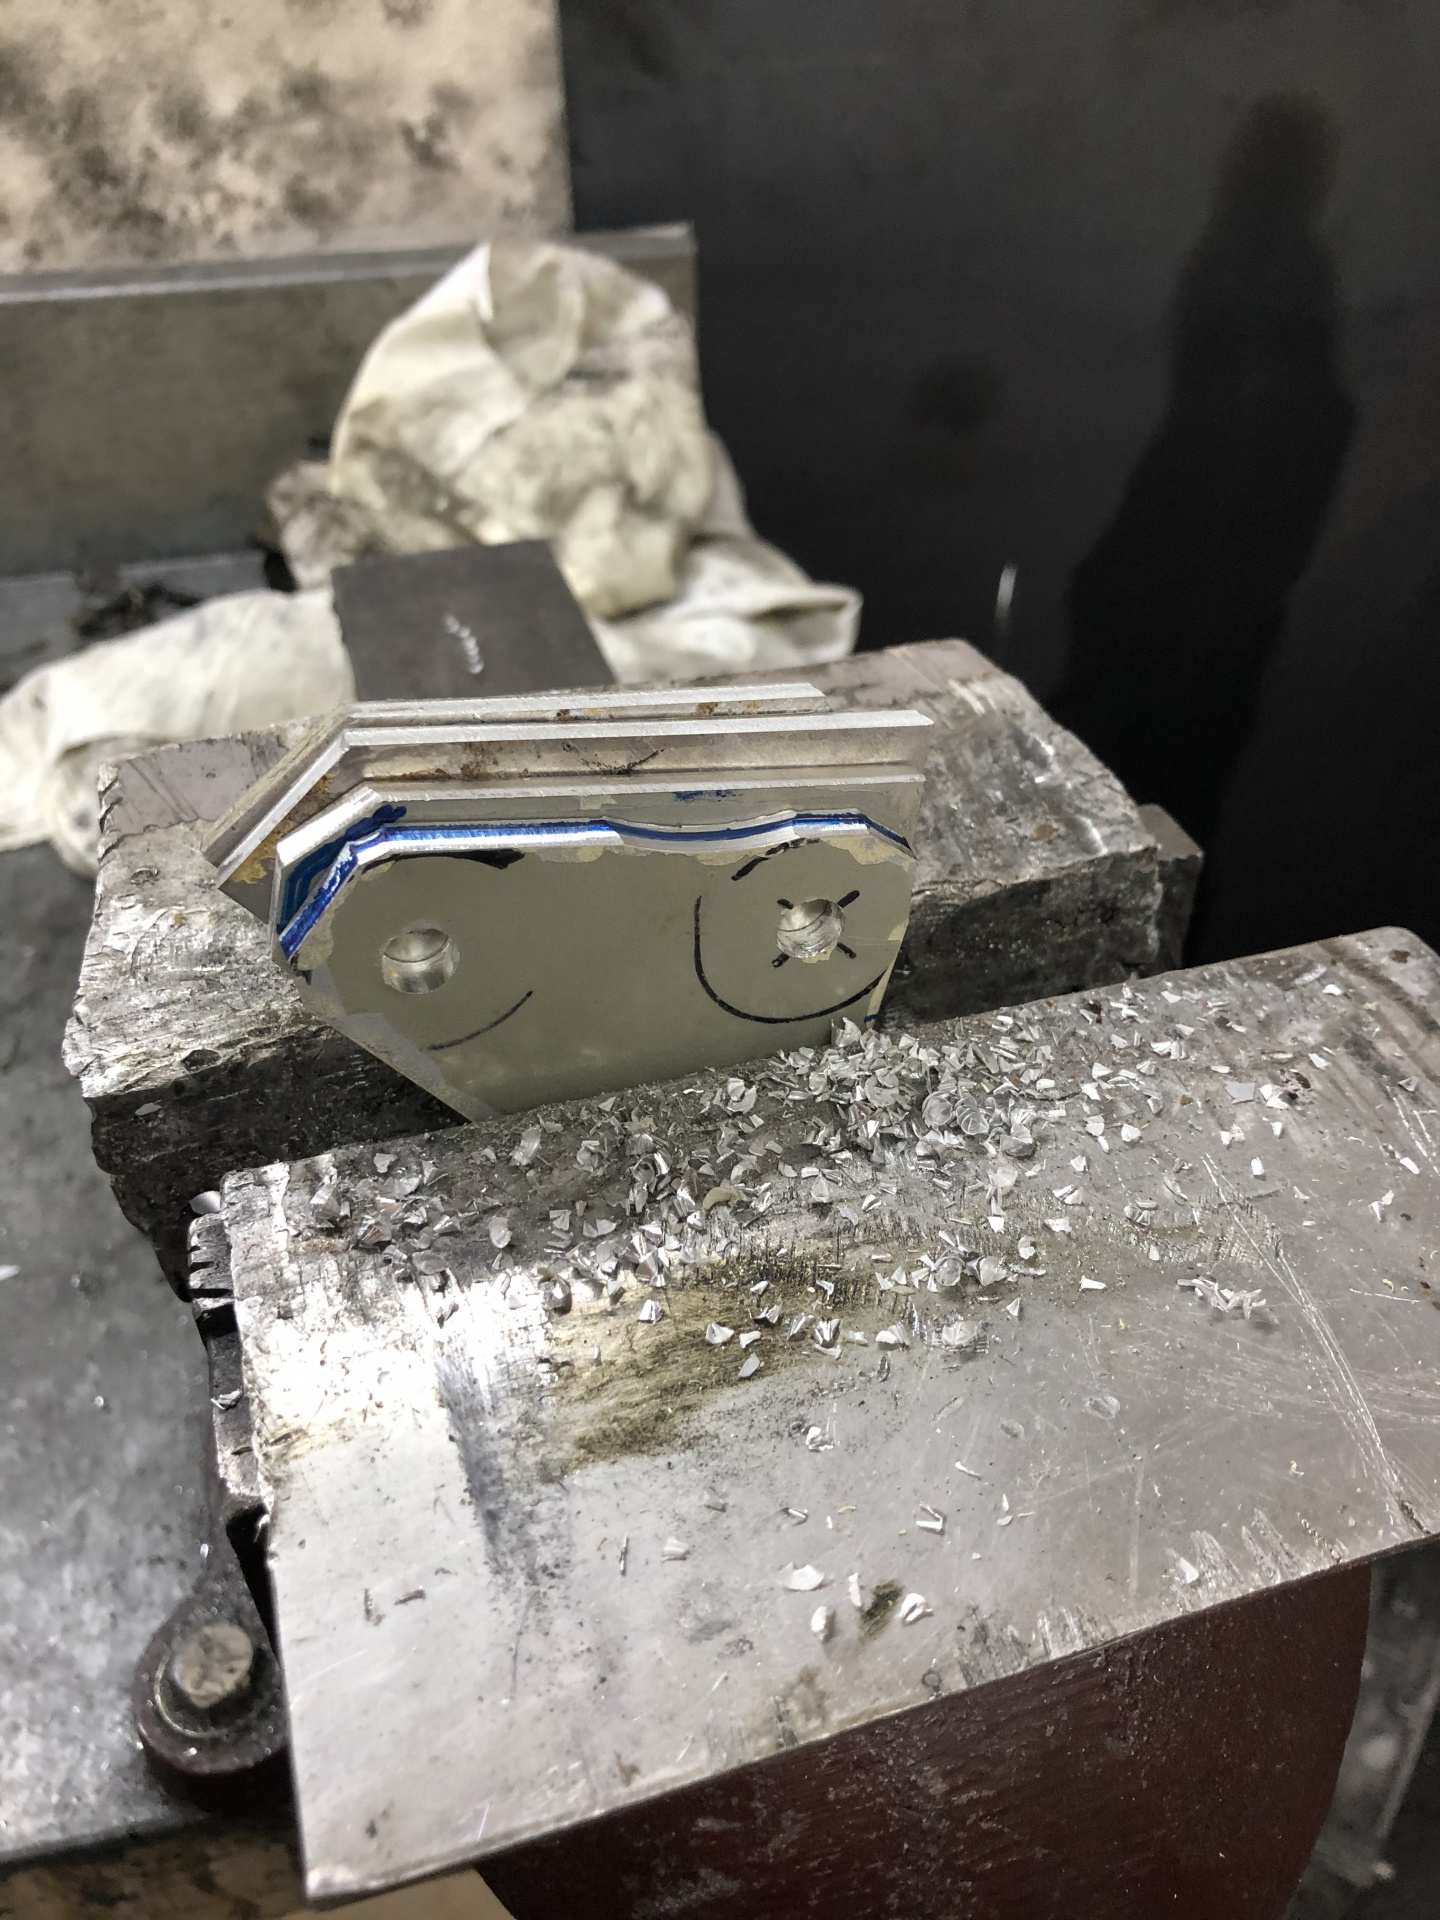
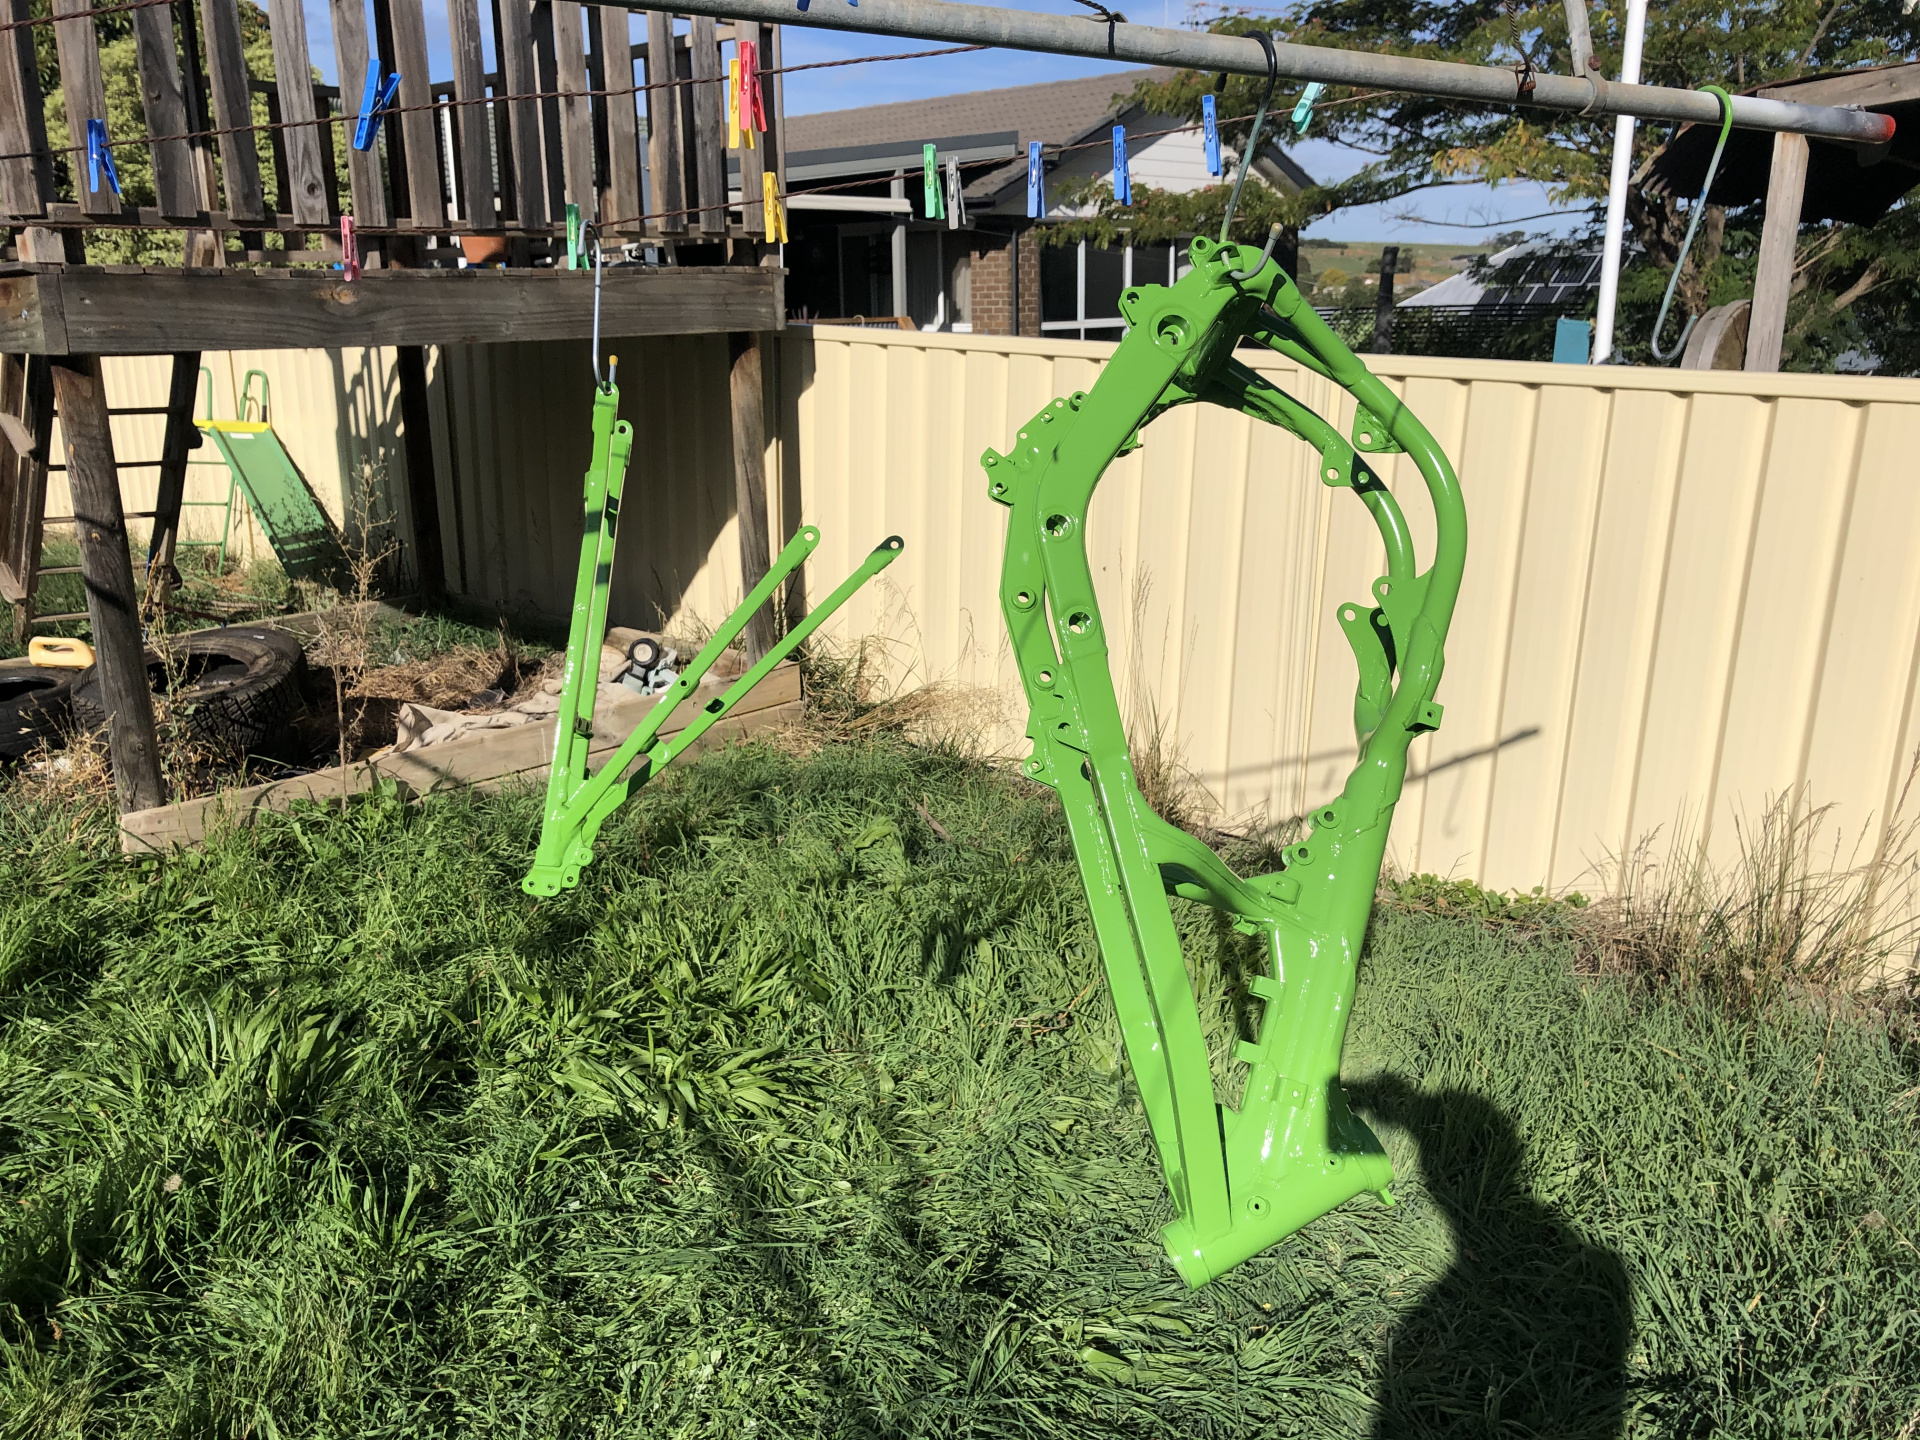
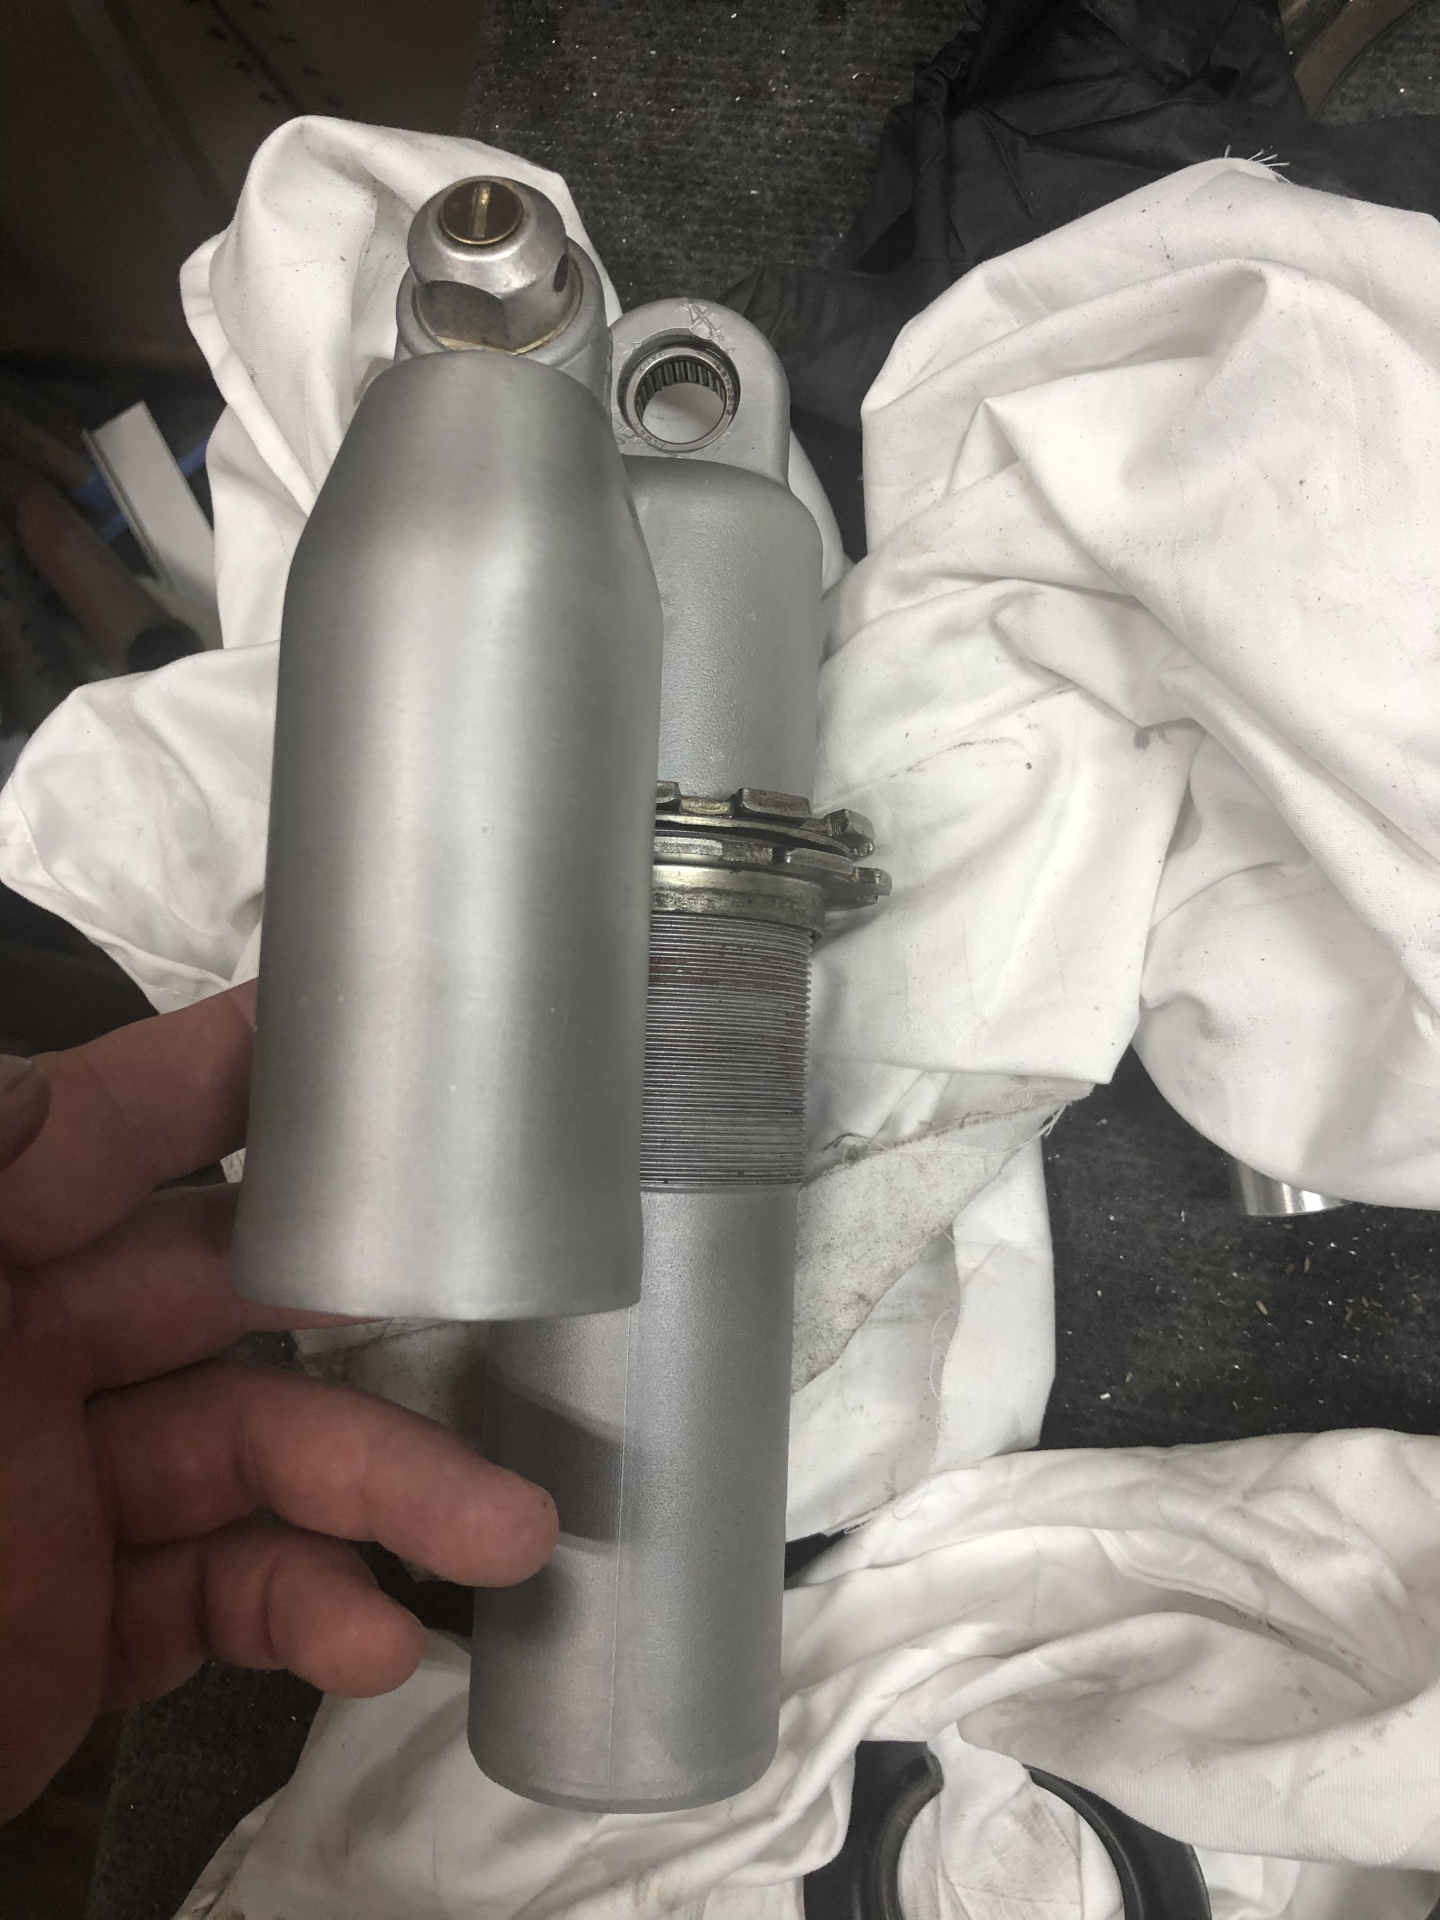
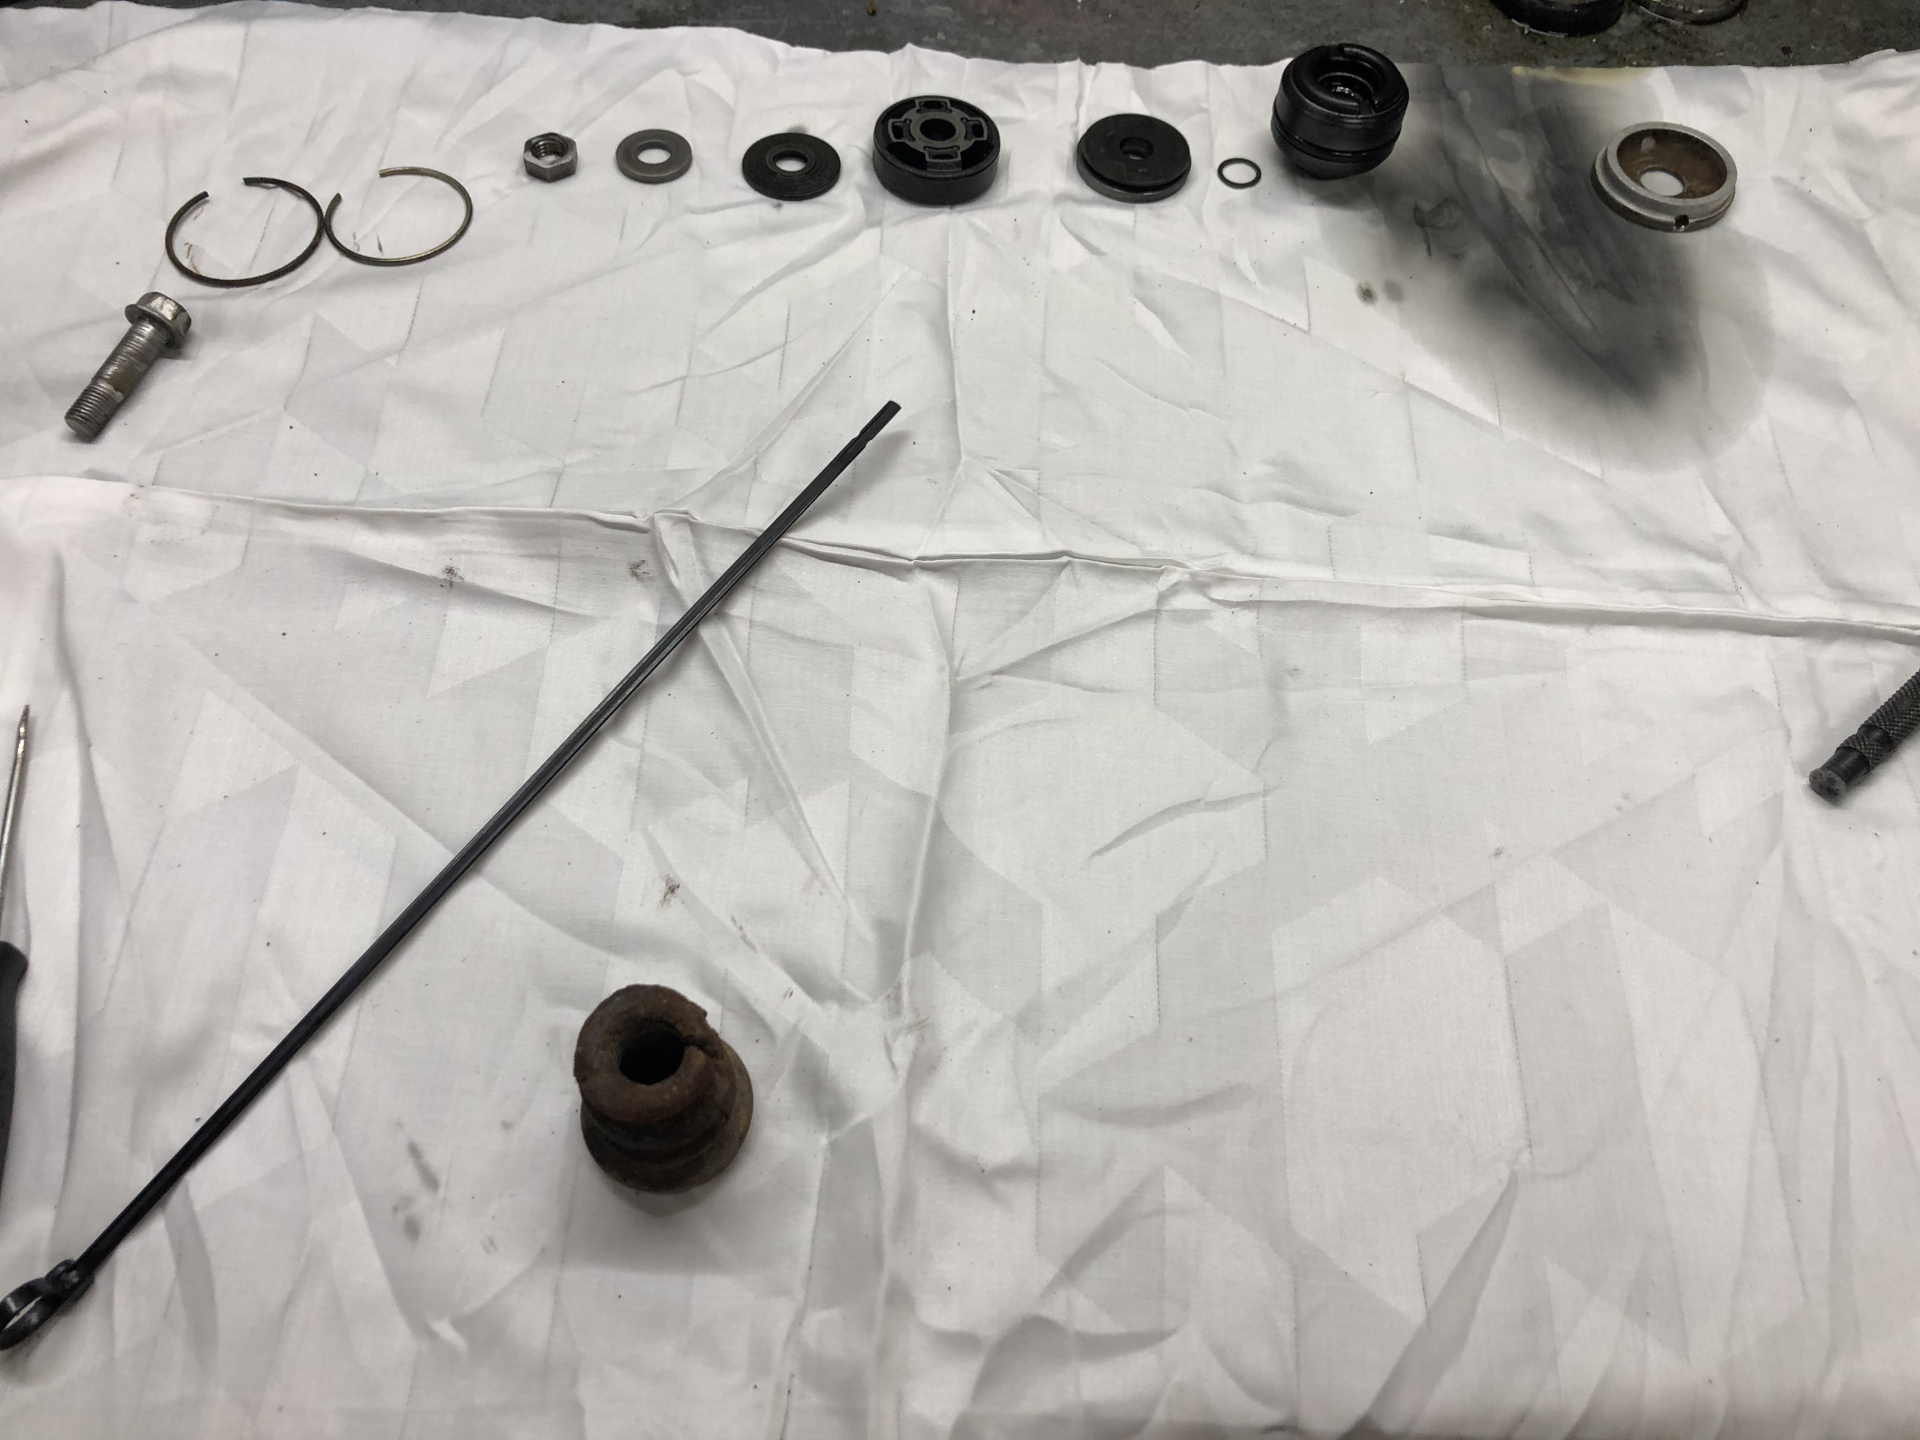
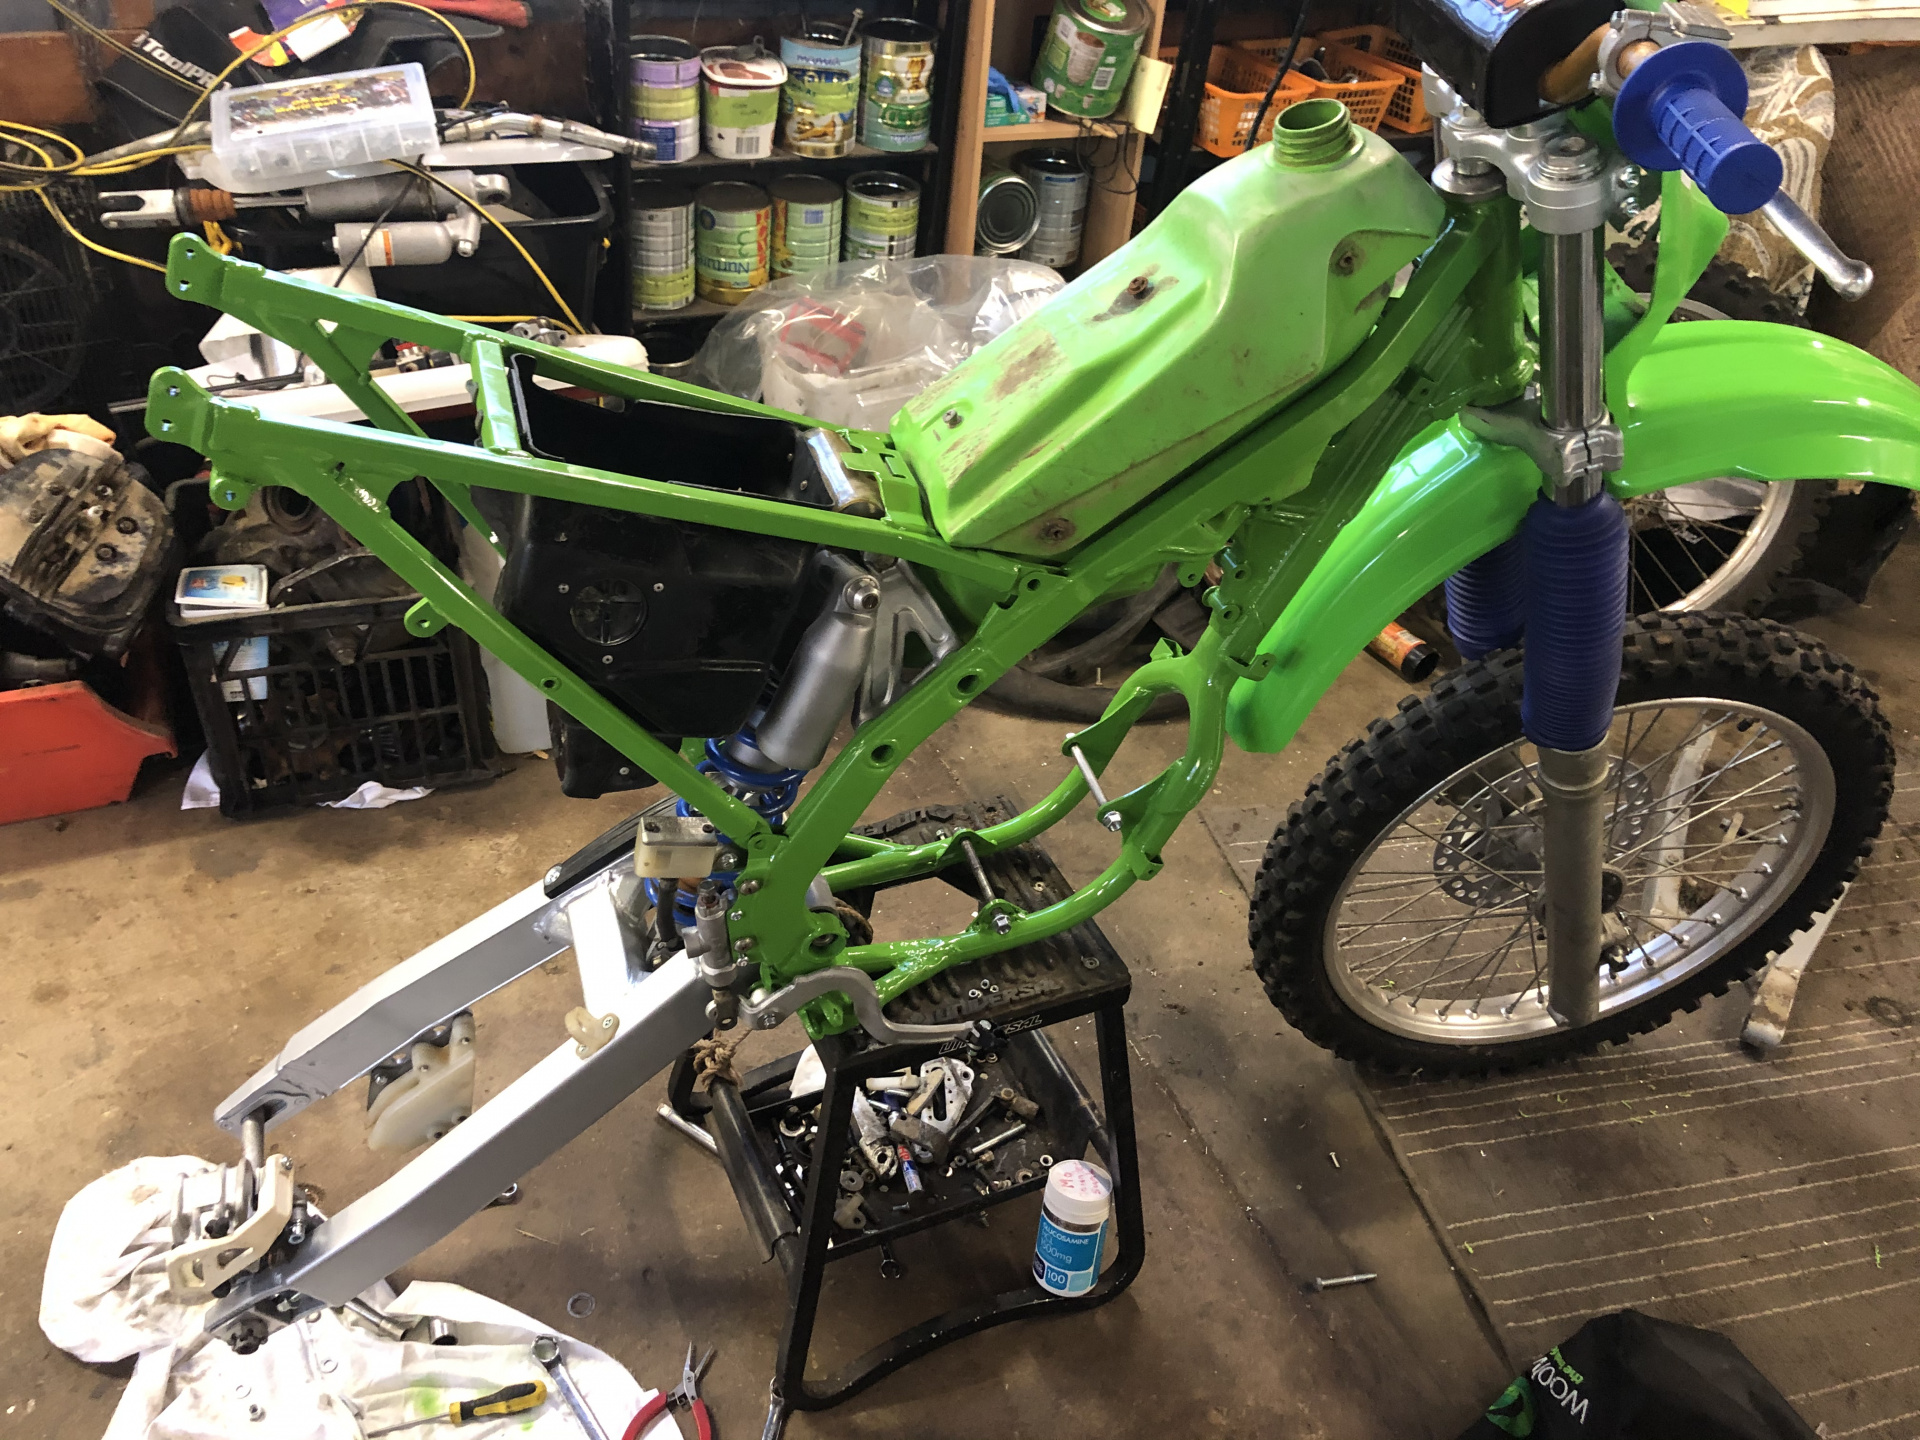
So, today I began the rebuild. I am currently very limited in my physical abilities, thanks to surgery last Wednesday, so lost of things are happening in a weird order.

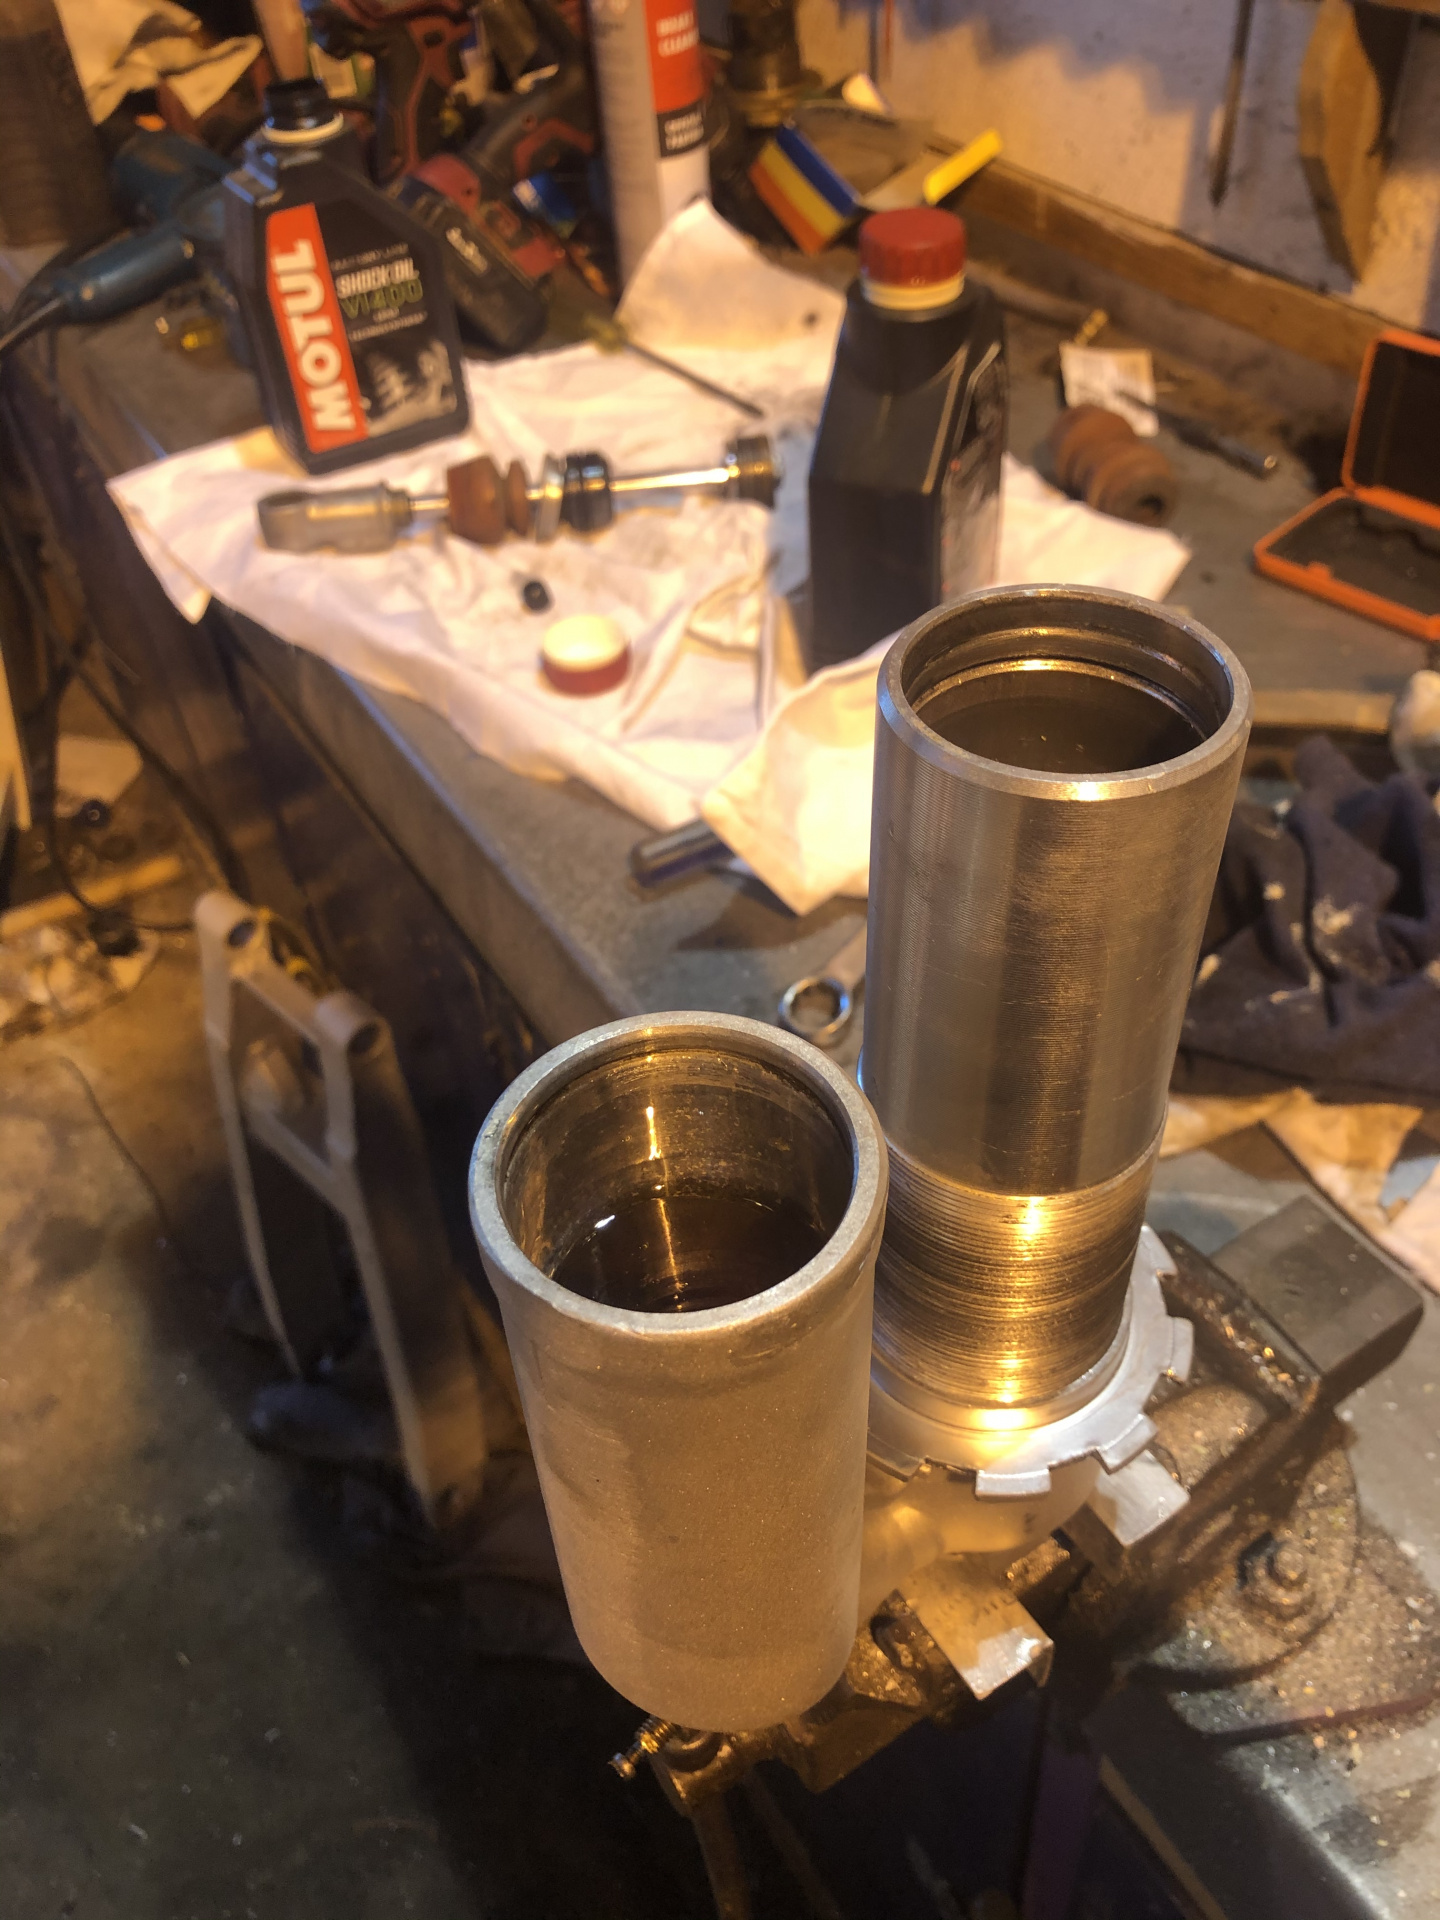
The big decision was to NOT make the bike pretty. In fact, I am going for the opposite: I want it to be ugly. I want people to see it and think “what a shitbox!”. But it is still a long, tough event with minimal opportunity to fix problems, so it will have to be mechanically spot on.

So the basic rules I have set for myself are:

Anything mechanical that it needs, it gets. Nothing will be done to improve the cosmetics.

Sometimes these things contradict each other - in which case, reliability and ease of working on the bike will win but if I can do it unpretty, then I will do it unpretty.

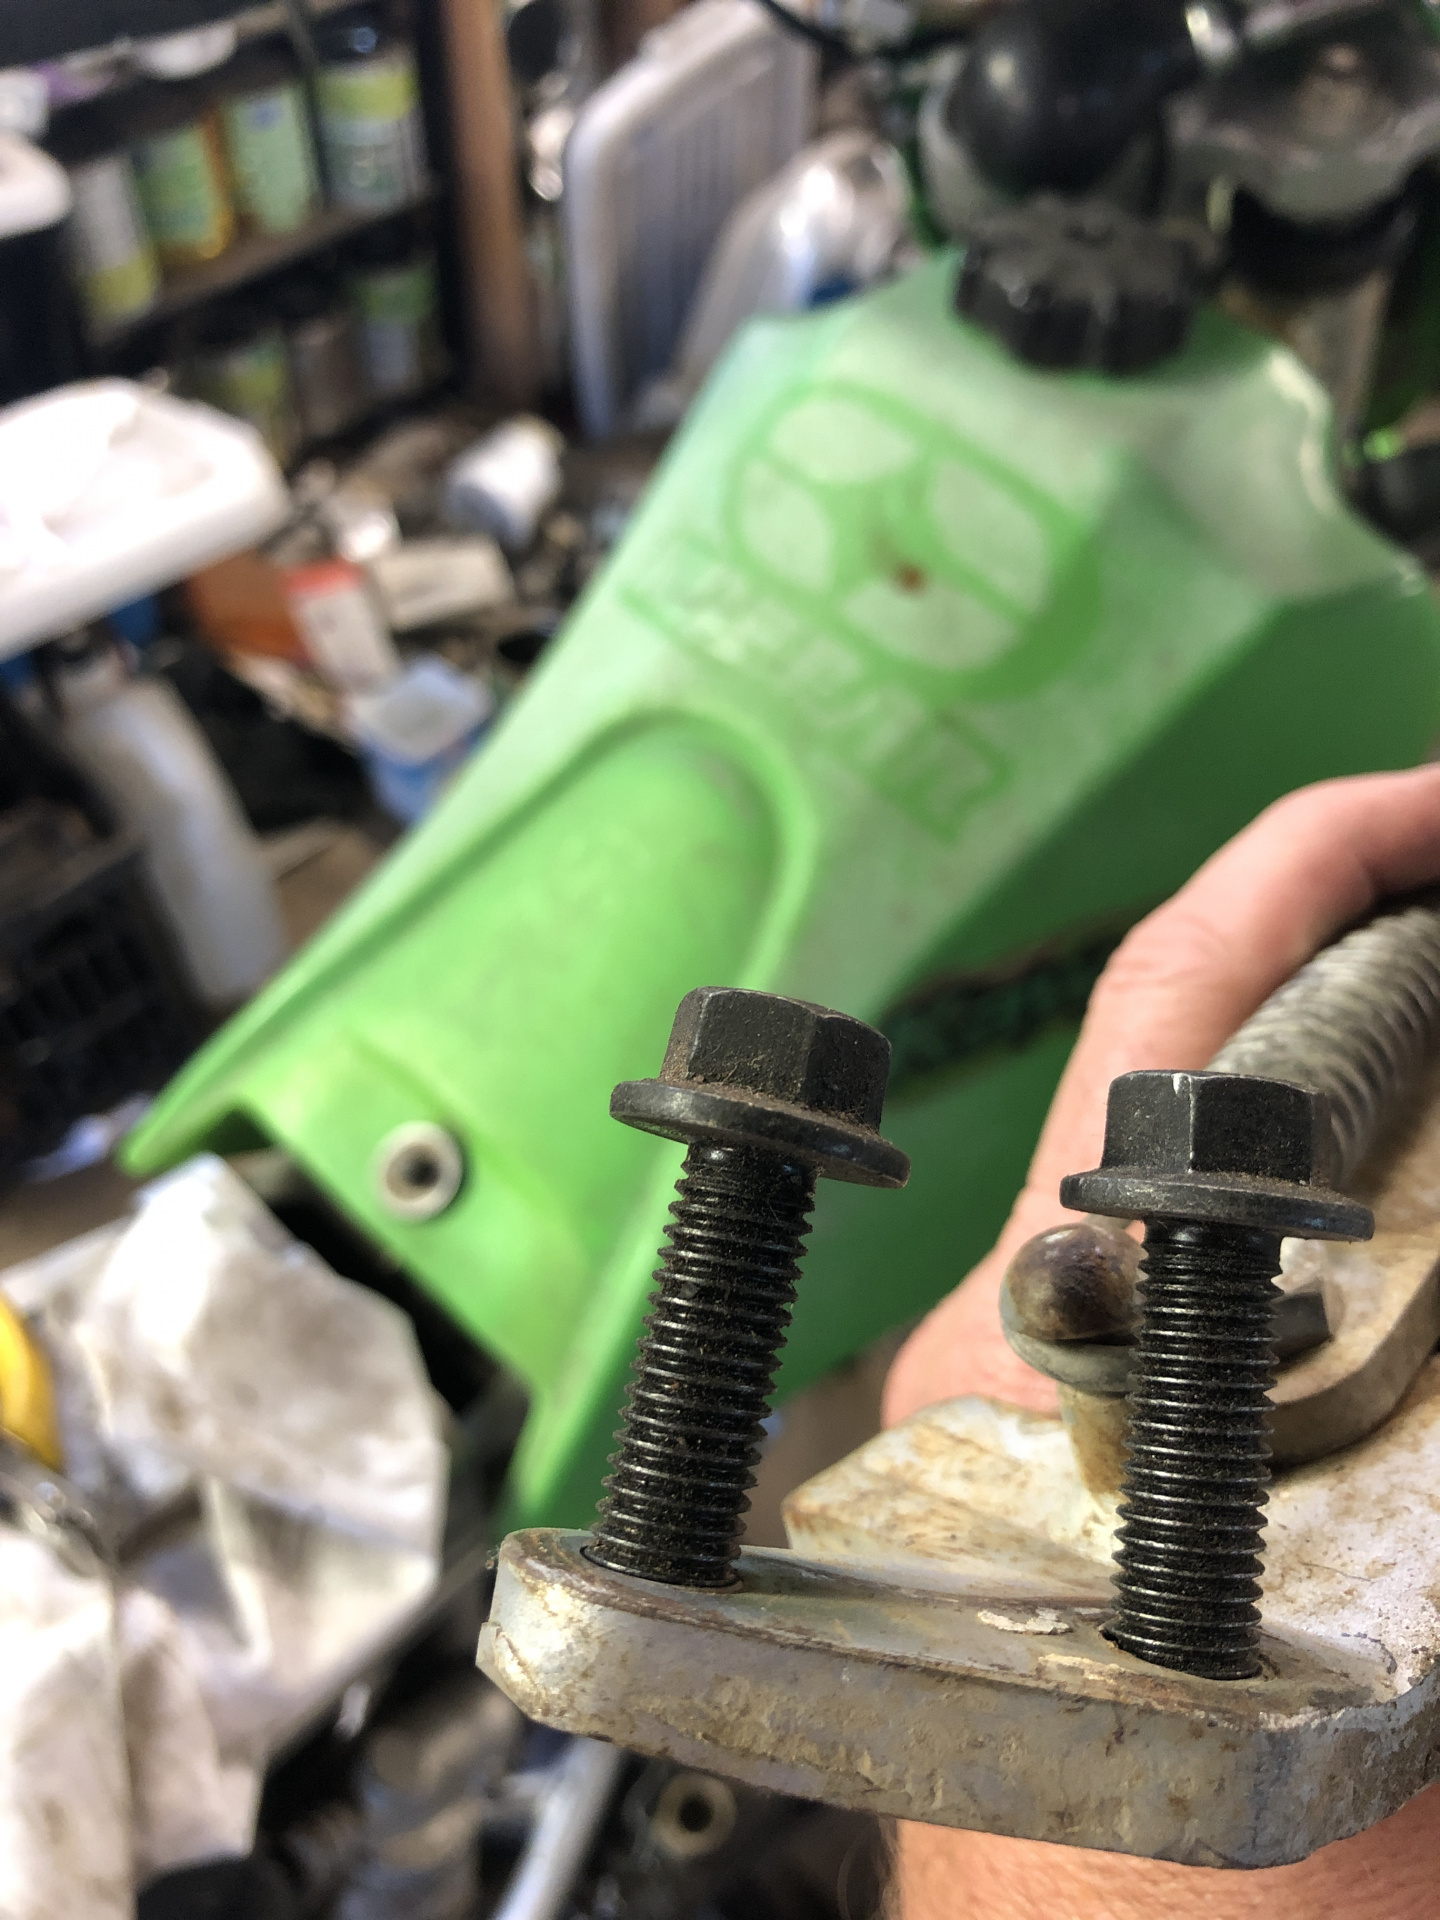
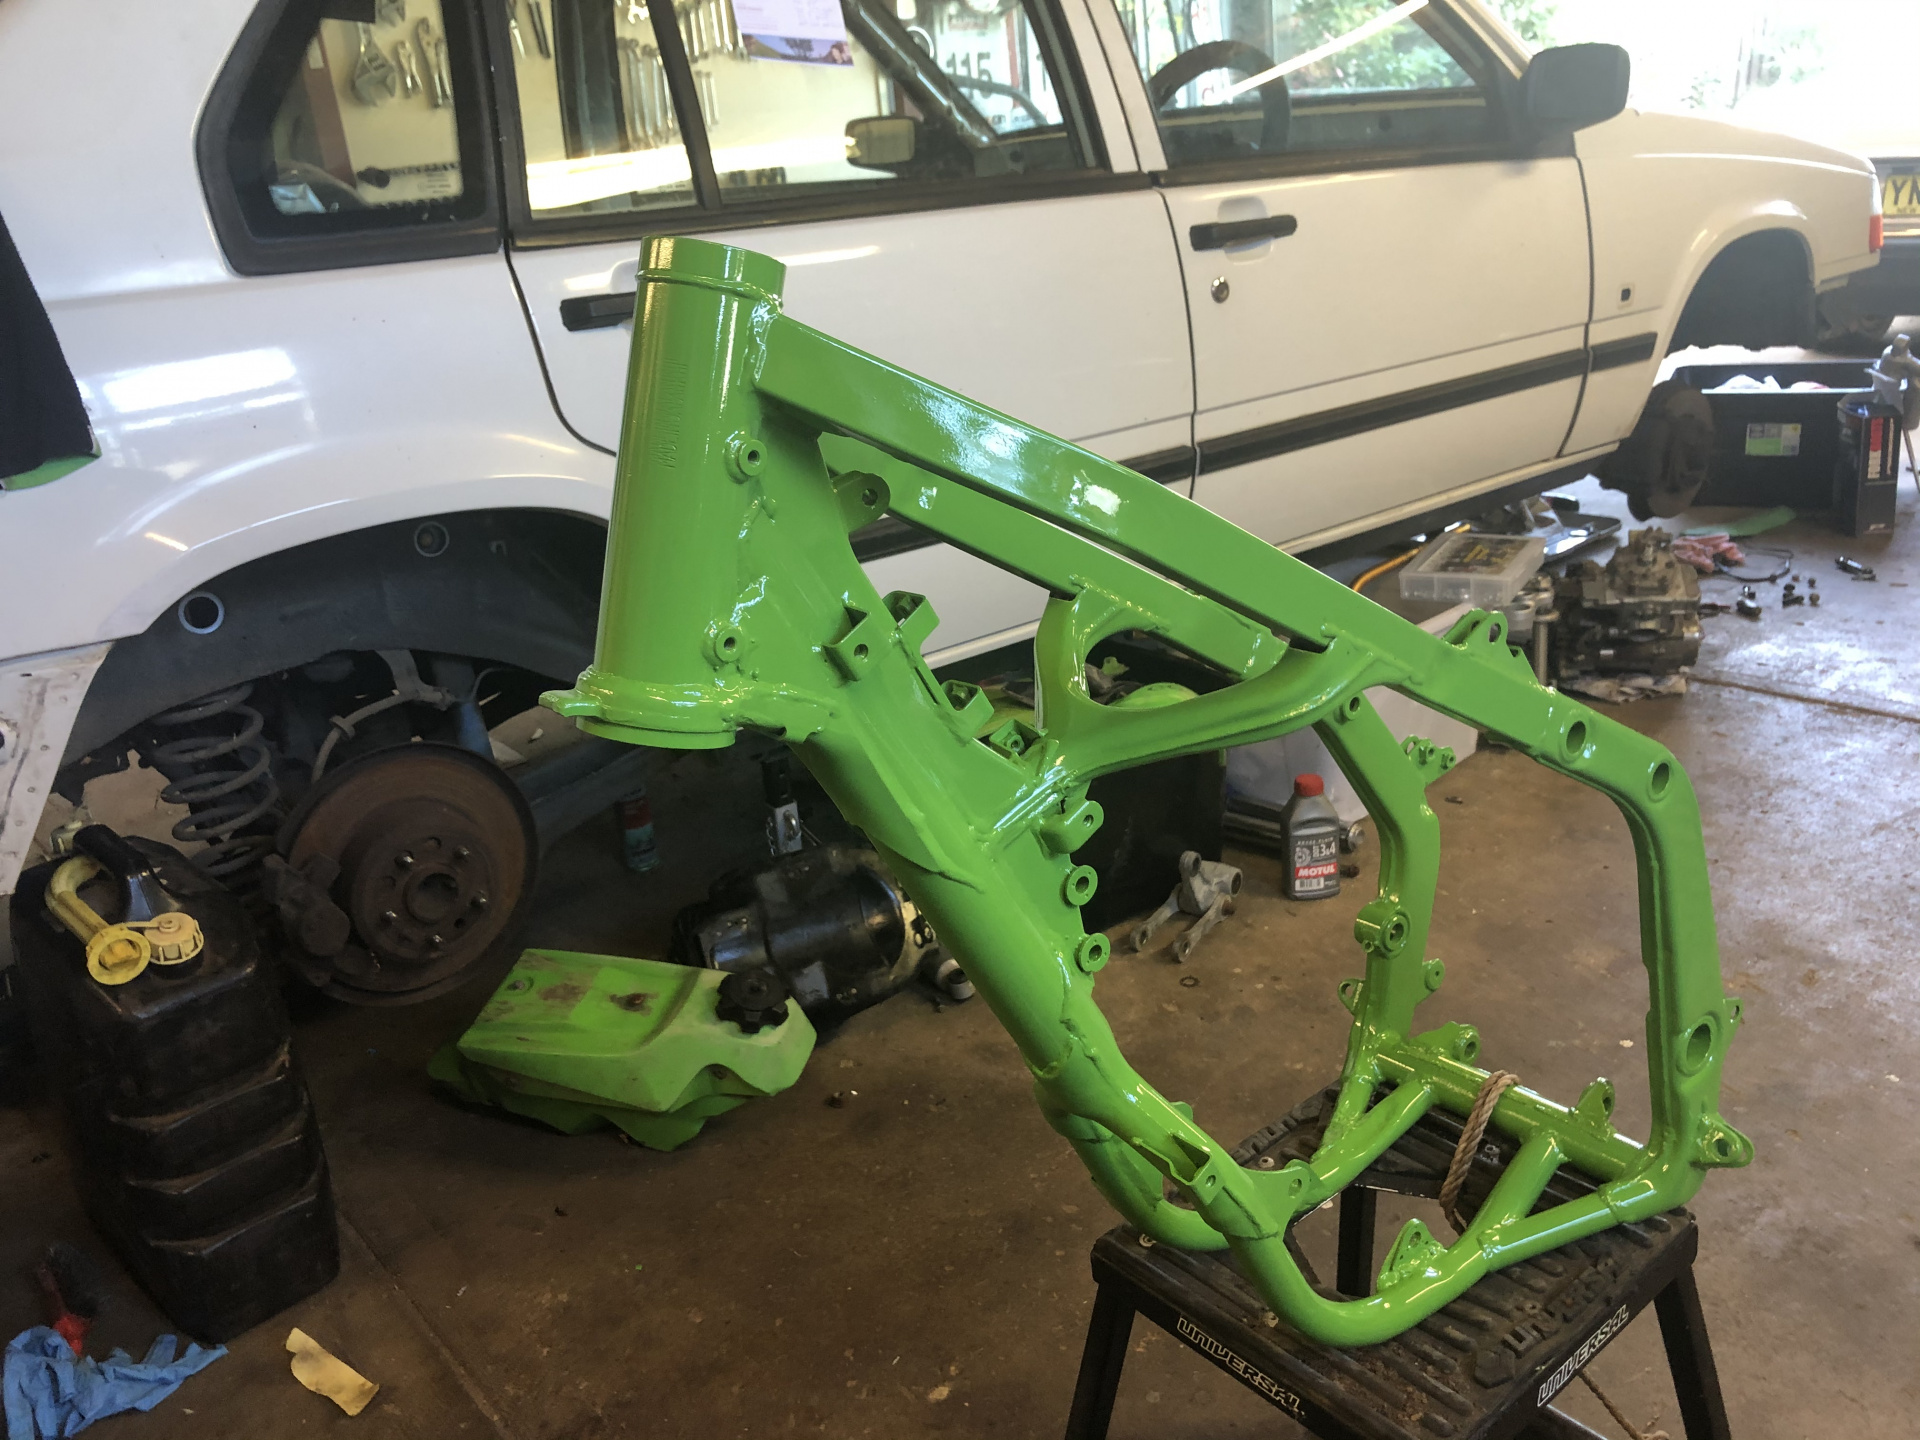
First step was to remove the thick layer of grime that was built up on the frame rails, and then I went over the entire frame with the 6mm thread tap.

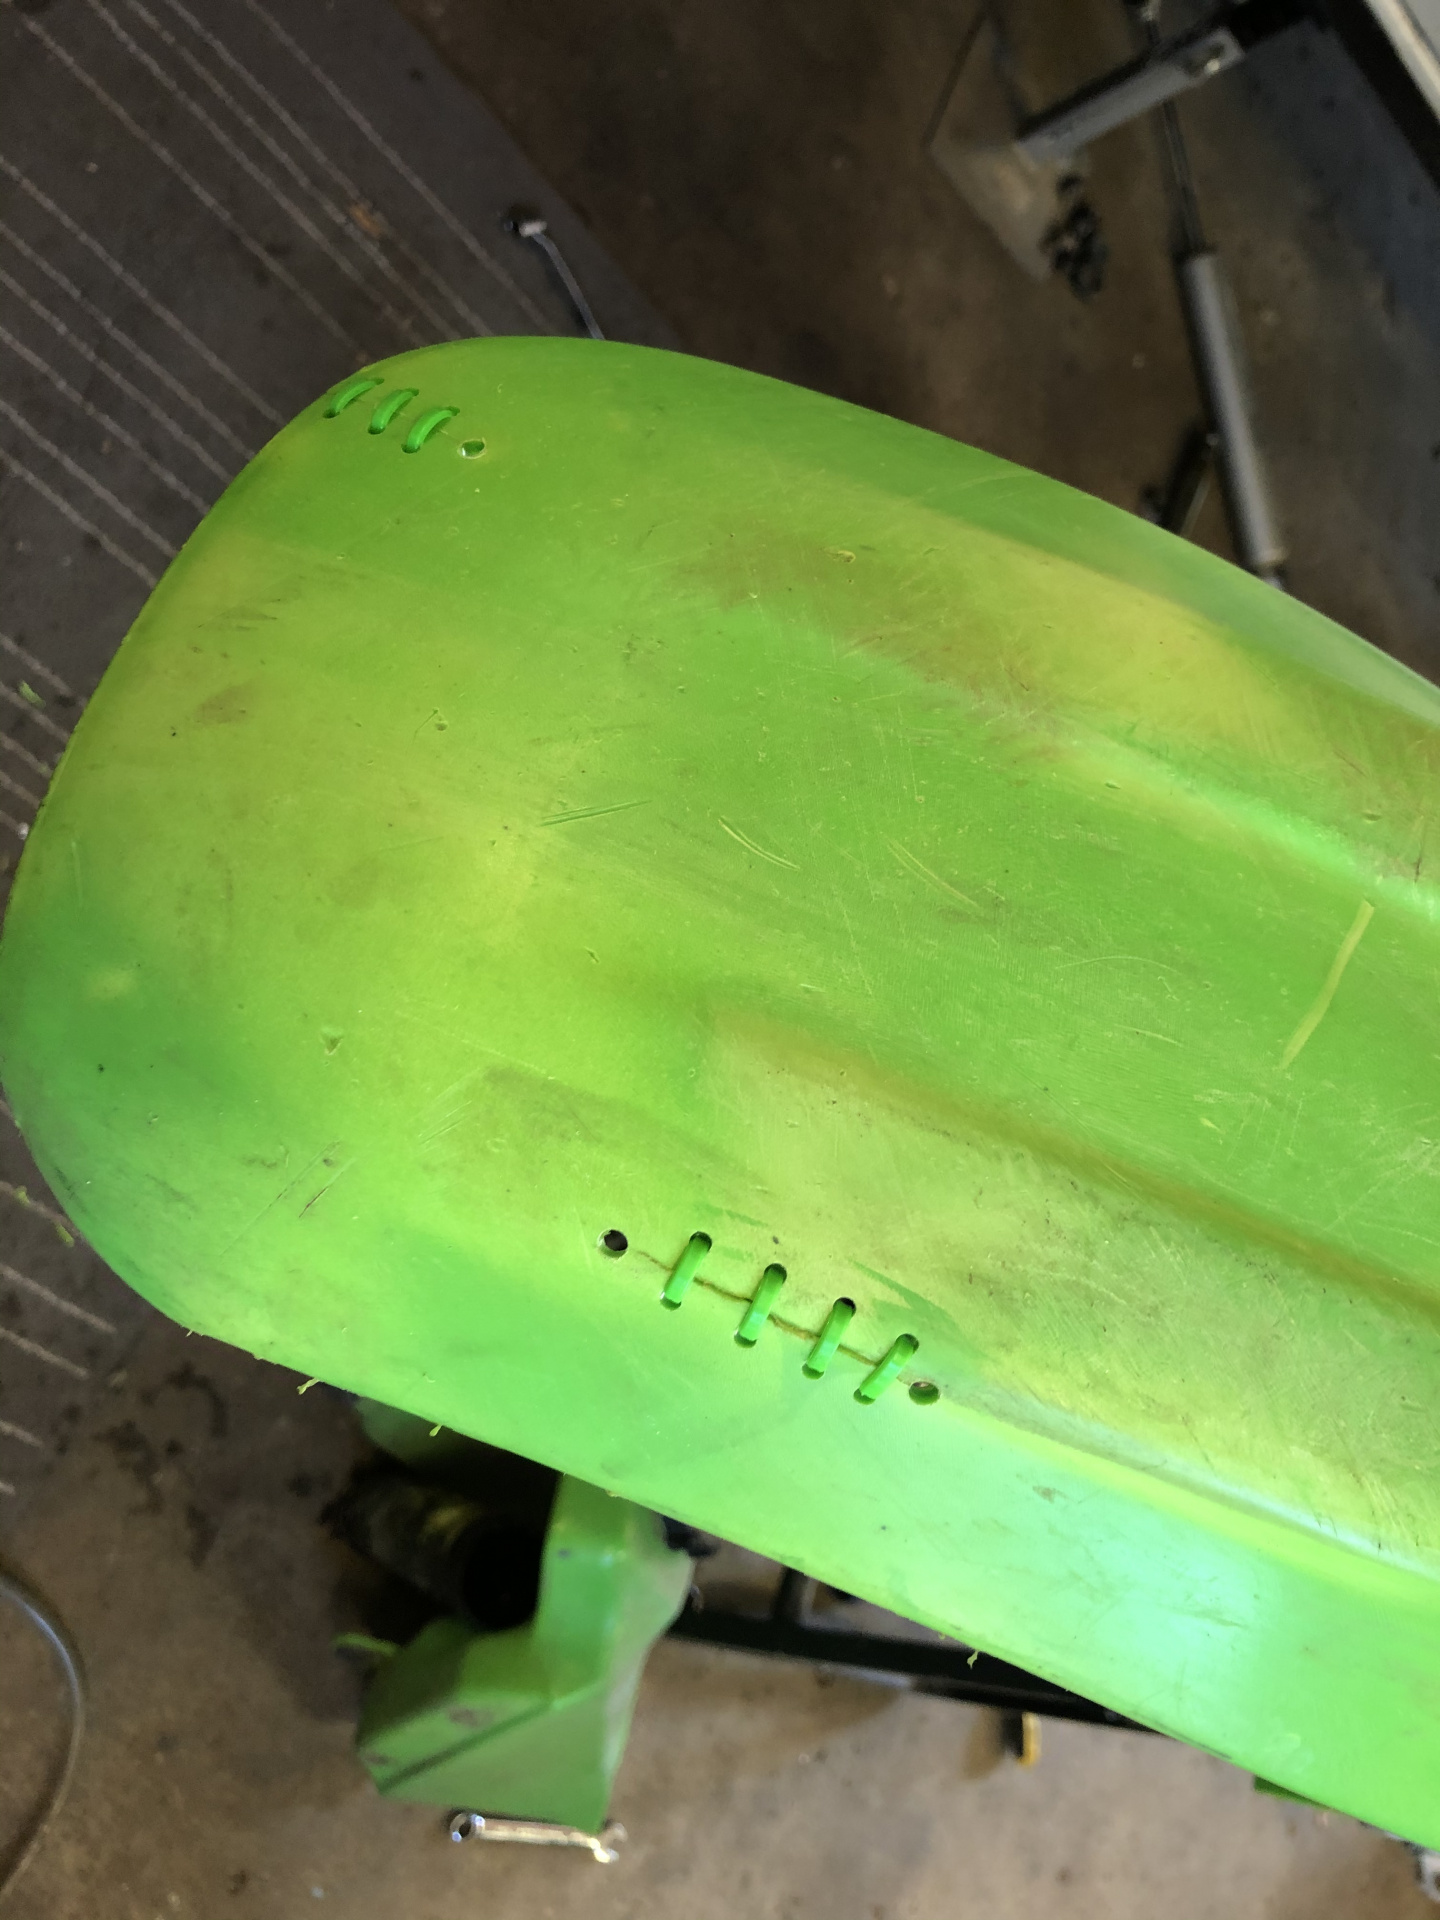
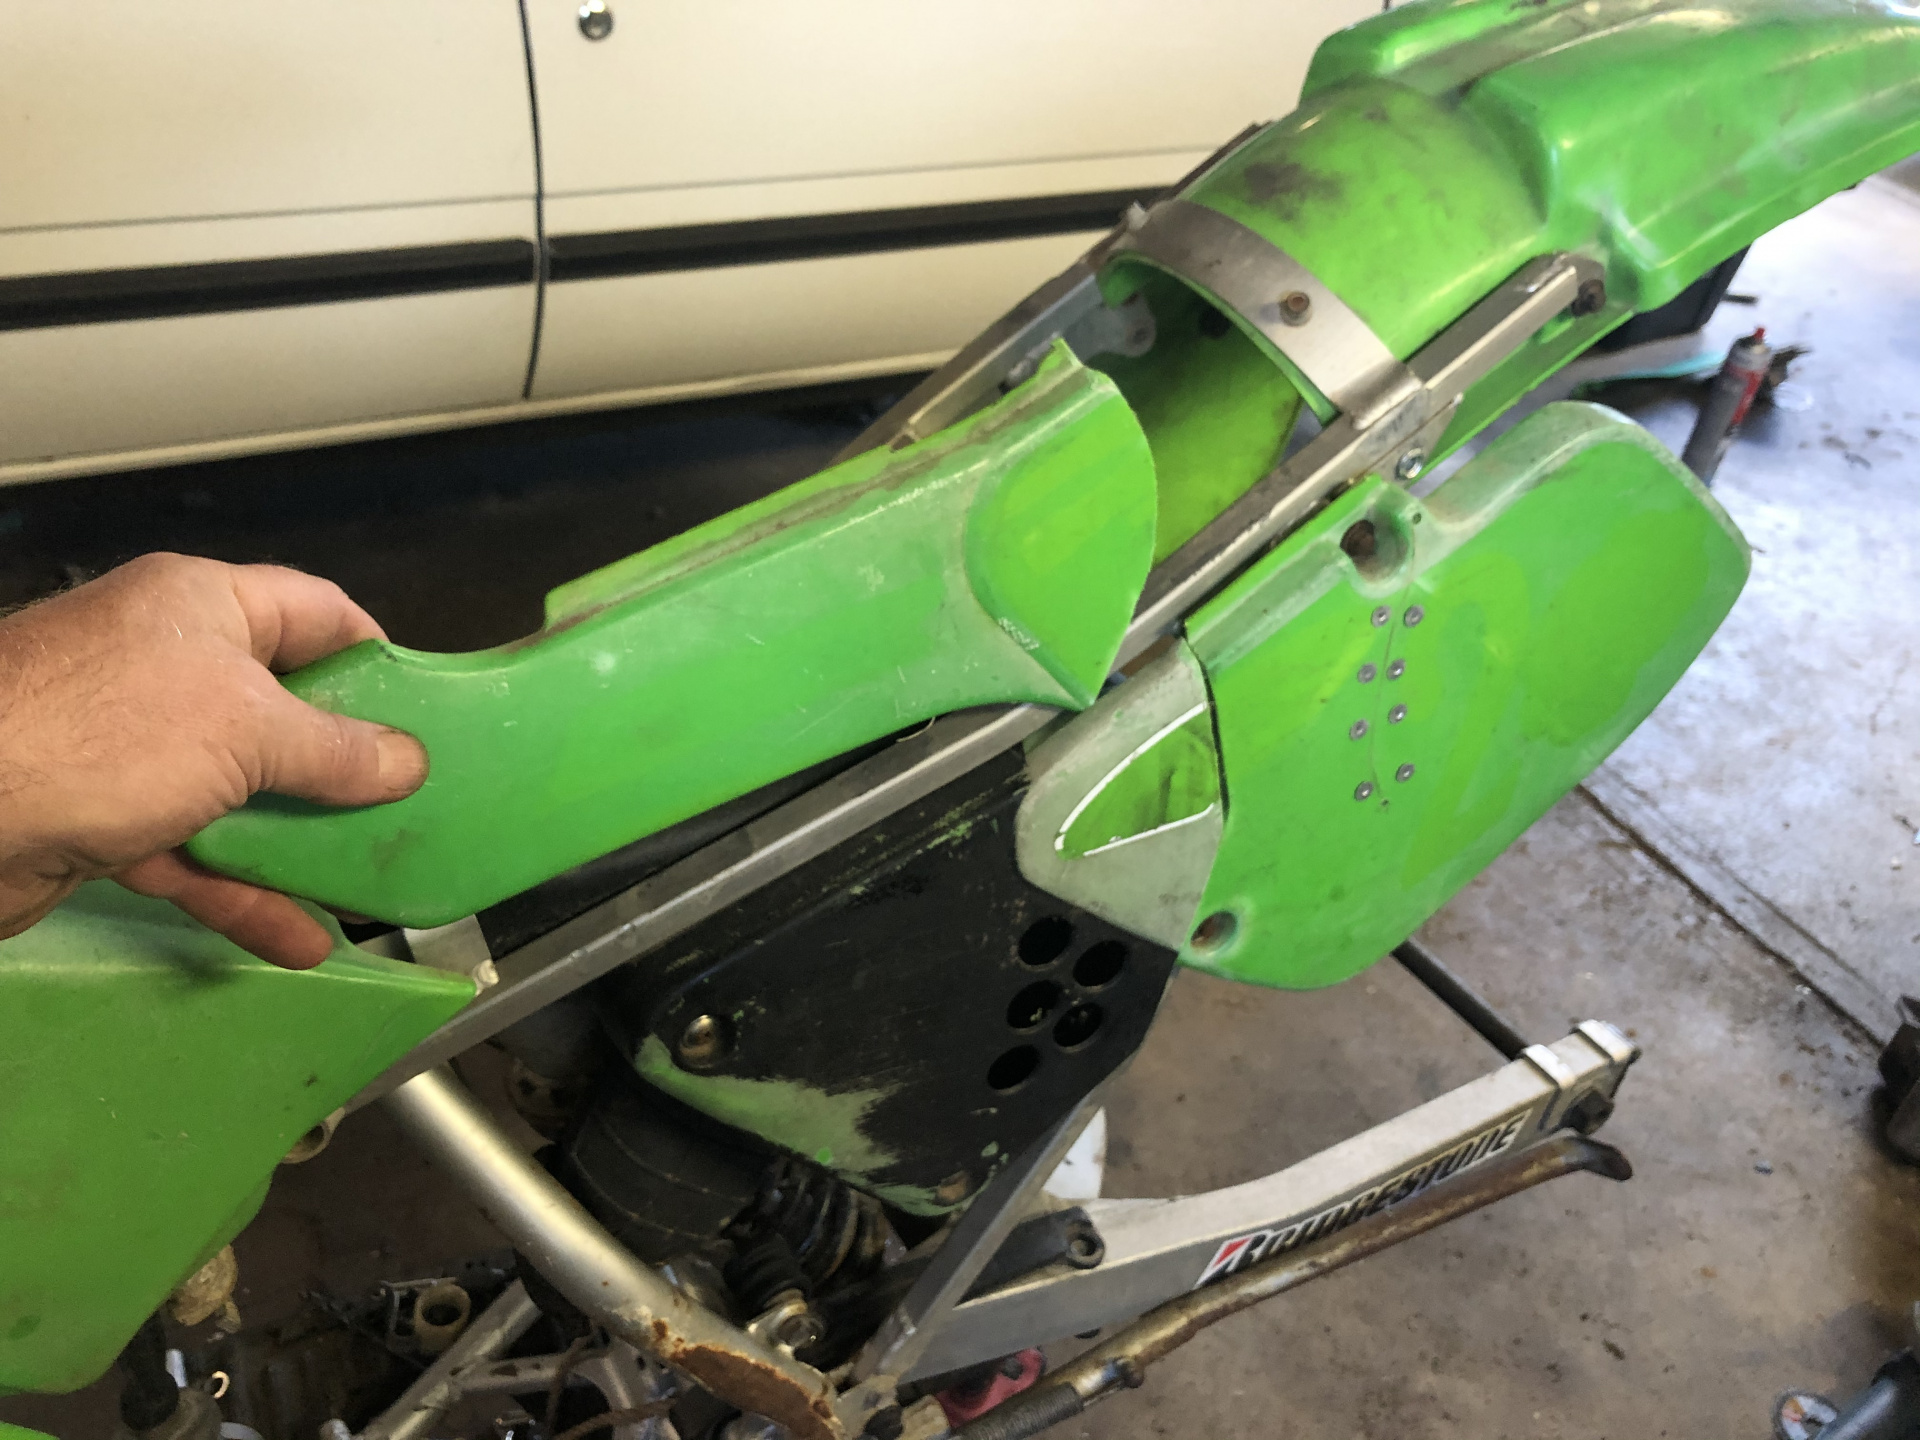
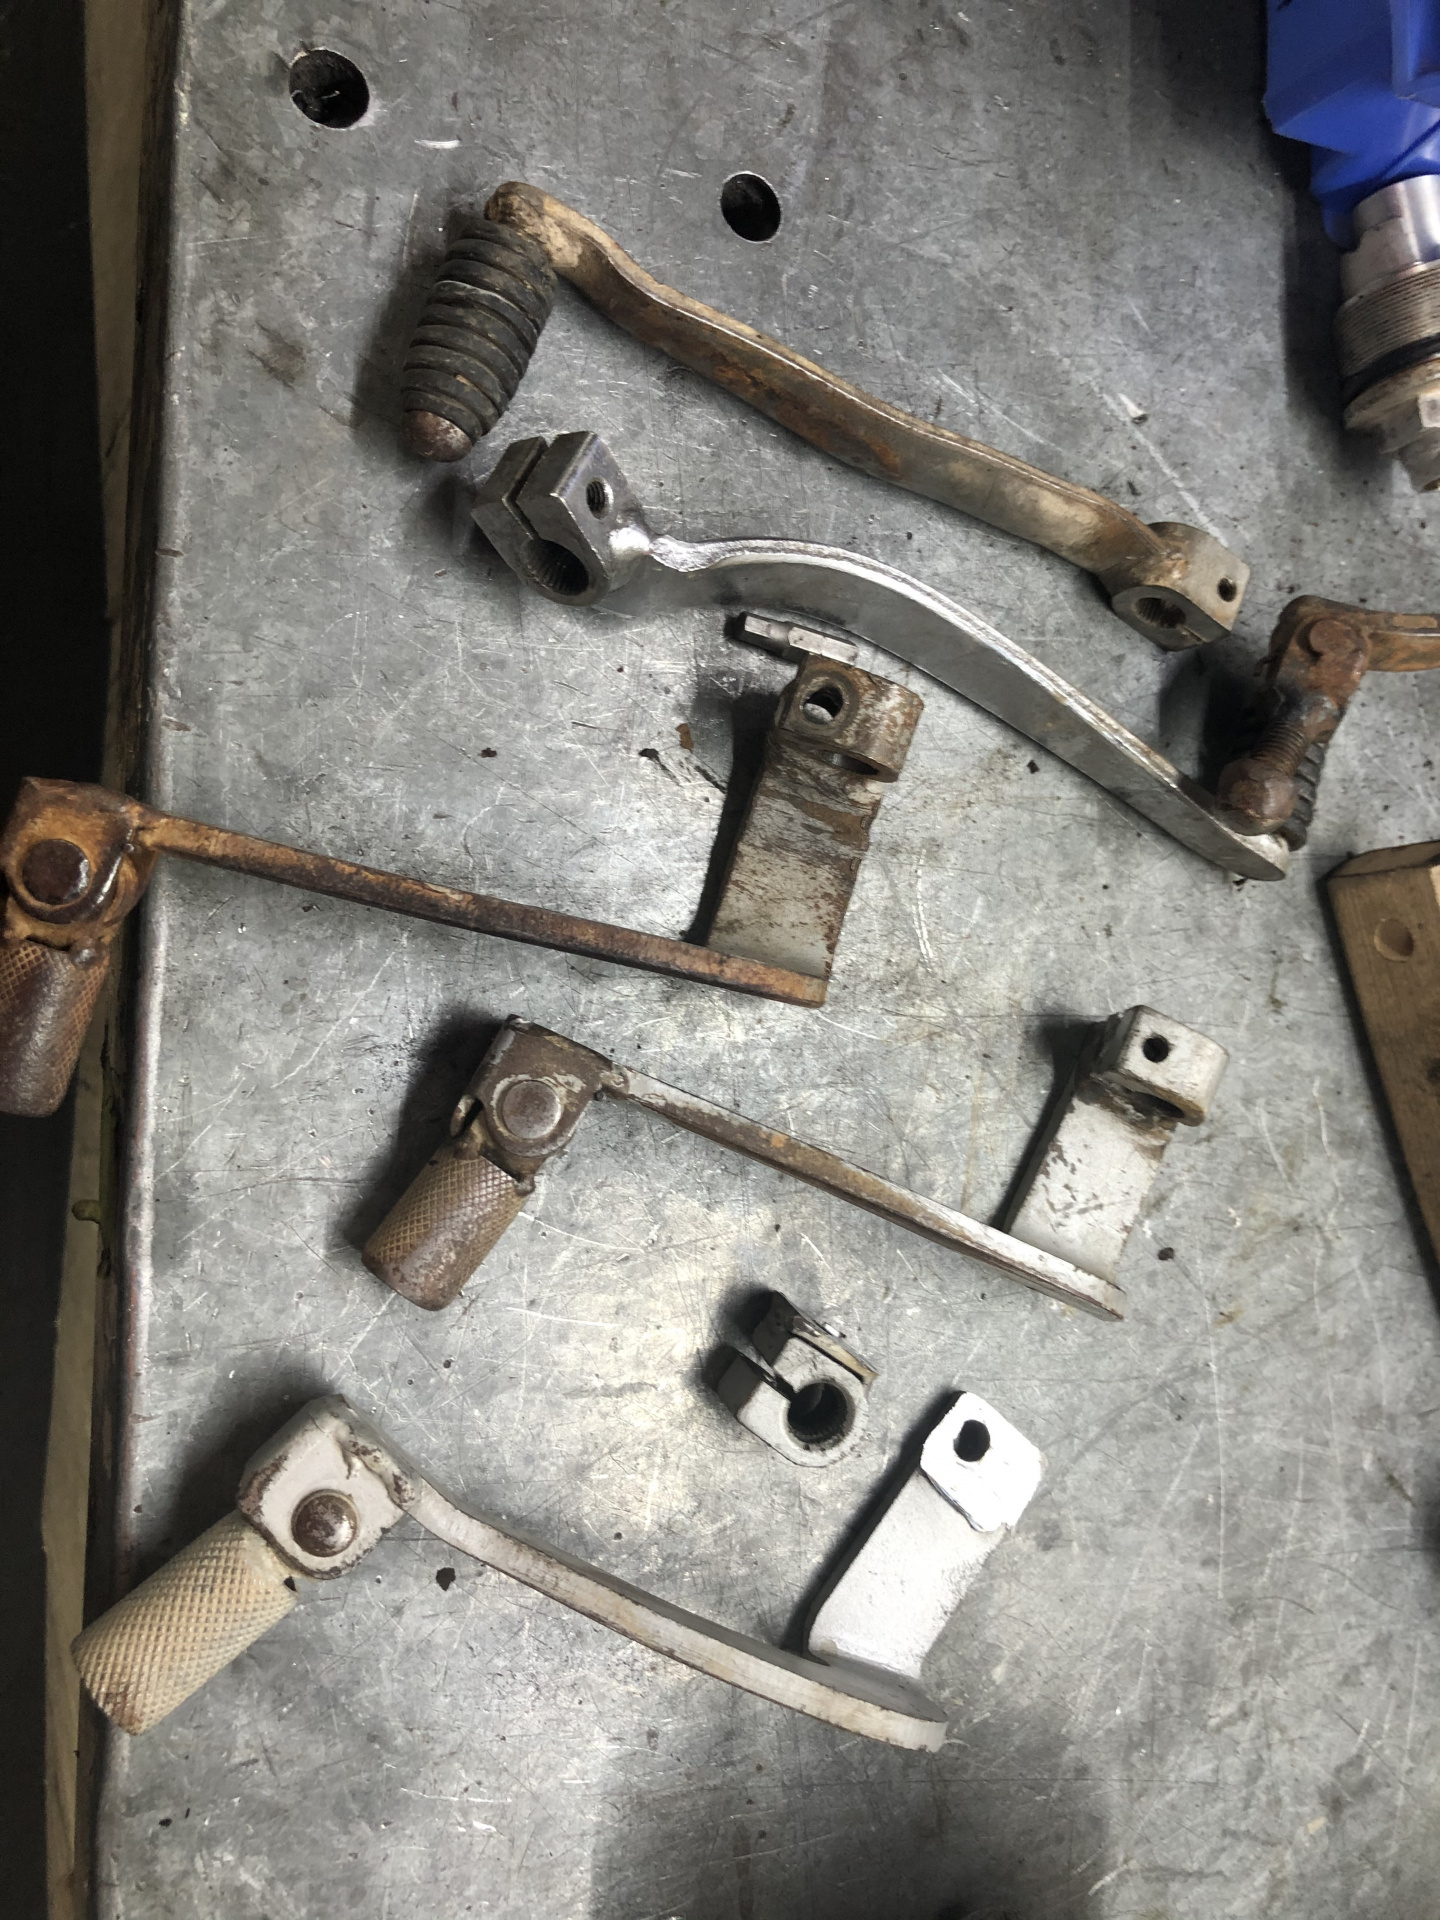
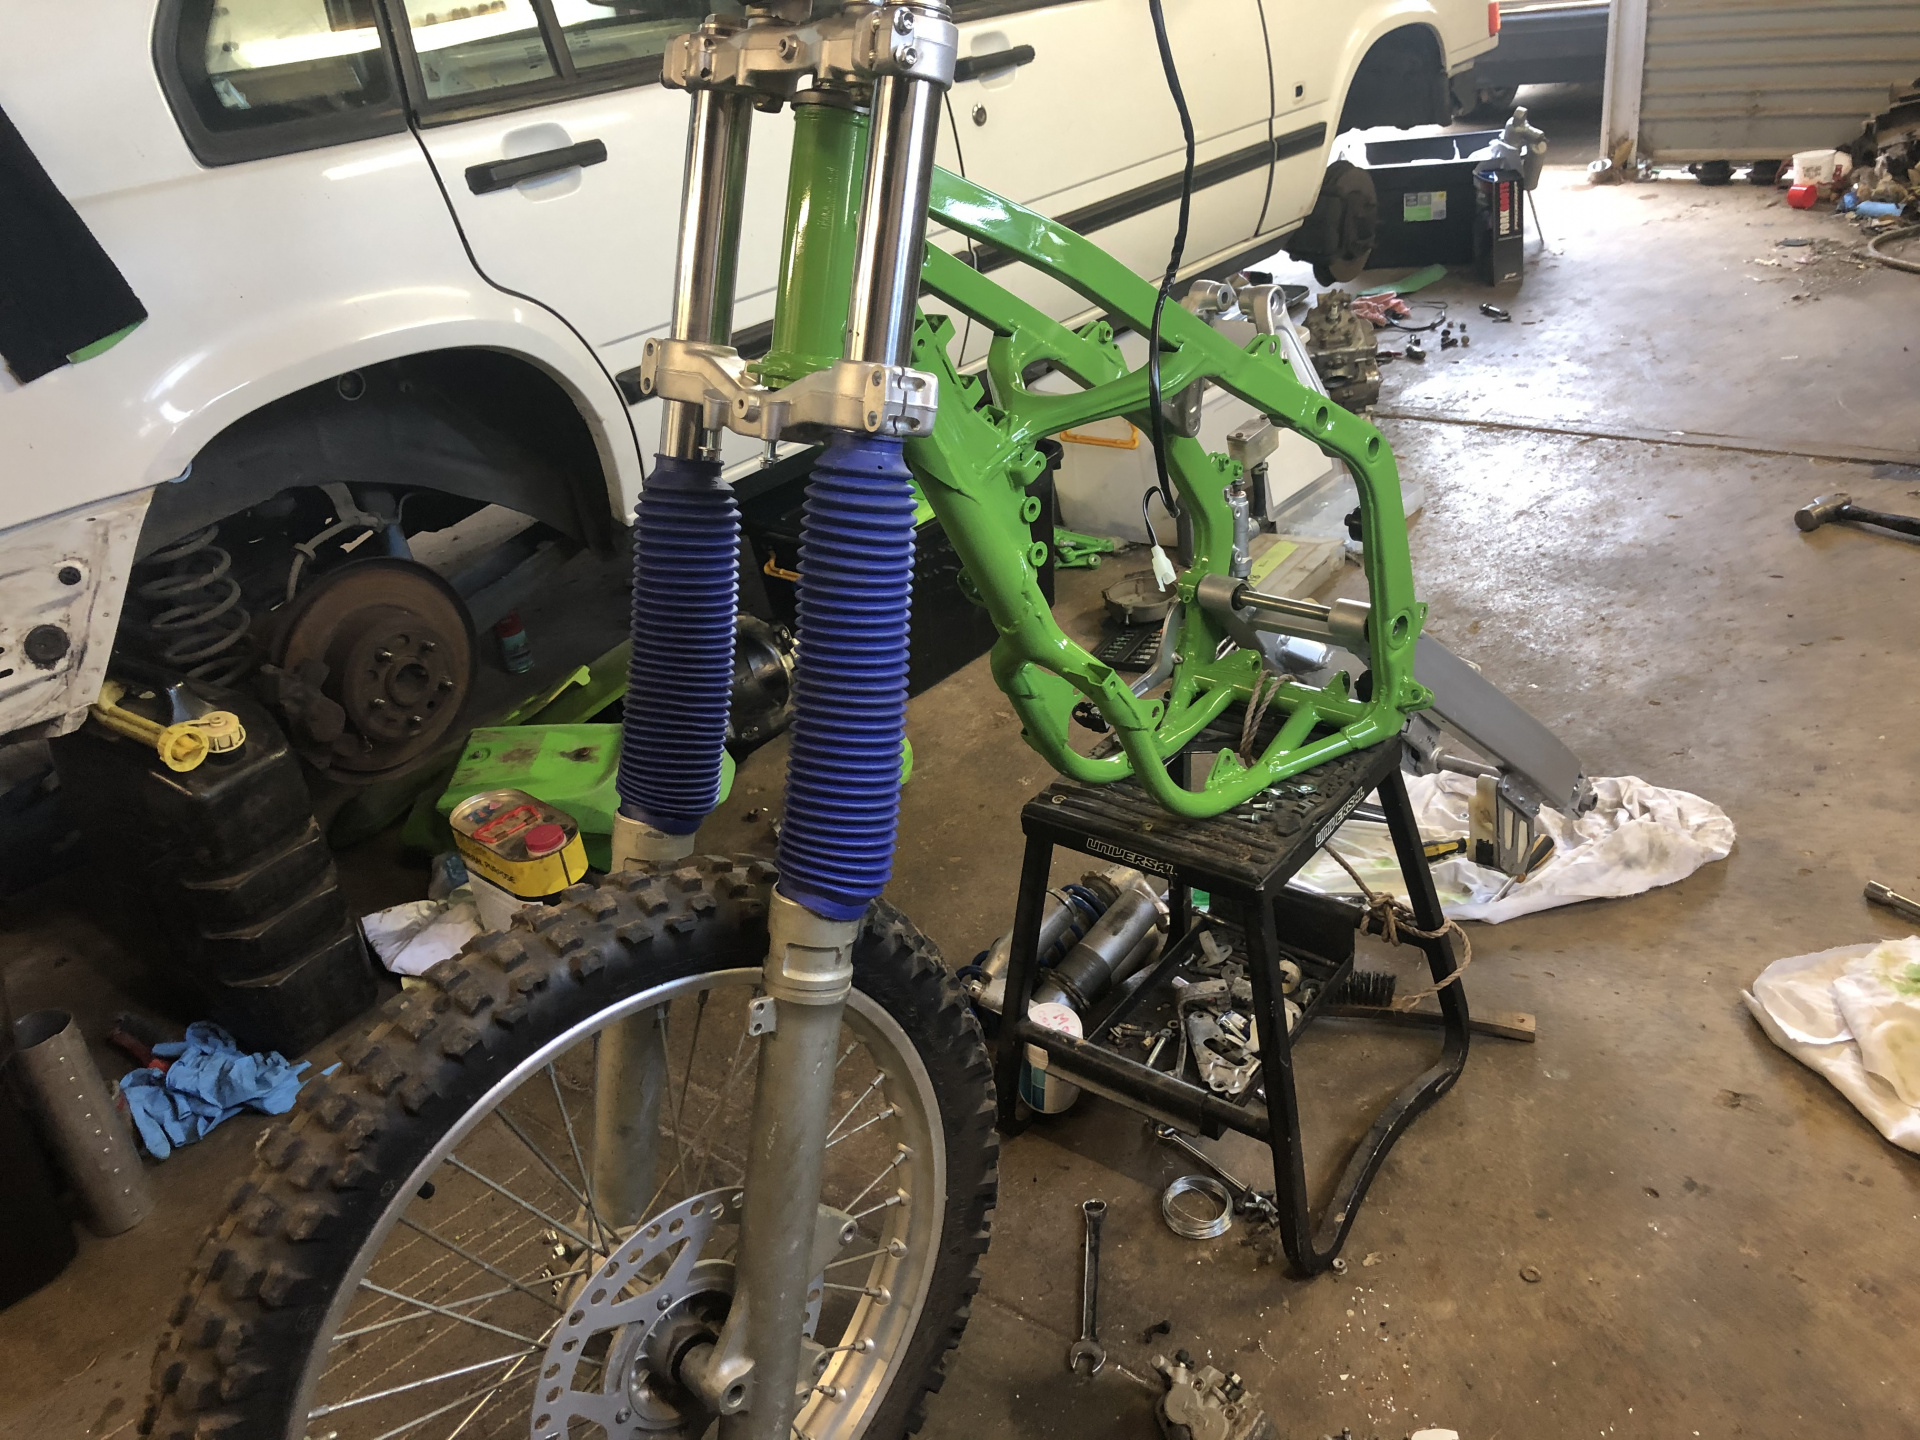
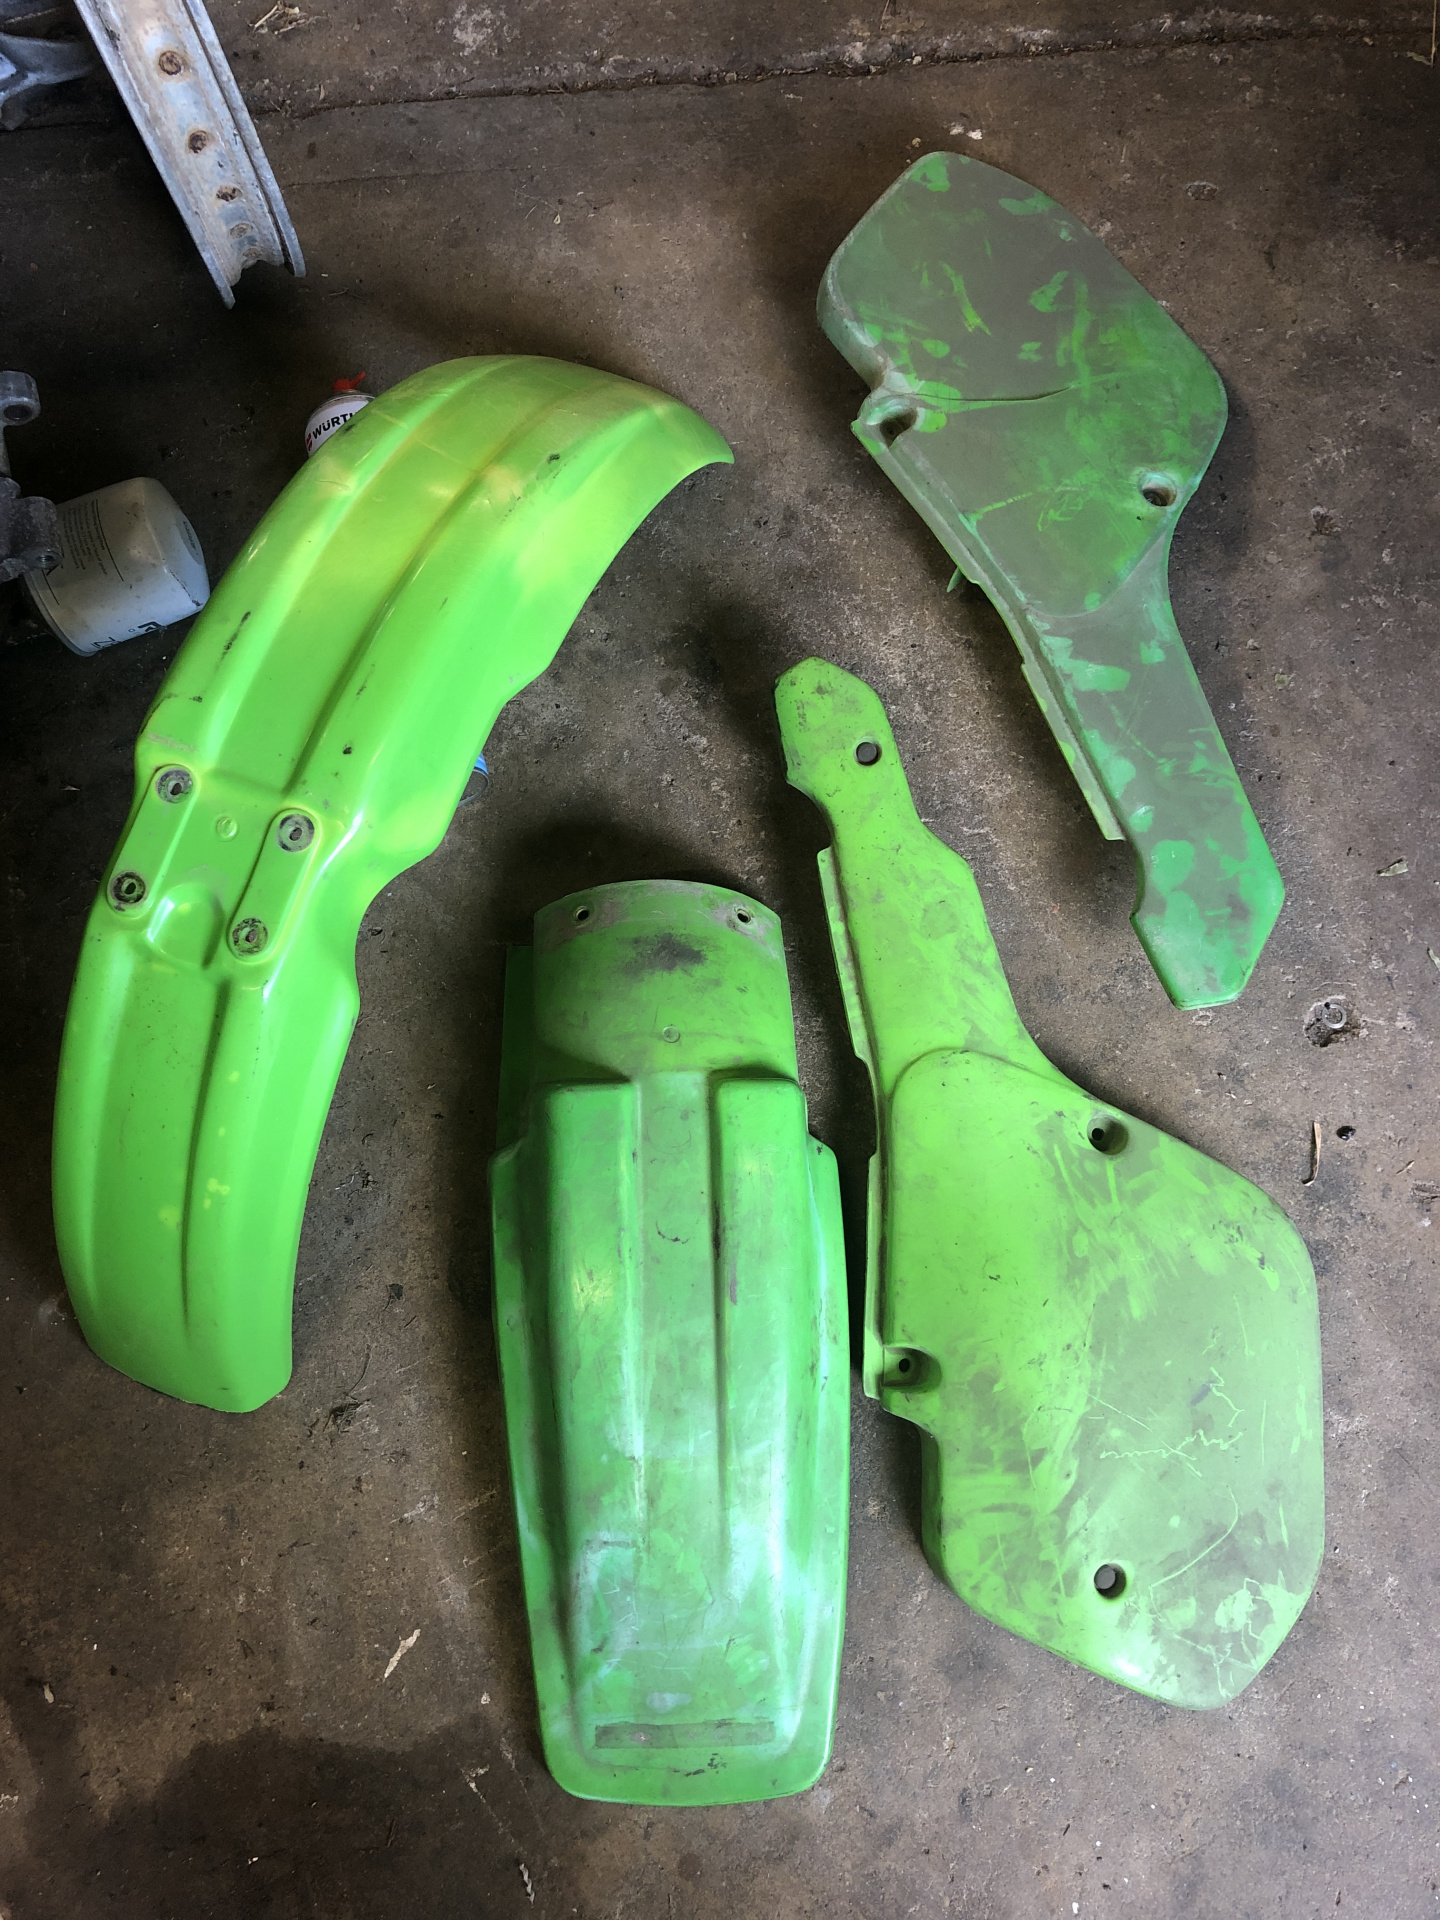
Next step was to visit my mate Marty who races a similar age KX and raid his stash of old plastic guards and covers to replace the missing parts from my bike. The explicit instruction was “I don’t want your good parts! I want the worst usable parts you have”.

He was happy to oblige.

There’s also been a bunch of time spent scratching up smaller missing parts from my shed. Doesn’t make for interesting photos, but is significant progress on the build!

And that’s where it is up to. I have just over two months to heal up, get fit, finish the bike, sort the bike and get my arse to the event.

You are a glutton for punishment.

So , we're they so embarrassed at what they did to it they didn't want to sell it? Fook me....hope it was cheap.

Good luck lad .

  • Spac replied to this.
    Ex850R

    So , we're they so embarrassed at what they did to it they didn't want to sell it? Fook me....hope it was cheap.

    Good luck lad .

    Honestly, it seems to be the most likely explanation.

    Yes, it was cheap!

    Slllloooooowwww progress for a couple of reasons. One is that I am being a sooky old man after the surgery - basically being super careful to heal properly.

    The second reason is because shit takes time to do properly and even longer to do properly and ugly.

    Take, for example, the humble rear sprocket bolt.

    Basically just a countersunk head M8 bolt with a nut on the back - so nothing weird or difficult.

    They do cop a hard life, rubbing against the scenery, and occasionally being damaged by a derailed chain. Plus it seem obligatory for gronks to try to turn the bolt head rather than the nut when loosening them, which inevitably results in a rounded out bolt head... (£££)

    Normally when I am rebuilding a bike, I pay the ~$60 and buy a new bolt kit - which includes a new set of sprocket bolts and nuts.

    But they are shiny, and shiny is verboten.

    Instead, I had to grovel through my collection of old sprocket bolts to find a matched set in good condition.

    Then repeat for the nuts and washers...

    So what is normally a 5 minute job turned into 30 minutes or so.

    Everything else today has been pretty much the same.

    Did sort the handlebars and triple clamps. I was about to order new steering head bearings the other day, when I discovered I had a new set floating around.

    Fitting up the front mudguard and sitting the headlight in place are just about keeping the motivation up.

    This headlight has been on several bikes now, including this one the first time around.

    Classy repair to the front mudguard, using cable ties as stiches.

    I did consider using black cable ties but quickly decided that was a shitty, attention seeking idea, like the people who put in hours of work to make their rat rods crappier than they need to be.

    Then I had an awkward moment of self awareness that I was already doing exactly that...

    So I used the slightly more discrete green cable ties and stopped thinking about it.... ?

    For future note (depending on the type of plastic), if you shave some of the plastic from the edge of the guard, you can carefully melt it back in using a blowtorch and a paint scraper - heat the paint scraper with the blow torch, and you can melt it into the crack.

    Be sure to leave big black burn marks if you do?

    Using the scraper, it avoids the burn marks... it's how I've welded PE canoes before.

    Burnt would be authentic (or maybe contrived) ghetto fix....

    I have never been able to do anything useful when it comes to plastic welding, especially not dirt bike guards.

    ————-

    Made up a clutch cable. New ends, new inner, old outer.

    Olde dirt bike trick - teflon tape on the handlebars mean the levers can rotate on the bars in a crash, reducing the chance of breaking a lever.

    Barkbusters took forever to get right, just like everything else. These are cheap knockoffs from the 1990s, but actually seem to be good quality! Definitely better than the American brand name ones that I was going to fit.

    Old style bicycle horn is to meet the regs of the event. Plus it is how things were done in the ‘80s, so $7 well spent.

    Forks tomorrow. I am just going to take the forks off my main Vinduro bike (88 KDX200) because they have the right springs for my fat arse.

    Previous owner x2.

    £ x a billion....

    This is supposed to be a collapsible bladder in the brake master cylinder.

    I have no idea why you would do this.

    And the super-rare, impossible to find original side stand:

    I have no idea how you could bend an 8mm plate that is bolted to a 5mm plate, but here we are...

    Not much progress today. Pulled the KDX out of the shed, faffed about for ages before deciding that it was dumb to fit the new sprockets to it and its old sprockets onto the project bike.

    So project bike gets the new sprockets.

    I did take the used gear lever off the KDX.

    The new ones are a PITA. Hey go on fine, but once they wear in, they come loose on the spine - and when you tighten them down, the gap closes up and you can’t get it tight. And then the spline ends up wearing out.

    Having played knifey-spoony more tgan once, I know to cut the gap wider BEFORE fitting it.

    Oh, and I cleaned the fork boots. This is always a turd of a job and it usually makes more sense to spend the $45 on some new one. Not spending that money this time has nothing to do with appearance or anything like that - the motivation was just good old garden-variety tight-arseness. (Yes, that is a word).

    Basically just left them in a bucket of degreaser (the alkaline stuff in a plastic bottle, not the spray can type). Still not a fun job, but less awful than my previous efforts.

    The radiator shroud is off a later (1988) KX125. It fits on this bike, but is a different style to the 86 one - it wouldn’t fit if the radiator was still under it, but the conversion to the air-cooled motor eliminates that problem!

    Being the later style is a suitable shit-stir. The event is for 1987 and older bikes, so the 1988 part is likely to raise eyebrows. Doubly as it has a sticker from a 1990 model on it. ?

    7 days later

    ££££££££££££££££££!!!!

    Progress has been slow for a bunch of reasons, but I have made the effort to do something every day, no matter how small.

    First up was to rebuild the rear brake master cylinder. Despite my fears, it turned out to be in good condition inside and I ended up just cleaning it out.

    Then I butchered - wait, I mean “carefully modified” an 1987 side cover and what was left of the 1986 side cover.

    Basically, the 86 side cover is also the airbox lid, whereas the 87 has a separate lid on a slightly different airbox, and a different side cover that goes over the top of the lid.

    The 1987 side cover has one slightly different mounting hole - instead of a tab hanging off the subframe, it simply used a nutsert into the square tube.

    The PO had cut the tabs off (££££) so the obvious solution was to fit nutserts so my 86 subframe replicates an 87 one.

    Then onto the motor.

    When I owned it the first time, it had a lot of piston slap and the gear lever had been welded to the shaft (see earlier post about worn out gear lever splines) and was sold as such. Plus the £££££ cut wires from the stator.

    Interestingly, the bore feels perfect despite the worn out piston flapping around in there for way too long. Don’t let anyone tell you that plated bores are shit!

    Anyhow, the welded gear lever was stressing me out, so a bit of faffing around, I hauled out a motor that came in a $50 wreck a year or so back. It had a worn out bore (and a steel sleeve fitted... $@&!), but the bottom end appears to be perfect! Zero play in the big end, no play in the main bearings and nice splines on the gear lever shaft.

    So the decision was made to use that bottom end with the original motor’s barrel and a new piston.

    Easy!

    Today I went to refit the motor. Regreased the swingarm bearings (the swingarm pivot bolt is also the rear motor mount, so it is easier to do when the motor is out).

    Discovered that one of the suspension linkage bolts was bent. Weird! It lives inside a tight fitting, ~50mm long steel sleeve and bent right in the middle.

    On closer inspection, the bloody thing is cracked! Very glad that I checked this now! I will definitely be taking a spare to the Three Day.

    So, that fixed, it was time to fit the motor.

    Weirdly, the modified lower mounts were a tight fit on the motor - I did them in a hurry, but was happy with how they worked out. I tack welded them into place with some thin shims between the motor and the frame to replicate the factory clearances.

    A bit baffled, I pushed on...

    ...and discovered that the PO has unmodifed the frame!!!!

    F$&king f$&k!!!

    ££££££££££££££££££££££££

    On the bright side, it does explain why the welding was so shit. I make no claims to be a good welder, but I was a bit perturbed by the shittiness of these particular welds and figured that they must have fallen prey to the fact that I was in a rush back when I did them.

    I am now having a solid sulk and thinking about what to do from here.

    There’s two main options:

    The first is to re-modify the frame with all the hassles that brings with it, particularly the part where I can’t move the bike onto the trailer to get it to a welder;

    The second is to wash my hands of this clusterbork and build a pretty bike from scratch - including spending money on new plastics and all the rest. Doing so will give me a bike that I am much happier to own and I can have more faith in. And will also cost me way more money...

    One of the reasons why the KX200 progress has been slow, is that mate asked if he can borrow the KDX for the Four Day. He meets the political demands*that you have to meet to enter the old bike class at the Four Day so I spent some time making sure it is good to go.

    ...on the blind assumption that the Four Day will go ahead. Between Covid19 and poor publicity for the event, I am hoping for the best but expecting it to be called off.

    Anyhow, it got new swingarm bearings and new rear wheel bearings and a thorough going-over.

    It has been nearly ready for rego for about 18 months now, so I also made the effort to get it fully ready for rego. Inspection is tomorrow.

    Stupid part is that once it passes, the first thing I will do is to rip off all the road gear...

    If this bike doesn’t do the Four Day it will be ready to go for the Three Day if I don’t get the KX200 finished.

    *Rider 45 years or older, and fast enough to be selected for the state team

    5 days later

    I am basically trying really hard to get stuff done ahead of the (inevitable?) lock down - making sure that I have enough things to do if I can’t leave home. Not all specifically related to the KX200.

    Remember how I mentioned the gear lever splines stripping? I have a collection of stuffed KDX gear levers, although I am only personally responsible for one of them being stripped.

    The old Yamaha gear levers have the same spline but are the wrong shape. And I don’t own any old Yamahas anymore.

    Solution (that would look better if I had taken more photos...) :

    5 days later

    Bit the bullet ... ish.

    Going to do it neat rather than ugly. Just as easy to start with the spare frame, so I did...

    Totally neglected to take photos of bead blasting the frame and moving the lower mounts, but I promise that it happened!

    Have a half-baked idea of later resurrecting the original bike, so I set the new build up to suit the 1987 model shock absorber that I had. I dunno why I went this way. Seemed to make sense at the time.

    First step was to accumulate the parts to actually make an 87 shock, and then aqua blast the body.

    And then rebuild the shock. A bit of pissing around with the rebound adjuster rod. I had cut down the original for another shock in the past, which made it too short. Easy solution was to stack two shortened rods on each other - measure fifty times, cut once.

    So then I had to cut the remote reservoir mounts off the 86 frame, because they get in the way of the piggyback reservoir on the 87 shock.

    Onward to the front motor mounts. I made four of them due to the half-arsed plan to build the second bike.

    Then I primed the frame.

    And discovered this crack!

    Was annoyed at missing the crack before that, but once I had removed the primer, I realised that it was basically impossible to see.

    Welder fixes cracks, albeit not very neatly when driven by me...

    Oh, yeah: I put some paint on between photos too.

    Should be a darker silver, but whatever. I bought an aerosol that was the right colour on the lid, but was actually fake chrome in the tin... ?

    This silver is closer, and darker than it looks in these photos.

    ... and then the unsurprising news that the Three Day has been called off came through.

    And because CoRonAviRUs!, I have a side project... Another KX200 build... ?

    This one is a 1990 KX125 frame with a 1989 KDX200 motor.

    History of the parts is that the 1990 KX125 was something I lusted after as a kid and bought an incomplete shitbox about a year ago. It was too incomplete to be a viable project so was just ignored for a while. Here's what a 1990 KX125 is supposed to look like - tell me how a 14yo me in 1990 was supposed to do anything but fall in love:

    The motor came up dirt cheap on Marketplace a couple of years ago, so I bought it just because.

    The project only started to keep me amused if/when we get locked down.

    Initial trail fit:

    Bit tight on the bottom of the motor.

    Hammer fixes everything!

    Then bead blast the frame and rear subframe. Except the darker green on the subframe is ridiculously difficult to remove. Tougher than most 2-pak paints, so I assume that it is well-applied powder coating (powder coating is usually put on way too thick and looks terrible).

    I settled for sanding it by hand.

    Back to the frame. More photos missing, but here’s the ones I did take...

    In this photo the lower mounts have already been relocated. I had a hunch that the front mounts didn’t need to be cut off entirely. I was right. I just had to bend out the mounts, and then take the whole lot over to a mate's place to fill the V with weld.

    I should have stopped there, because I had finished all the stuff I can’t do myself/at home l, but a combination of impatience and not wanting to leave the frame in bare metal meant that I painted it...

    At least now it will have time for the paint to harden before I get stuck into it.

    The goal for this one is to be as pretty as possible on a minimal budget. I am missing a seat, exhaust pipe and radiators. There is an unconfirmed rumour that a pipe from a 1995+ KDX200 fits with minimal modifications. Hoping that I can get it finished for a total of $1500 (including the $600 I have already spent). If it comes up well, then I will spend the other $600 on new plastics and graphics.

    4 days later

    The 86 project left the shed yesterday. Mostly slapped together to keep all the parts in one place, and so I can move it...

    And so begins the 1990 project...

    Much easier, more enjoyable and more satisfying to be doing things properly and neatly.

    I didn’t have the correct KX shock. The incomplete shock on the left is a KDX250 body with the reservoir in the correct spot to clear the frame and exhaust. the shock on the right is from a KDX200.

    Cleaned the shock body. Dry bear blast, followed by a wet bead blast on low pressure. Then a few minutes with a scotchbrite pad.

    Very happy with how it came out.

    And then disassemble the 200 shock for the guts, and disassemble the guts to fit the new bumpstop.

    New bumpstop is too big on the OD, so a few minutes on the linisher makes a big mess and allows the bumpstop to fit.

    Going back together...

    And done!

    Flogged out eye in the linkage still needs to be sorted. But I want to confirm that the bitsa shock is the correct length first.

    The dogbone links in the rear suspension were pretty gouged and hammered, so I file-finished the larger gouges.

    Not super happy with how they came out - they’re cheaply made (stamped) and had a bit of corrosion on them, so it was way beyond my patience to polish them properly. Pretty sure I can ignore them, considering that you never really see them once the bike is assembled.

    Shock is just sitting in place, but good for motivation.