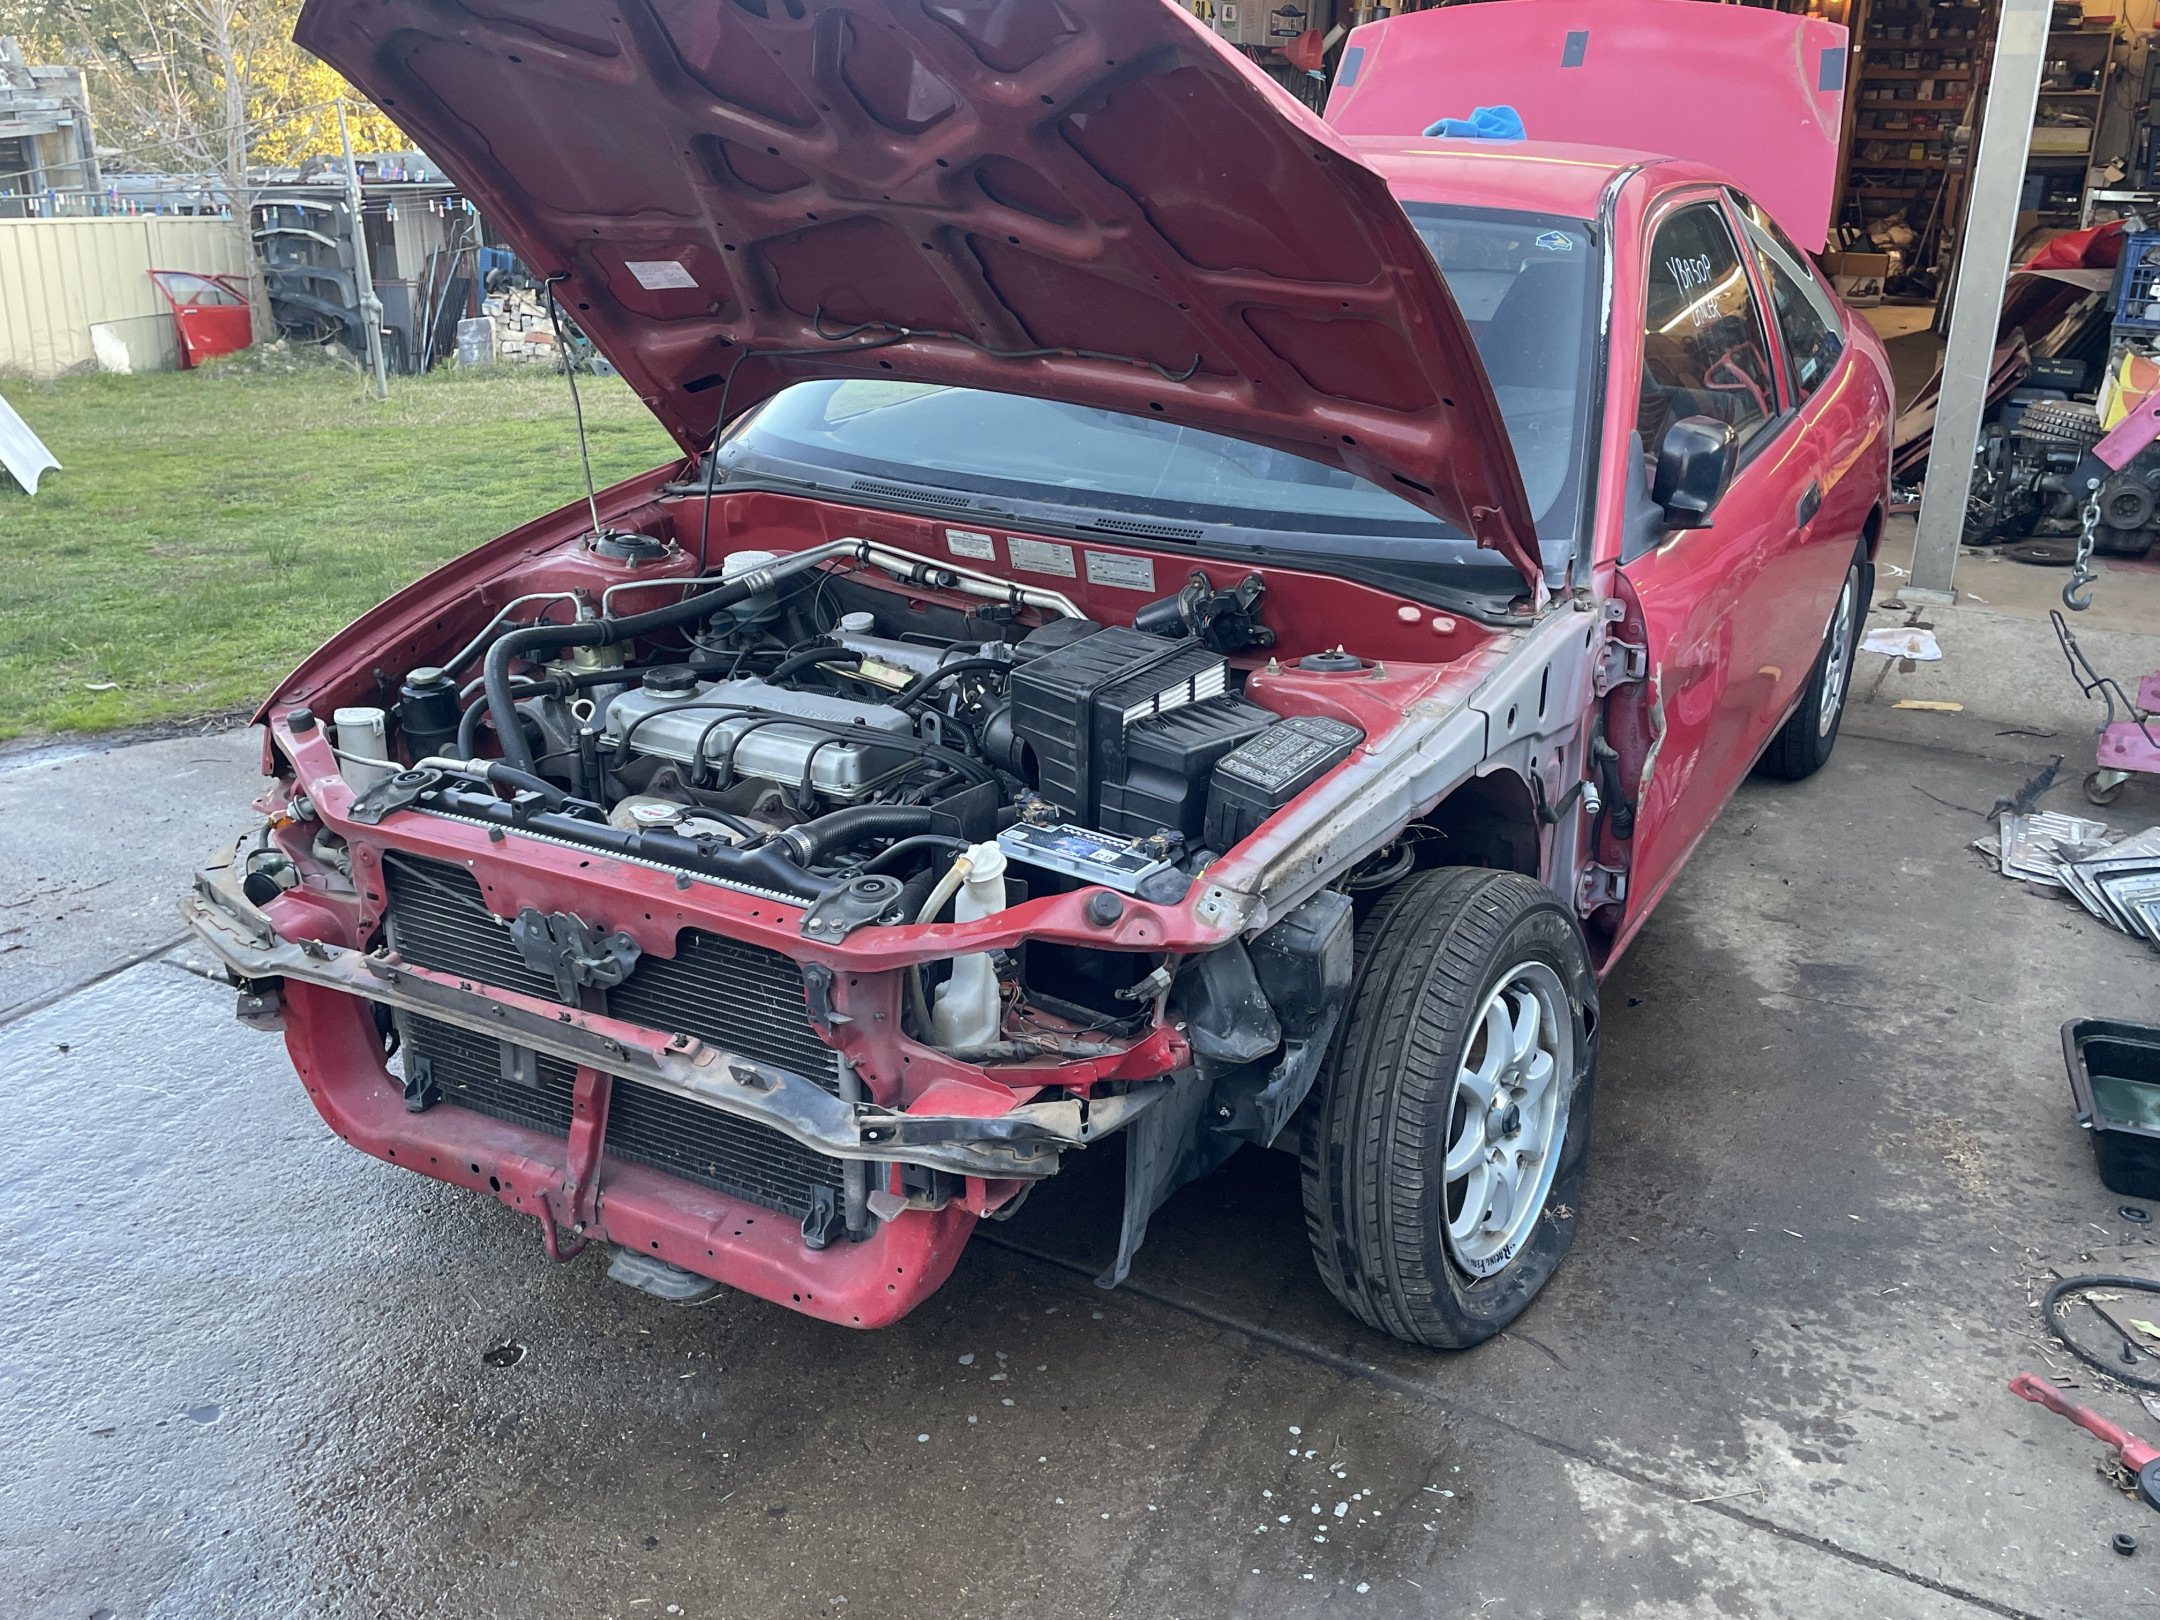
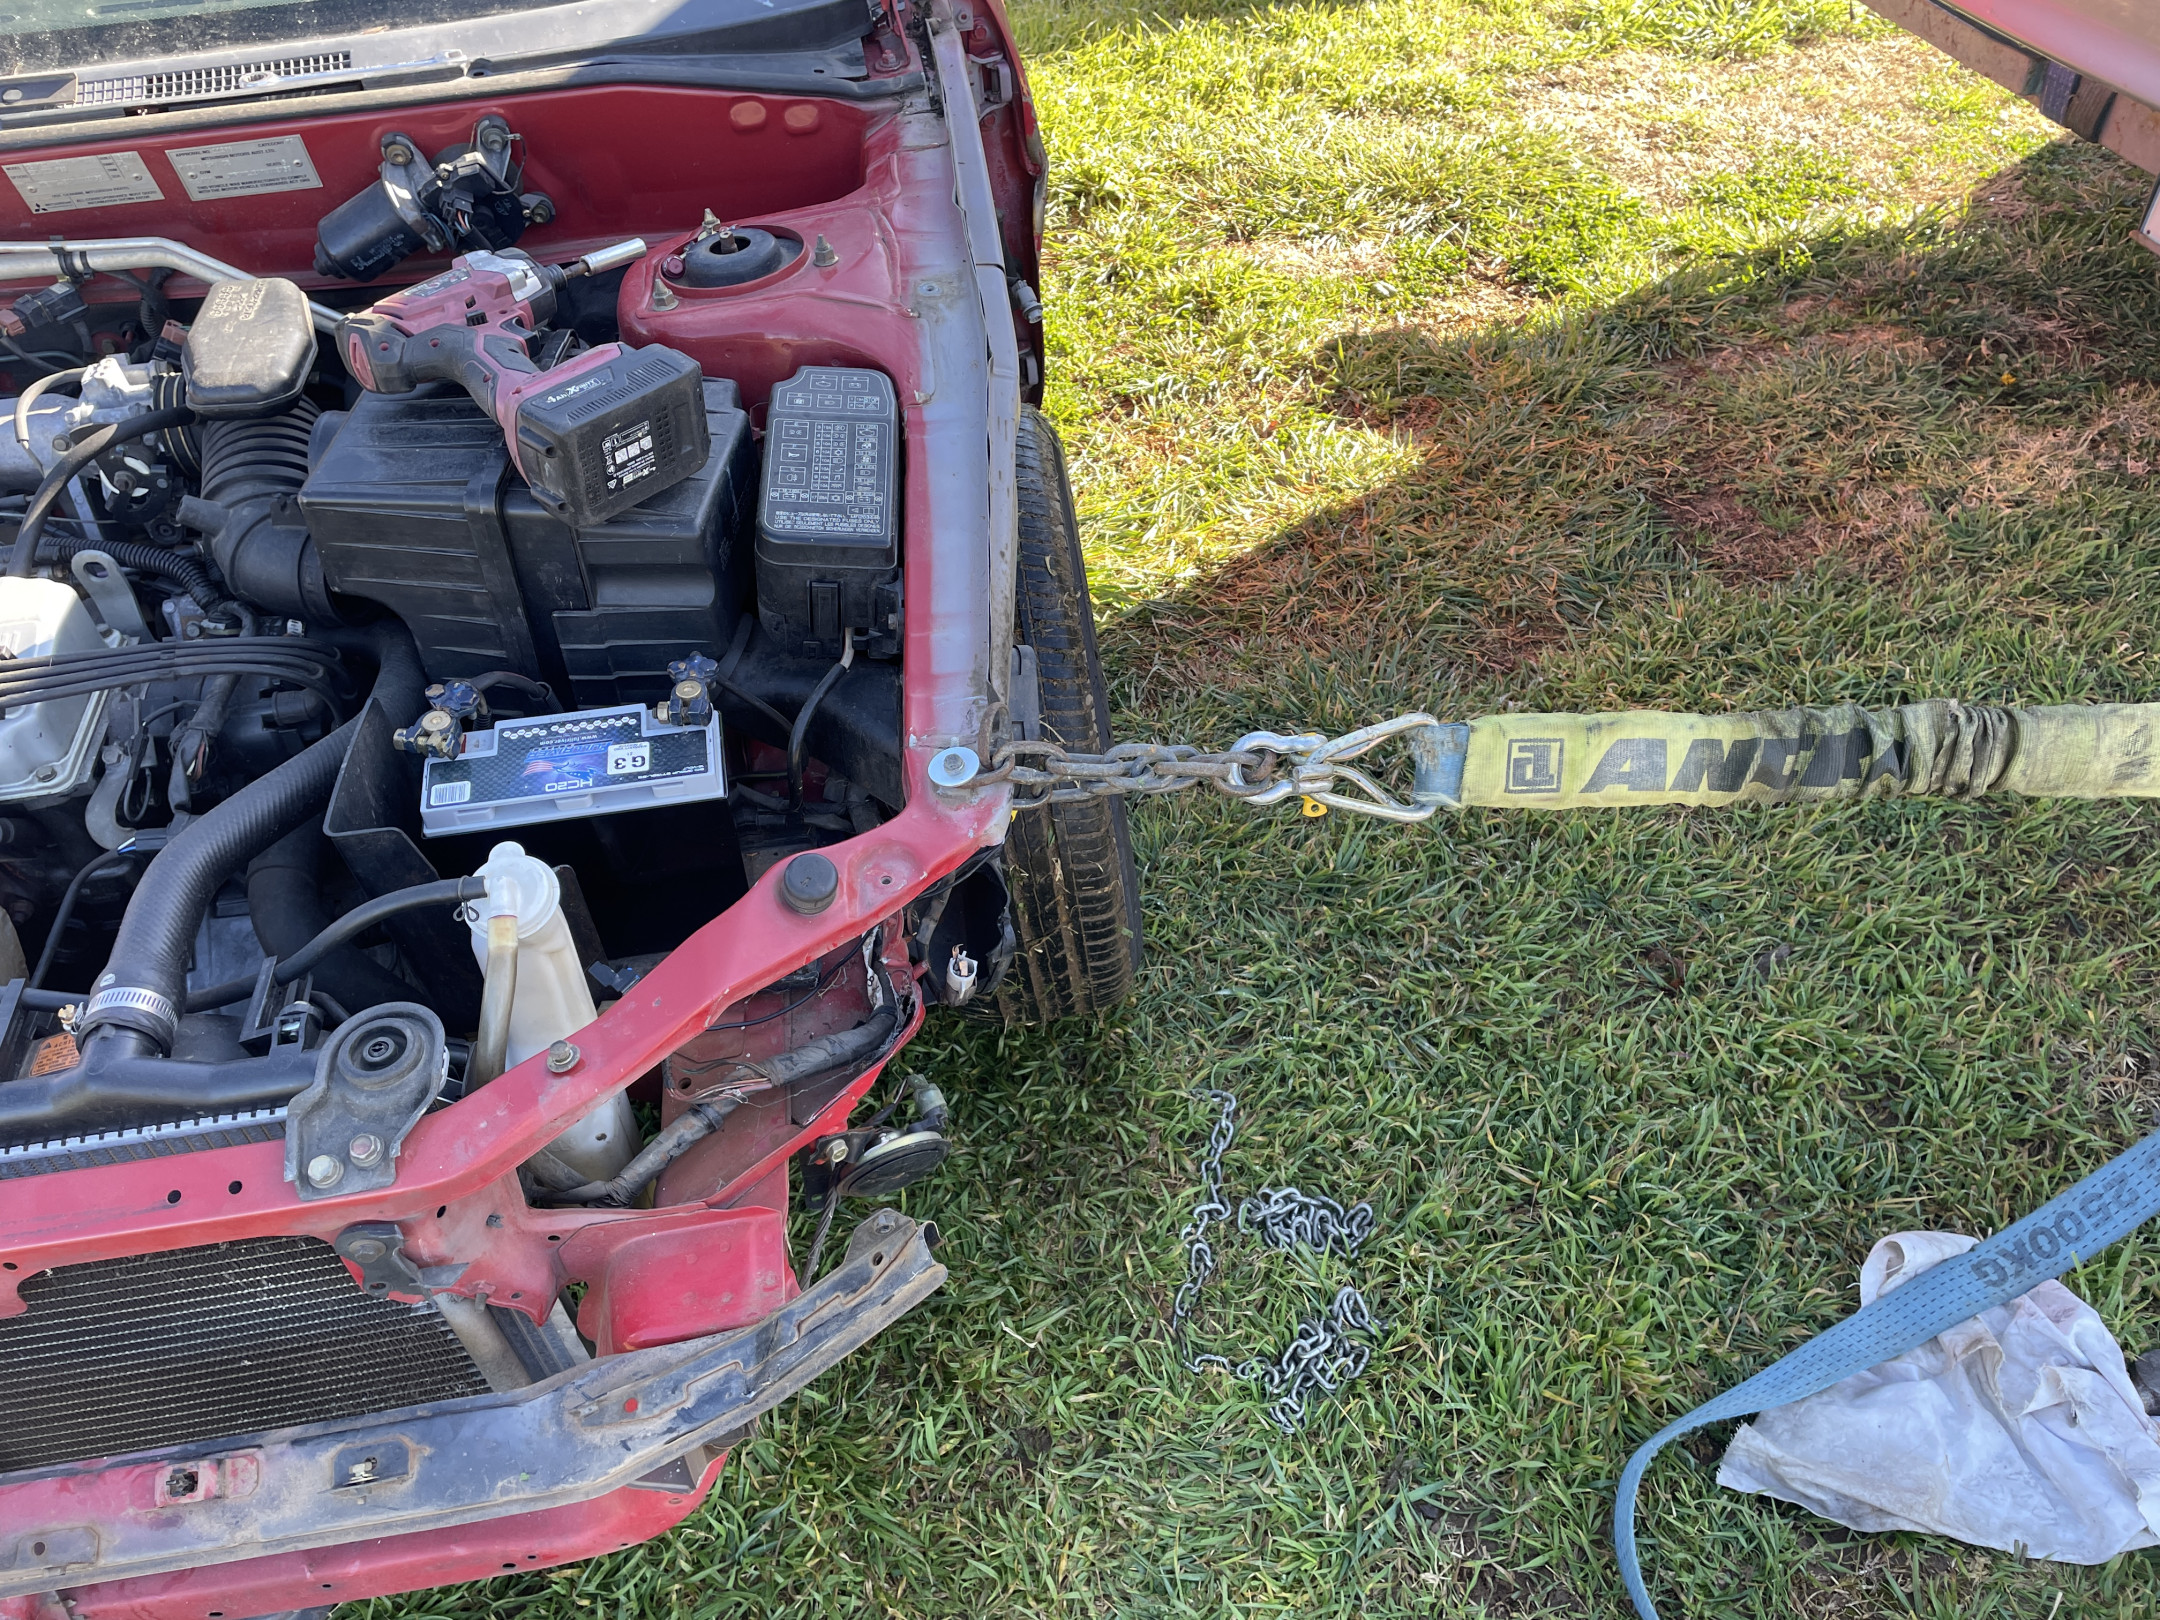
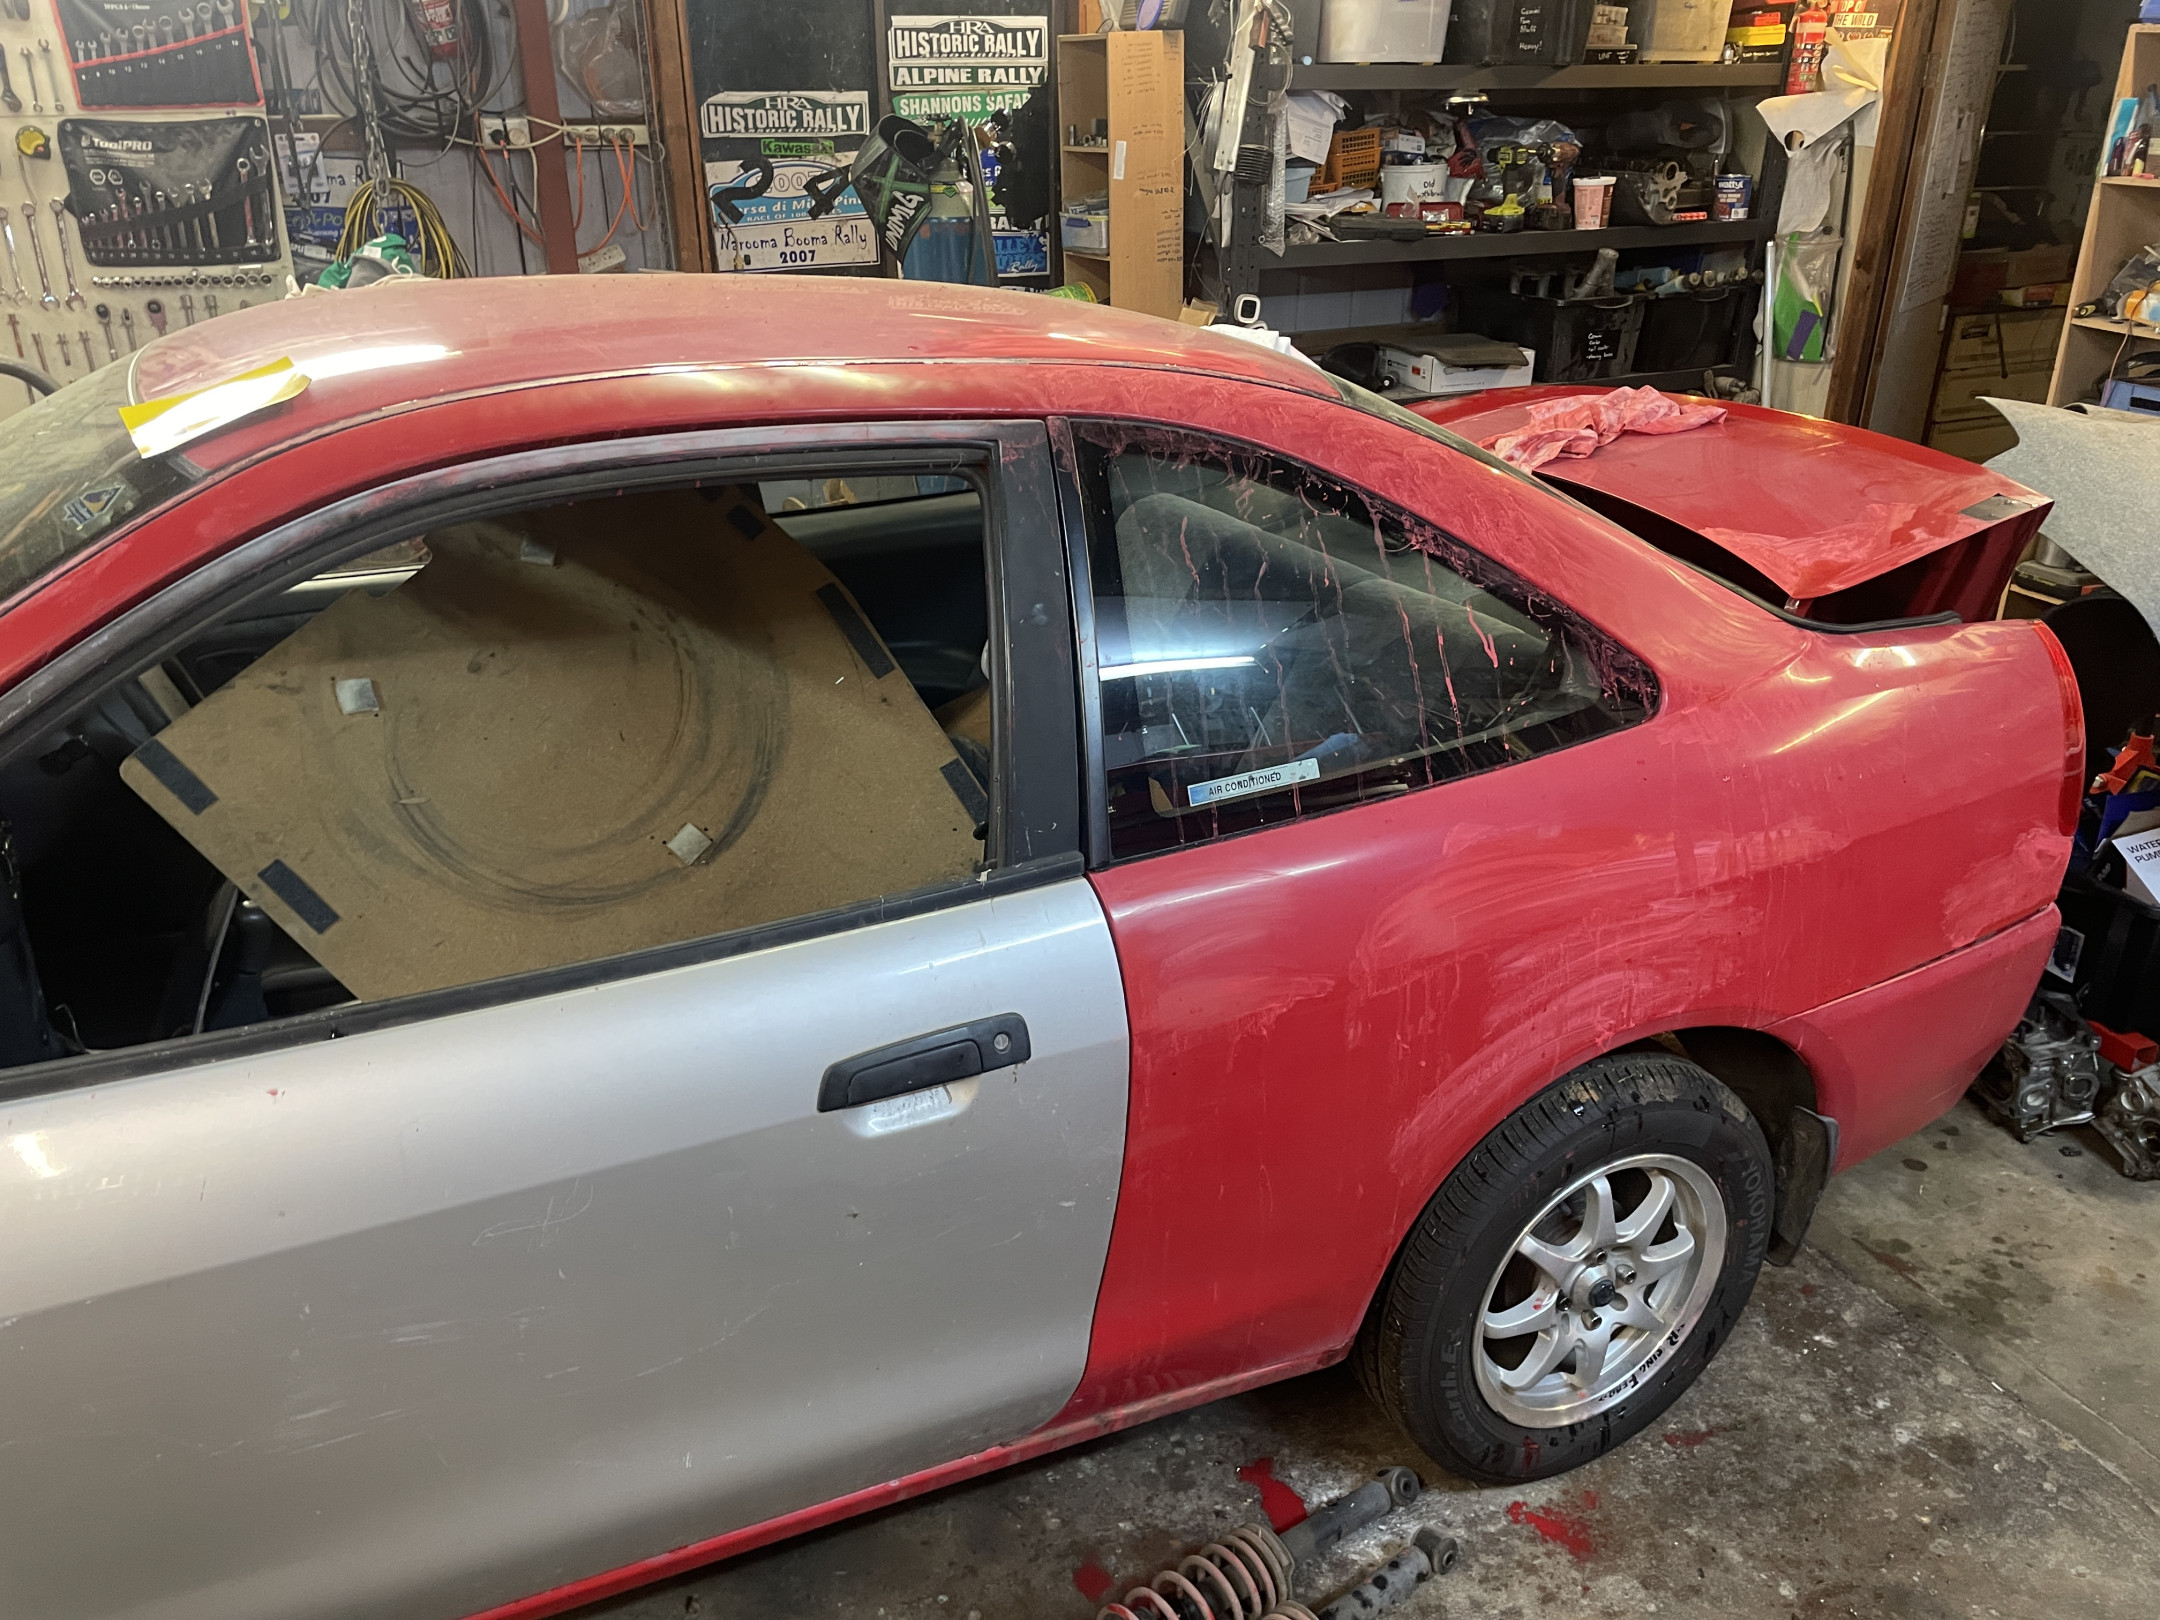
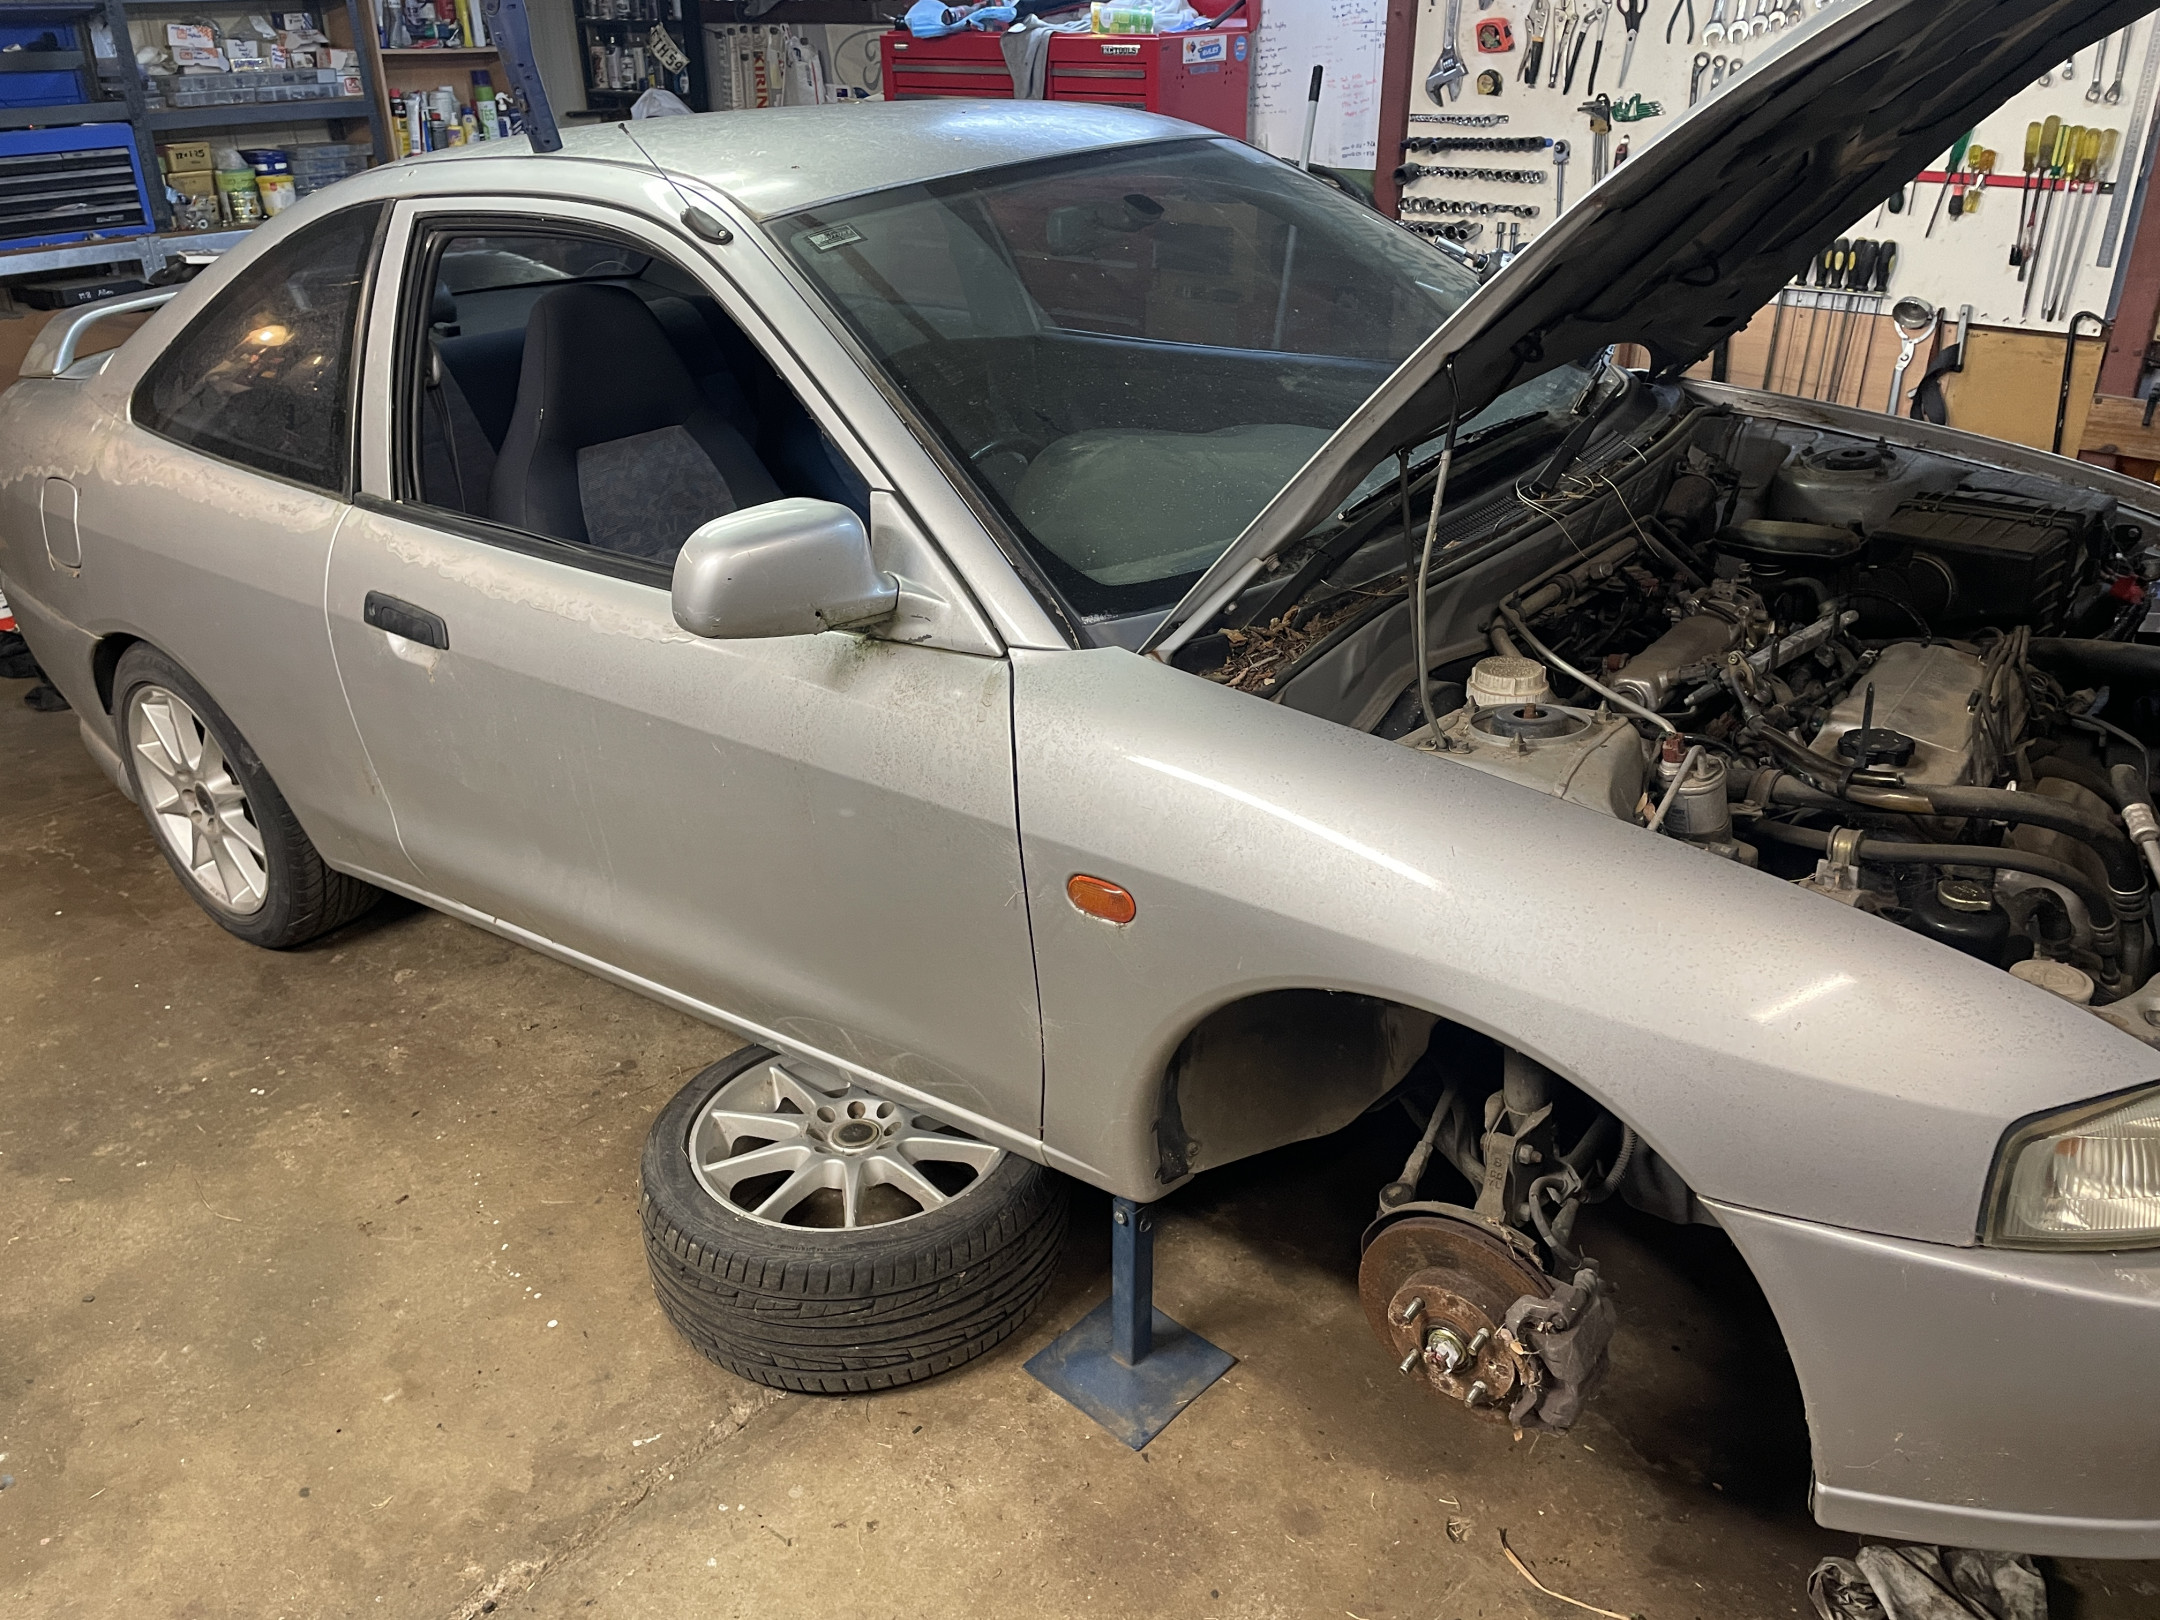
Actually dragged the Lancer out of the shed yesterday!
The LCCC event is on in four weeks and I figured that I should see if the car still works.
I turned the battery isolator back on, turned the key and it started immediately and idled perfectly! That was nice.
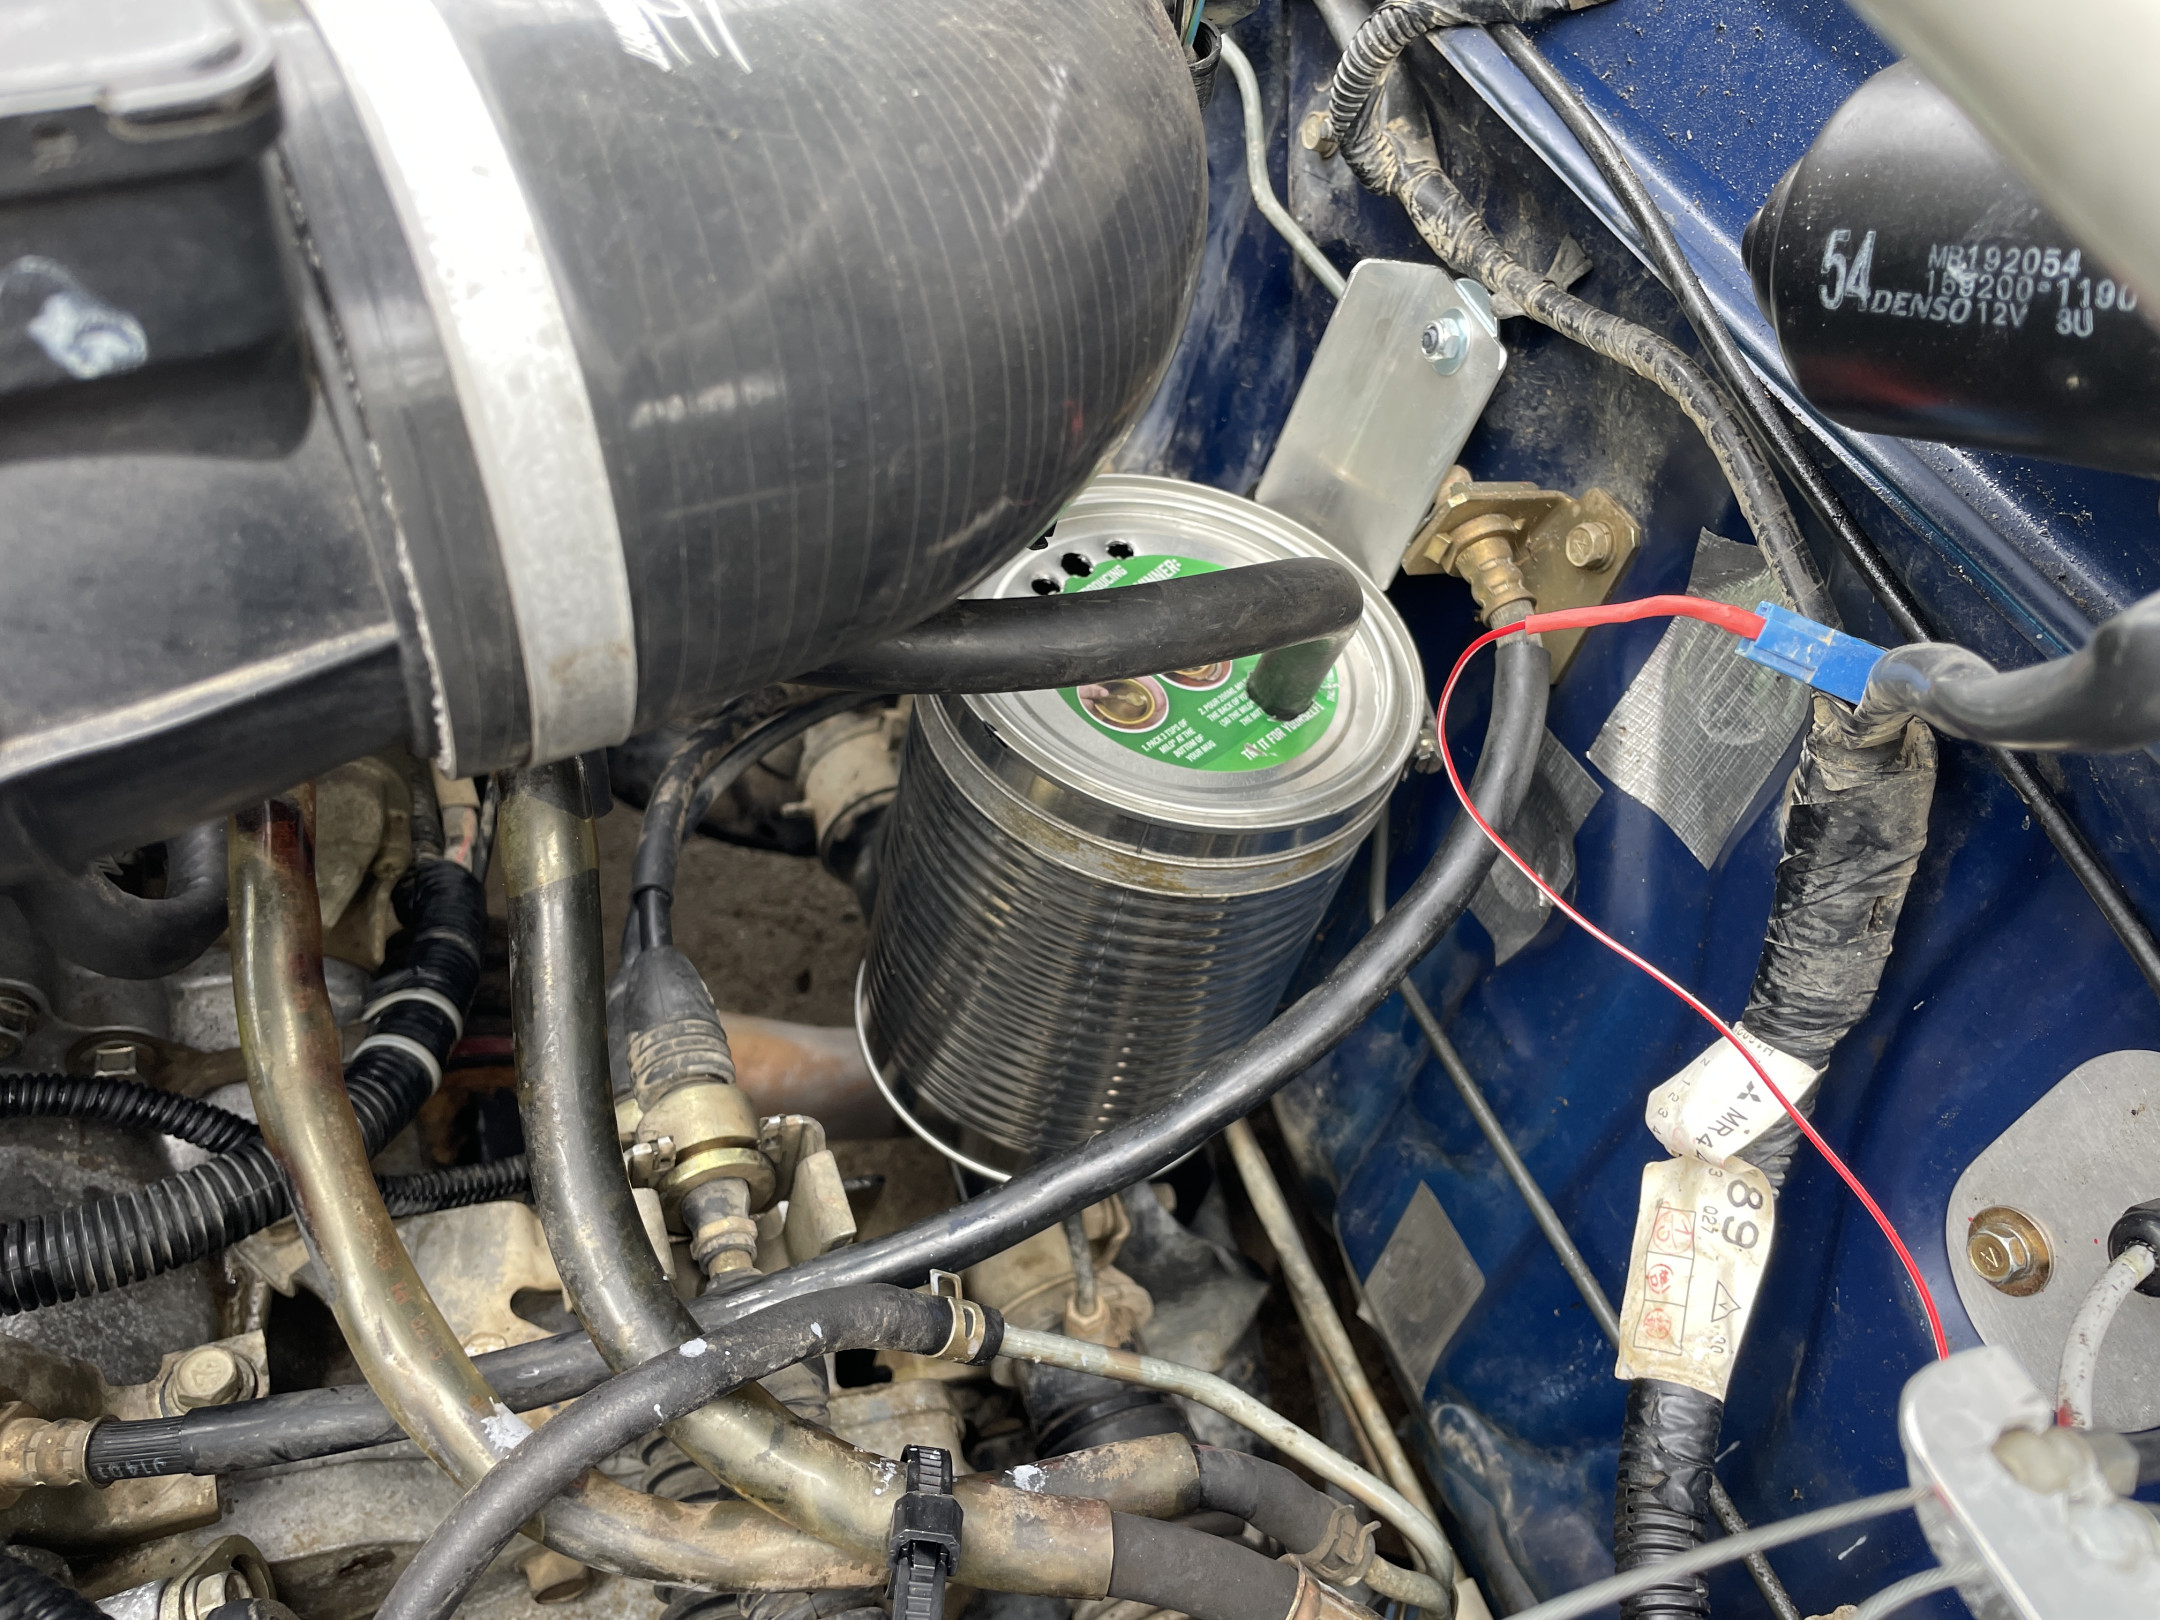
Less nice is that the Fullriver battery has some very unattractive bulges in the case. Not sure how this has happened while sitting around disconnected…
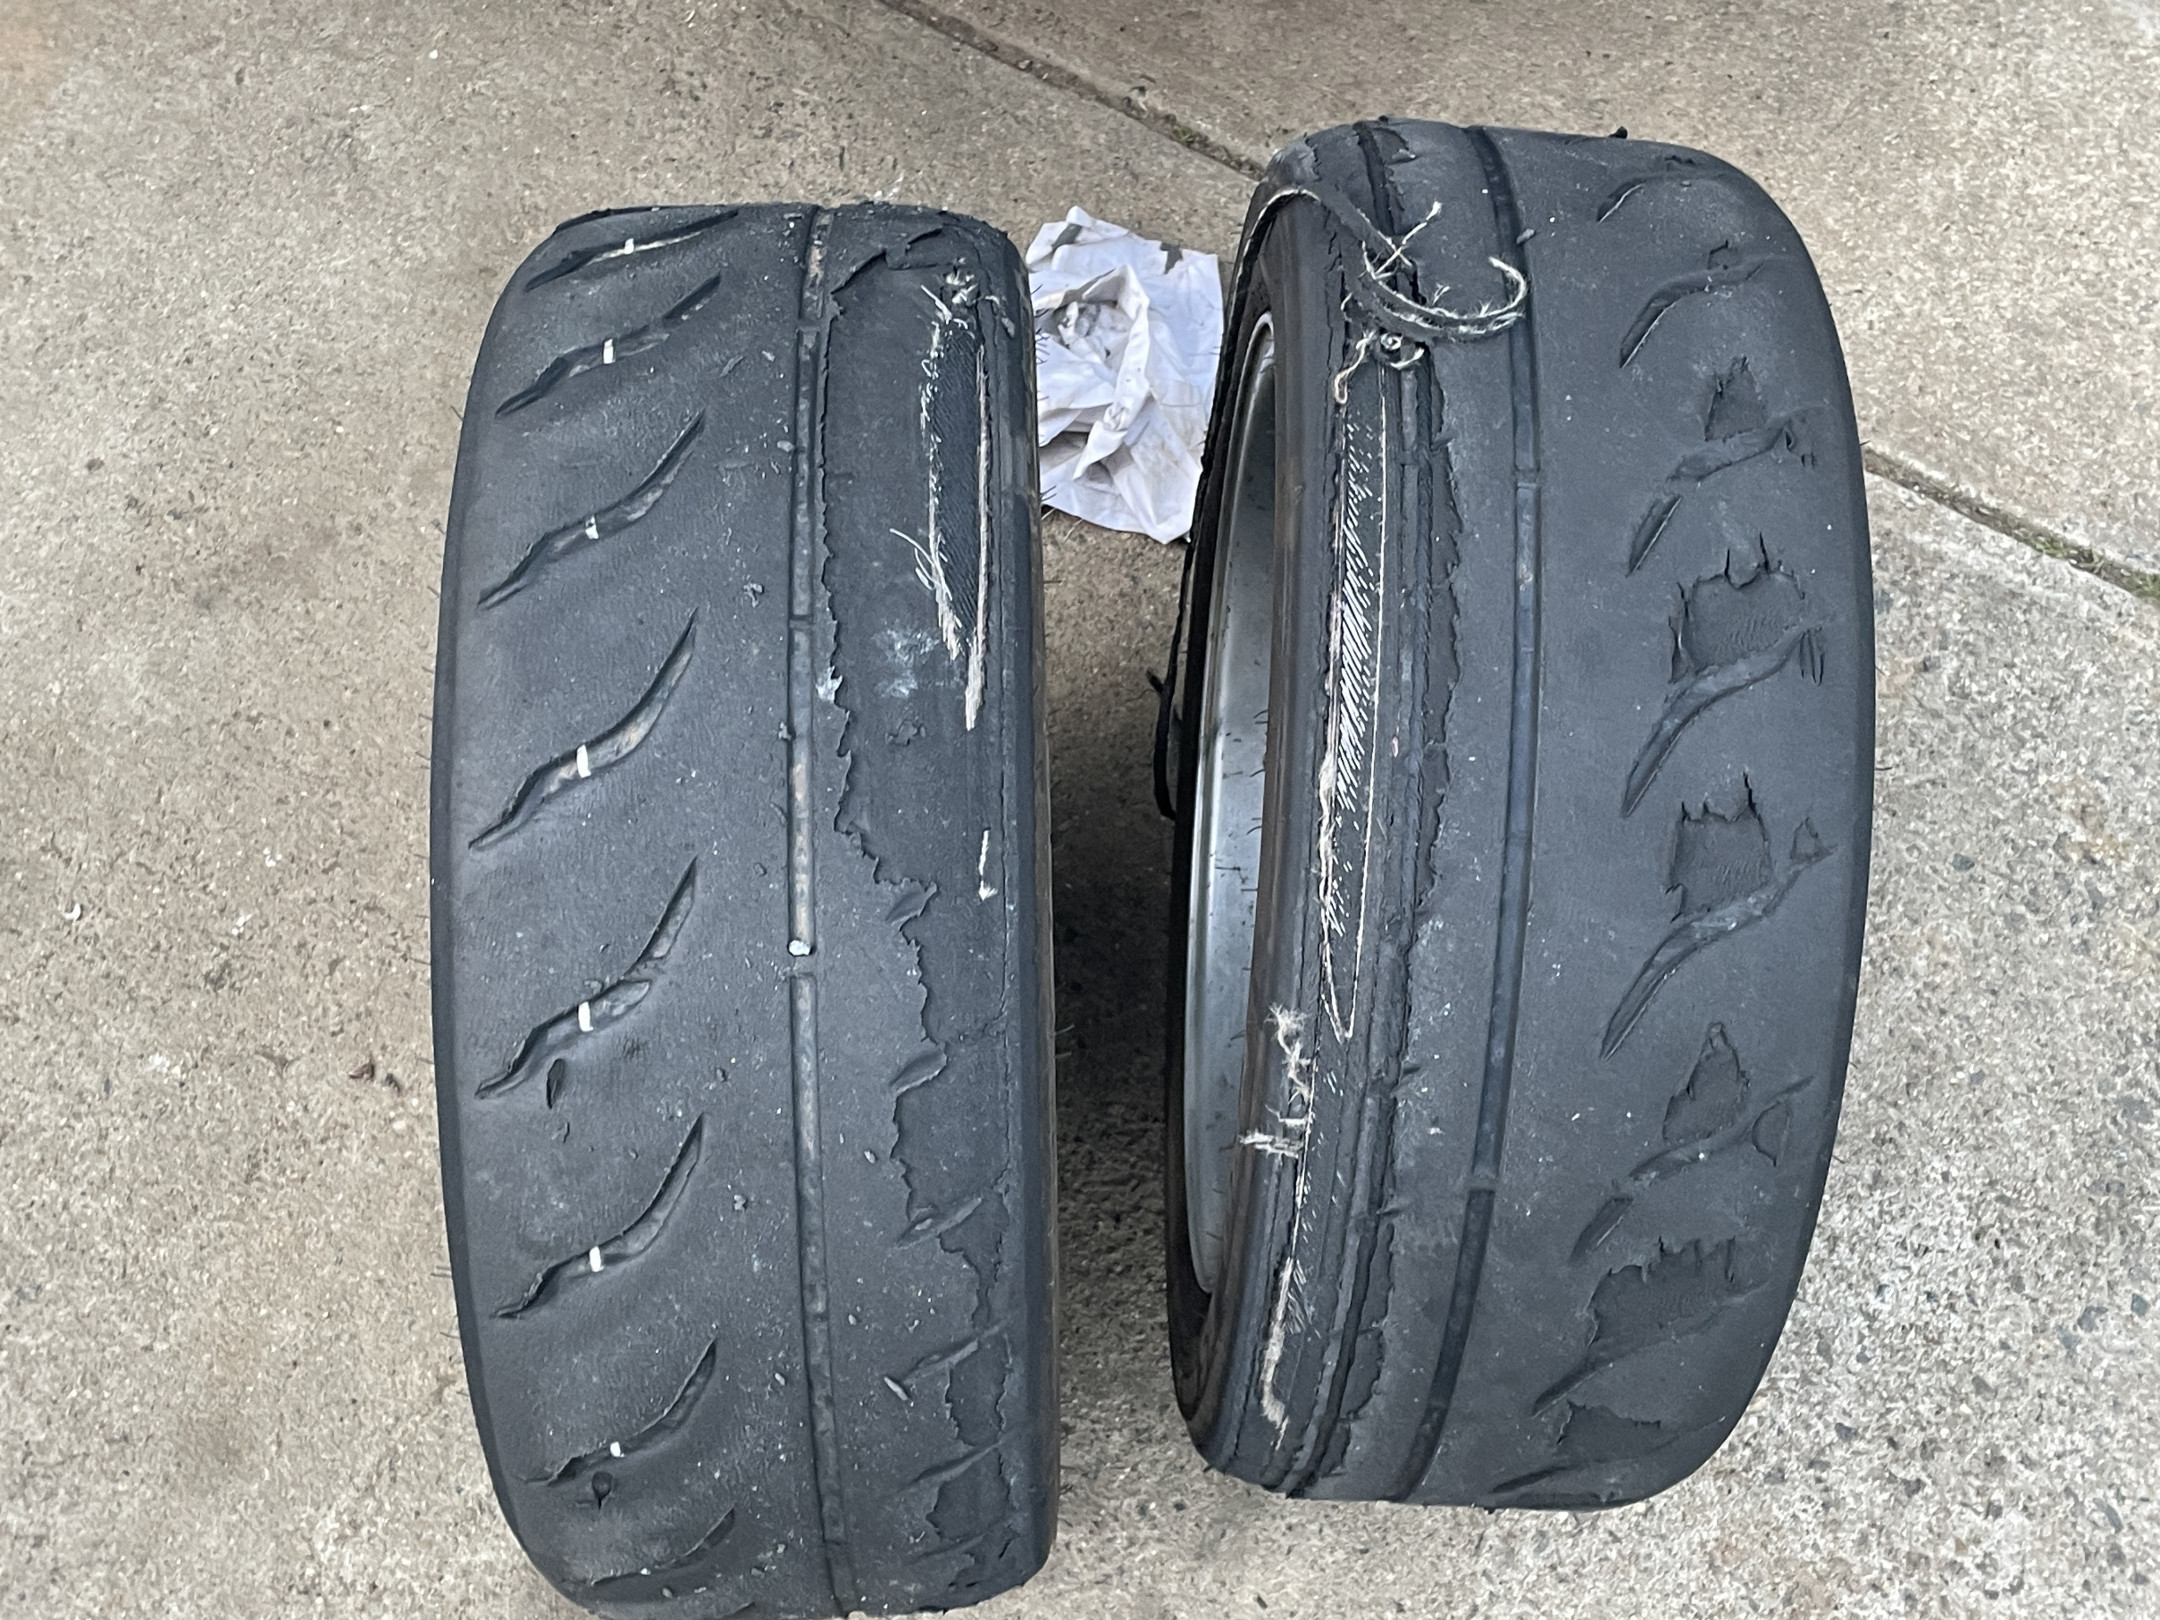
Along with the boring prep work like swapping tyres on rims and changing the oil and filter, I fitted a rear sway bar.
There has been a bunch of inconclusive talk about fitting the rear sway bar from a CH Lancer.
I had one, so this is how I did it.
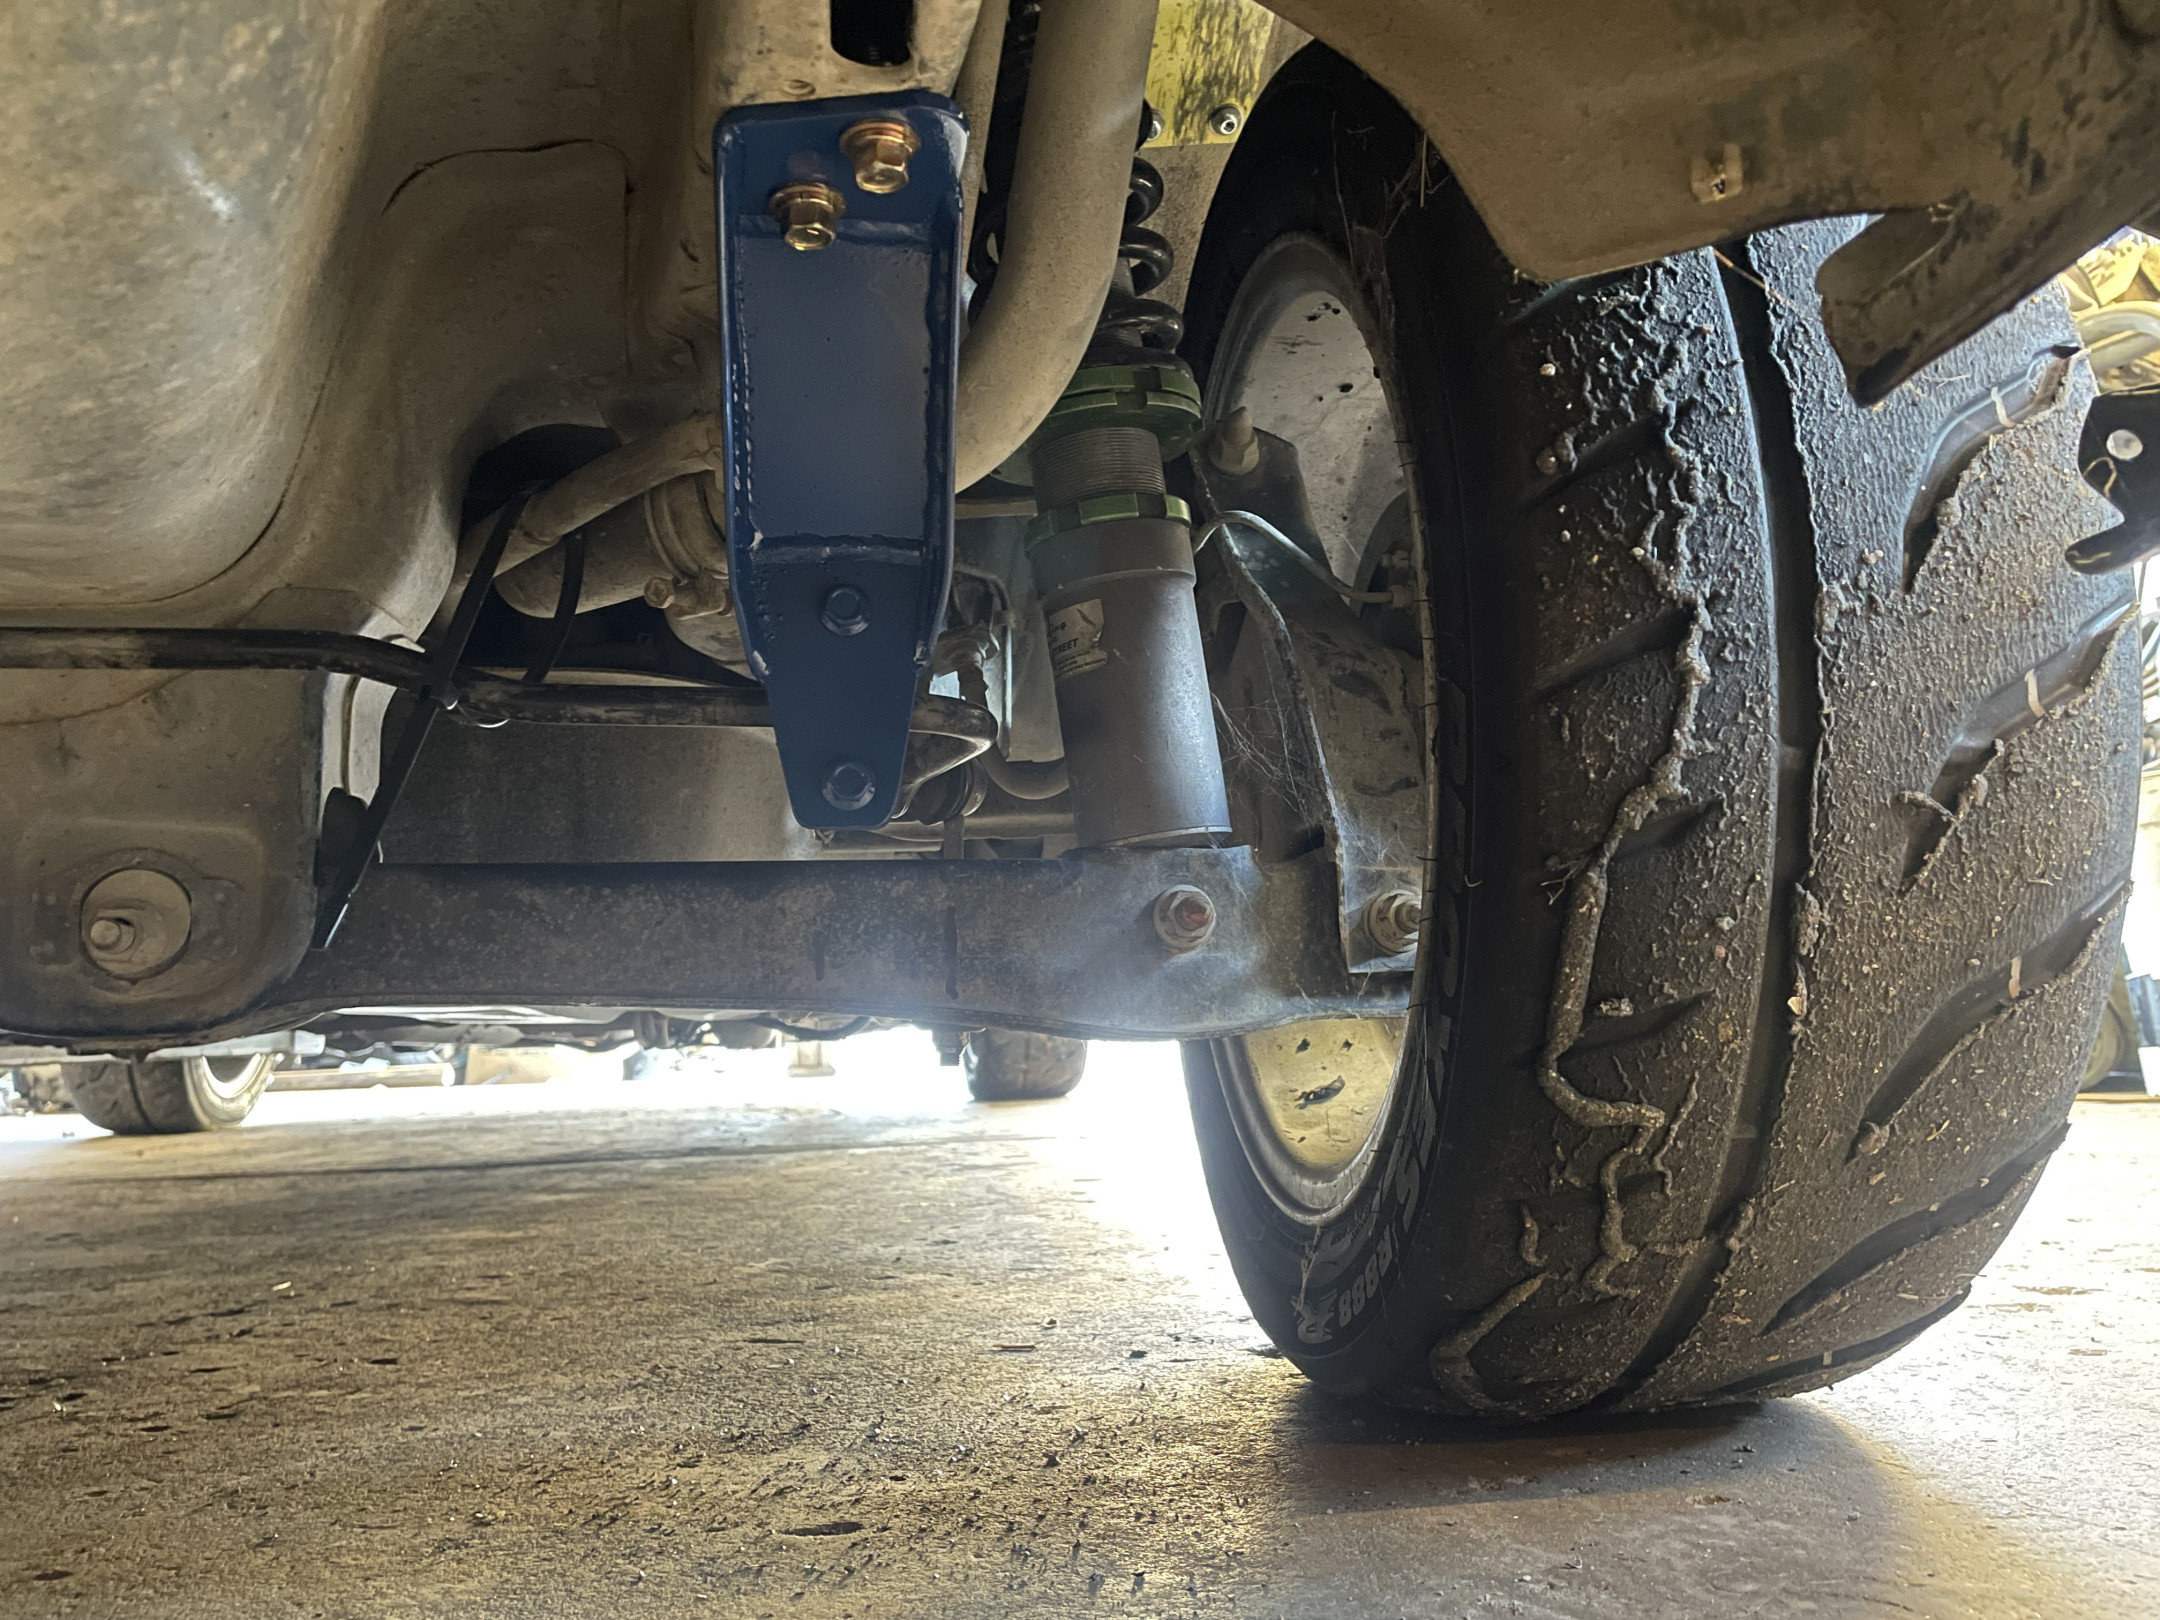
First up was to make a bracket for the driver’s side. There’s two holes with captive nuts in each chassis rail, so they were the obvious place to start.
I started with the driver’s side, using some 65x5mm flat bar, simply because I had some in the shed.
The M8 bolts are actually threaded into the bracket, just to make them captive.
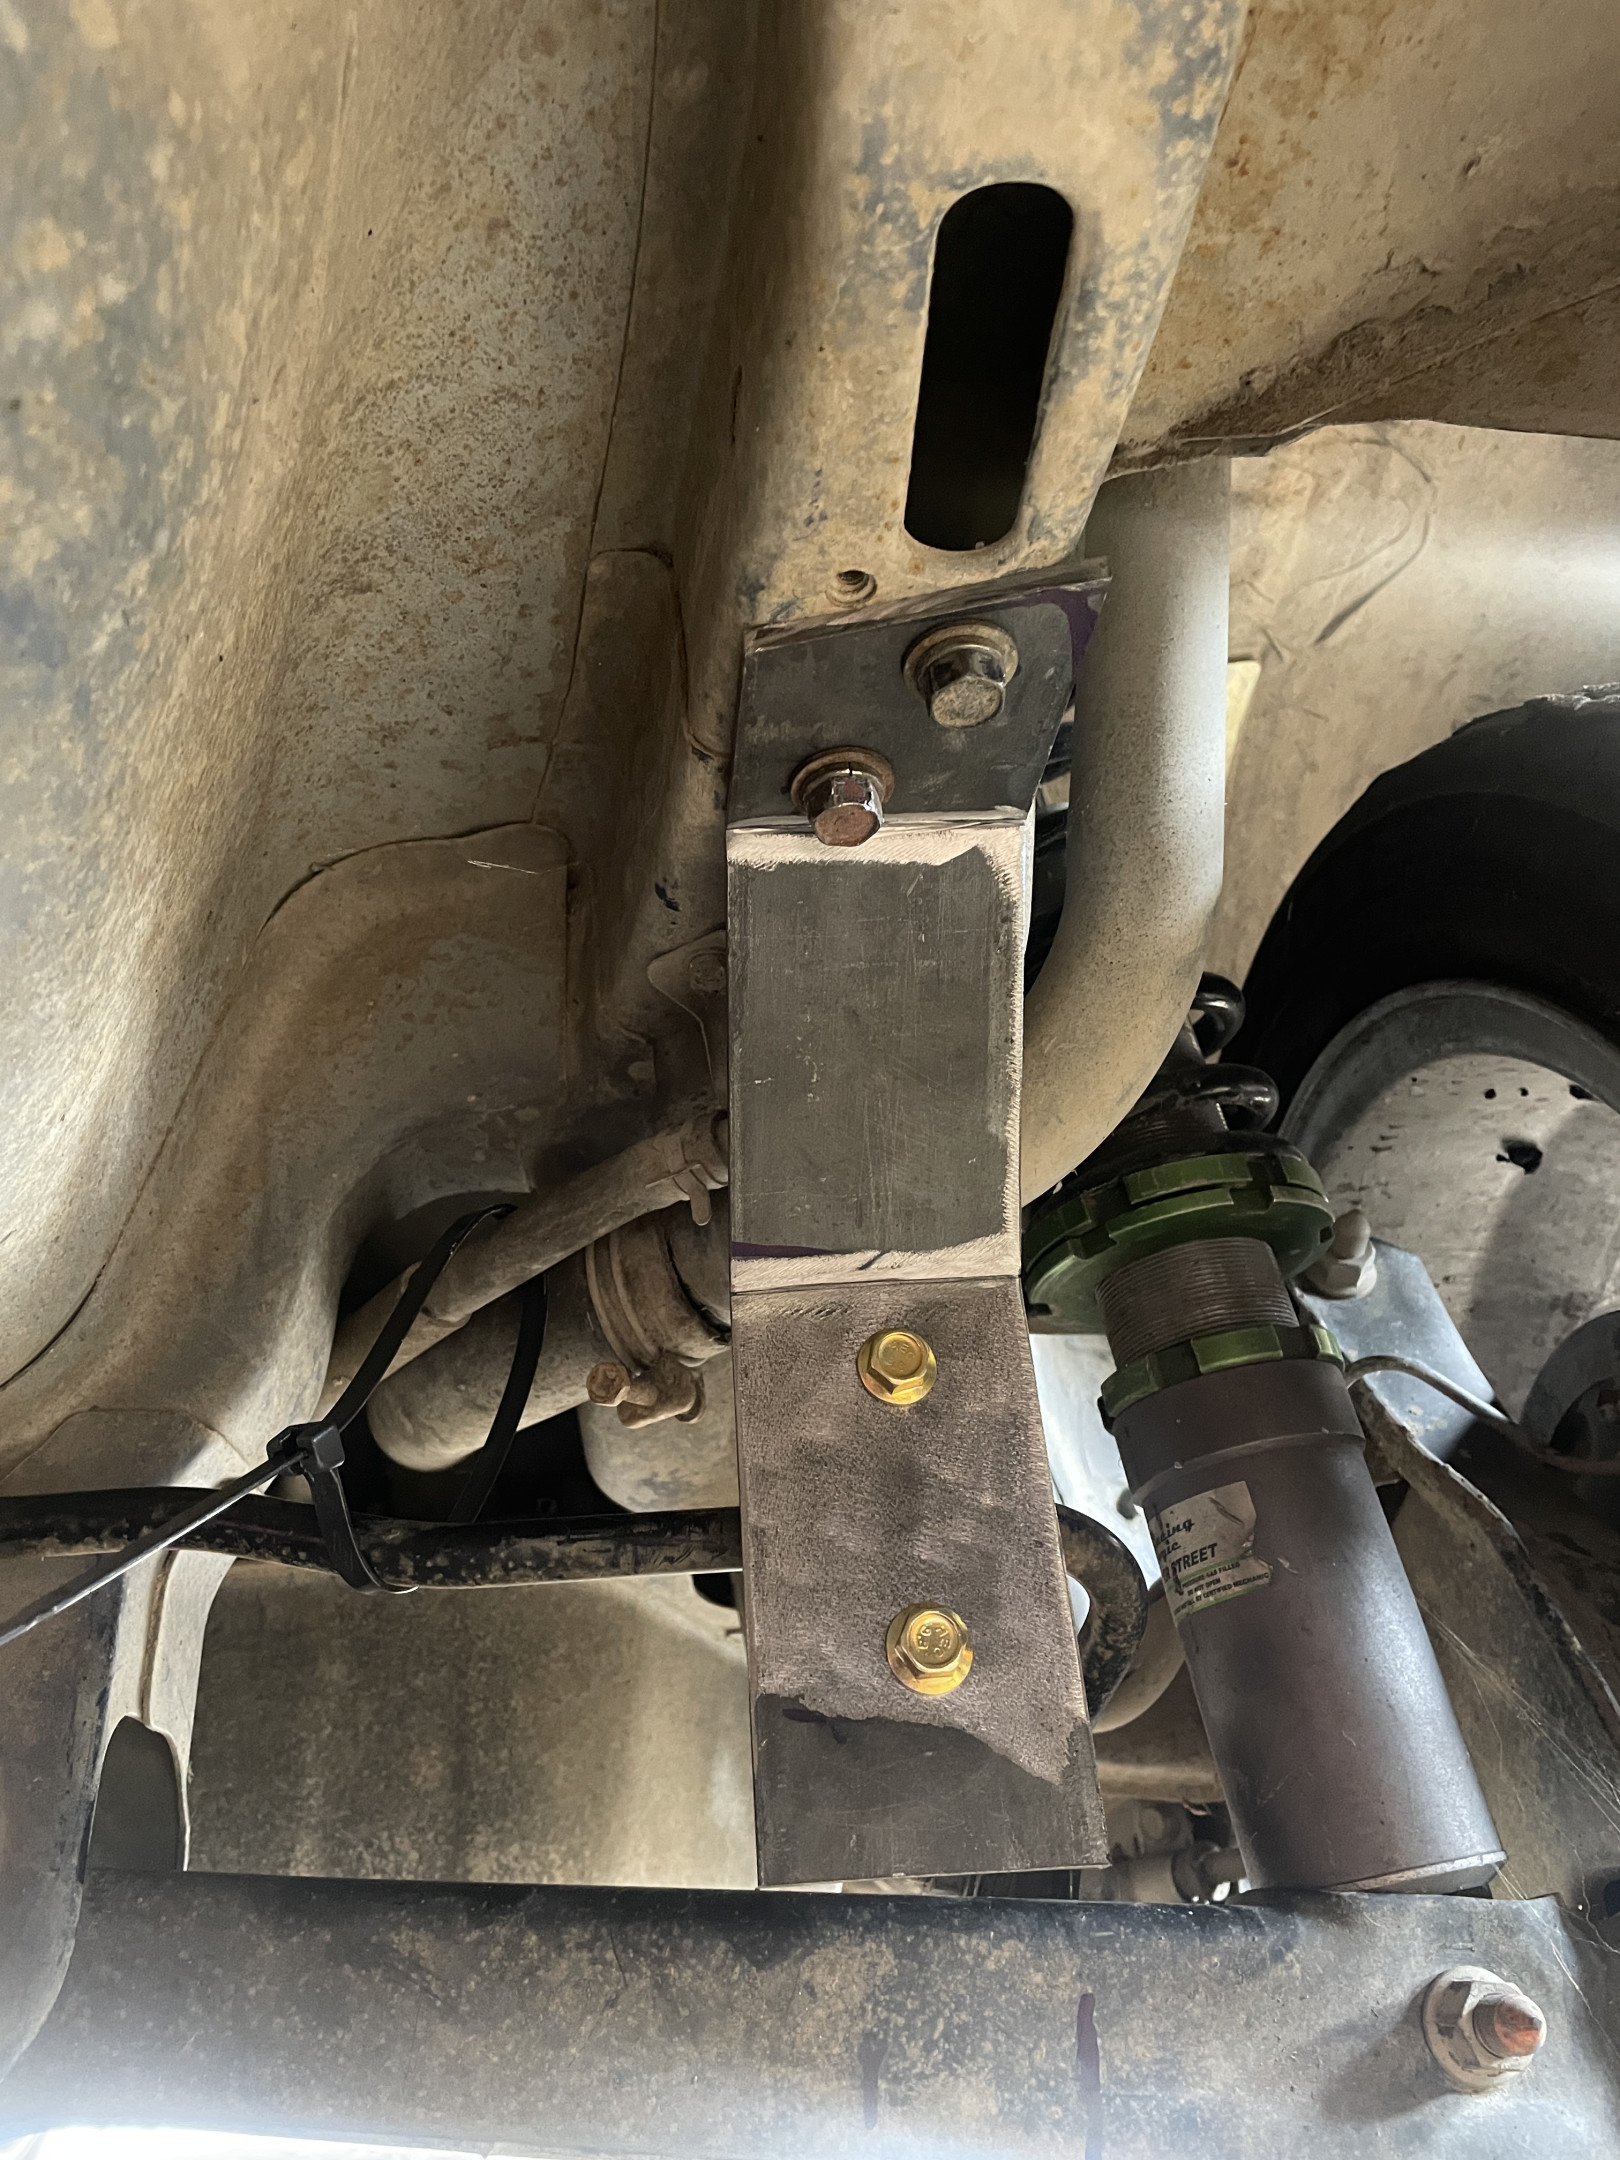
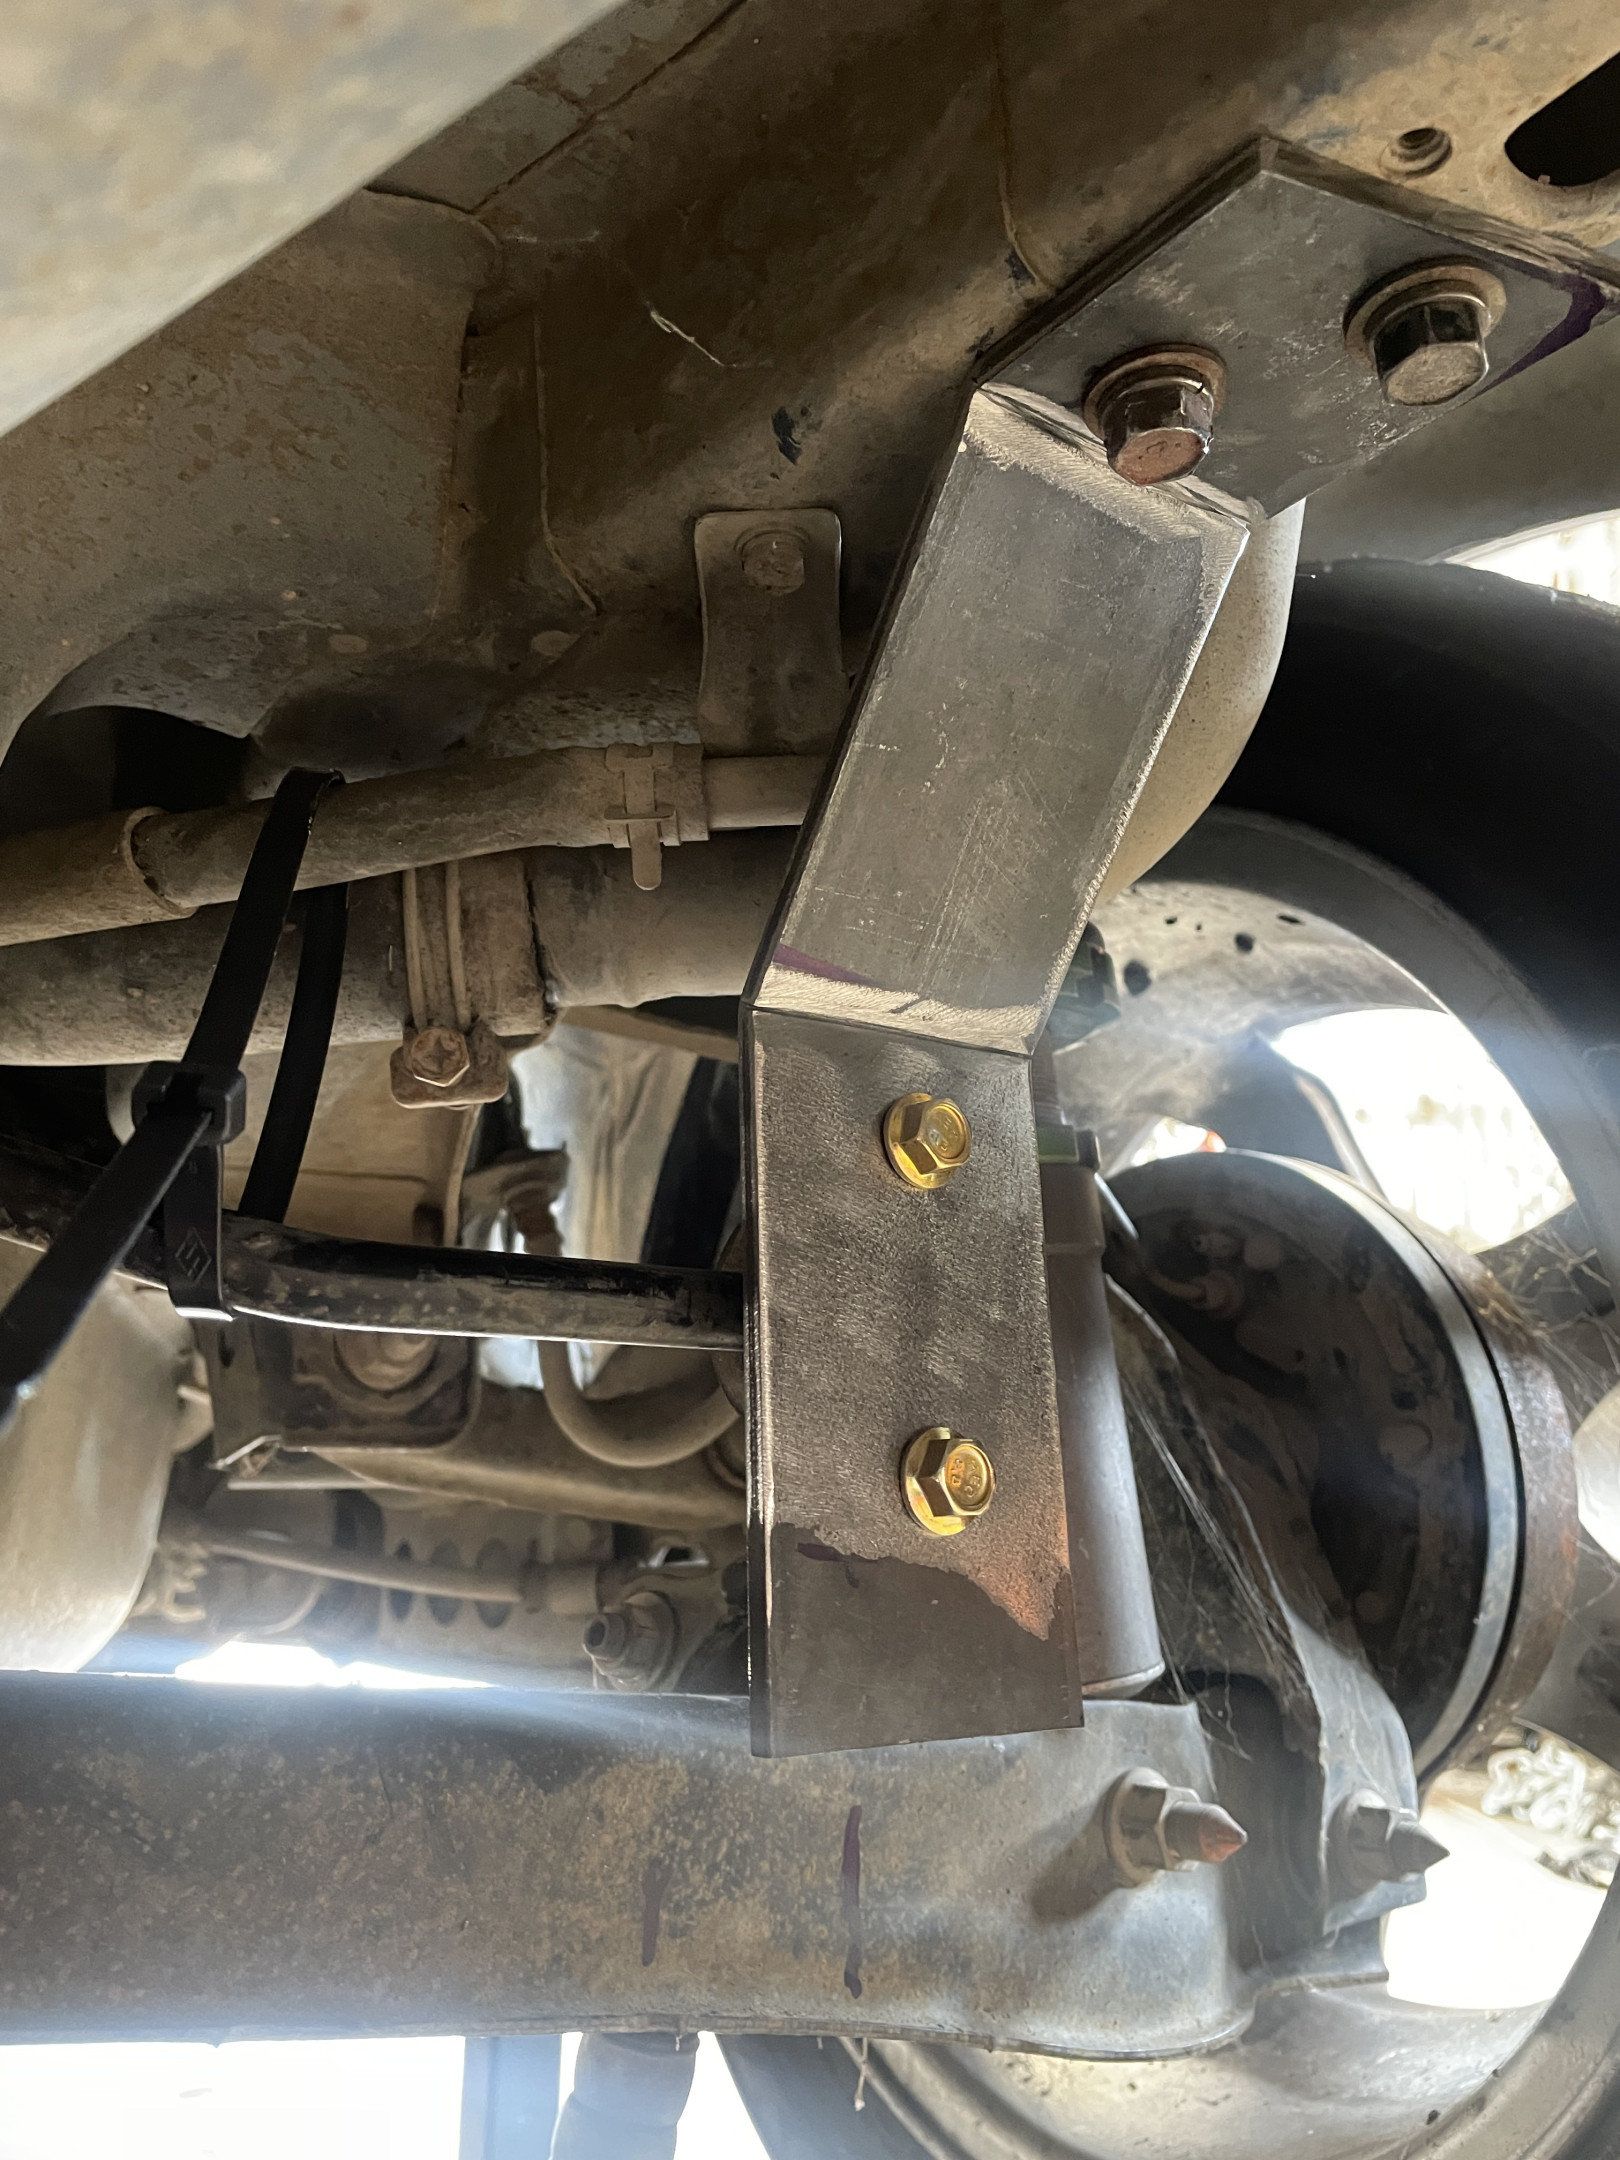
Passenger’s side ended up being pretty straightforward. Used one of the CH brackets turned around and it was very close to being in the correct spot - but only one bolt hole lined up and it held the swaybar too high.
Welding some more of the flat bar to the bracket both provided a second mounting hole and lowered it.
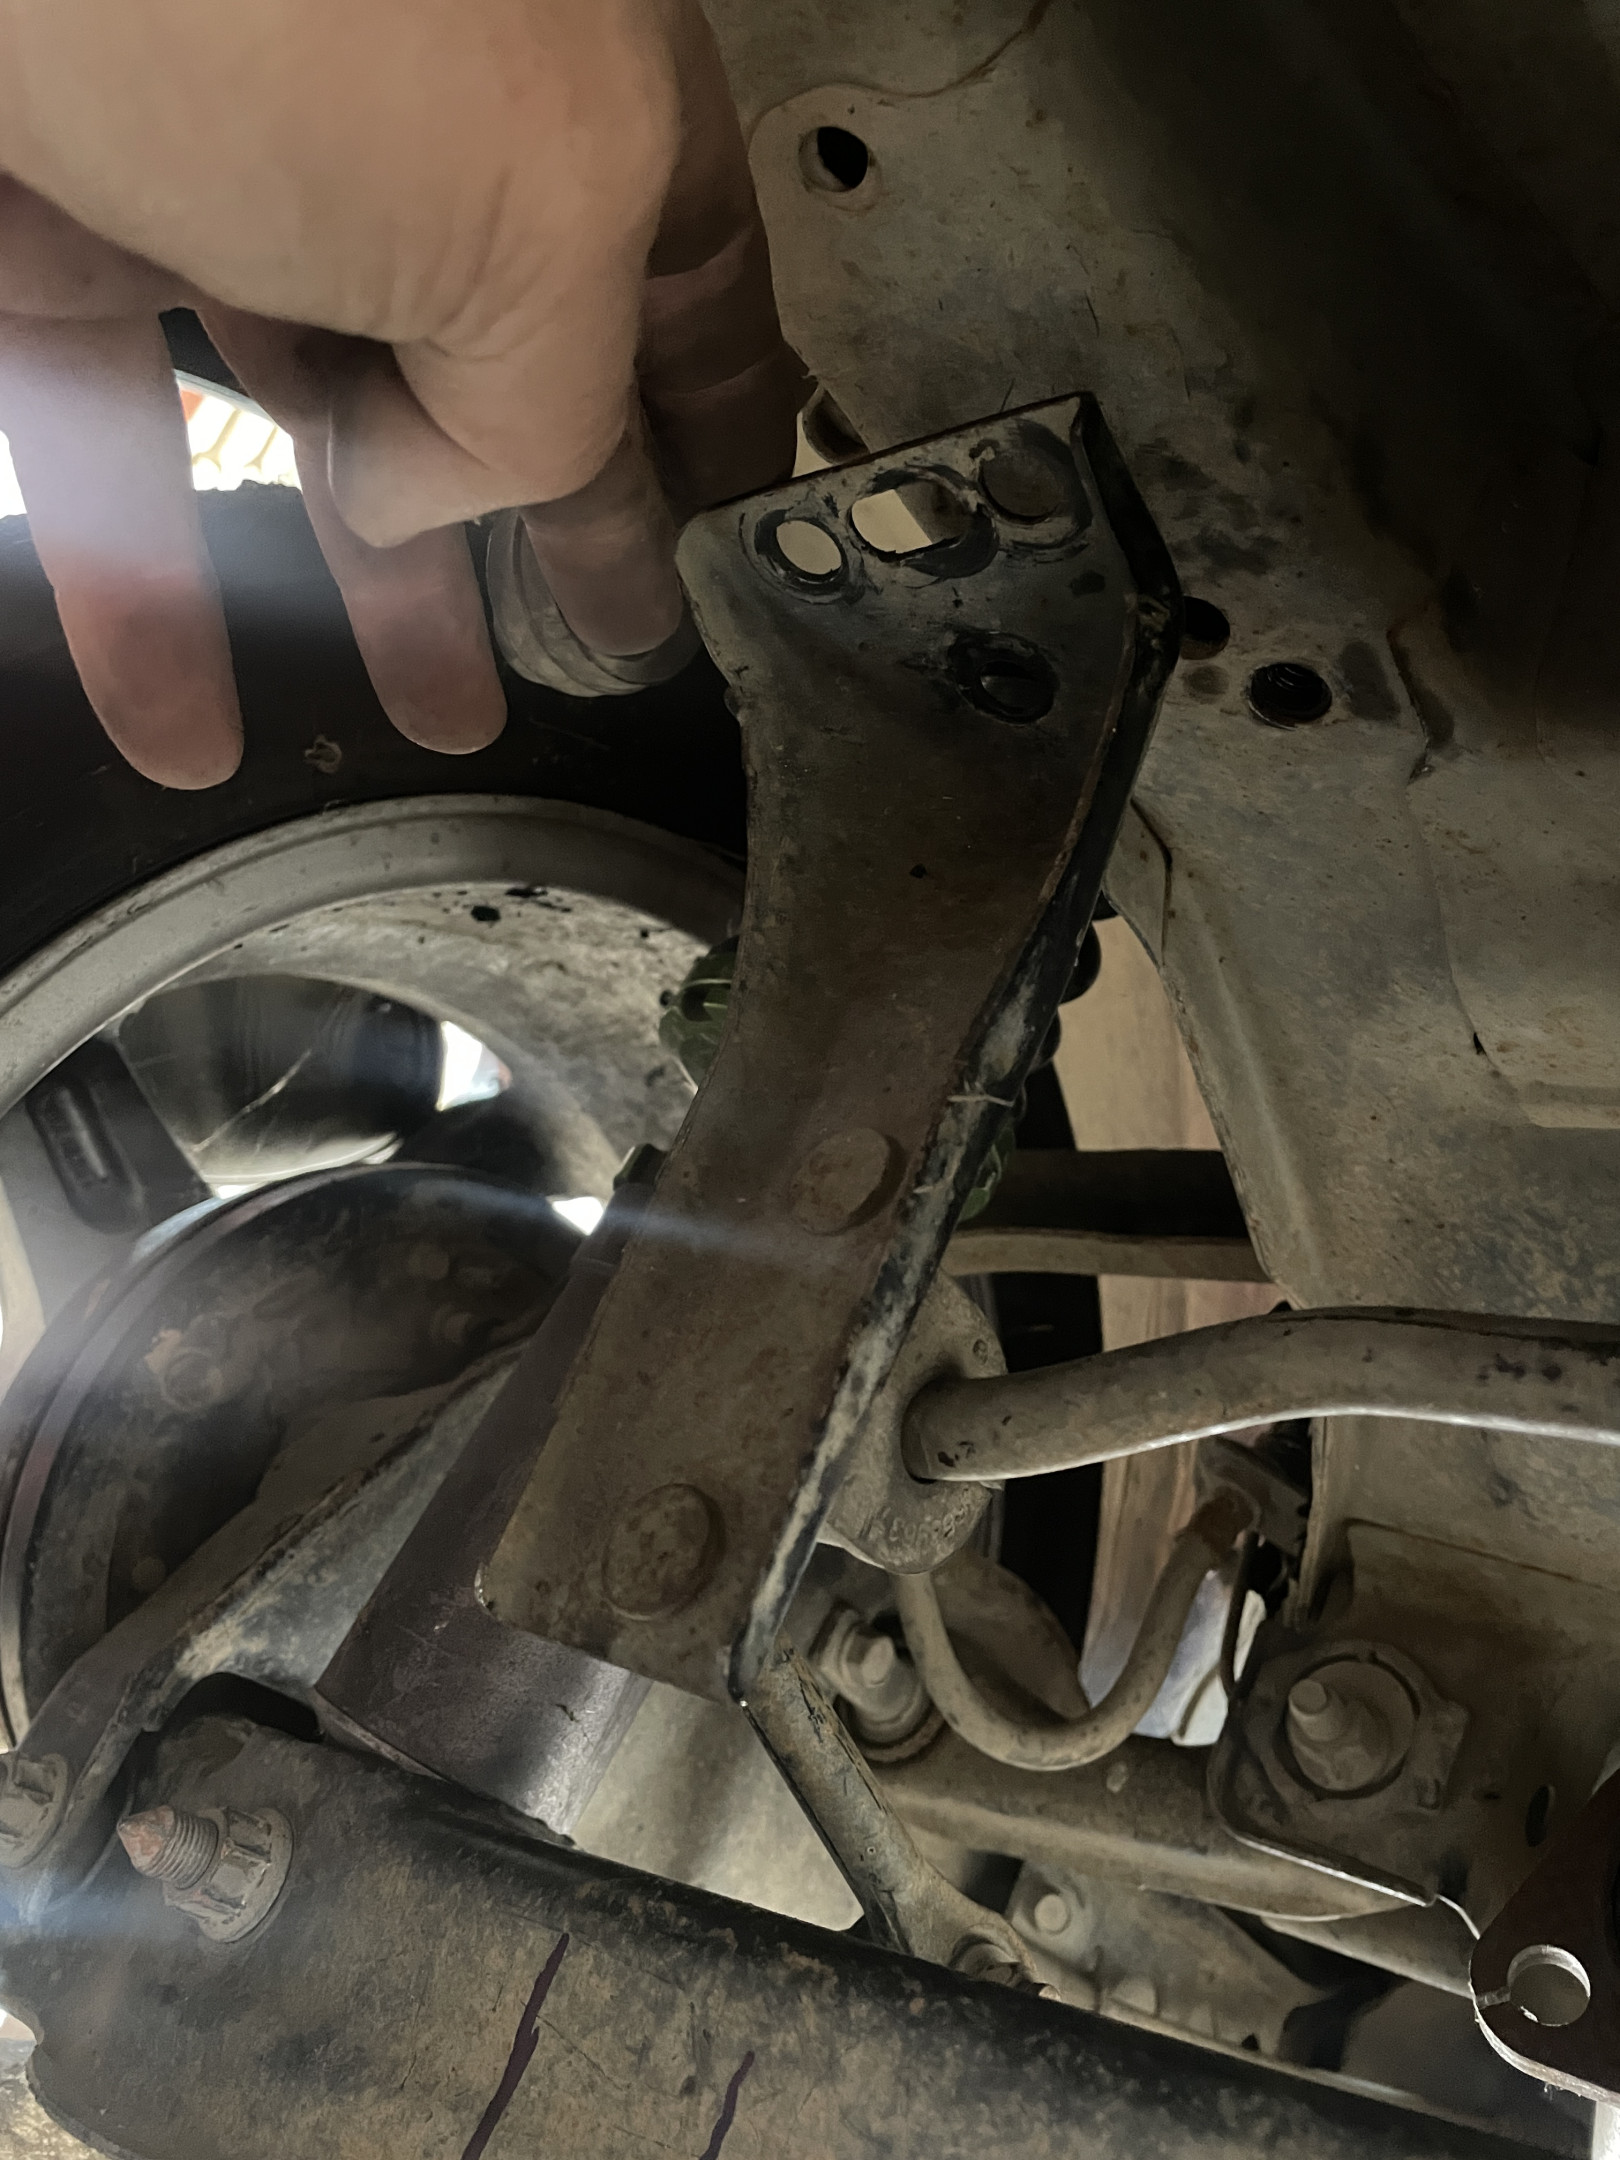
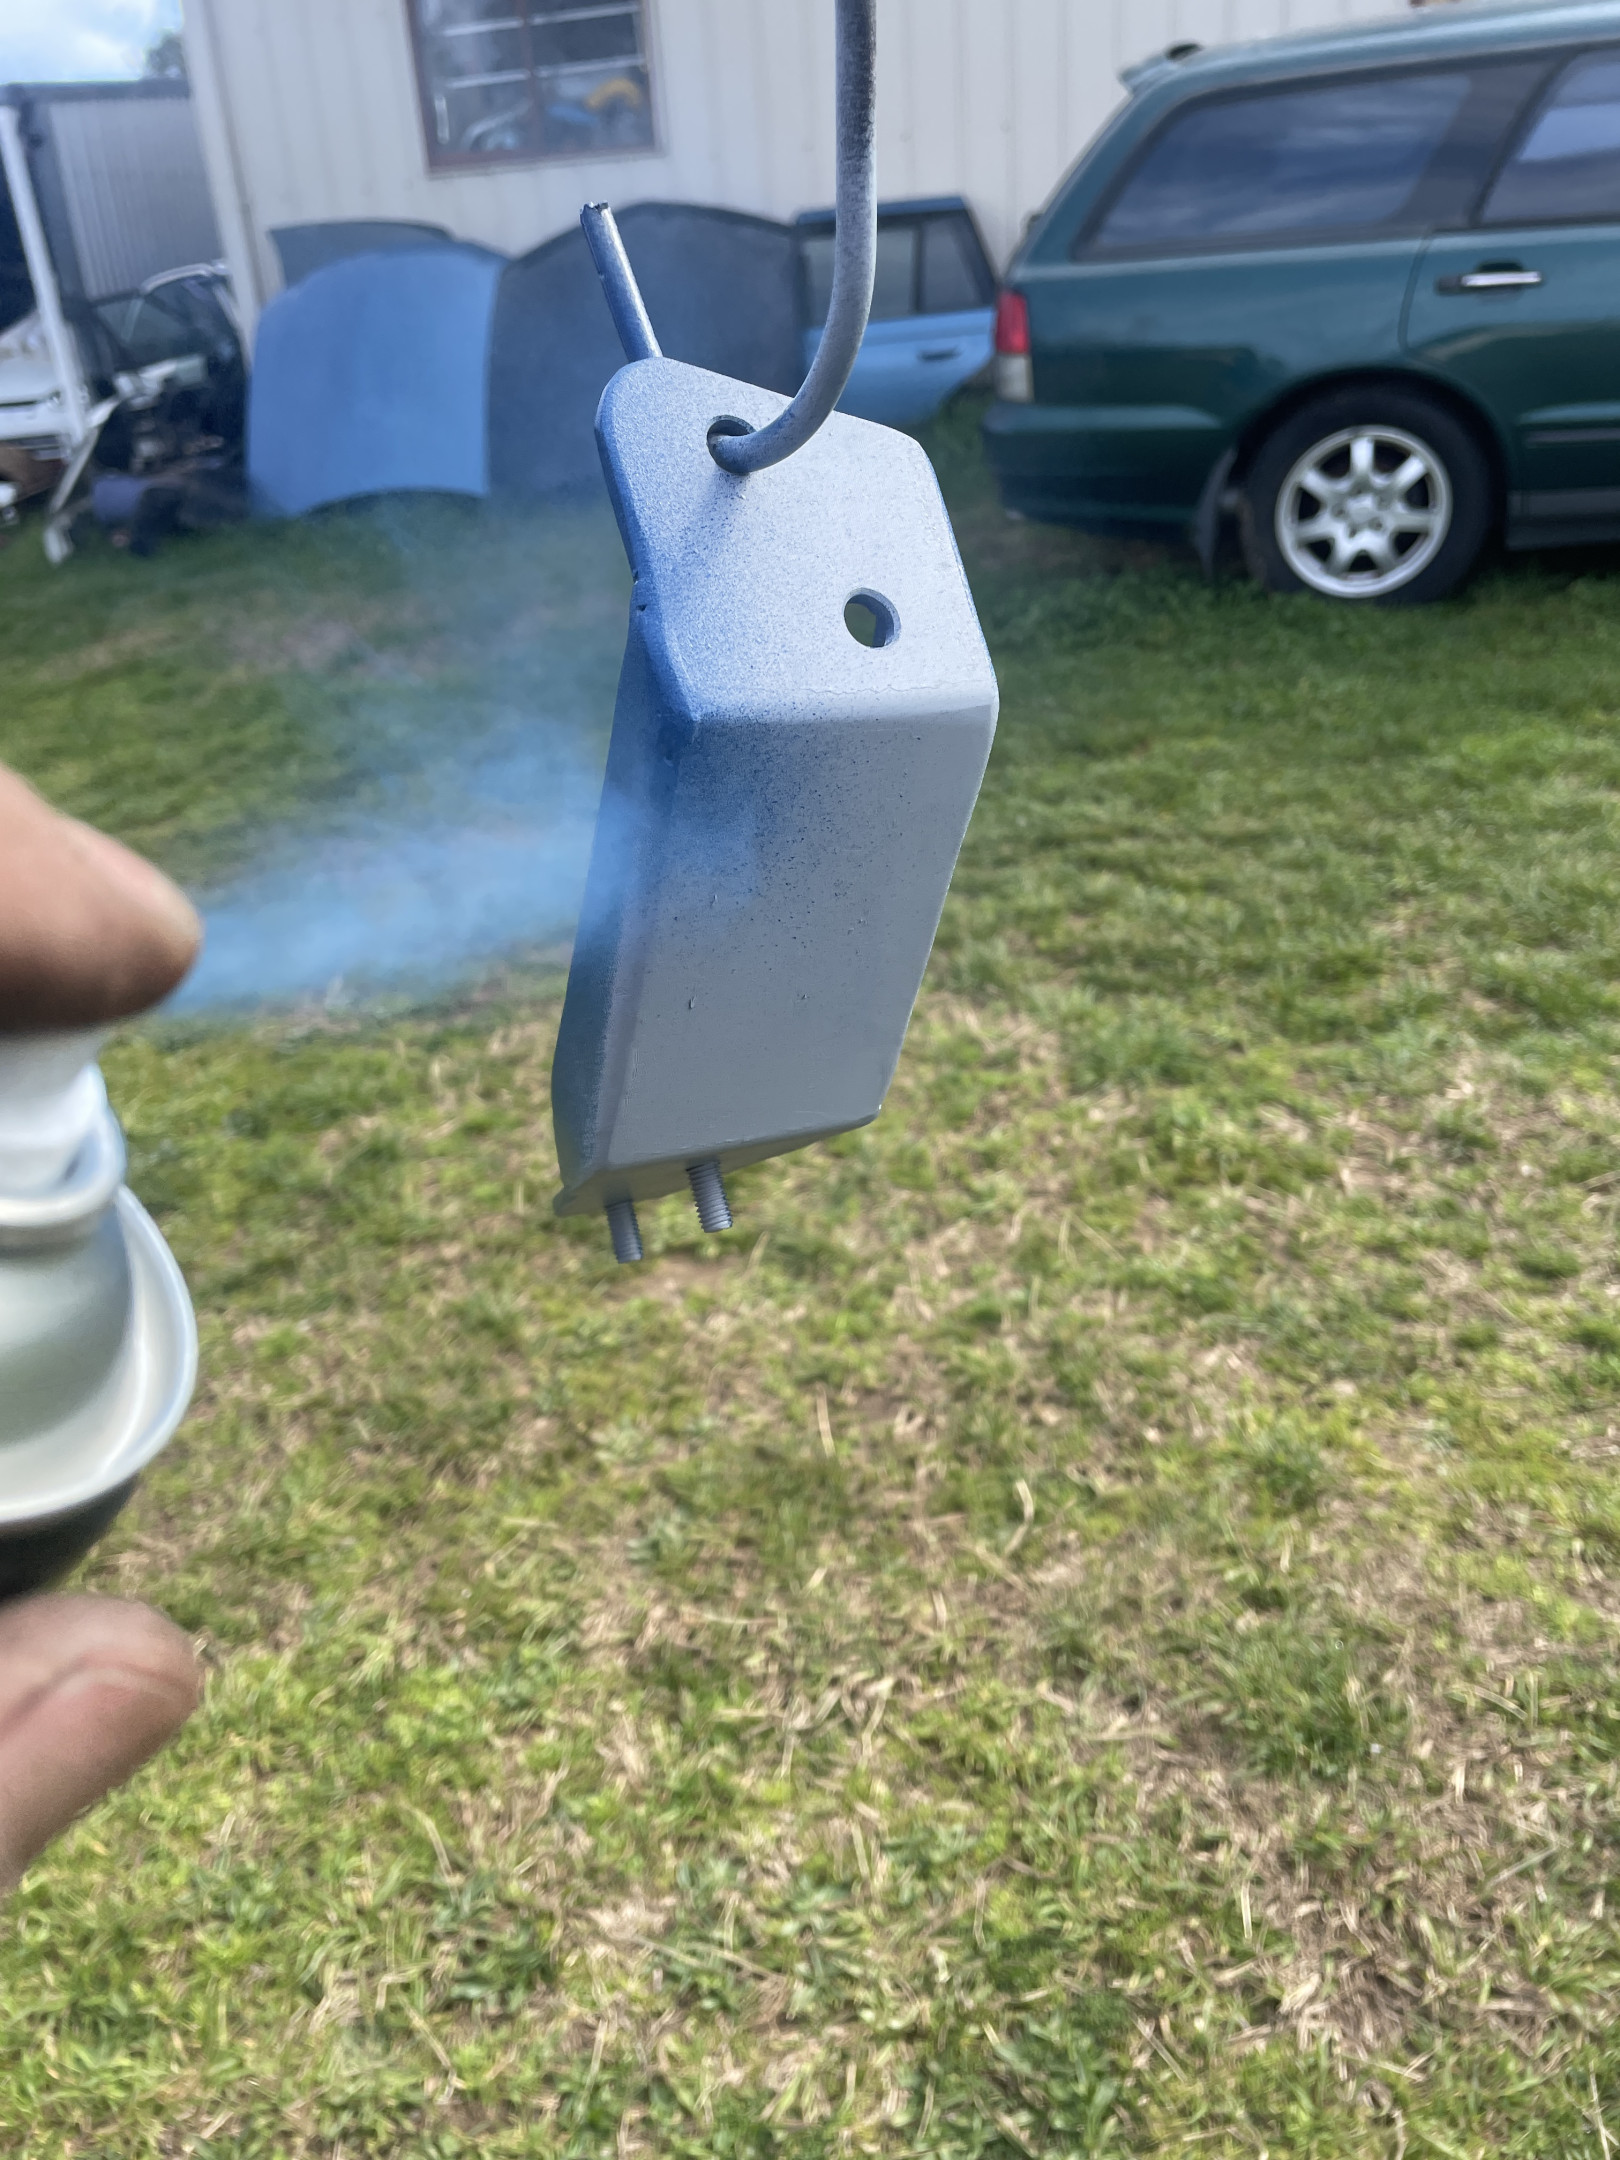
Painting the brackets…
Note the sides added to the driver’s side bracket to increase the stiffness of the bracket.
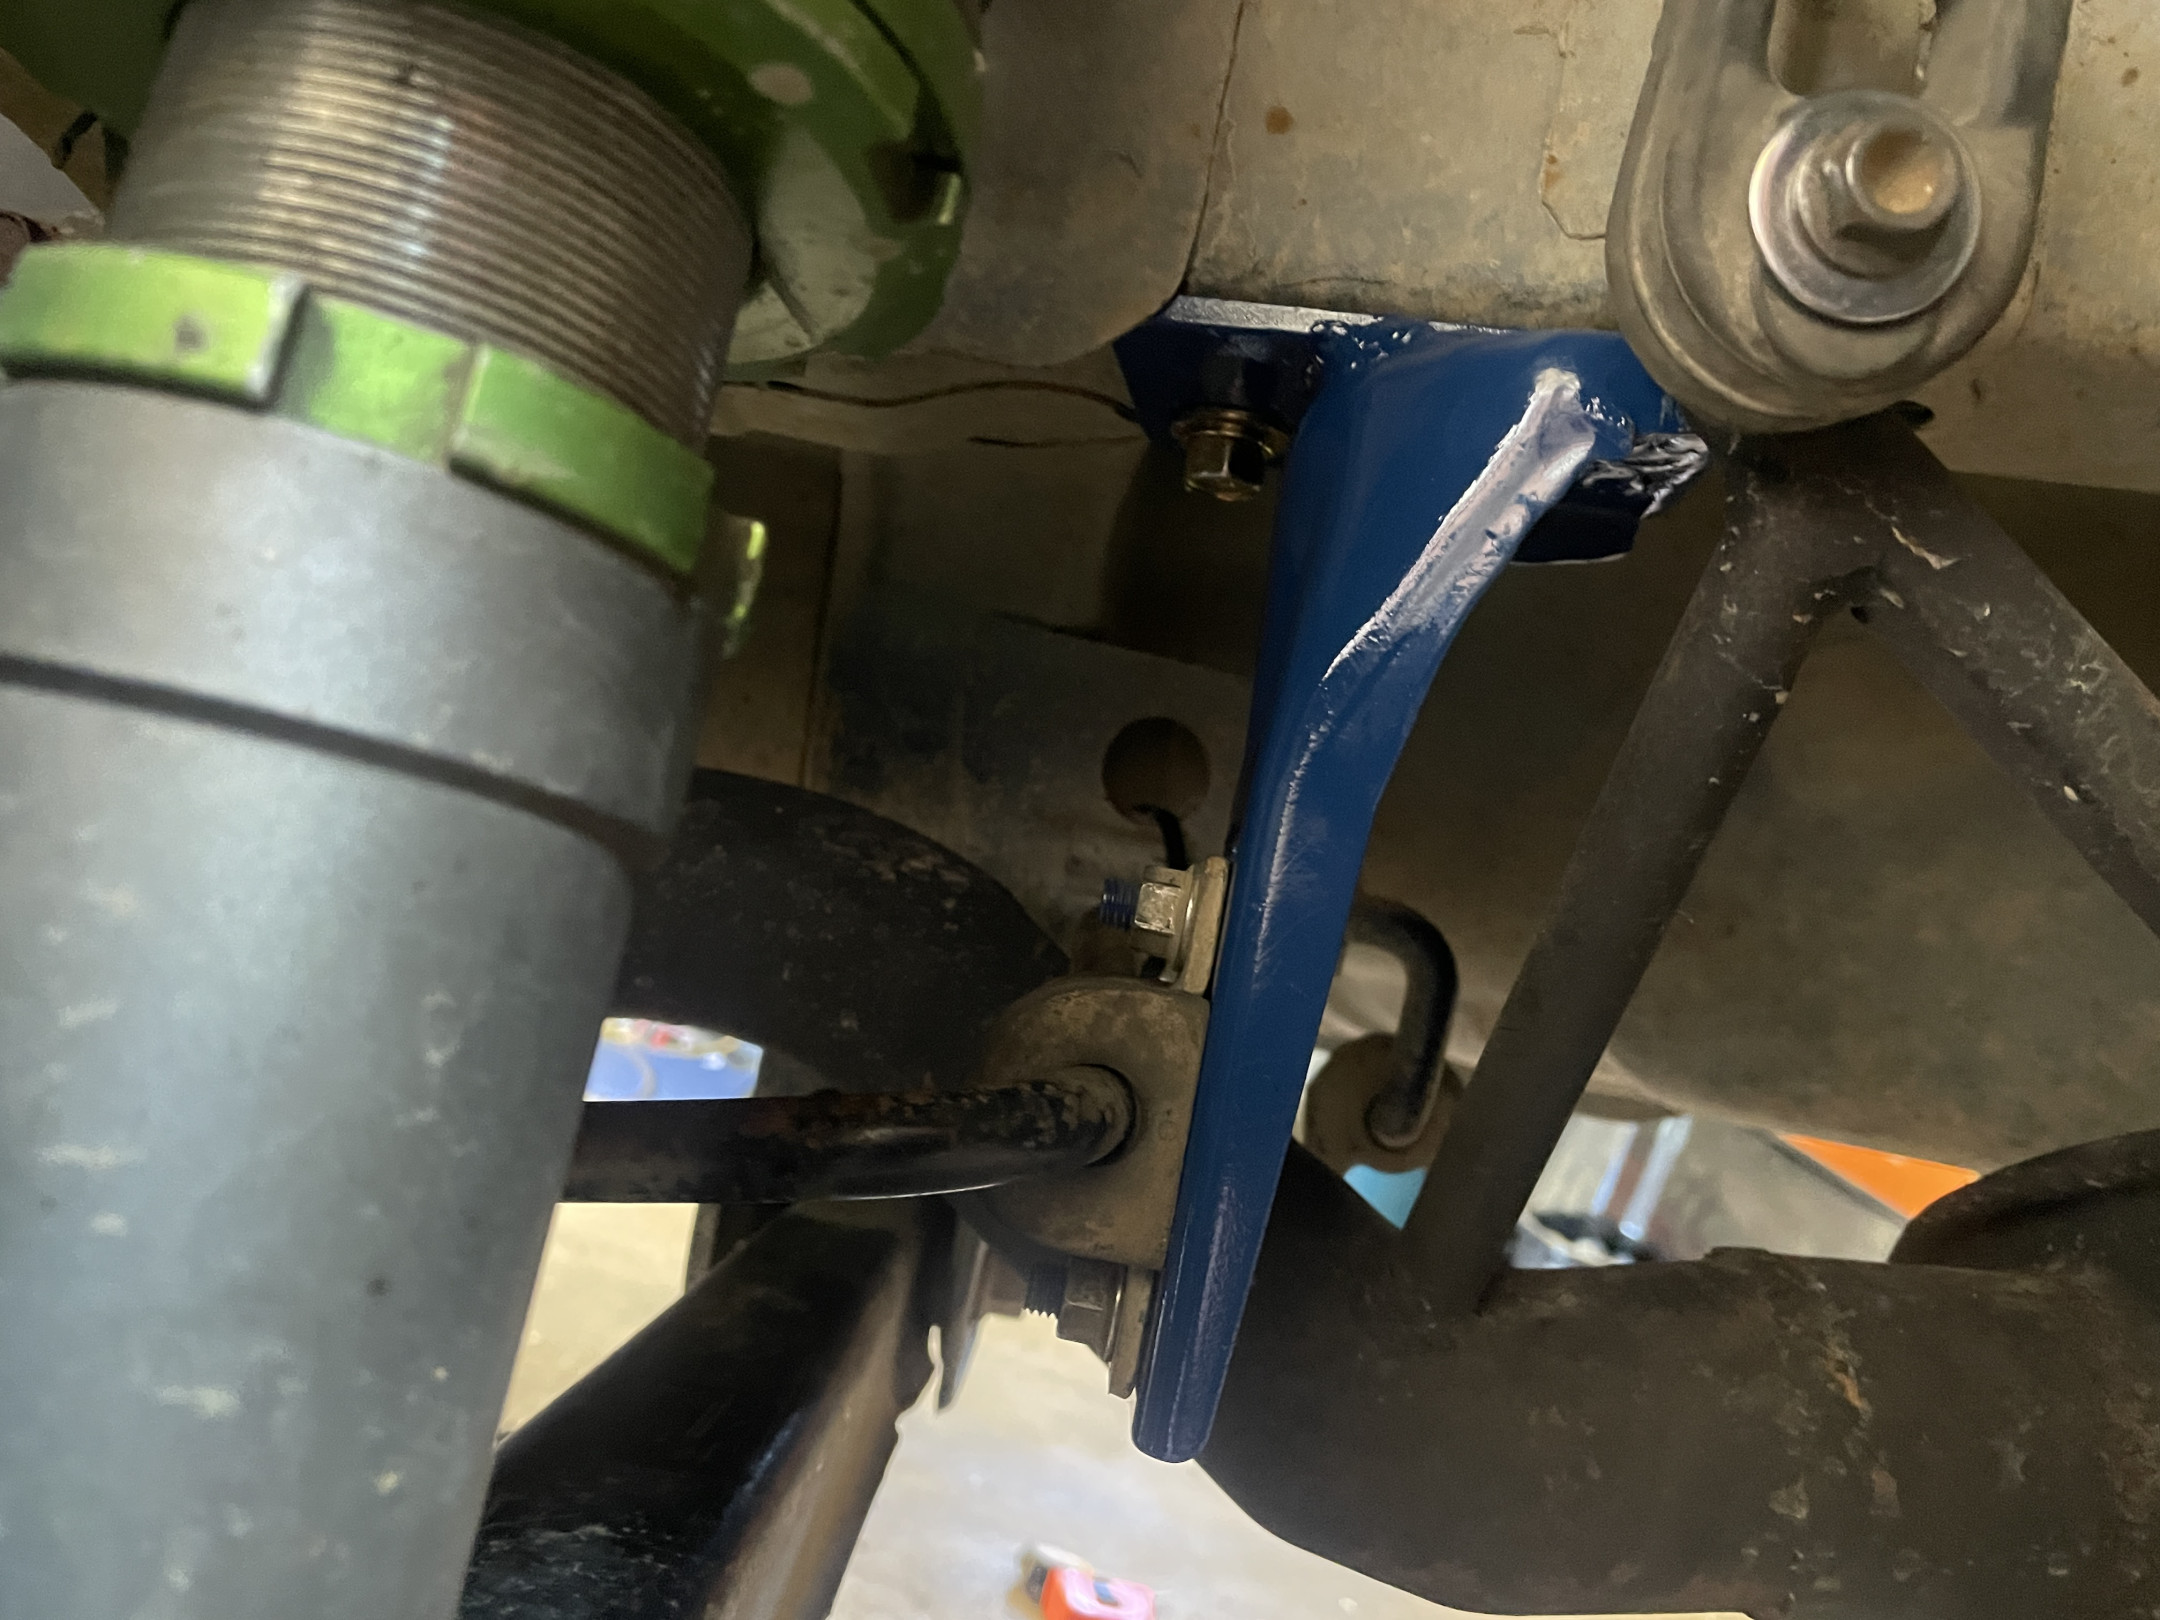
Then the mounts to the control arms.
I flipped the links from inside the swaybar to outside, to slightly improve its motion ratio (ie: make the swaybar more effective).
Interestingly, the links are identical to first generation Volvo x40 rear swaybar links but are 5mm longer. Having a spare pair of x40 links gives me a degree of freedom if I need to change the angle of the bar.
I also made the brackets able to be flipped over for the same reason.
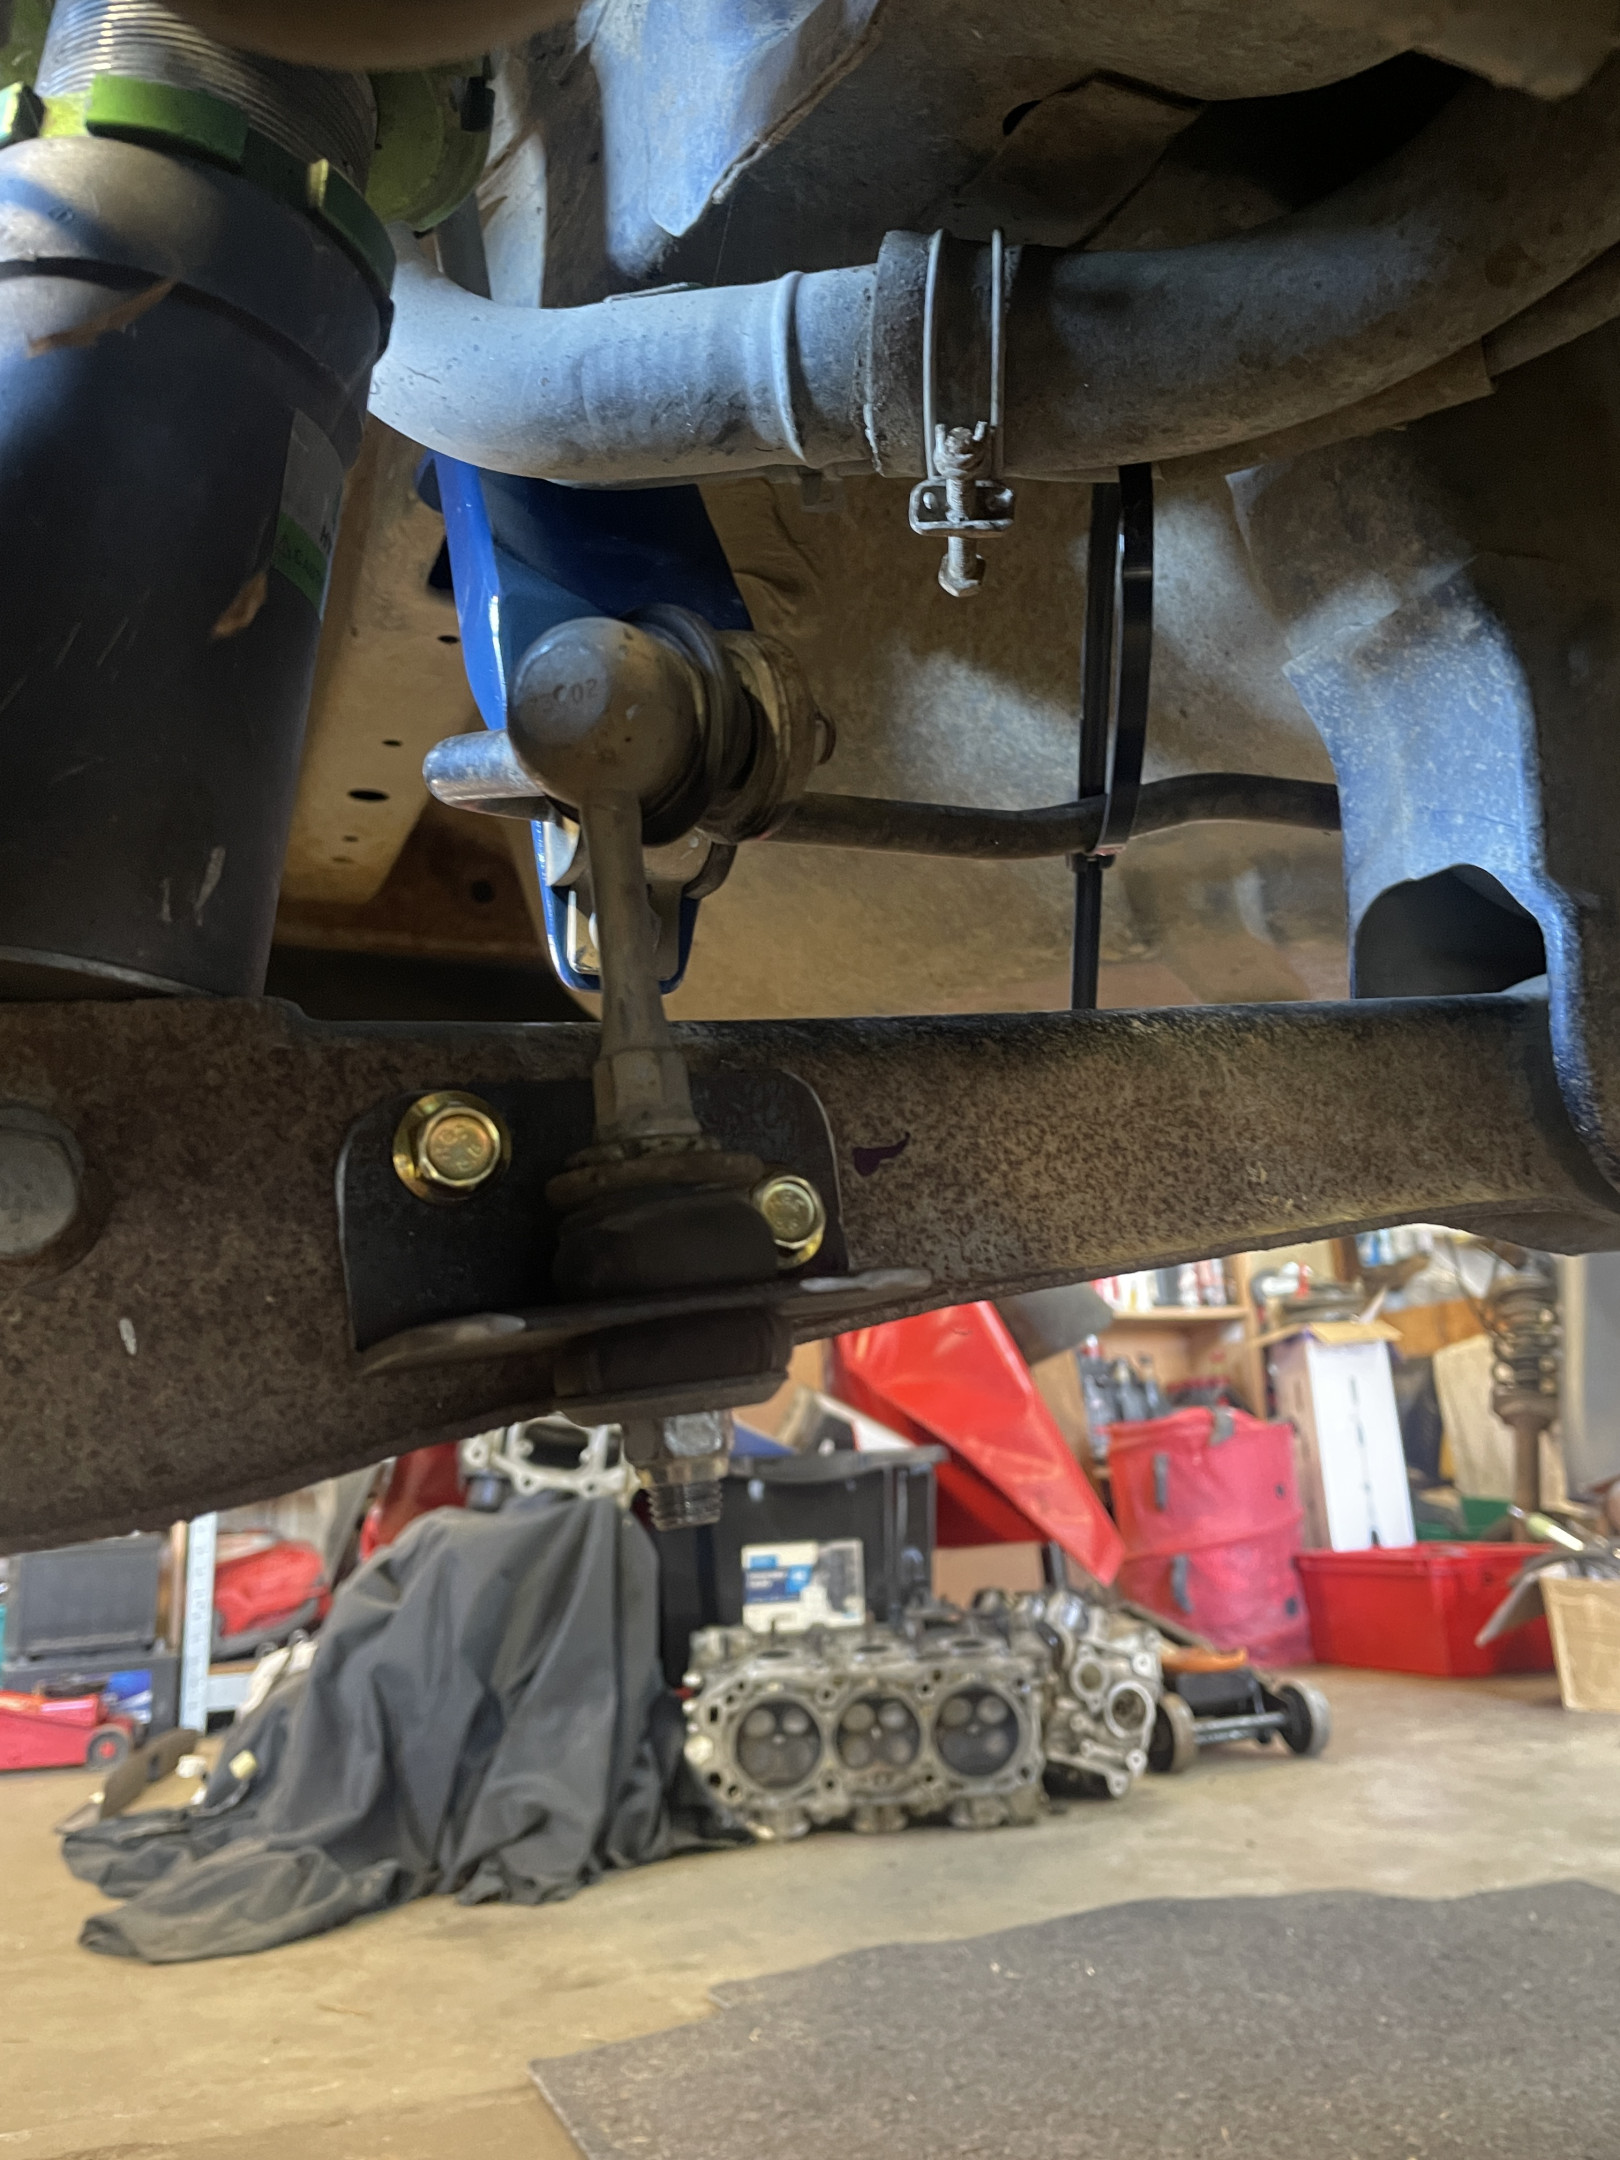
The exhaust touched the swaybar.
I was actually surprised that it was even close to fitting, considering the exhaust was built without any consideration for a swaybar at all - I was incredibly lucky that I didn’t need to completely remake this part of the exhaust!
In the end, about 5mm of spacers between the link and the top bush lifts the end of the swaybar and rotates the swaybar enough to move it away from the exhaust.
I still “massaged” the exhaust with a hammer for some extra clearance.
Seems to be good, even back on the ground. I am not foreseeing any problems, but won’t really know until it does some laps on Thursday next week.
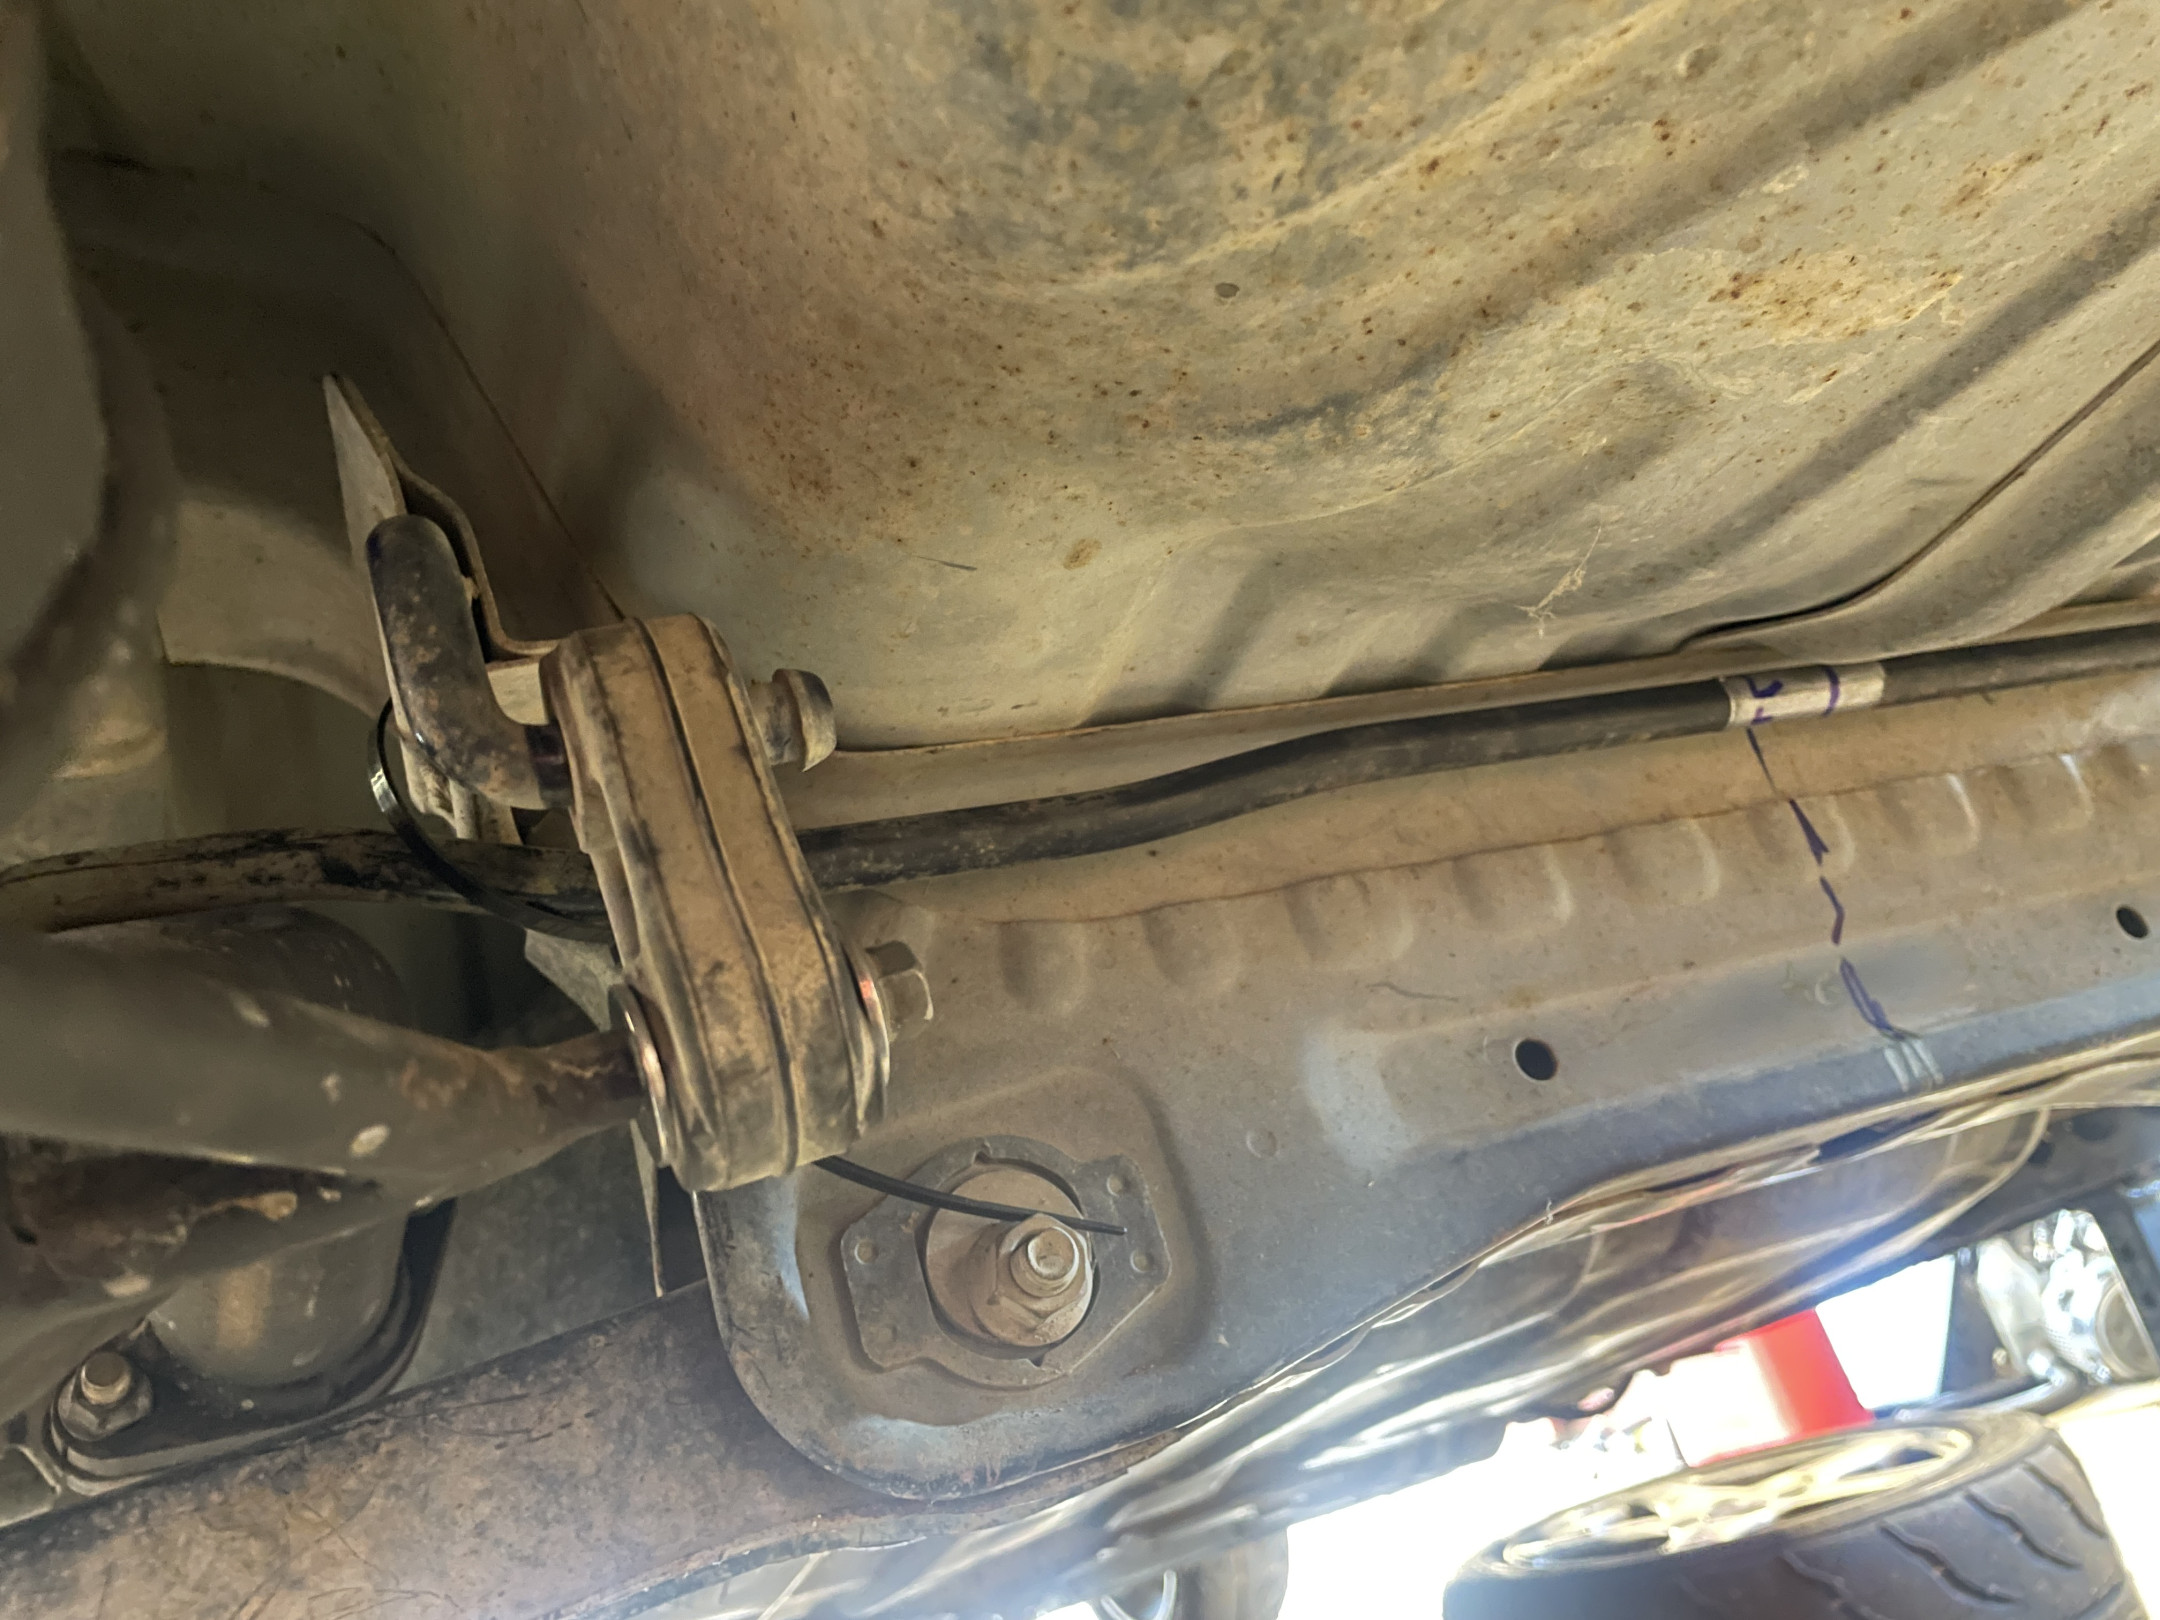
I have made this sound pretty simple, but I had to put a lot of brain power into making sure that the location of the bar was correct in space (ie: in all three planes), then to make sure that the ends were in the right place/angle, and then to make sure the links were at the right angles and that their mounts were in the right place/angle.





 ).
). 