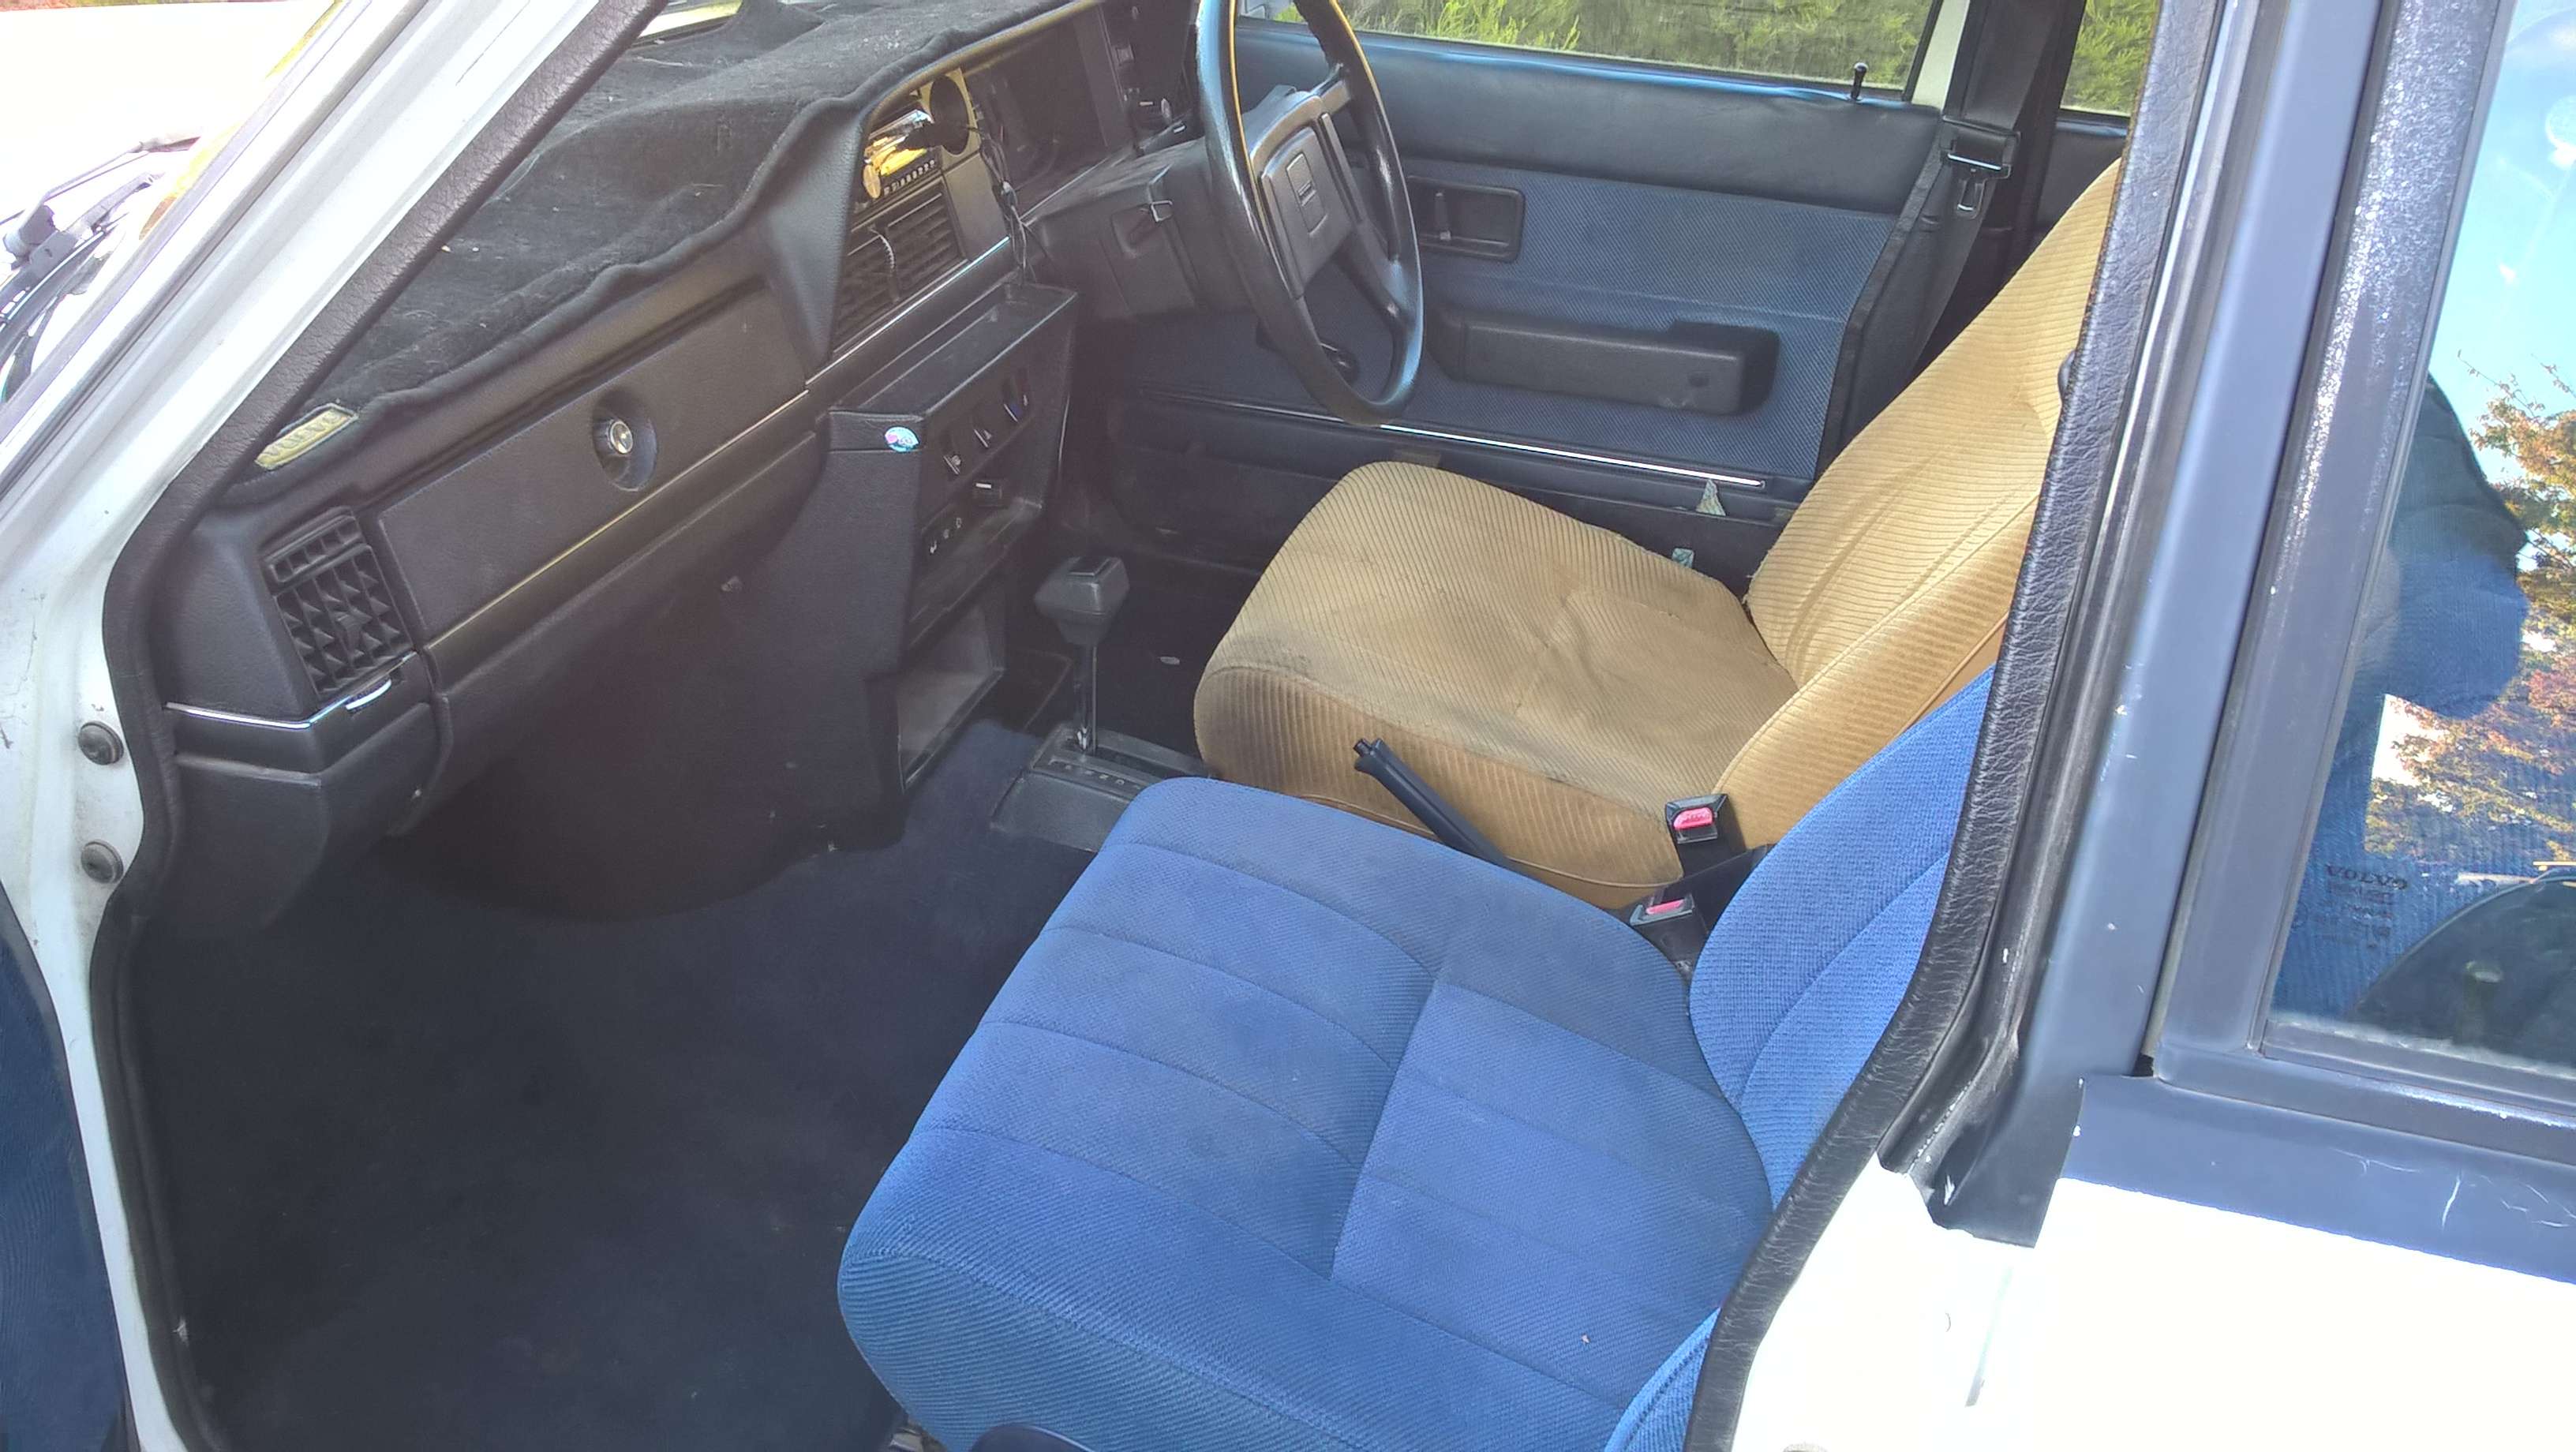
Seats:
Yeah, as above. I've swapped seats before for some reason that I forget now. Grease on one maybe. I usually set up an outdoor plastic table next to the car with a clean blanket over it. Then tilt/close the seat up several turns of the side wheel, to make it easier to lift out without catching on anything. Remove the four nuts/bolts and lift it out. Then I lay it on it's SIDE first on the blanket, with the runners facing out towards me (so no grease ever gets on the blanket because it ALWAYS then gets on the seat cloth, grrr). Unwind it as far as it will go (like you're lying it down to sleep in the car). Then flip it over so the back of the seat and slide rail are pointing to the sky.
Sometimes if I'm working on just ONE seat I'll only wind it out to 90 degrees, and put the runners to the sky and headrest off the table to the ground. But I always find the seats are.. 'off-balance' and want to fall off the table. So if you do it that way, beware it doesn't fall off into the dirt. (You have to stand against the back of the seat while you work, to stop it toppling off the table.)
Then slide out and swap each lower rail section so the mount holes line up with the car floor again.
You'll probably think I'm just waffling, but I learned these steps after seats falling off tables, getting grease on the blanket which then got on my clothes which in turn got on the covers - all after being careful not to. Which then meant I had pull the covers off to degrease and wash them.
But... Why are you swapping? A sunken seat?? The guy doing rego might get in the car, go to adjust the seat, see that they're swapped over, and have a sook. Maybe it will bother him, maybe it won't. So why not just fix the seat while it's out. A sunken seat is fixed in 30 minutes with parts from another - and is done with the seat in that same position on the table anyway. (You could just swap the seat wire pad.) You'll see how when you flip the first seat over, but it's only slightly more difficult to fix in-situ with parts.
Basically:
1. Use a piece of thin nylon rope to pull two opposing springs toward each other, to release some tension of a couple of seat grid wires.
2. Use pliers to undo the 'loop twist' in each end of a few of those 'new' wires to remove them. Do the same until you have enough wires. Hint: Do more than necessary - add extras to the broken seat - the more wires you install, the less tension on each one.
3. Do the same thing to the broken seat to remove old and fit new wires.
Note: The wires cut into the seat foam over time too, leaving a 'foam powder' on the carpet. So I like to slice some 'pope irrigation risers' along their entire length with a stanley knife, then force the wire inside them with a flat screwdriver. (They're thick and difficult to cut, so they close up again nicely once on the wire.) I think this is them:
https://www.bunnings.com.au/pope-450mm-rigid-riser-with-adaptor-10-pack_p3120413 - you could also just do something like slide a sheet of ??? between the foam and wire grid - maybe a square cut from a large plastic bucket, etc.
Or... Since it is so easy and fast to swap seats from the correct side... Just borrow someone else's driver seat for the inspection, swap it back an hour later, and fix yours whenever you feel like it, LOL.
Fuel:
If the tank was 1/2 to 3/4 full I'd think twice about using it. There is a couple of ways to drain it though... You could pull the rubber hose off the rear of the pressure regulator, make sure it's directed down into a container so NO FUEL SPILLS anywhere it can ignite (run it through a piece of old garden hose down to ground level maybe) - then bridge fuses 4 & 6 together. The in-tank pump will turn on and pump the fuel out.
You could also do similar under the car at the fuel filter. Pull off the line going into the filter from the tank, direct it into a container, then the same fuse connection to turn on the pump. Just be smart with wires/fuel.
When you think the fuel level is low enough, replace the filter with a new one, hose back on, fill tank with fresh fuel. (I say only low, because I think it's recommended not to run it completely dry.) Now the old fuel is heavily diluted by fresh so any ill effects (poor running, etc.) are minimal to zero.
Note when you renew the filter, that fuel in the line forward of that point will run back out on you too - spread rags around first to soak it up.
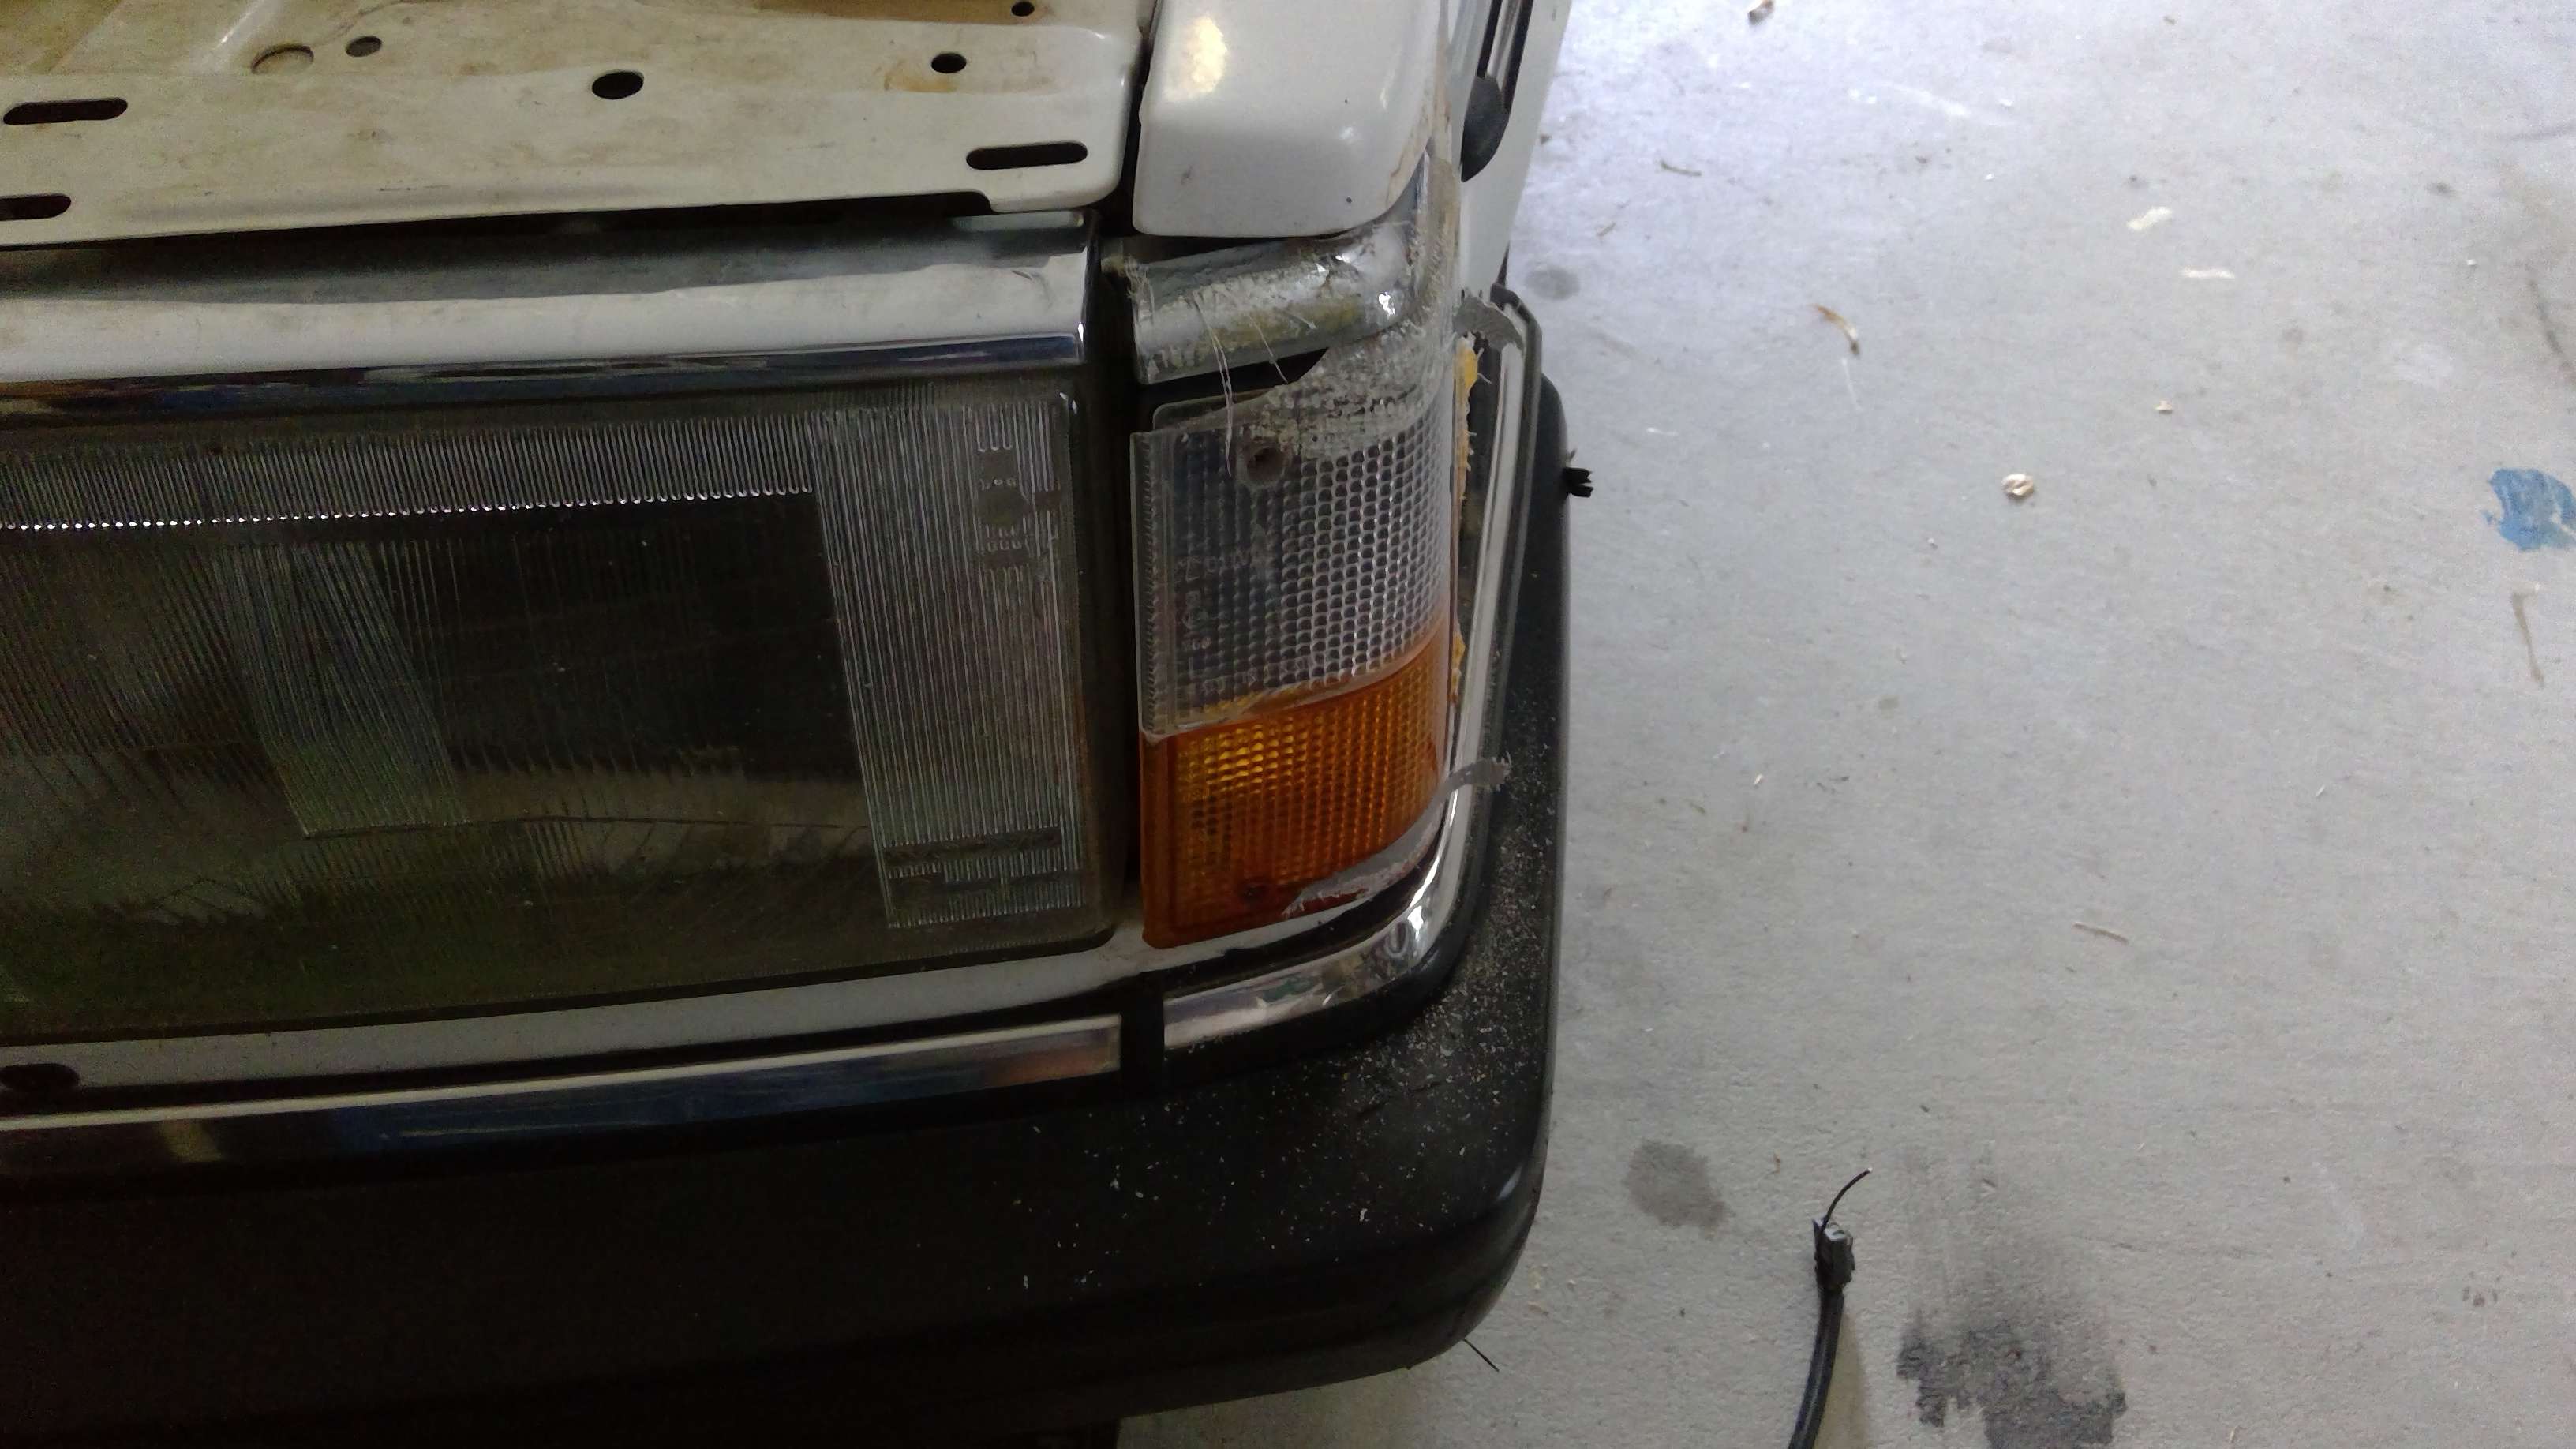
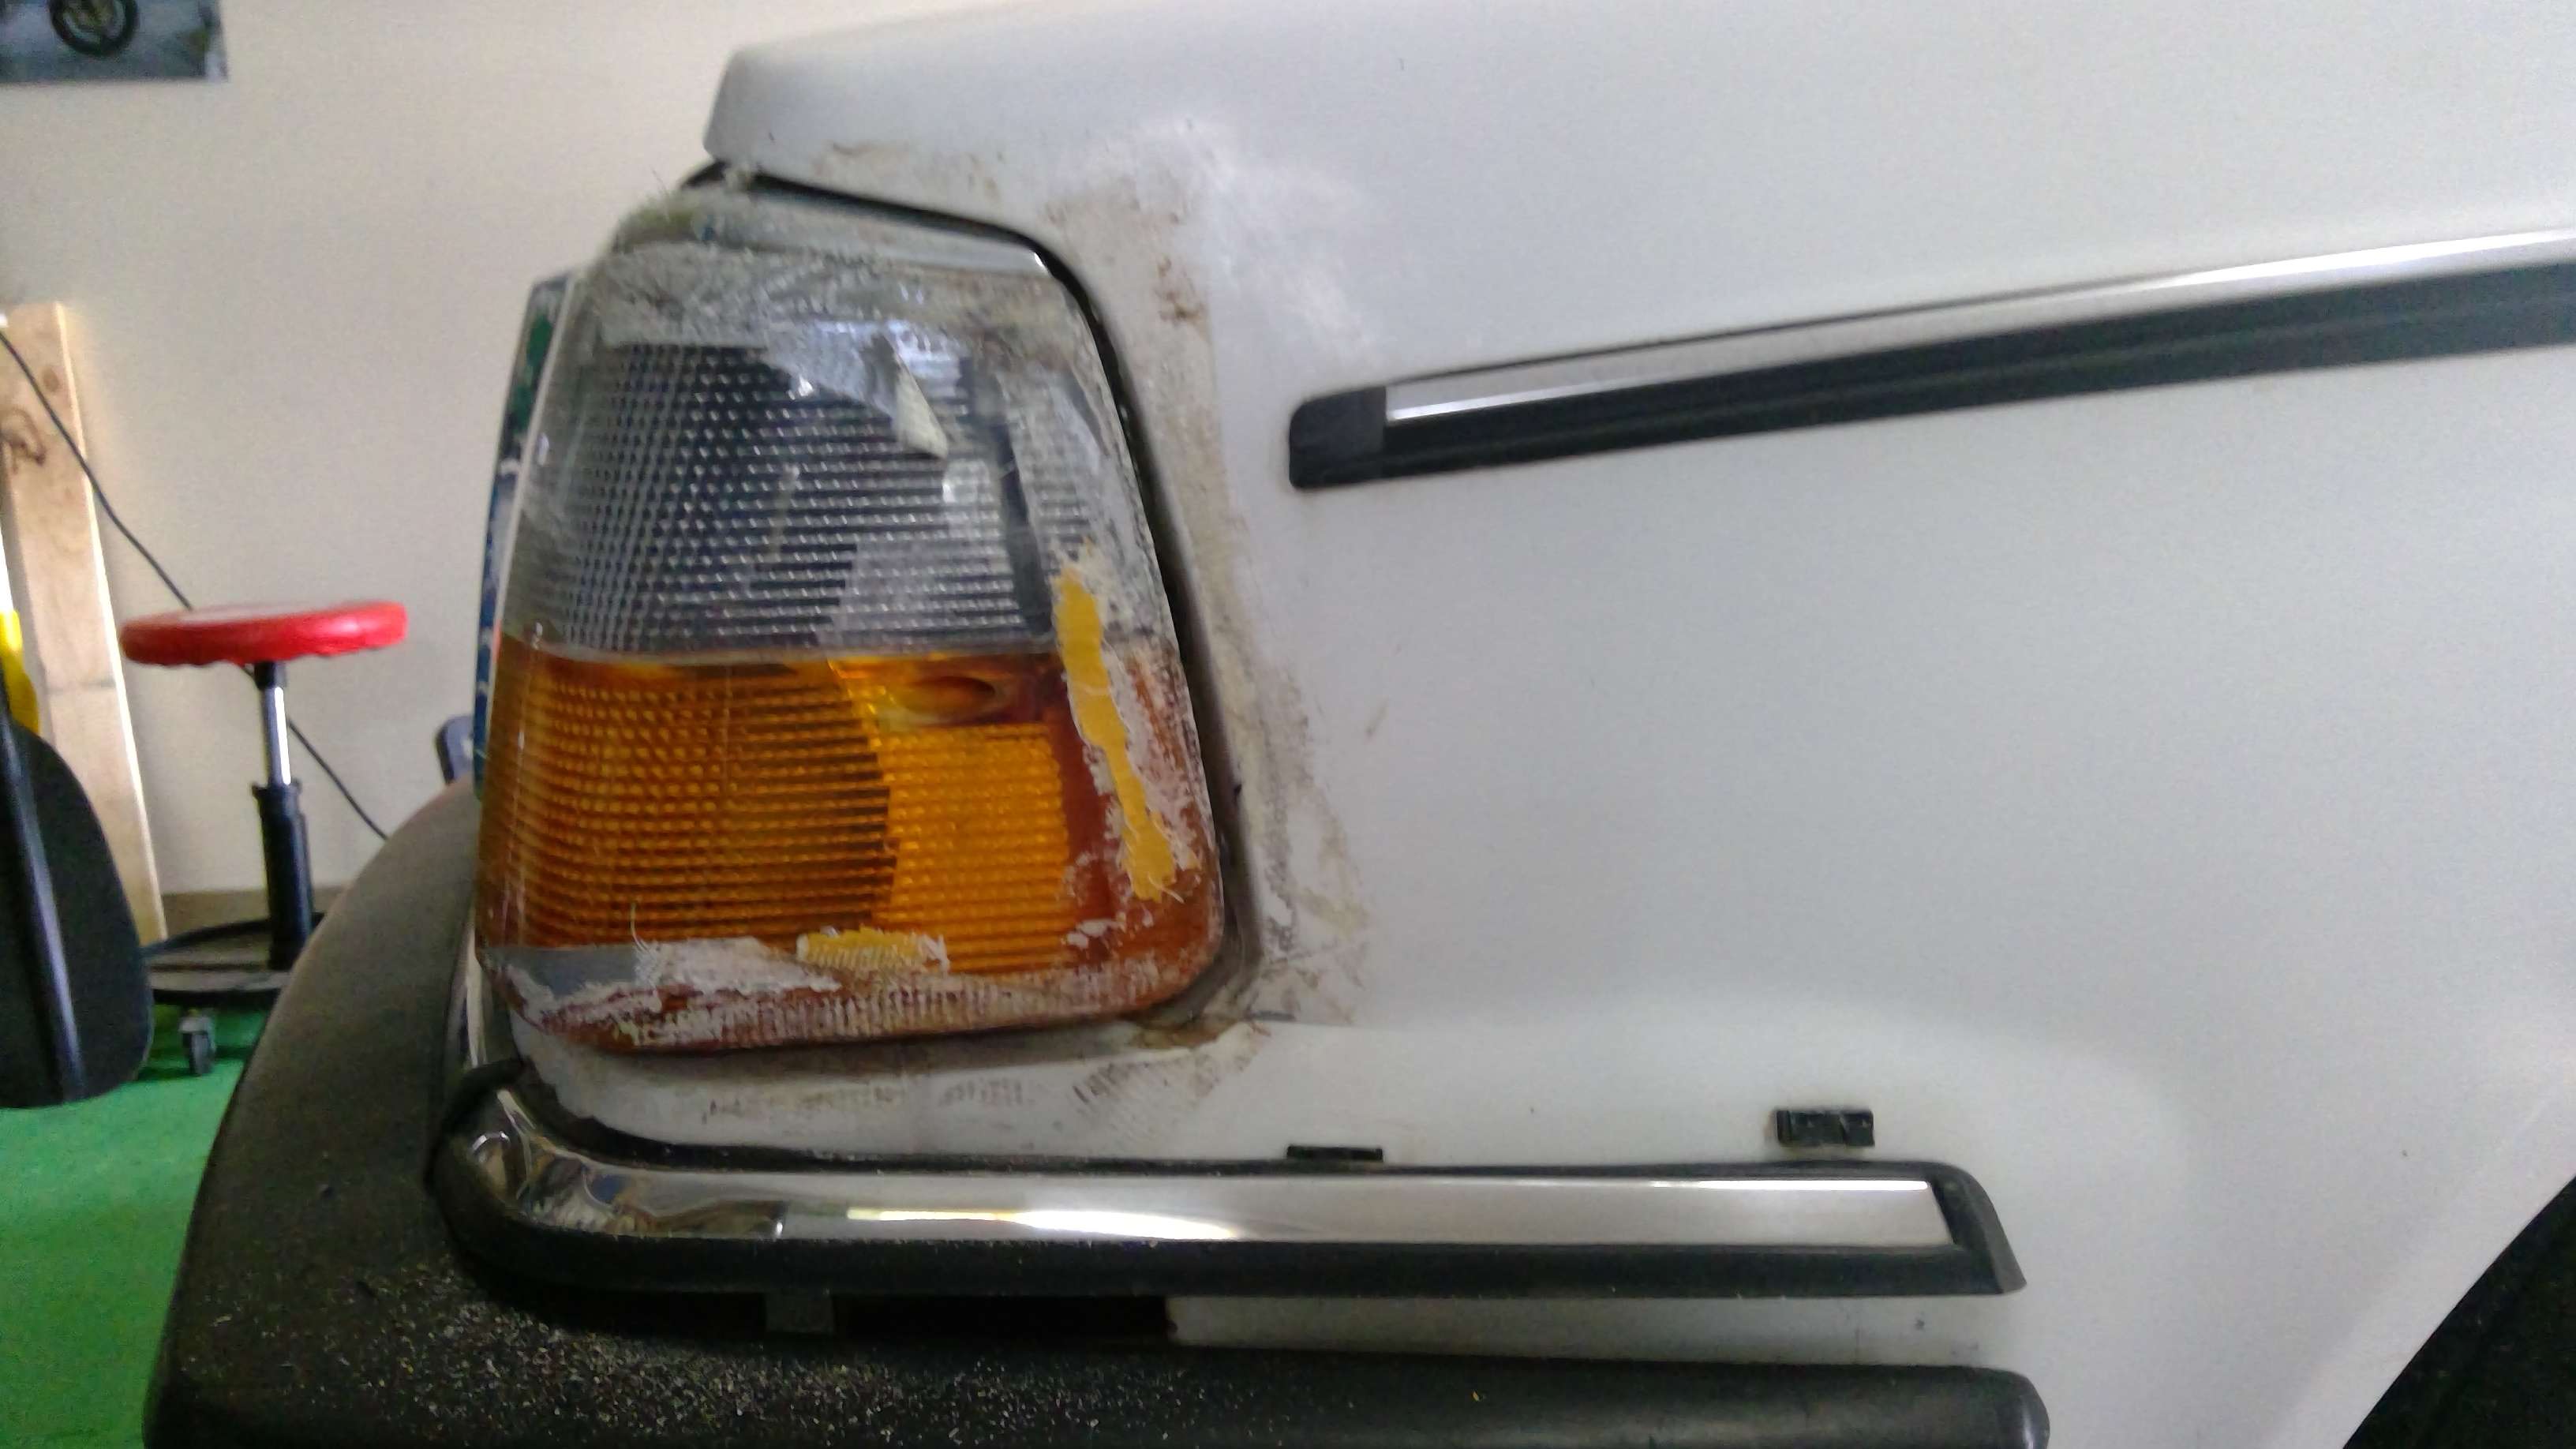
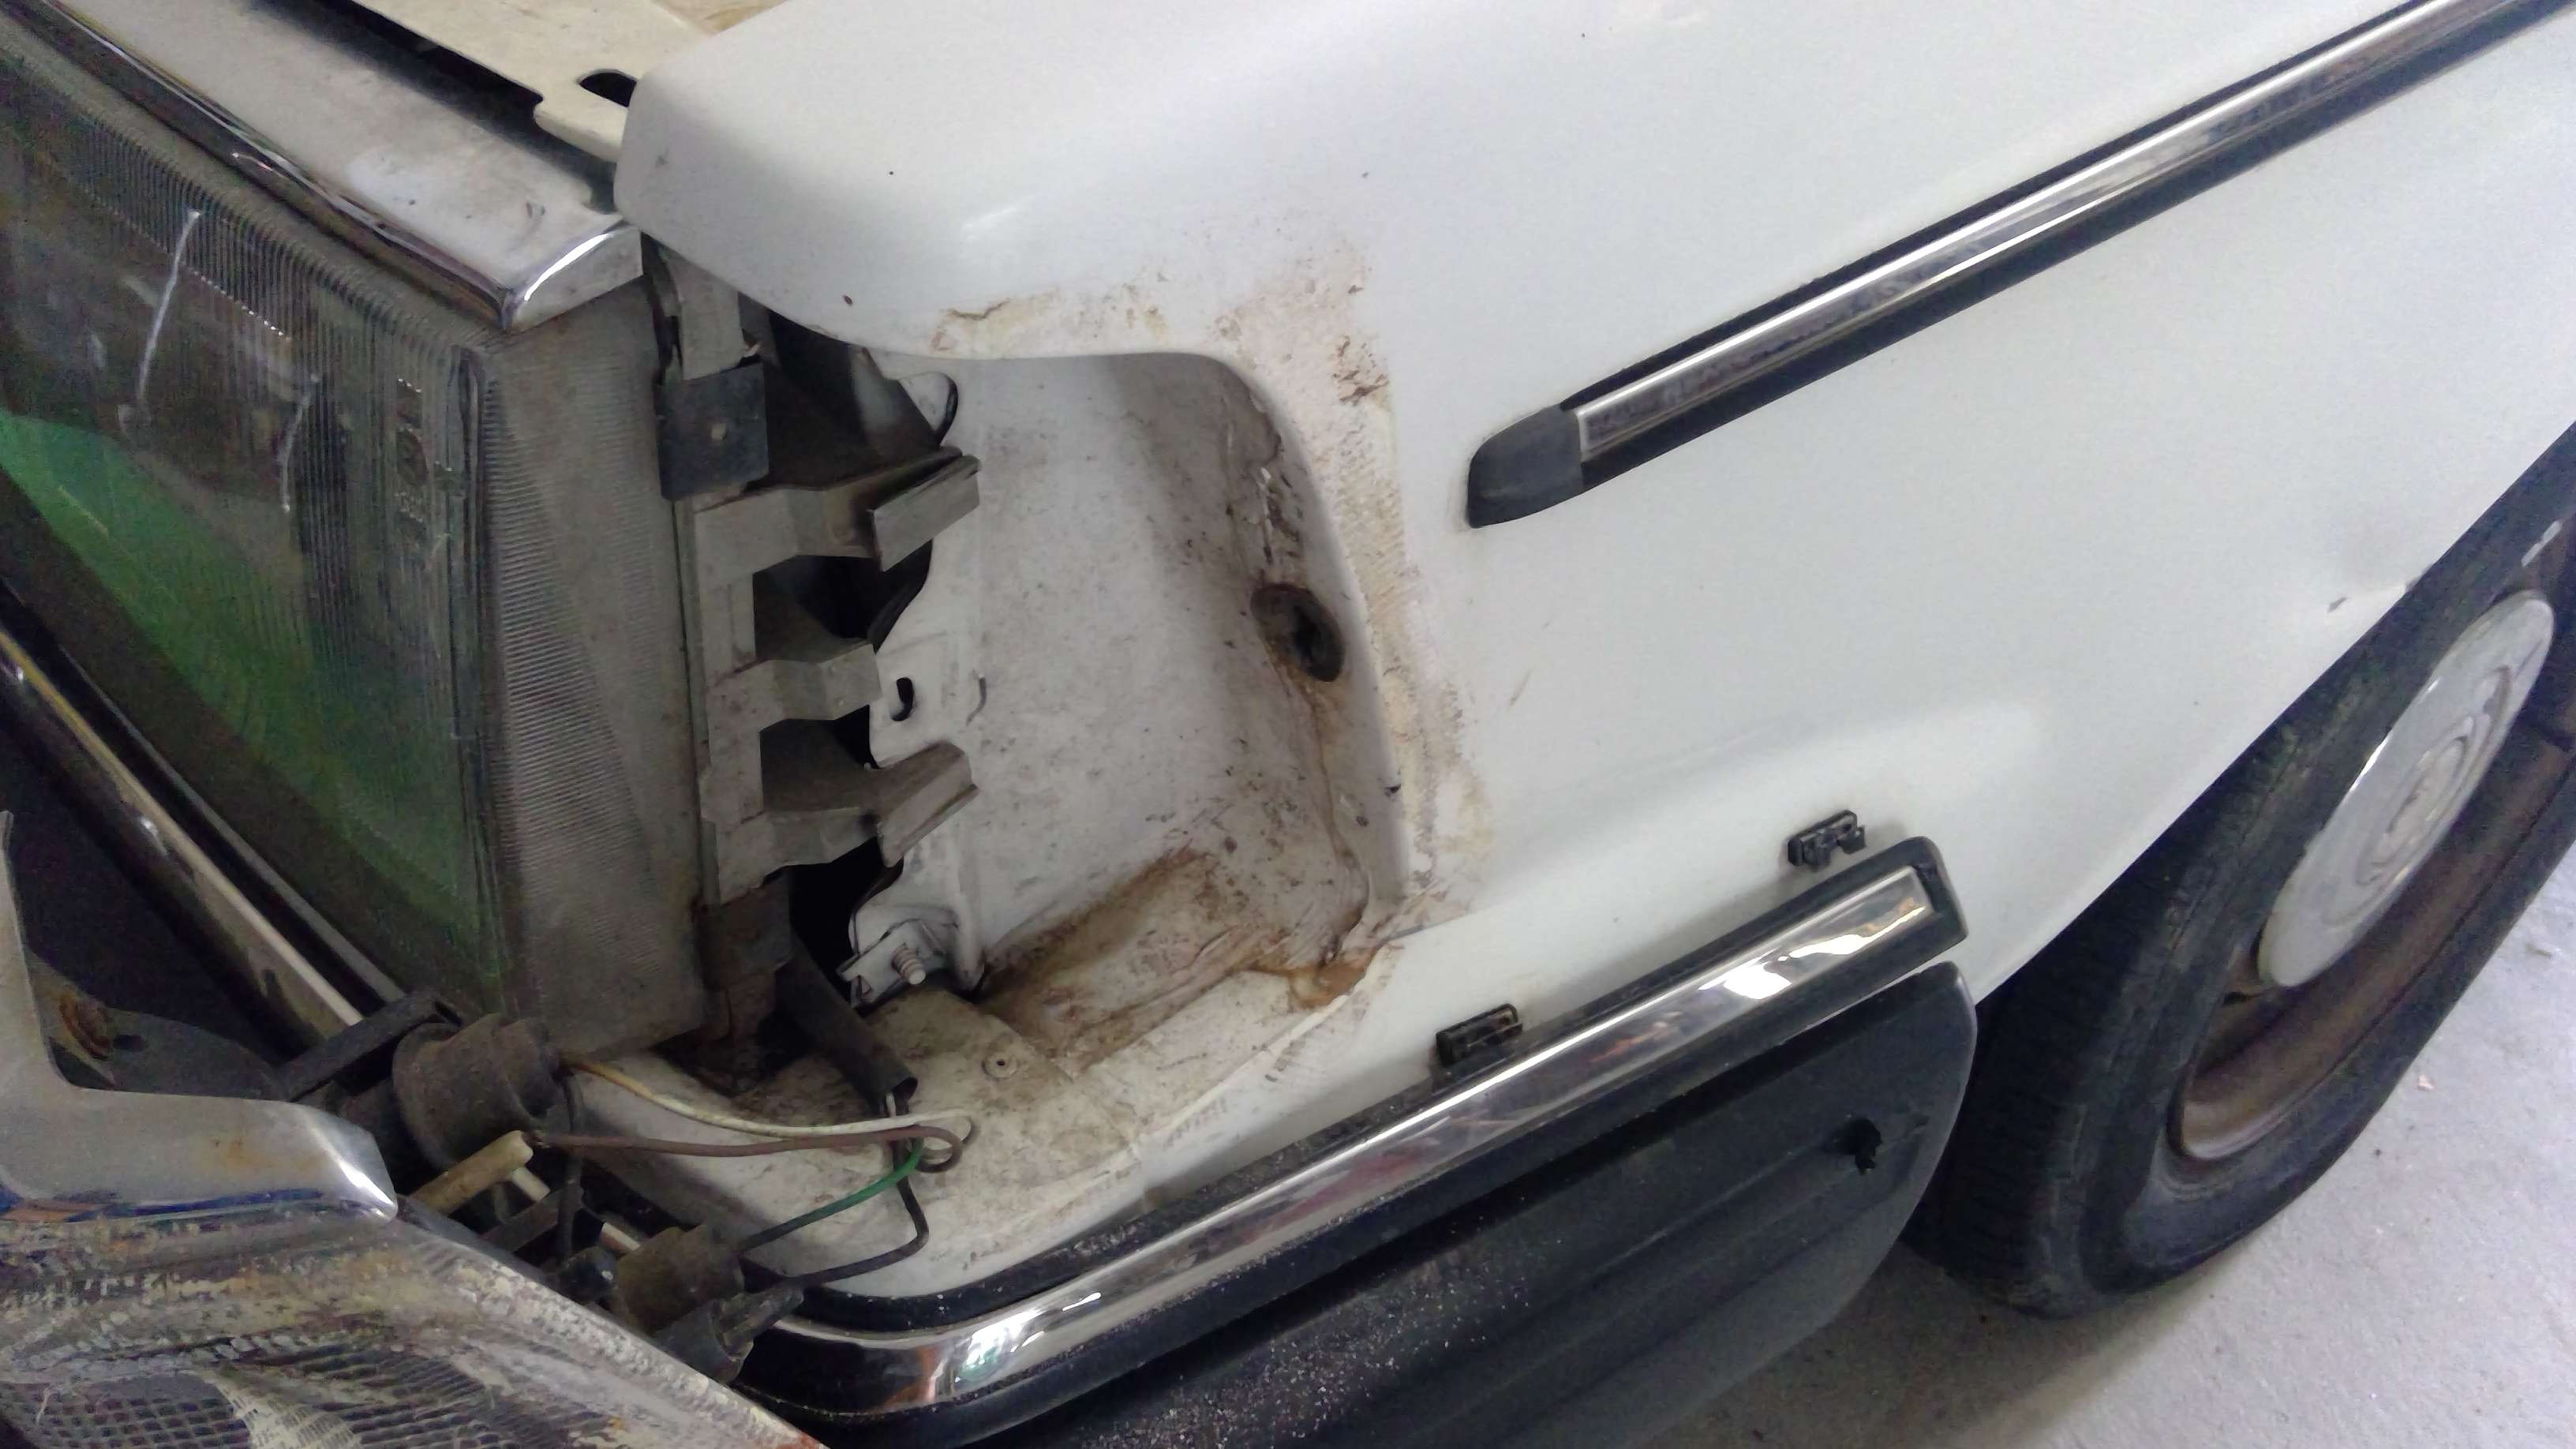
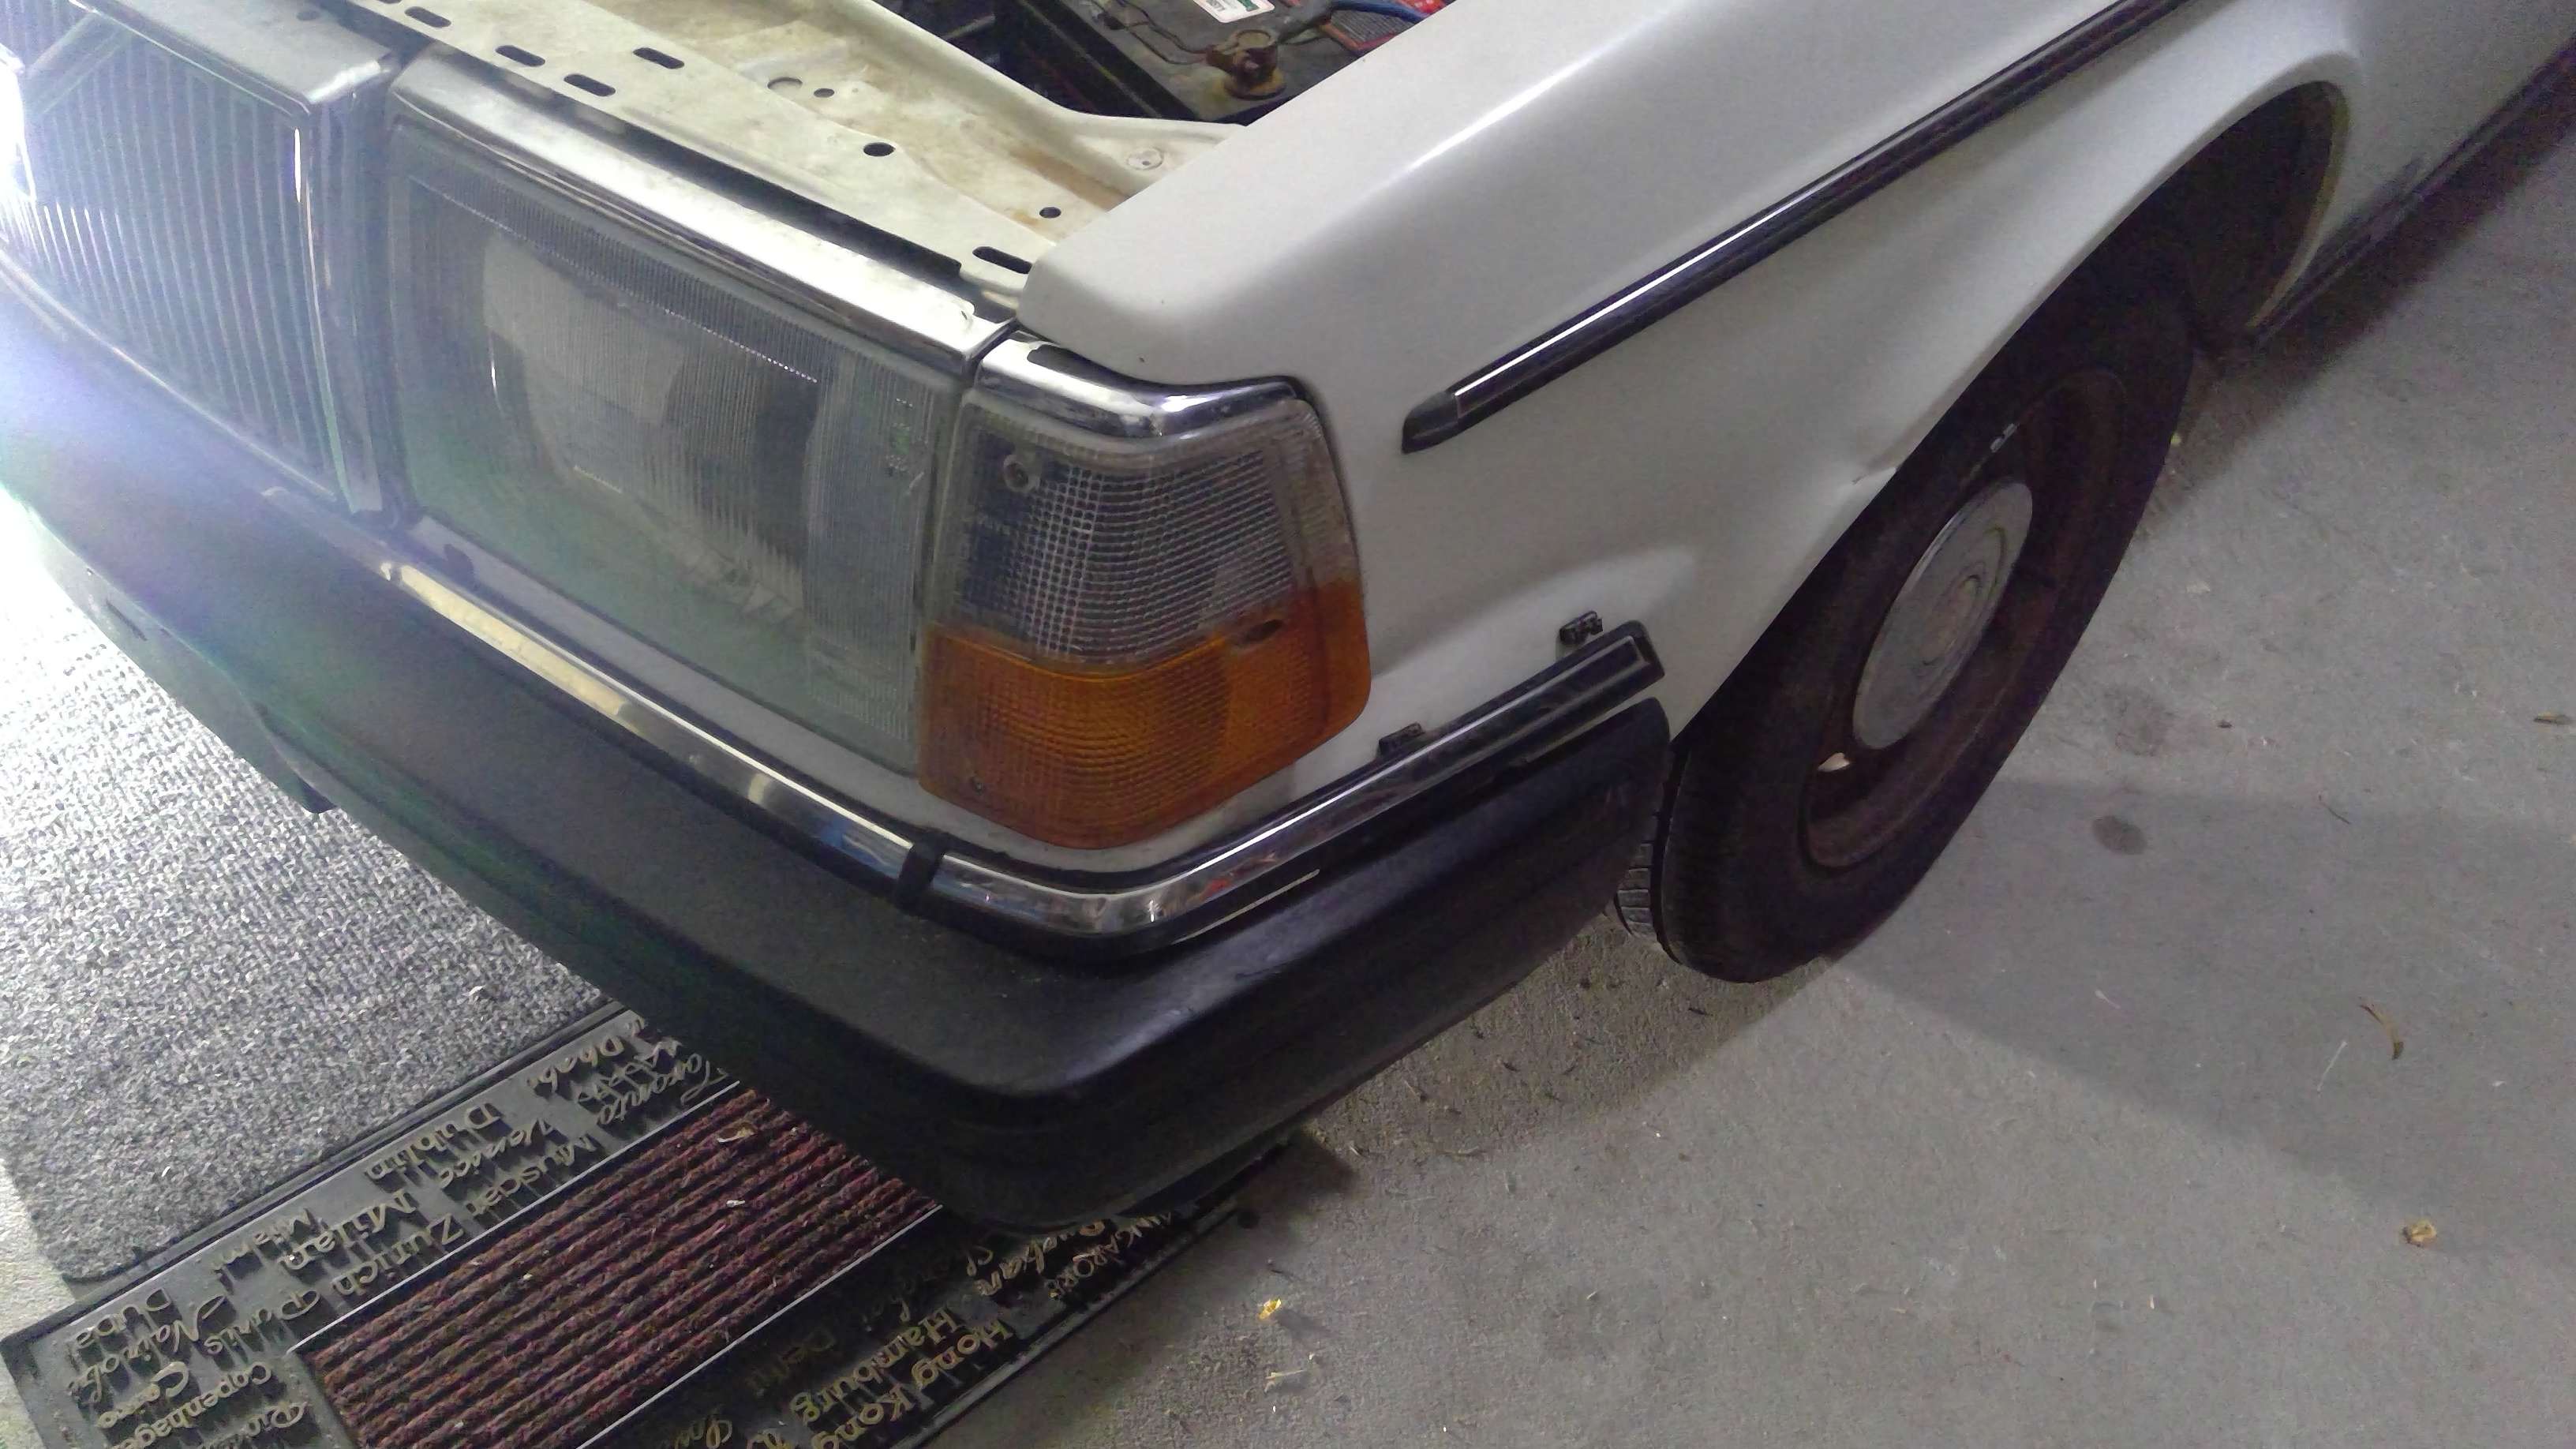
Strip/glue:
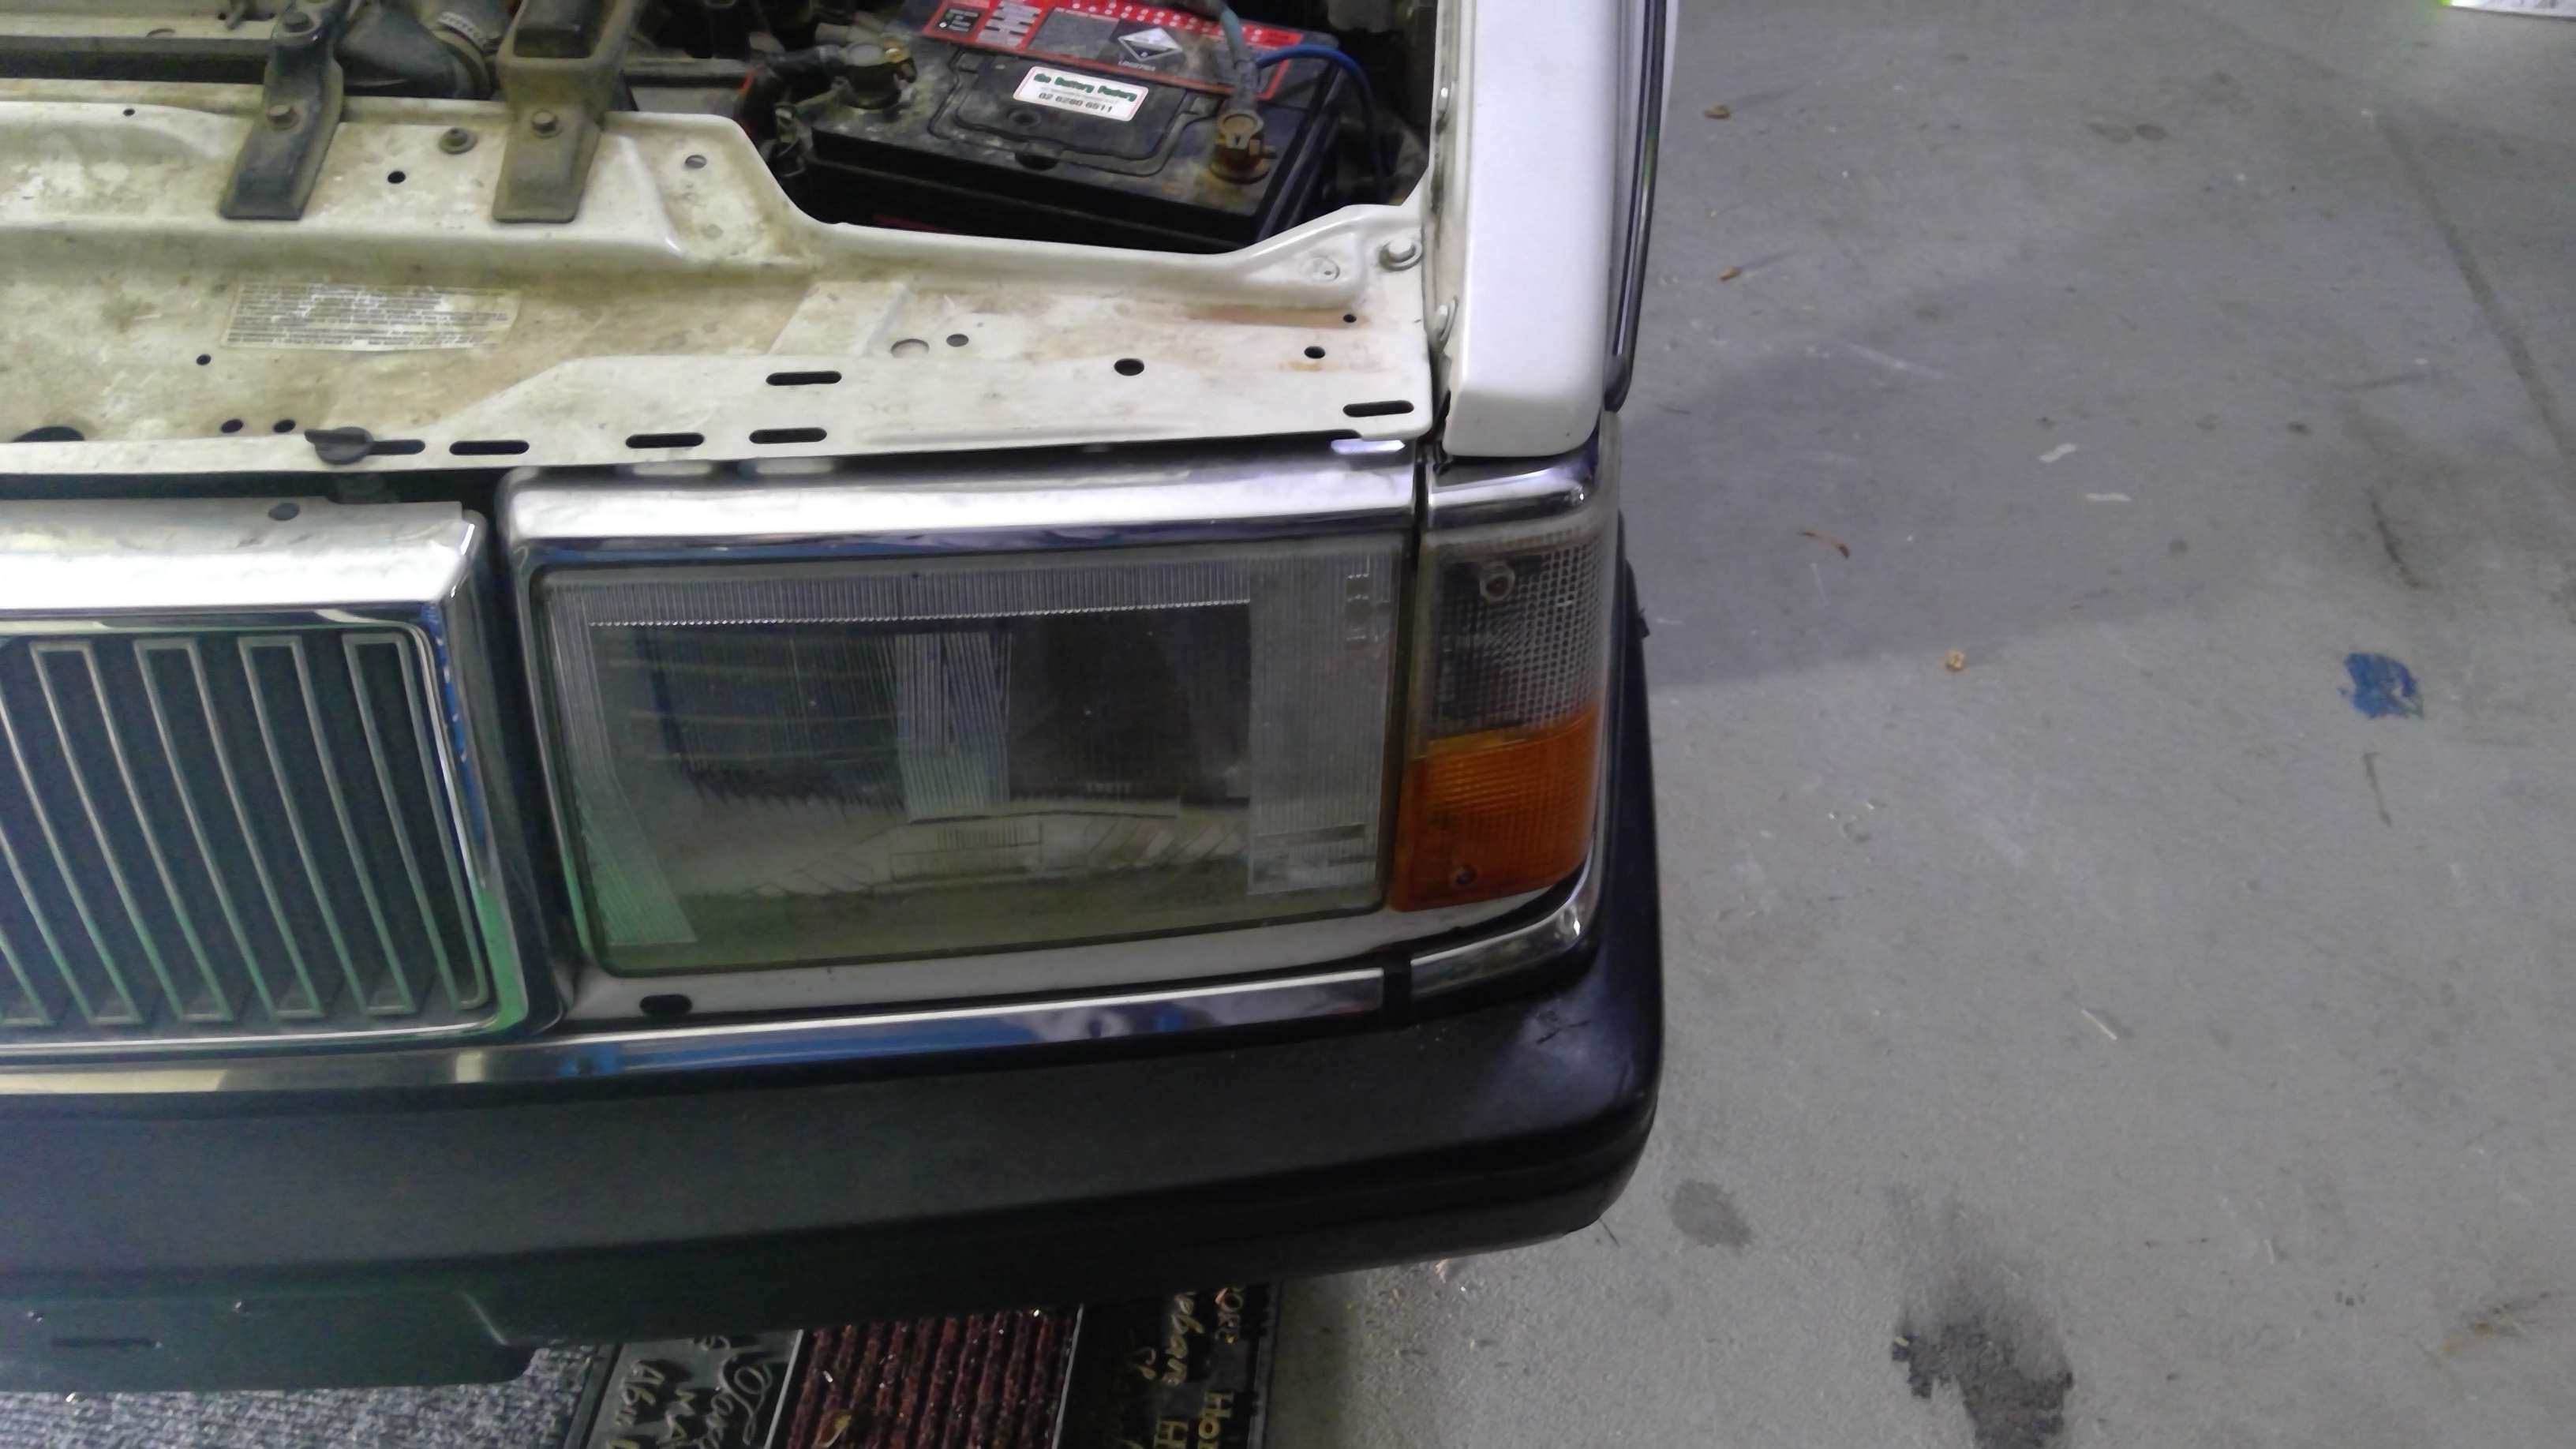
I haven't seen the type of glue behind the strips yet. But a brown rubber wheel used for removing decal stripes from an auto store should do it. It's sometimes called a 'caramel wheel'. Just don't leave it spinning in the same spot - move it around a lot, taking a little off each spot over a longer time - so the friction doesn't 'burn' the paint. It probably says something about what drill speed to use on the packet too. But have you thought about removing the lot of them? Maybe you can check photos online of what it looks like with them gone first.
Reattaching those I haven't done either. But auto stores sell rolls of a very thin, double-sided, black plastic tape with adhesive on each side. It's about 1cm wide. The panel beater I worked at years ago had me clean the rubber trim thoroughly (all faces) with 'wax and grease remover' using an open-weave cloth that doesn't leave any lint behind (like the polishing cloths that come in 'fathers day' buckets of car products).
Then you cut a strip of tape a bit longer than the trim, peel the waxed paper off one side, stick the tape onto the trim edge. Keep filling the back with tape until it's covered, then use a (clean/new) razor blade to slice away any excess.
Then set it down, wash your hands, clean the car paint with wax & grease remover too. Then peel the outer paper off the tape and stick it to the car, now being careful not to touch the adhesive. If you only just lightly touch it to the paint first, you can often pull it back off several times to reposition it if needed. You could also eliminate any guesswork by removing the glue, giving the paint a reasonable clean, then holding the trim back up against the car to position it exactly right, and stick four bits of painters tape - 2 per corner (one vertical, one horizontal) at two opposite corners. No mistakes when positioning that way. Then do the other steps - including wax & grease remover JUST BEFORE you fit the trim piece. (Because you if do clean it 5 minutes before, you can guarantee old polish or wax will somehow get on your fingers, then on one of the surfaces, and it will soon fall off again.)